
BLENDER
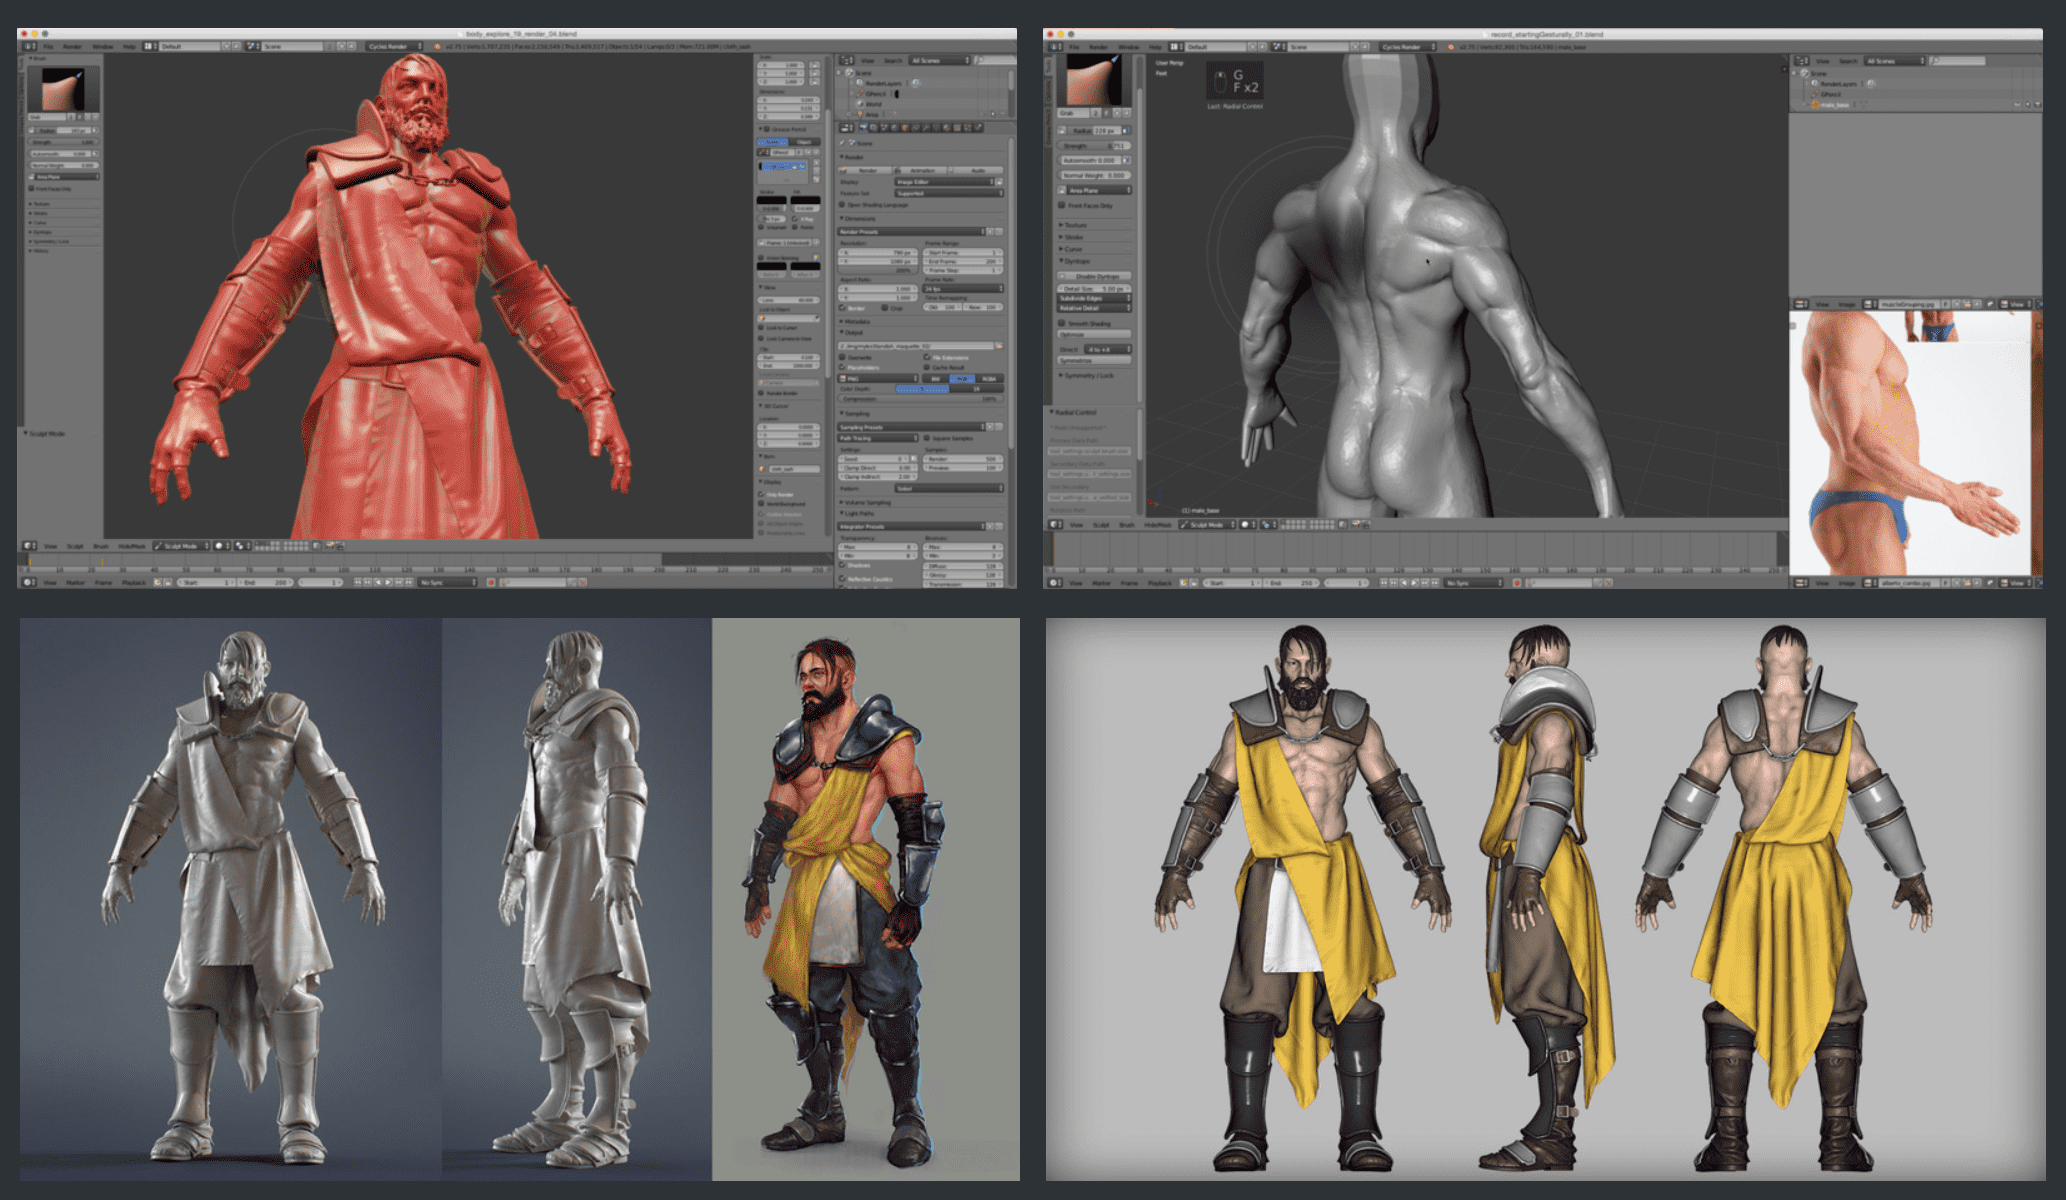
The second modeling software I will use is Blender. Blender is a free license and open source software for free modeling, animation, rigging, simultaion, rendering, compositing and motion tracking. I would say getting used to Blender is harder than it is in fusion but the outcome of blender models are insane, people are modeling very high qualitiy models for movies and games.
Here you can see a example ov very advanced modeling in blender
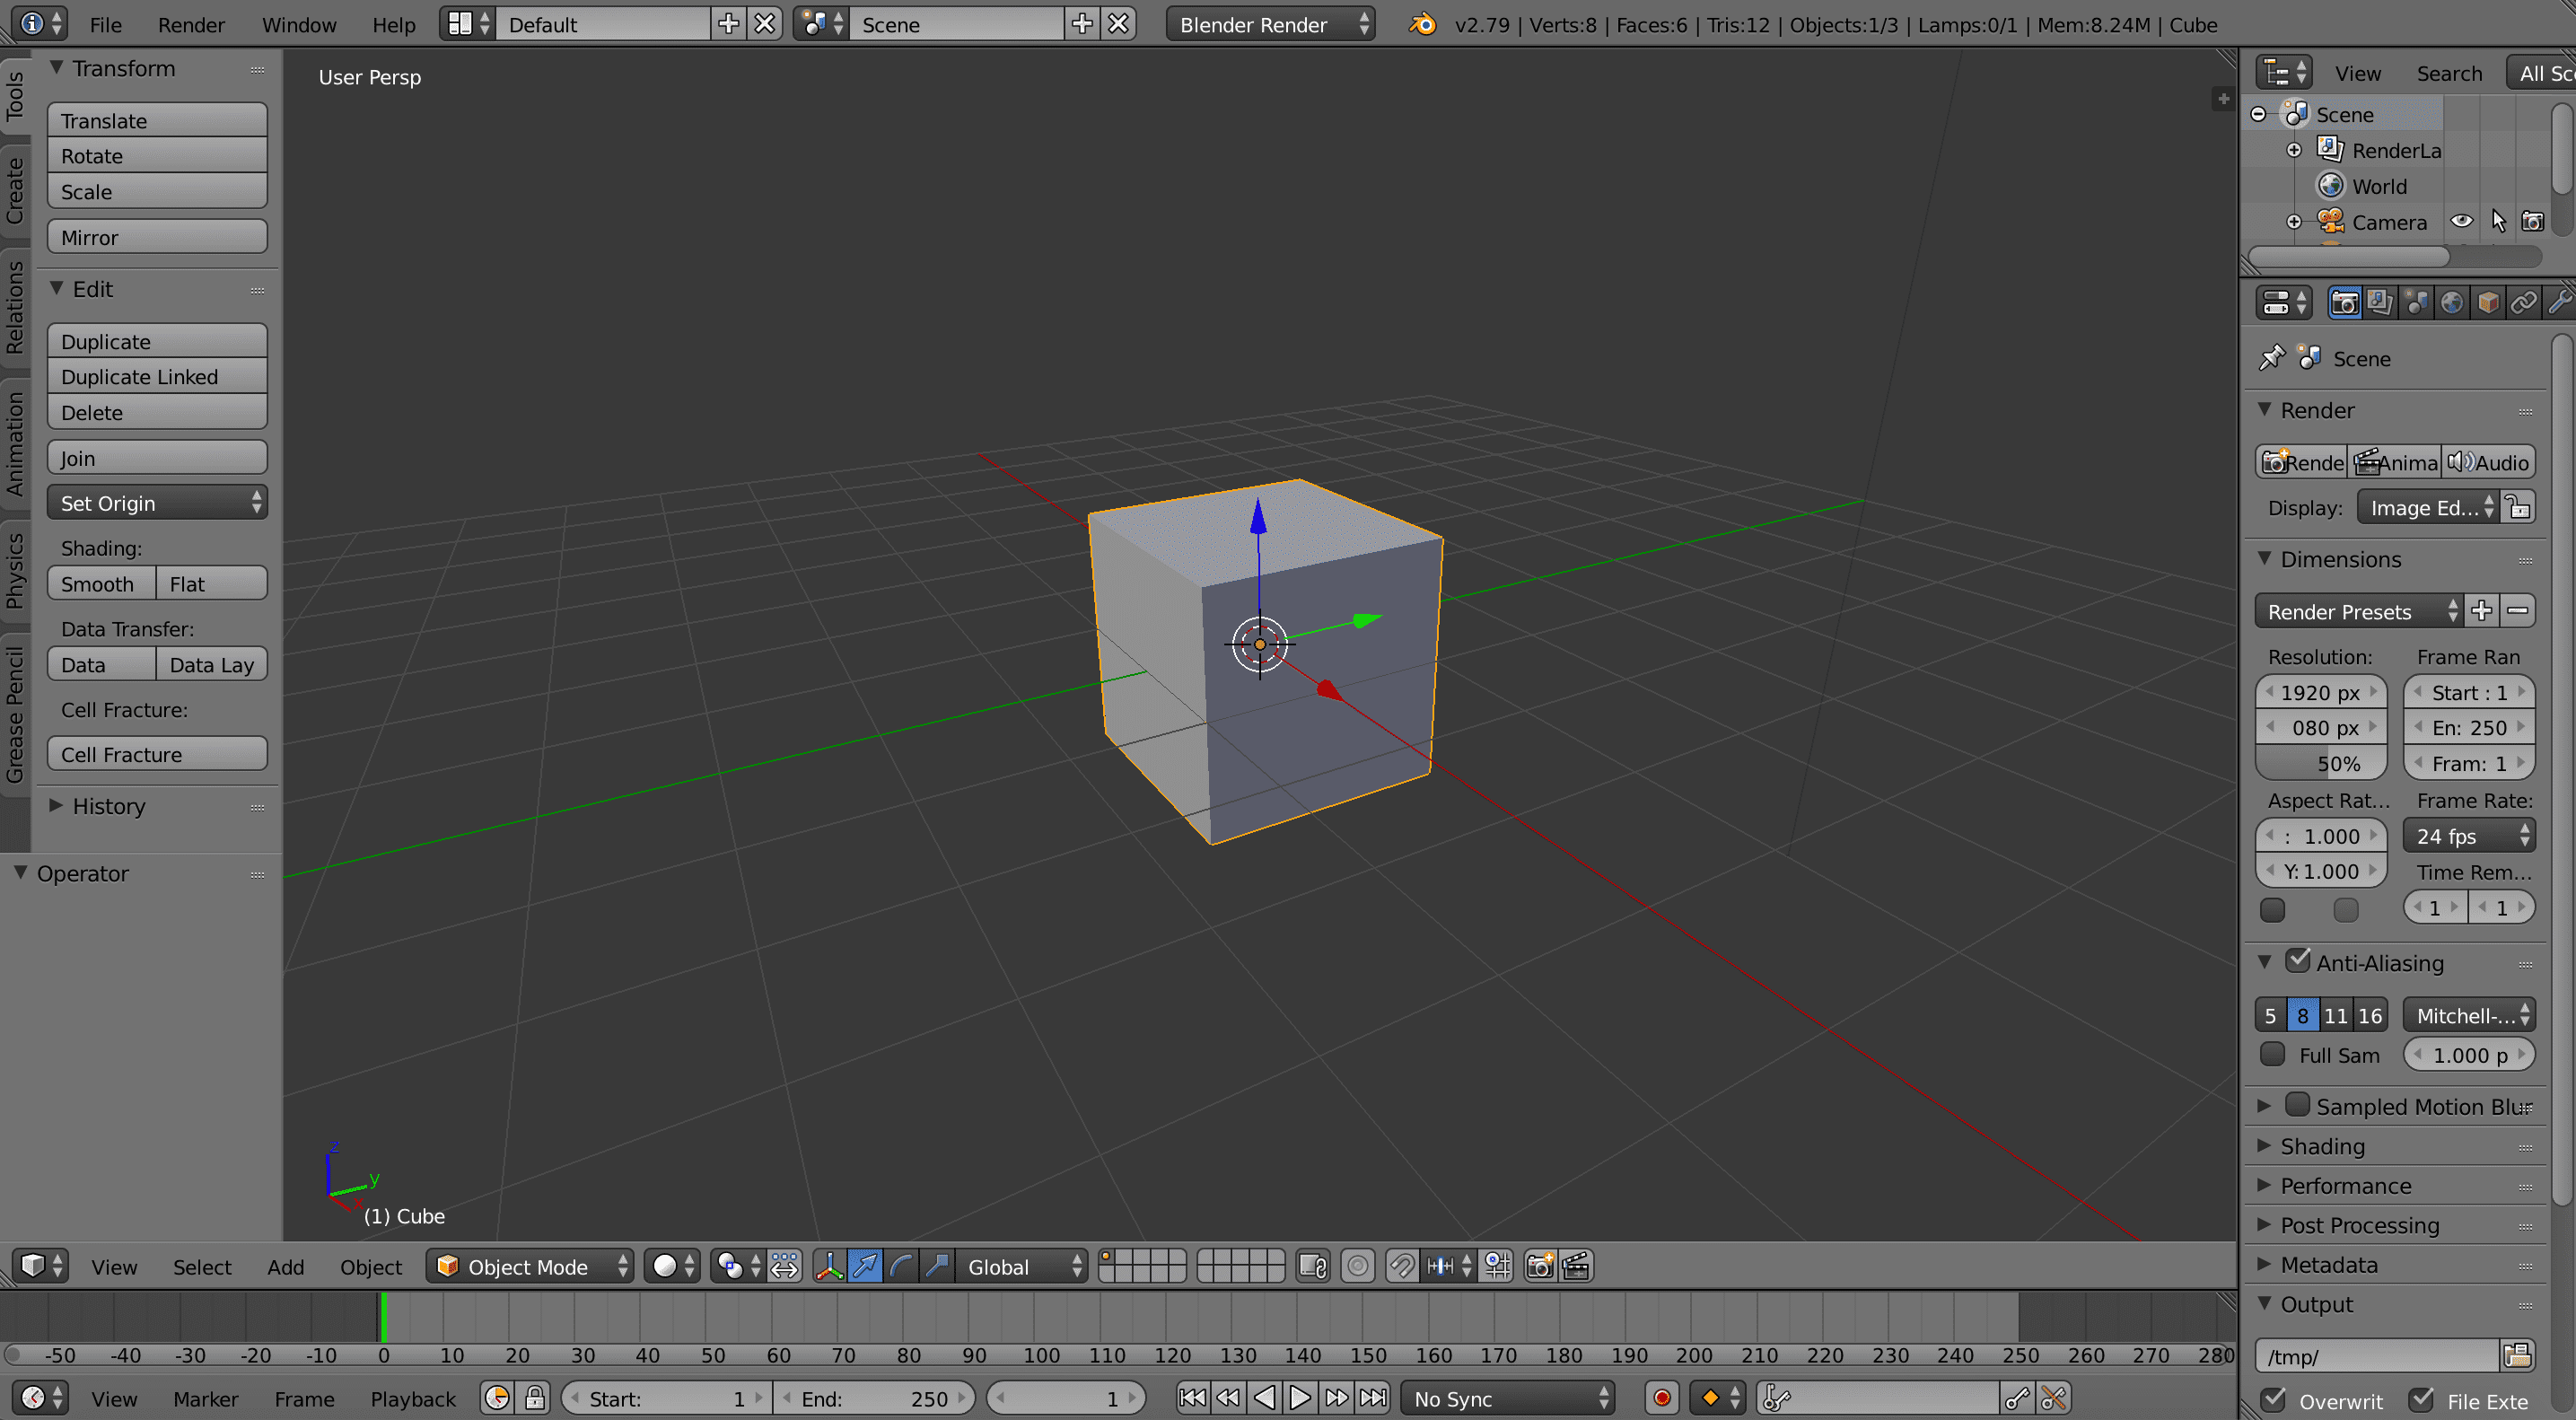

By pressing on the numpad, I can switch my view between perspective and orthogonal. This is useful for editing and alligning objects.
- NumPad 0 = Camera Perspective
- NumPad 1 = Front ortho(looking back)
- NumPad 3 = Right ortho (looking left)
- NumPad 5 = toggle Perspective/Orthographic
- NumPad 7 = Top ortho (looking down)
I dont have a numpad on my laptop, but in the preferences there is a function called "simulate numpad", so that the numbers on your keyboard simulate beeing a numpad so you can move
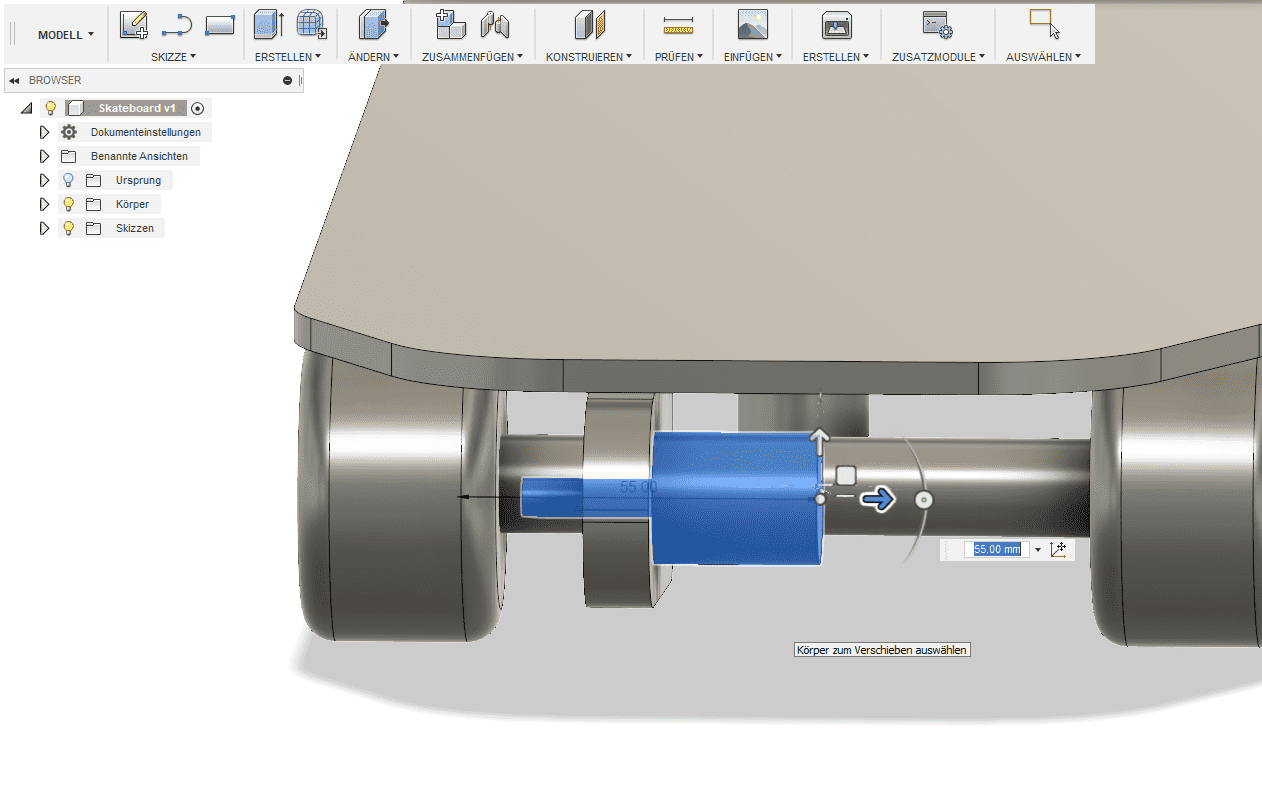
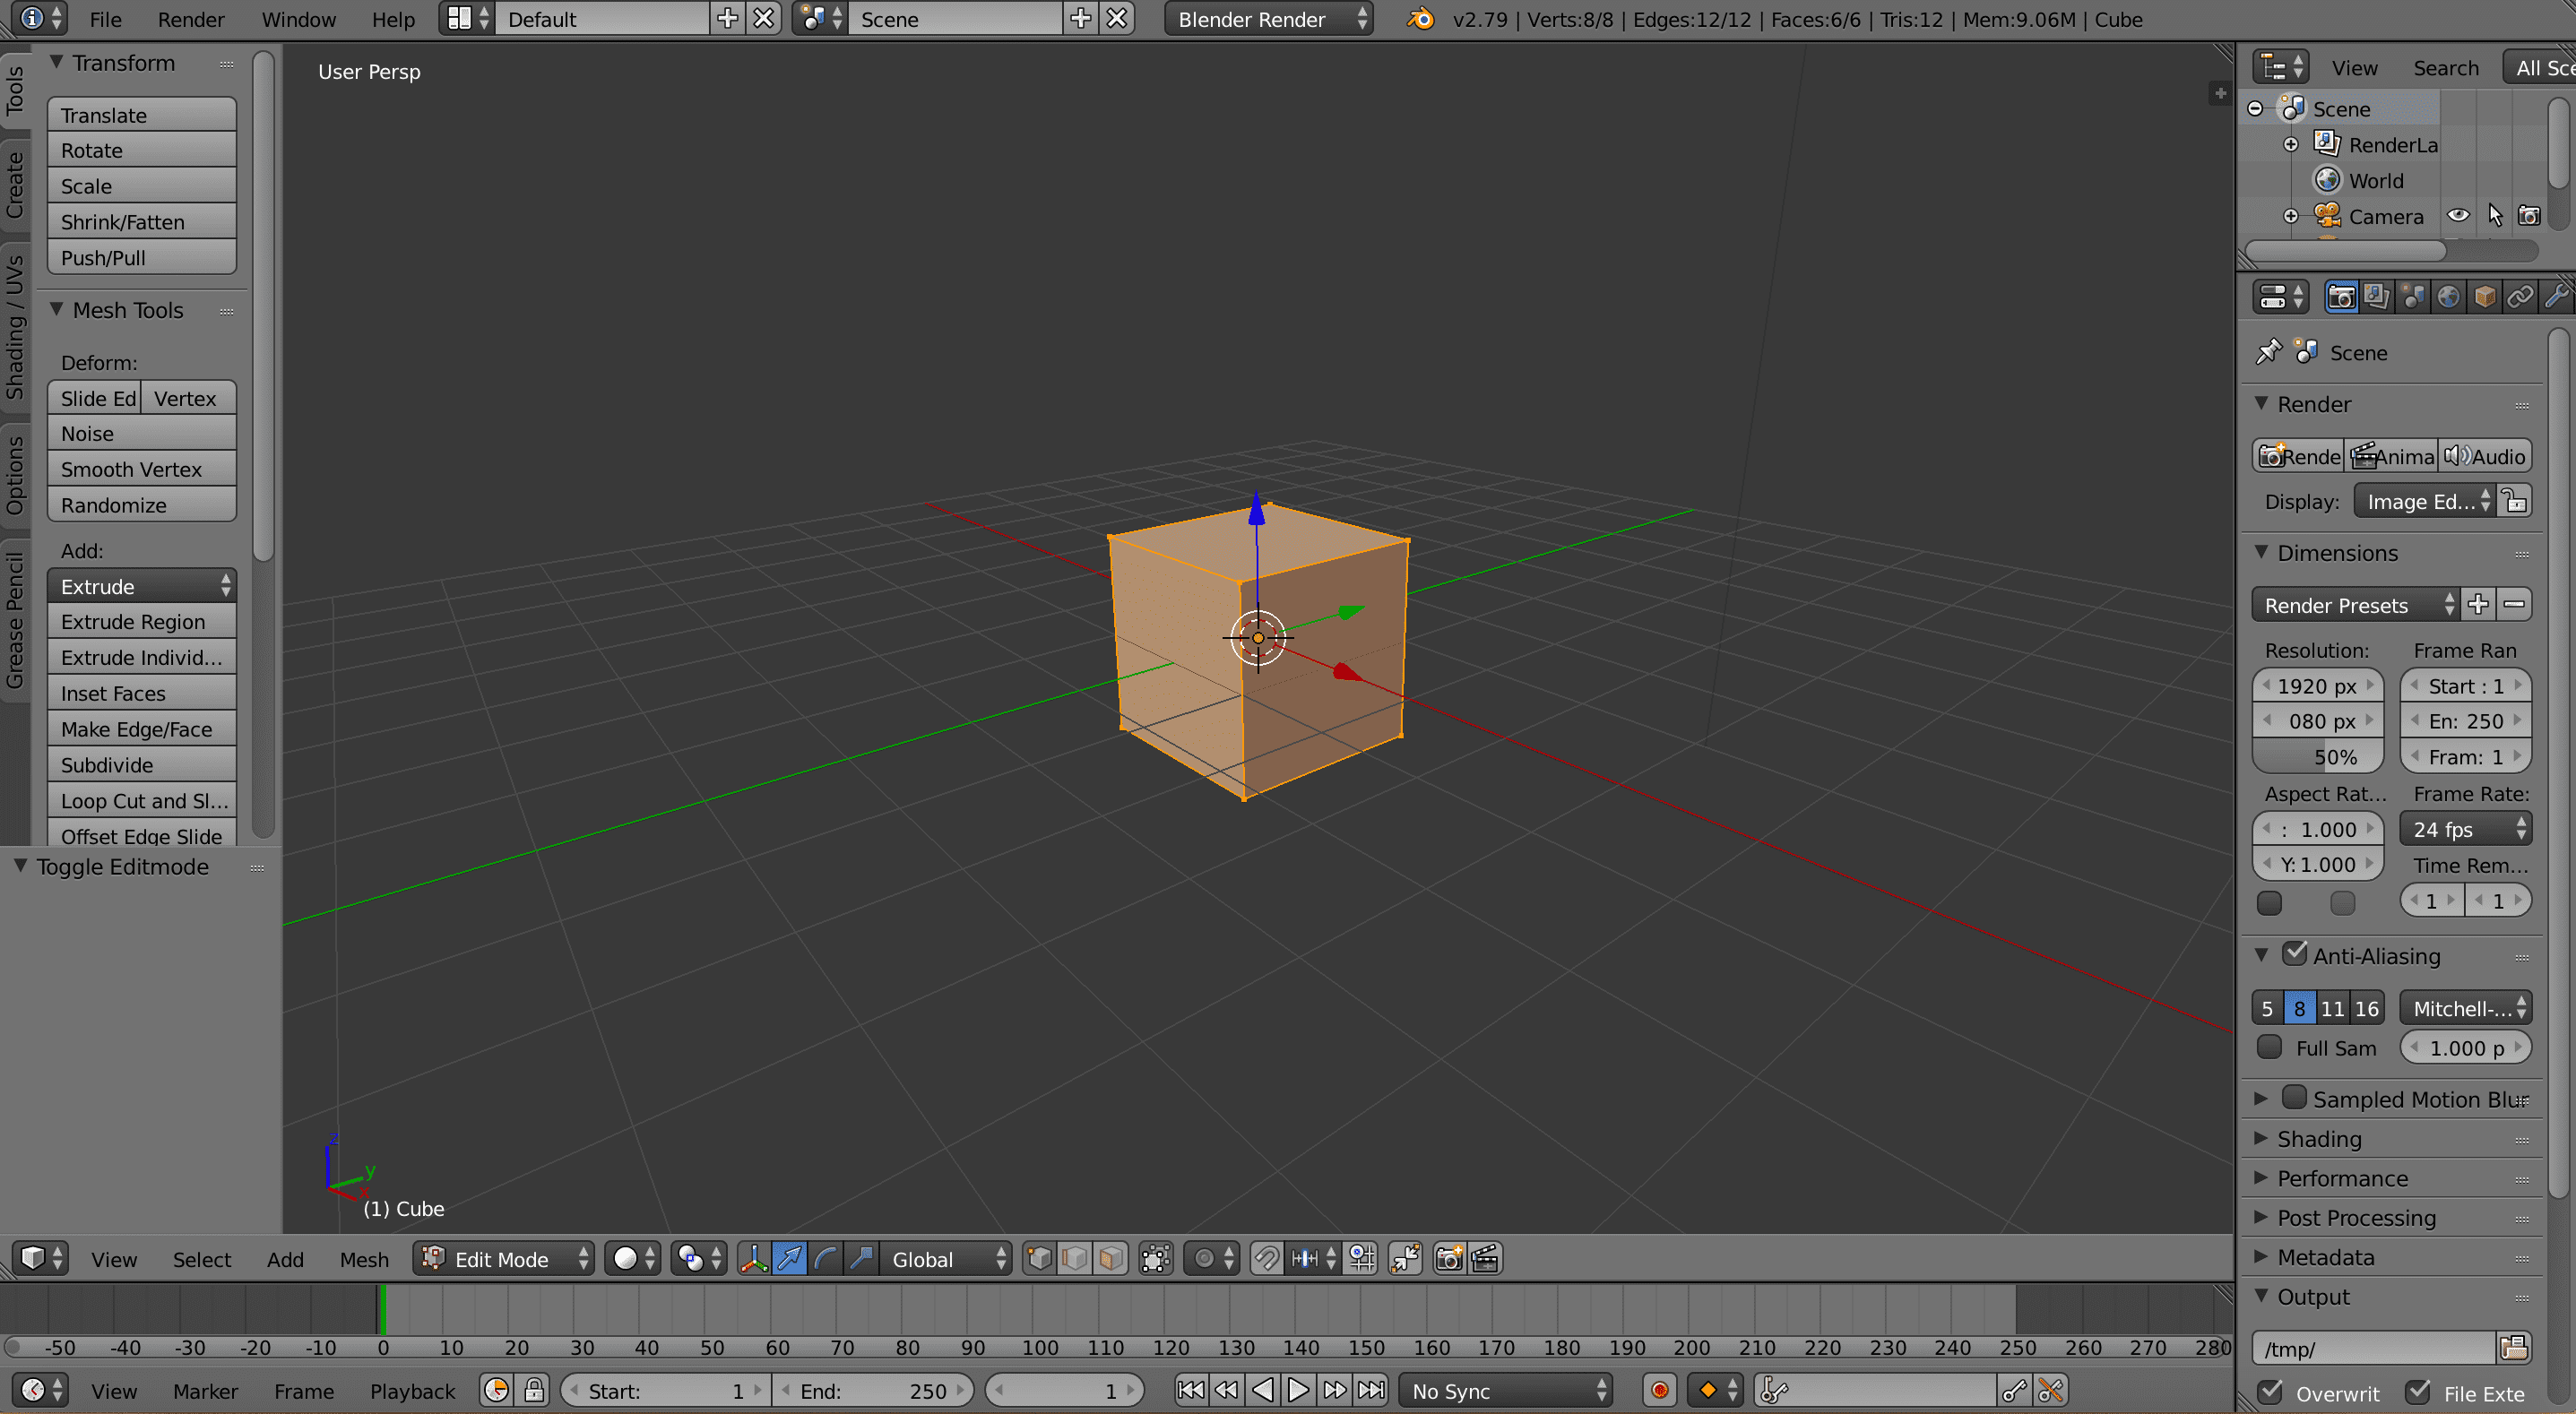
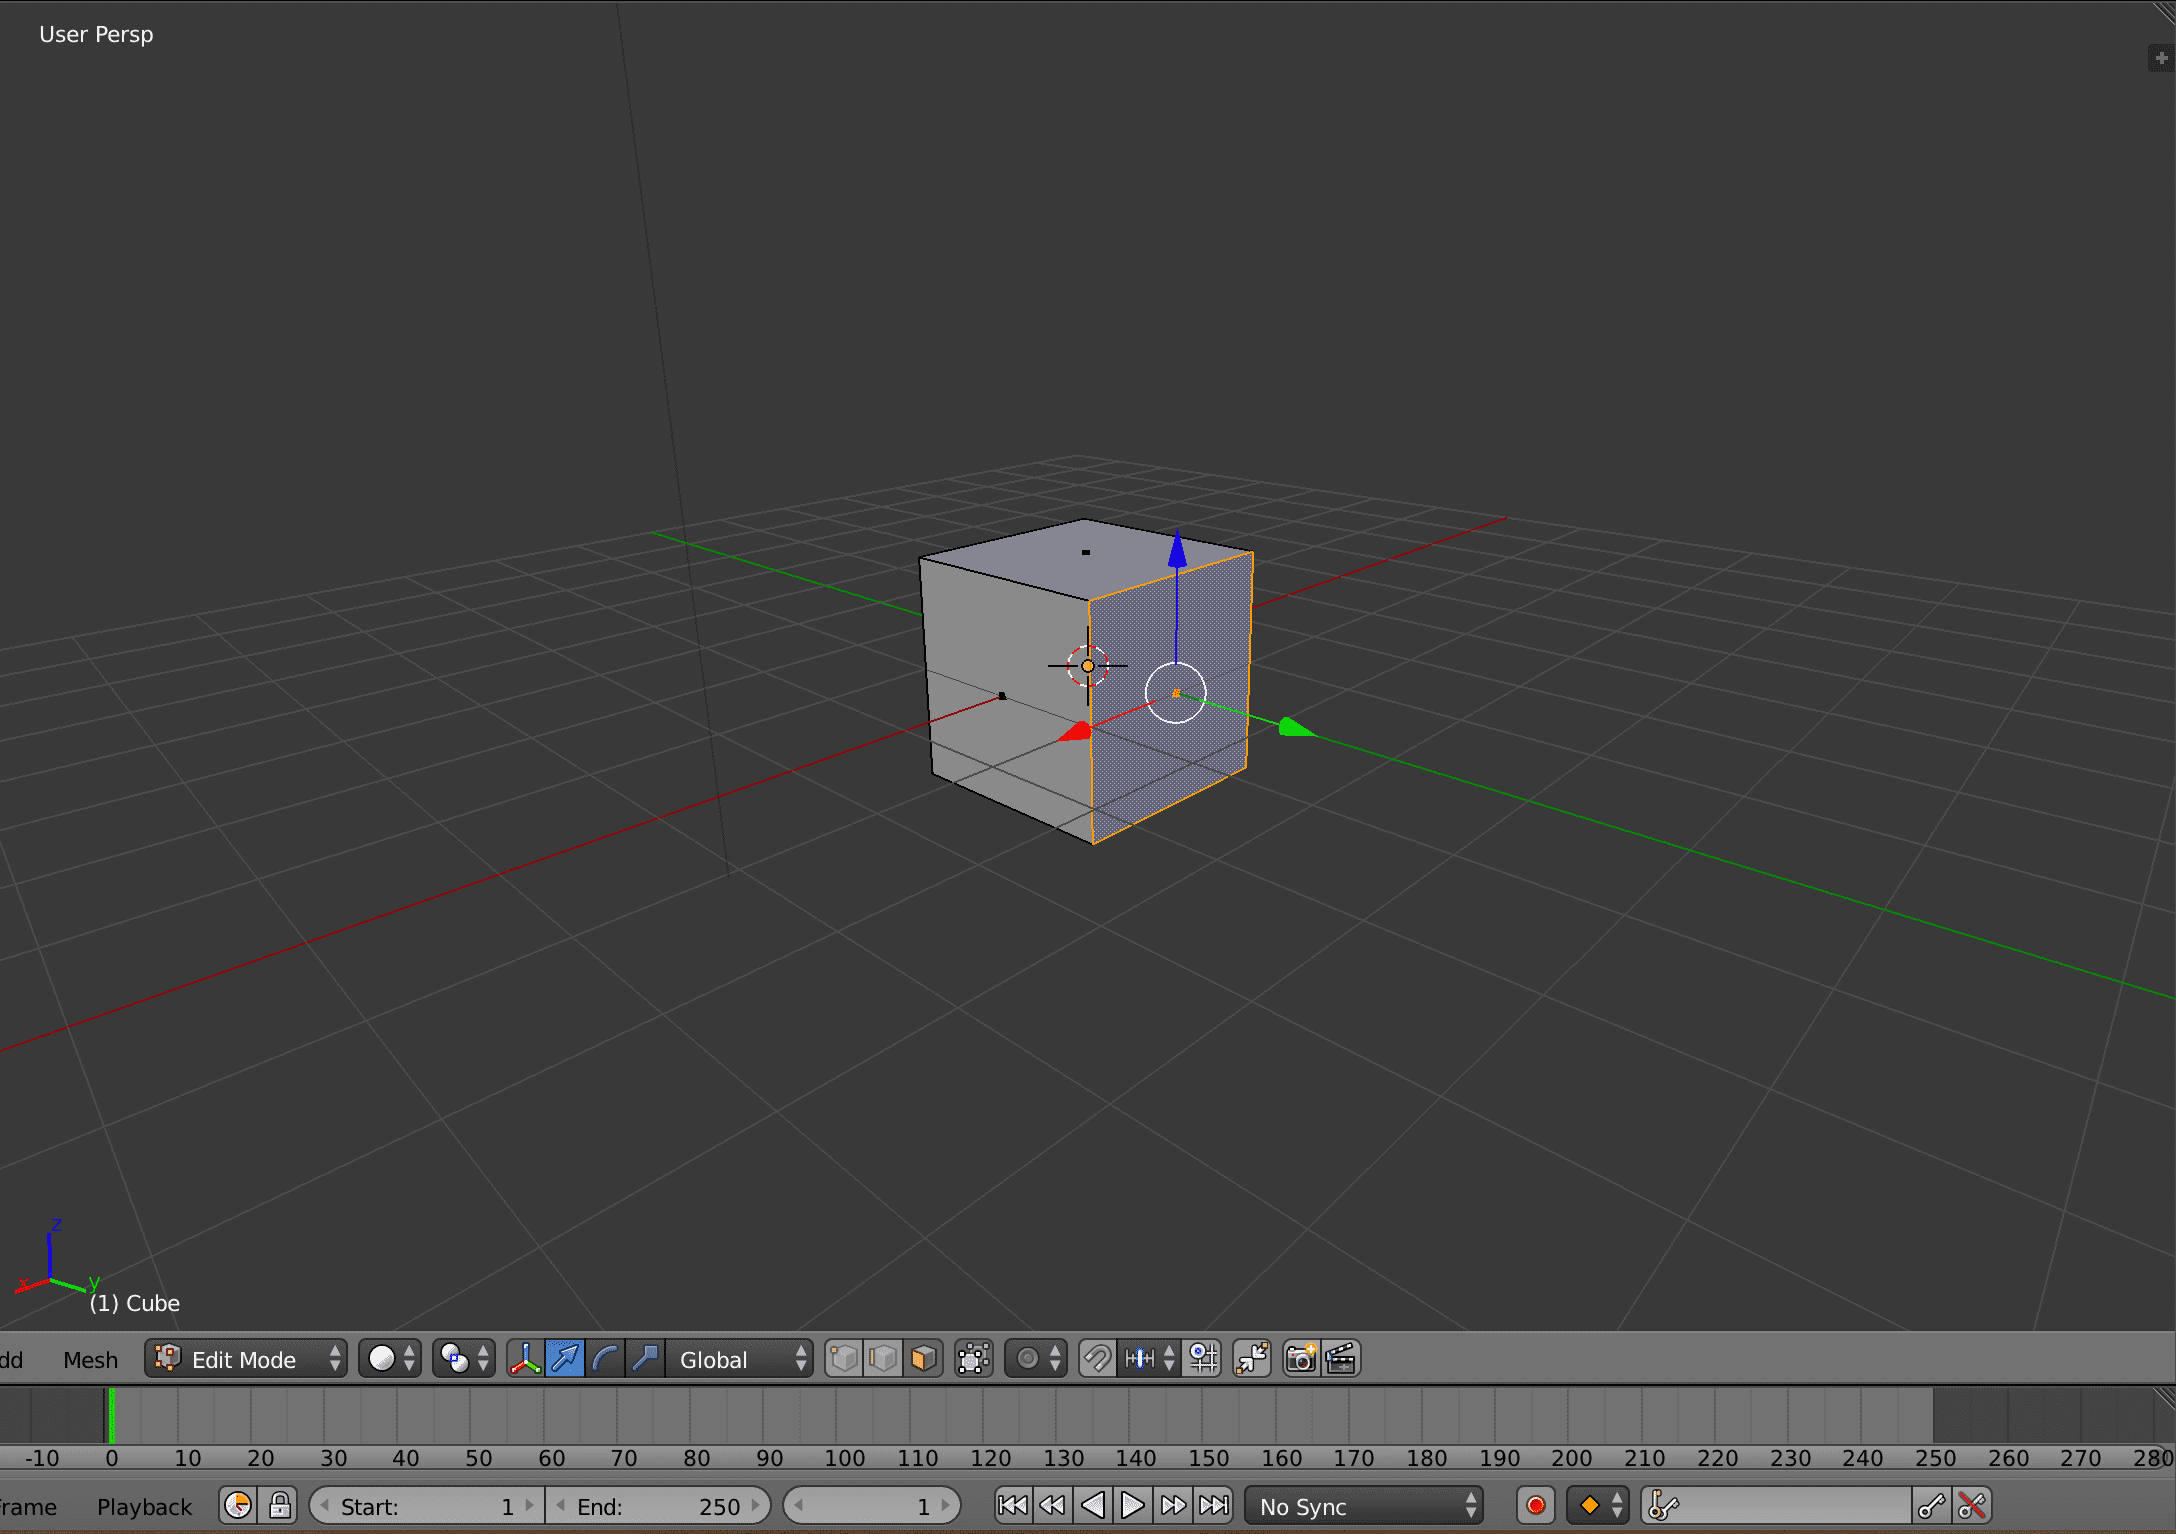
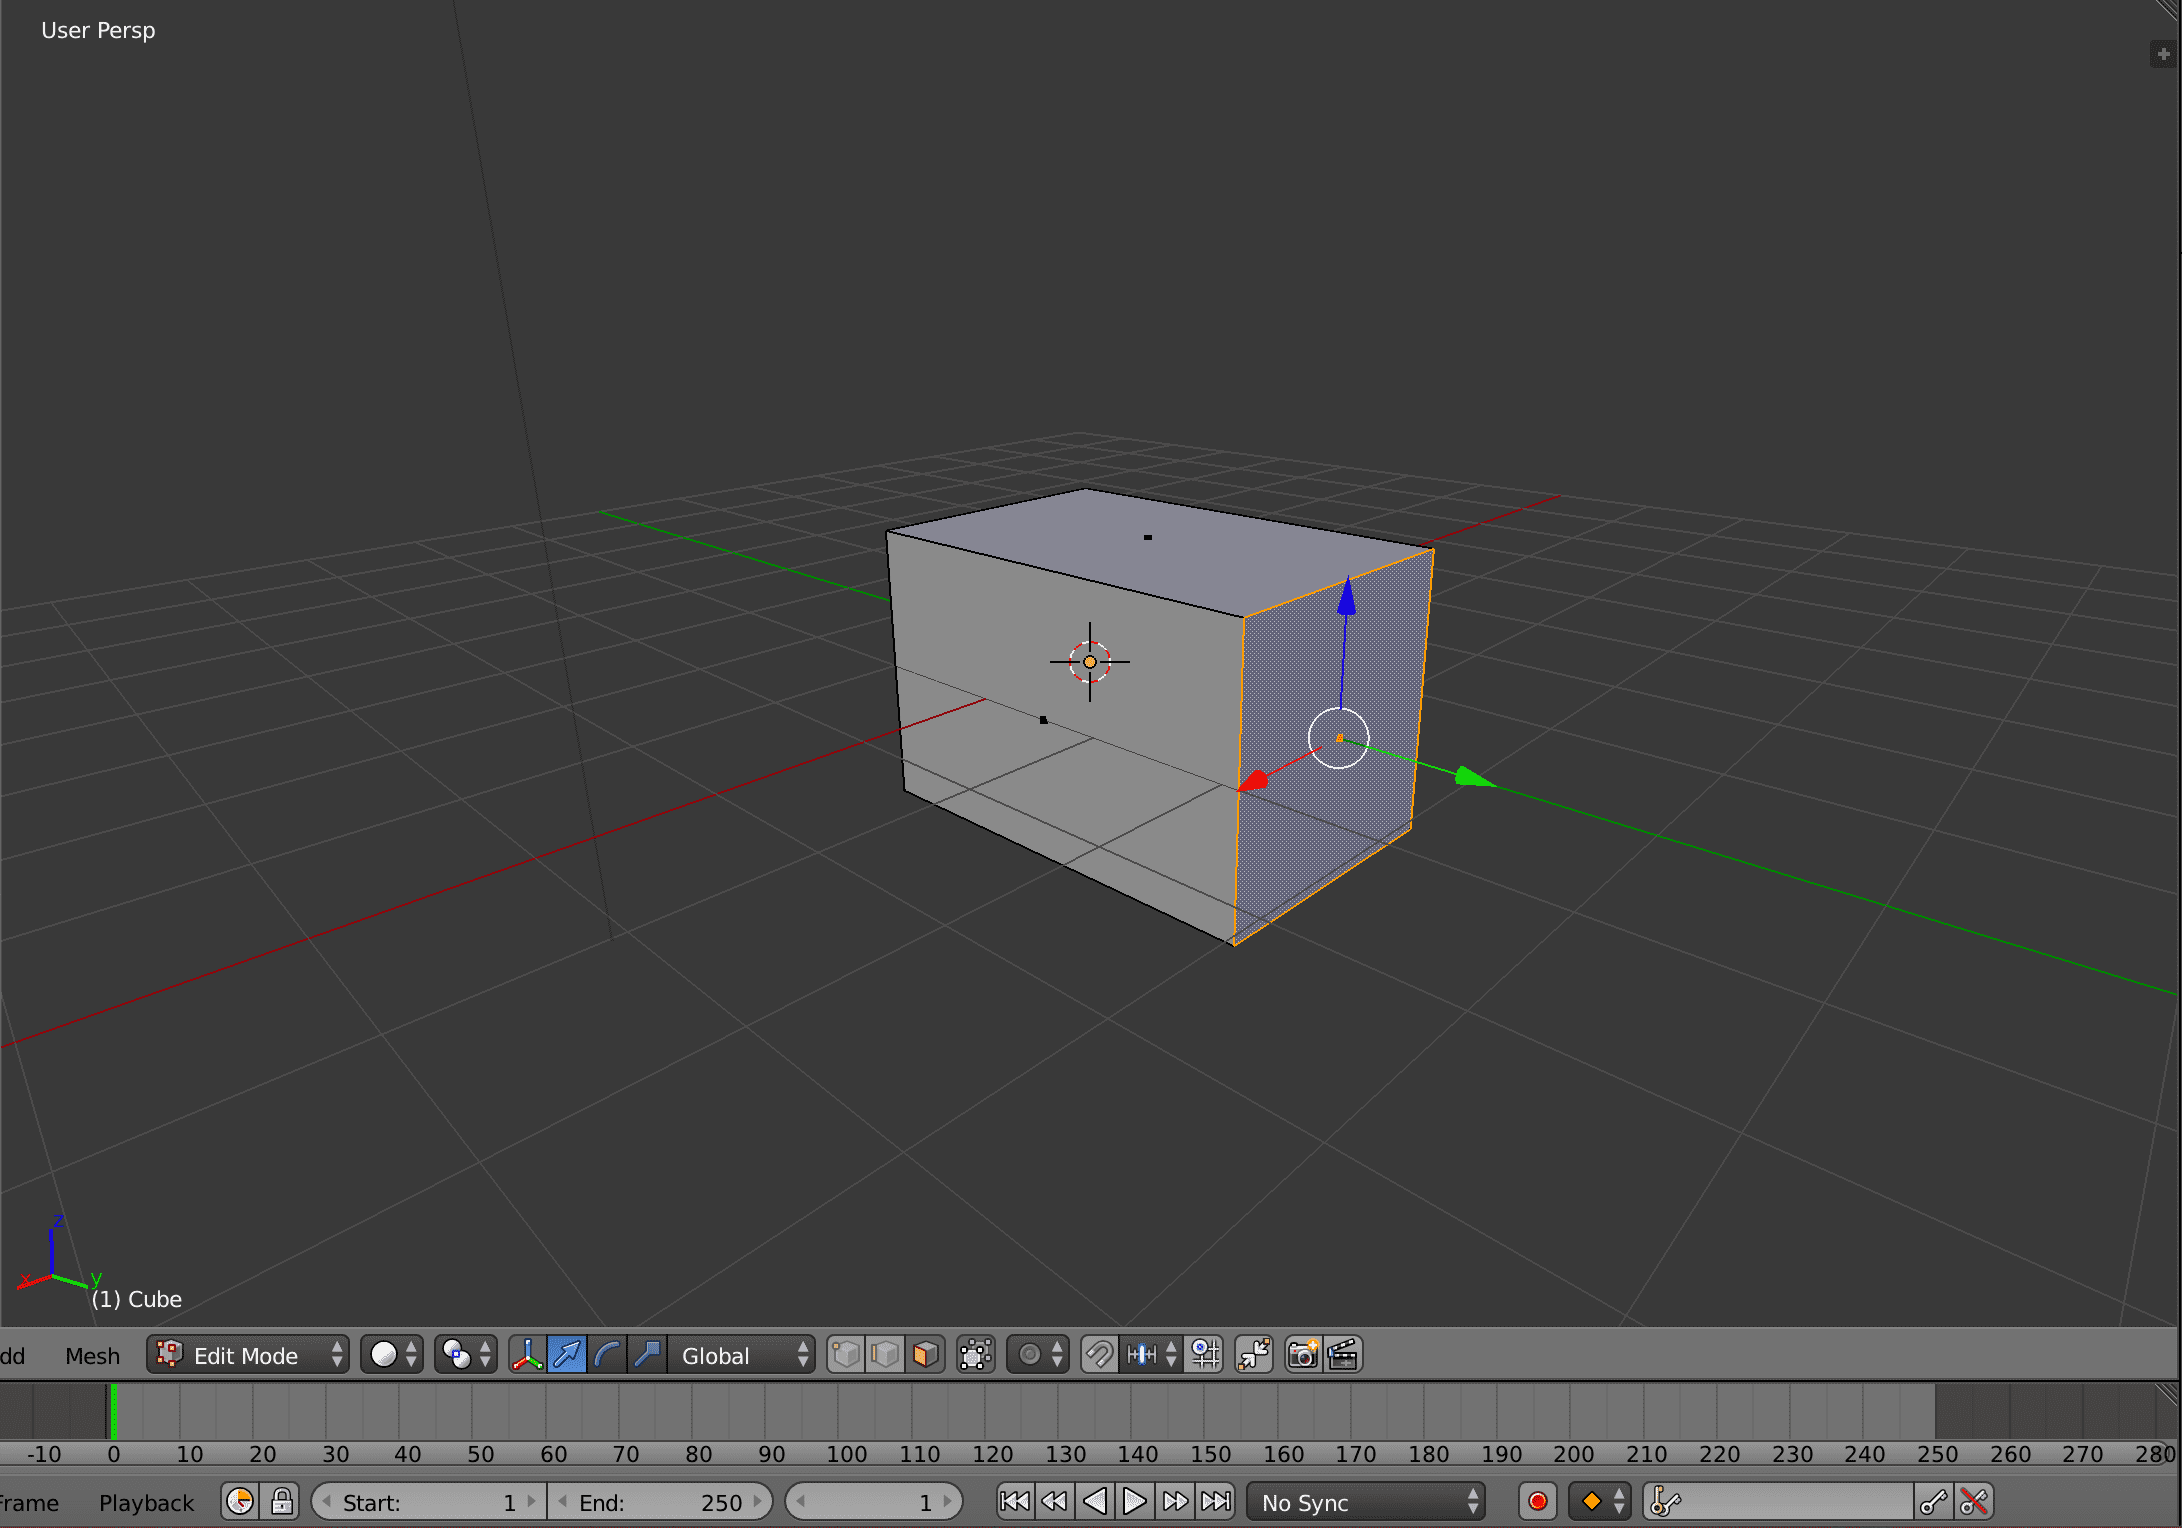
In Blender I am able to use loop cuts to model my object. A loop cut simoly cuts the object in a specified area so that I get more faces and edges I can move. For doing a loop cut I just press ctrl+r to get to the loop selector.
I can now move the loop and even add more loops by scrolling up and down. When I am happy with the positioning I just hit the mouse button
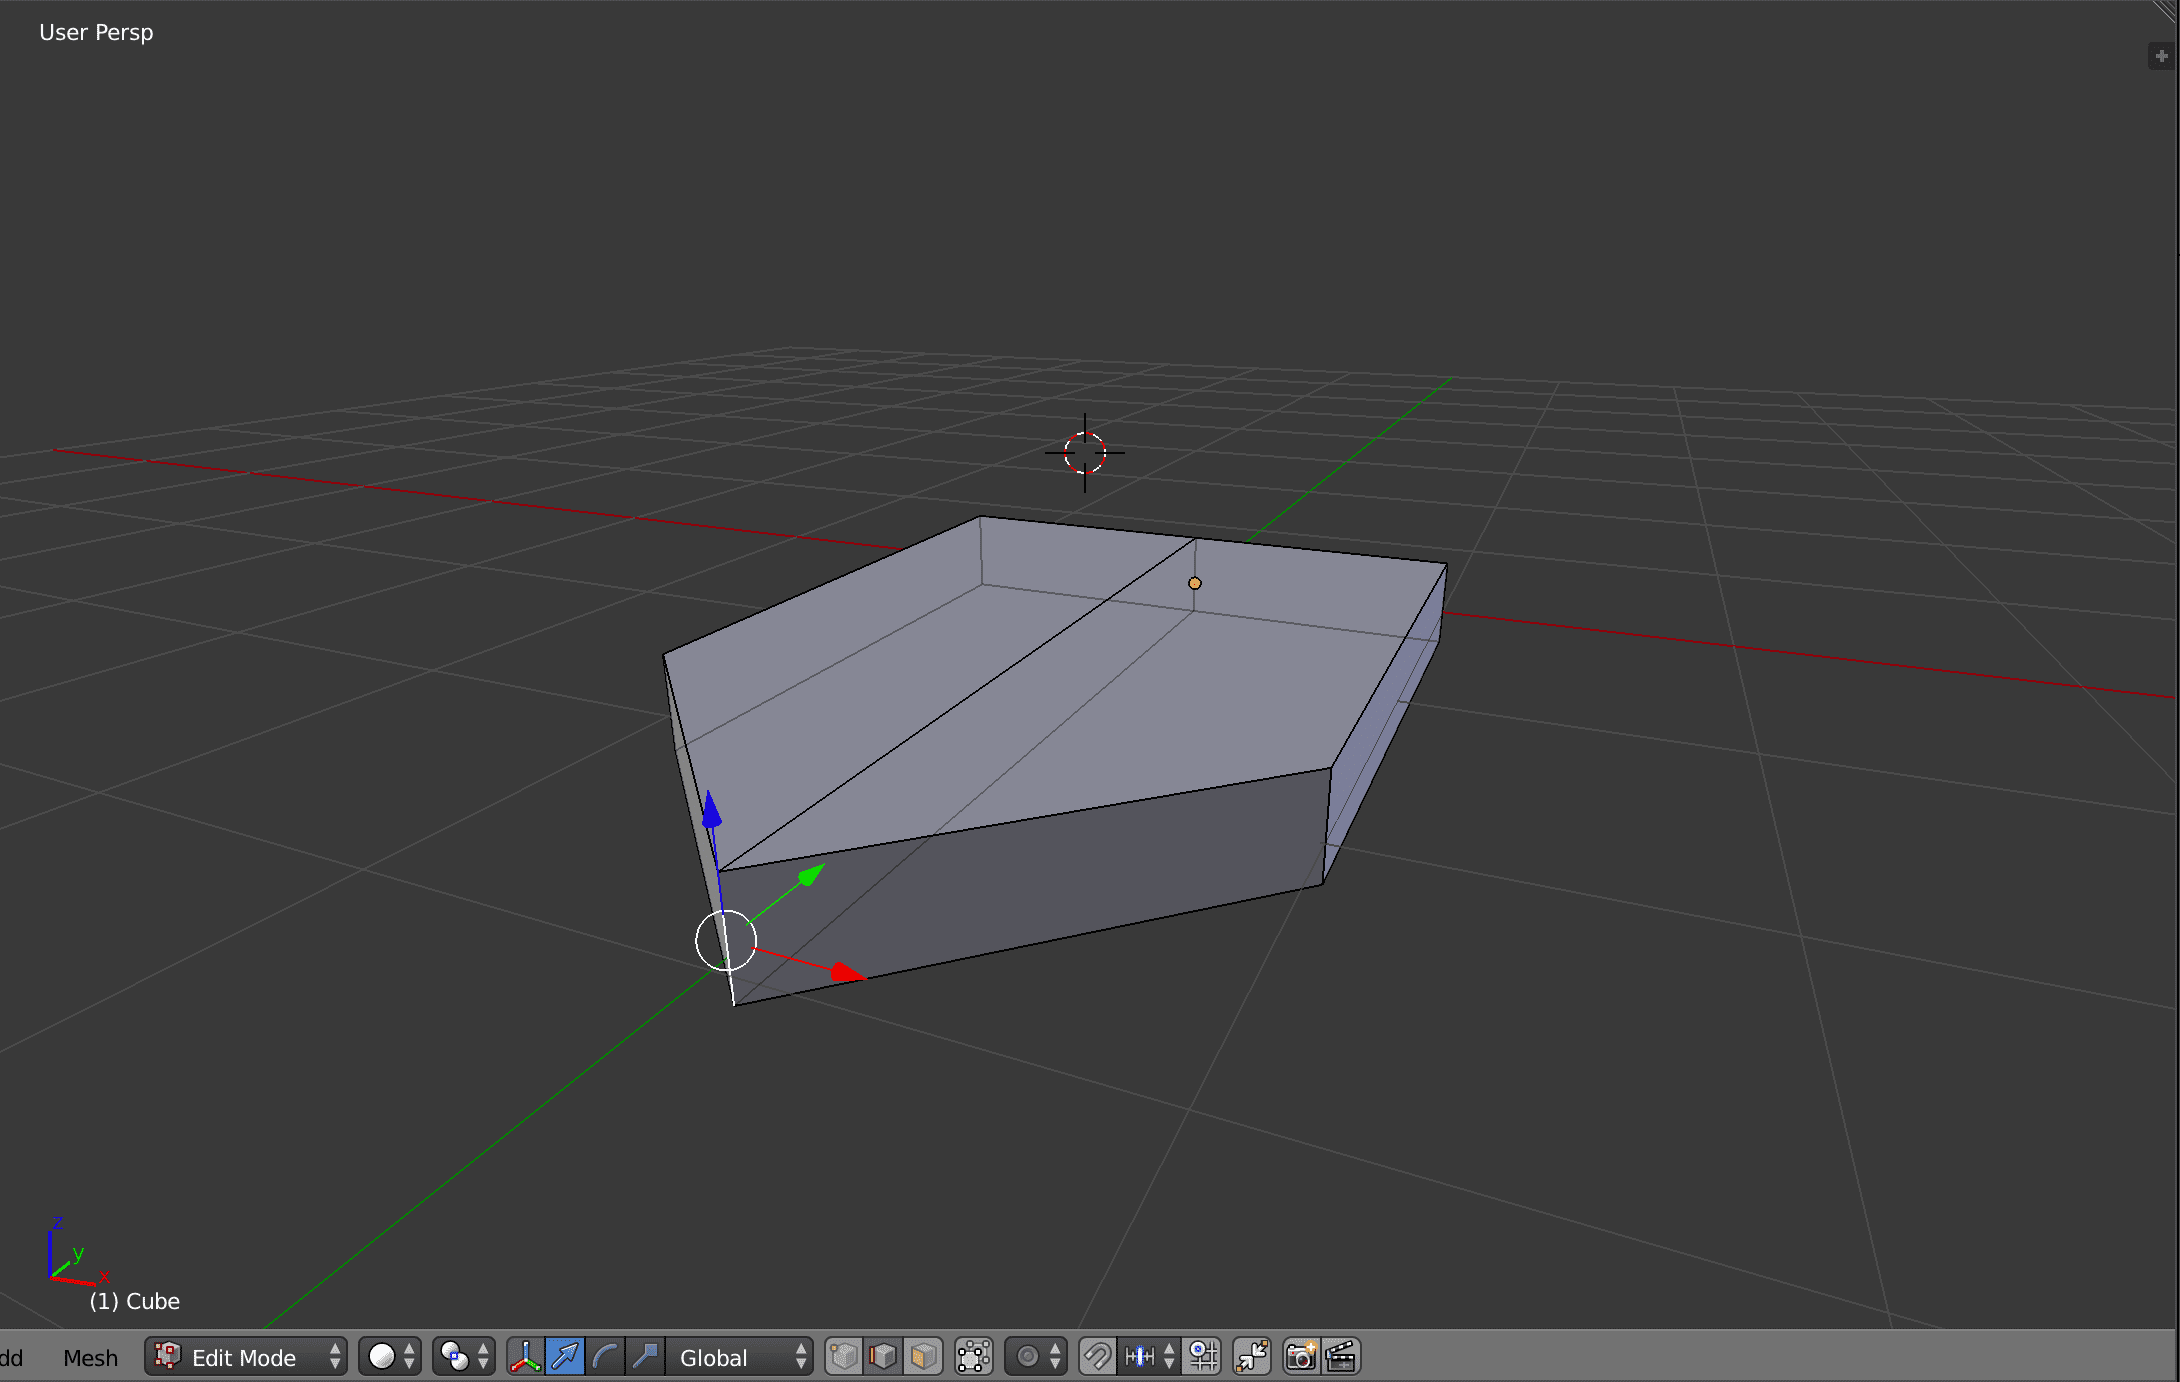
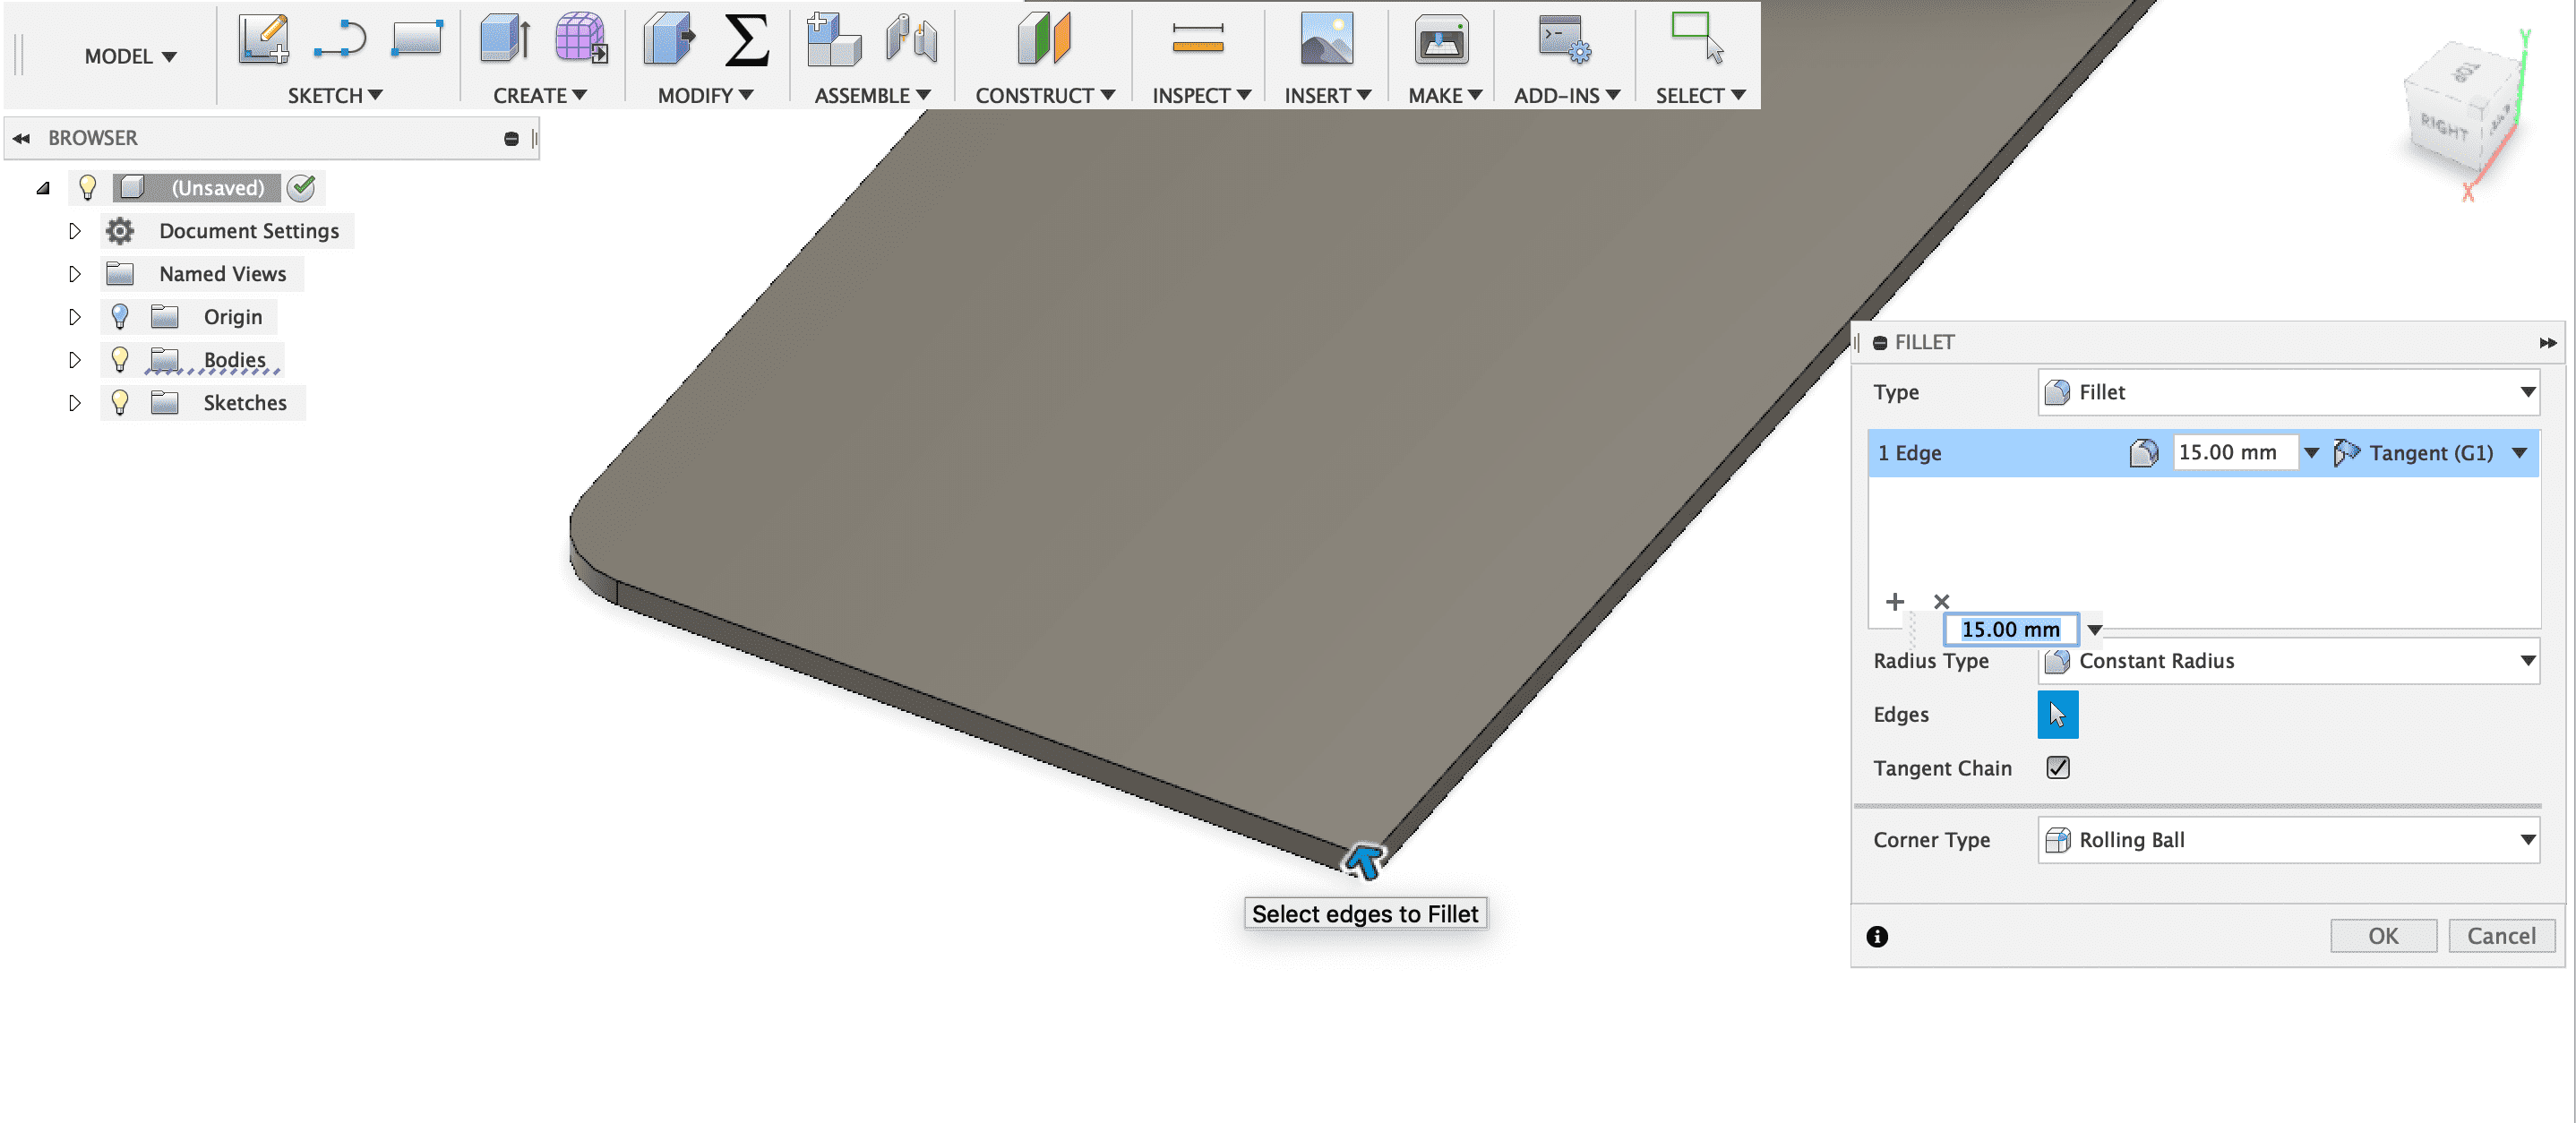
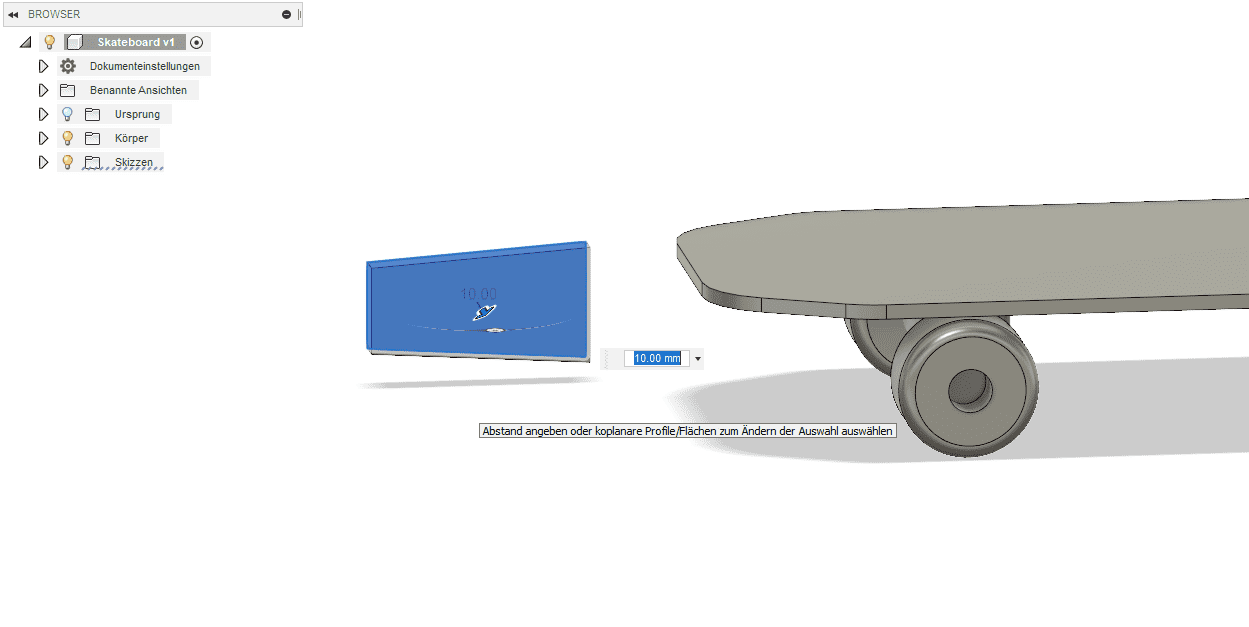
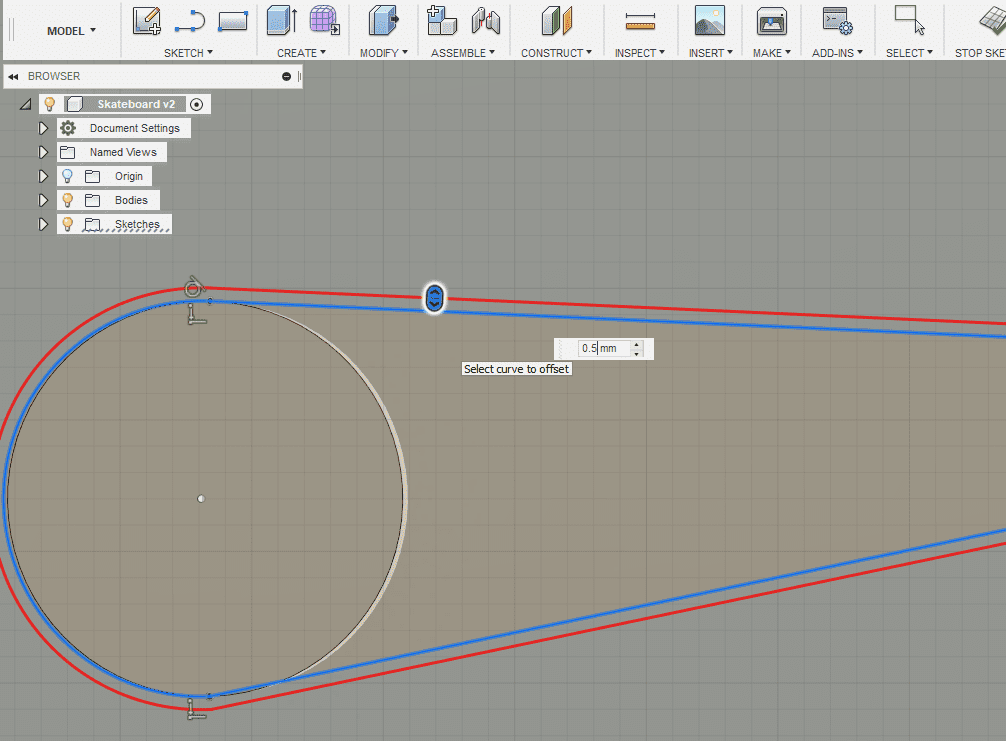
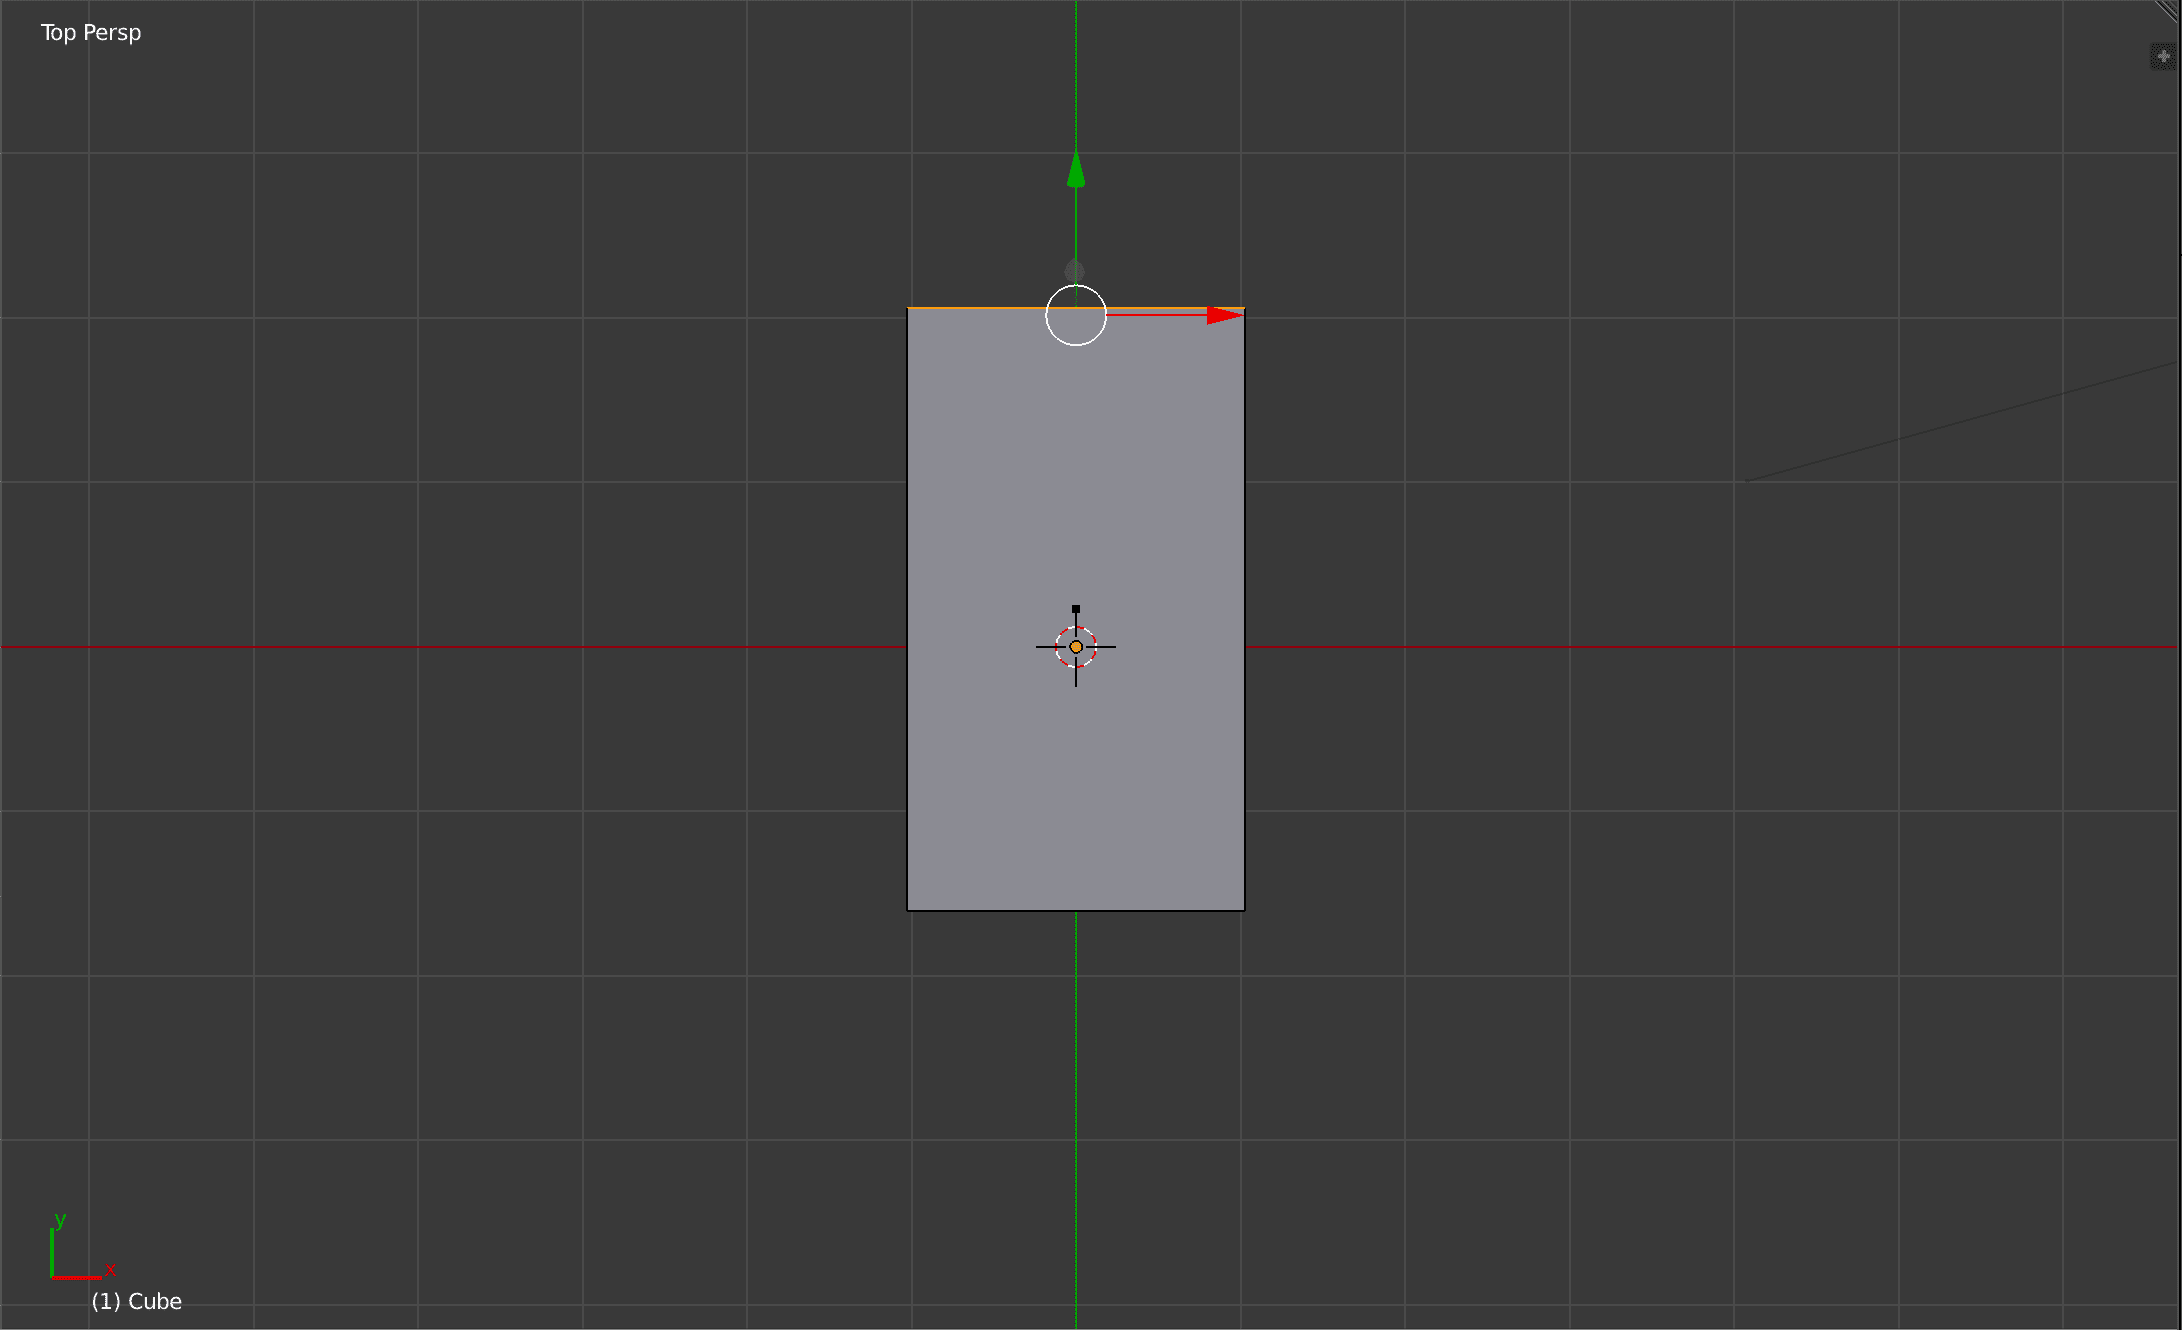
Still with the edge selected, I can now press "B" to add a bevel to the edge.
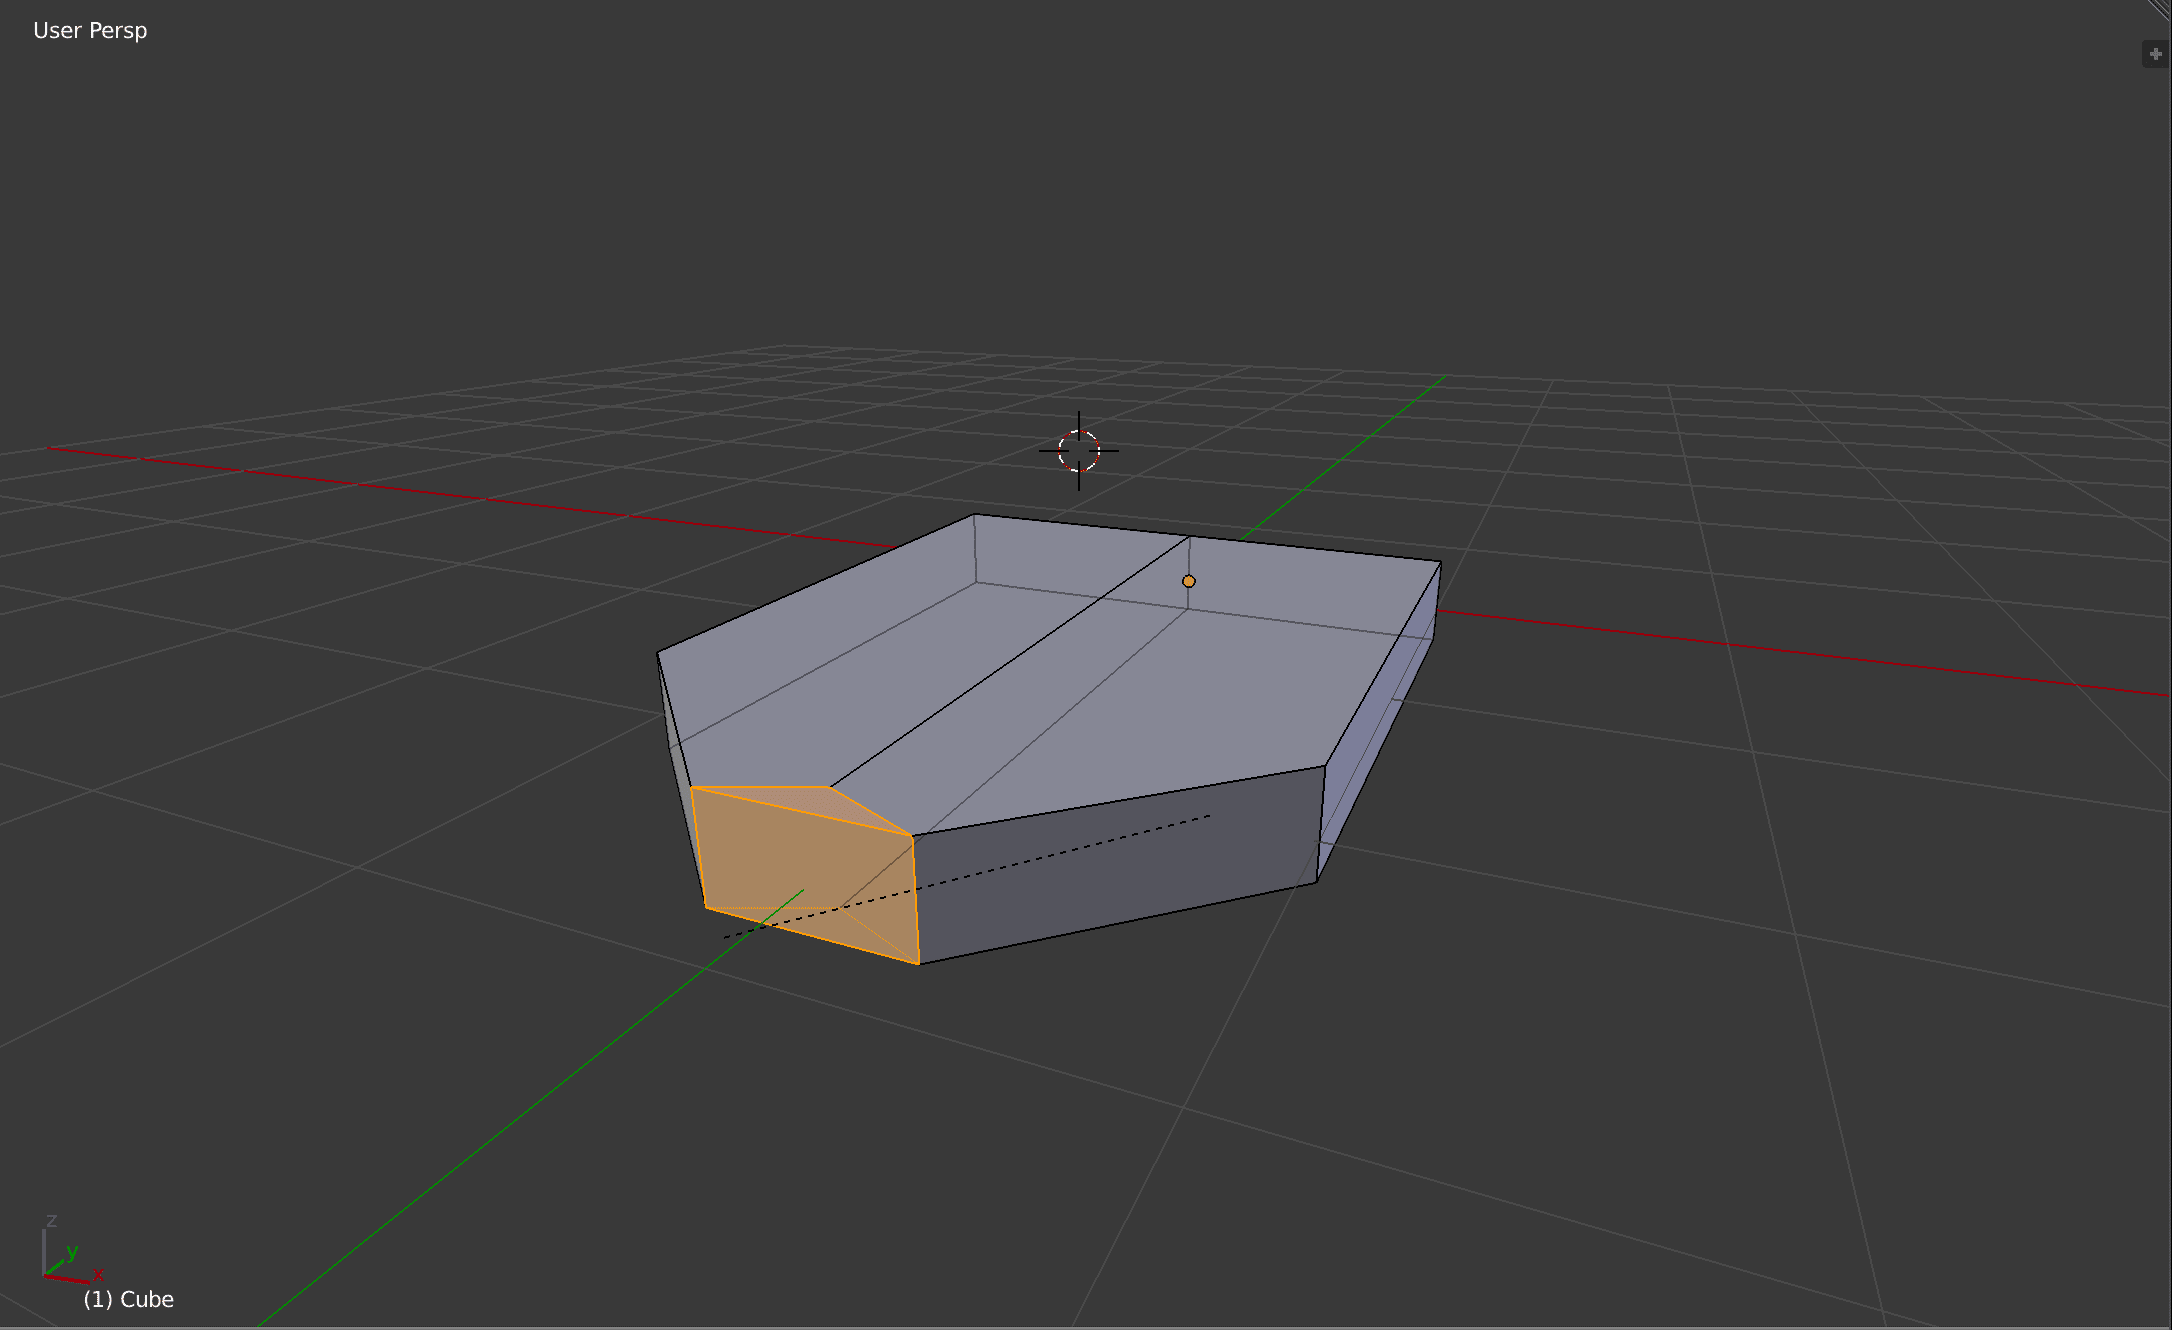
Now I can sroll up to add more edges to have a smoother bevel.
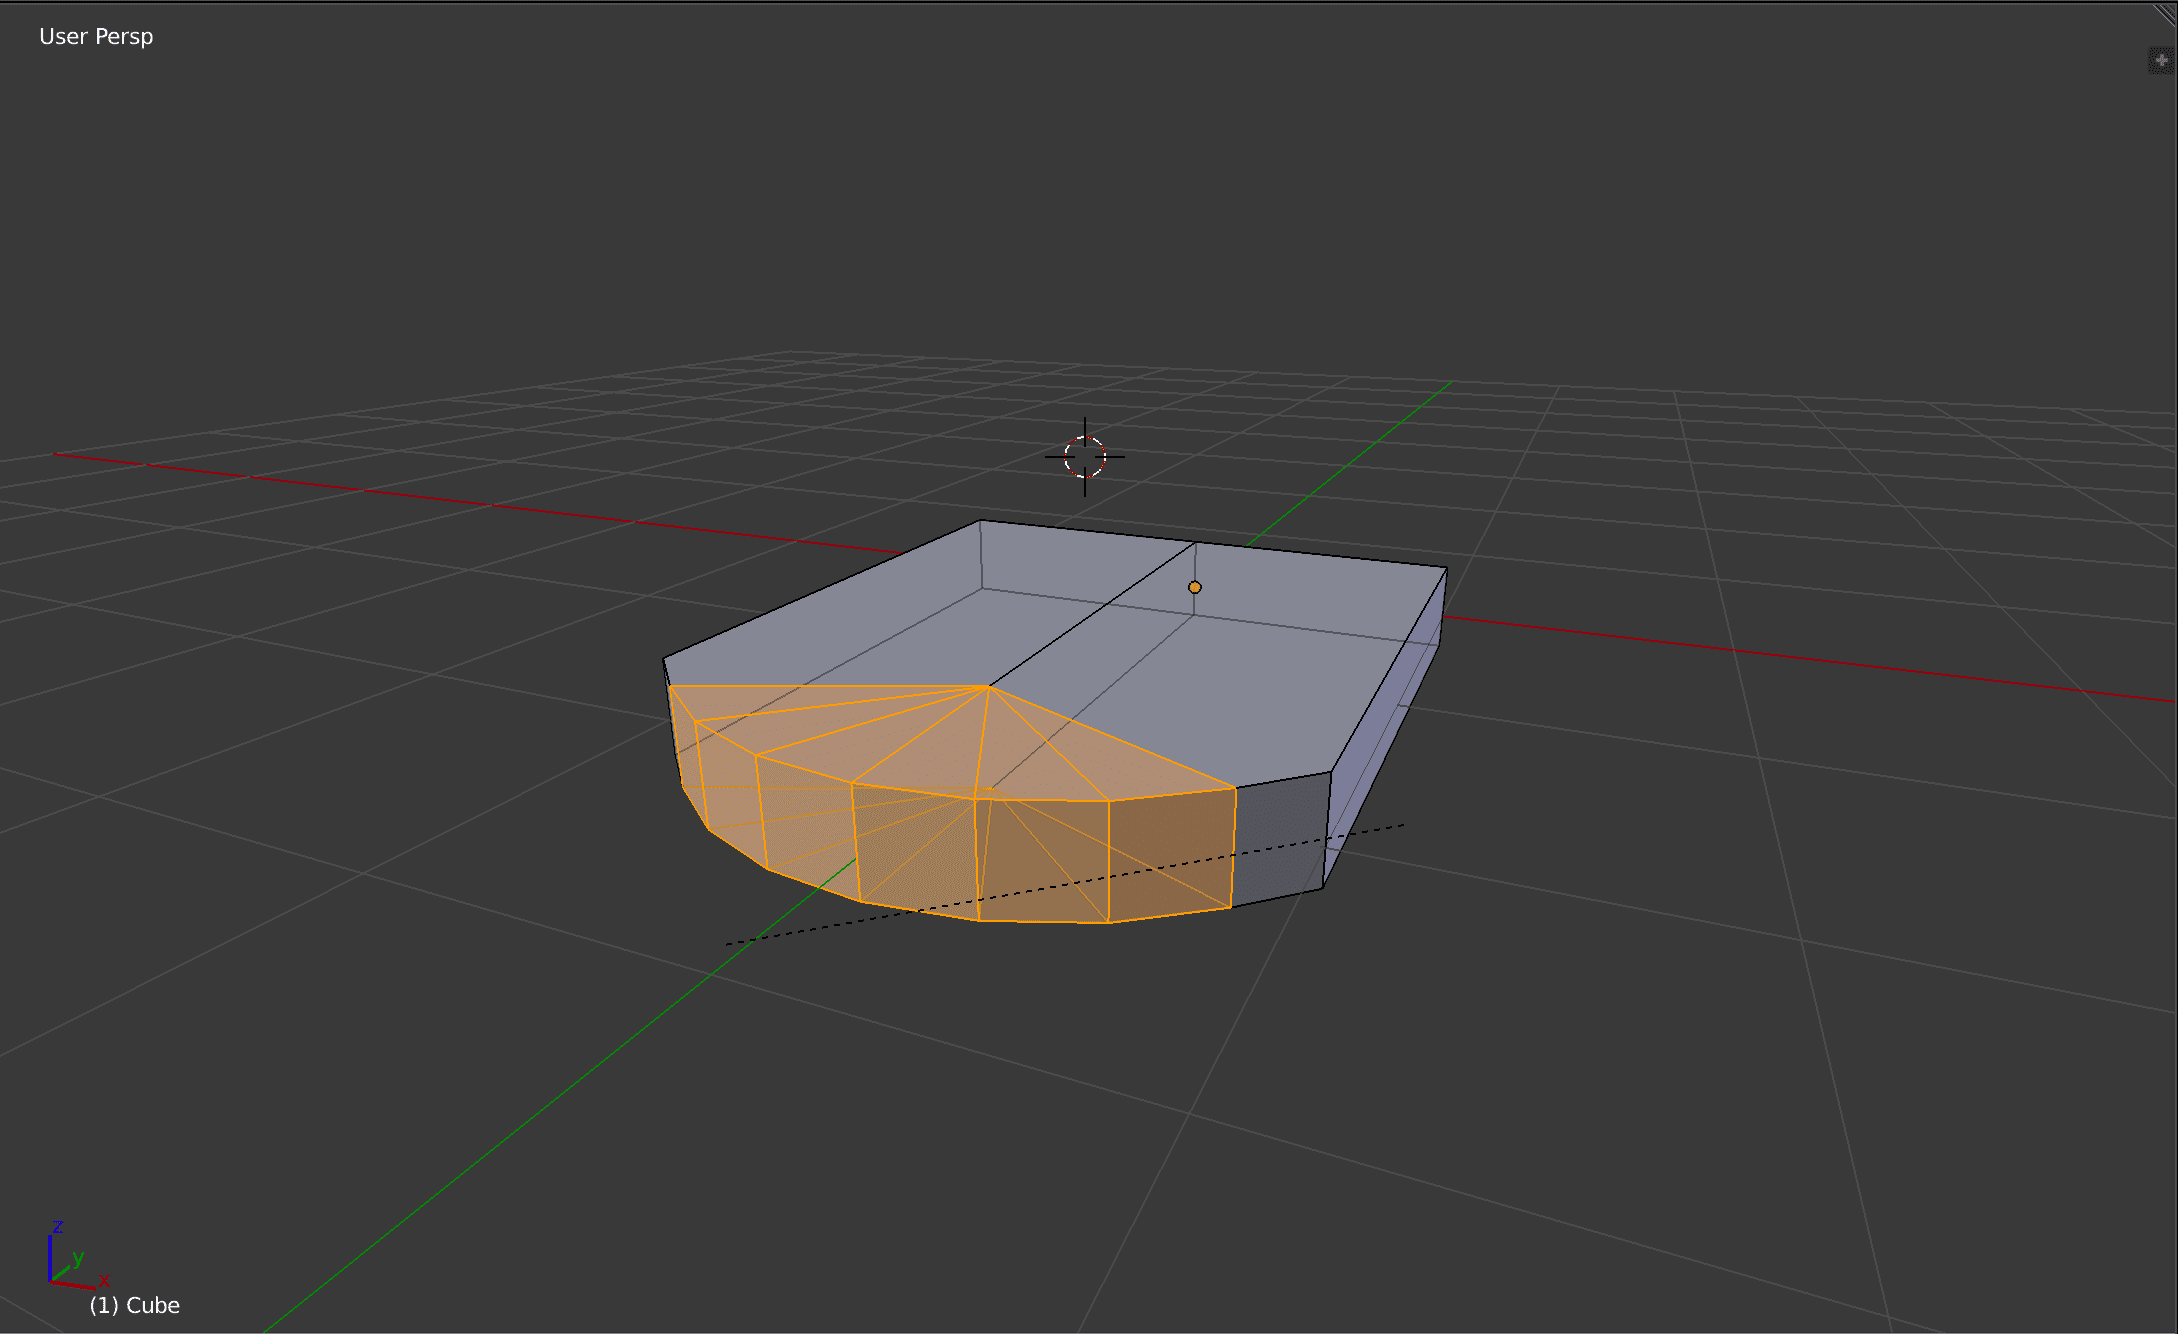
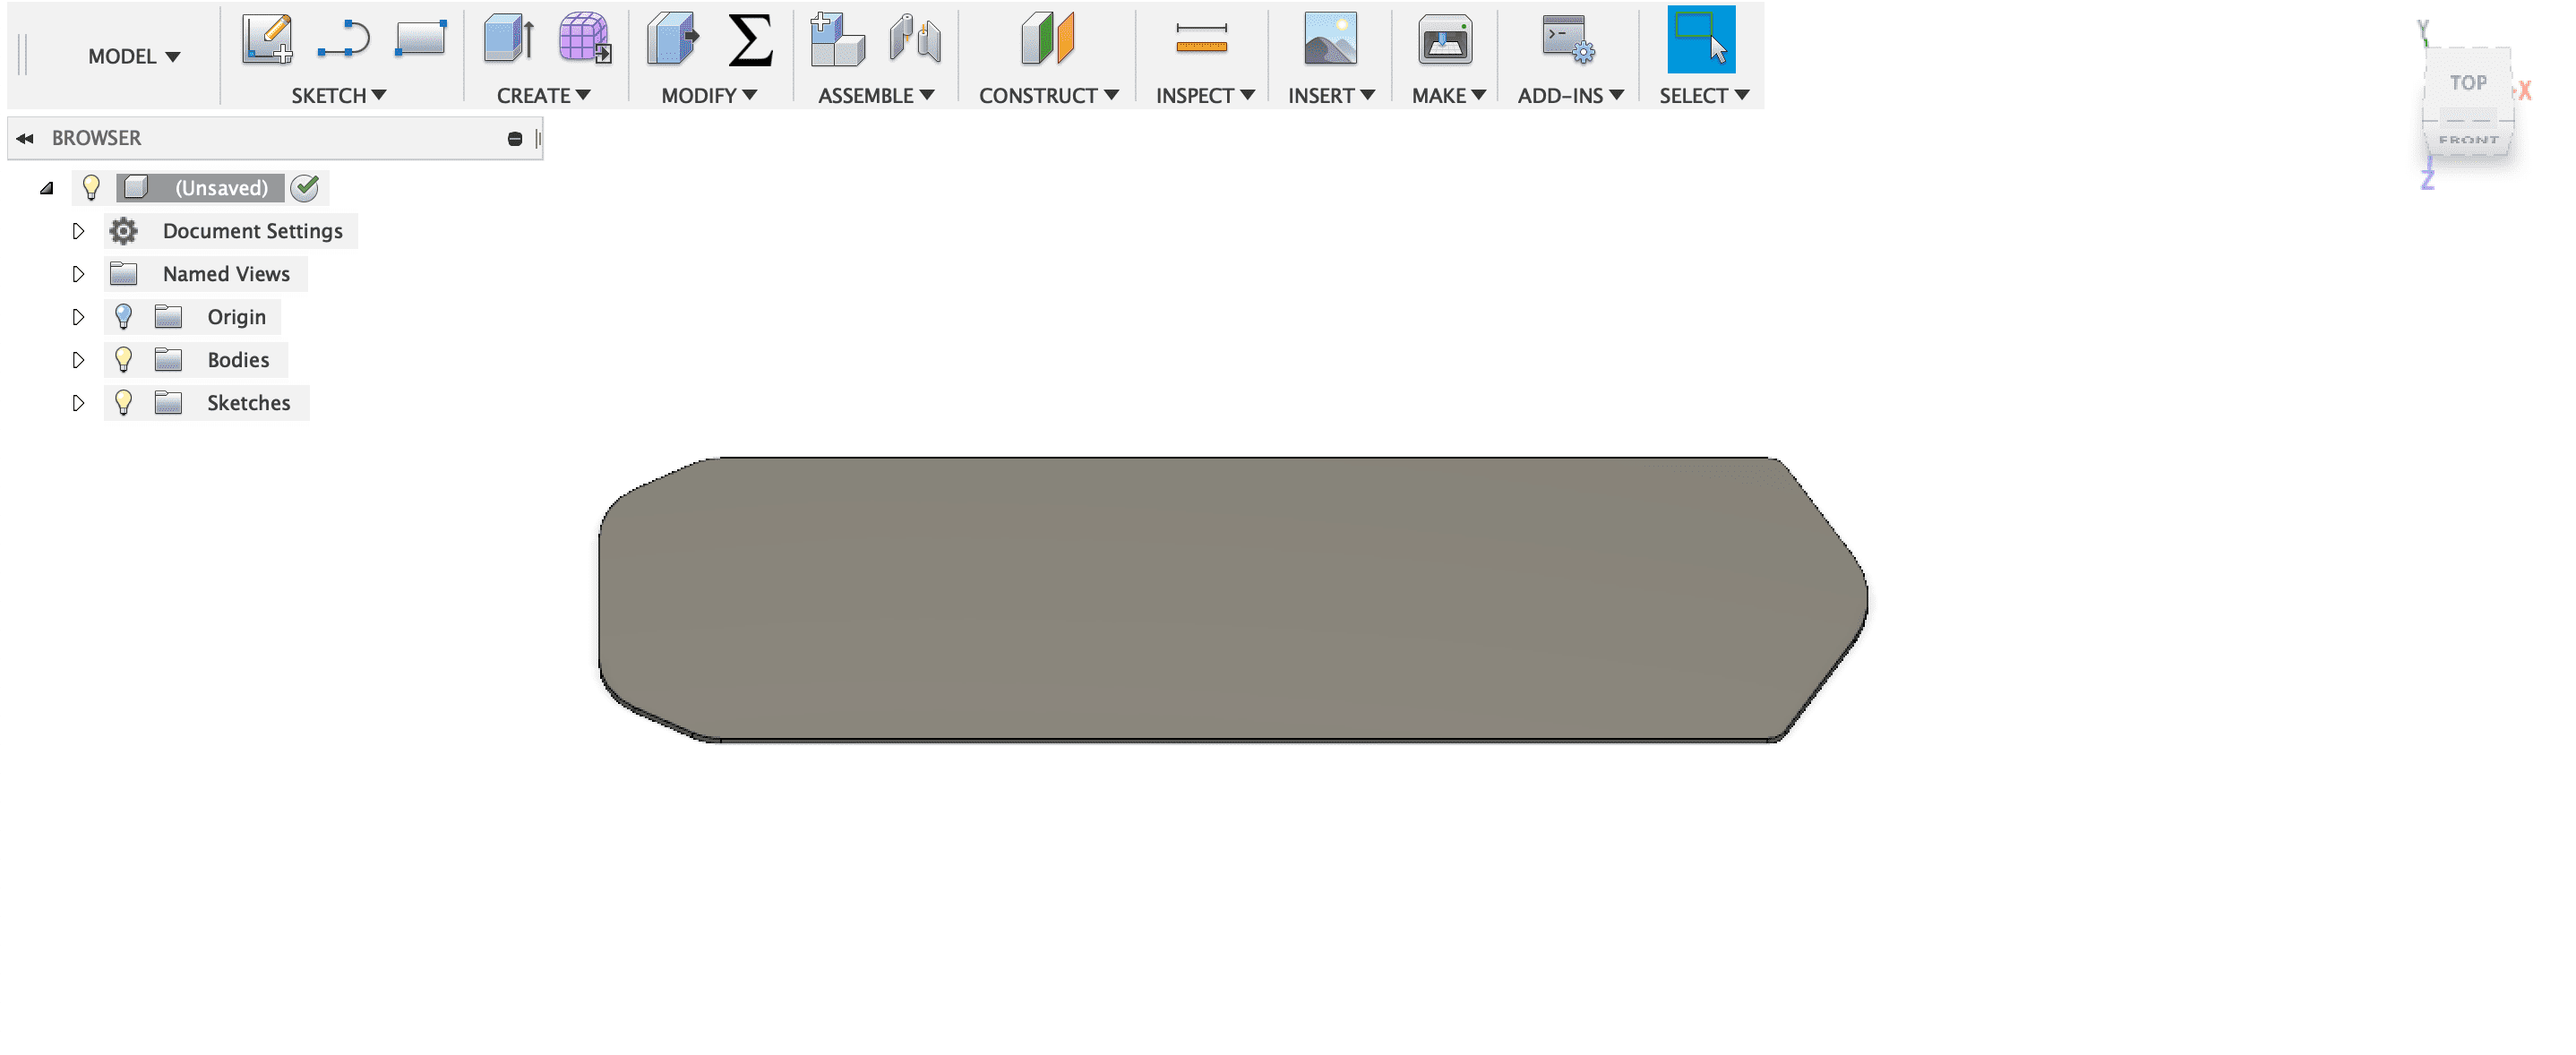
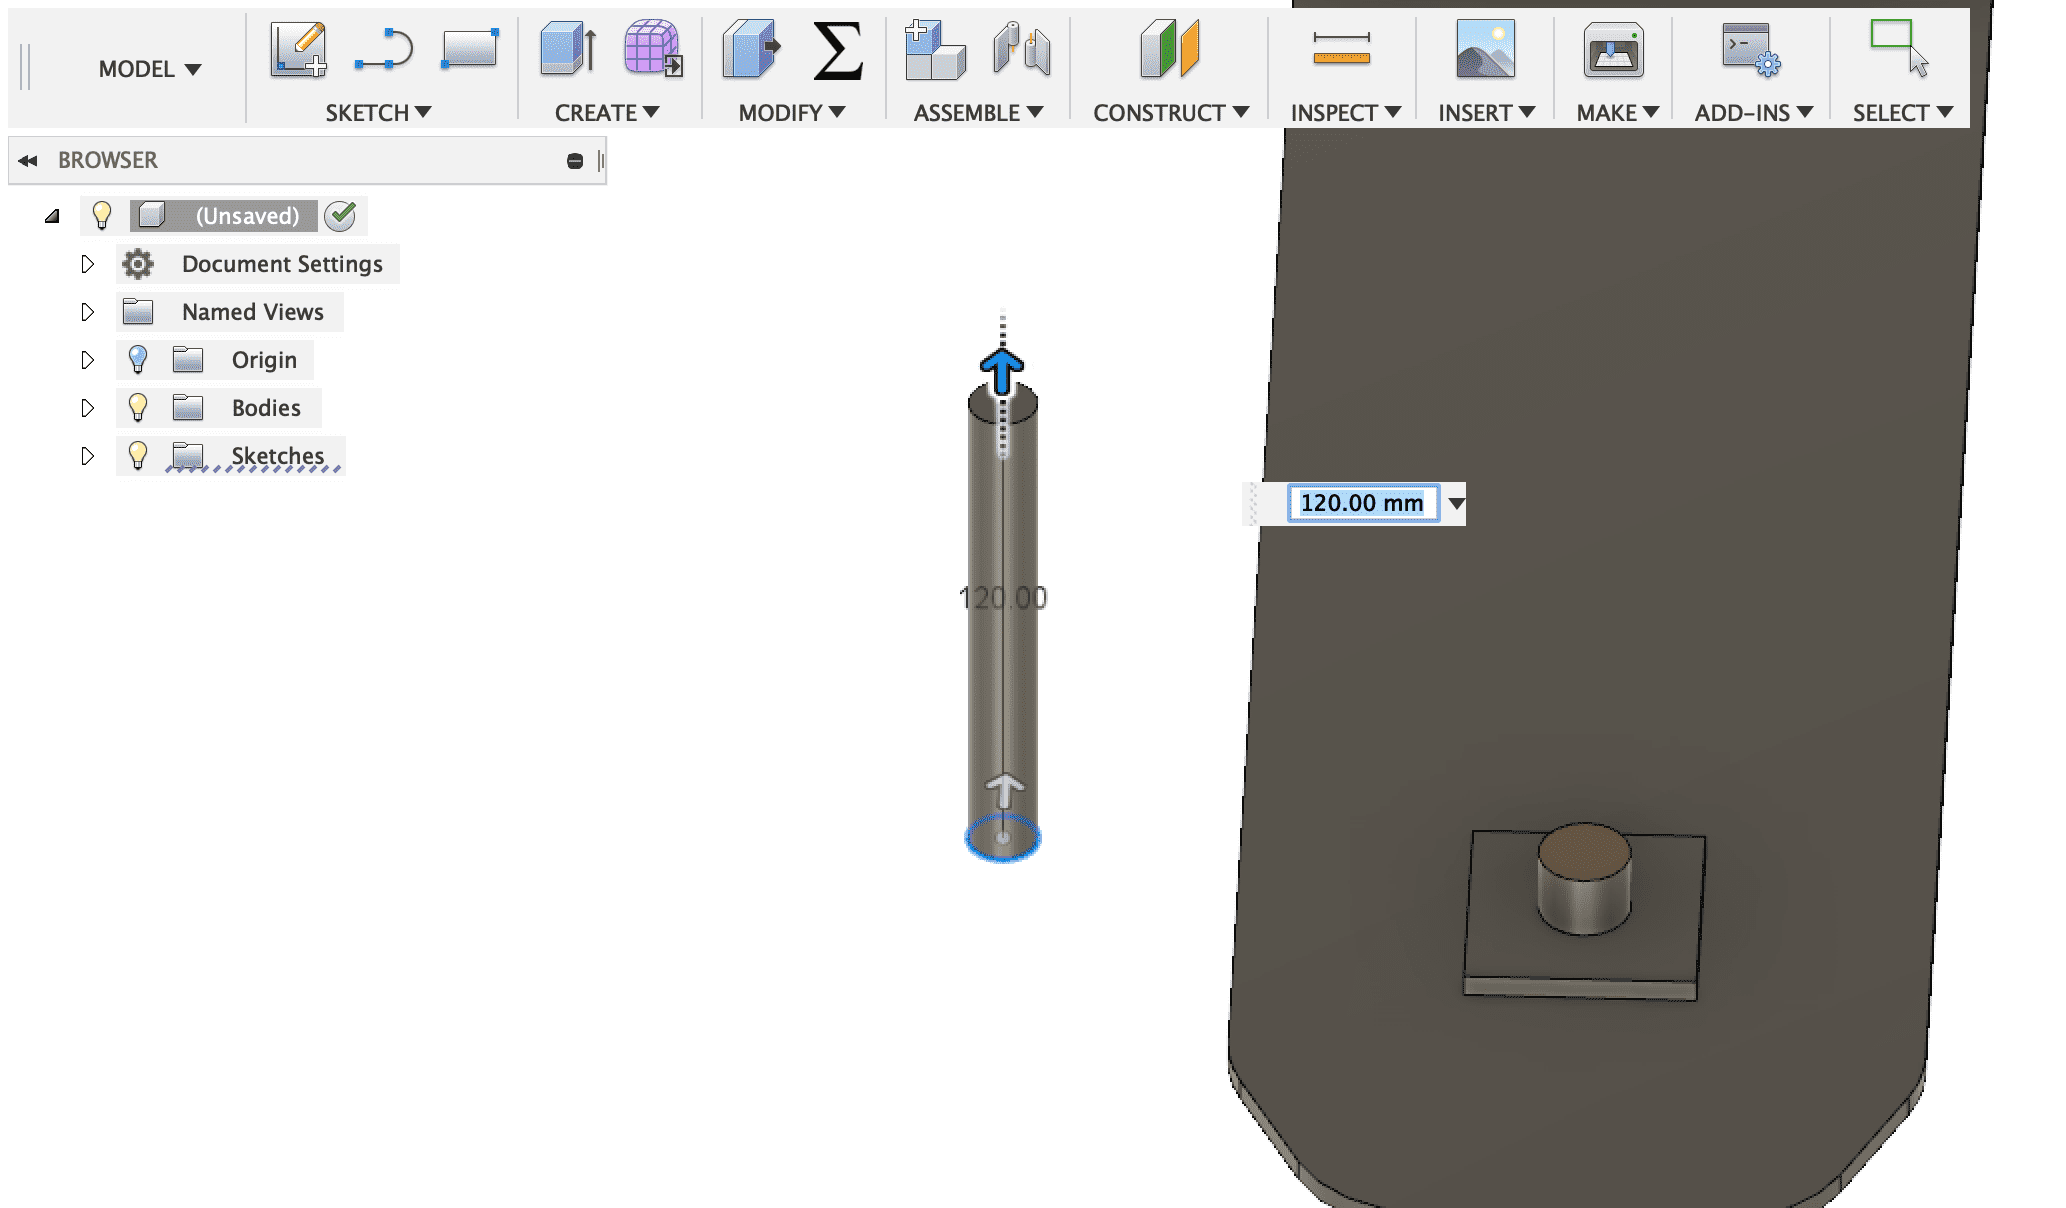
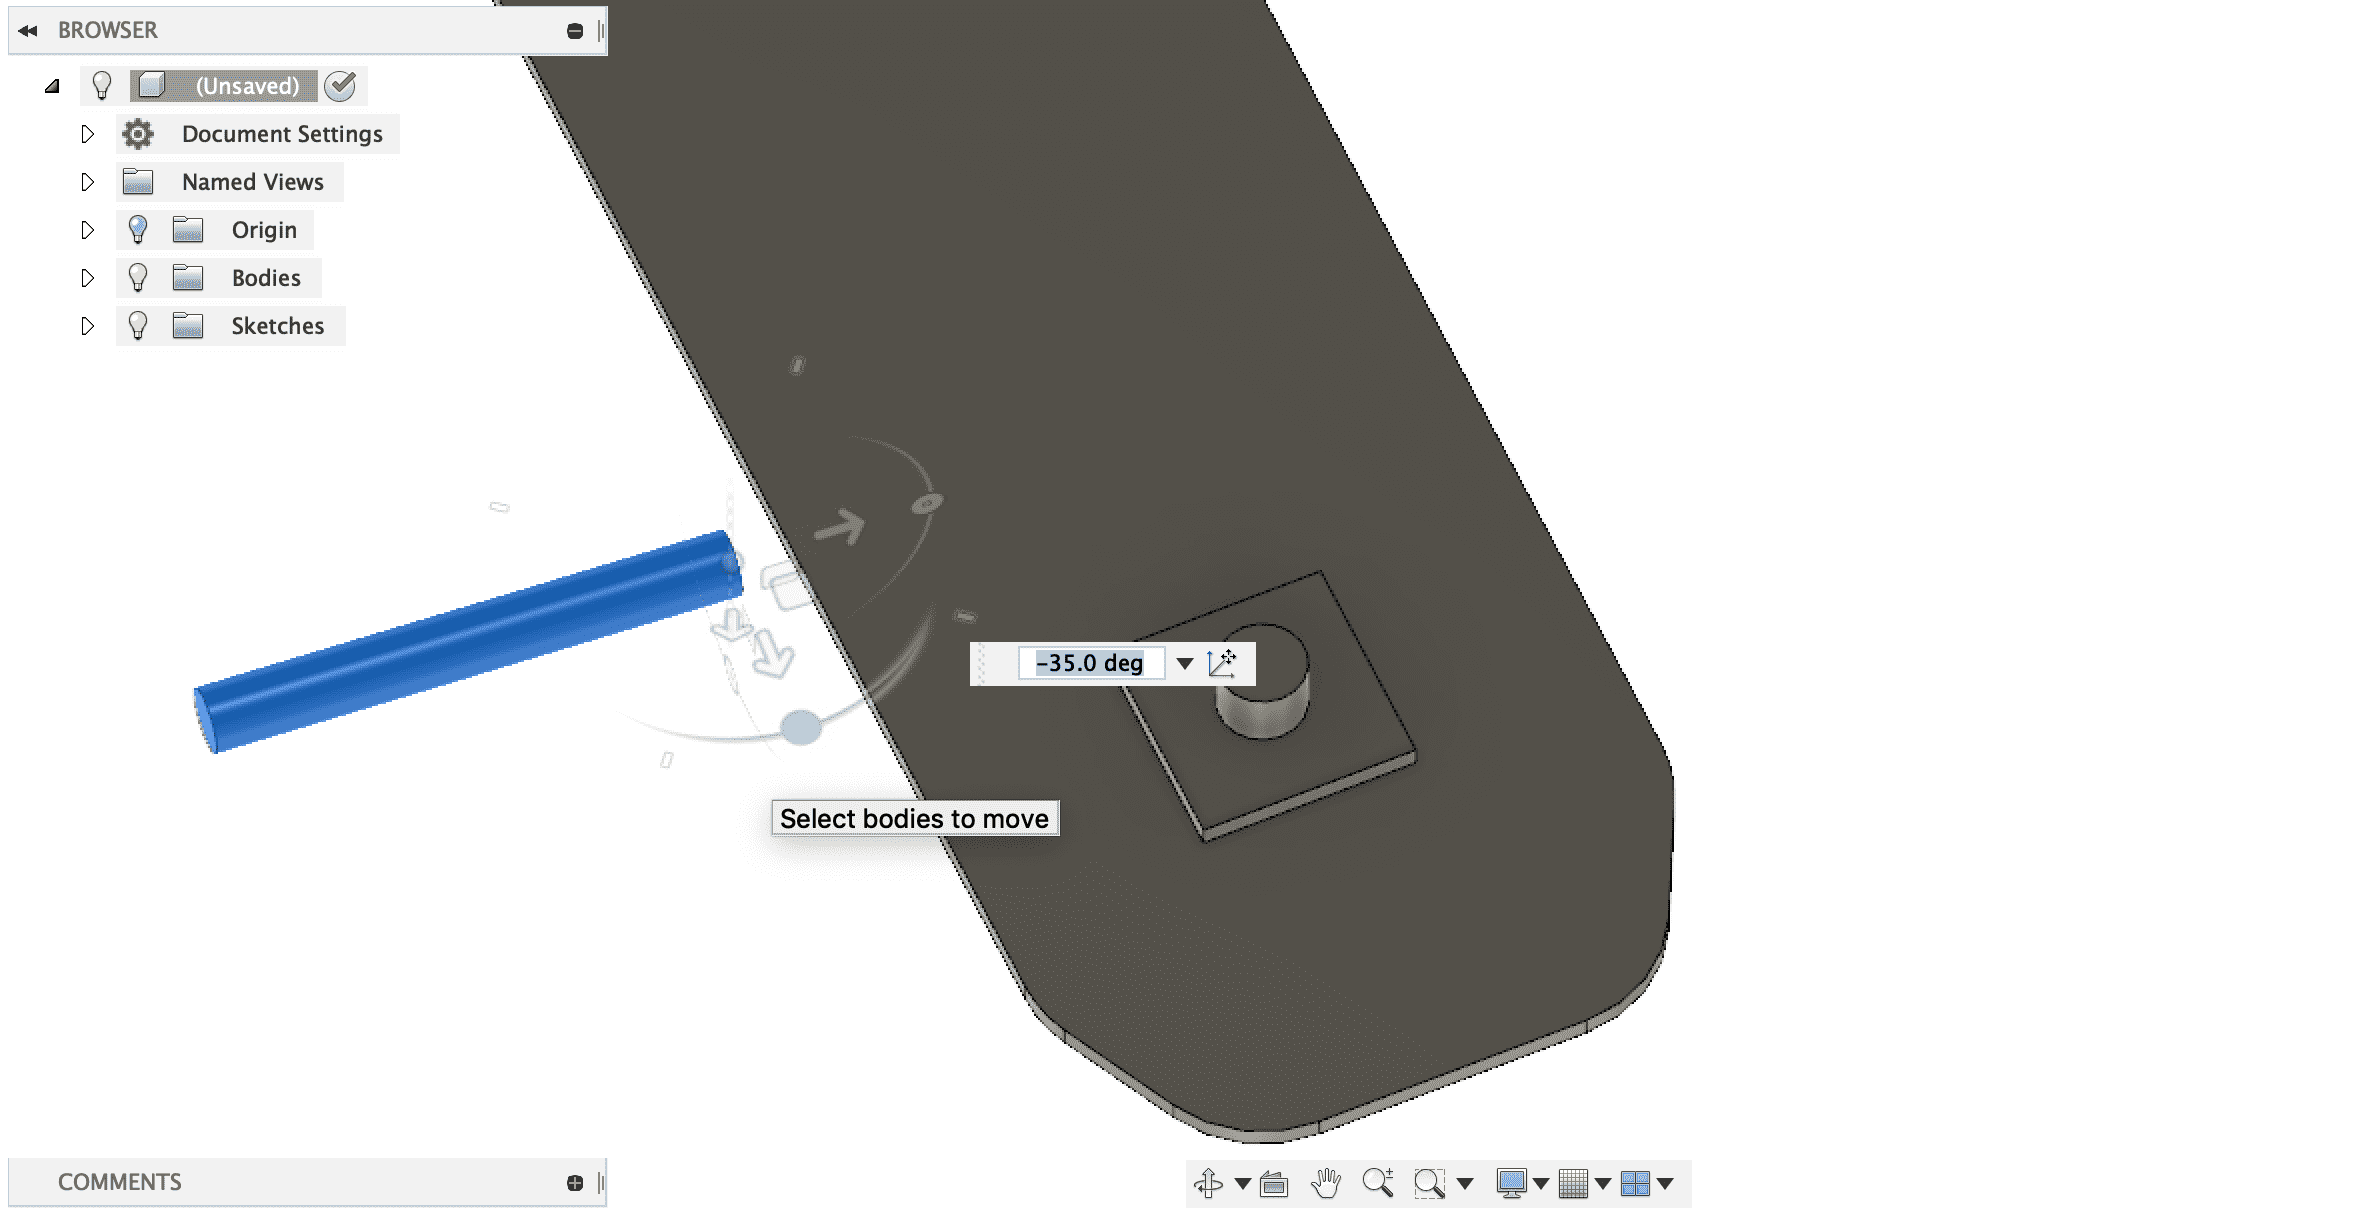
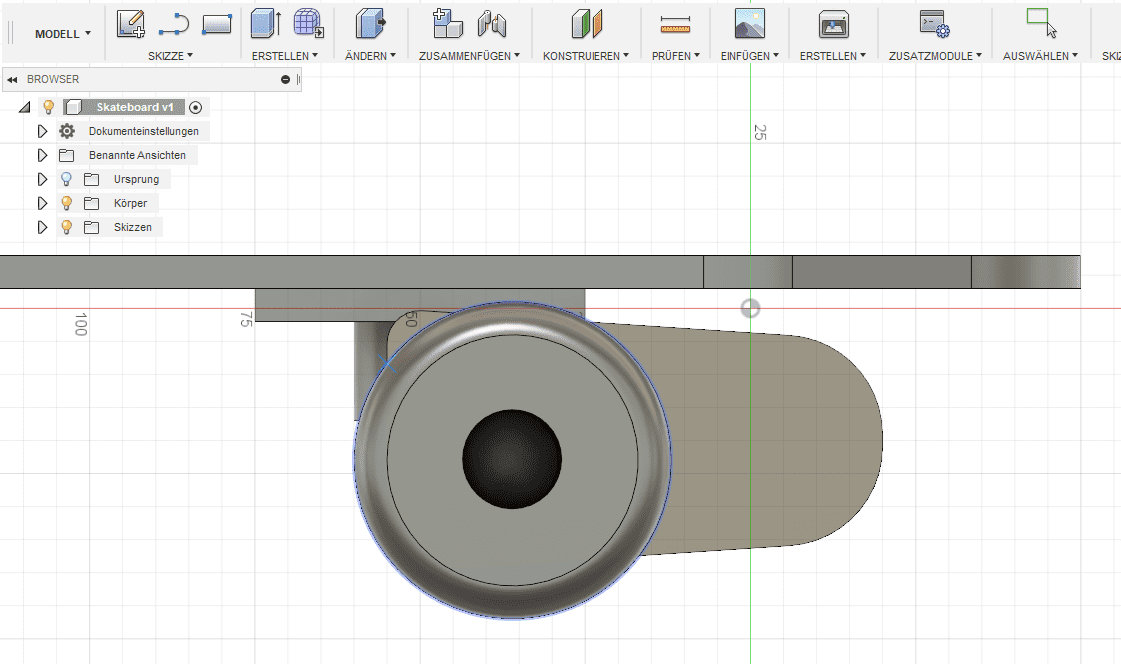
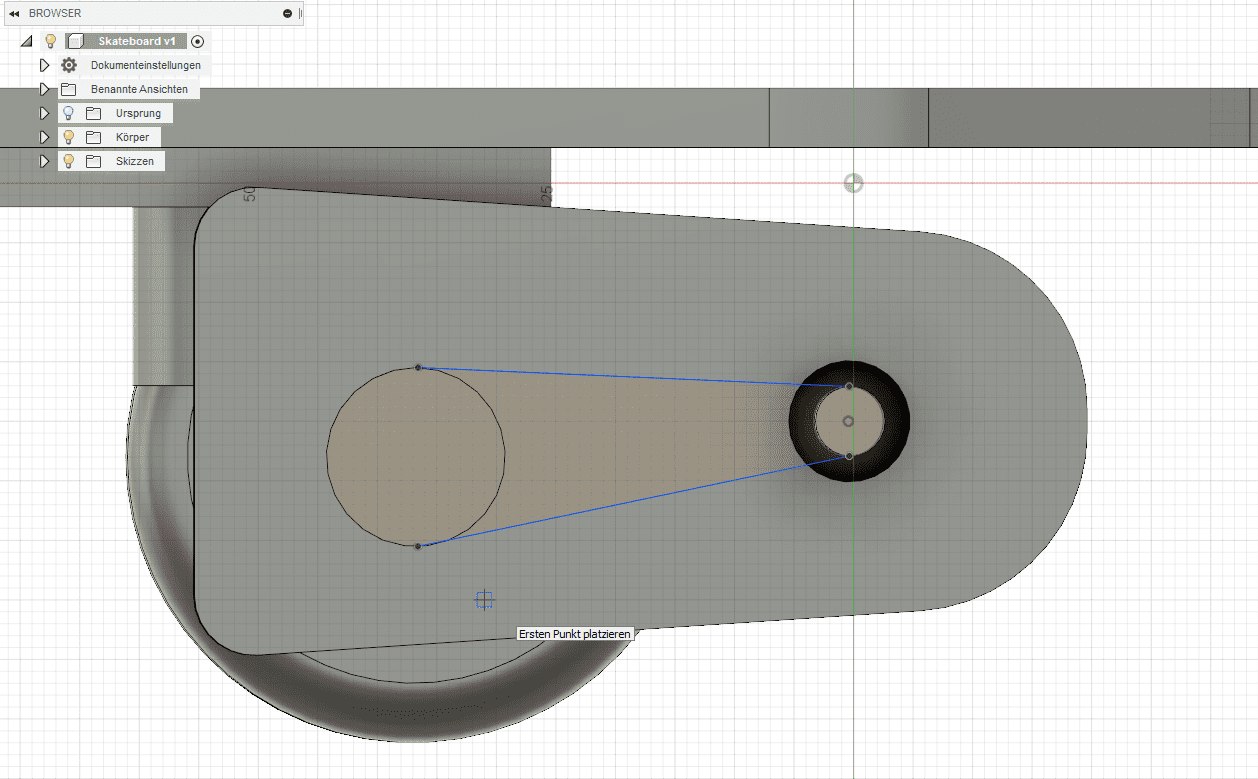
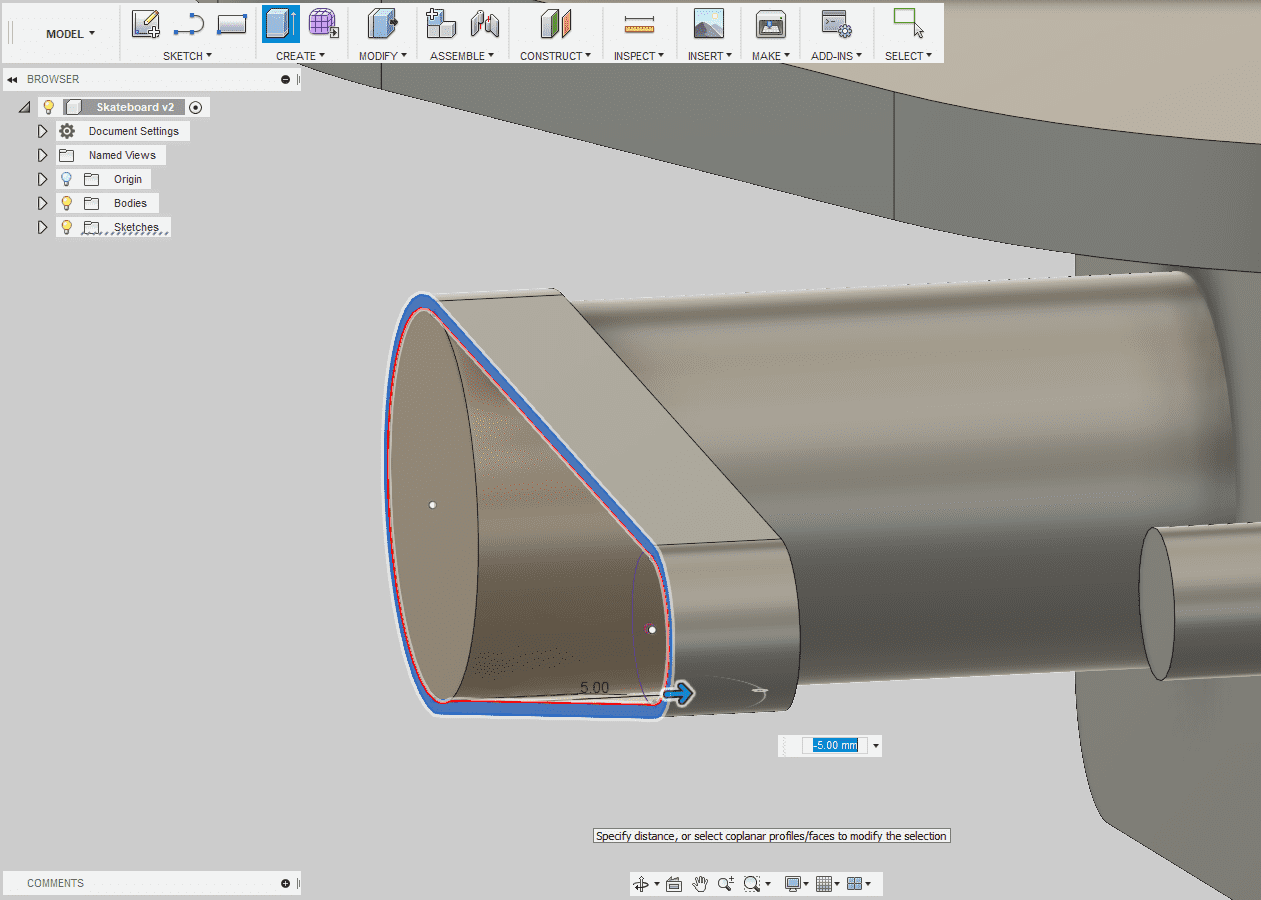
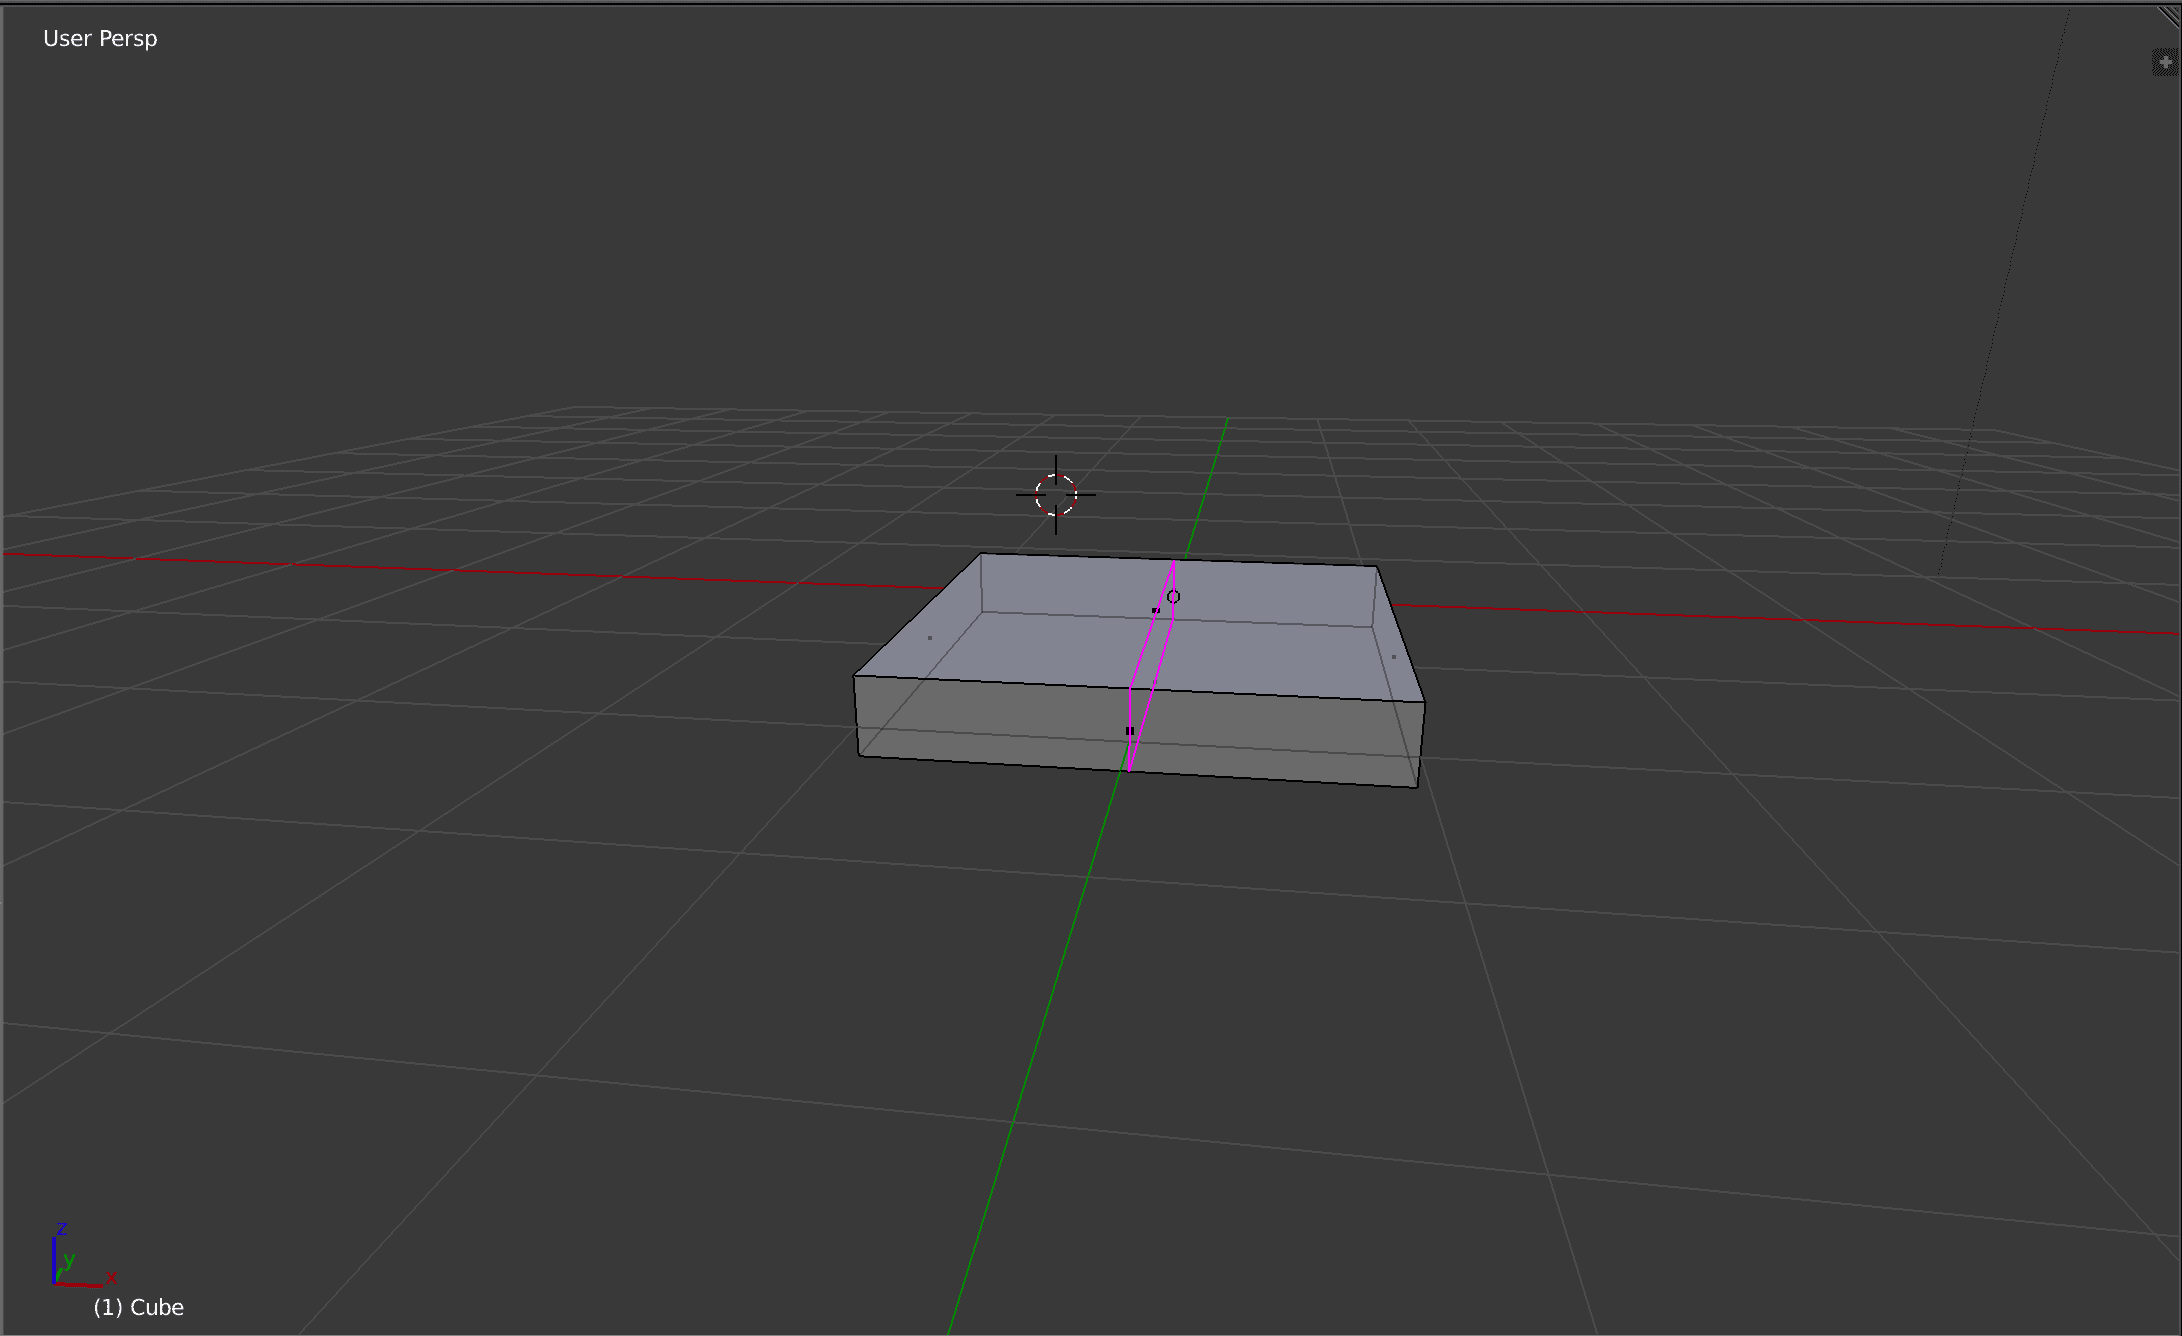
Then I will adjust the edges of the skateboard, so thst it will look more like a skateboard
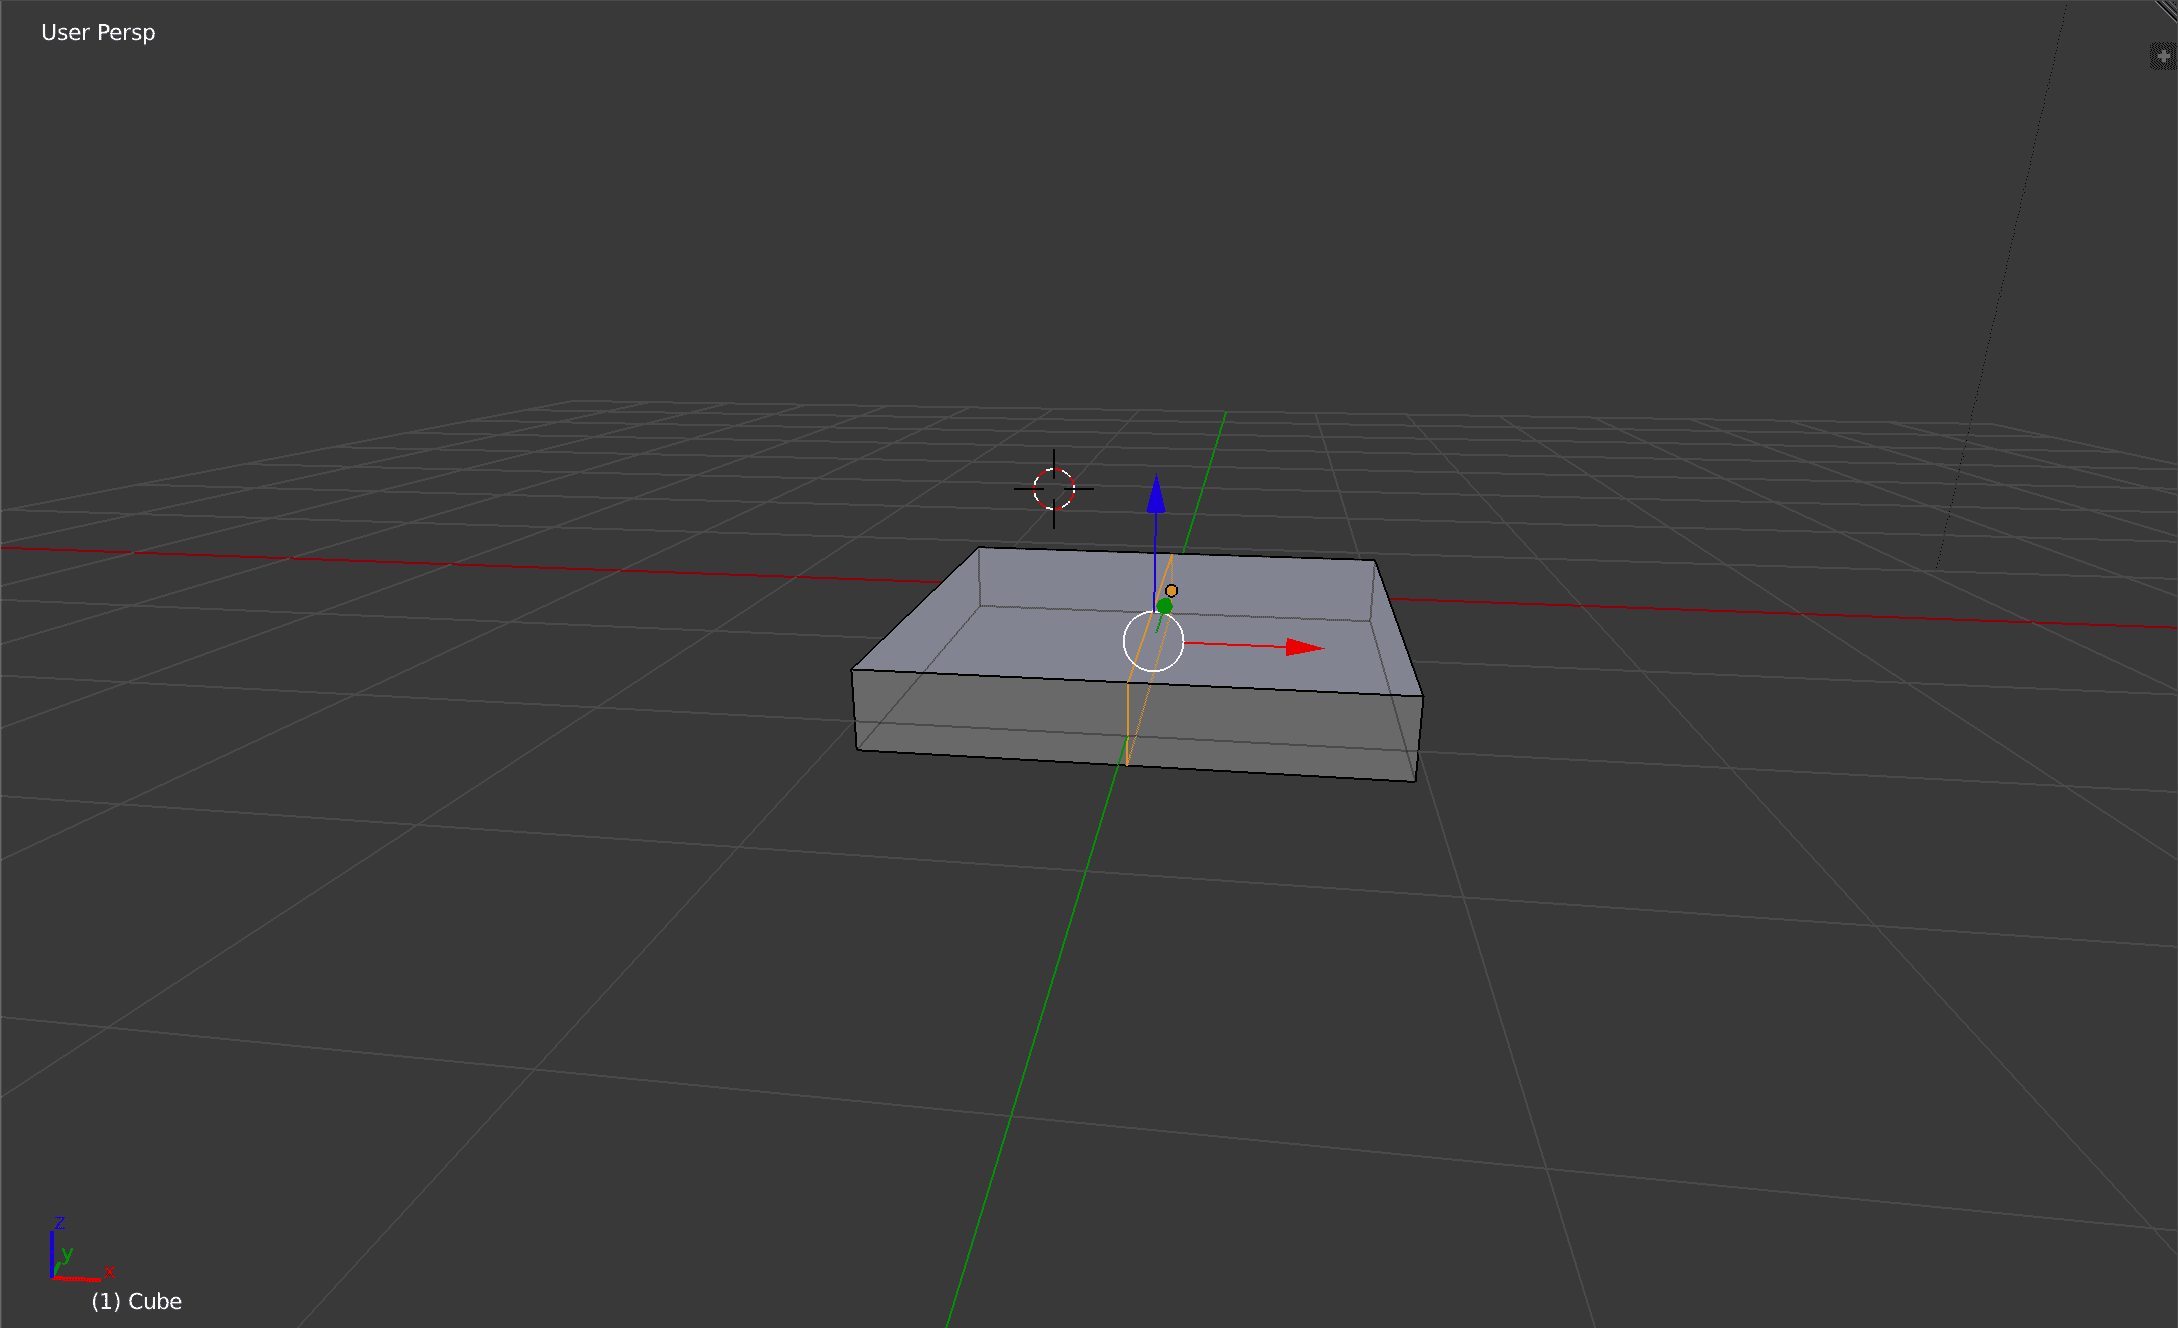
But this is only the half of the model, I will create the other half by using a modifier. On the right bar, I can add a lot of different modifiers to my model by navigating to "add modifier".
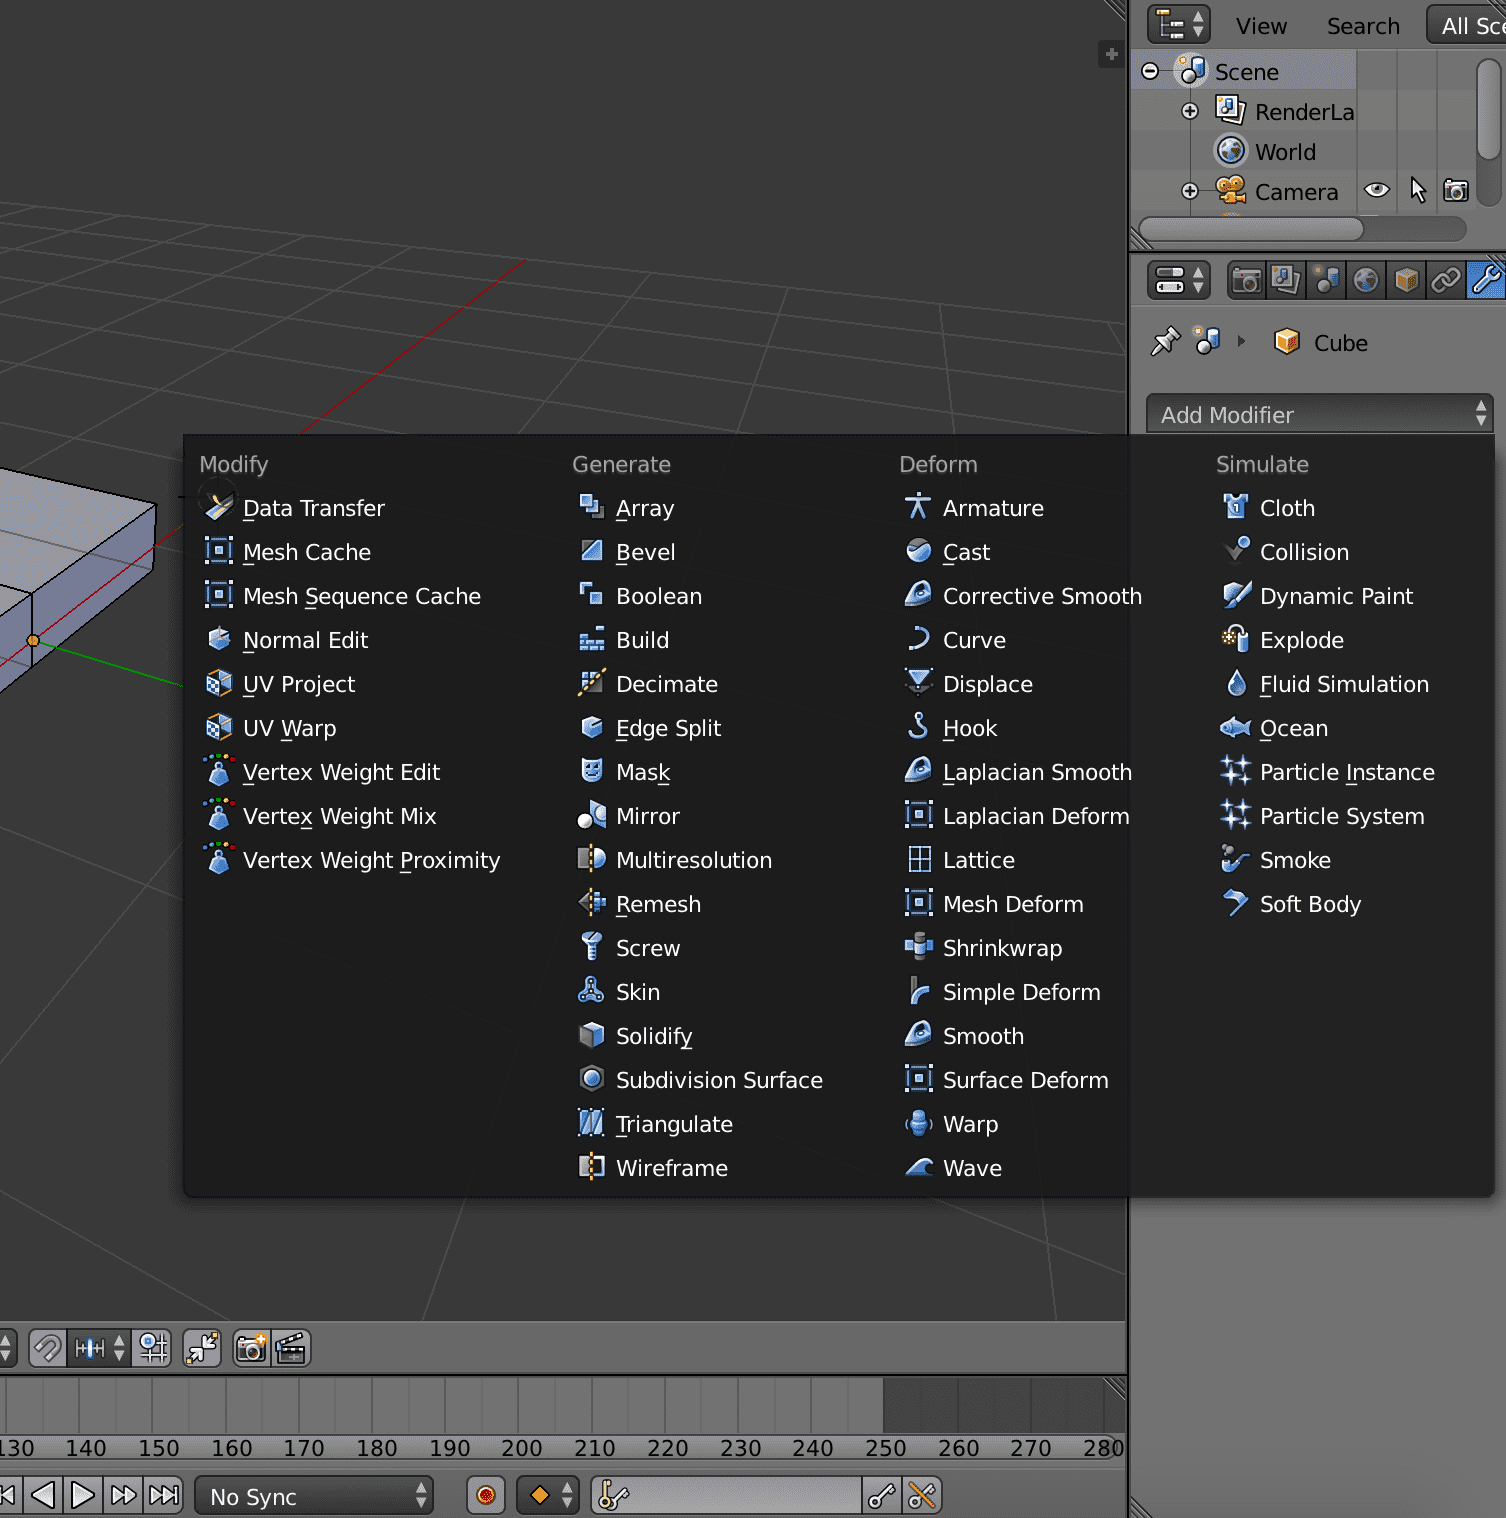
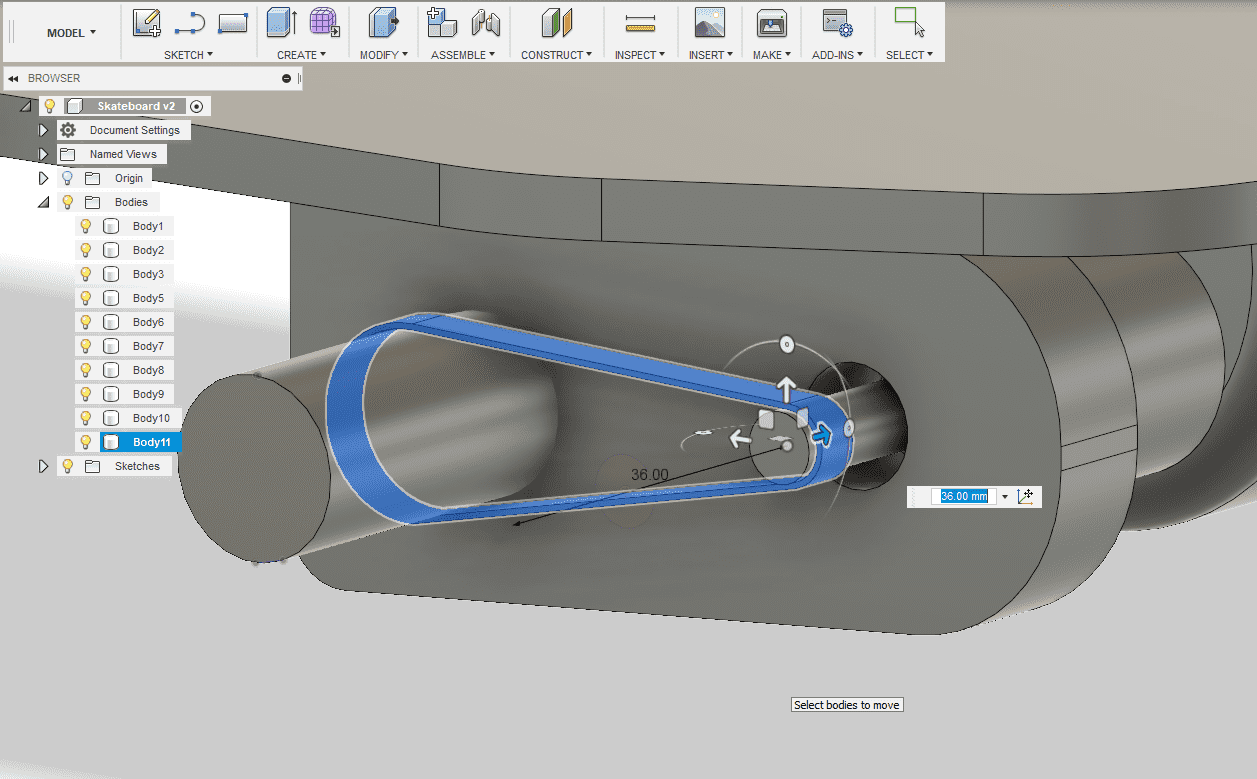
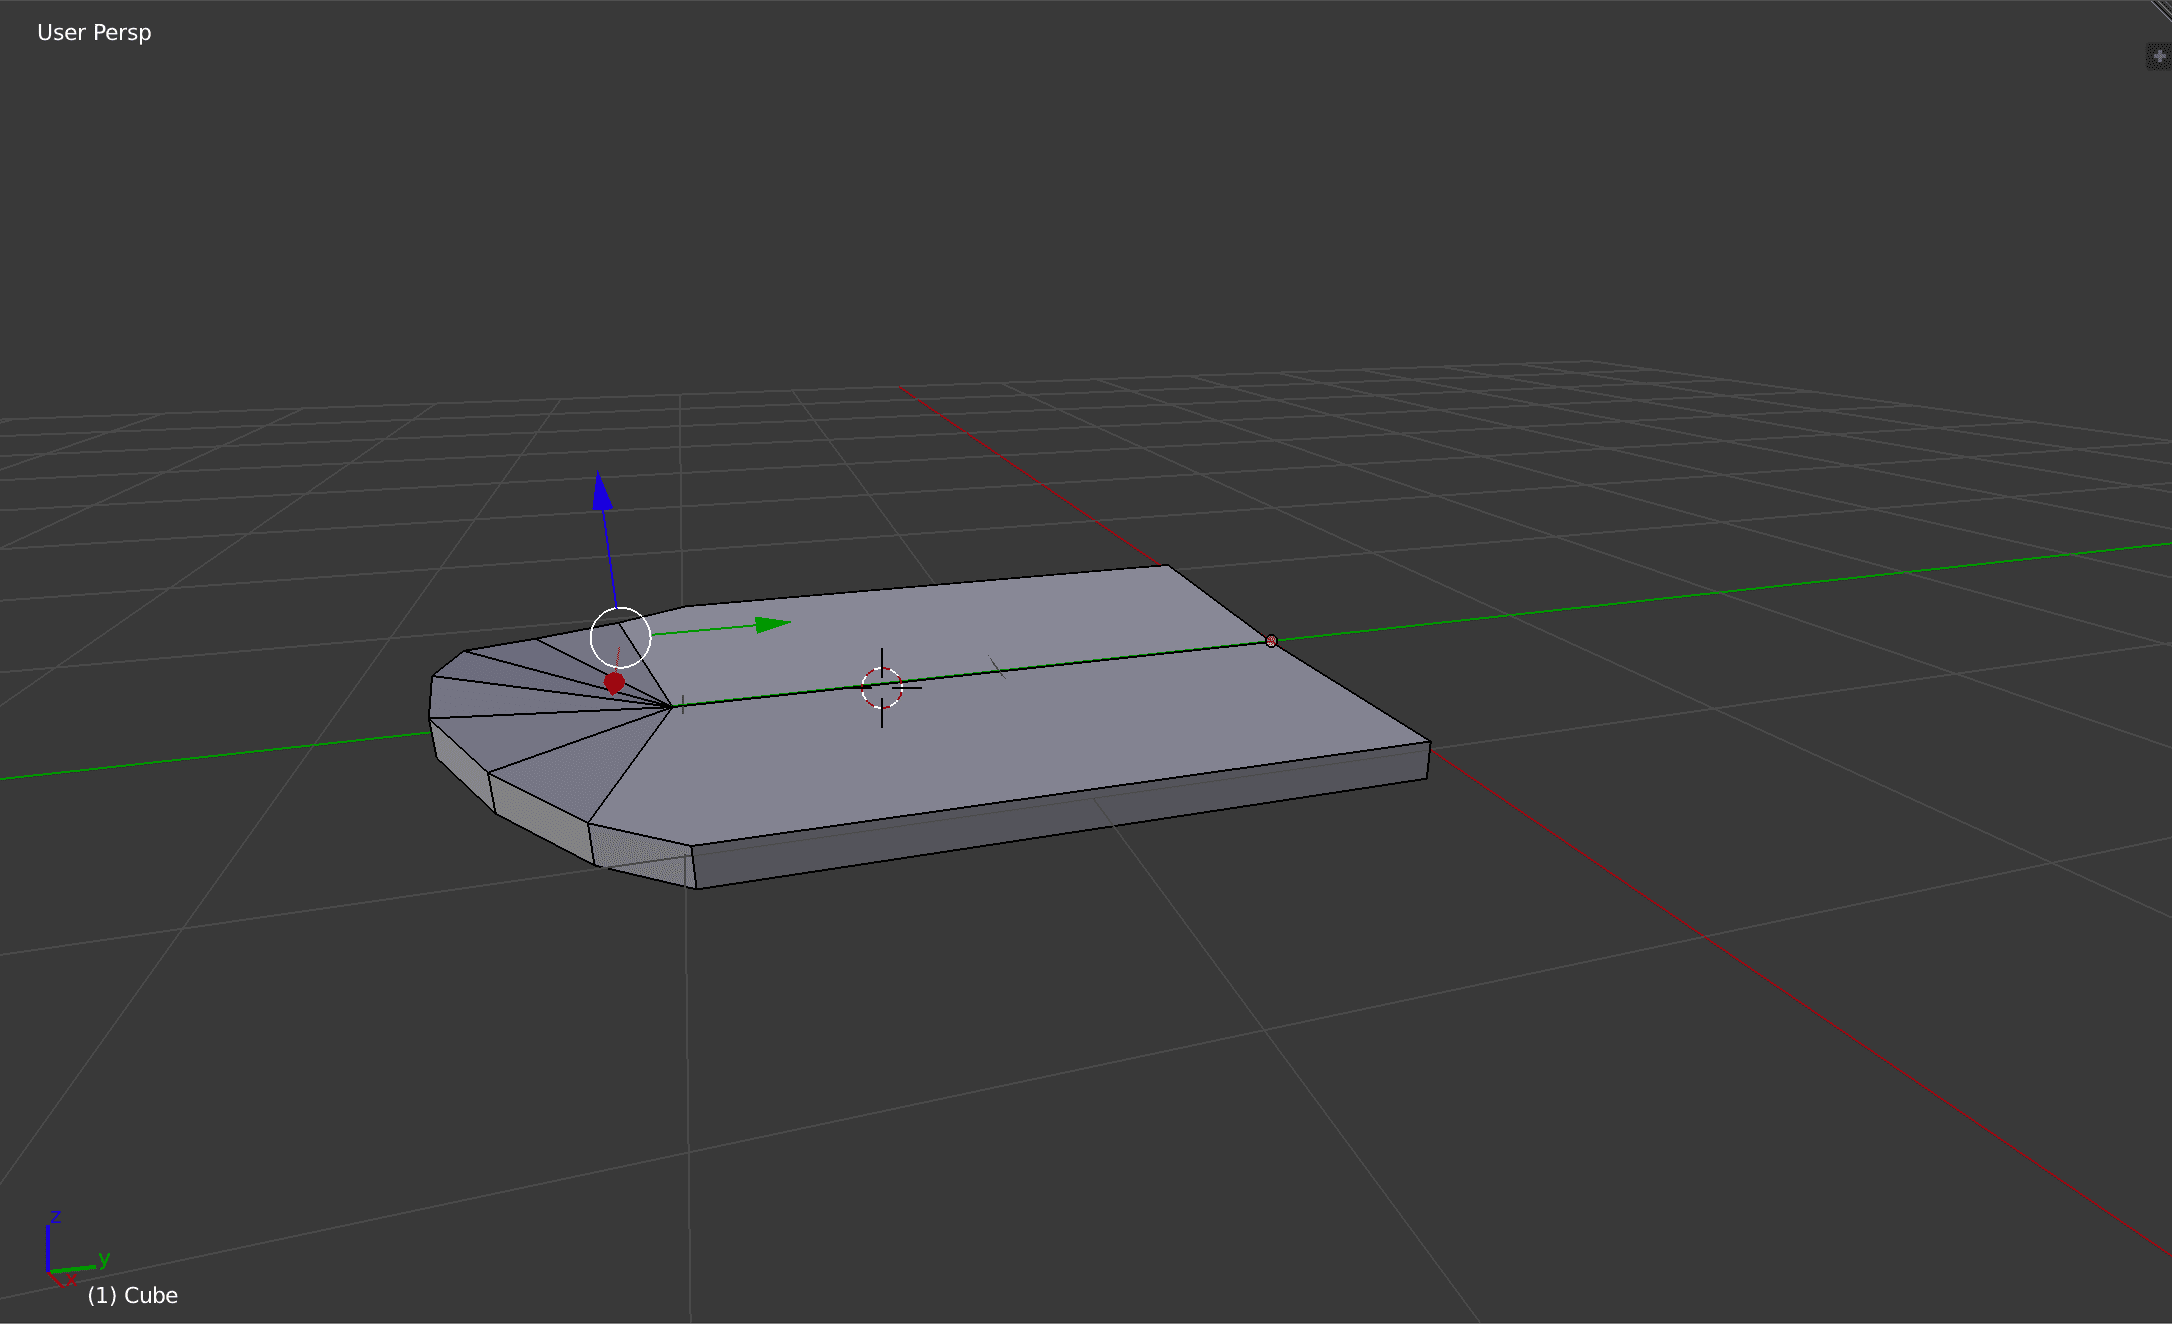
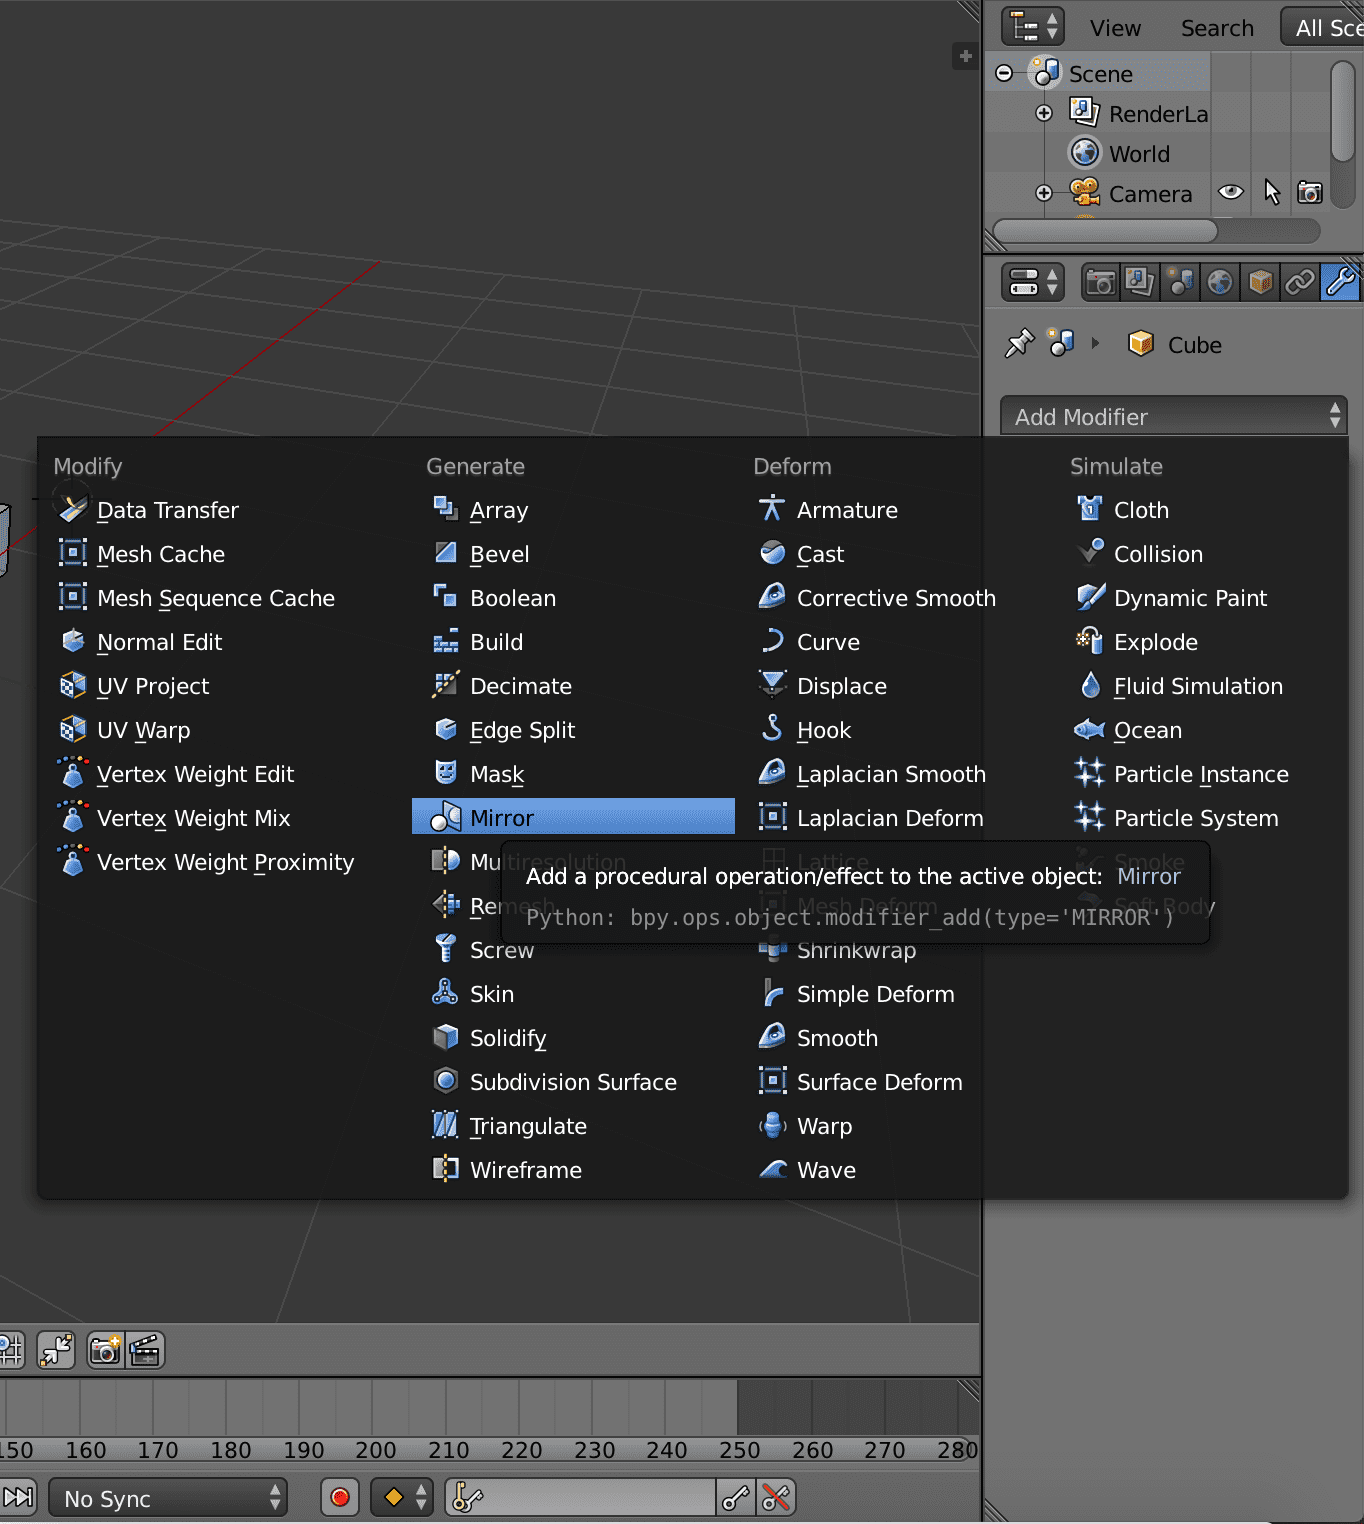
I will select the mirror modifier to mirror one side to the other.
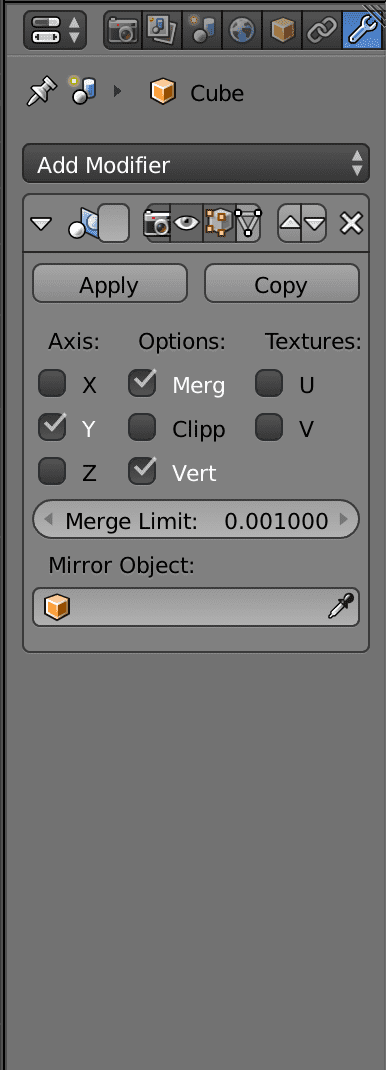
On the right side I can now change the settings of the modifier. I will have to select the right axis I want my model to be mirrored at.
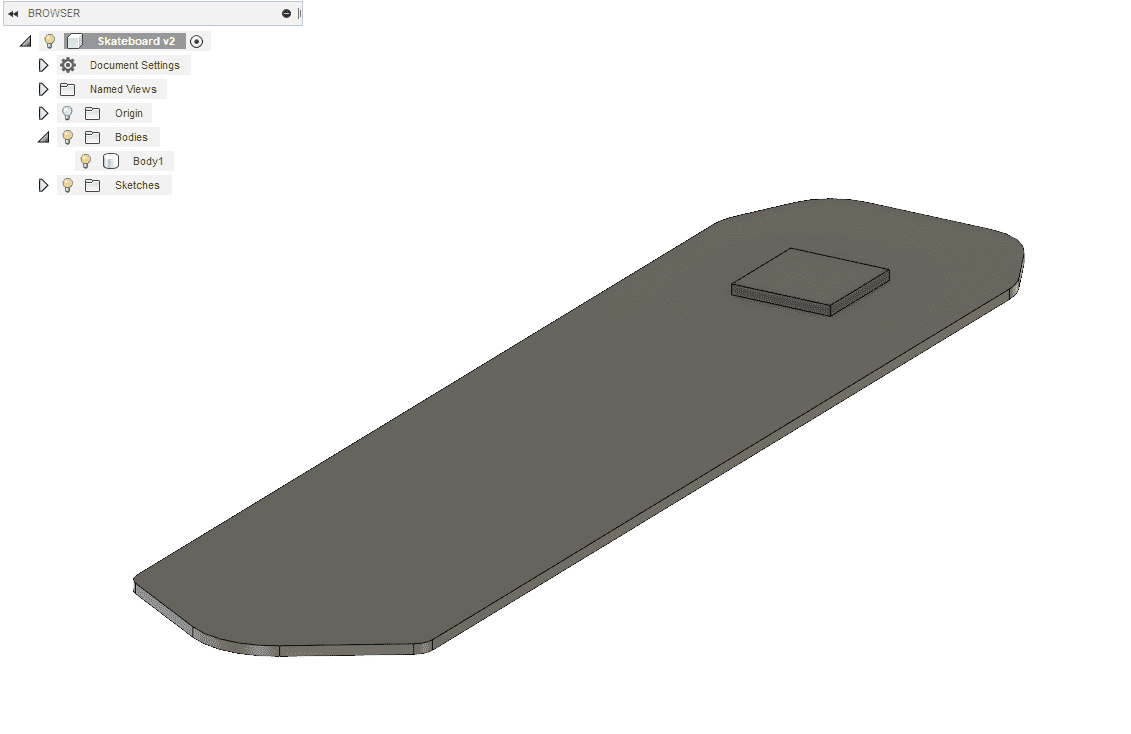
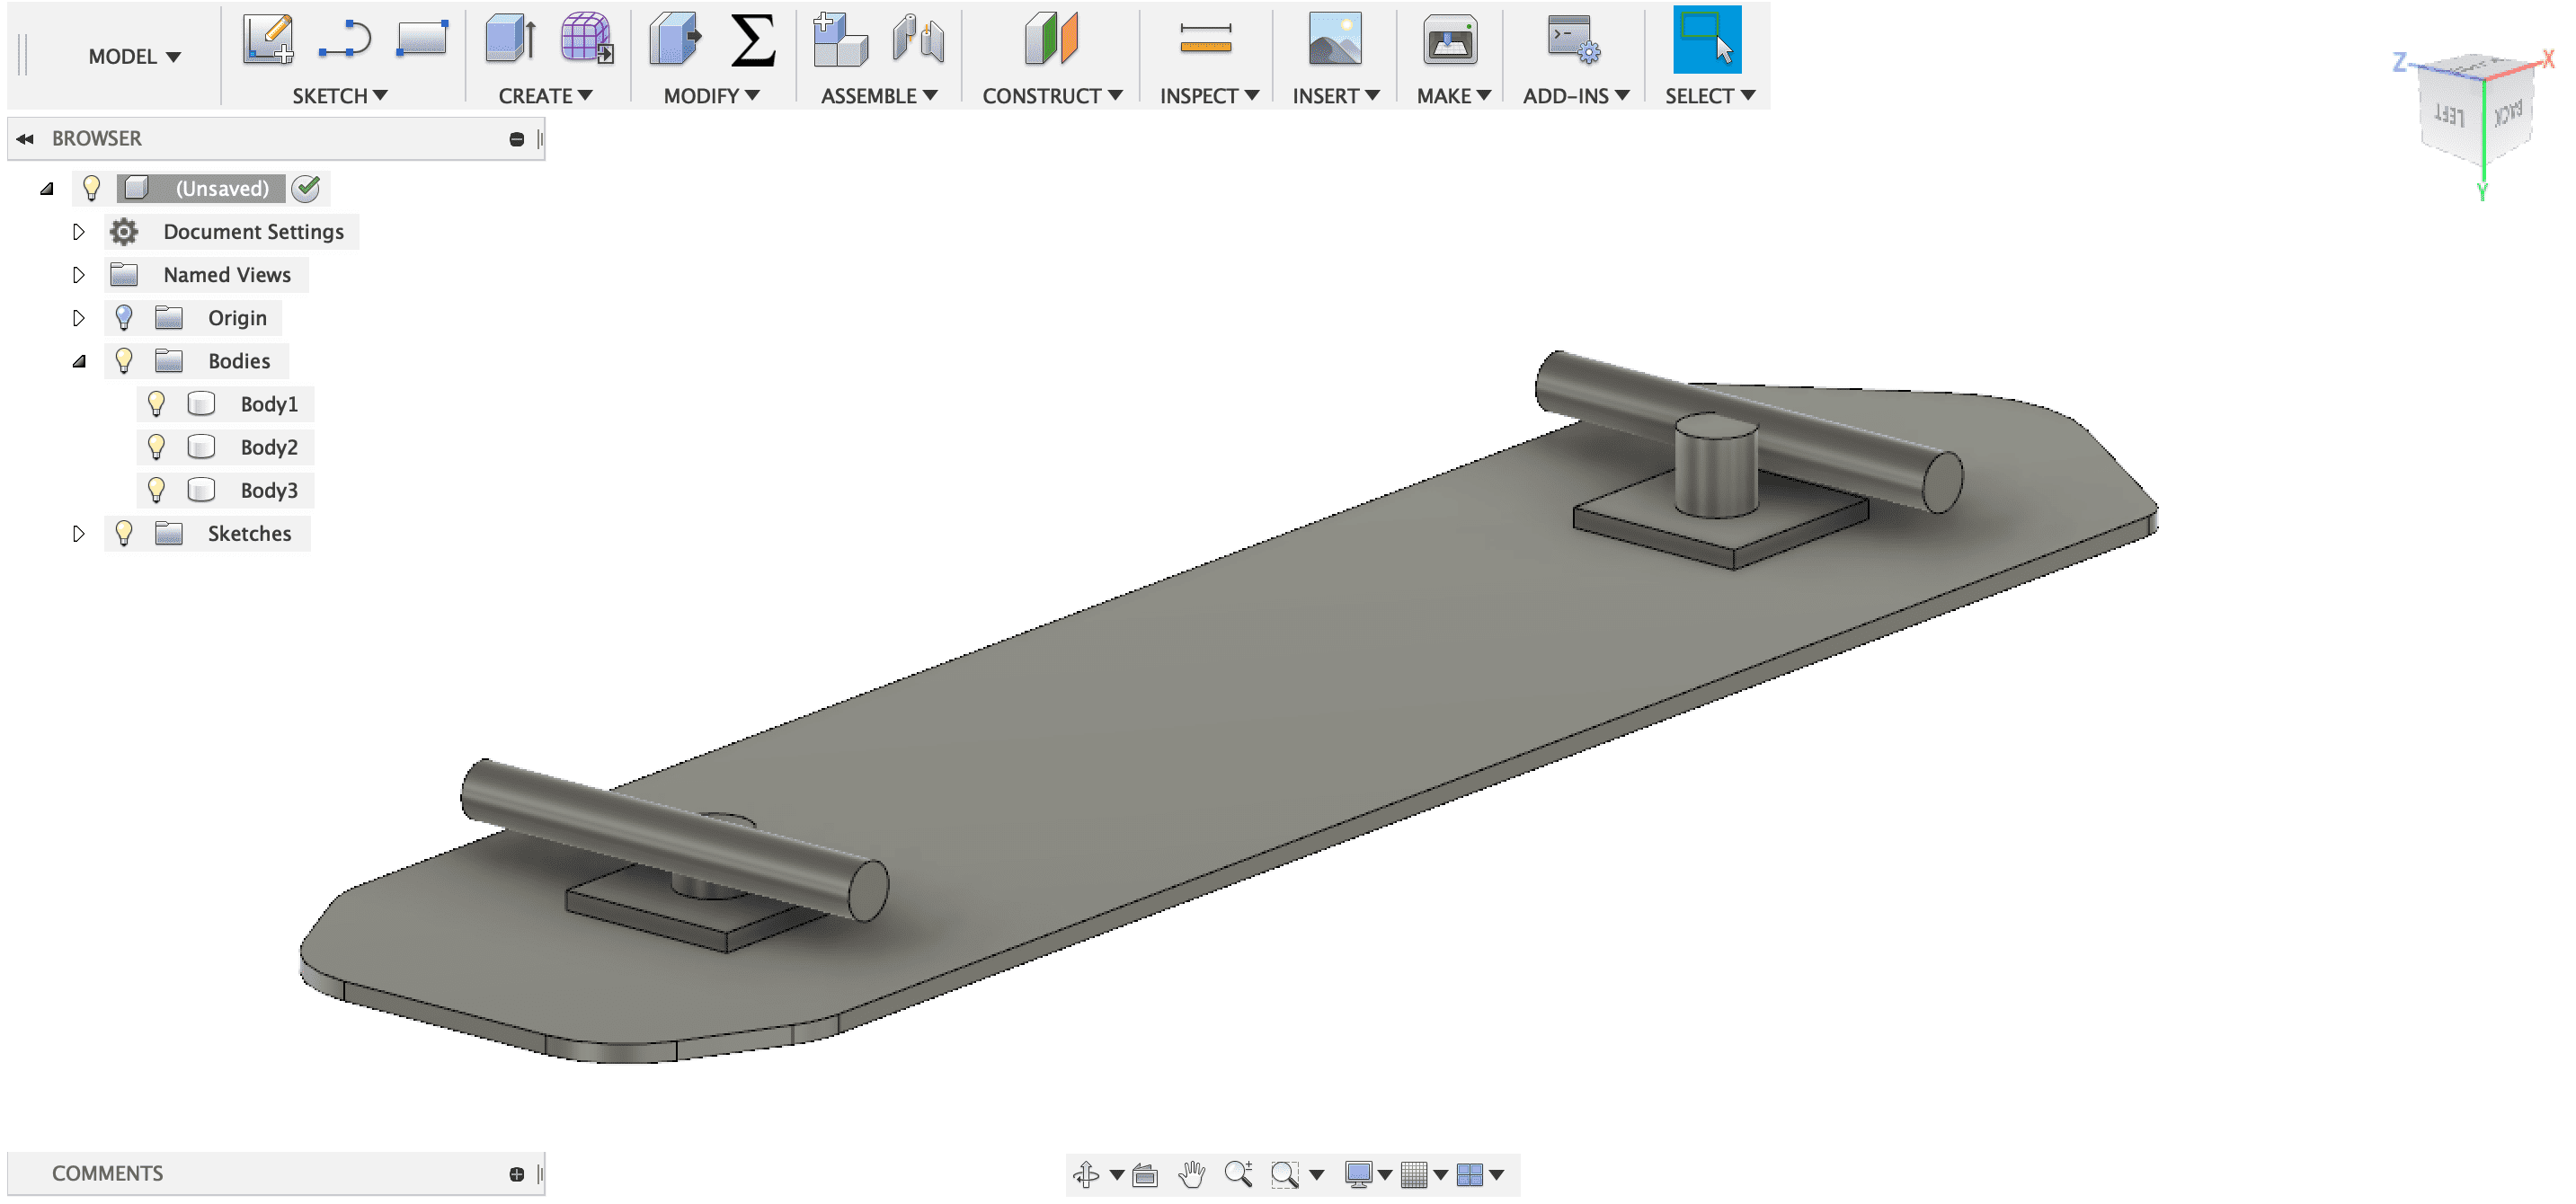
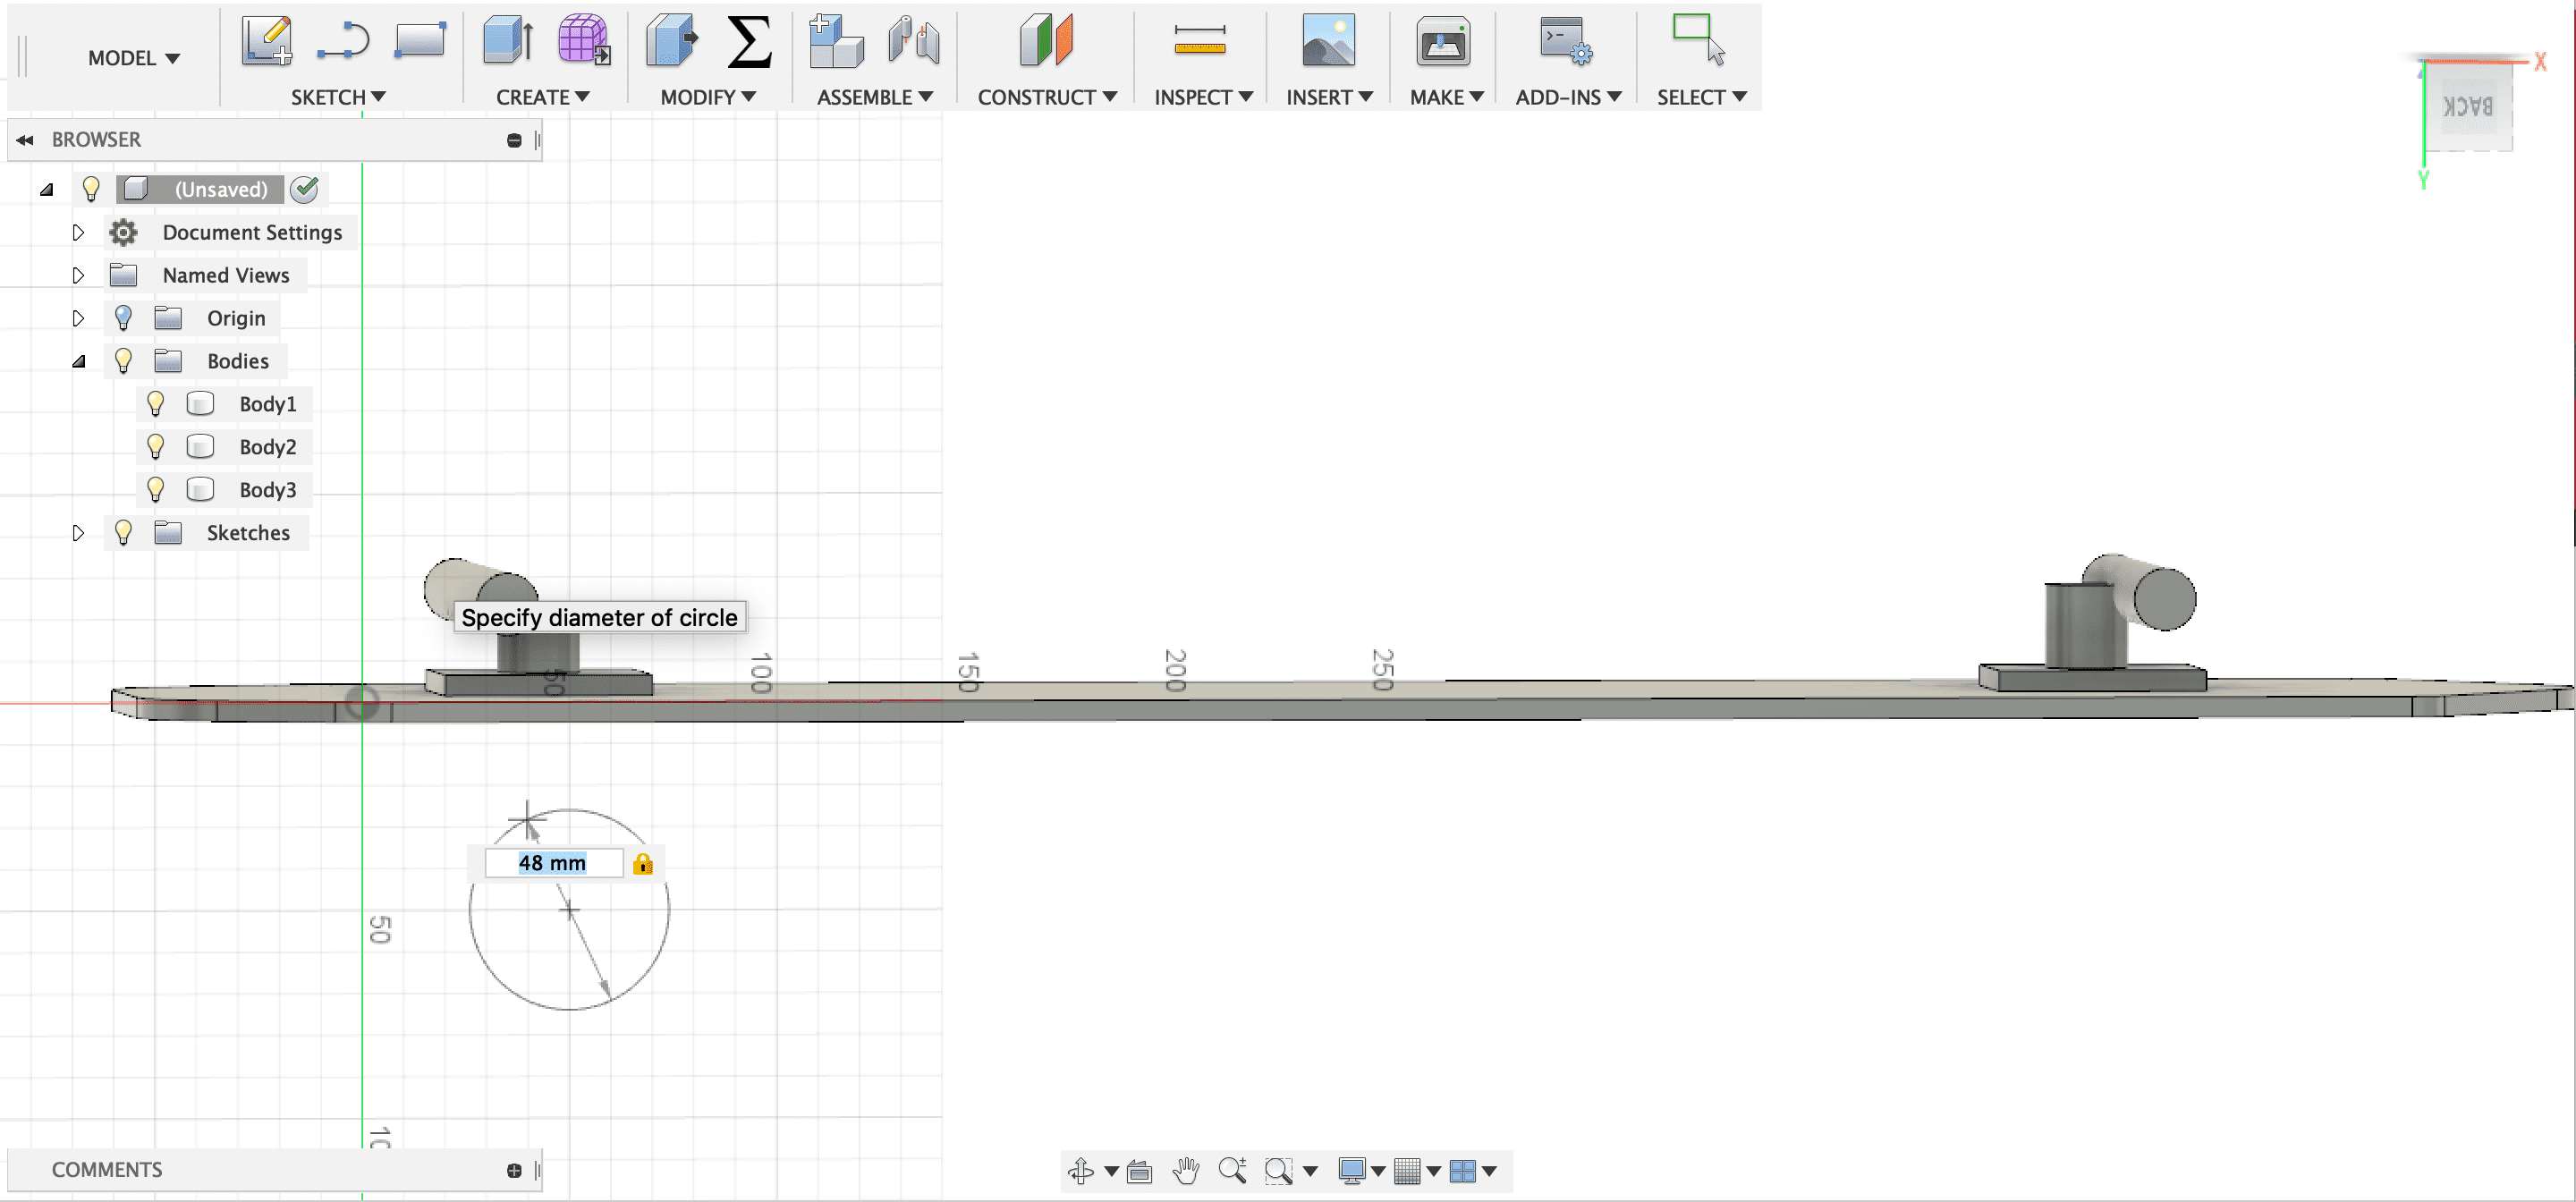
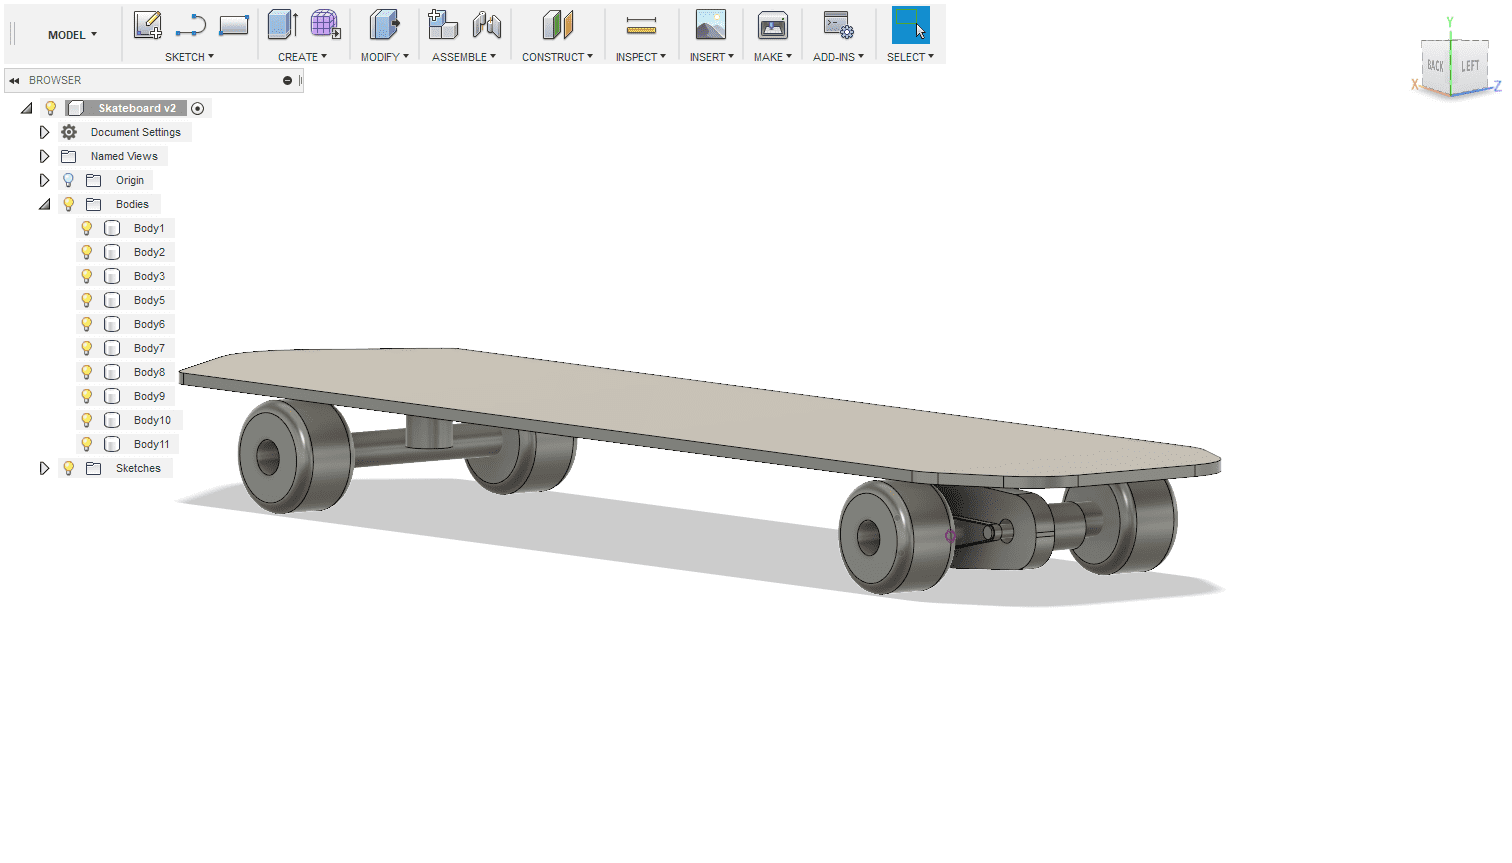
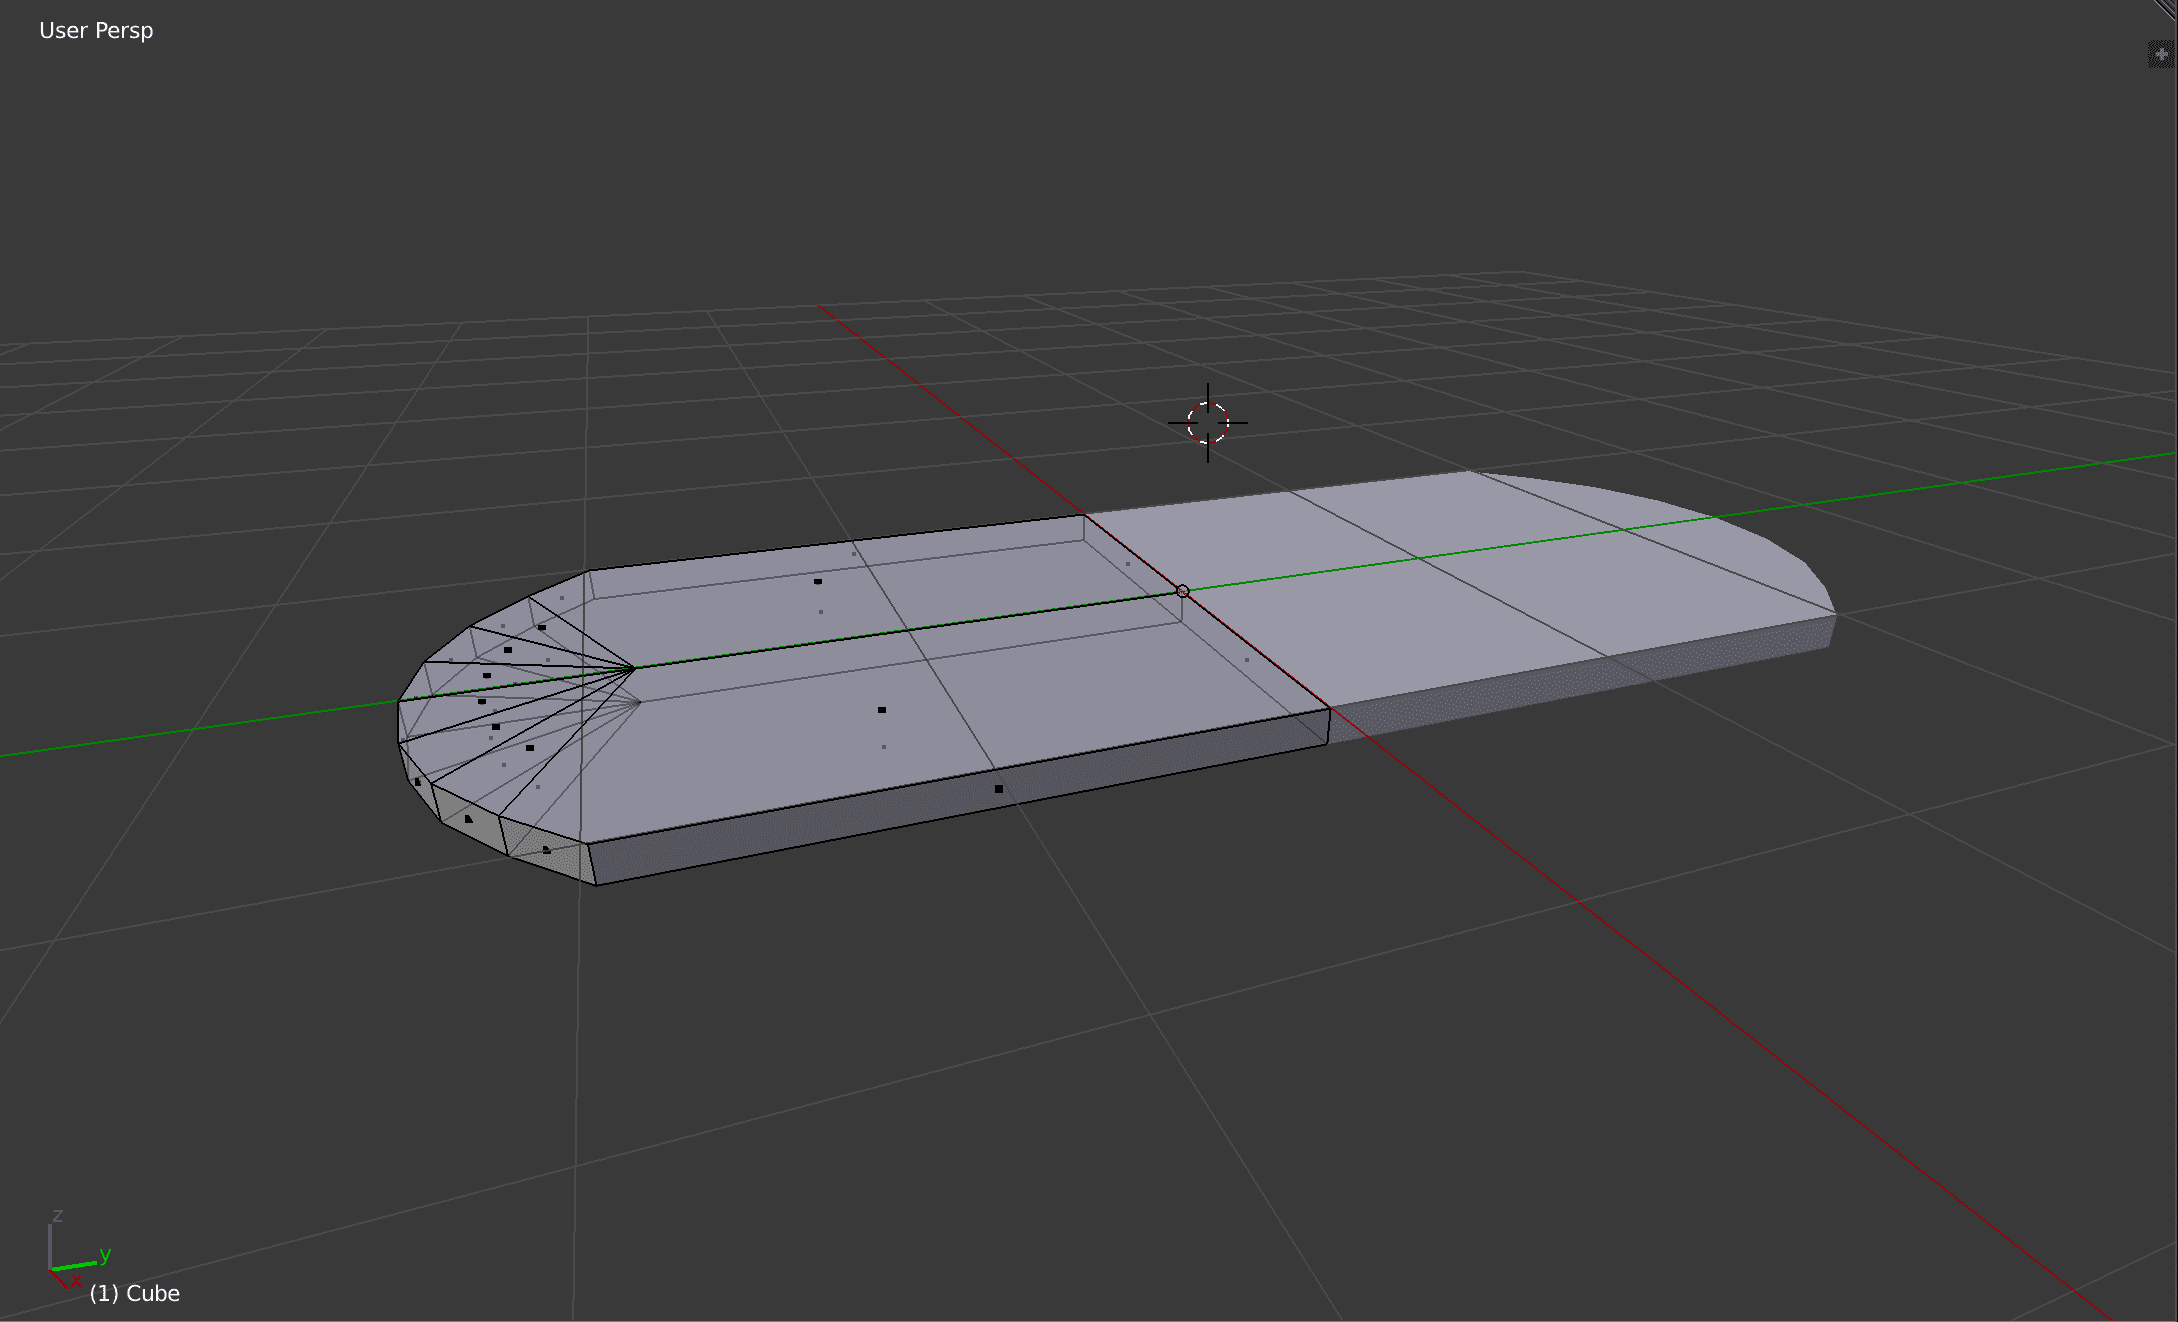
The side I have modeled will now be mirrored to build the whole board.
Compared to fusion360, blender is more of a modeling software. When very precise models, with exact measurements are required fusion is the right choice. When modeling more creative models blender is the right choice, because of its free modeling functions.
LIBRECAD
LibreCad is a vector software for designing 2d designs. I used it to work with the laser cutter.
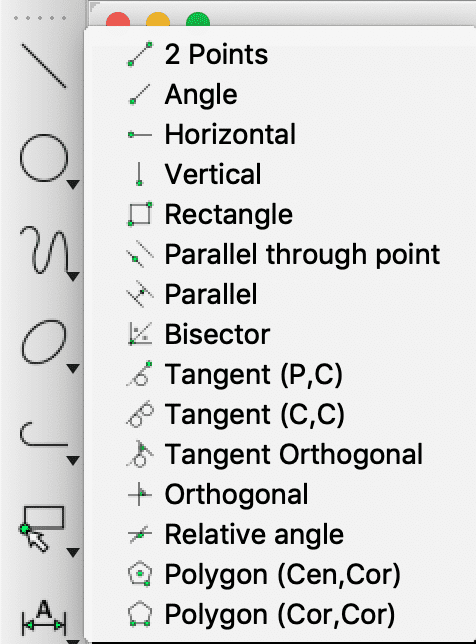
On the left side there are different forms to choose from: lines, squares, circles and curves. Clicking on one of these forms will open a menu.

On the bottom bar there are also selectable points, these are settings for the cursor snapping

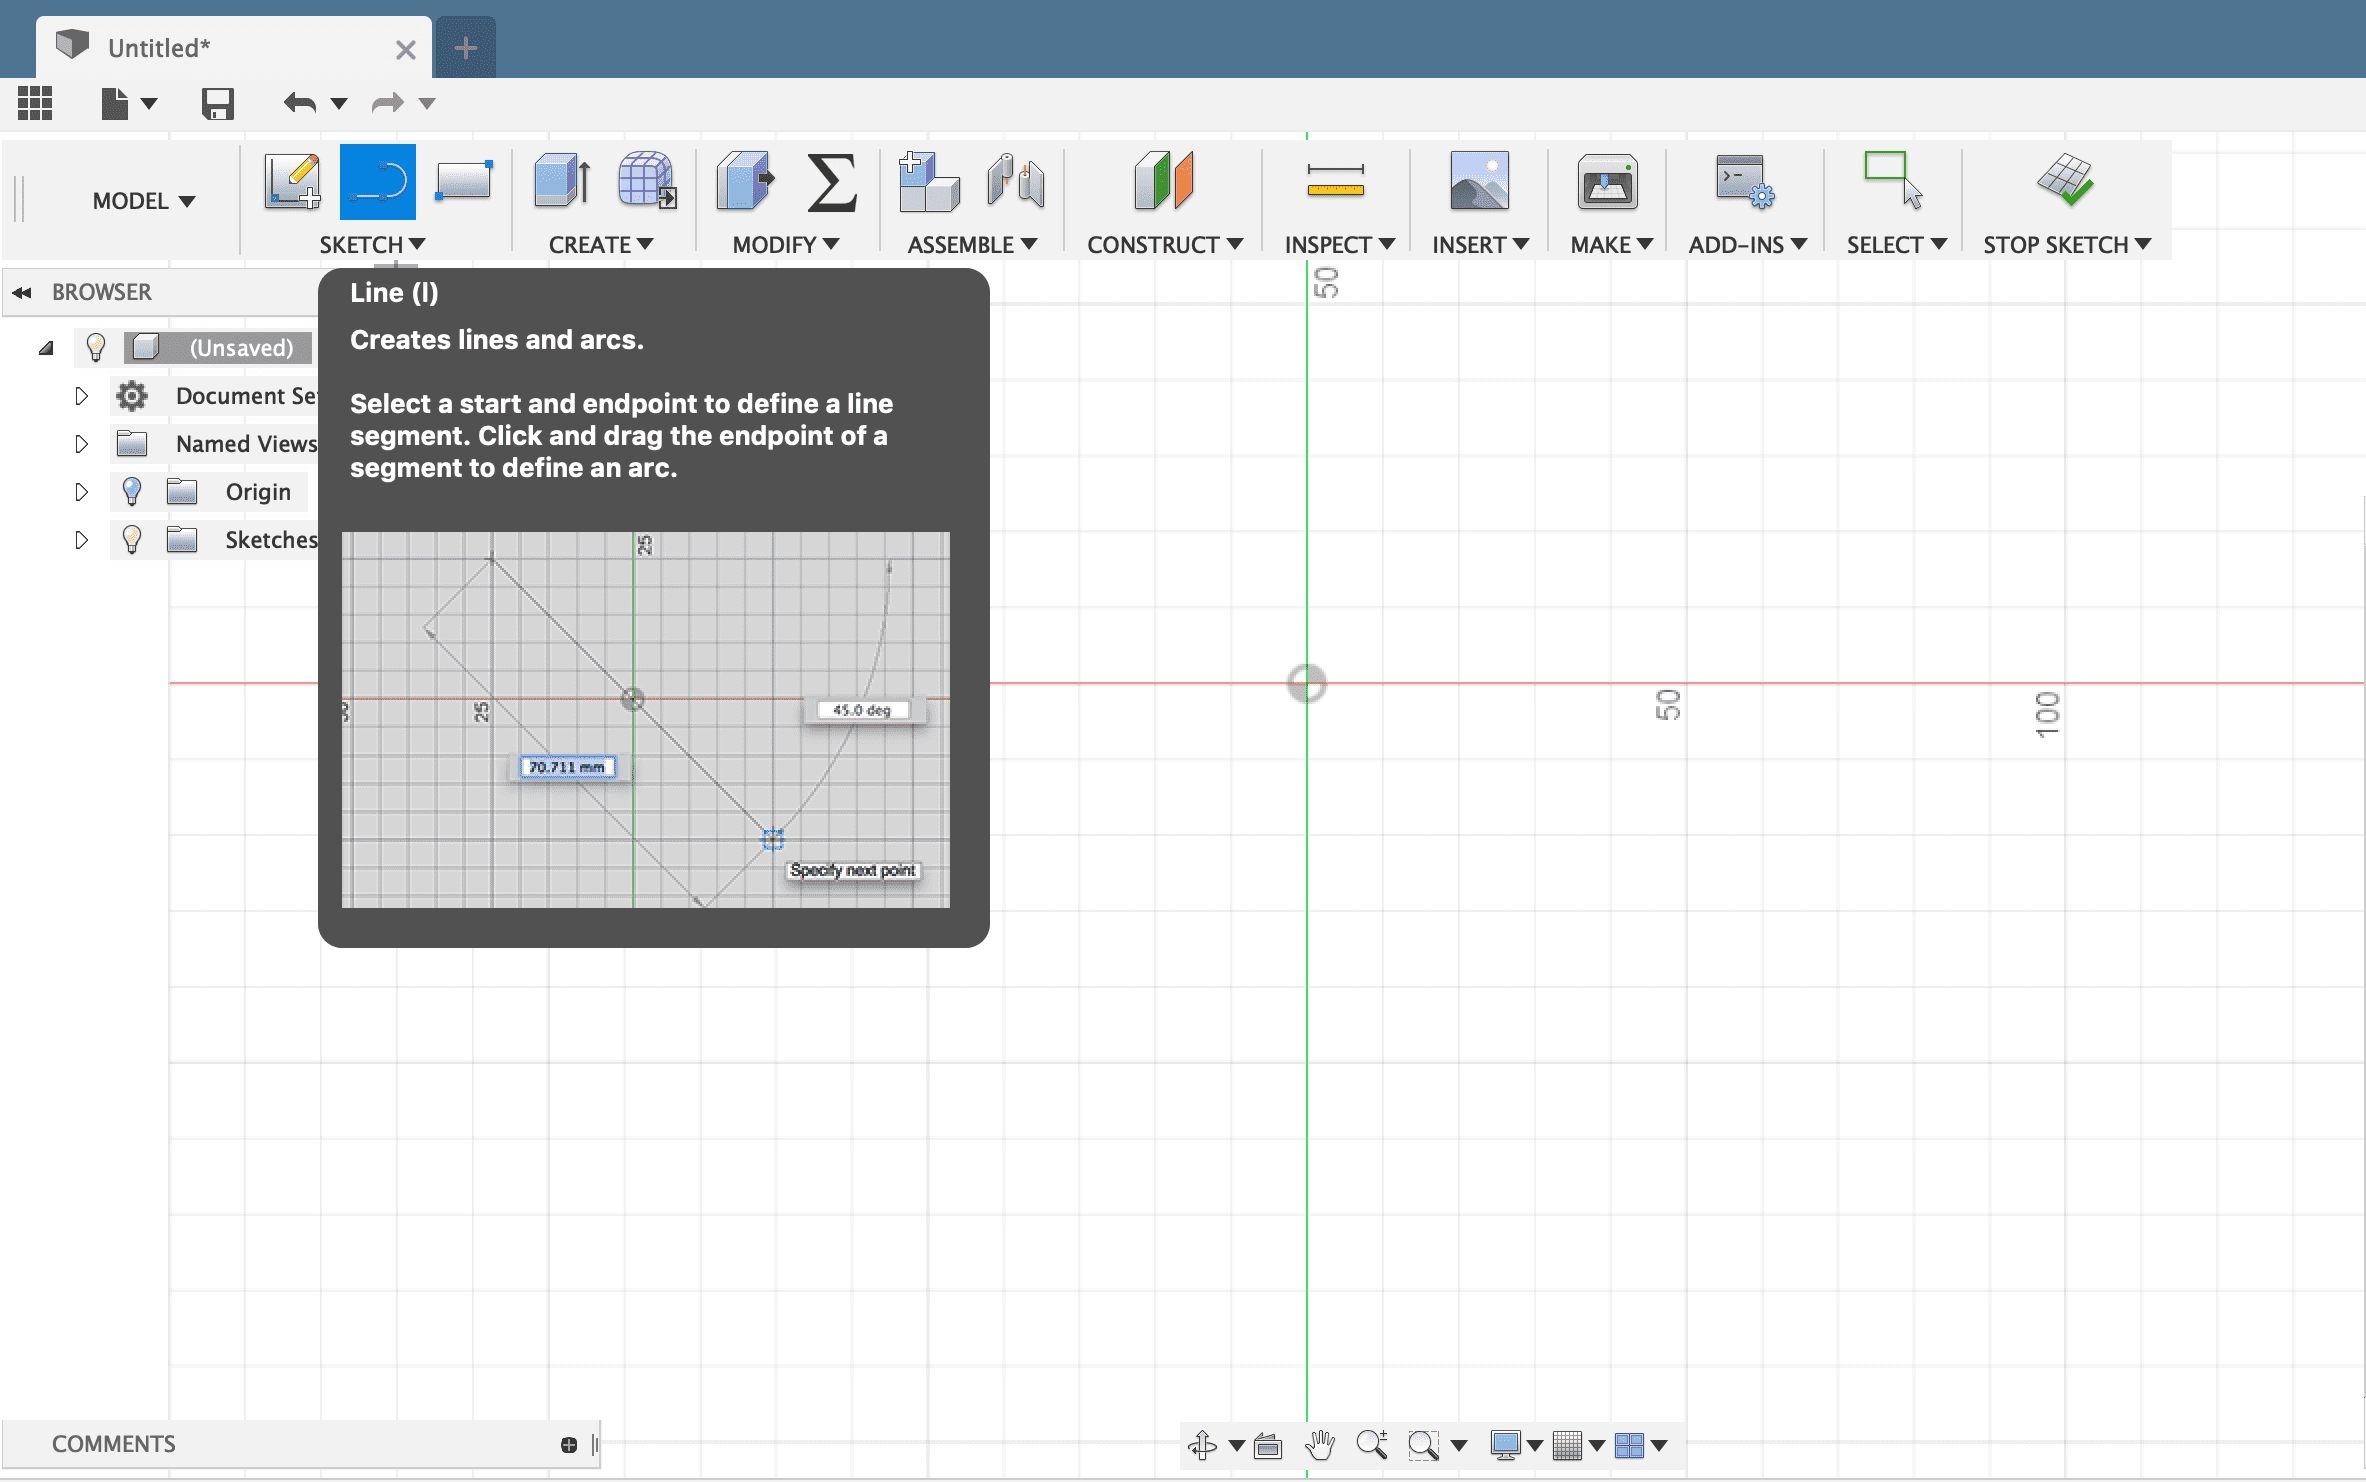
I will open the line menu and select 2-points to create a line between two points.
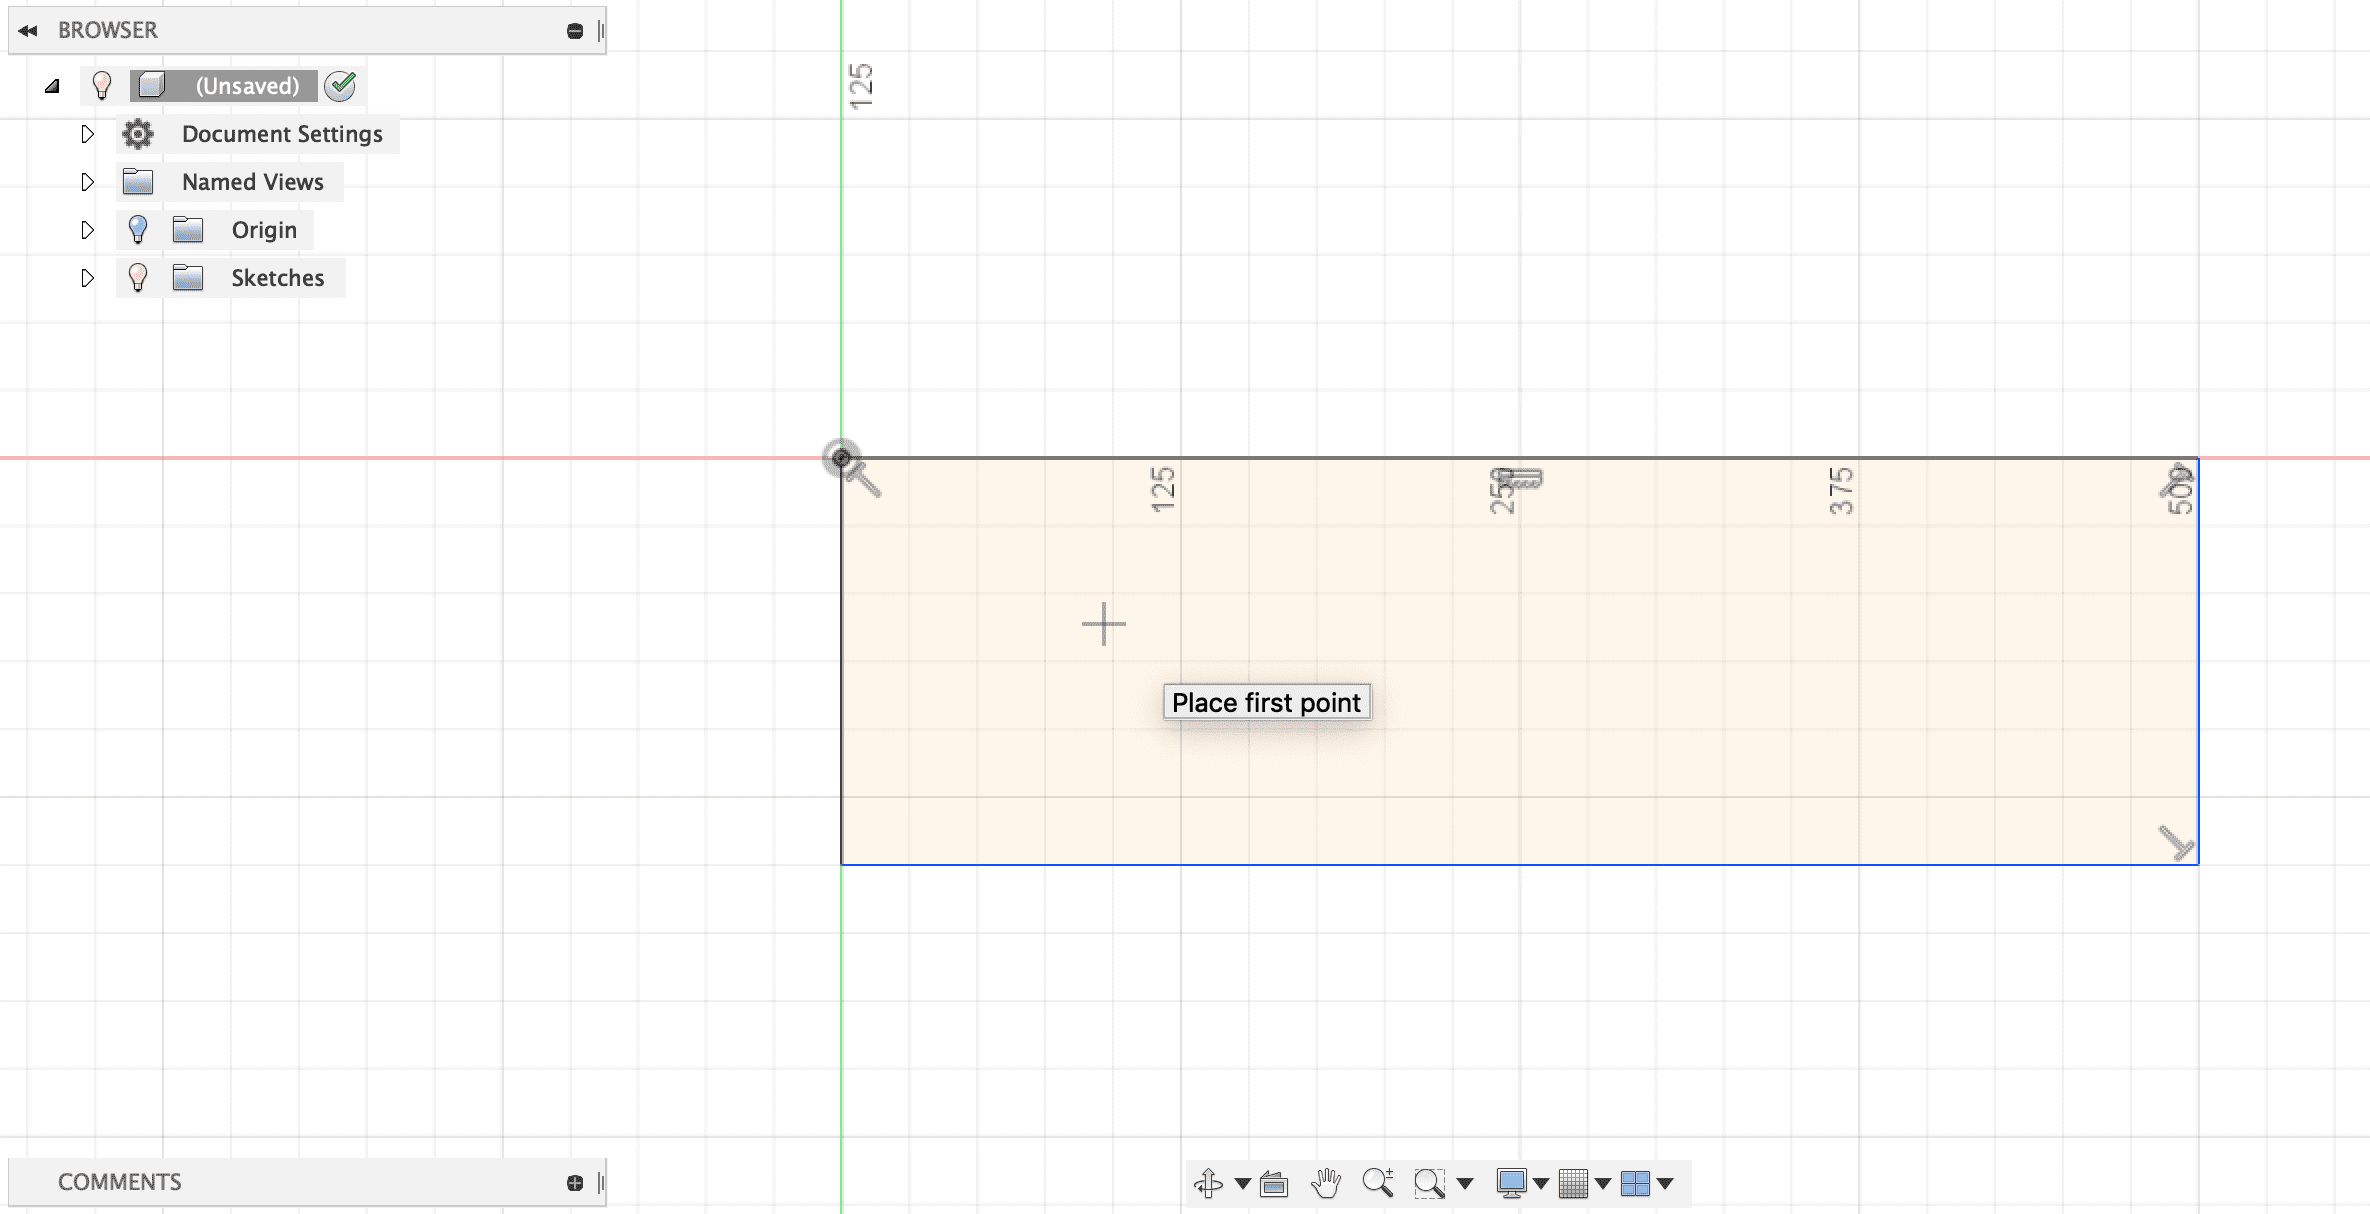
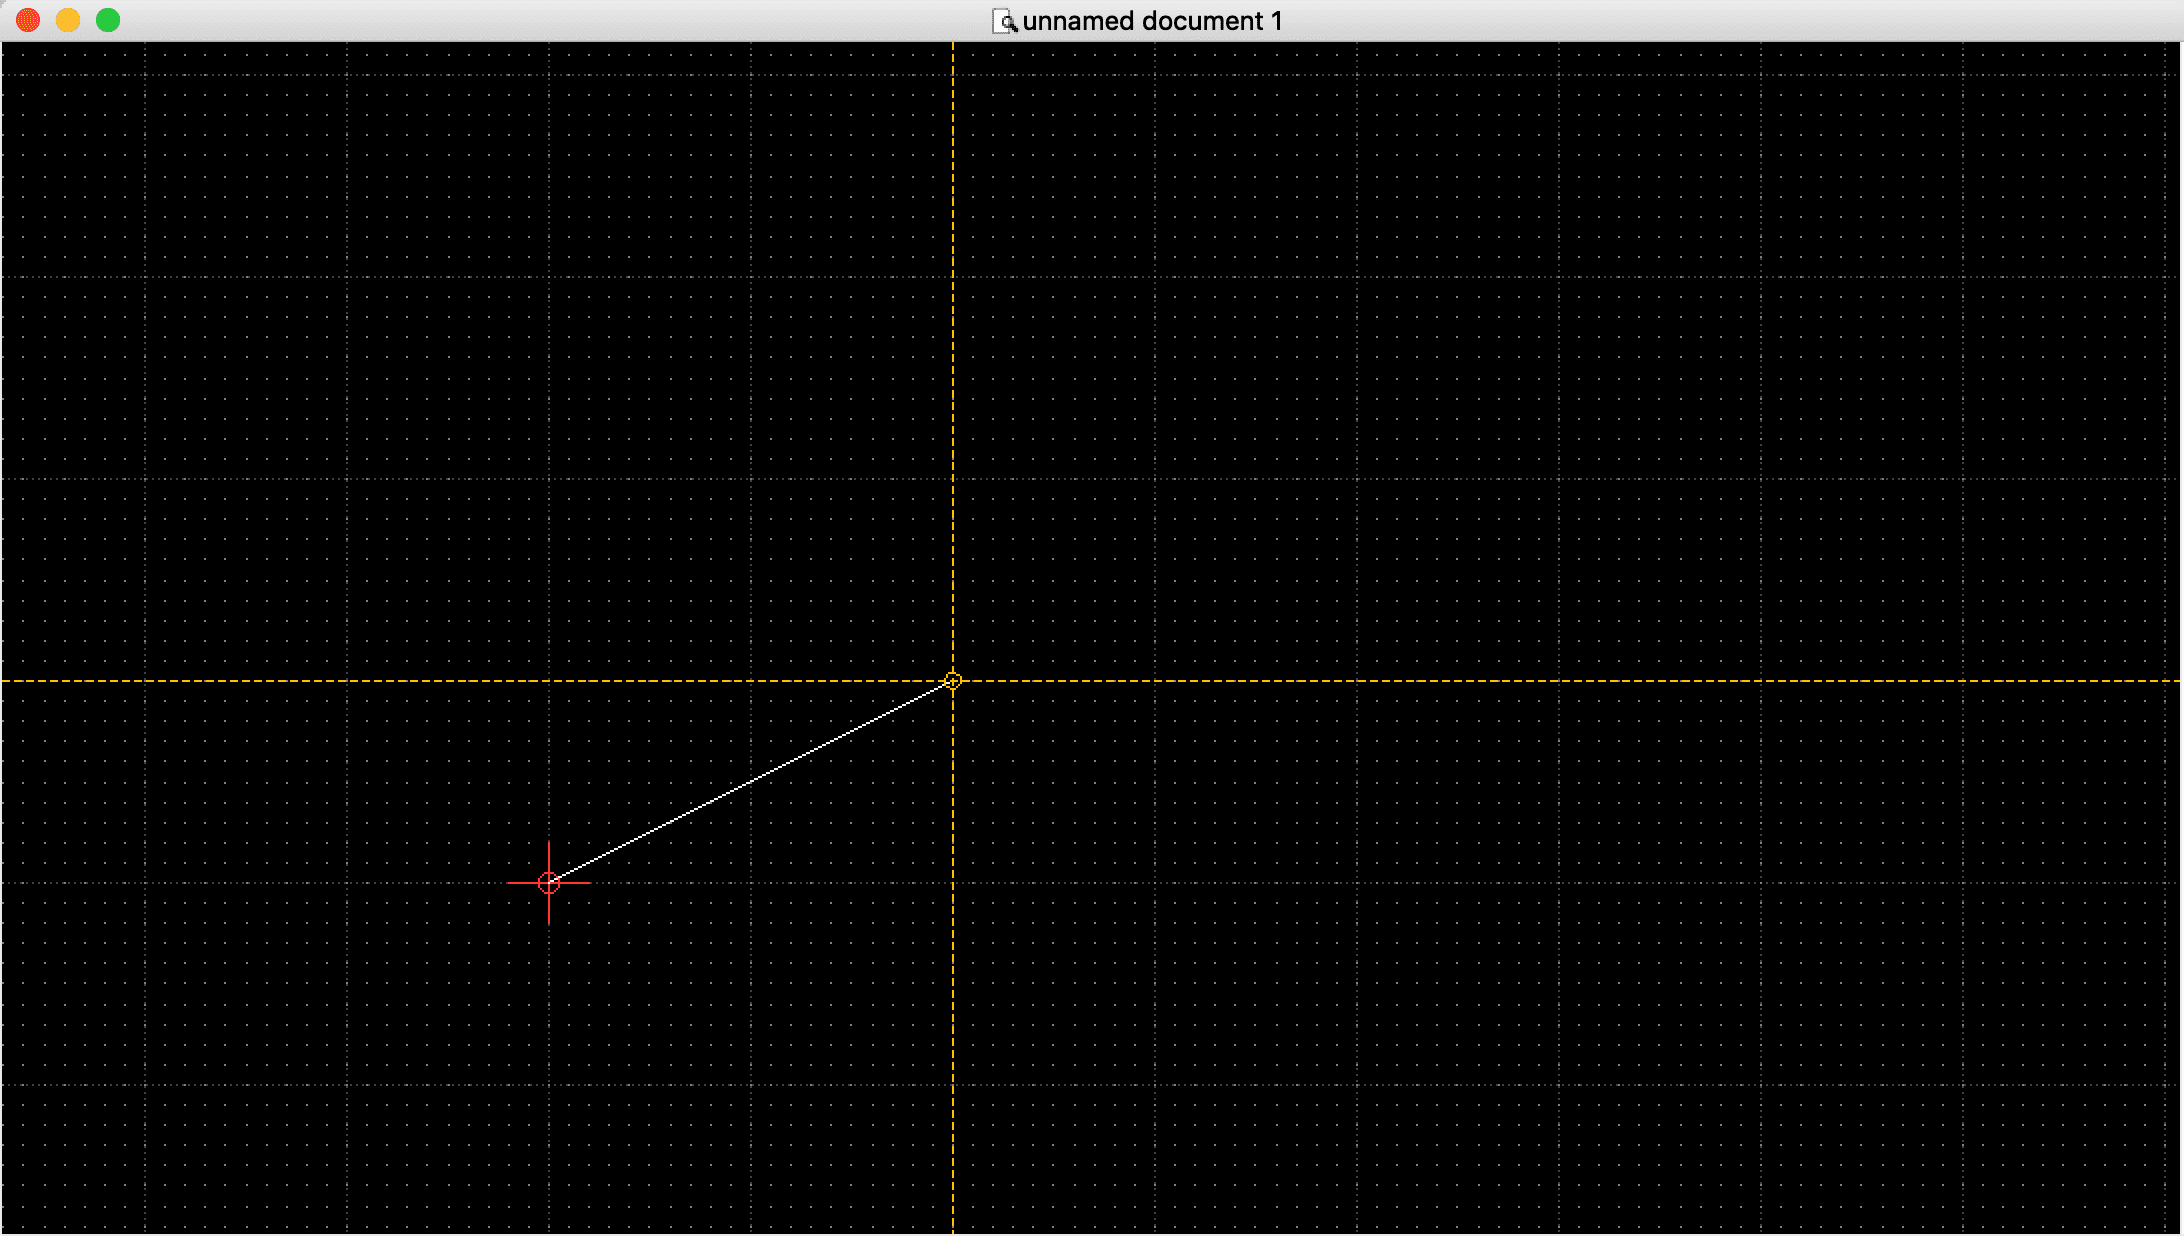
Now I can click on the first point
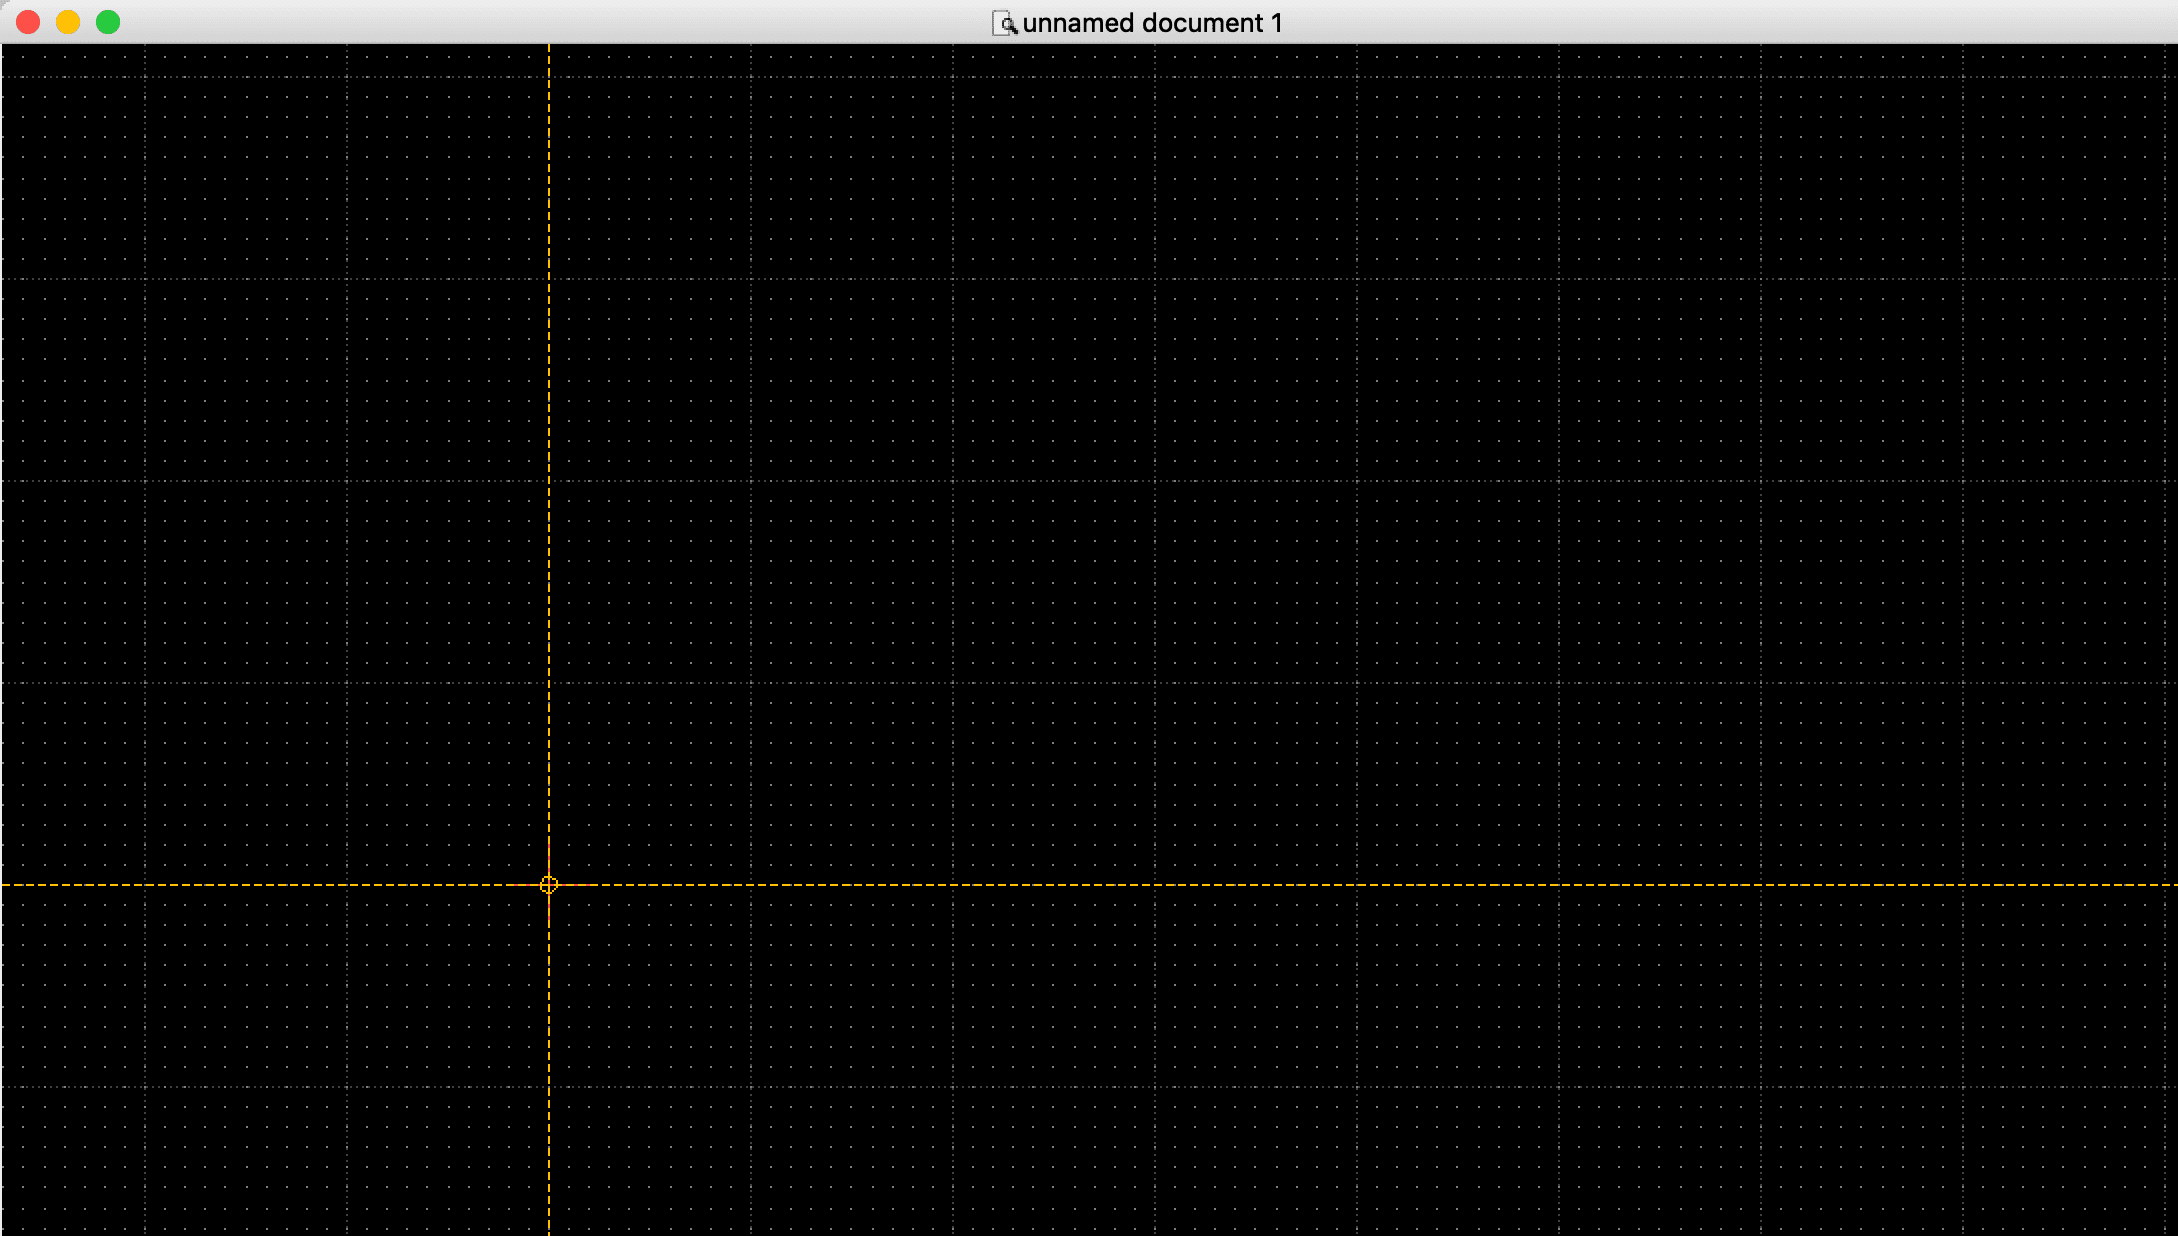
Move the mouse to another spot and place the second point to create a line between them
If I would like to edit my sketch now, I can do that with the different tools also to find in the left bar.
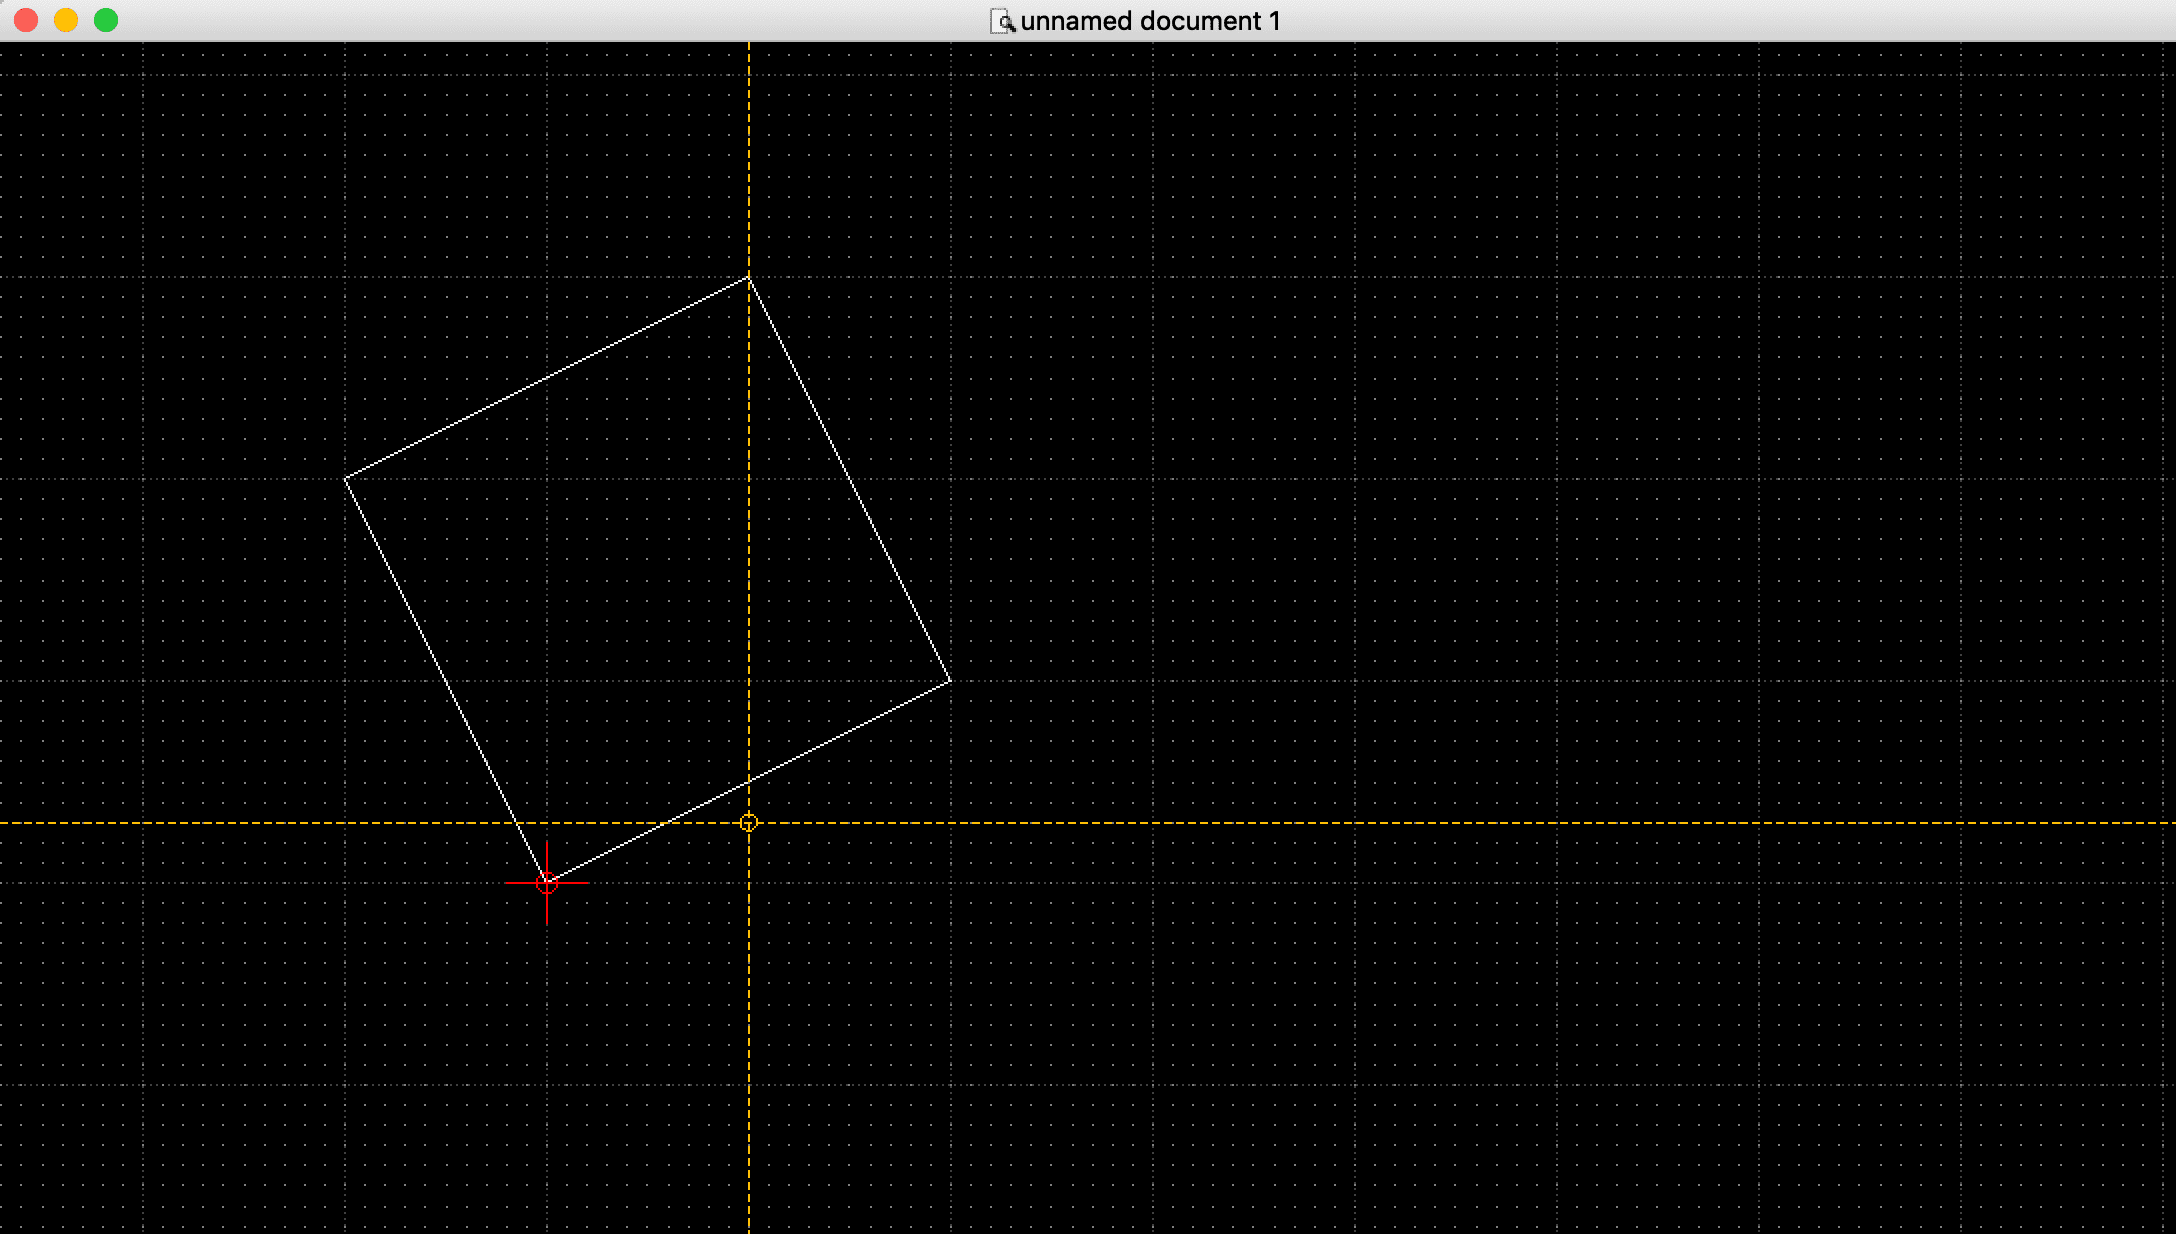
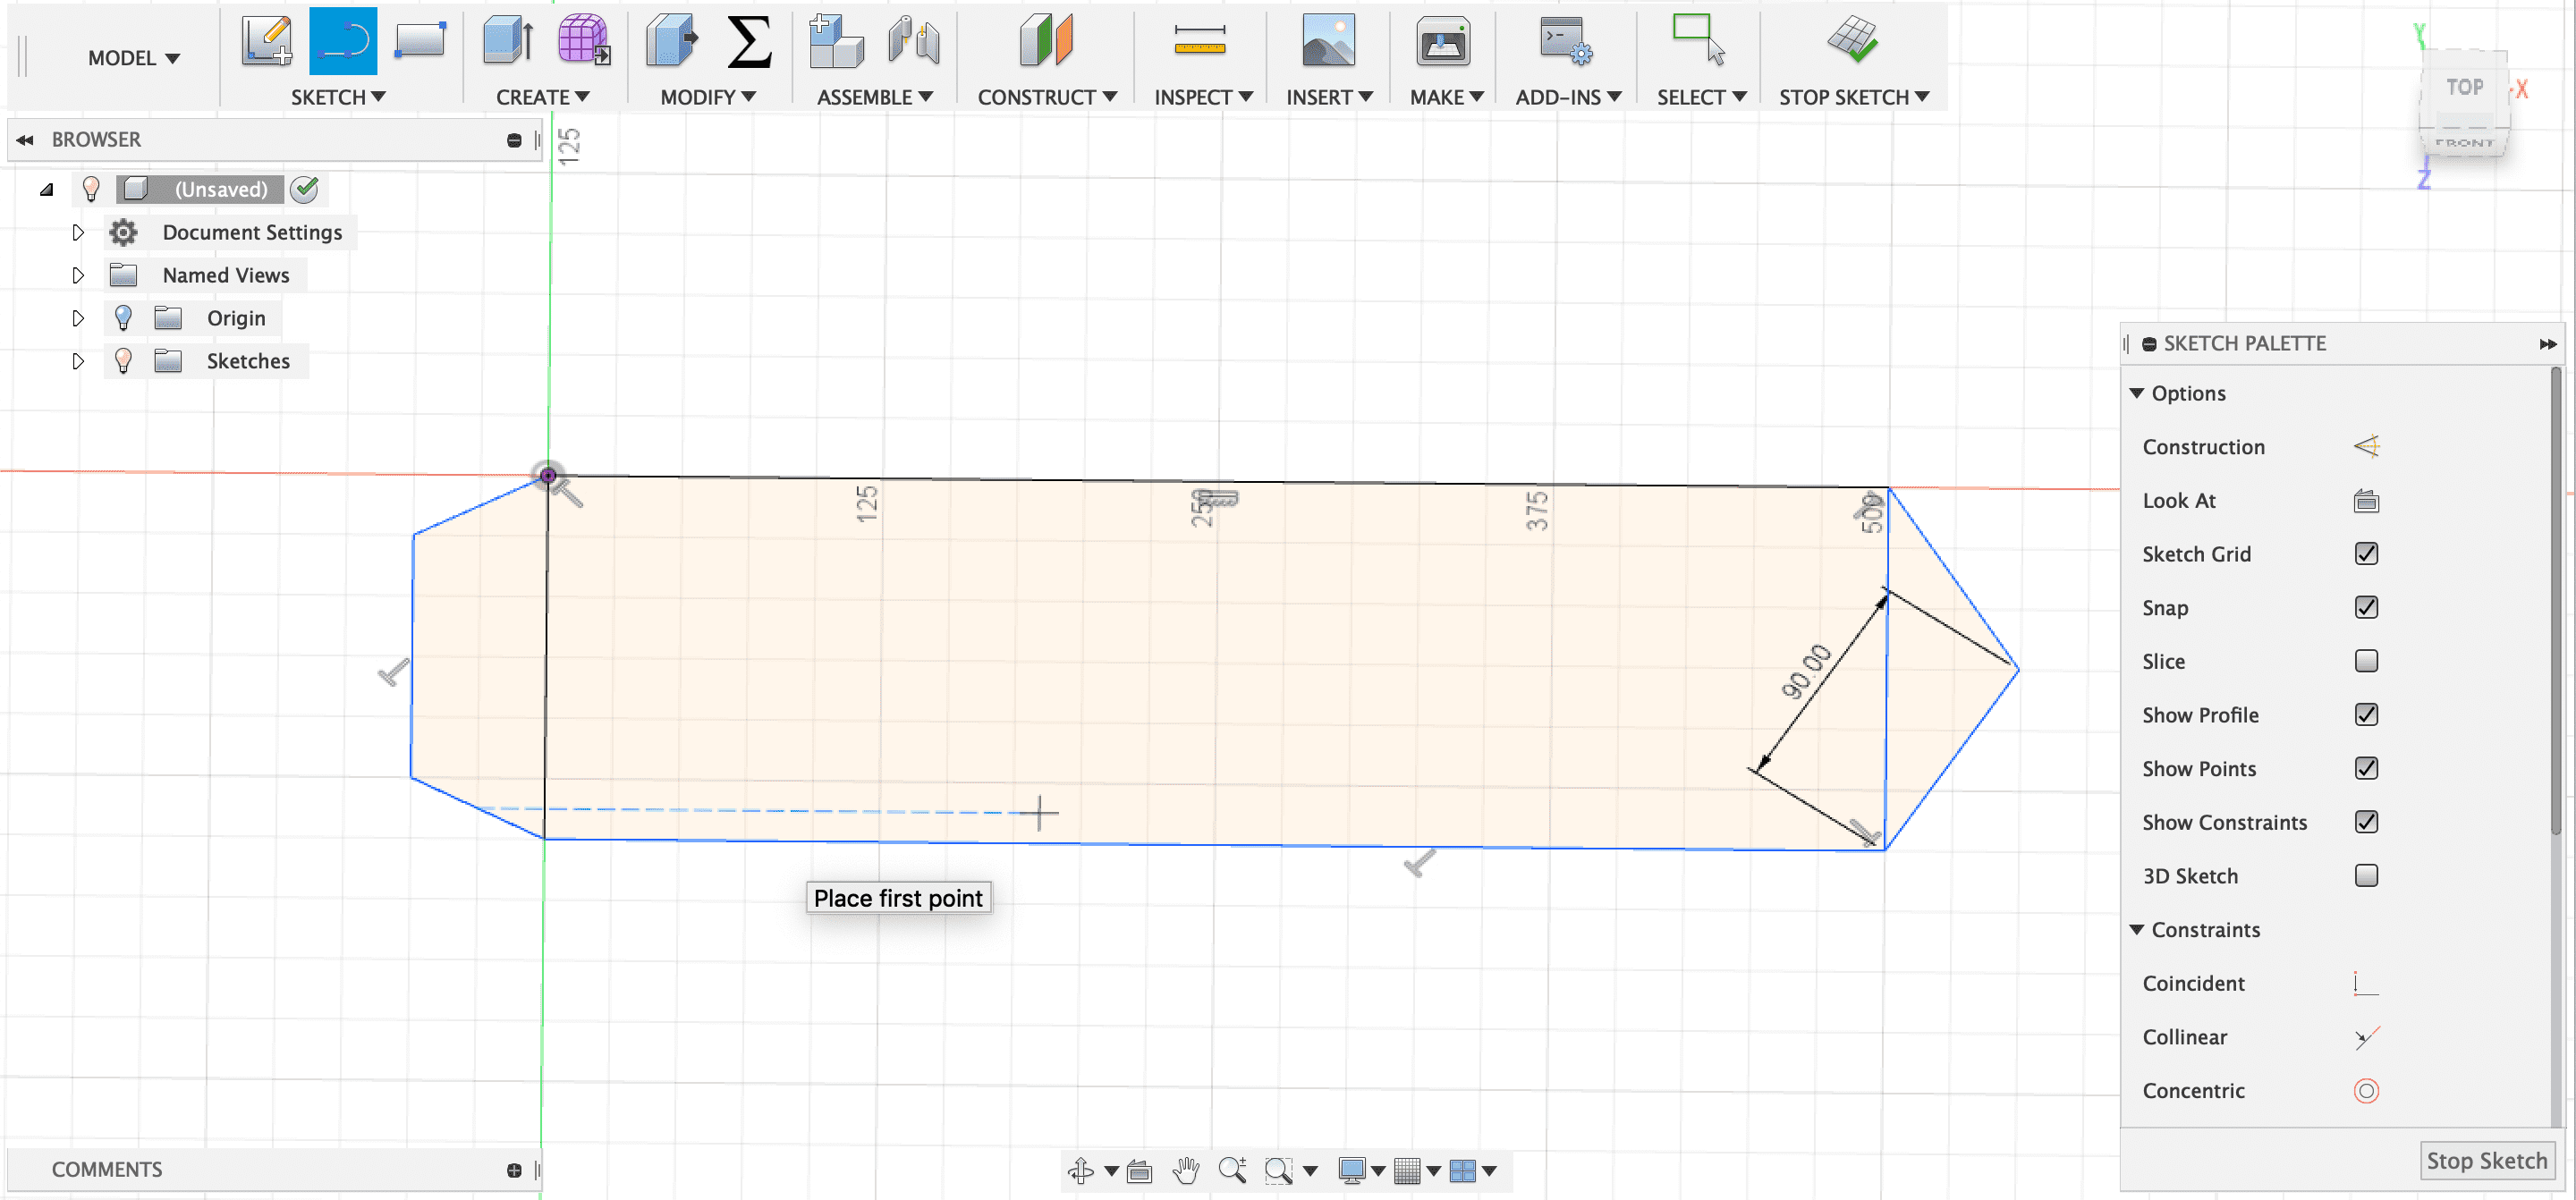
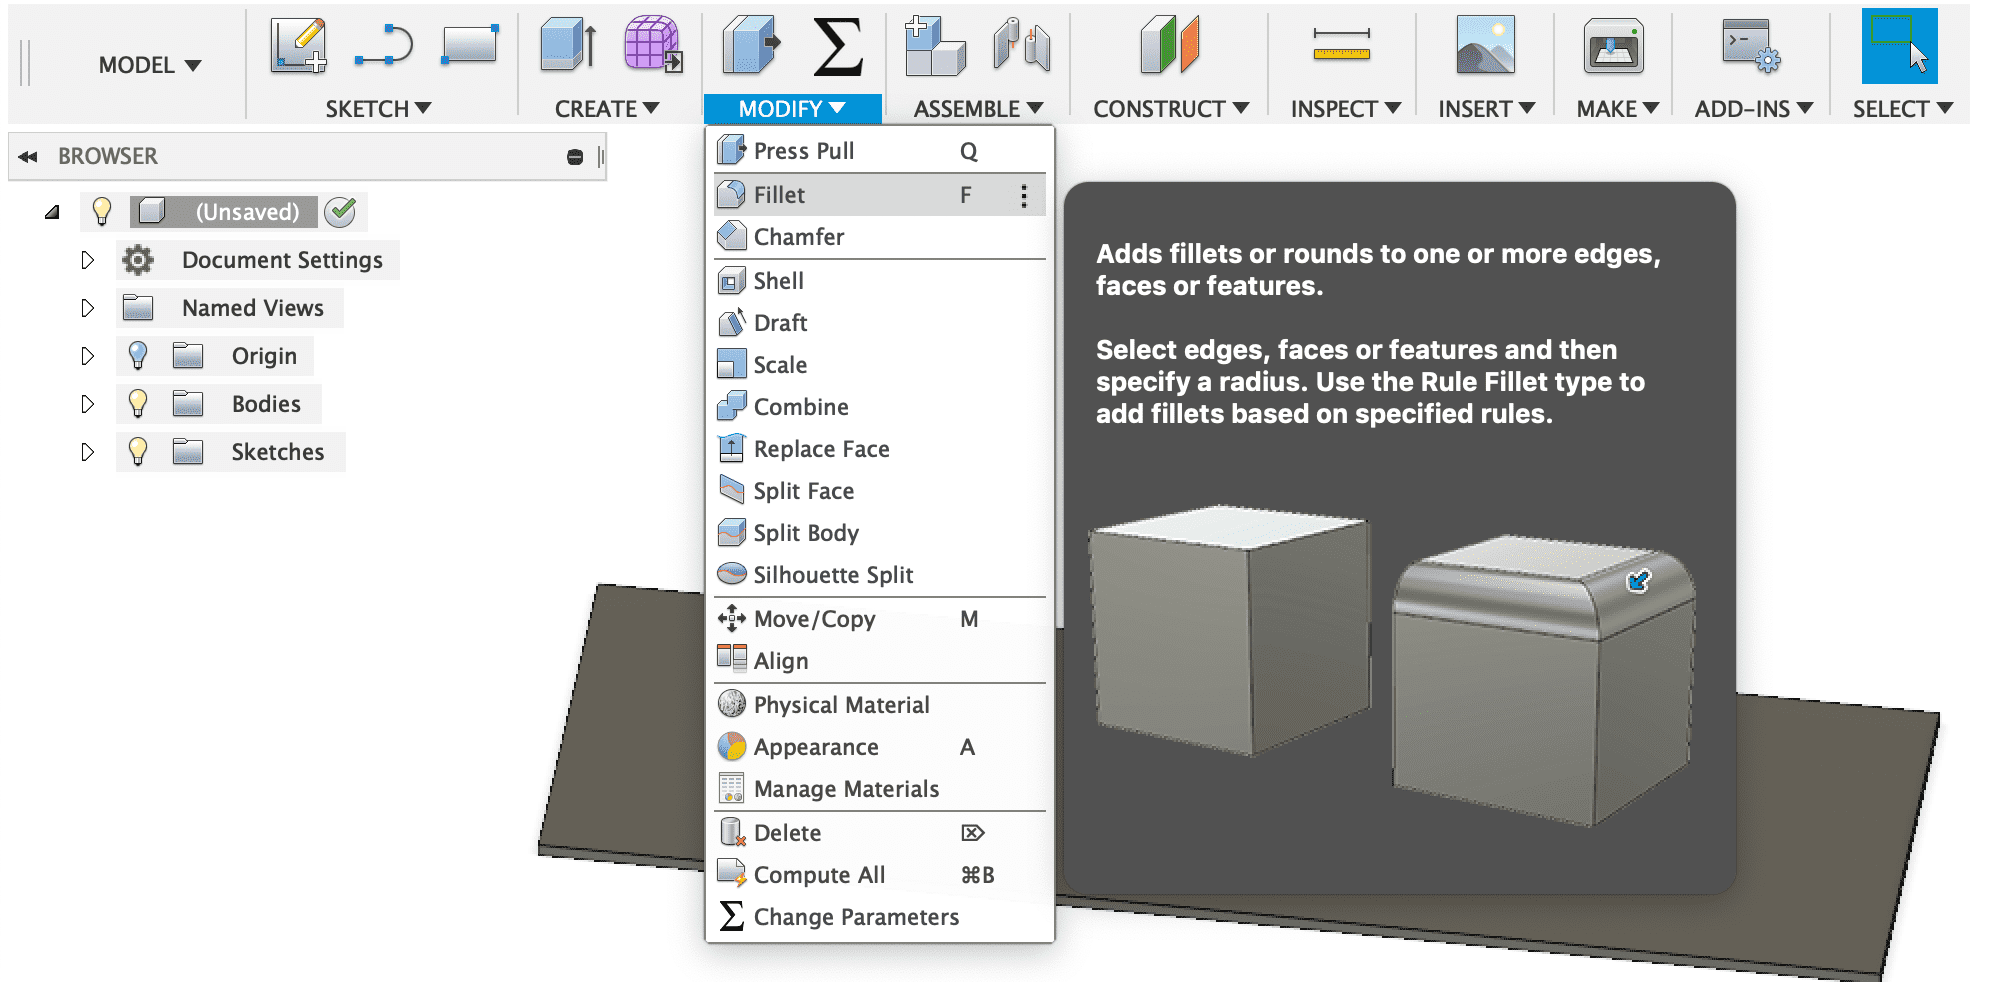
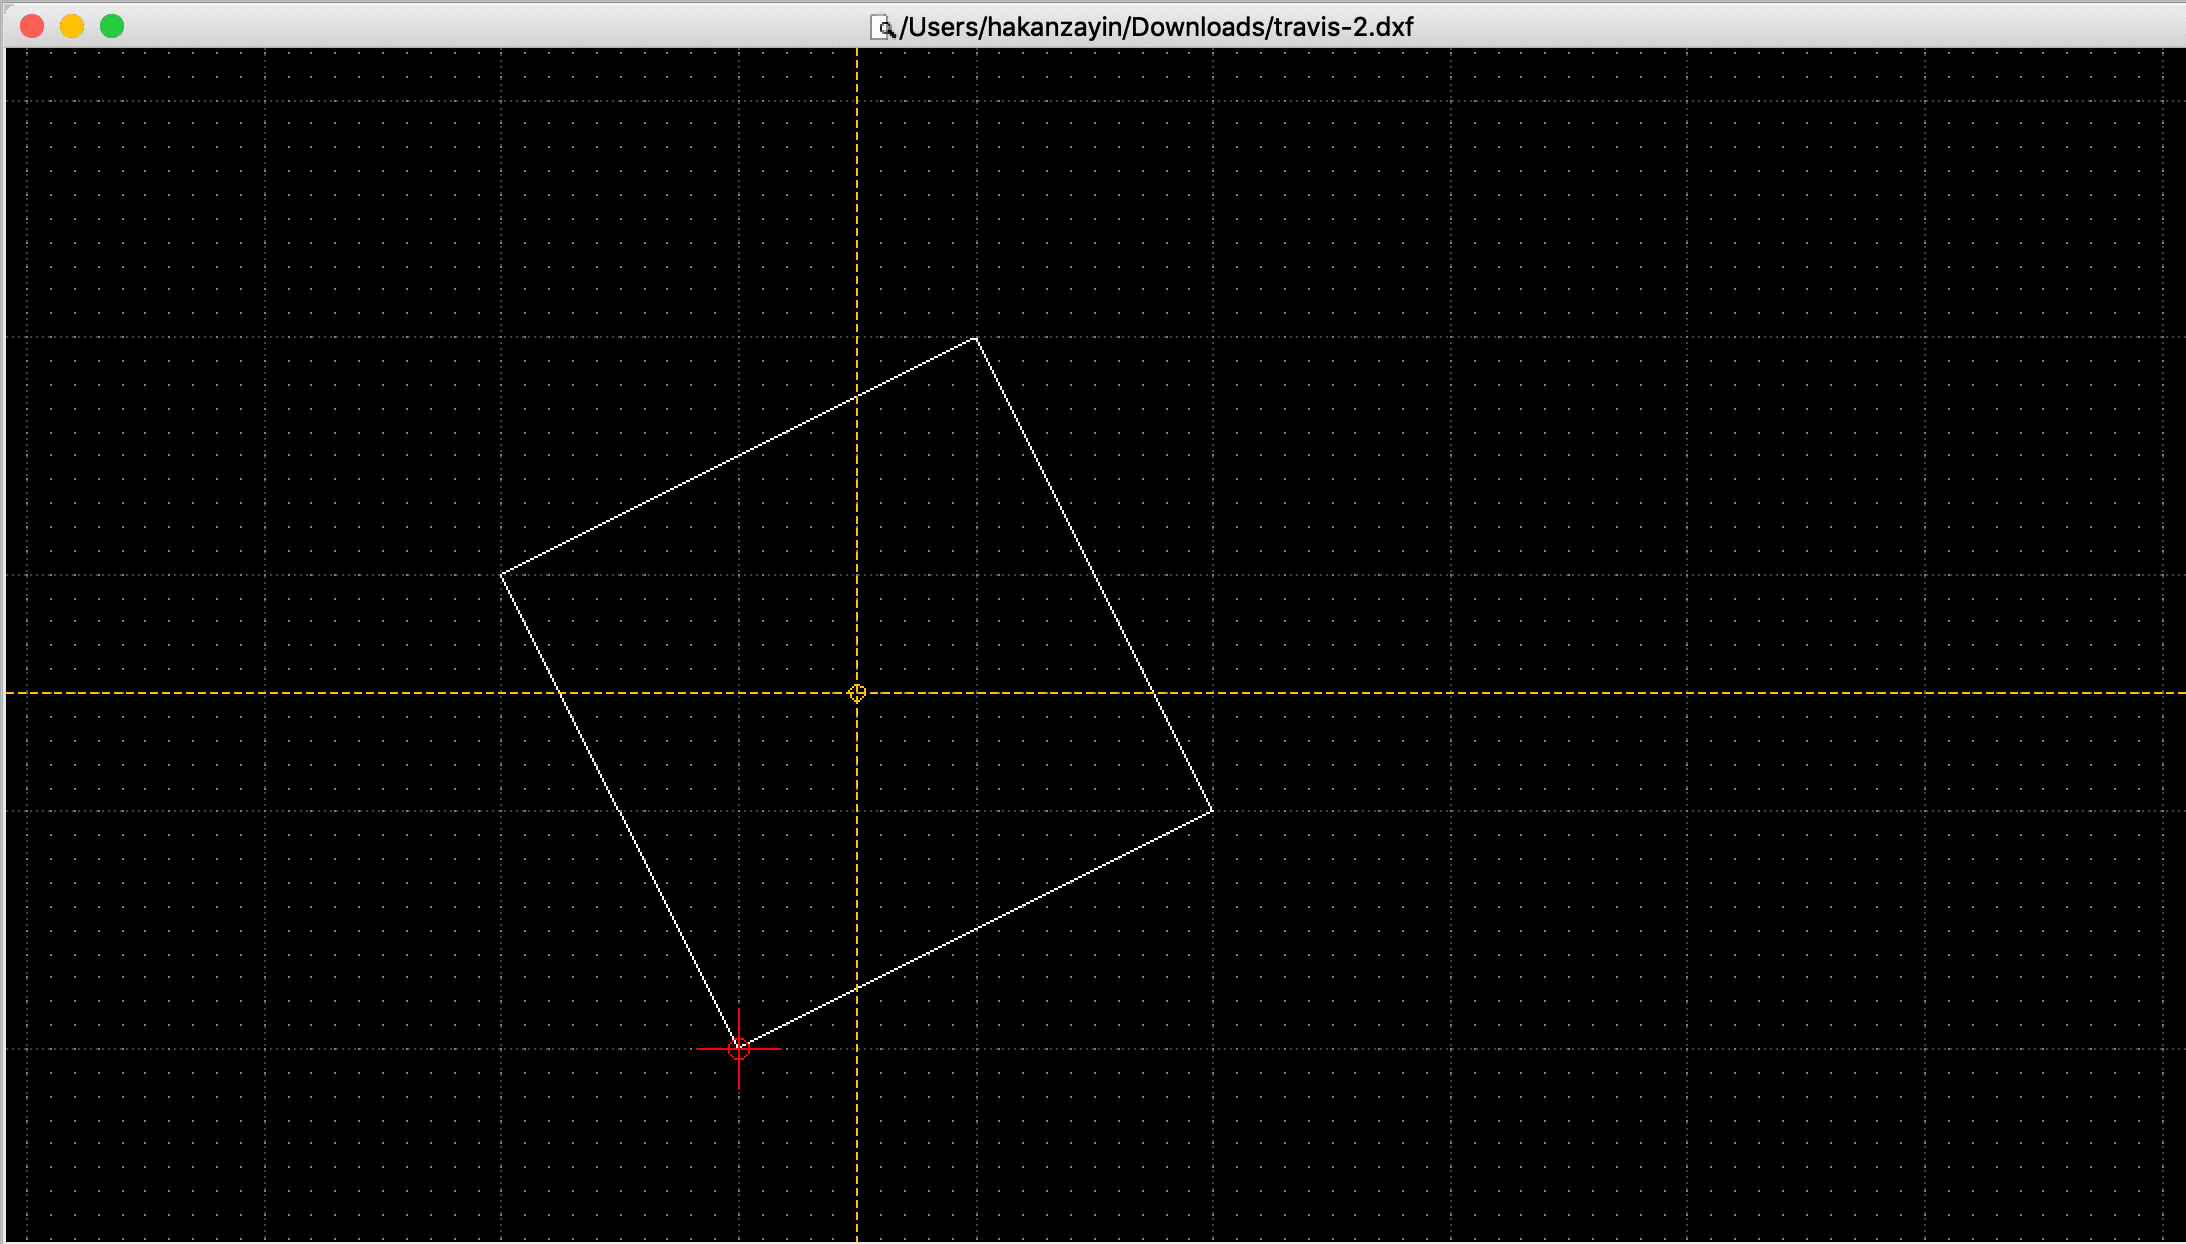
I will add a fillet to the corner of my cube using the fillet tool
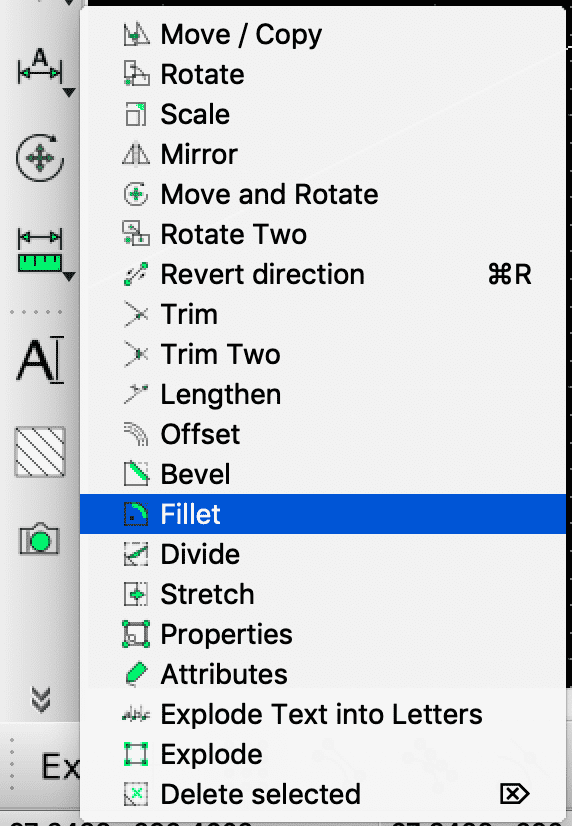
With the fillet tool I select two lines, which are connected in an angle. Click on the first then to the other one to add the fillet between them.
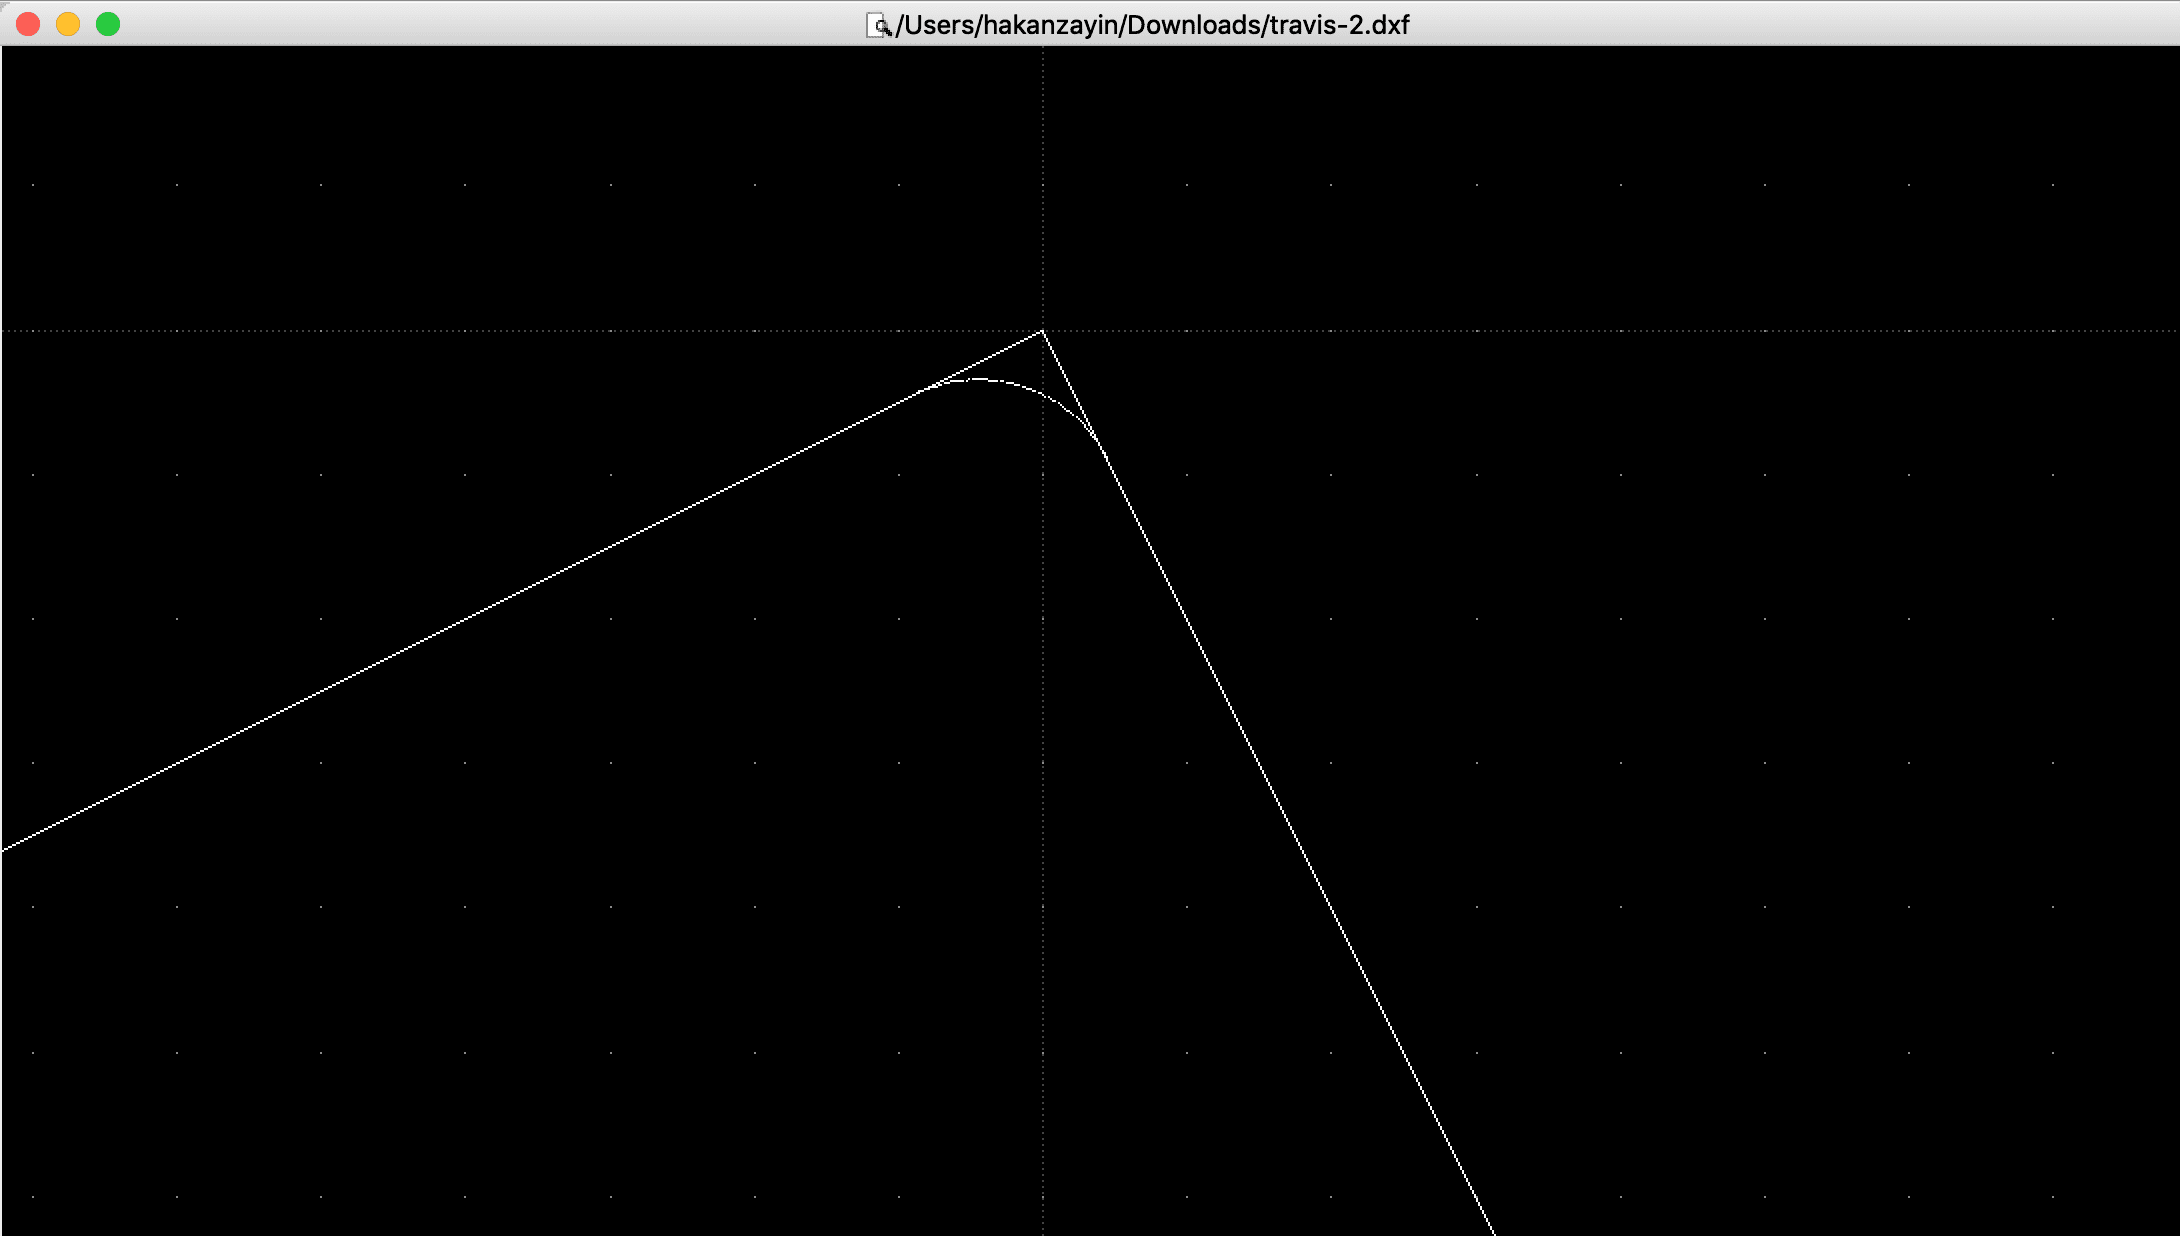
Finally the edge looks like this..
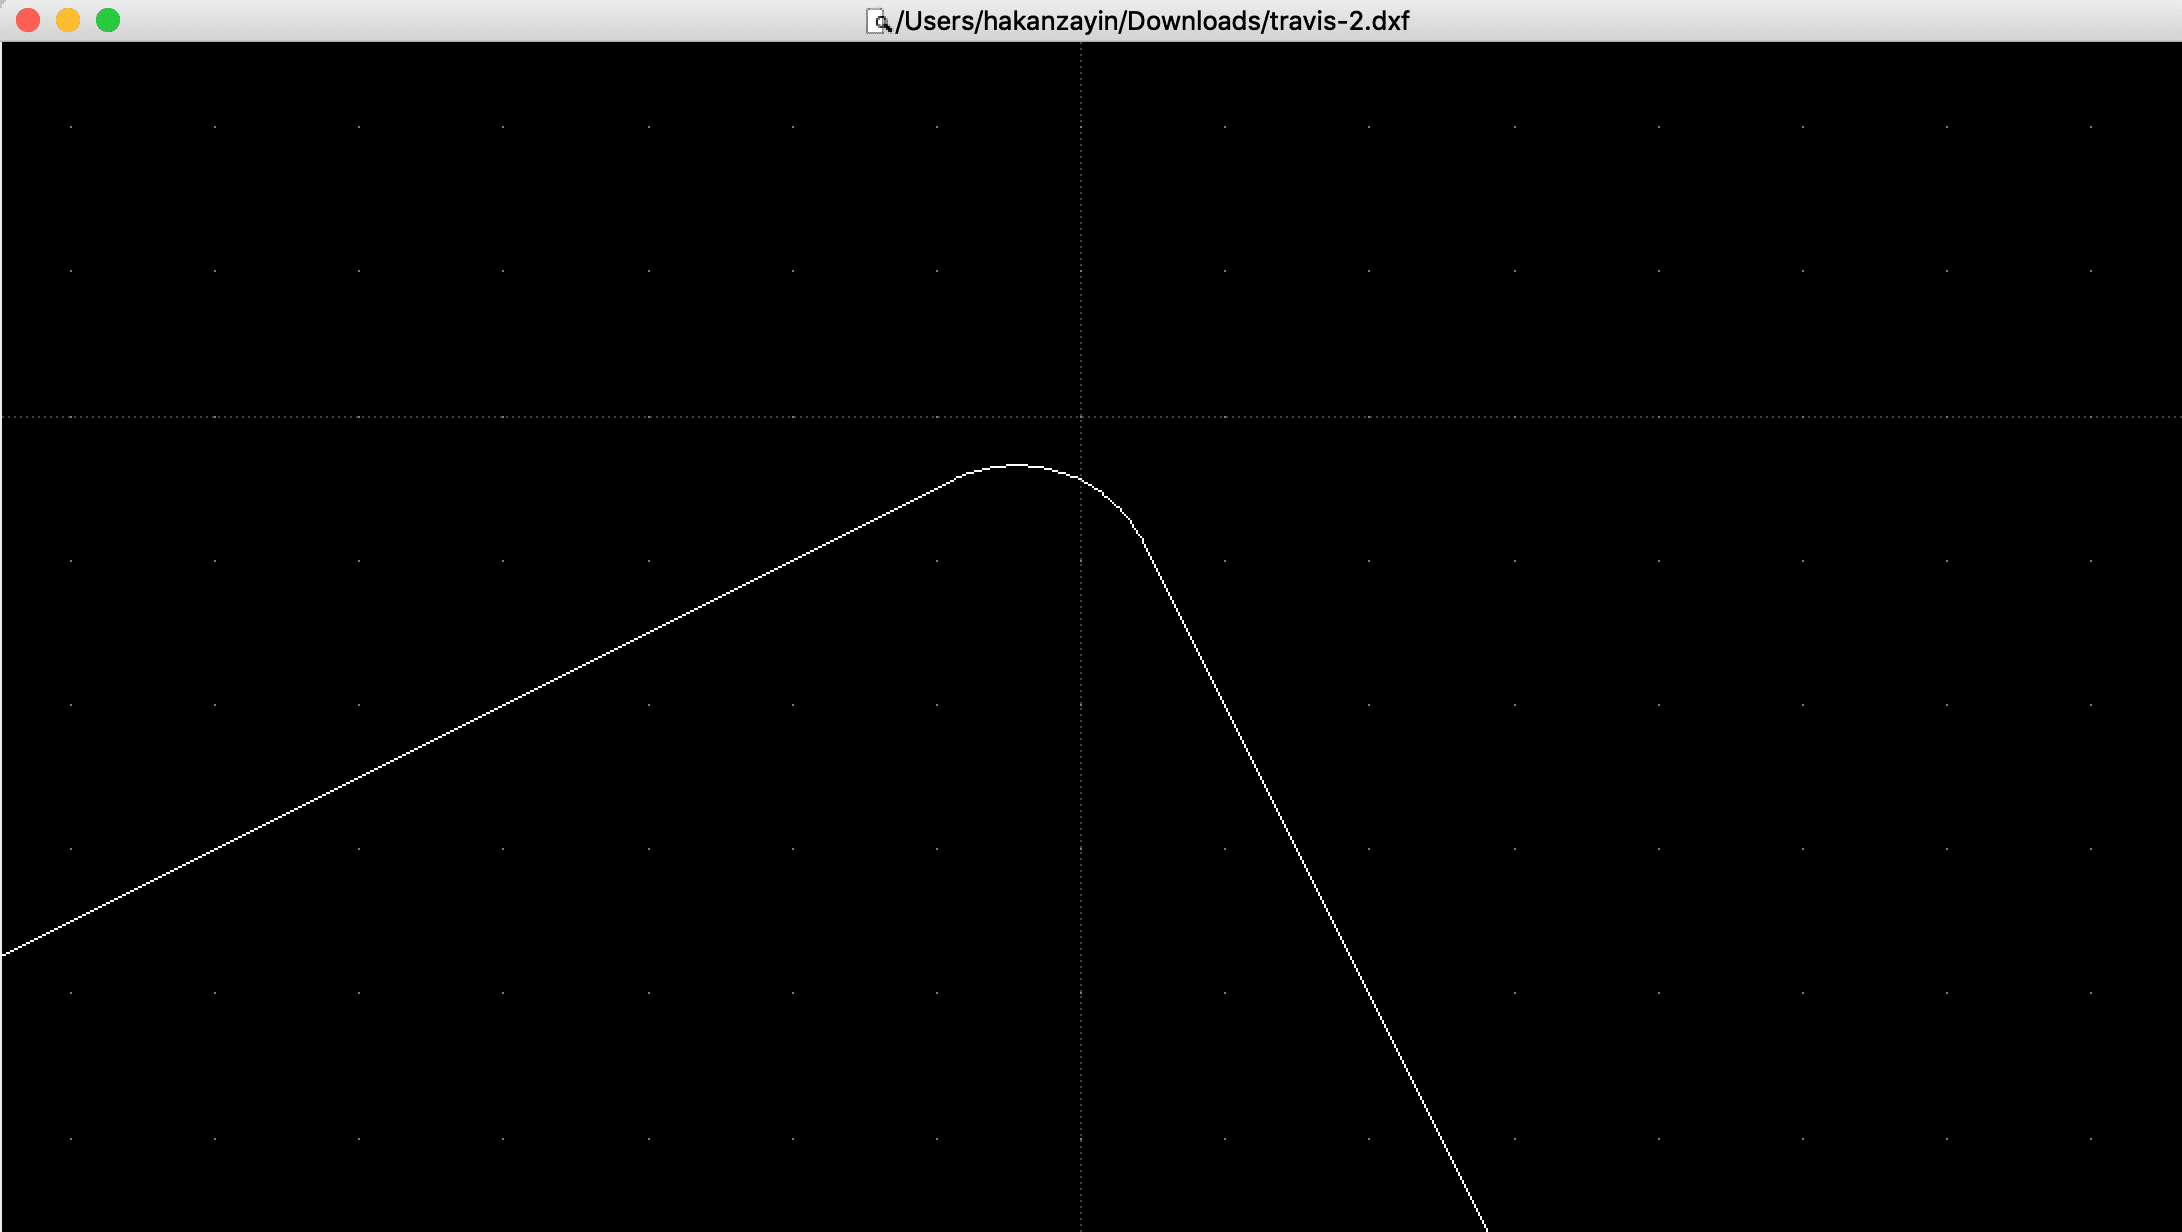
LibreCad has a lot features that kind of work after the same principles. For example when I want to draw a circle, just like the line, I select the circle in the left bar.
the circle menu pops up and there are different ways of placing cirlces
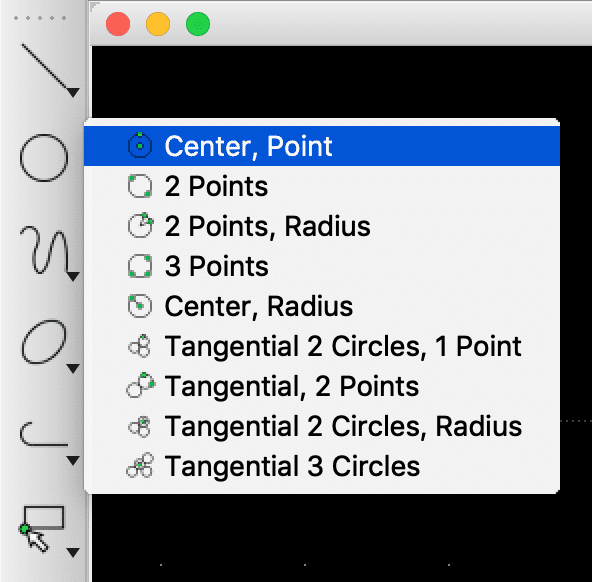
I will use center point, to place a circle around my cube. Different options could be more useful in specific situations. For example if I want to place a cirlce between two points, I would choose the 2 points options.
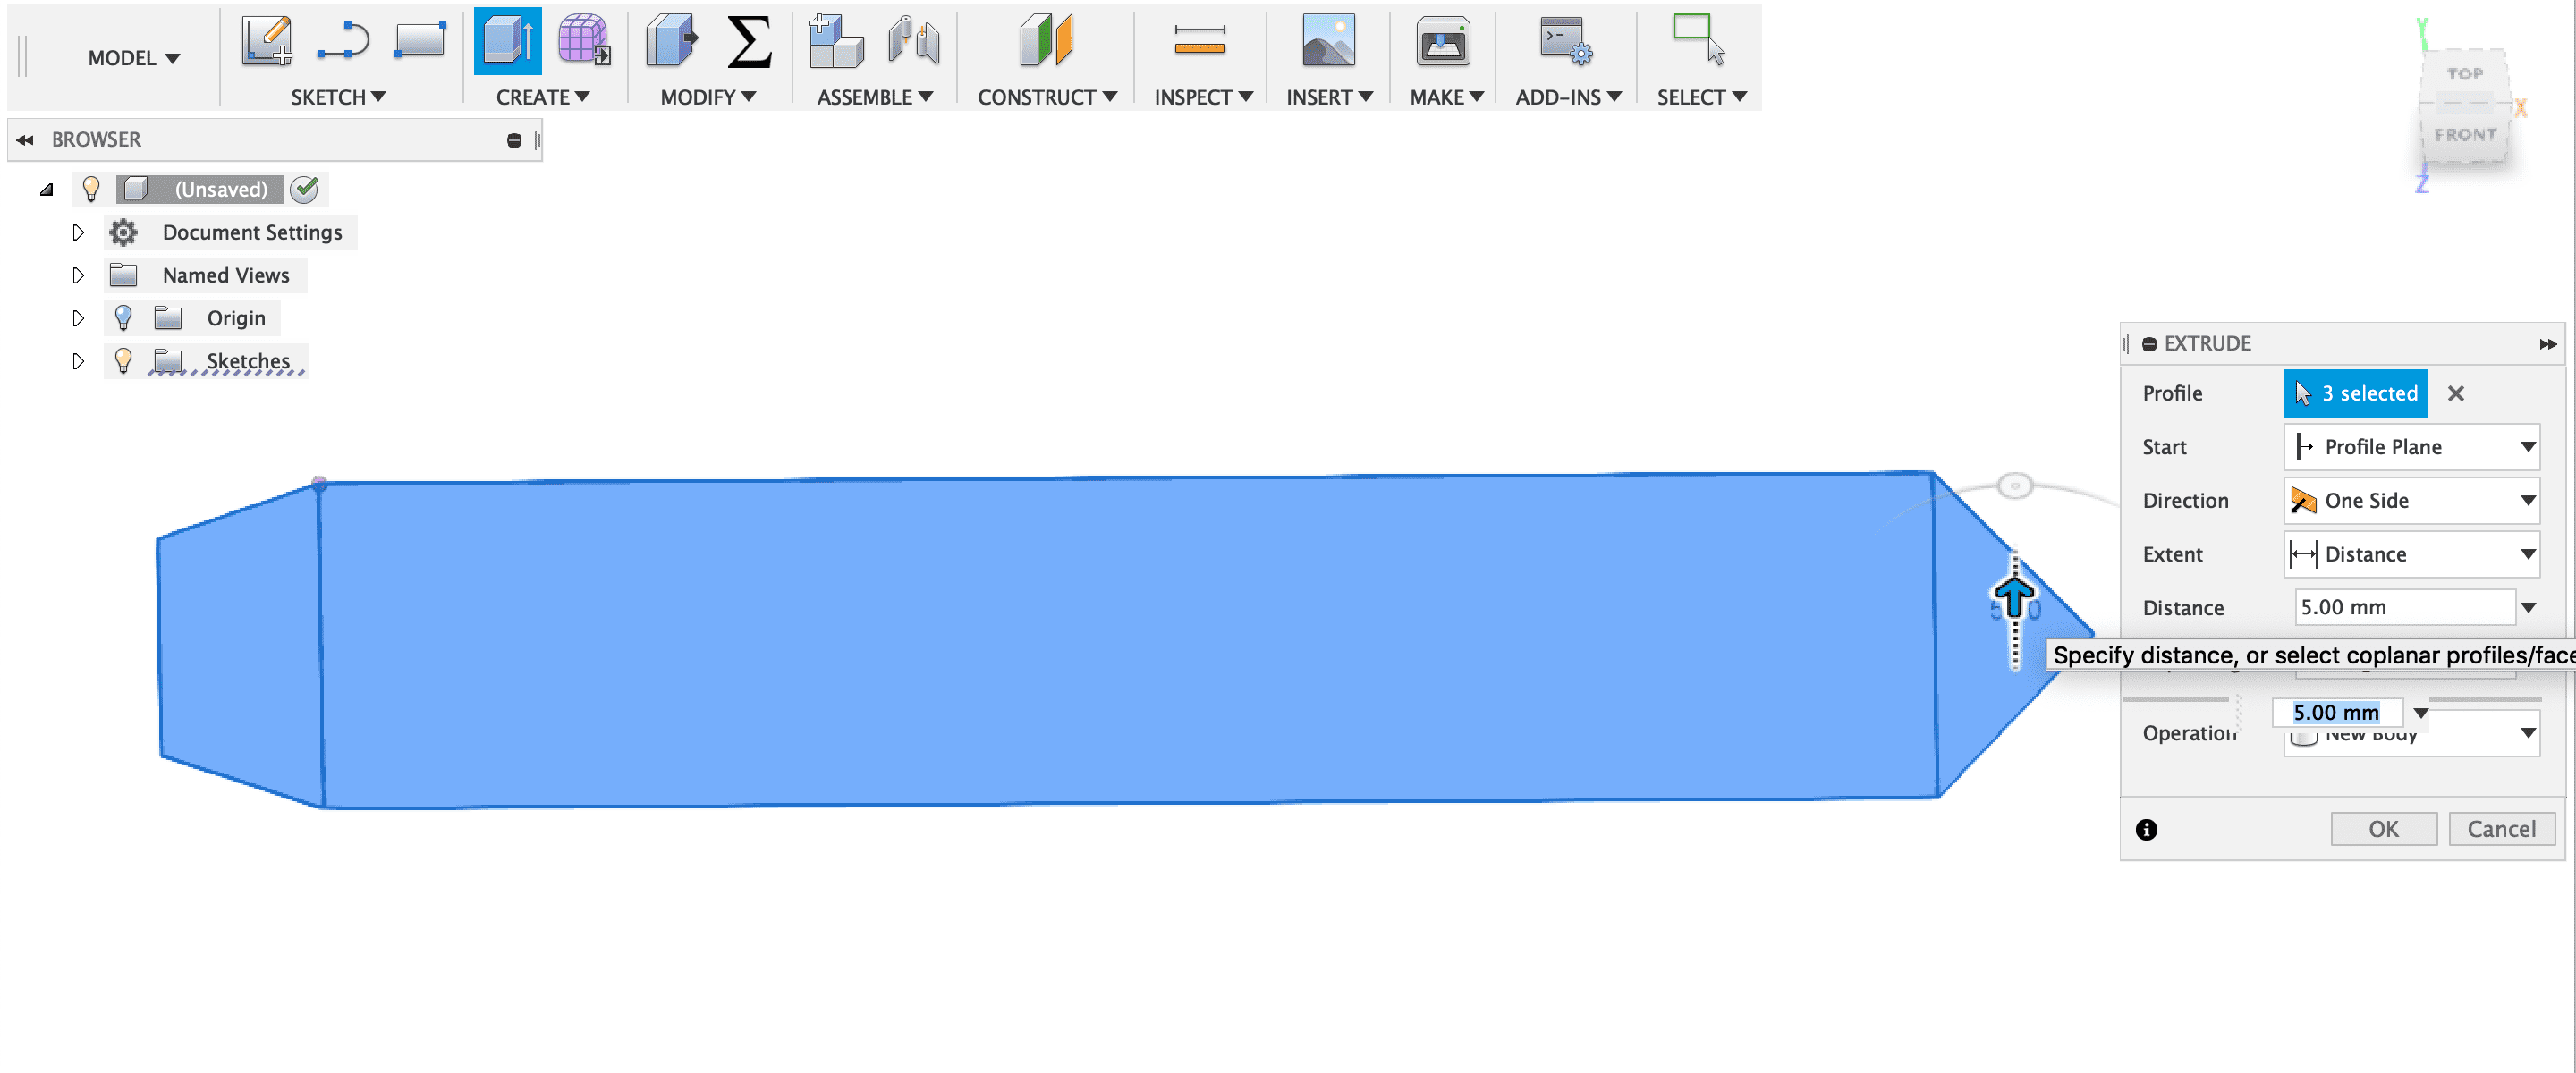
Now I will click on the center of the cube and drag my mouse until the circle touches the corners.
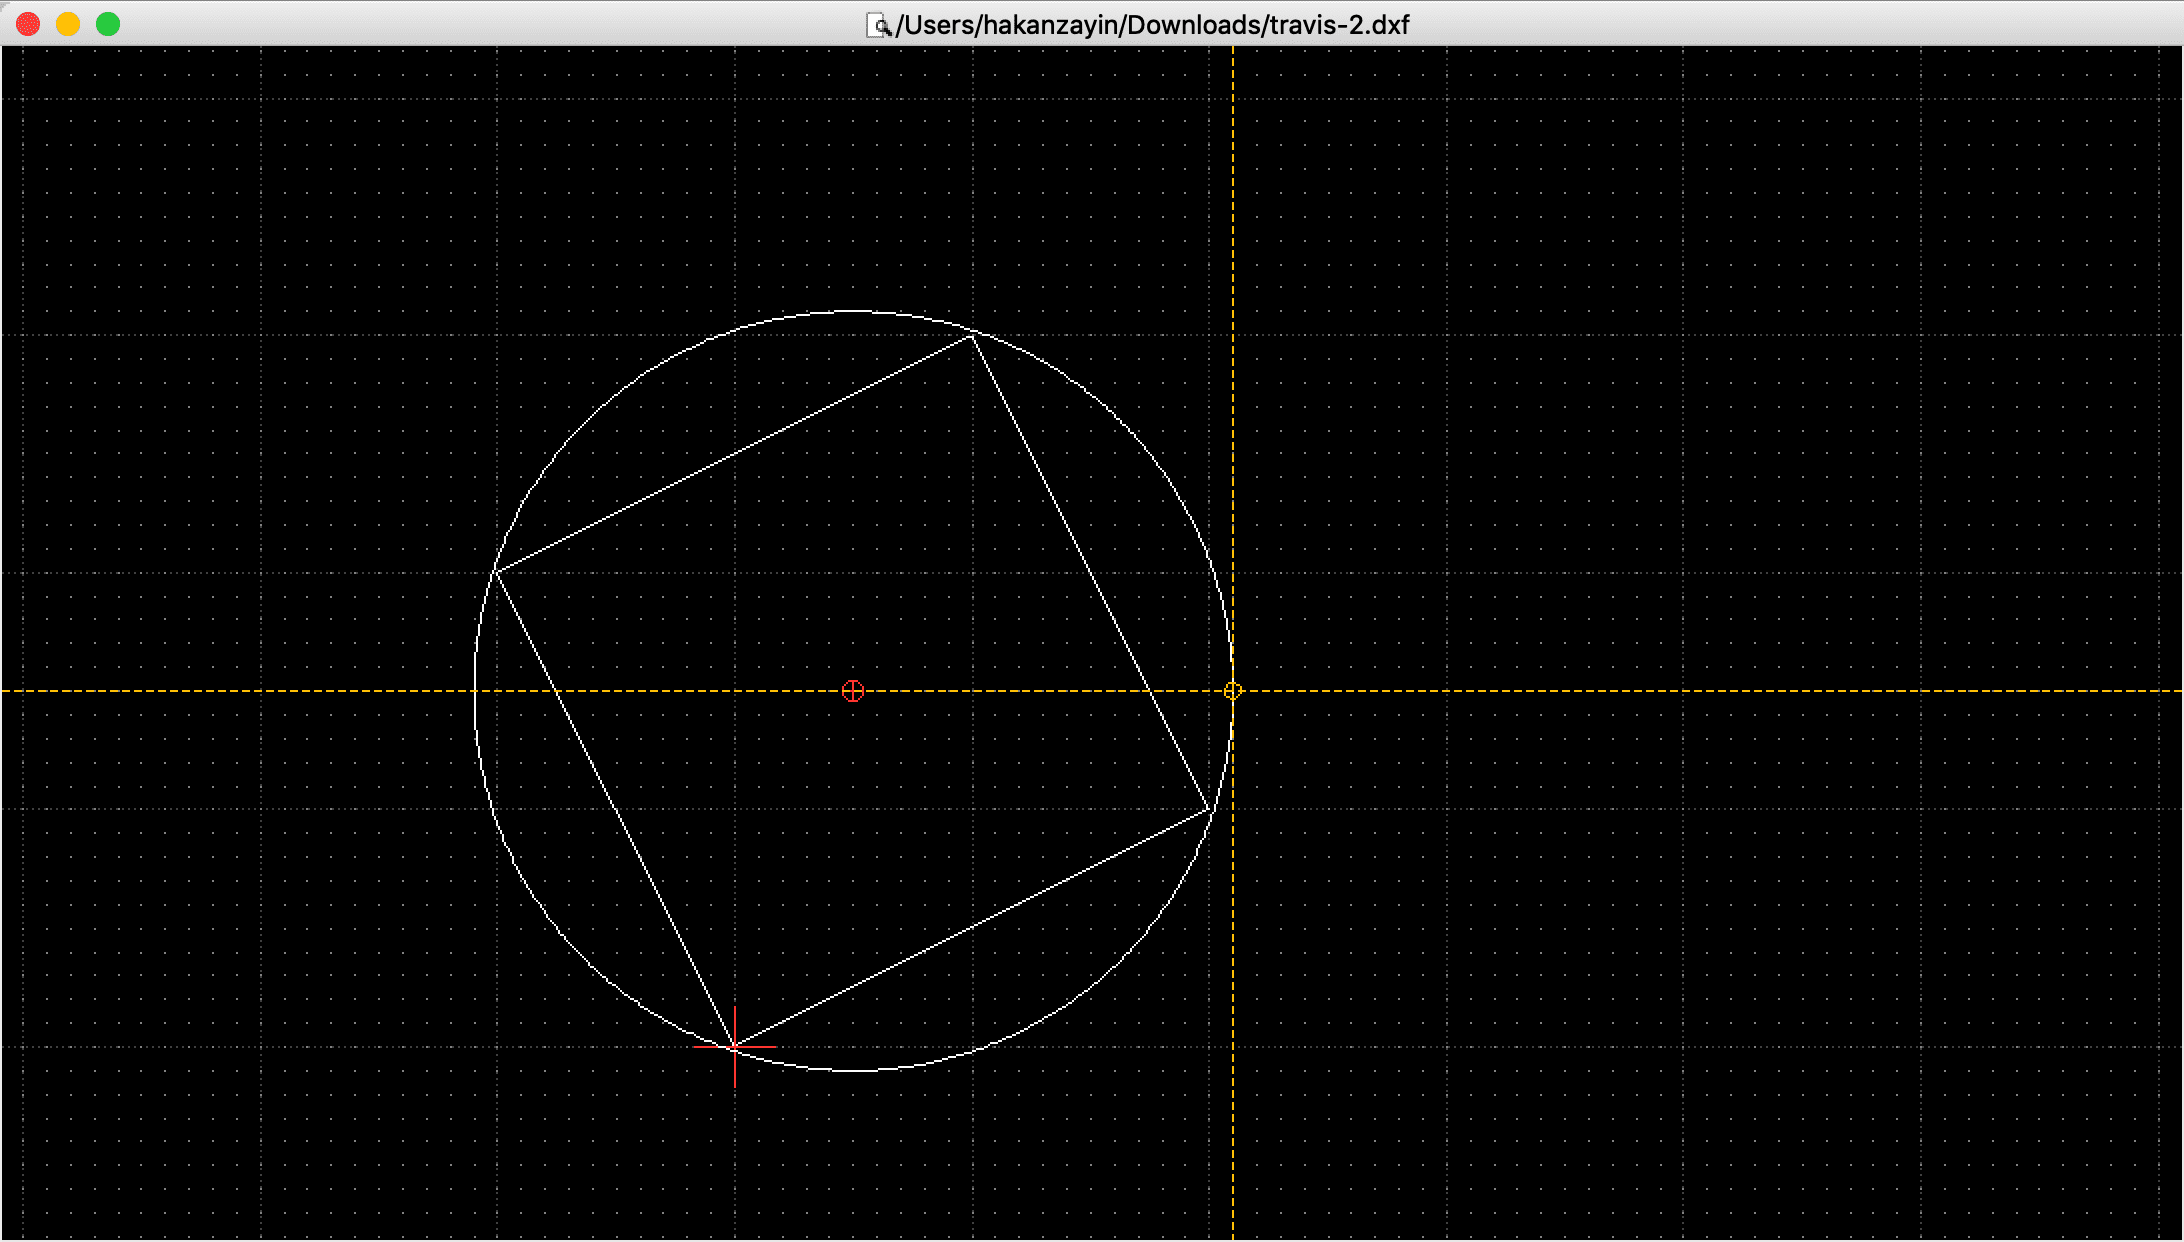
Then I will enter by pressing the left mouse button and my circle is drawn.

Thats just some basic steps into LibreCad there are a lot more functions to try out and use, but usually they are all working in the same way.
GIMP
Gimp is a free and open source raster graphics editor. It is mainly used for editing images but also for free-form drawing.
I will show how to use gimp for raster drawing.
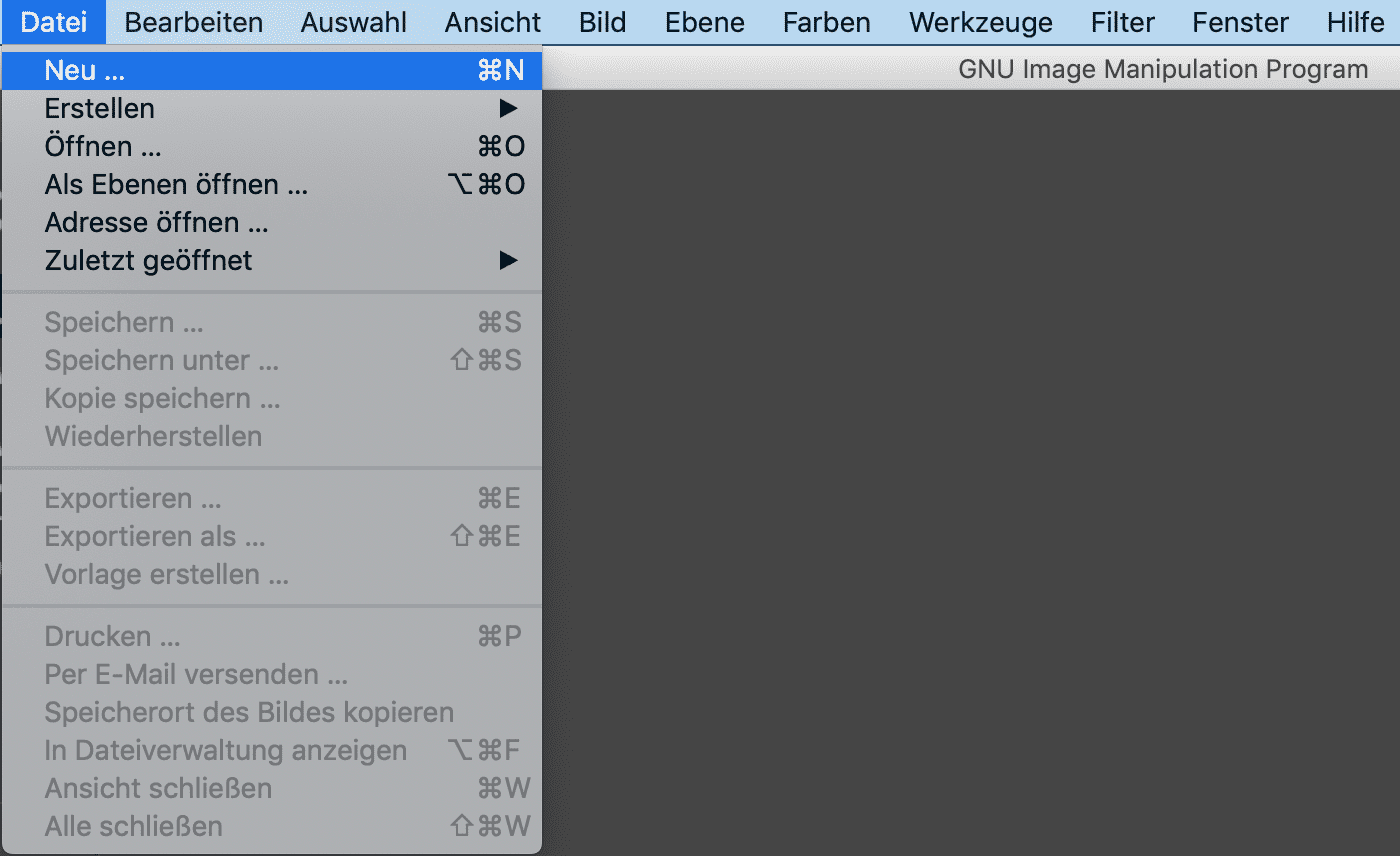
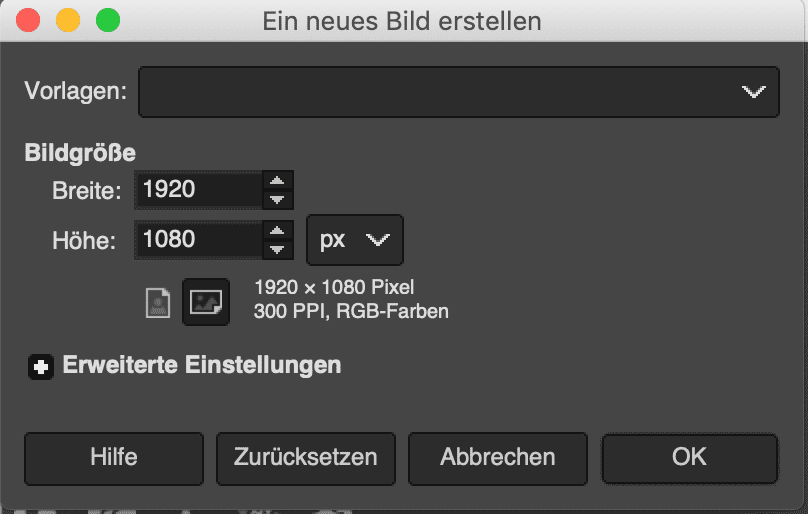
First things first I will create a new Picture navigating to File -> New
Now I can create an empty image which I can draw on, the resolution in my case doesn't really matter, but If you are going to draw something that has to have a specific size check the resolution.
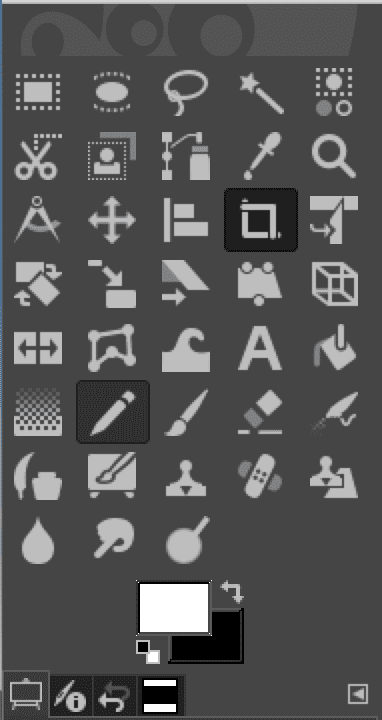
Now with my empty image I can go on with selecting a tool on the left down side. I will choose the pencil first. You can recognize it by the pencil icon.
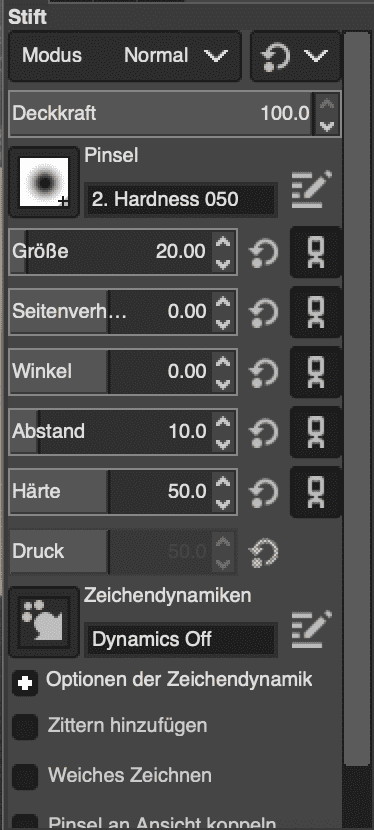
When the pencil is selected, another menu will pop up in the left down side right under the tools menu. Here I can change things like pencil width, strenght s.o.
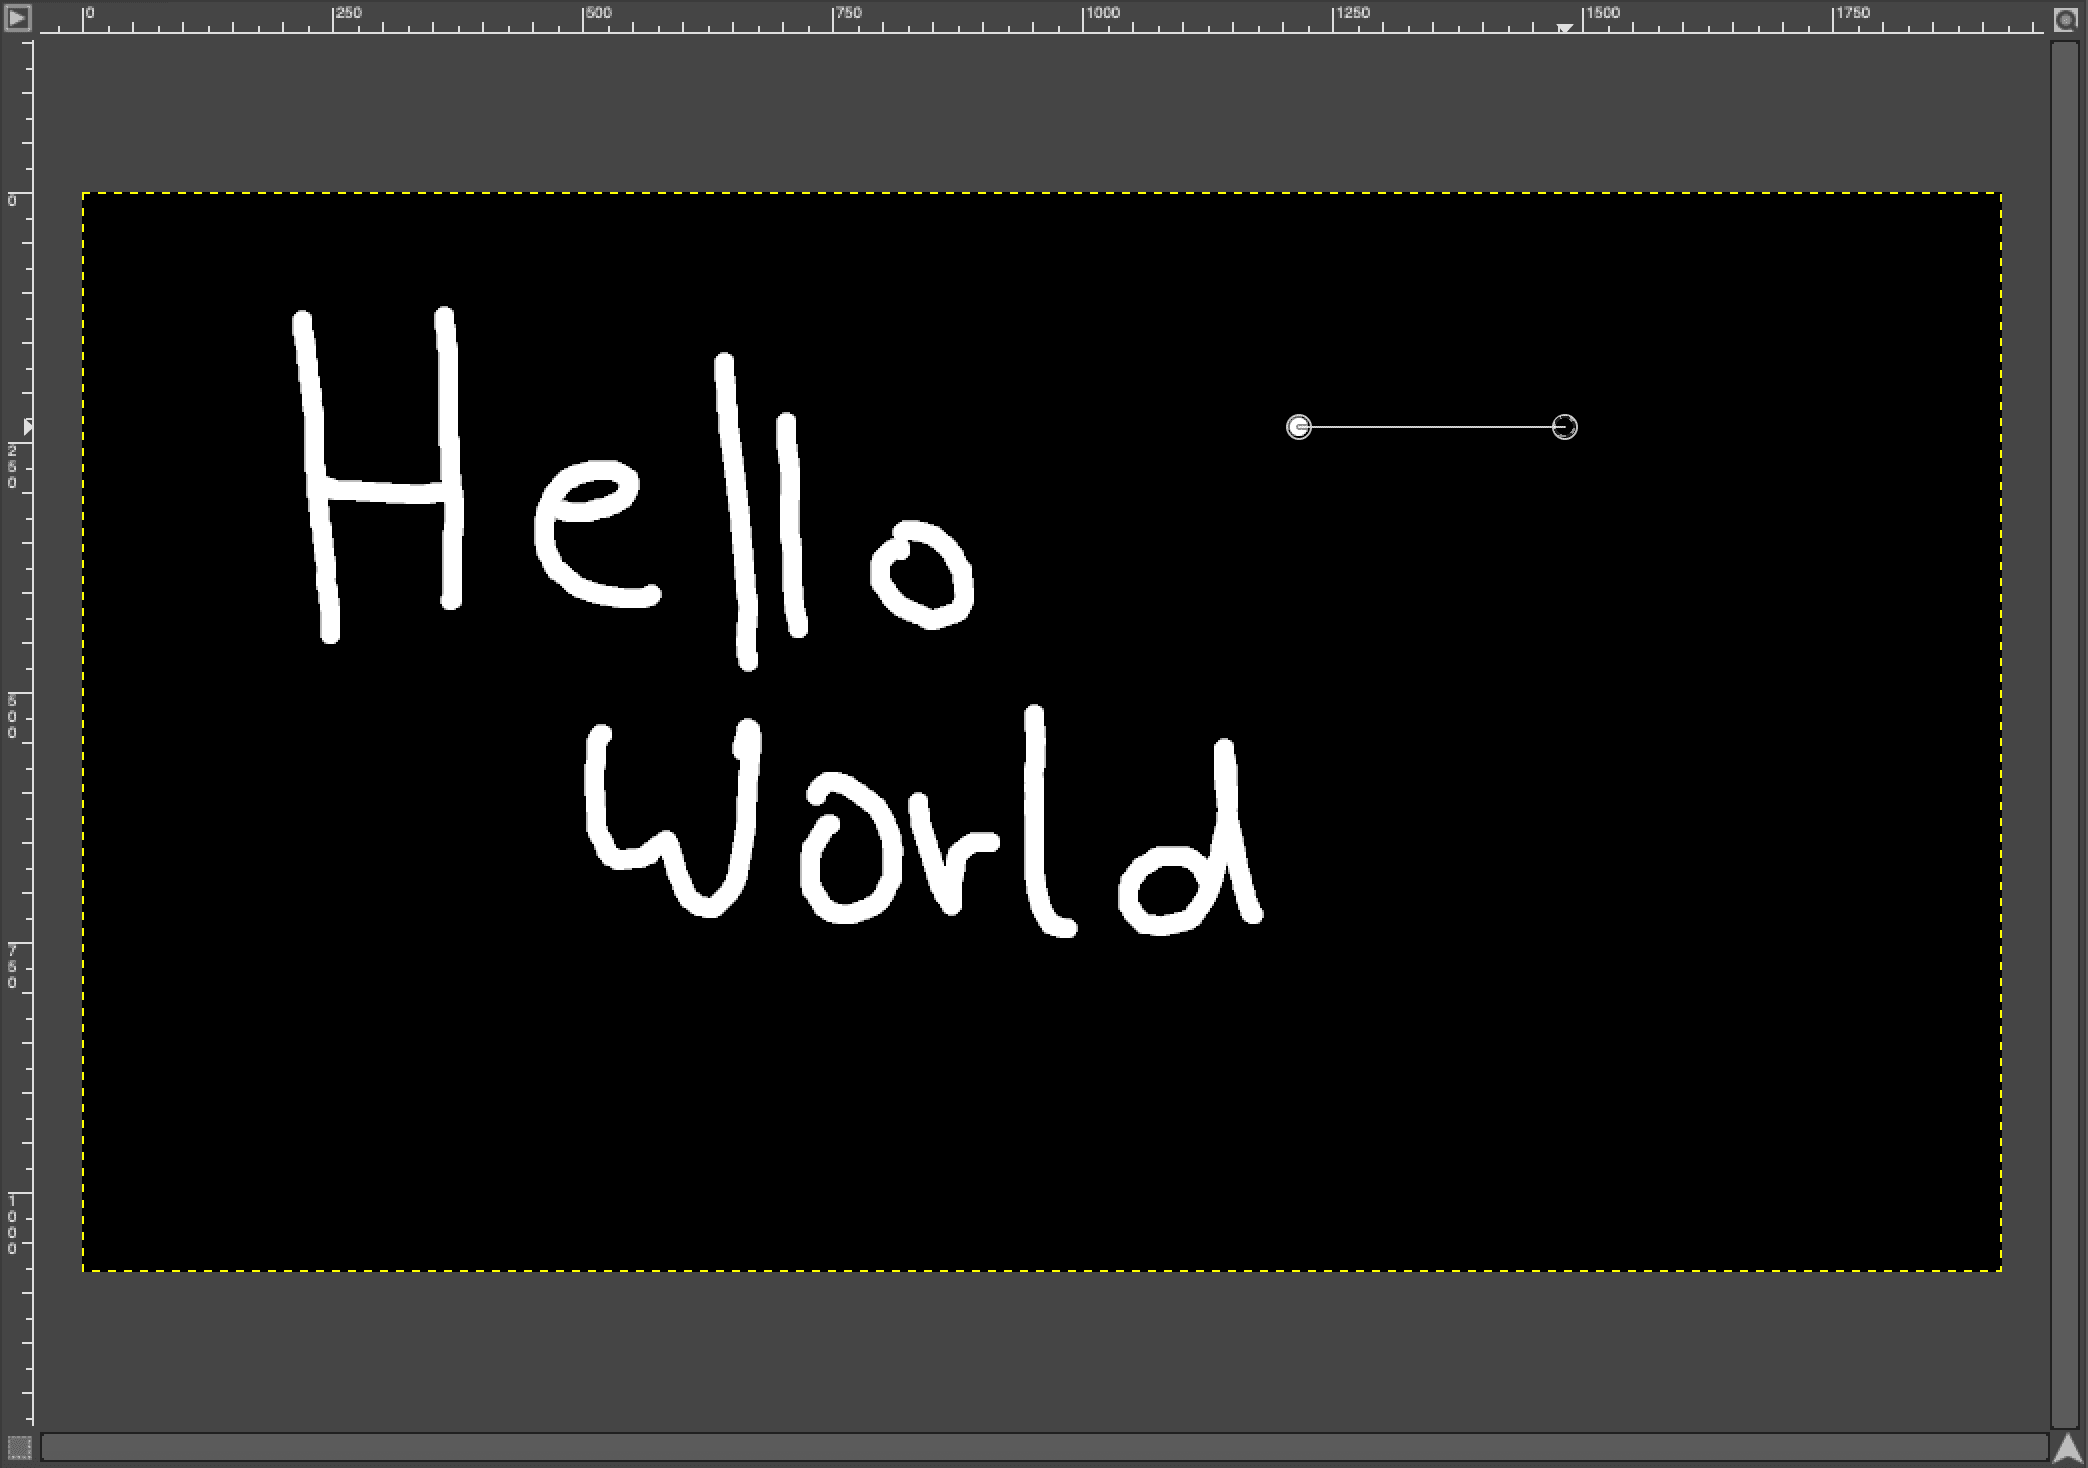
With everything set I am now able to draw on the image by clicking on the image with my mouse. It's just like drawing a picture and is very easy to use.
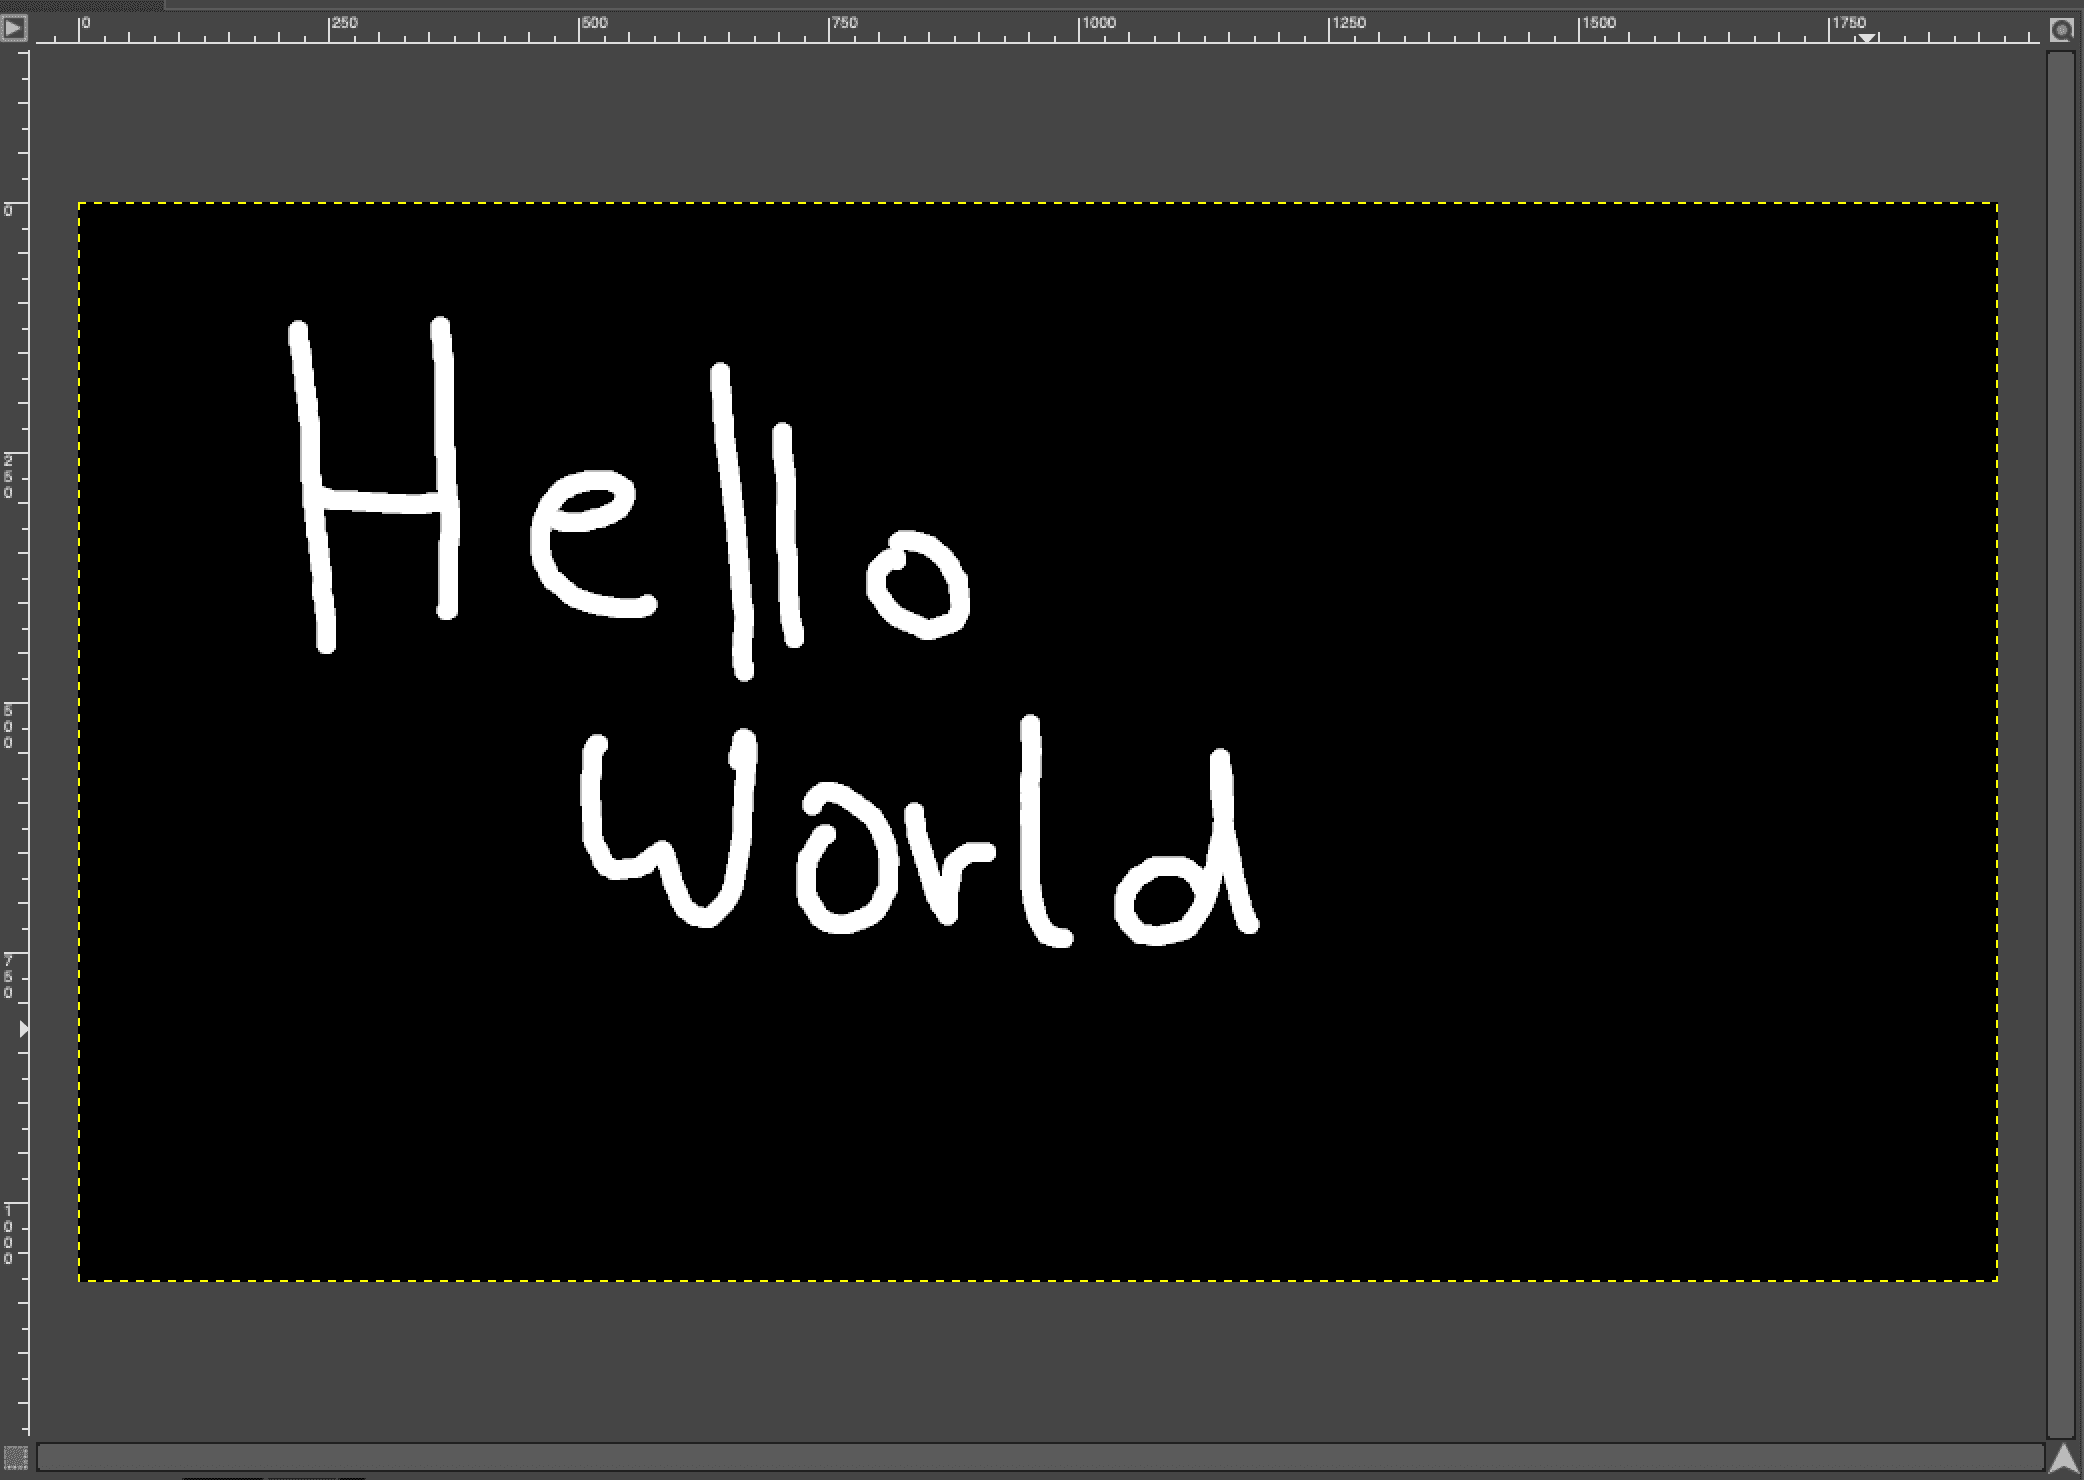
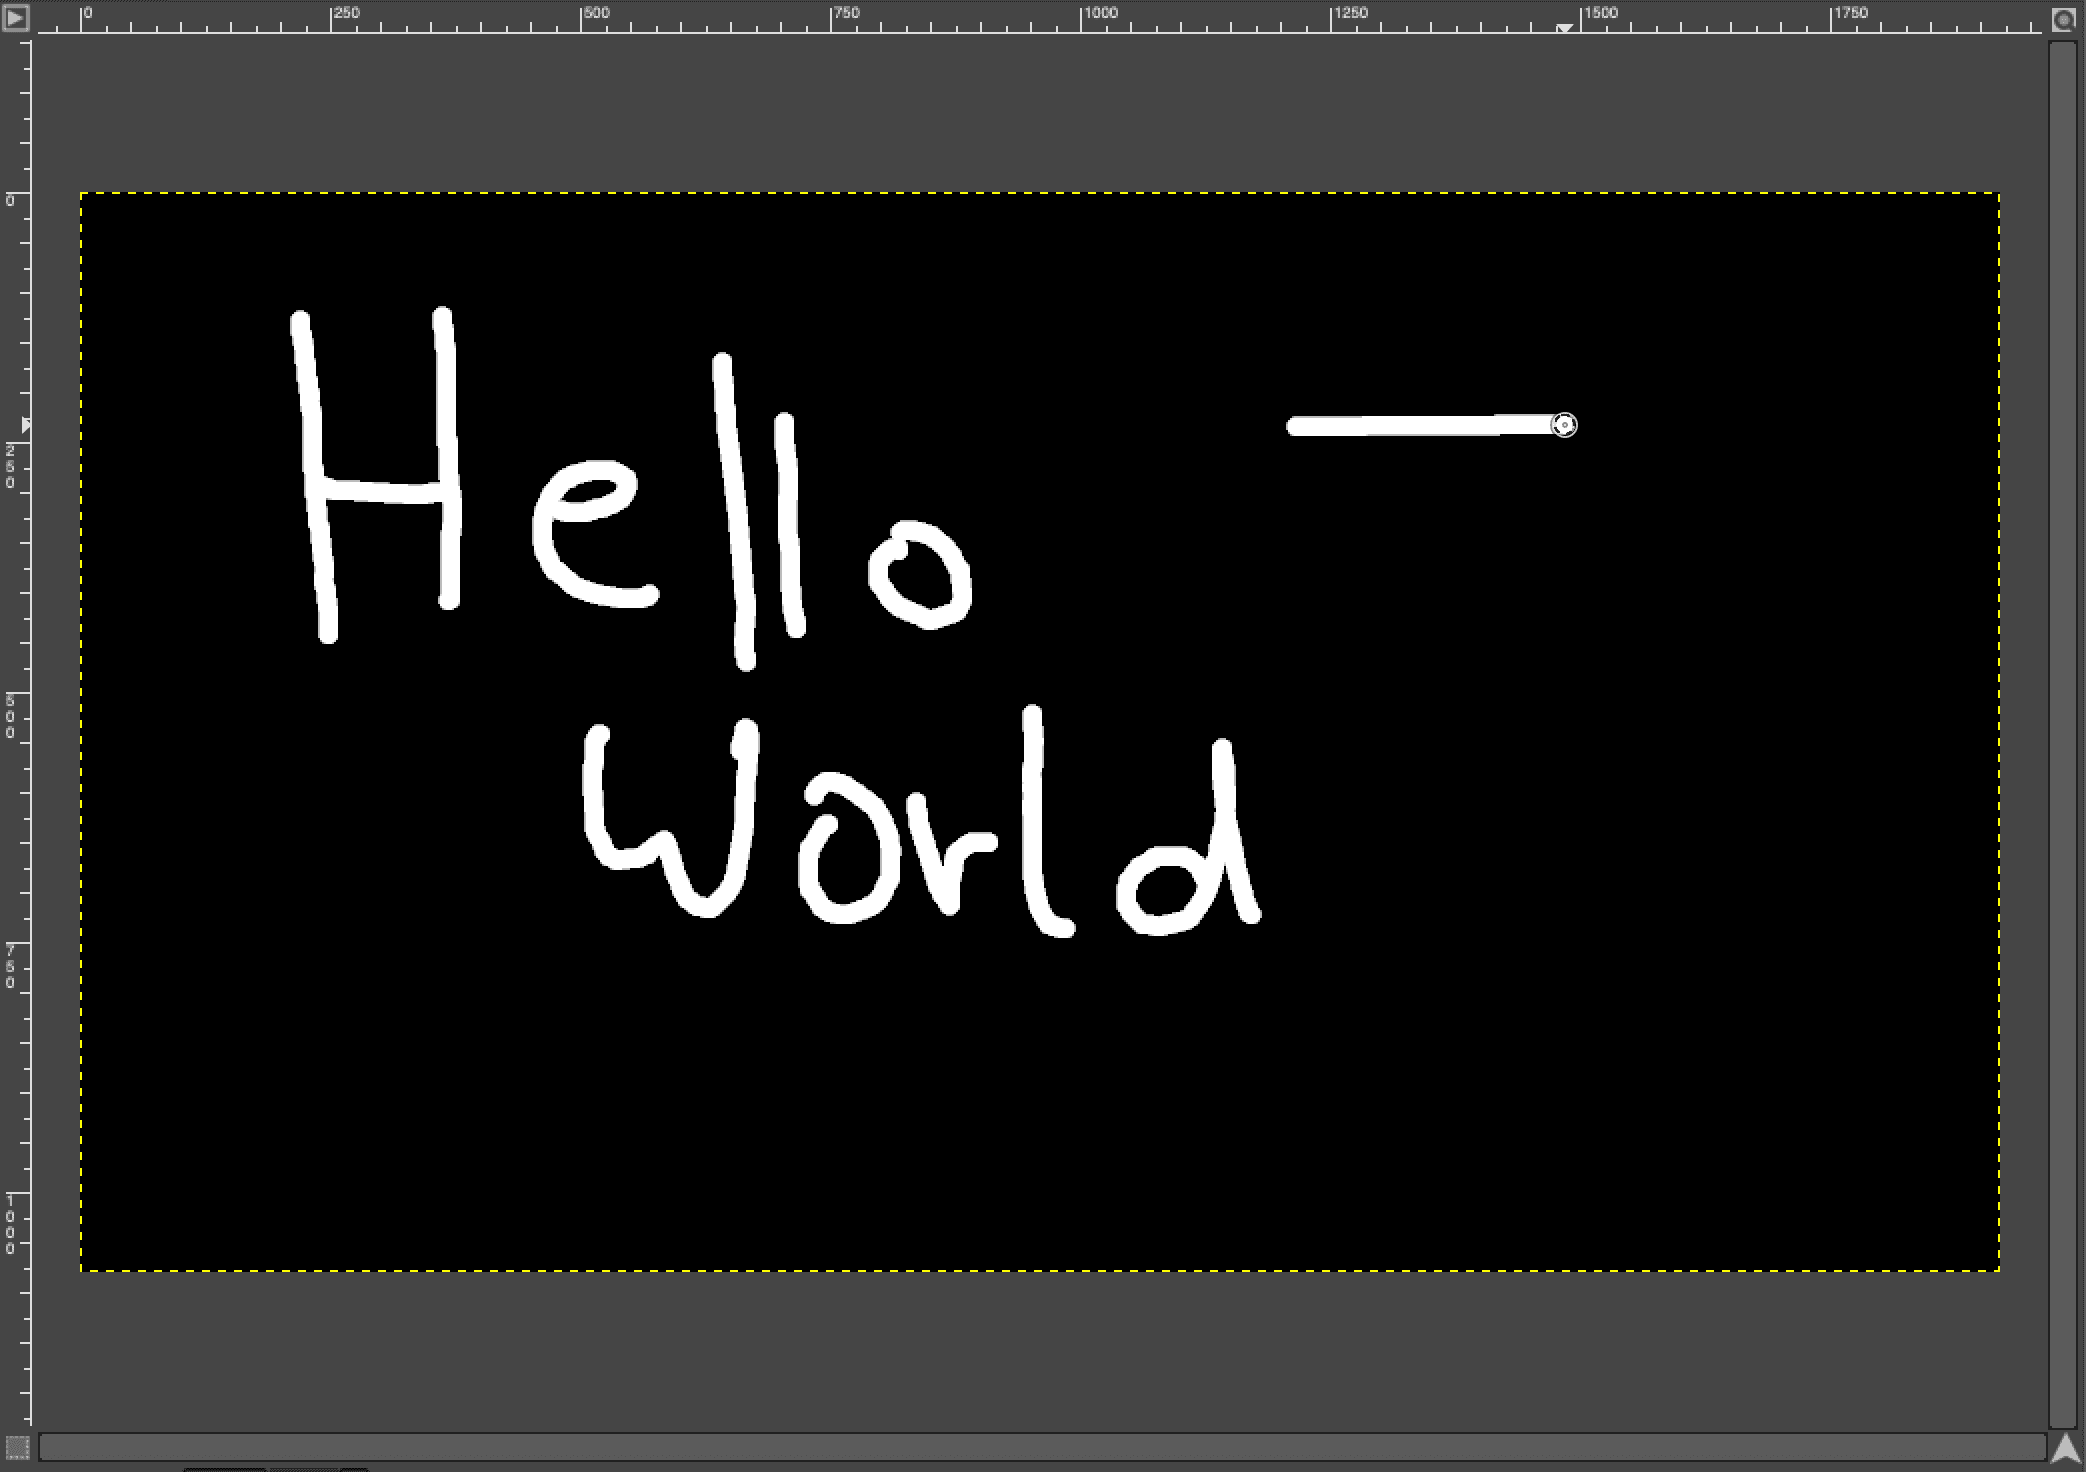
Pressing the shift button will create a line between the last placed point and the cursor.
the shift button will create a straight line to wherever the cursor is.
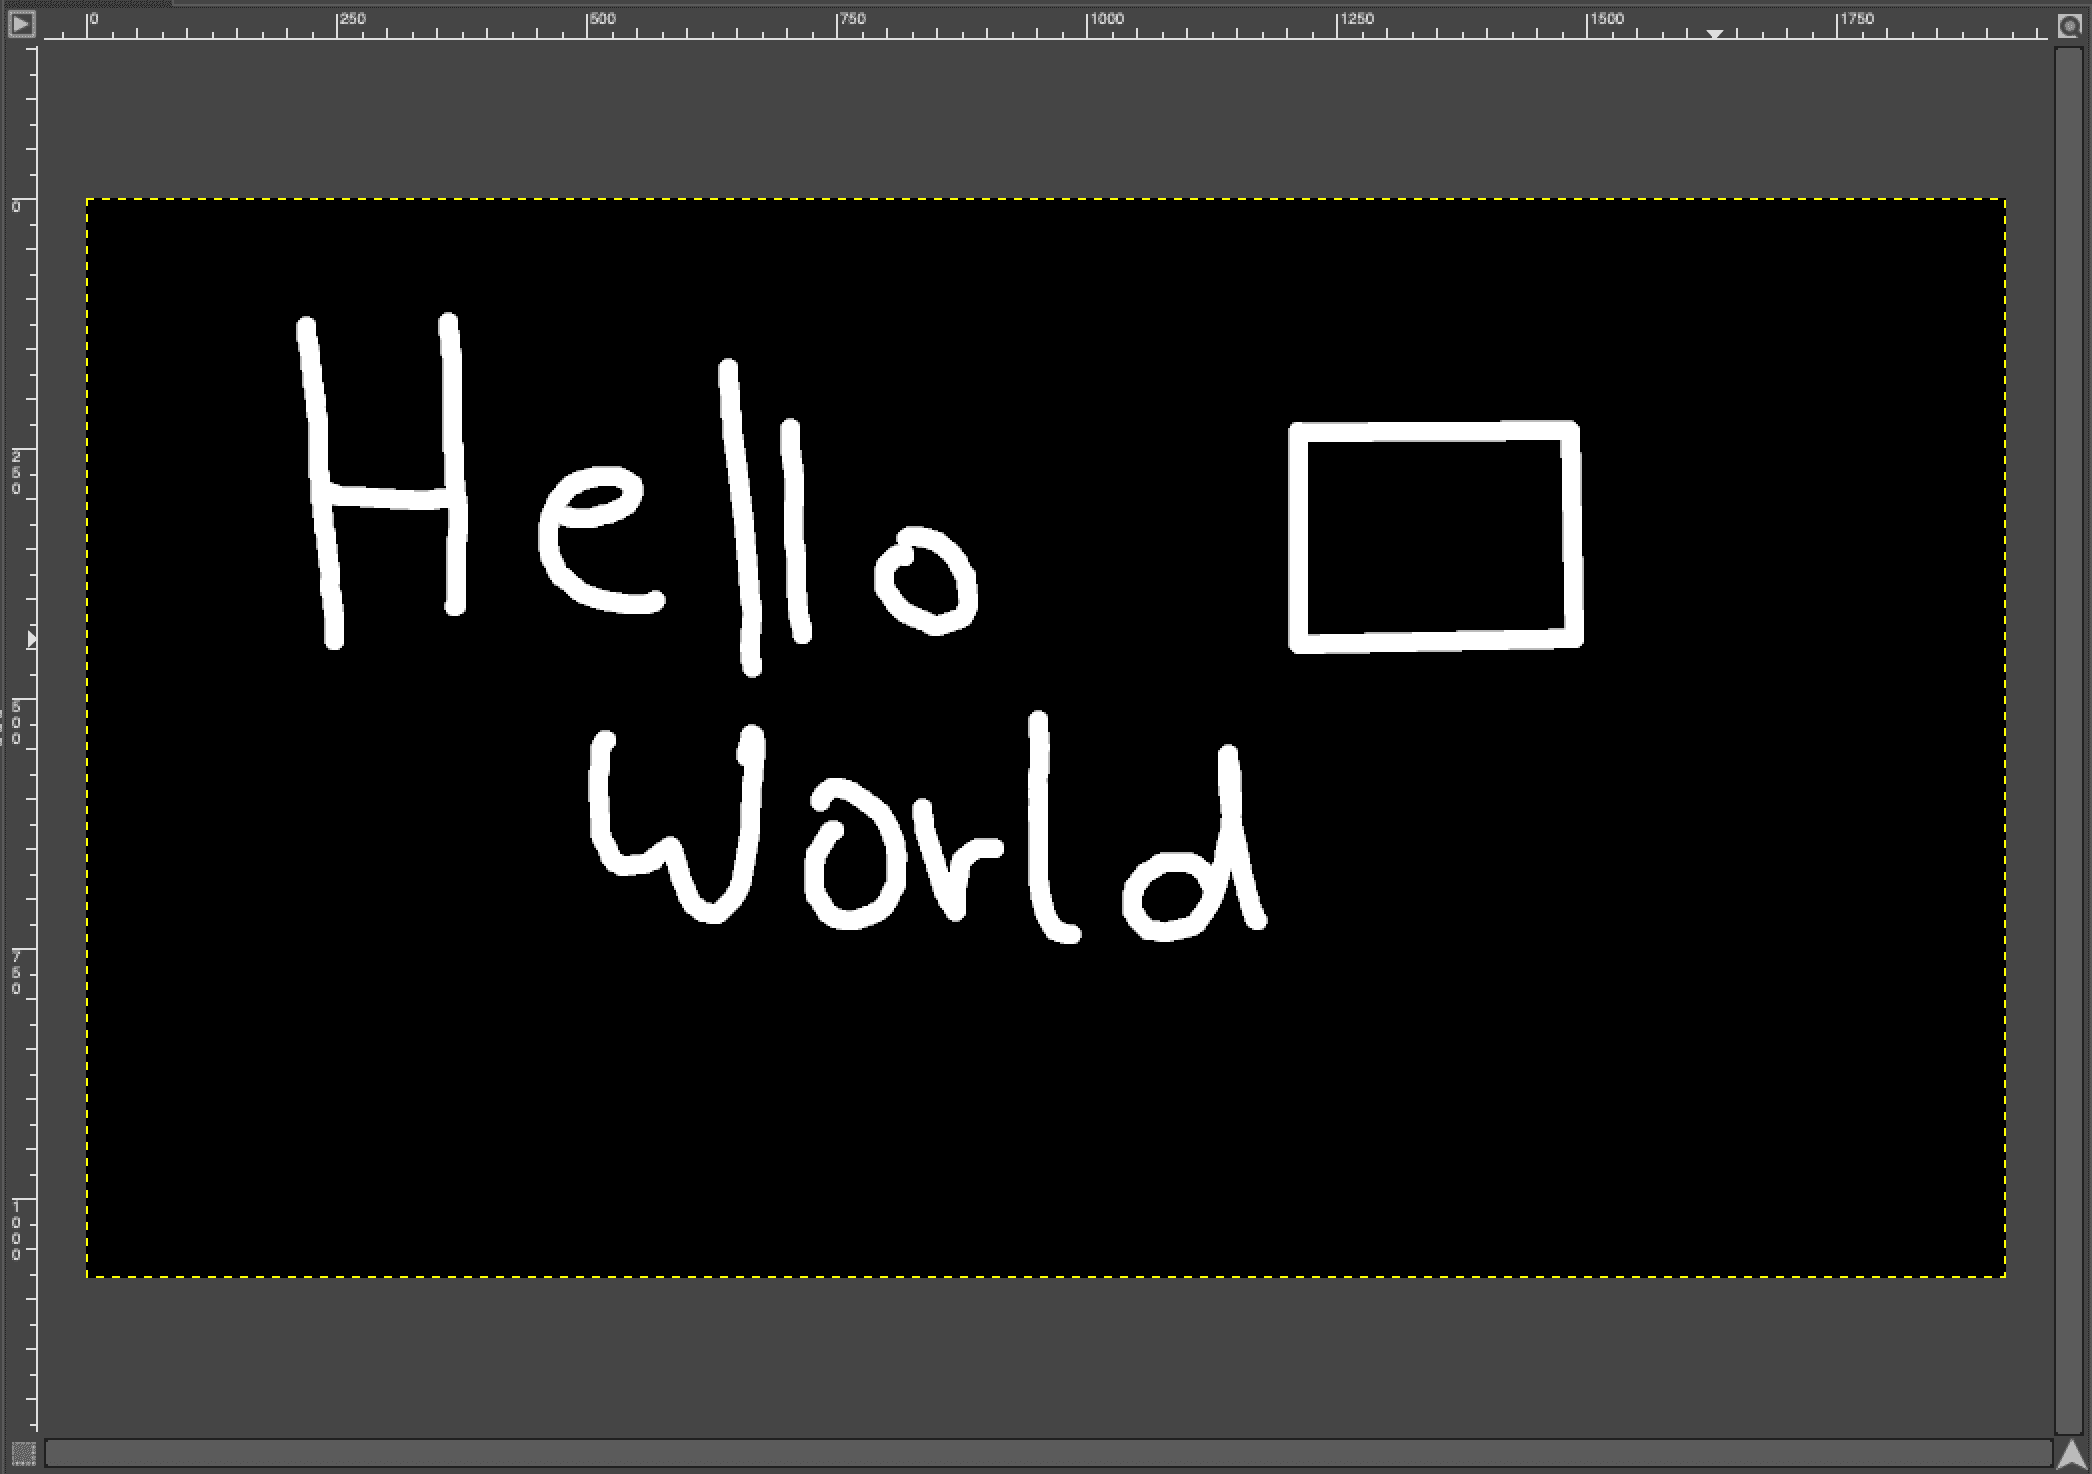
It's very helpfull for more precise drawings in gimp, I have tried to draw a cube using the line modifier.
There are a few other tools to create raster lines such as the brush and the airbrush, which are simulating drawing of a brush or an airbrush. You can use them like you use the pencil, just select and start drawing.
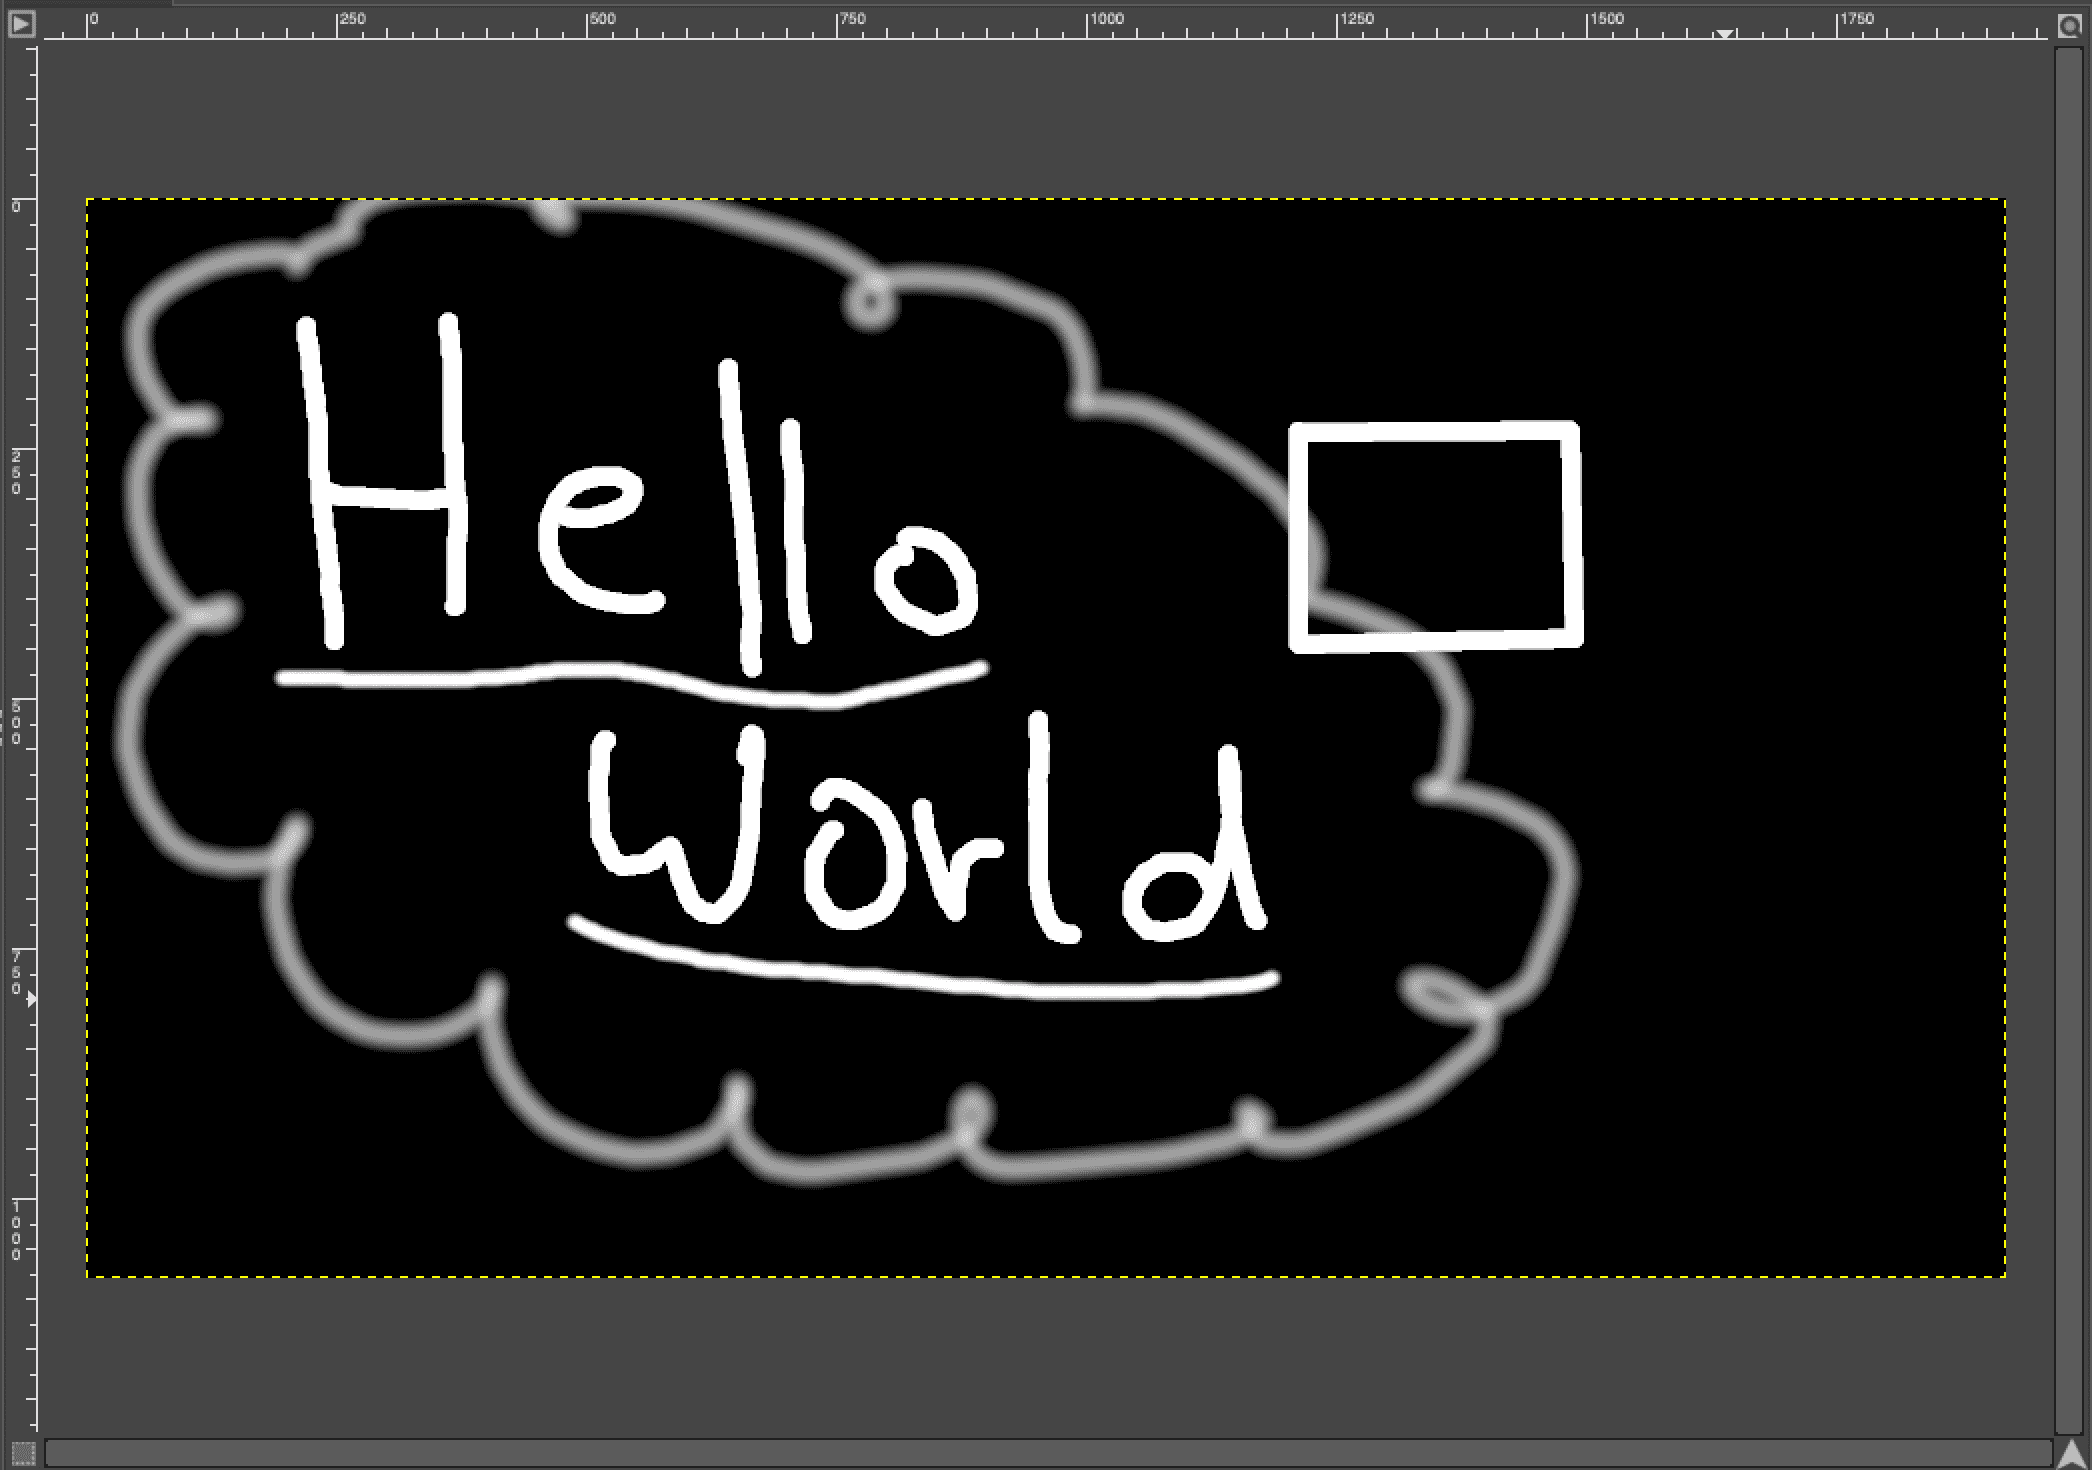
Also ith is possible to erase lines that has ben placed already, by selecting the eraser tool on the left menu.
Erase the lines by simply dragging the cursor over them and holding the left mousebutton down
Exploring gimp can be very fun, espacially because of its image editing abilities, there are ways to create sketches out of your images and other stuff. As a free software I would say that gimp is one of the best alternatives to photoshop.
All in all I would say that working with 2d software is much easier than it is to work with 3d software, but that doesn't mean that 2d software is less spectacular. There are projects you can only do using the 2d software and there are things you can do with 3d software. Espacially when it comes to laser cutting or engraving things I would highly recommend to use a 2d software, because they are much easier to handle and mostly do what the user would like to do. 3D software often needs more time to get used to and is harder to get started with, but of course this is based on you knowledge about modeling software in general. It was fun to try out different software, which I have never used before. Would I use them in the future? I would say it is always good to have a backup software you can use when anything goes wrong with the main software, but of course I would stick to the software I know already just because I didn't have the time to get used to new software, nevertheless when having the time it's good to try a few things out and find the ideal software for your needs.
Click me for the skateboard!
Click me for the skateboard!
Click me for the librefile!