3D-Printing
This week's assignment was all about 3D-Printing and scannig, we were asked to print something that could not be produced via subtractive processes and we had to 3d-scan any kind of object, with whatever techniques were available.
This was then exported as an .obj file and opened in the "Cura" slicing software. Since Blender is not meant for CAD applications, I didn't get the scale right. However that could easily be fixed by simply scaling the object to the desired size in Cura.
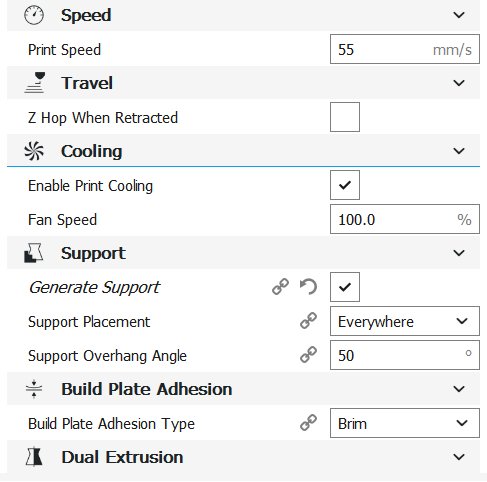
Then it was time to set up all the settings for the print. Since The print was just going to be a showpiece there was no need for any kind of exsessive structural integrity or stability, therefore I used PLA as the printing material. Also there were no small details on the model, so I used a 0.6mm nozzle with a 0.15mm layer height. I also set the infill density to 20% with "grid" as the pattern, this had no real resoning behind it, other than the fact that I wanted the print to finish fast and reasonably rigid. The Speed, Shell, Material as well as Cooling and Travel settings were all left untouched, since I never had any problems with the default settings. I did however check generate support and set the overhang angle to 50°. Also I added a brim , to provide more adhesion to the build plate, since our printers are notorious for not having any build plate adhesion at all.
After all of that was done, the print would take 1:48 hours, which is fine for a print of this size.

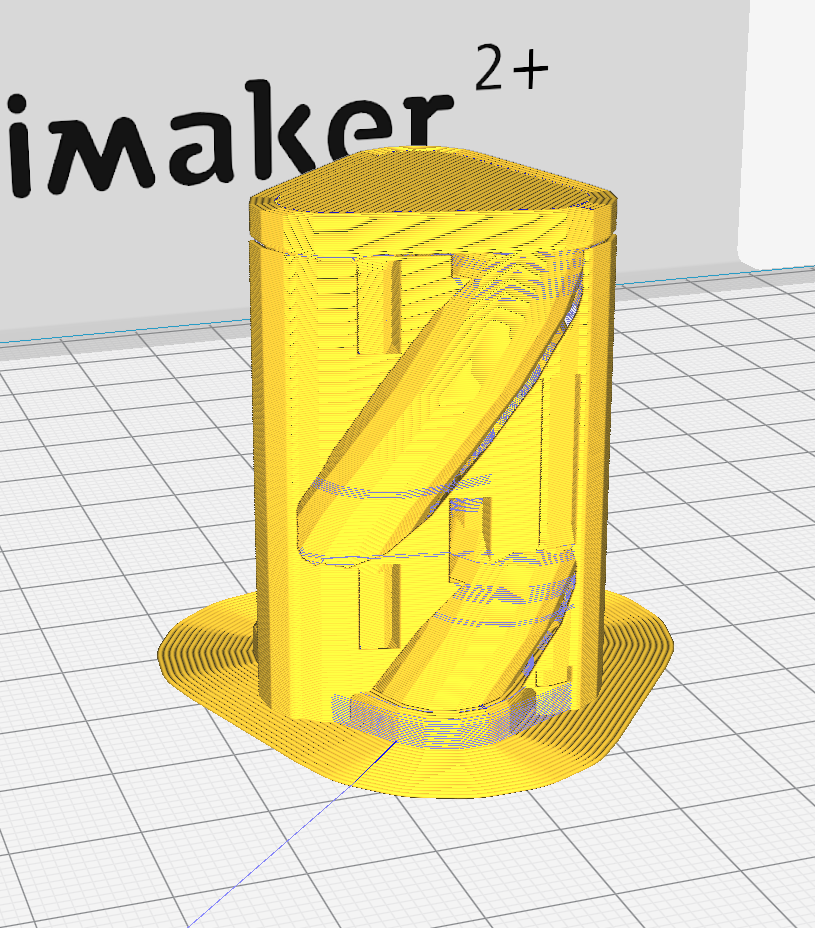
This is what the "Layer view" in Cura looked like.
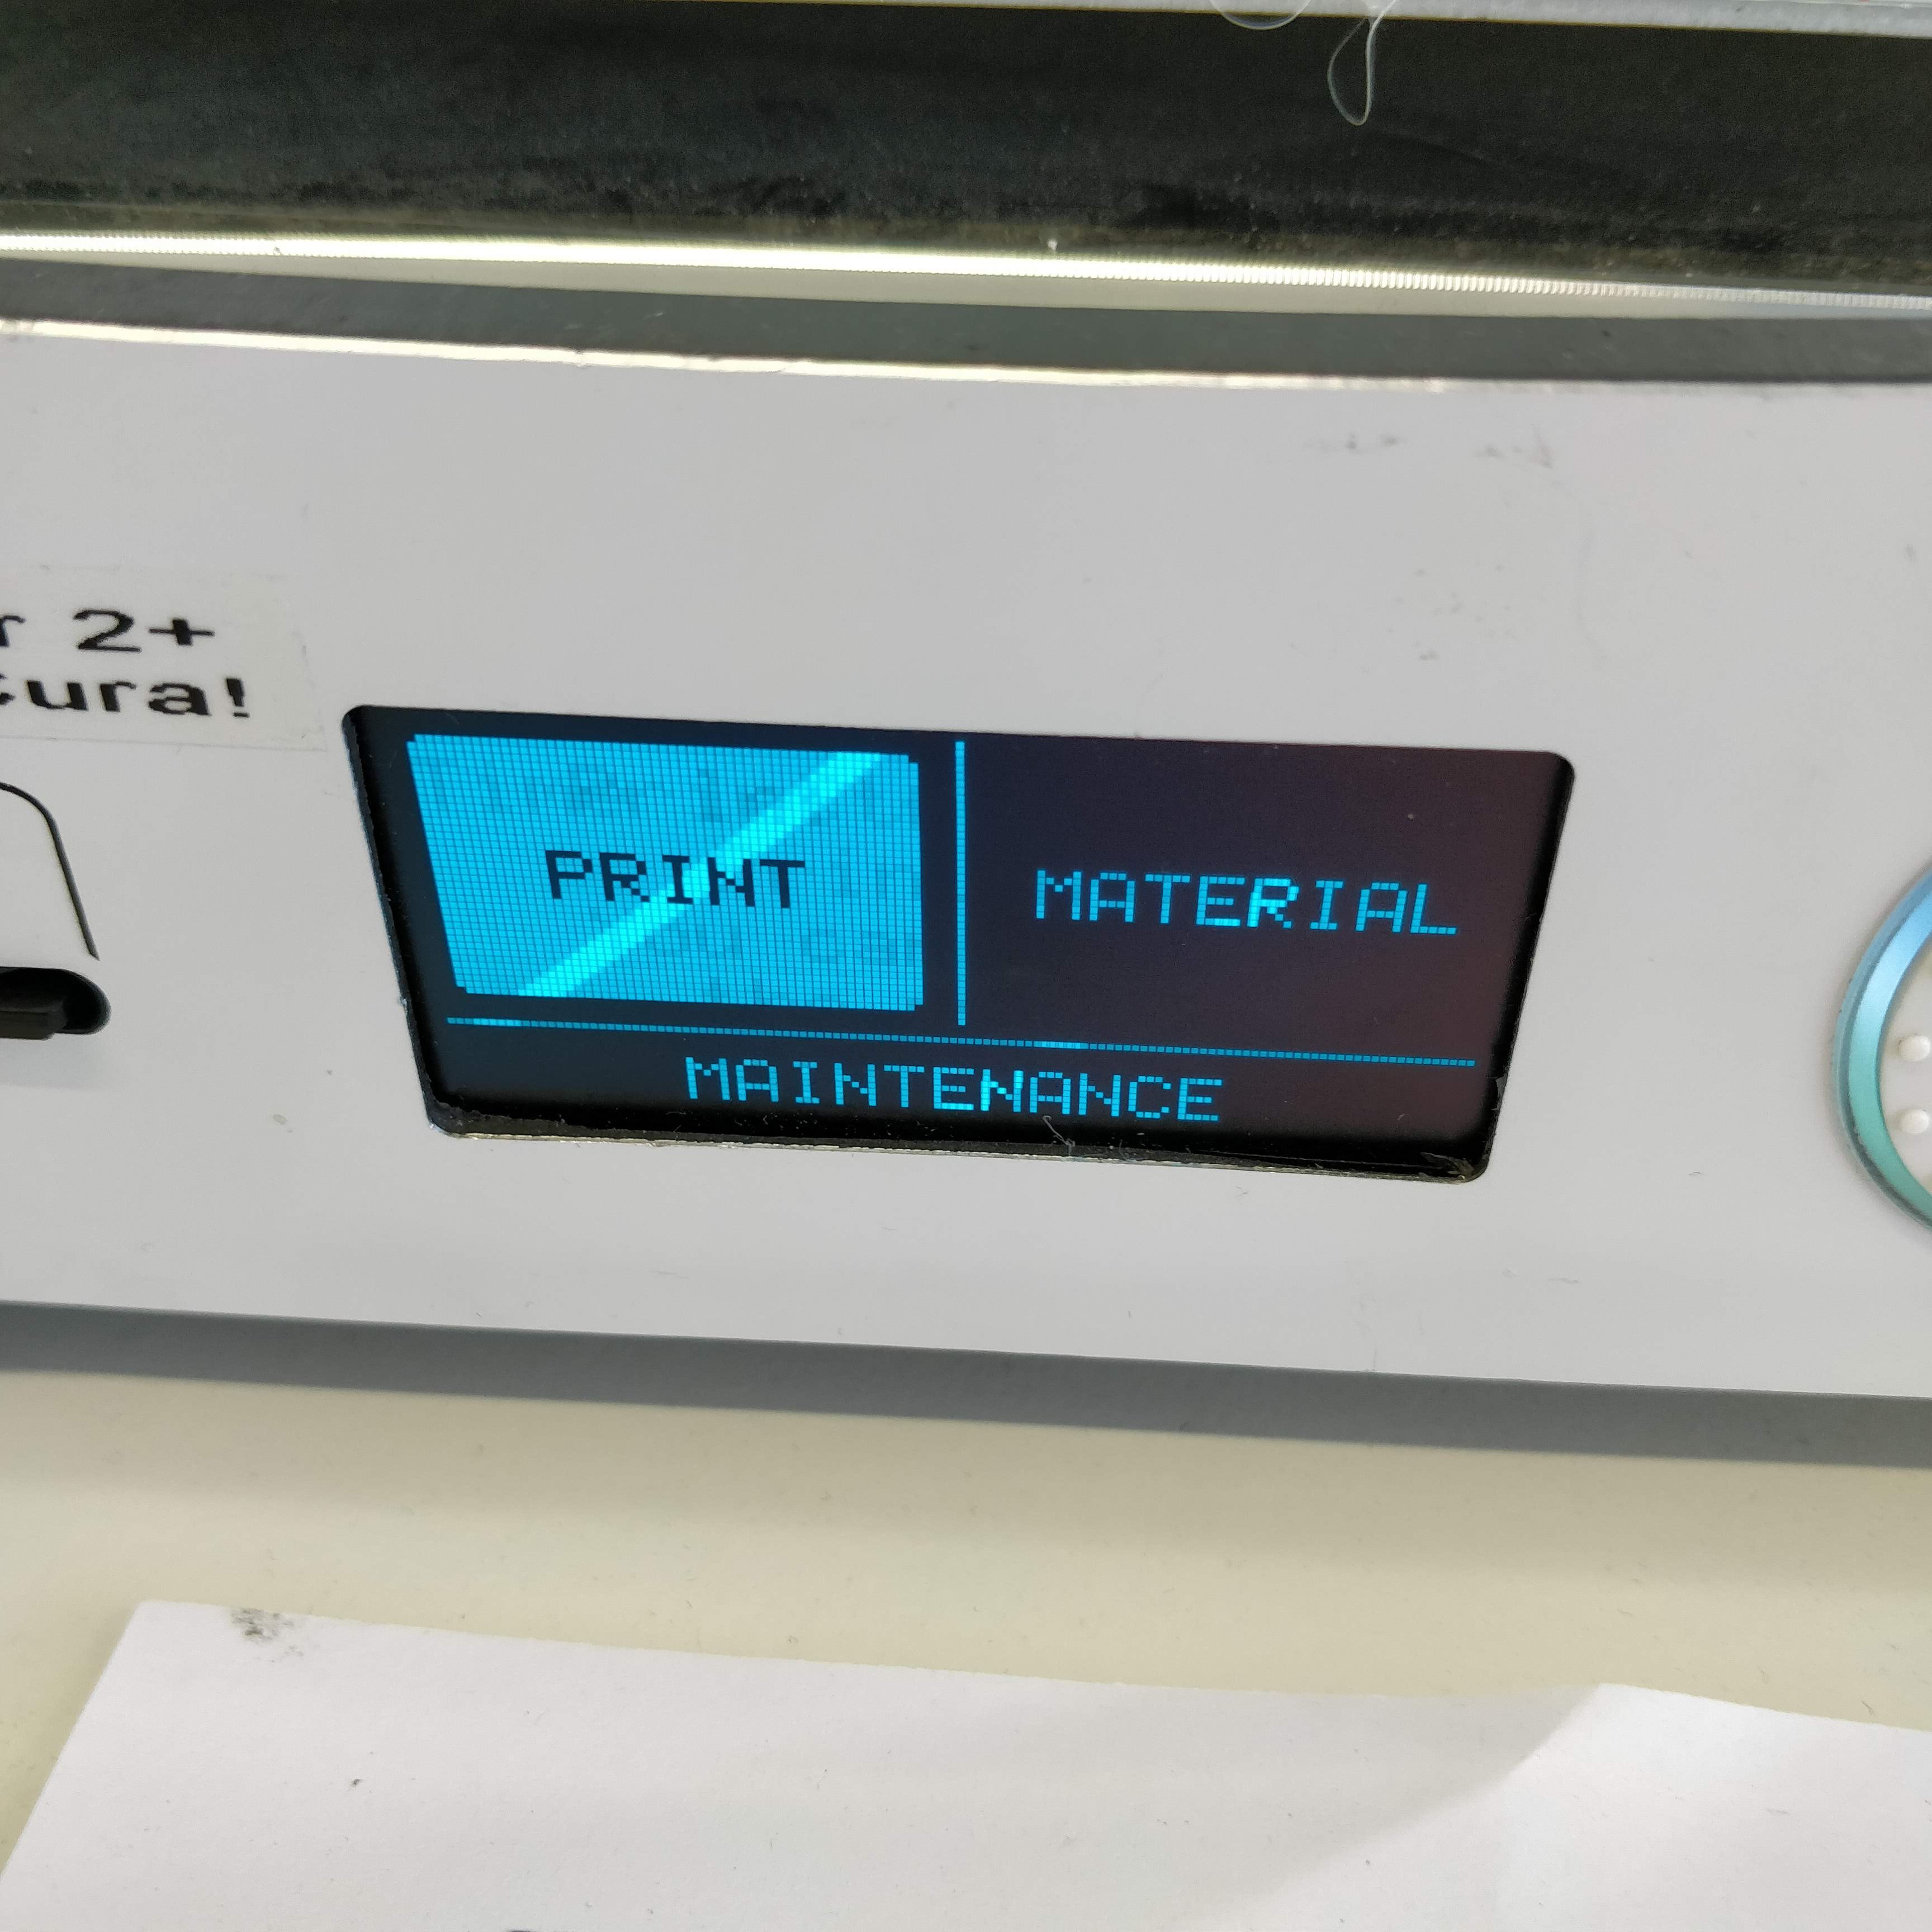
After that it was time to actually print the part. So first thing's first, the file generated in cura has to be on a SD-card. This card can then be inserted into the printer, after that I selected print in the interface.
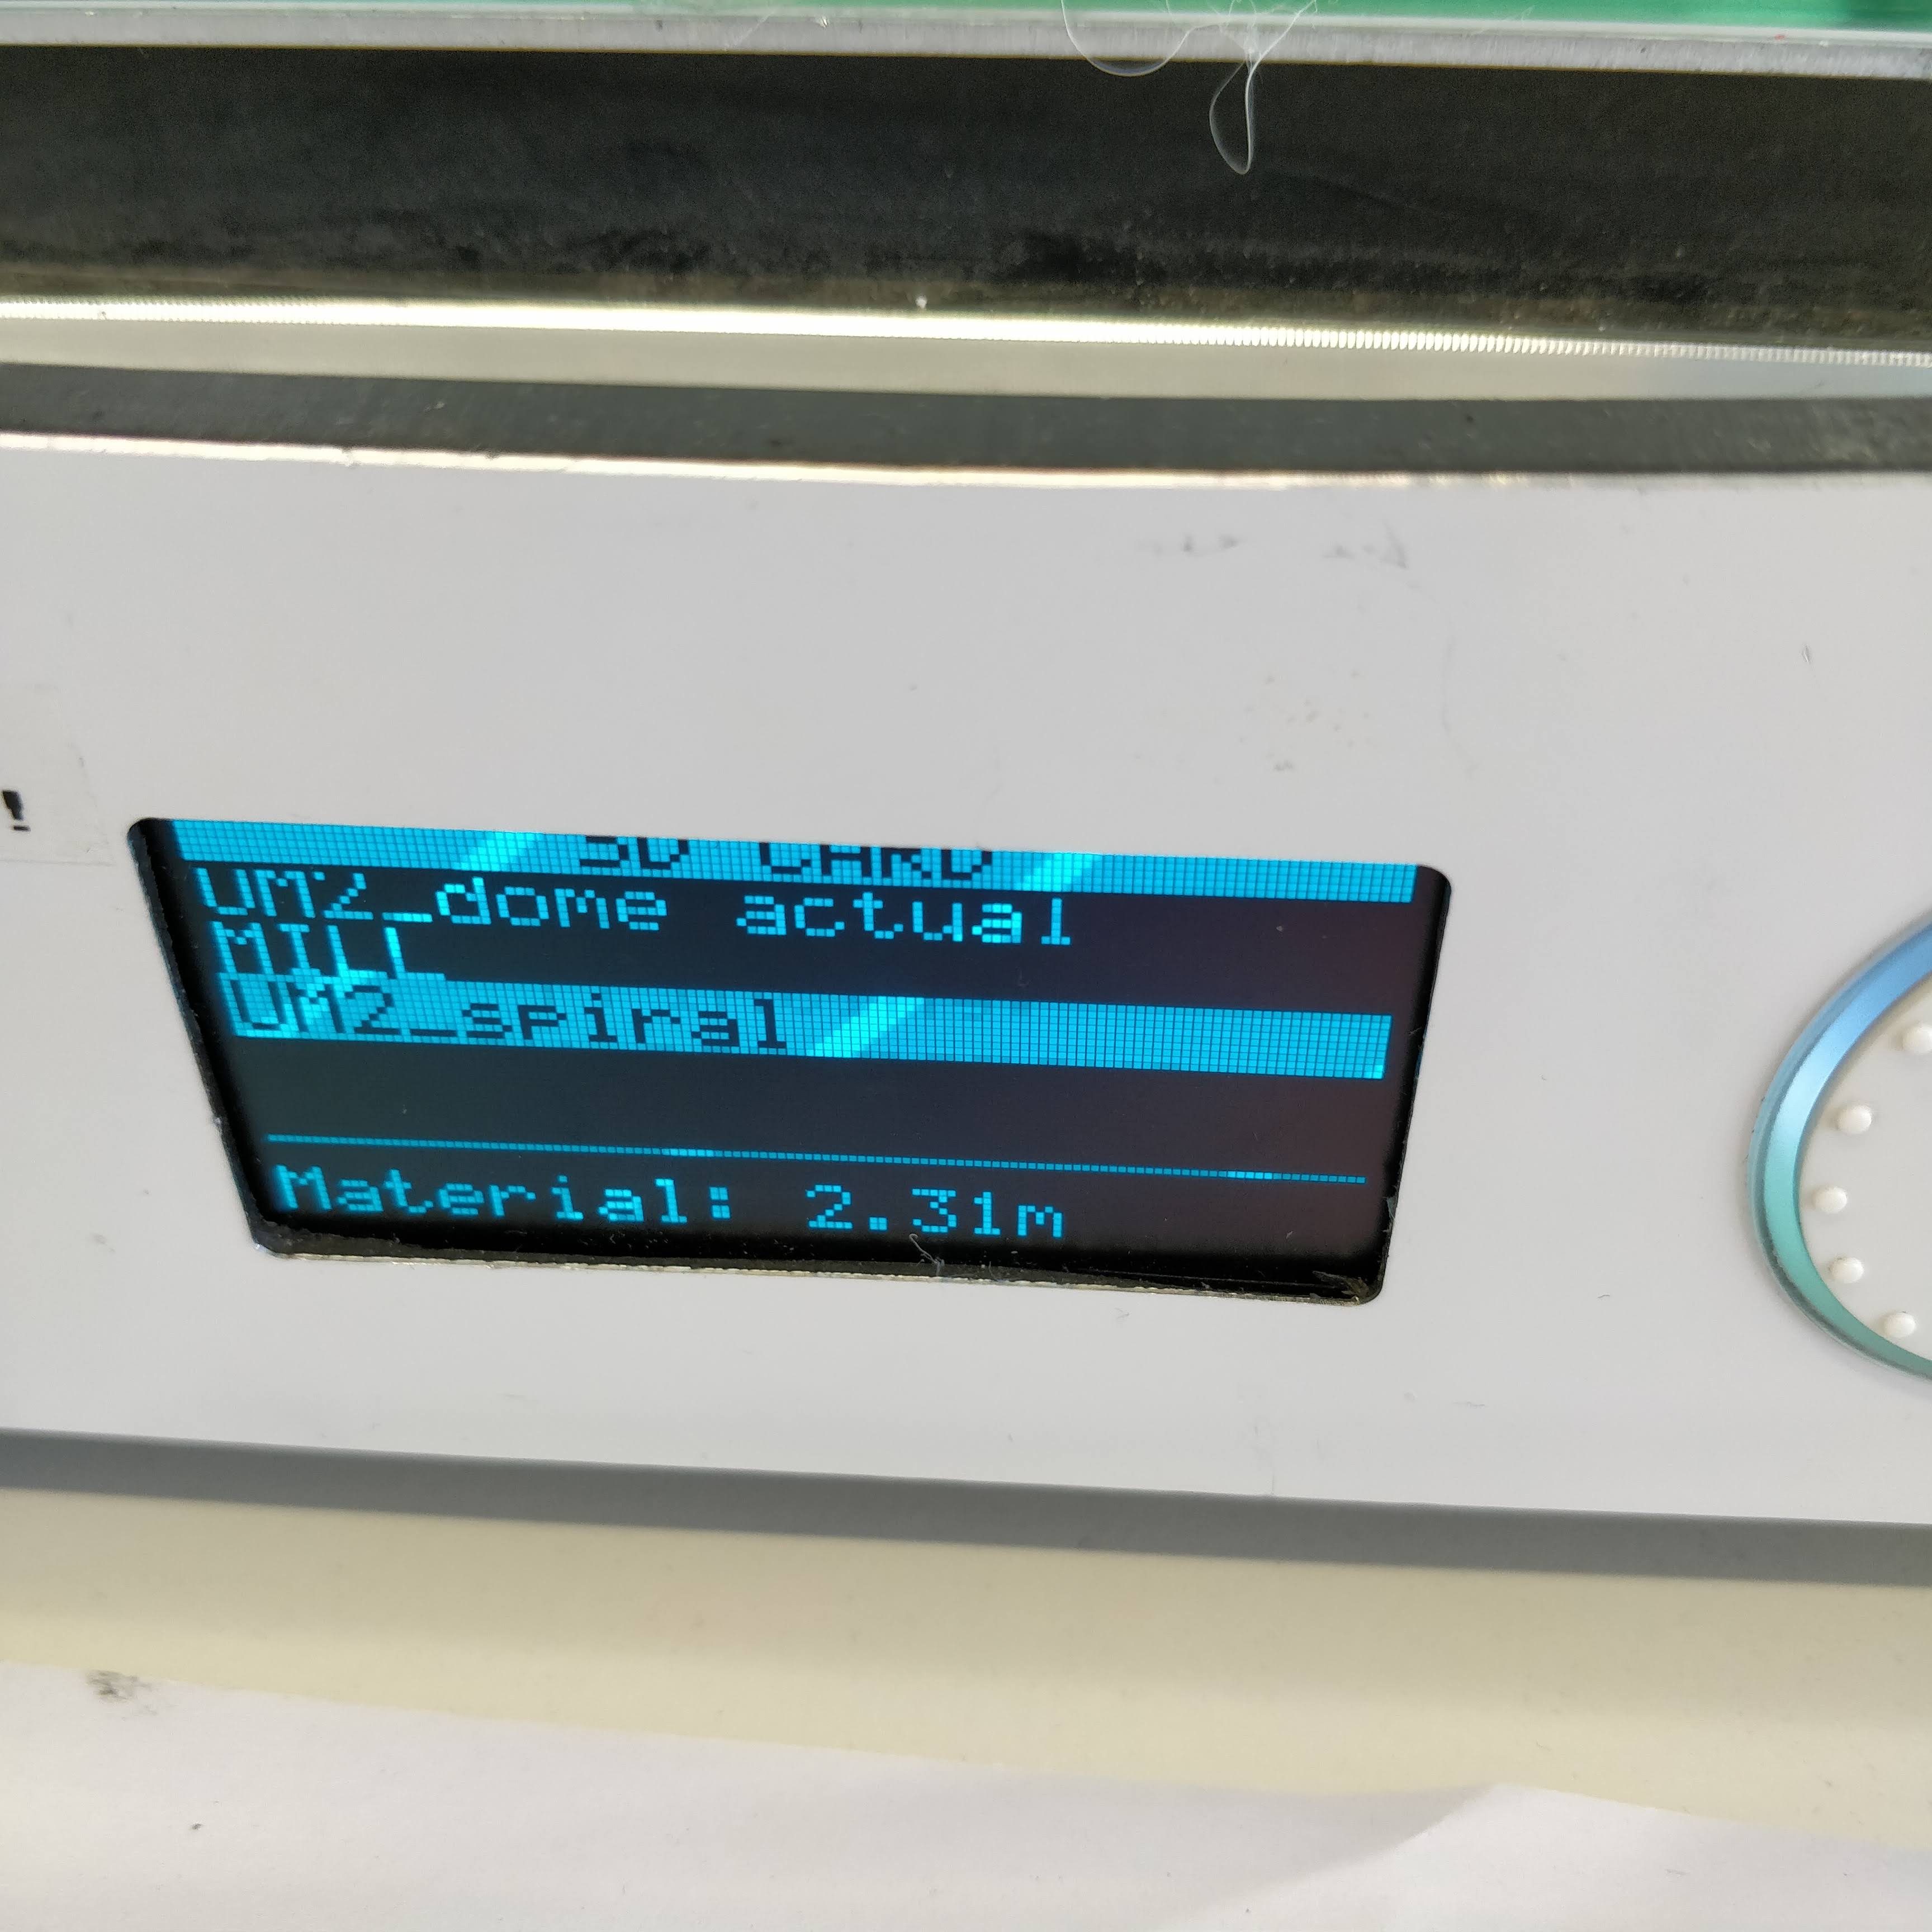
Then I selected my file in the list of files that is on the memory card (usually it's the bottom one)
Then the printer will get ready to print the design, by heating up the buildplate and the nozzle and extruding a small amount of filament.
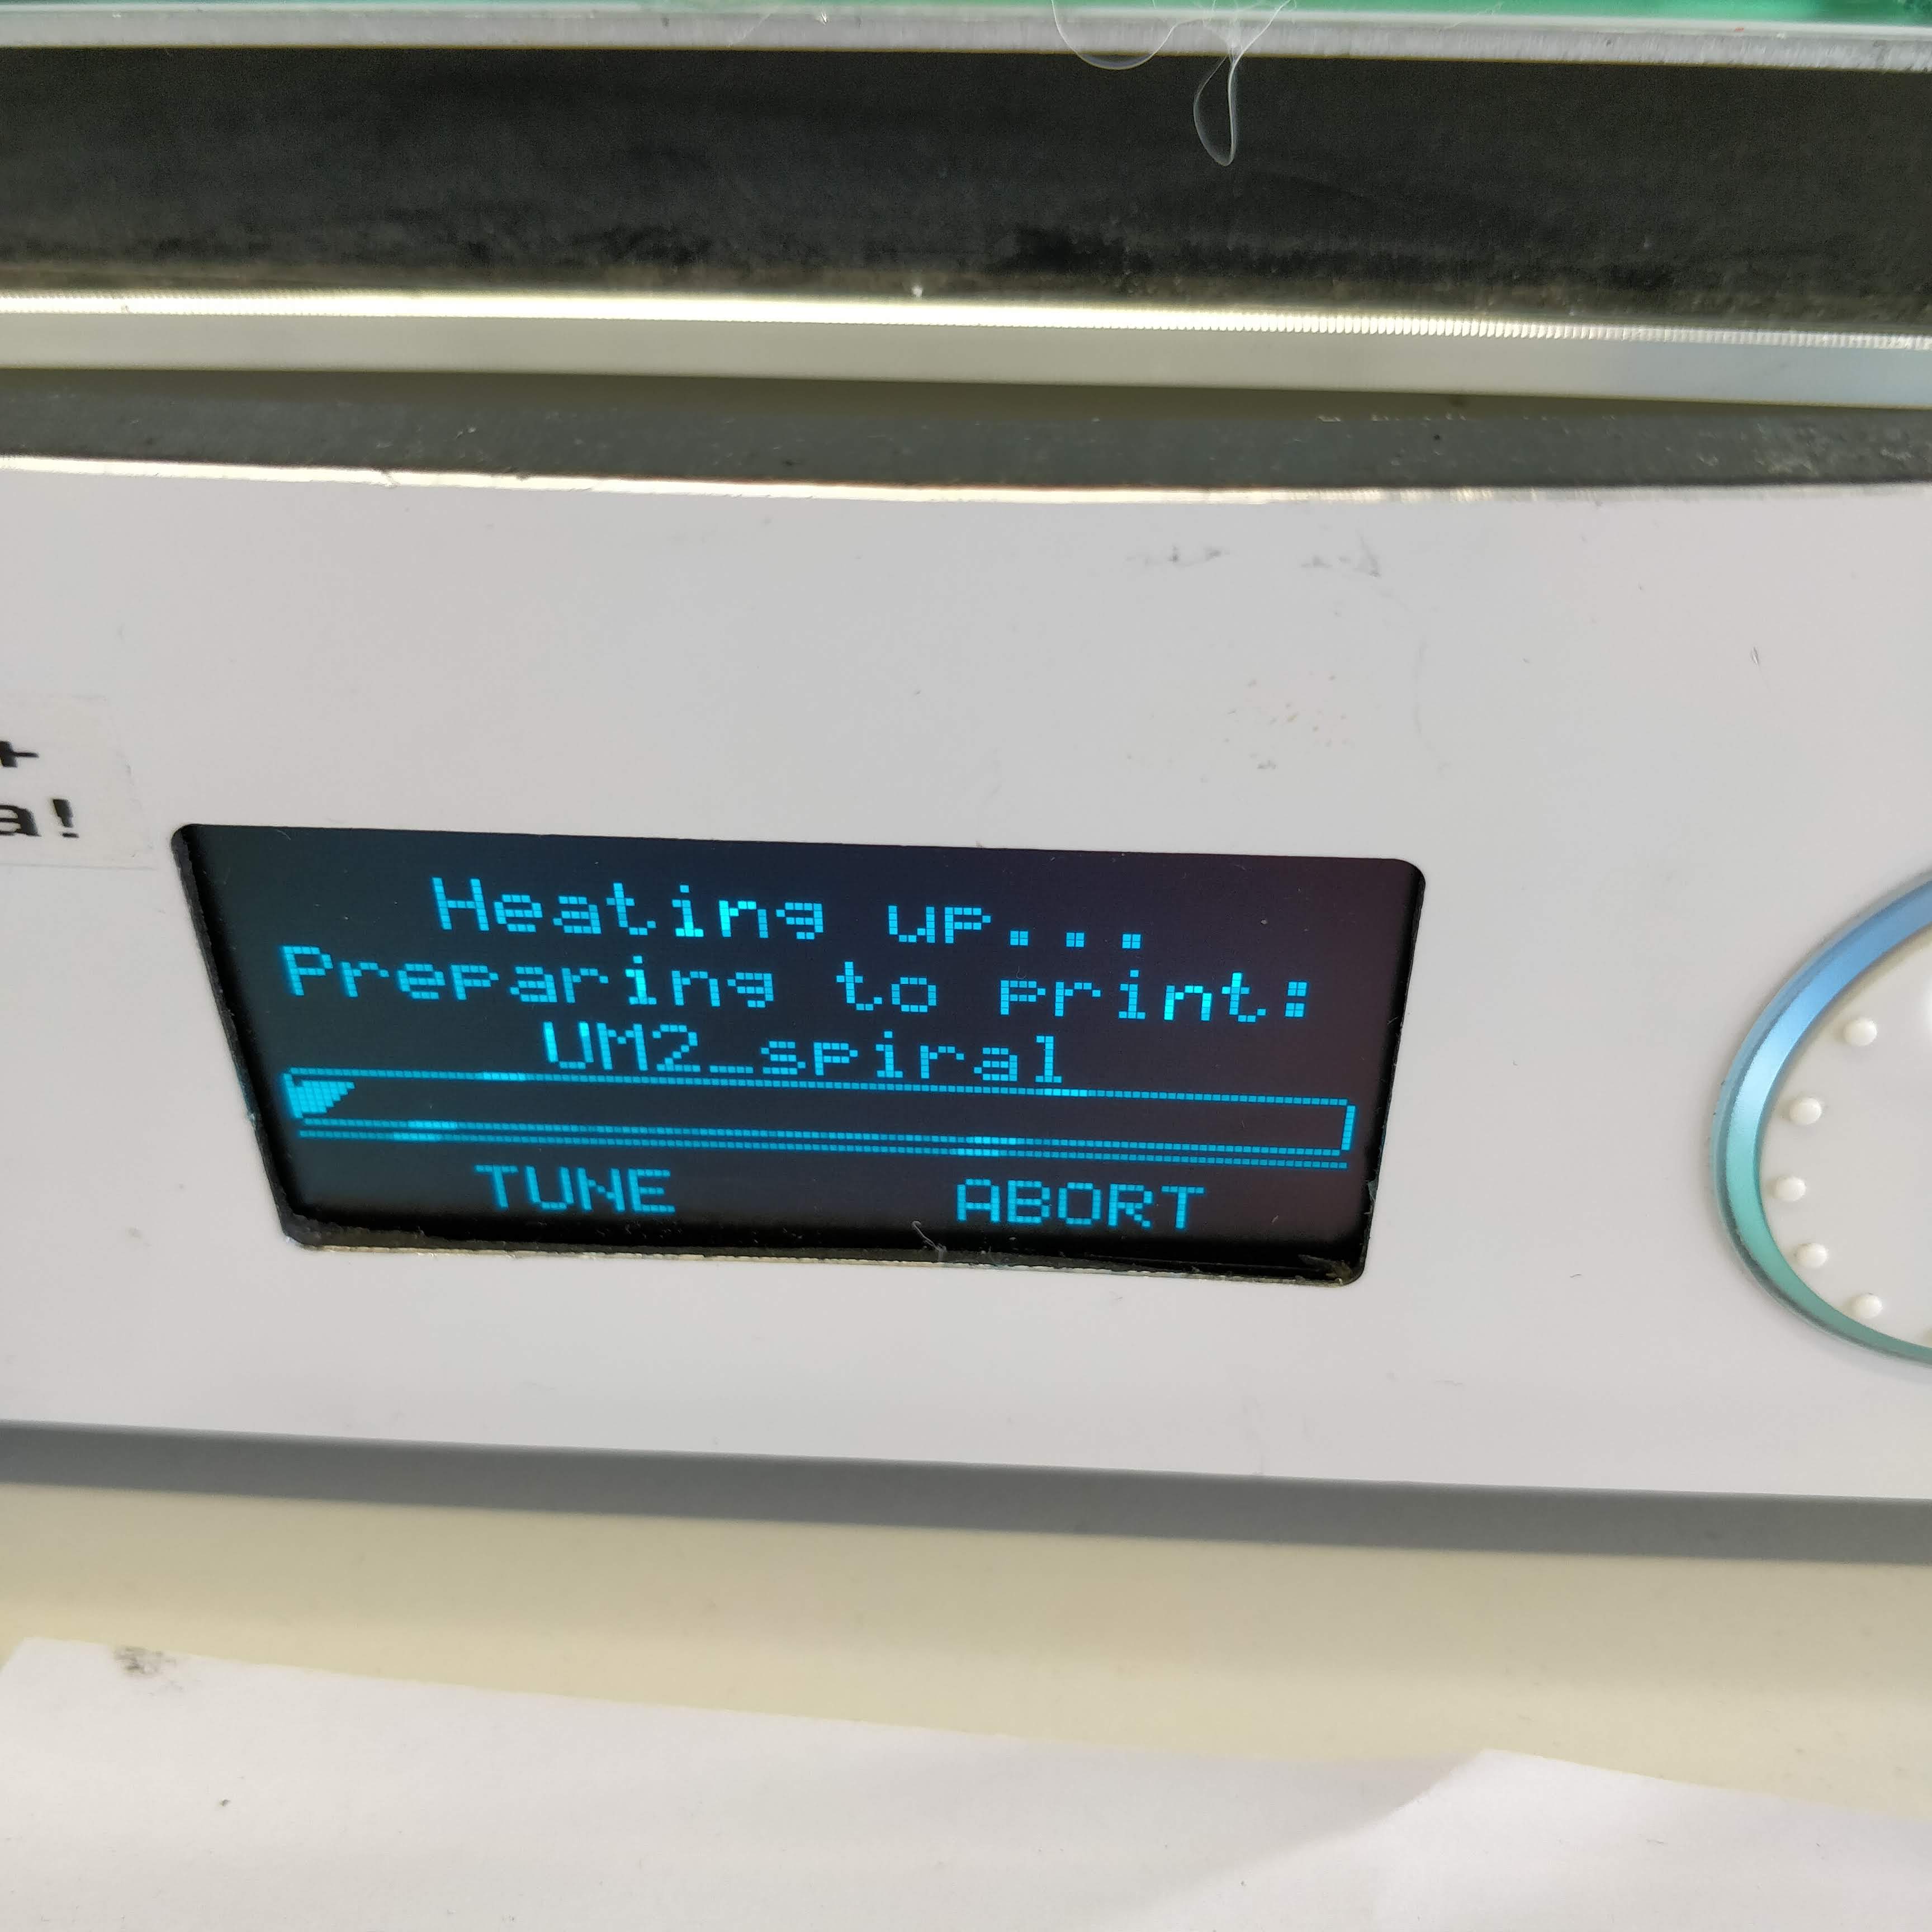
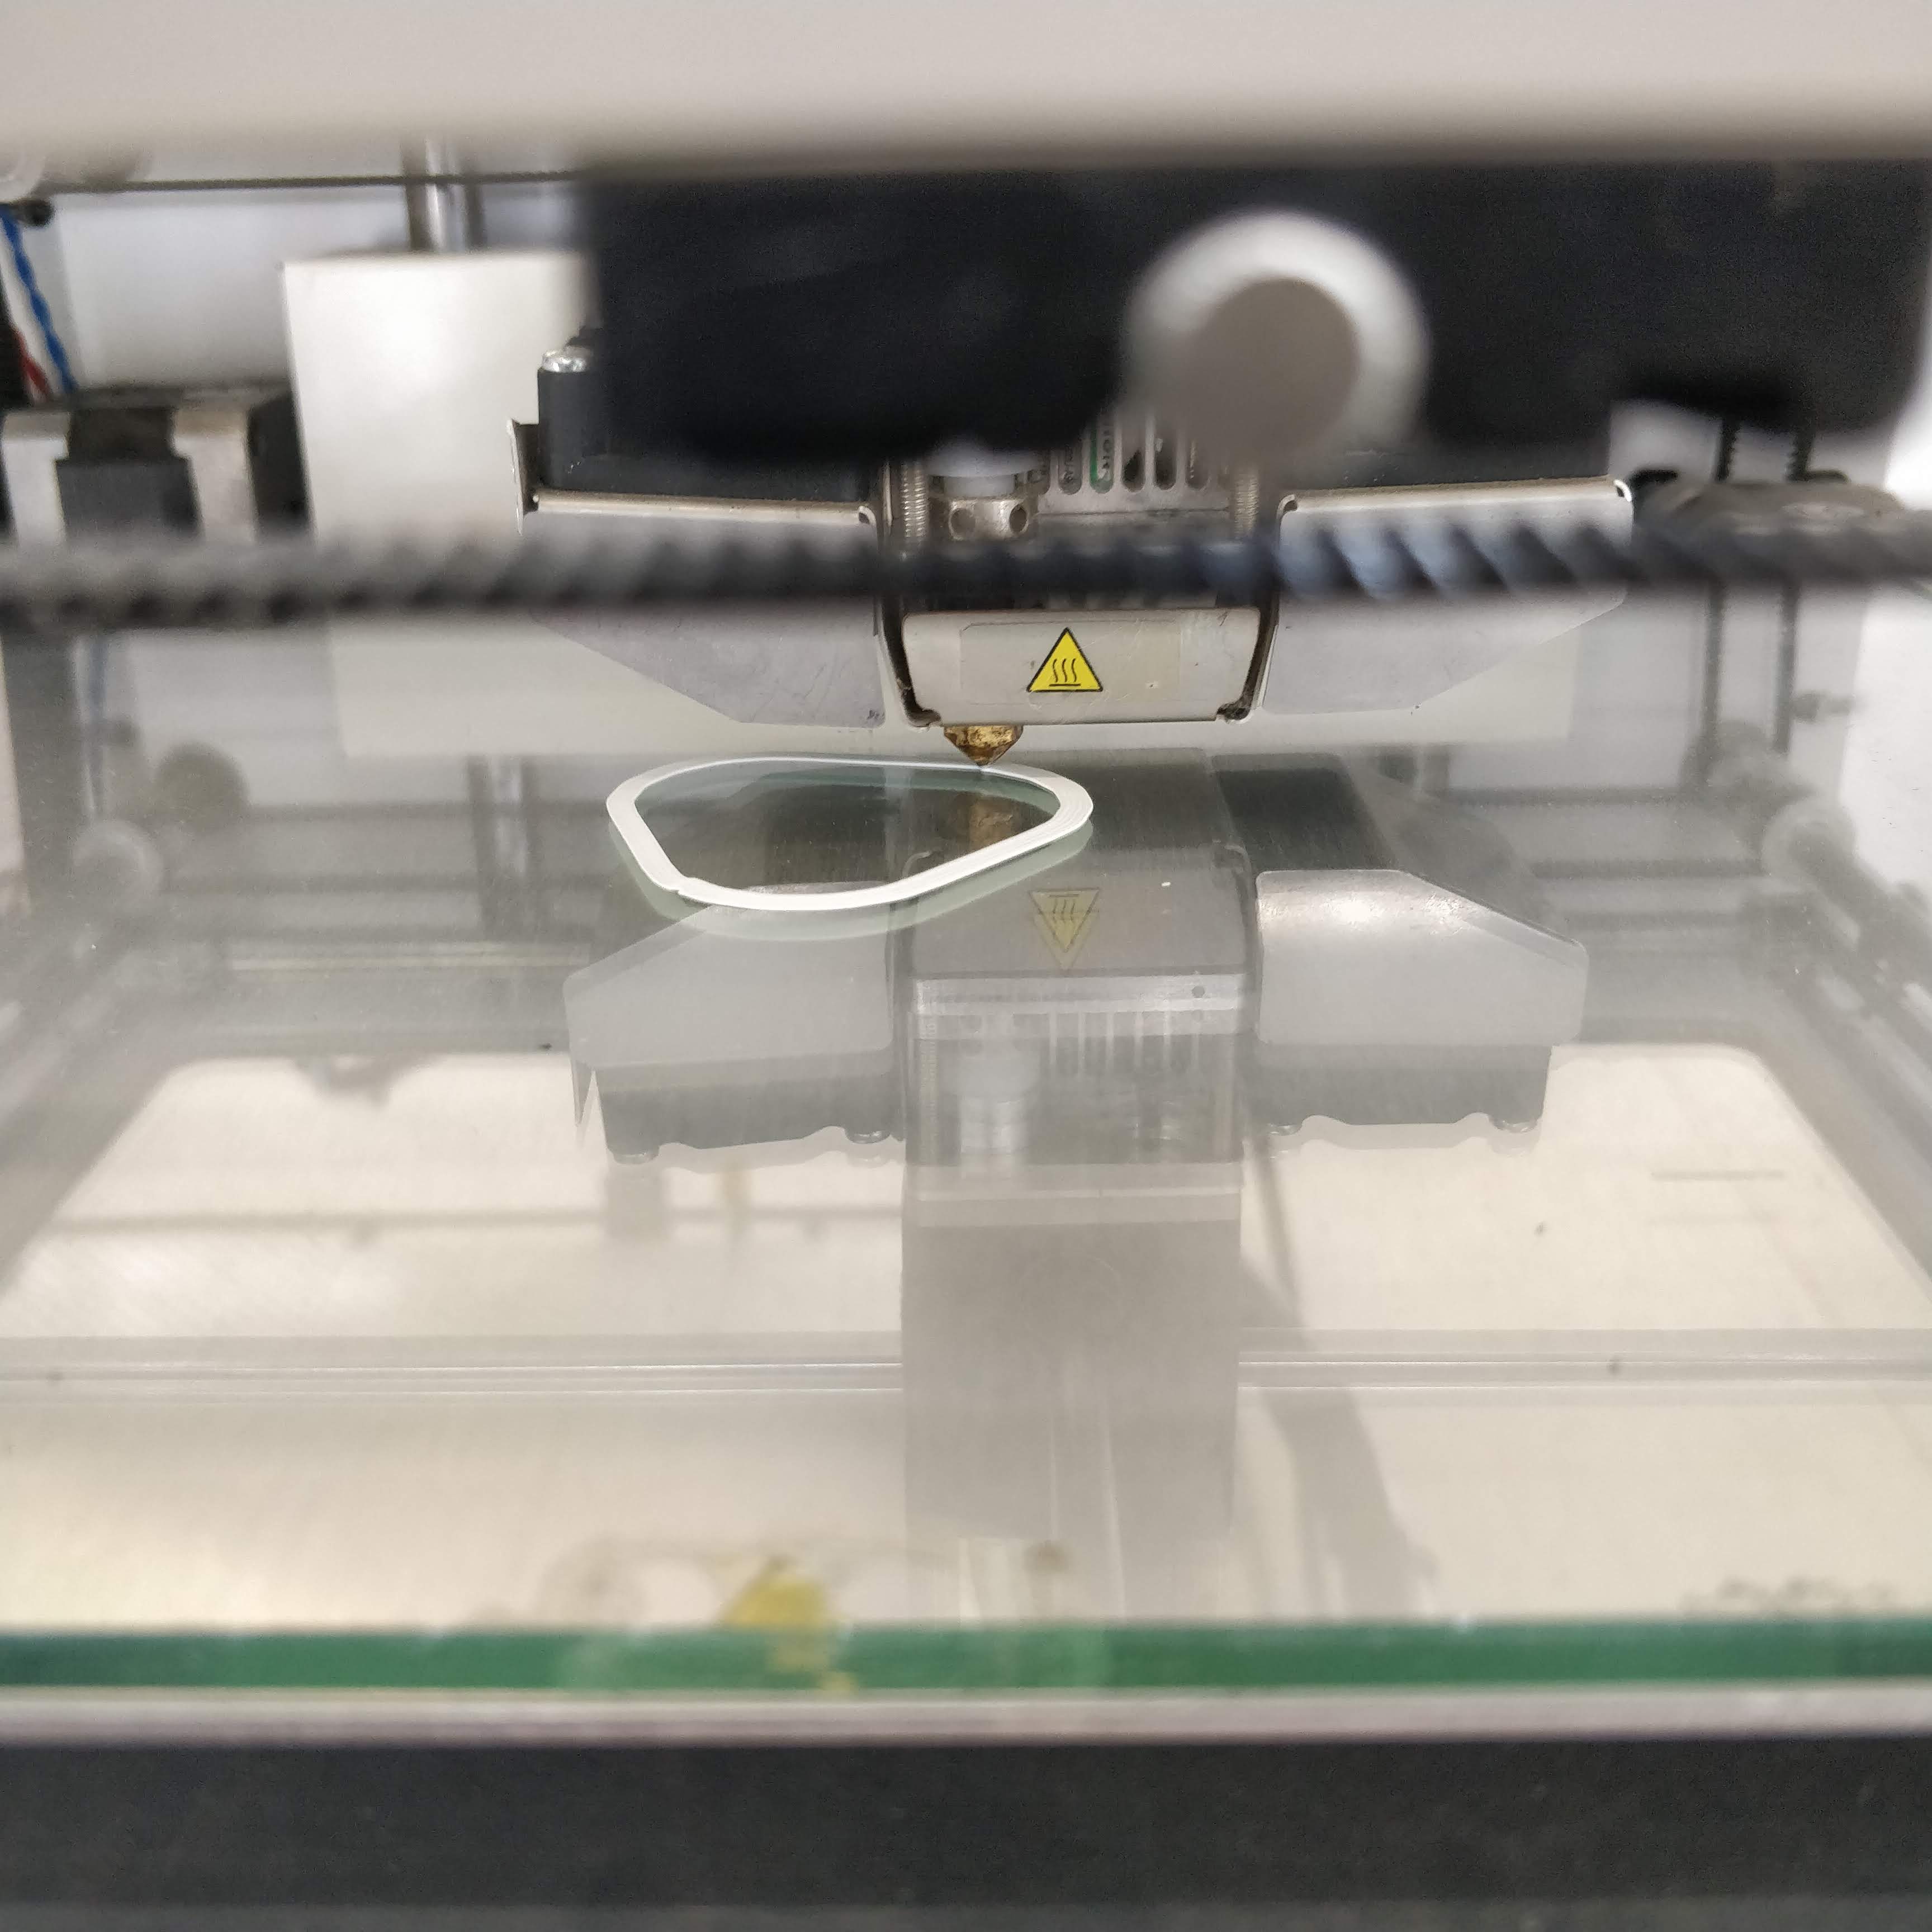
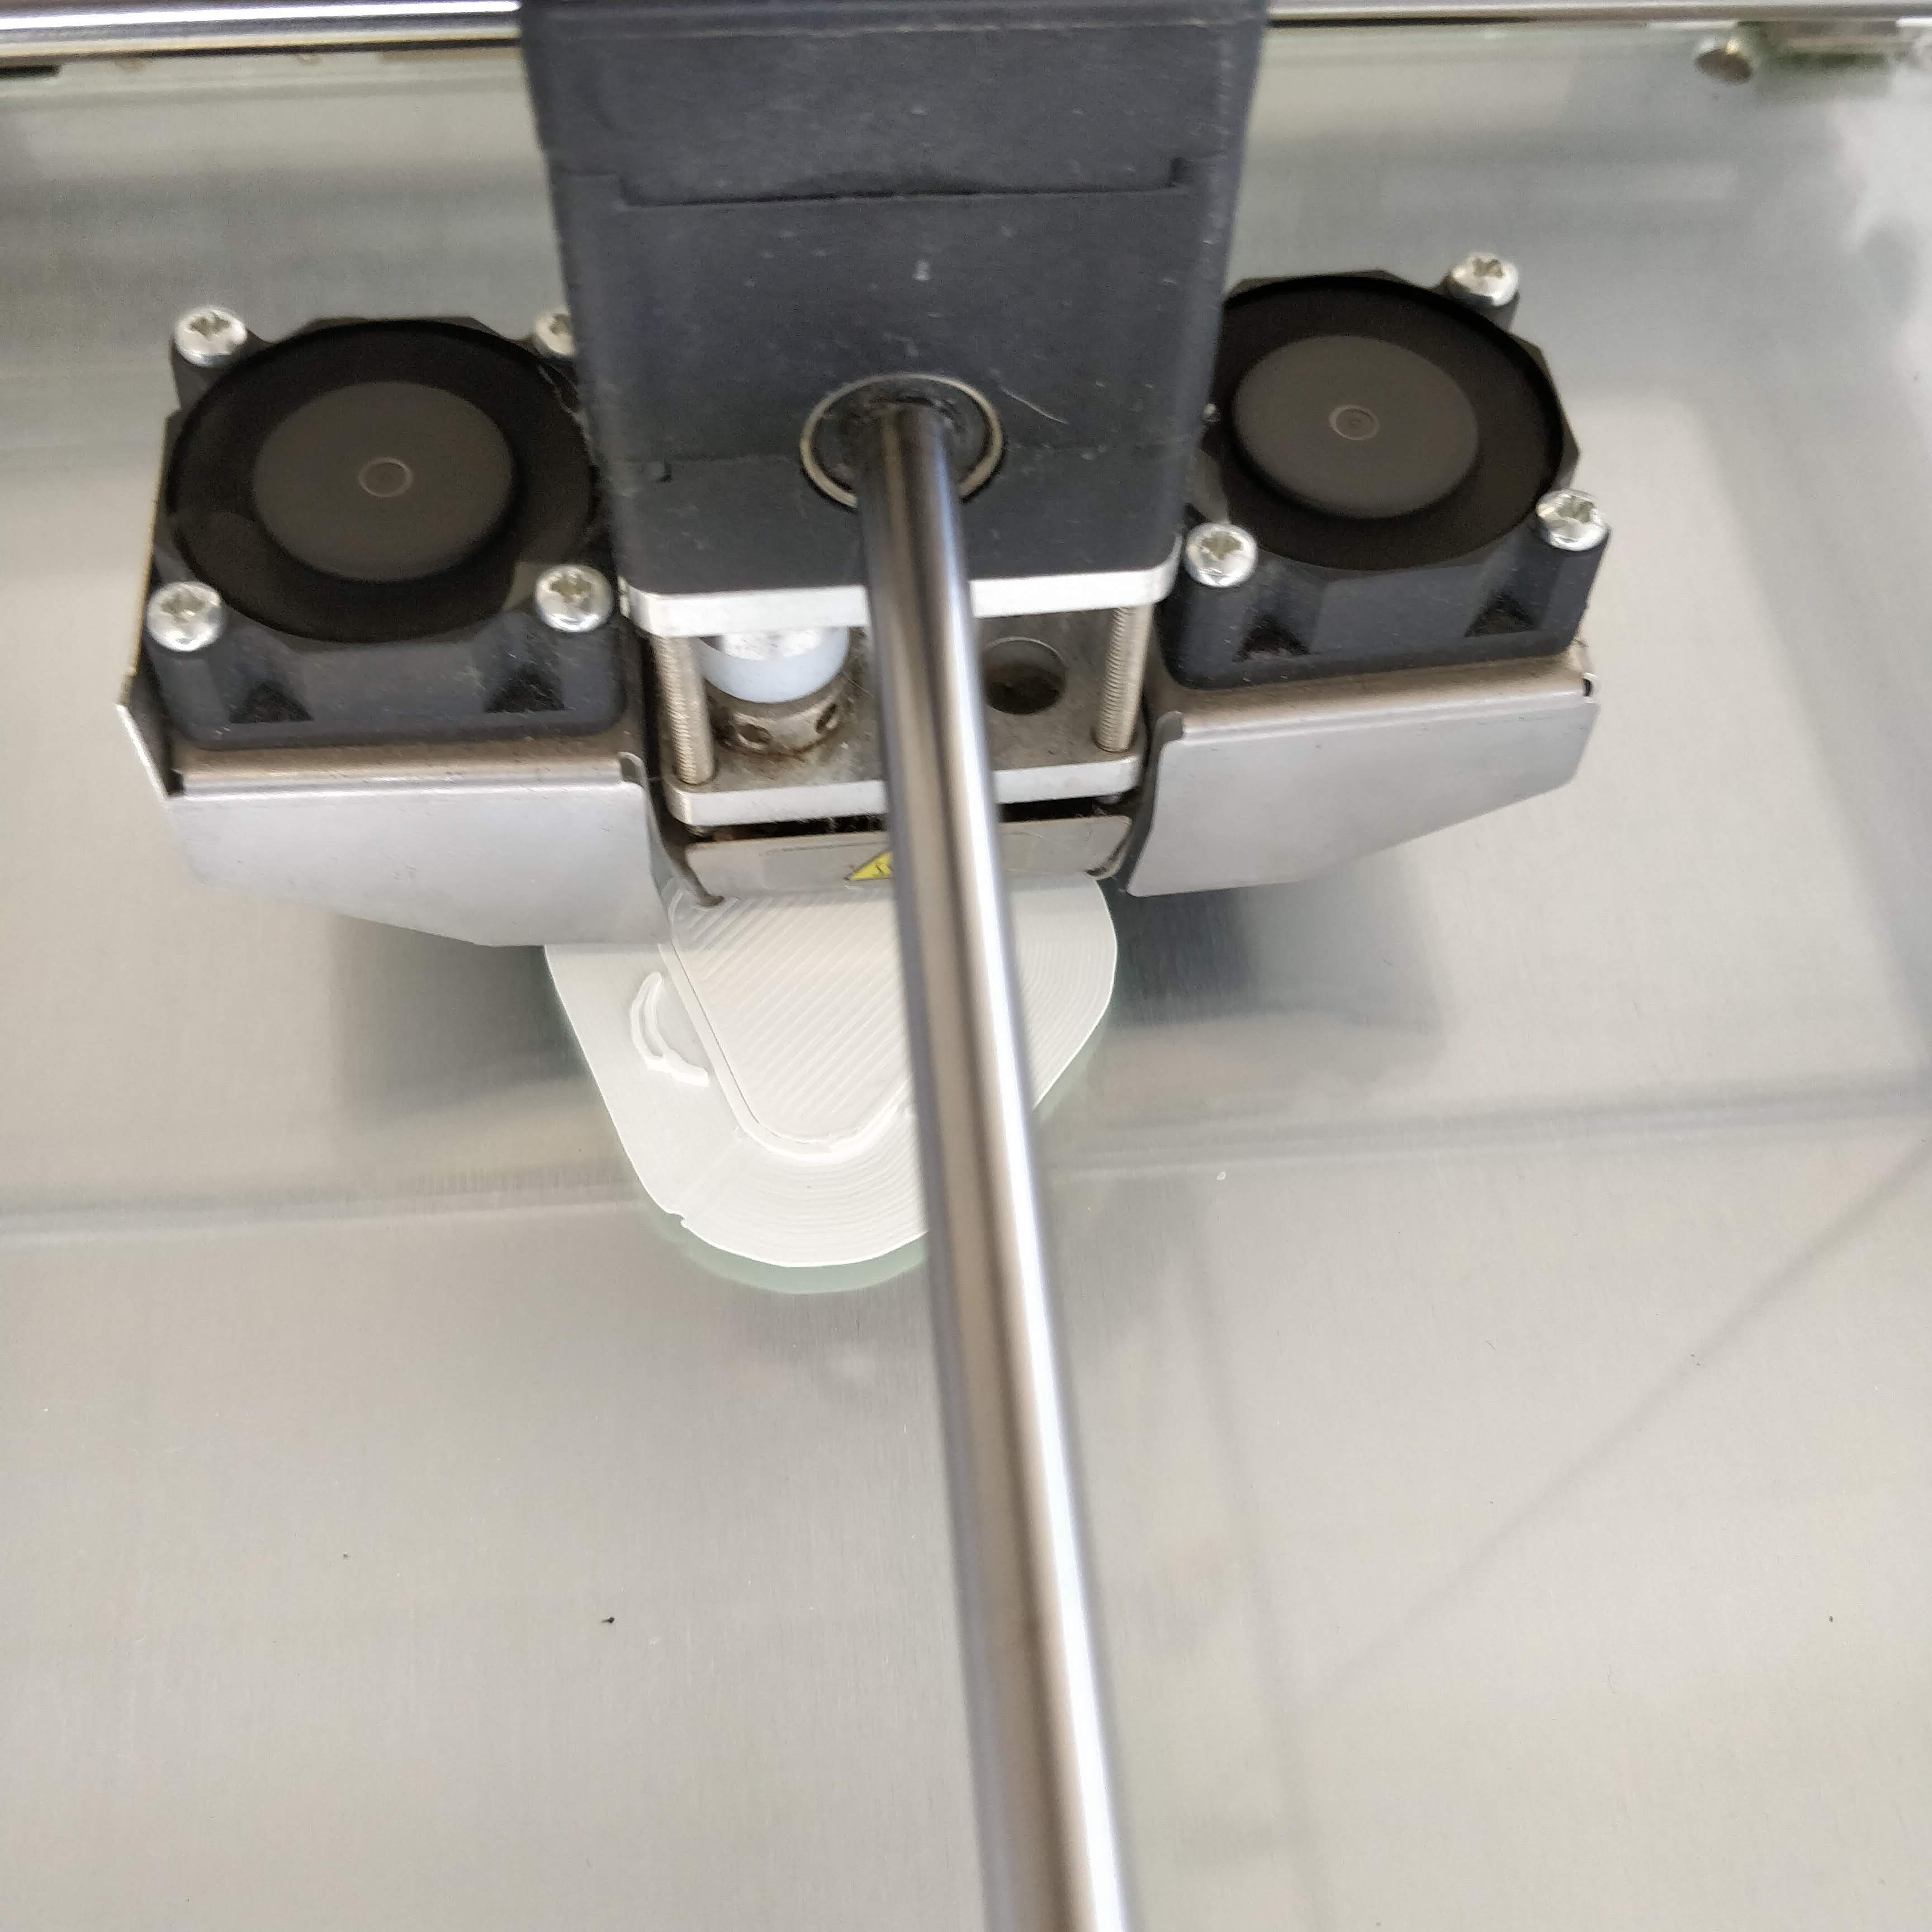
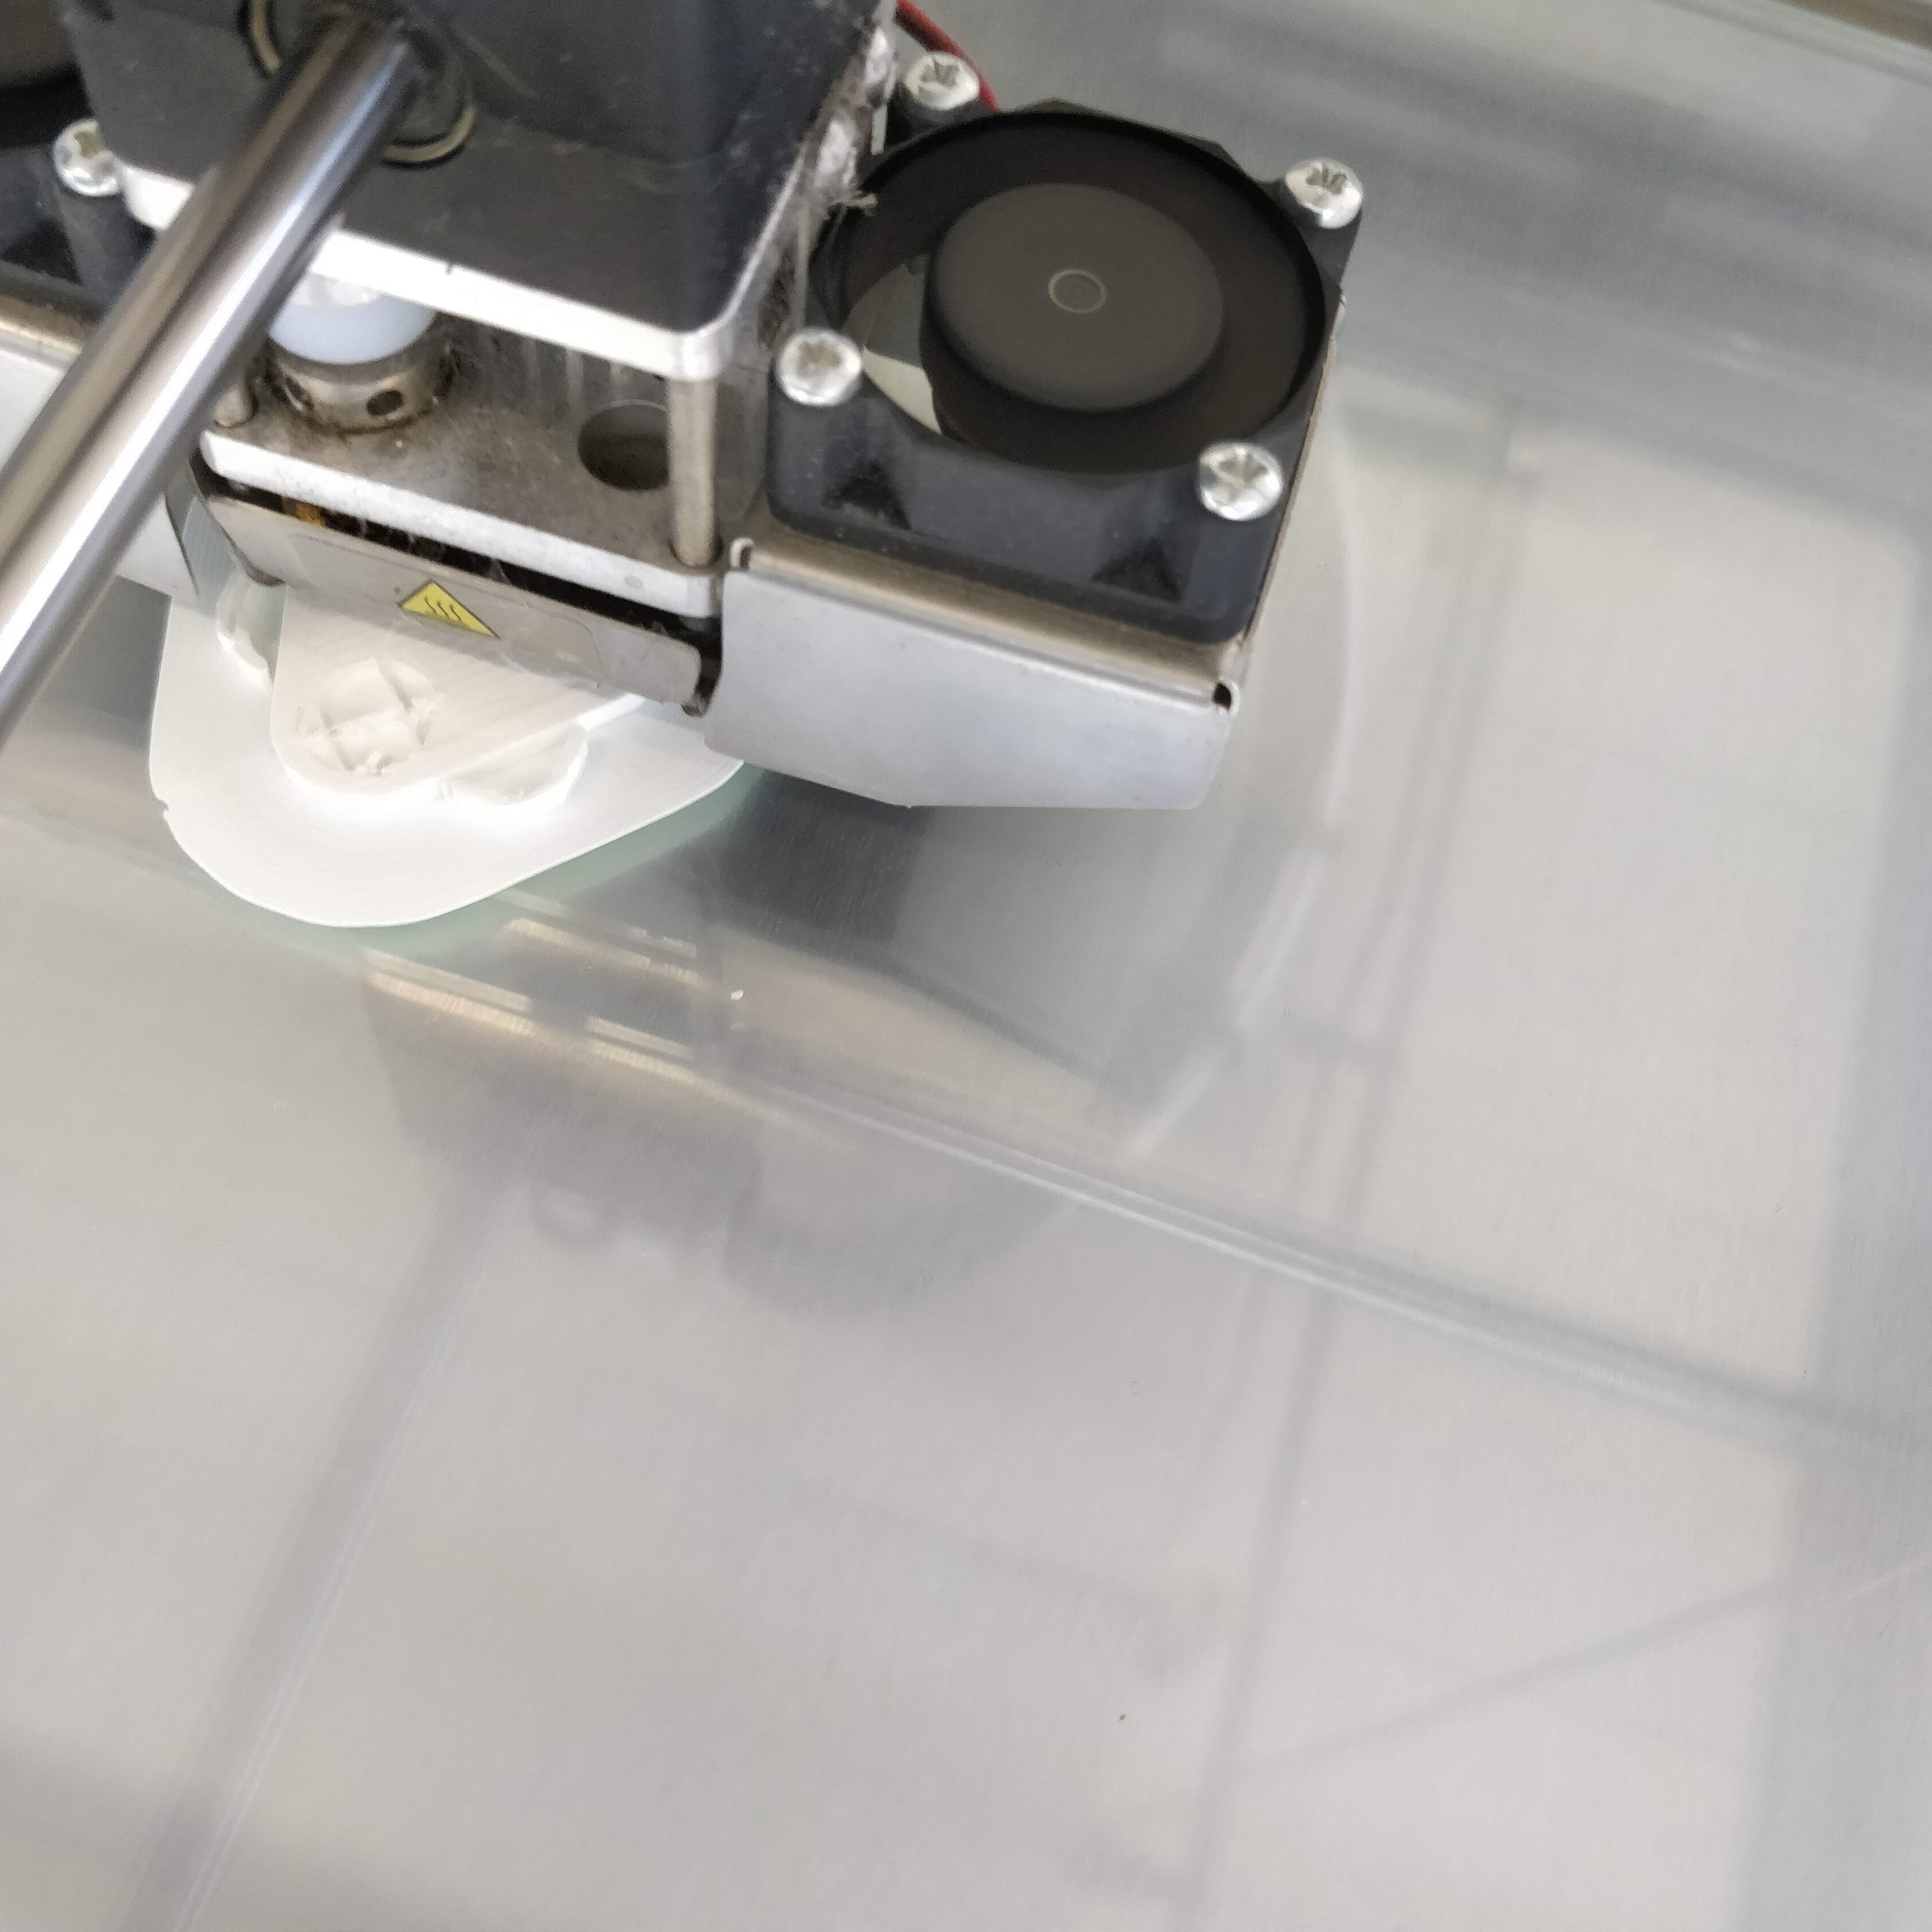
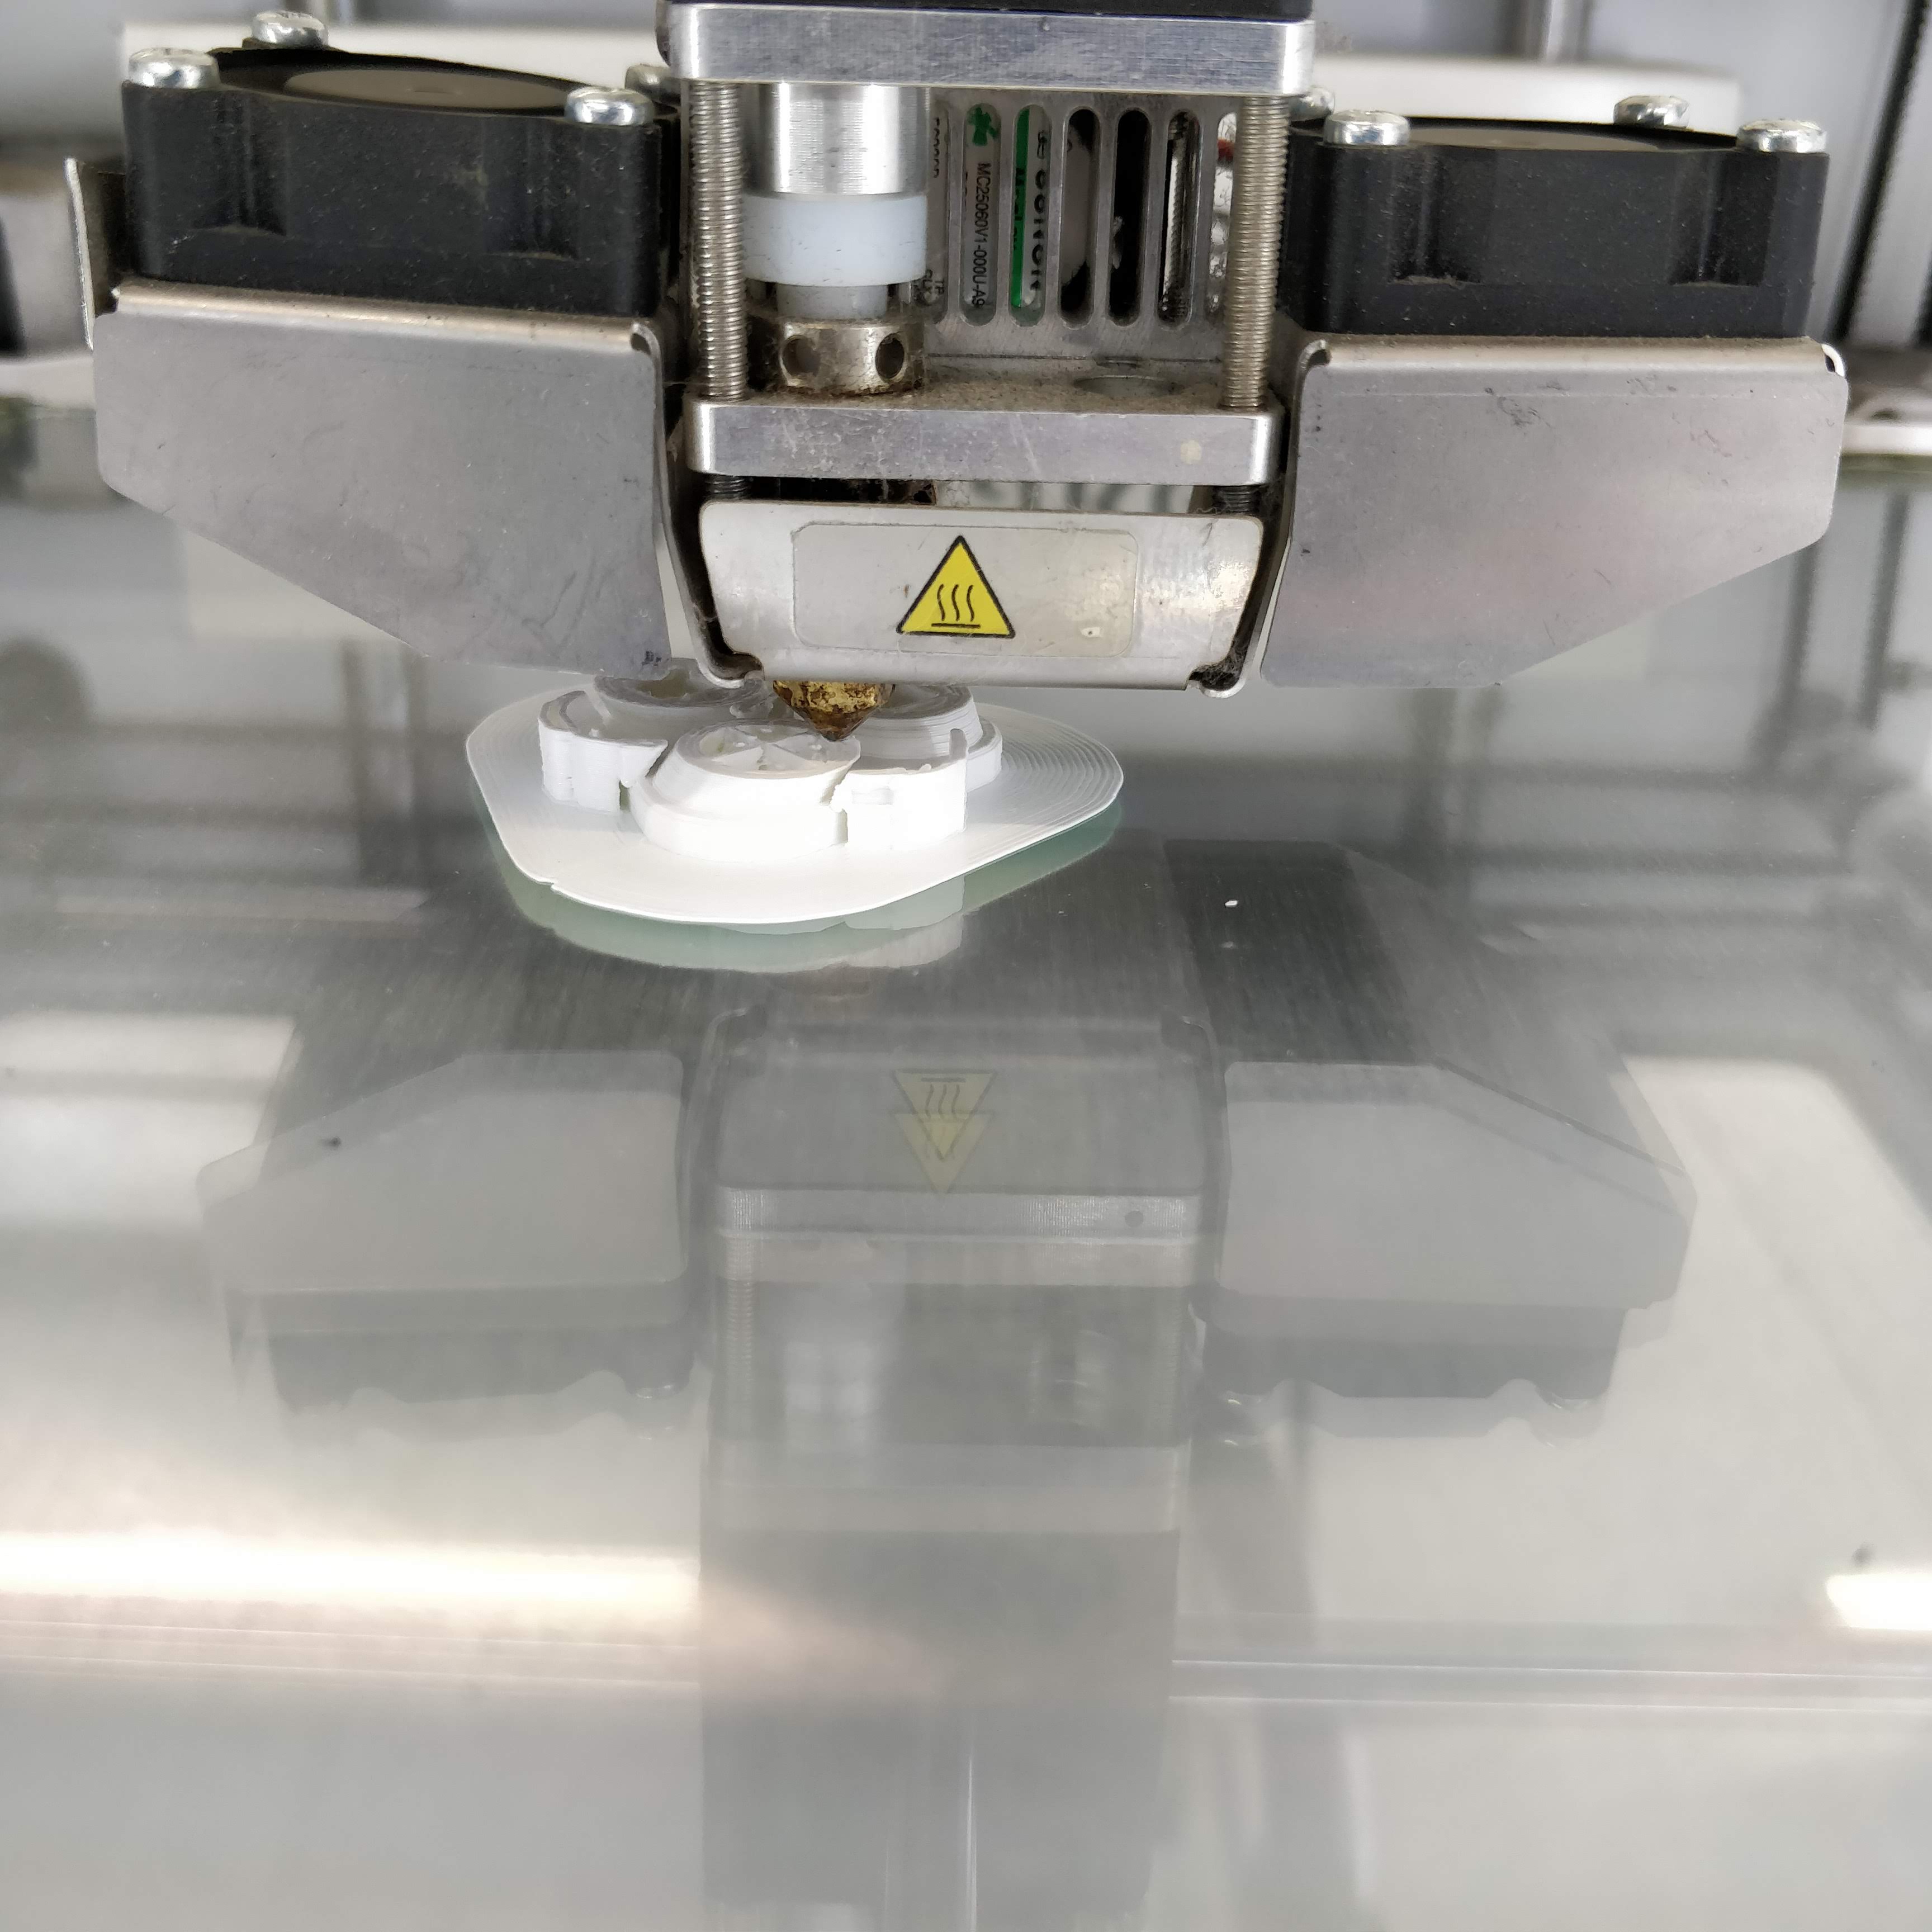
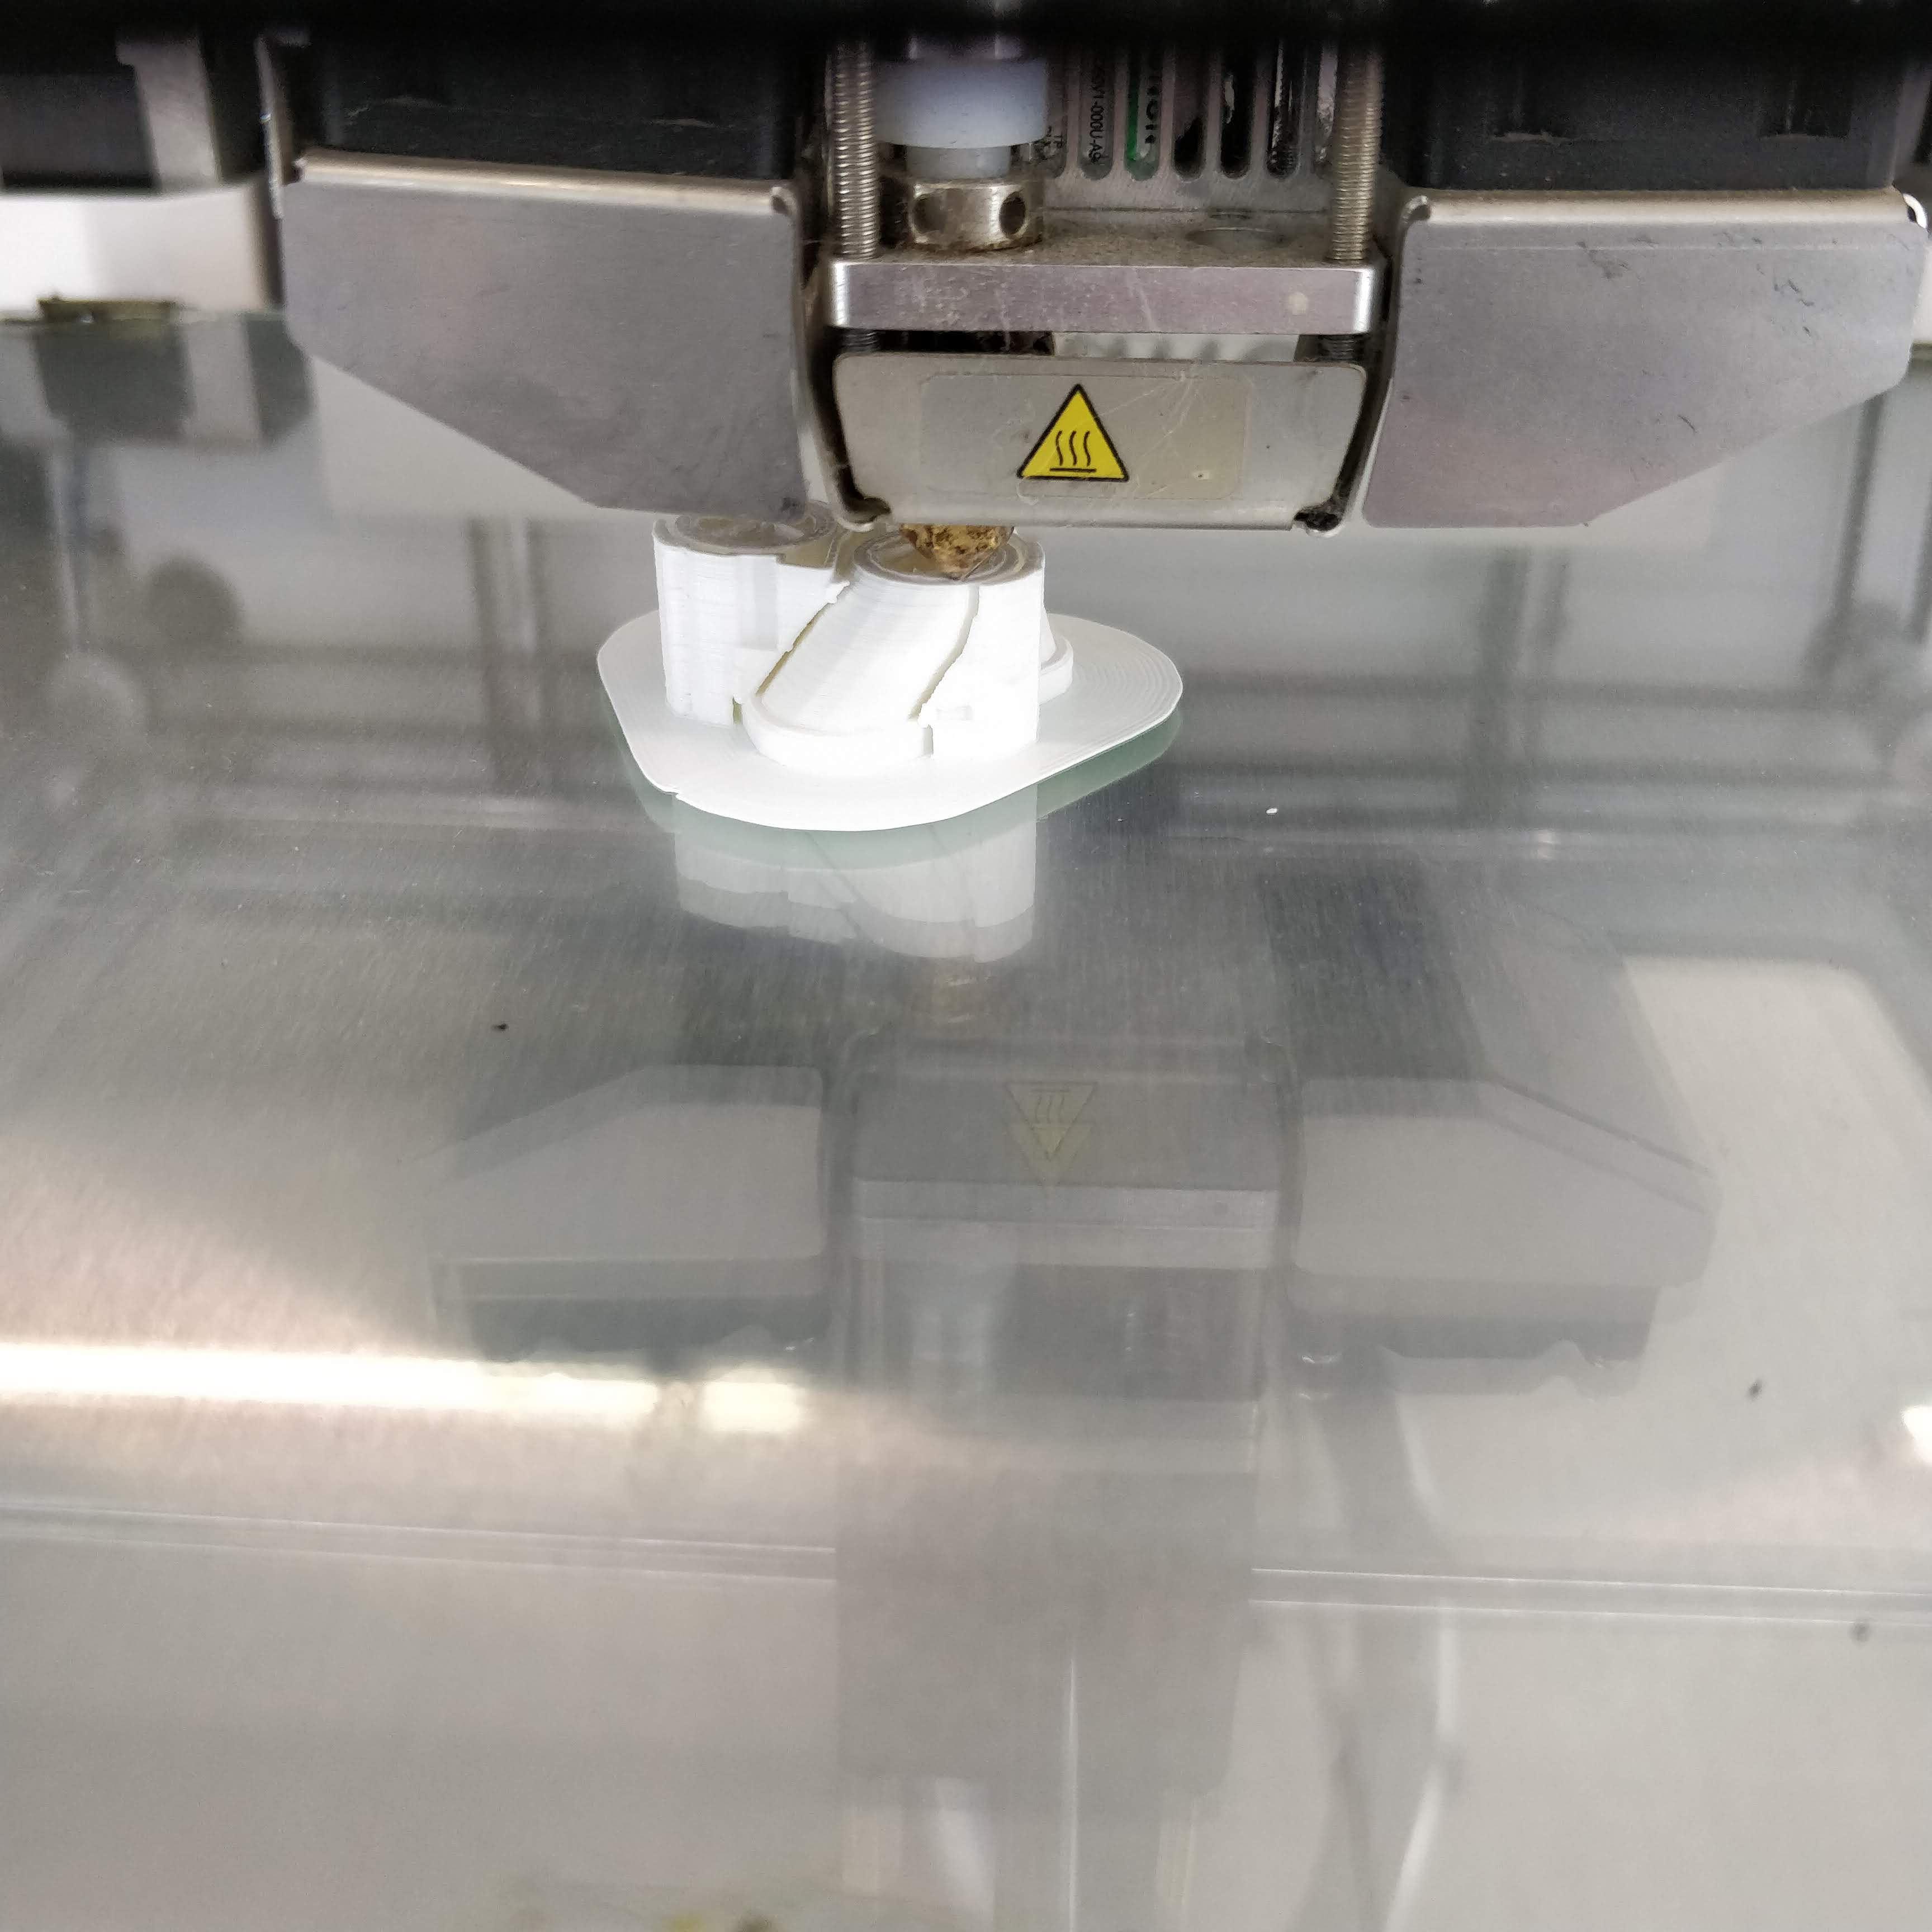
This is a short photoseries of the printing taking place:
And after the proposed 1:48h the print was finished and looked like this:
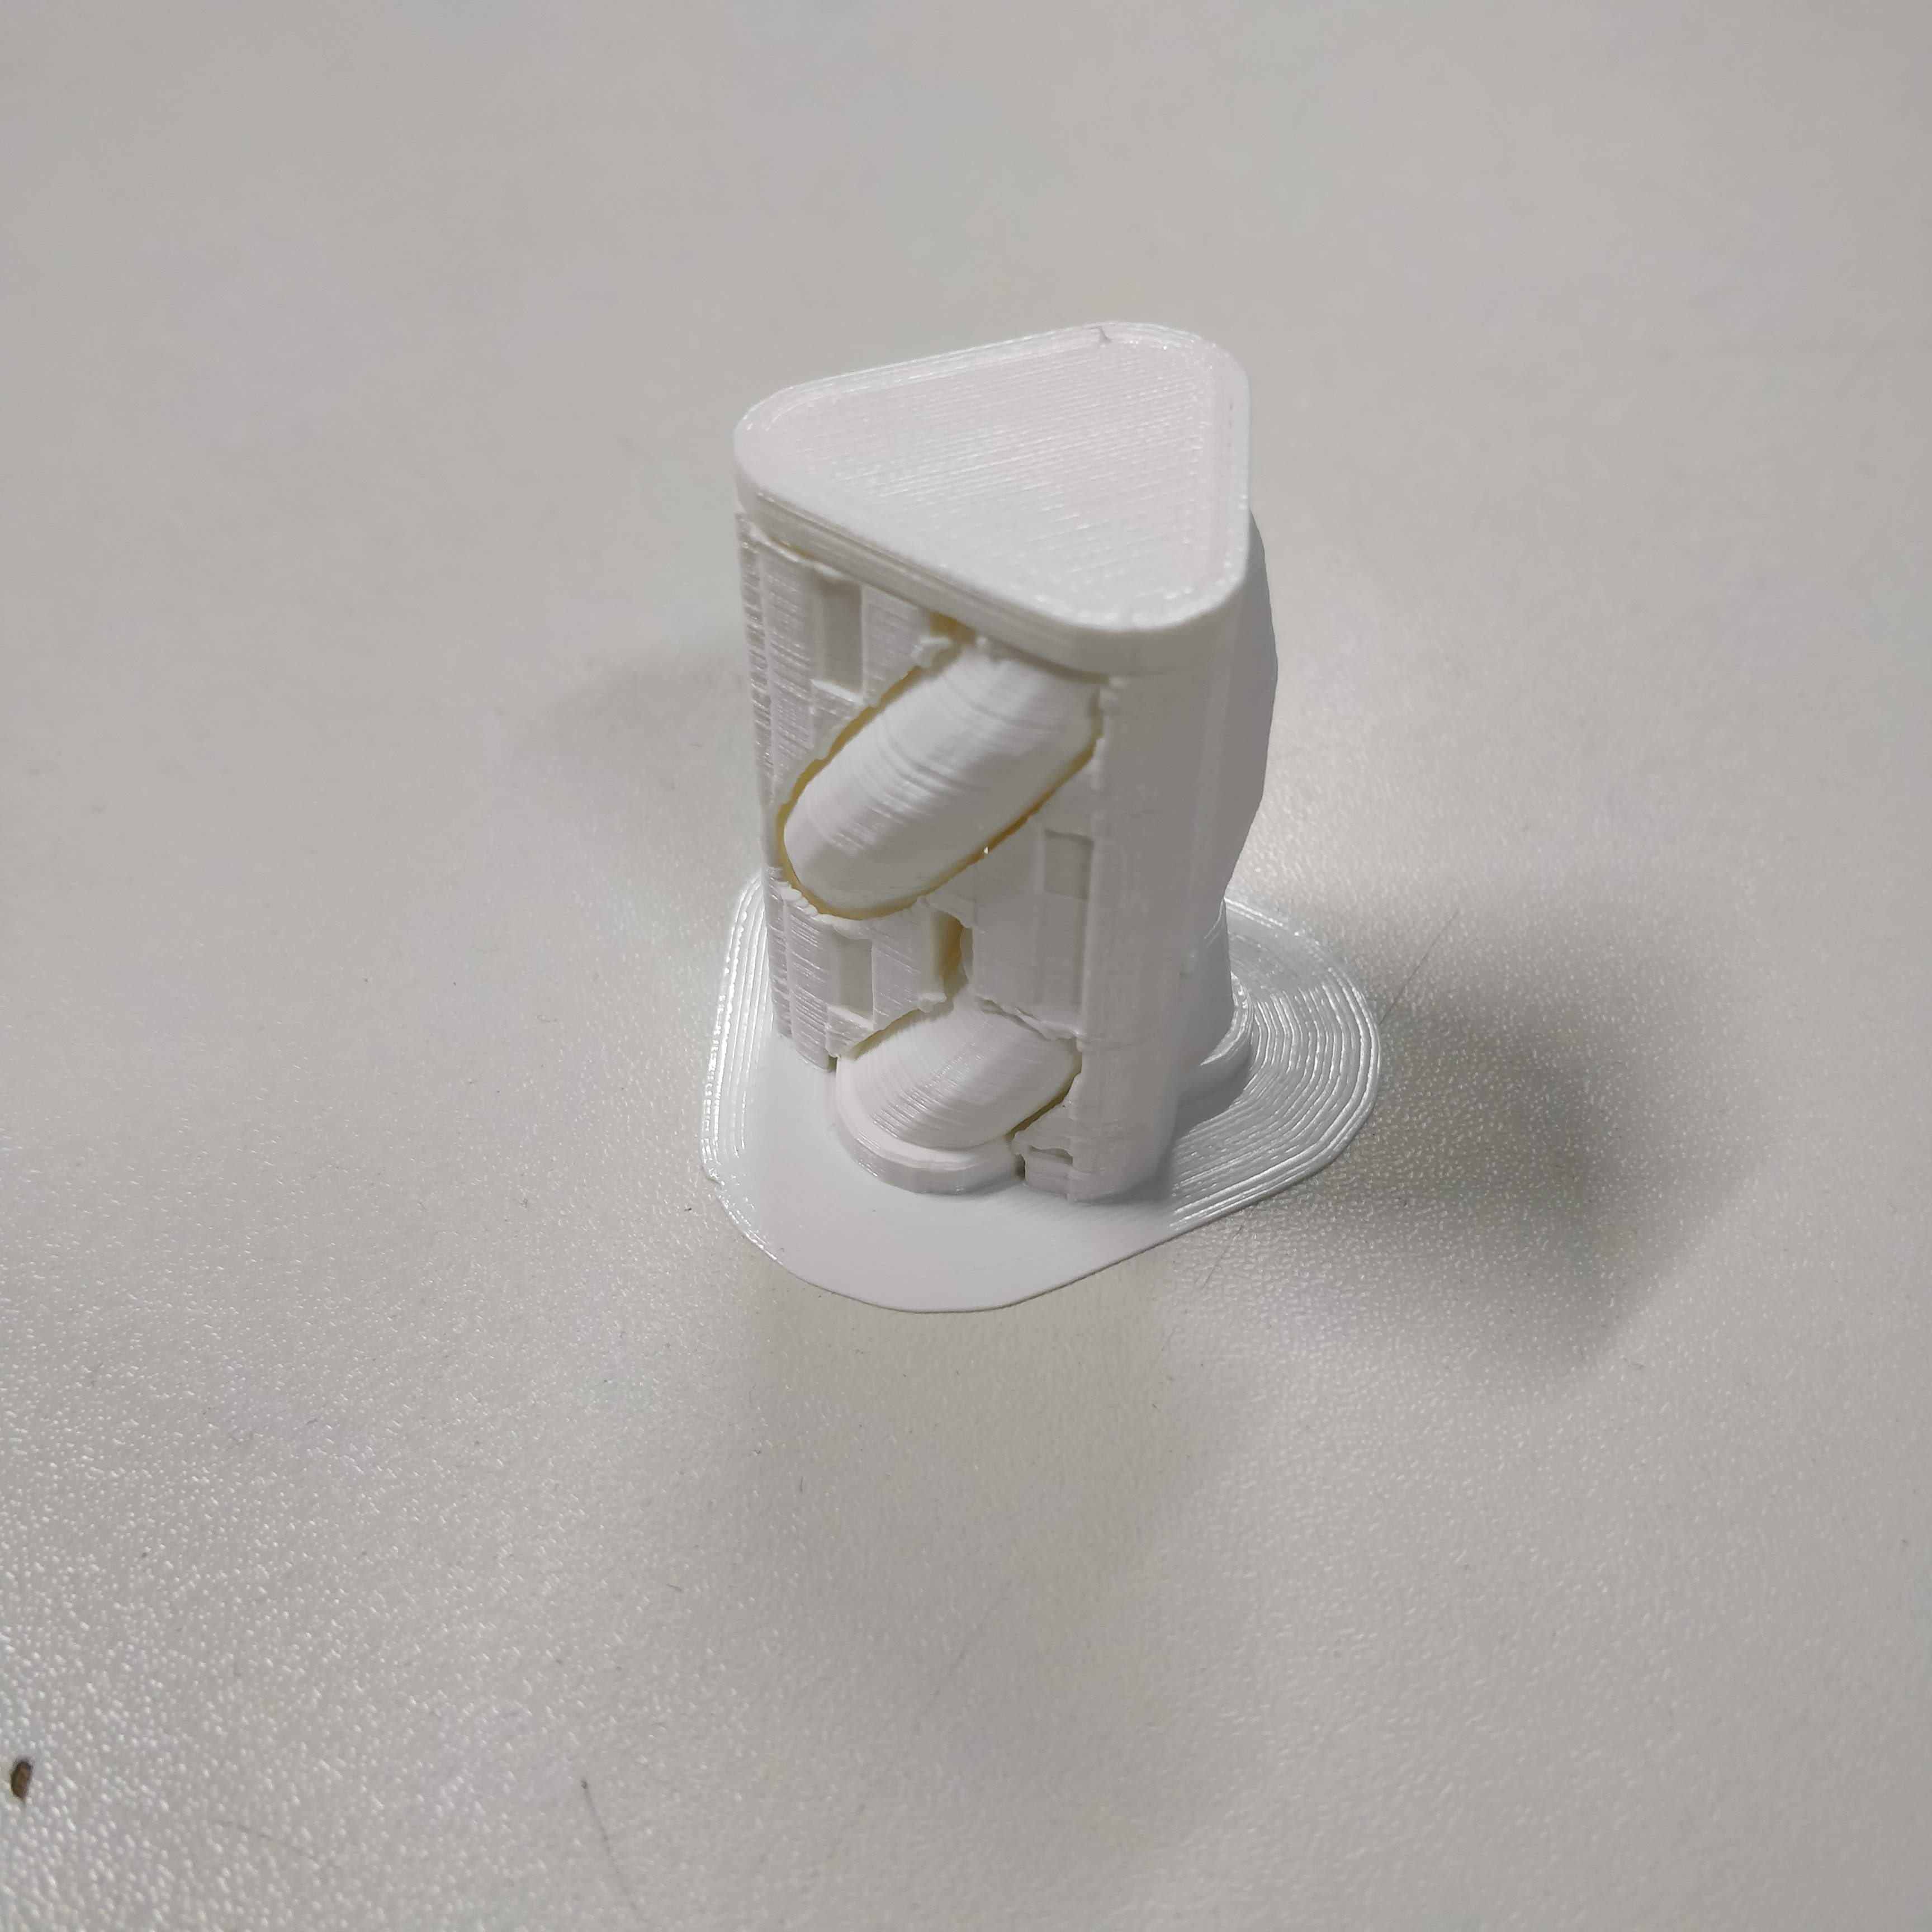
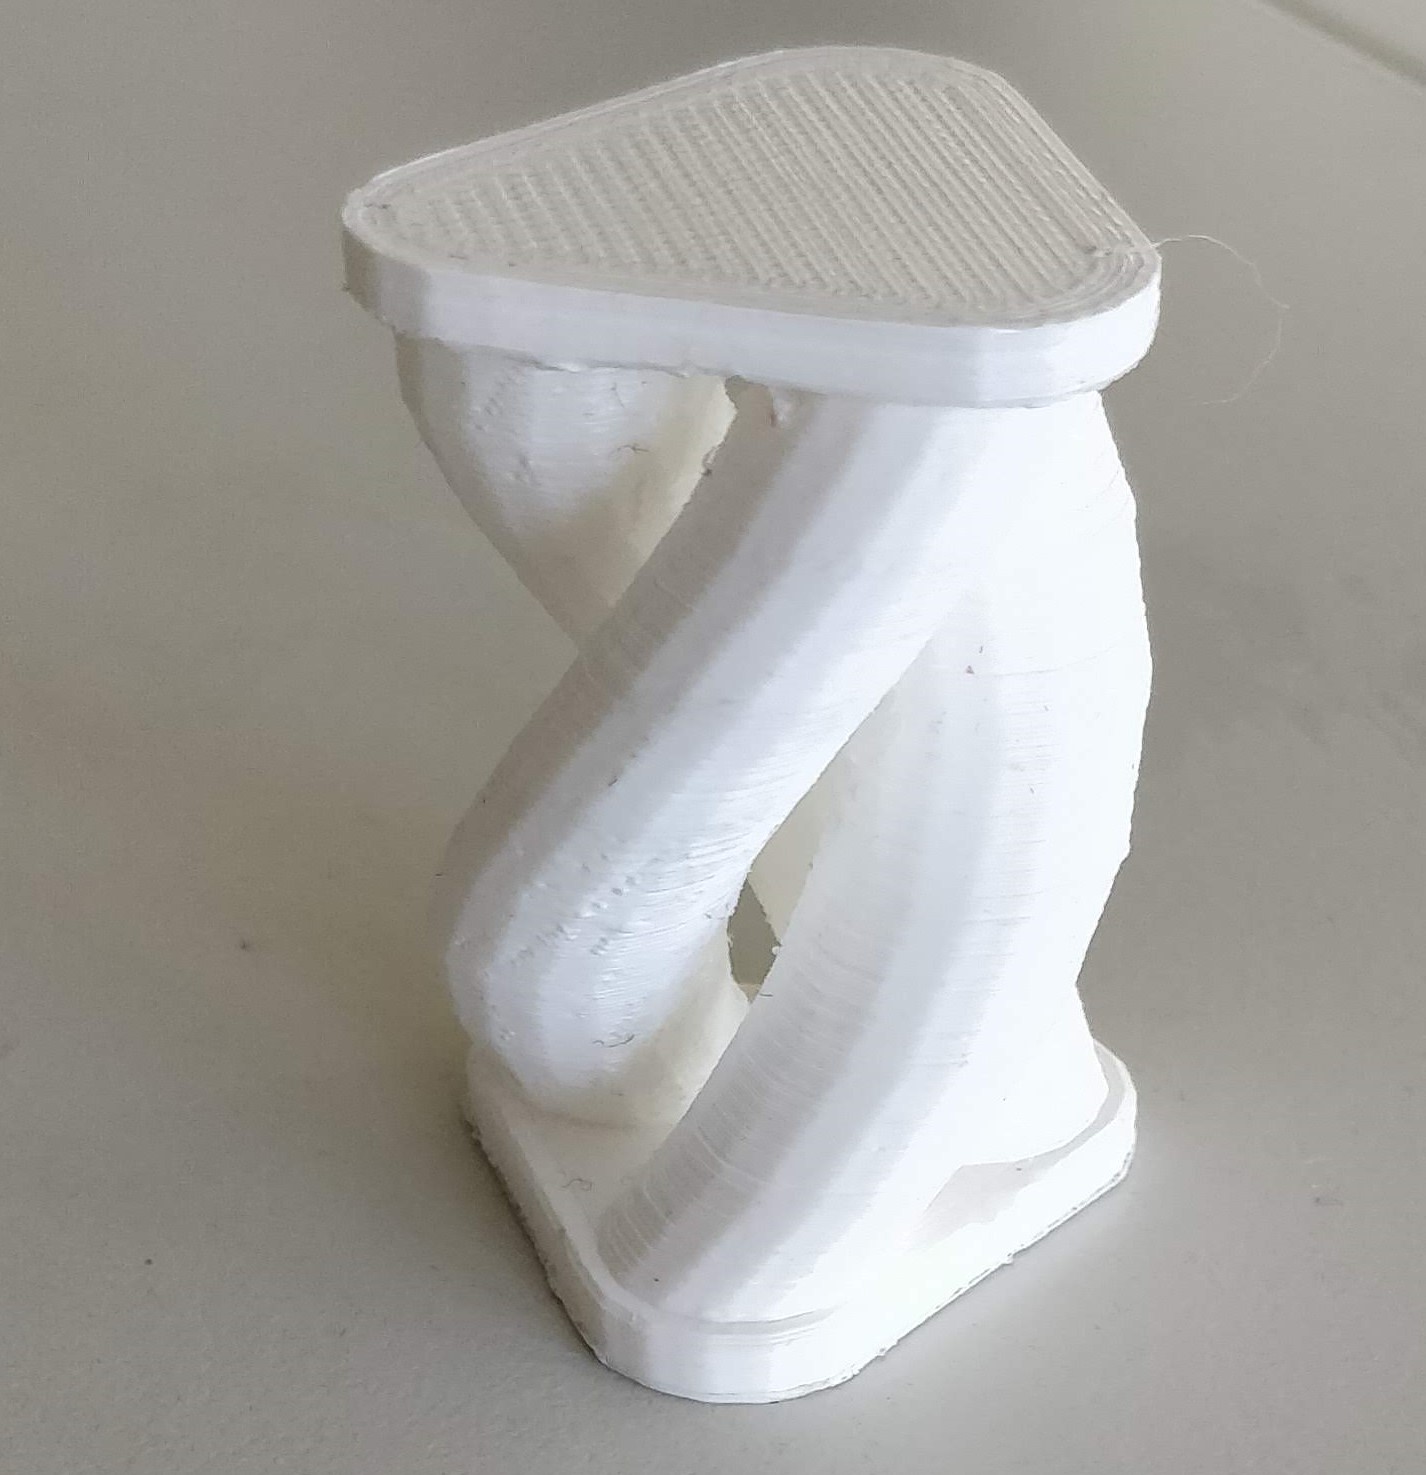
The only thing left to do now was to remove the support with a pair of pliers and a lot of paitance.
It's software called "sense" is also really simple, first you have to select how big the thing is you want to scan
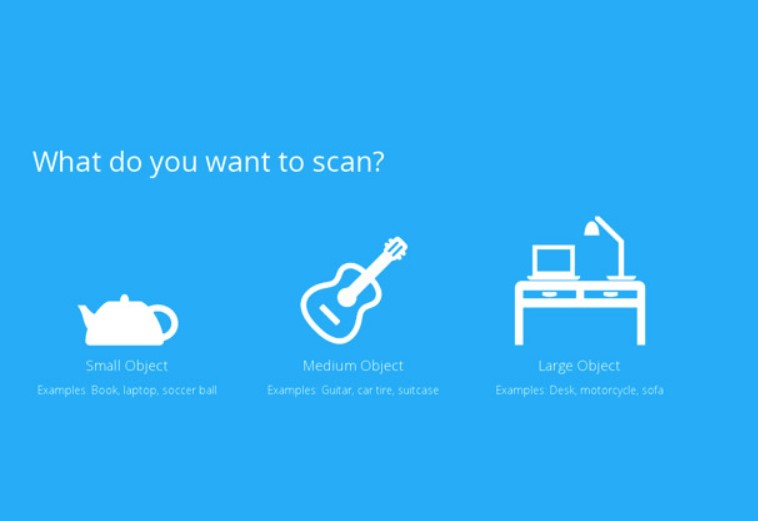
For my application I used the medium model size, The object I wanted to scan is the torso of a mannequin.
unfortunately the video of me scanning the torso got corrupted, but I have another video that shows the same thing with a different object. By watching it, everything that there is to know about the software will be cleared up.
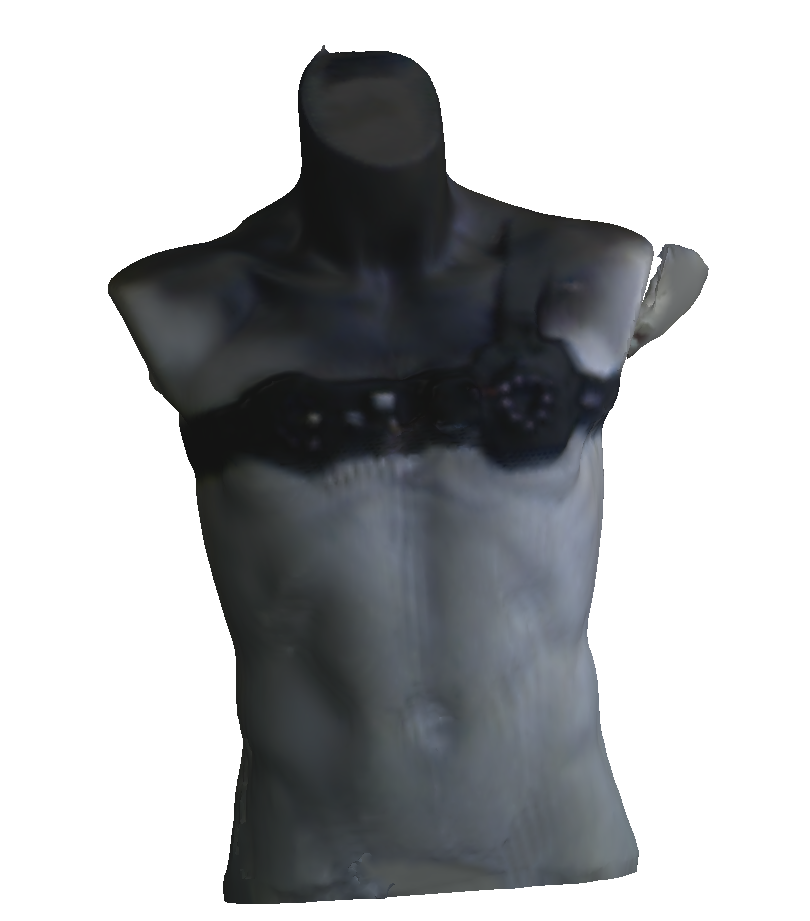
My model had a few imperfections, but those were easily taken care of by the tools of the sense software.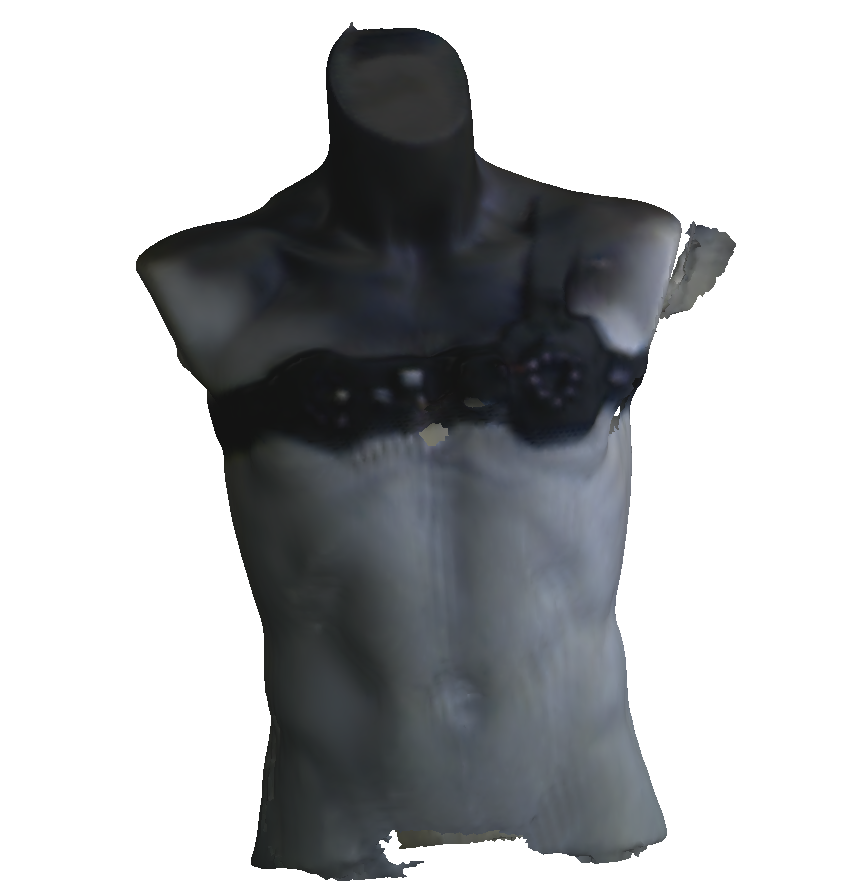
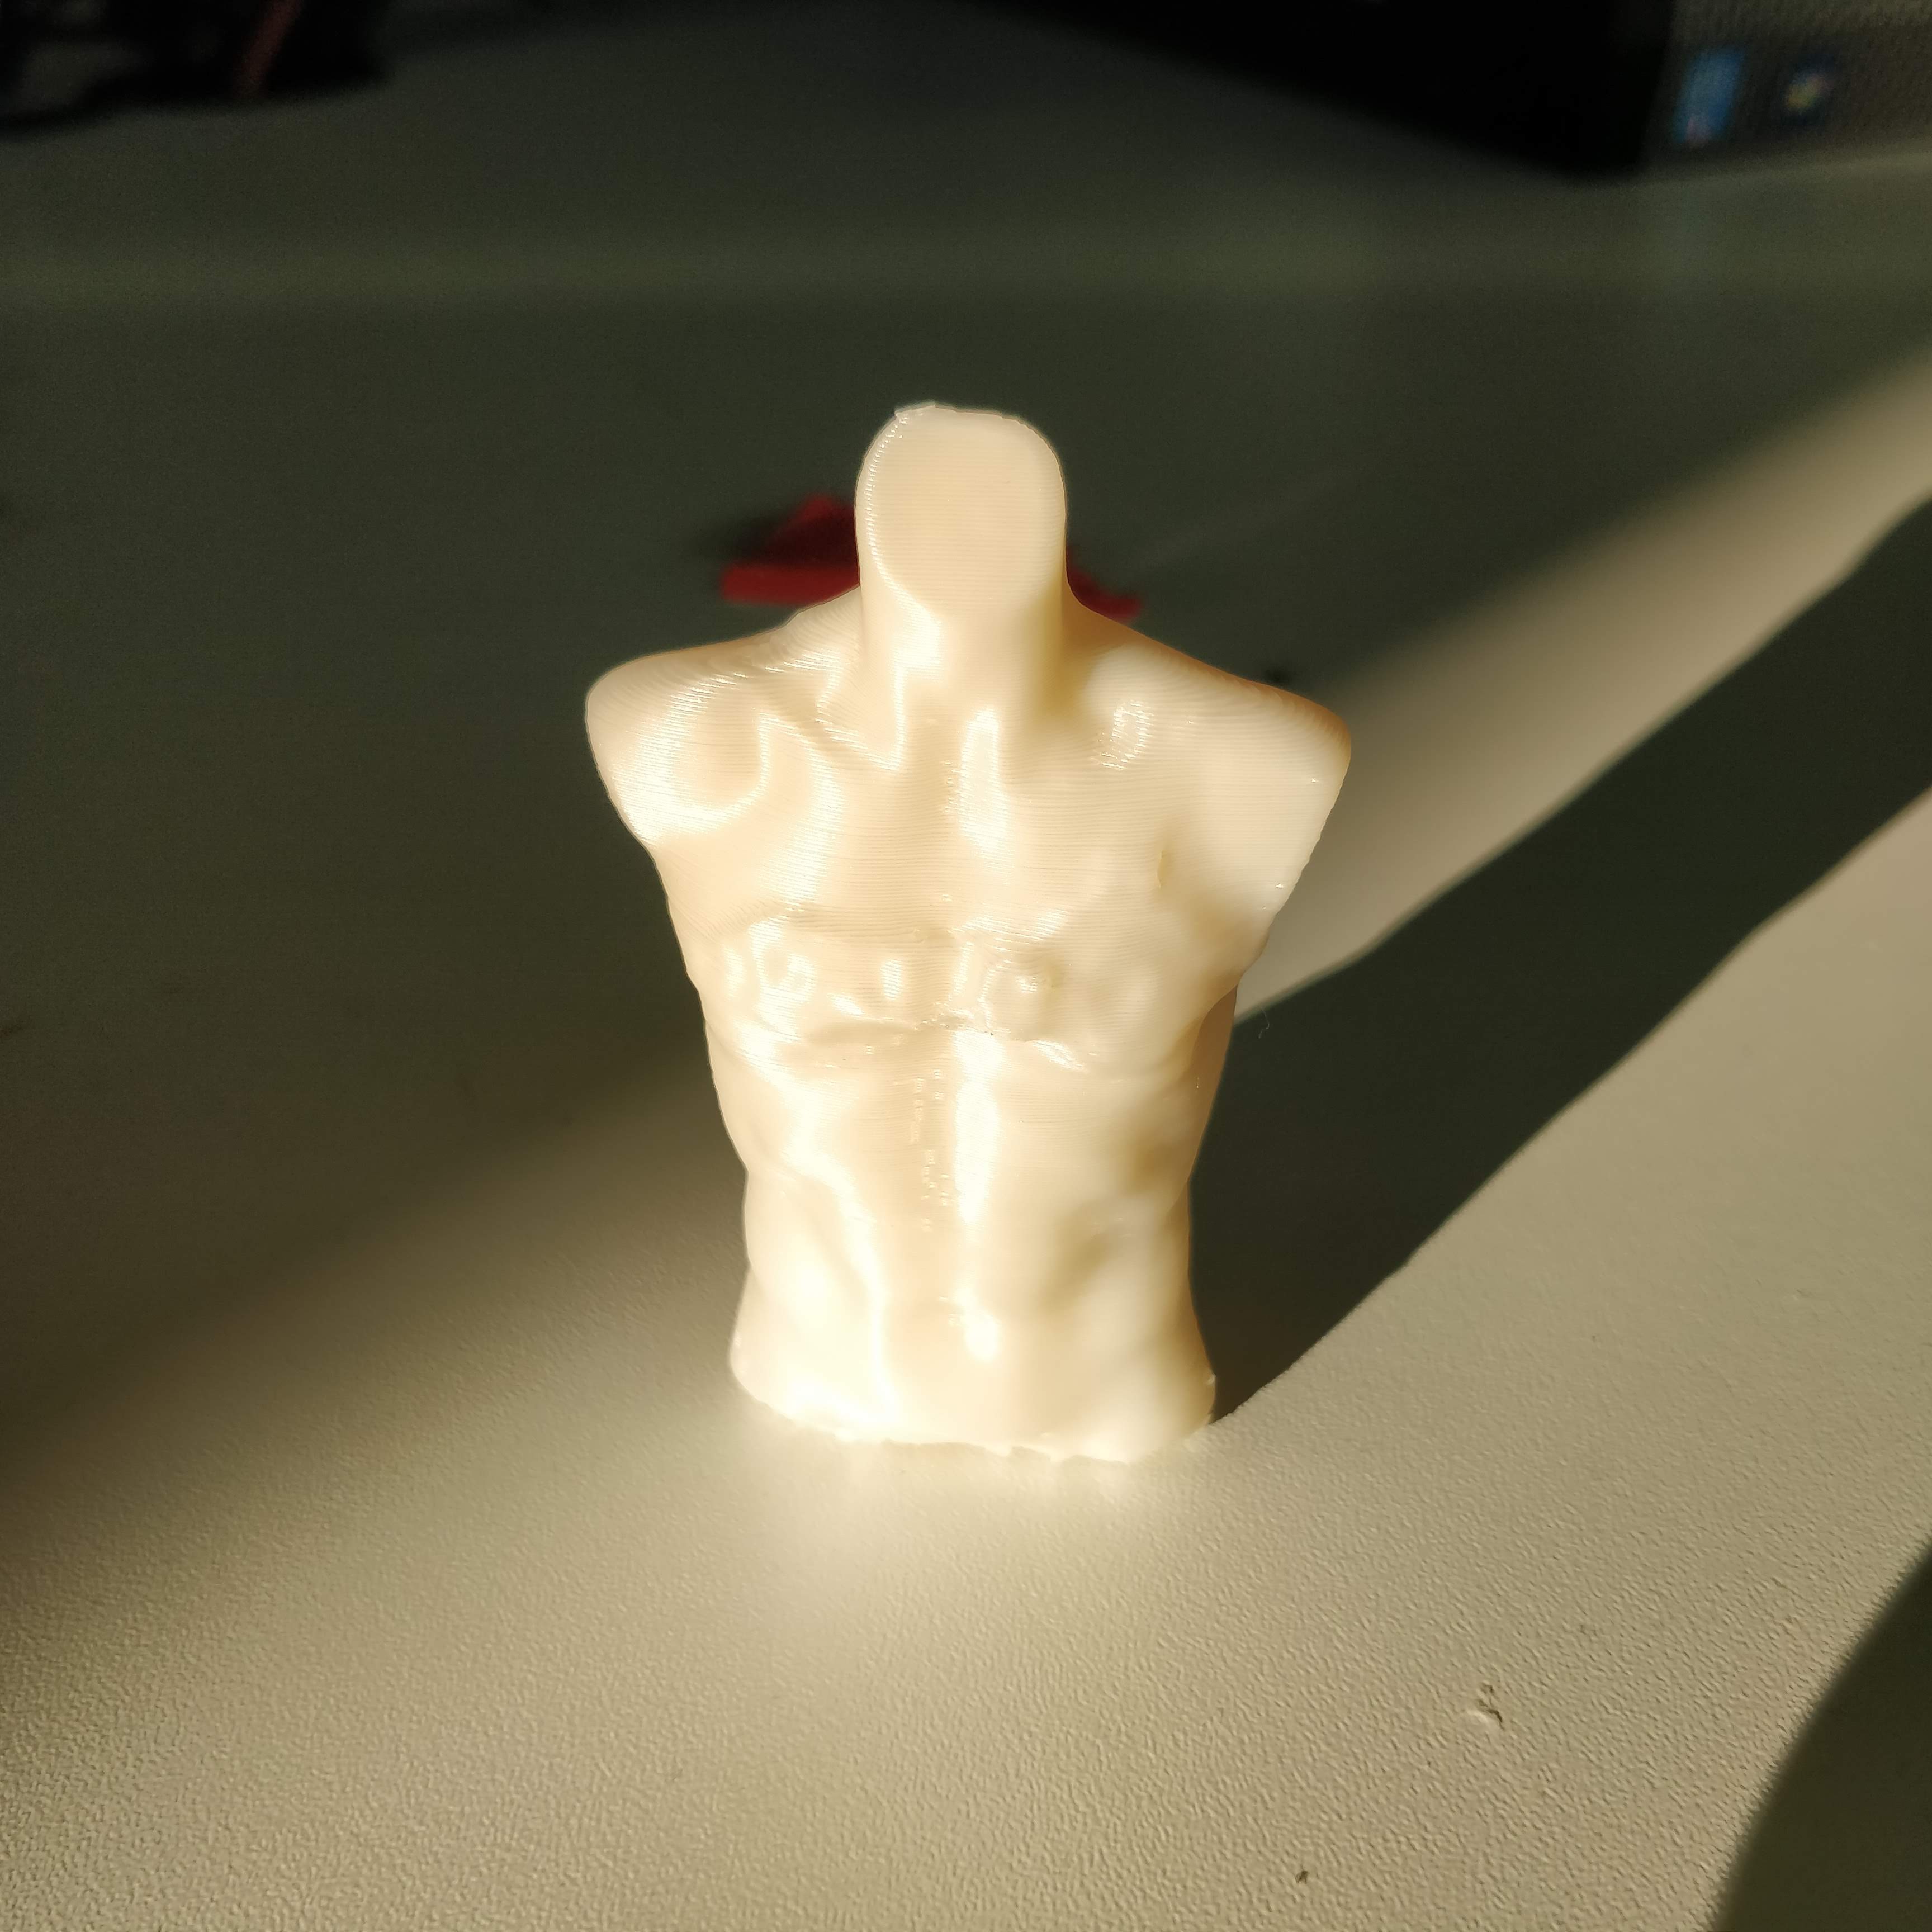
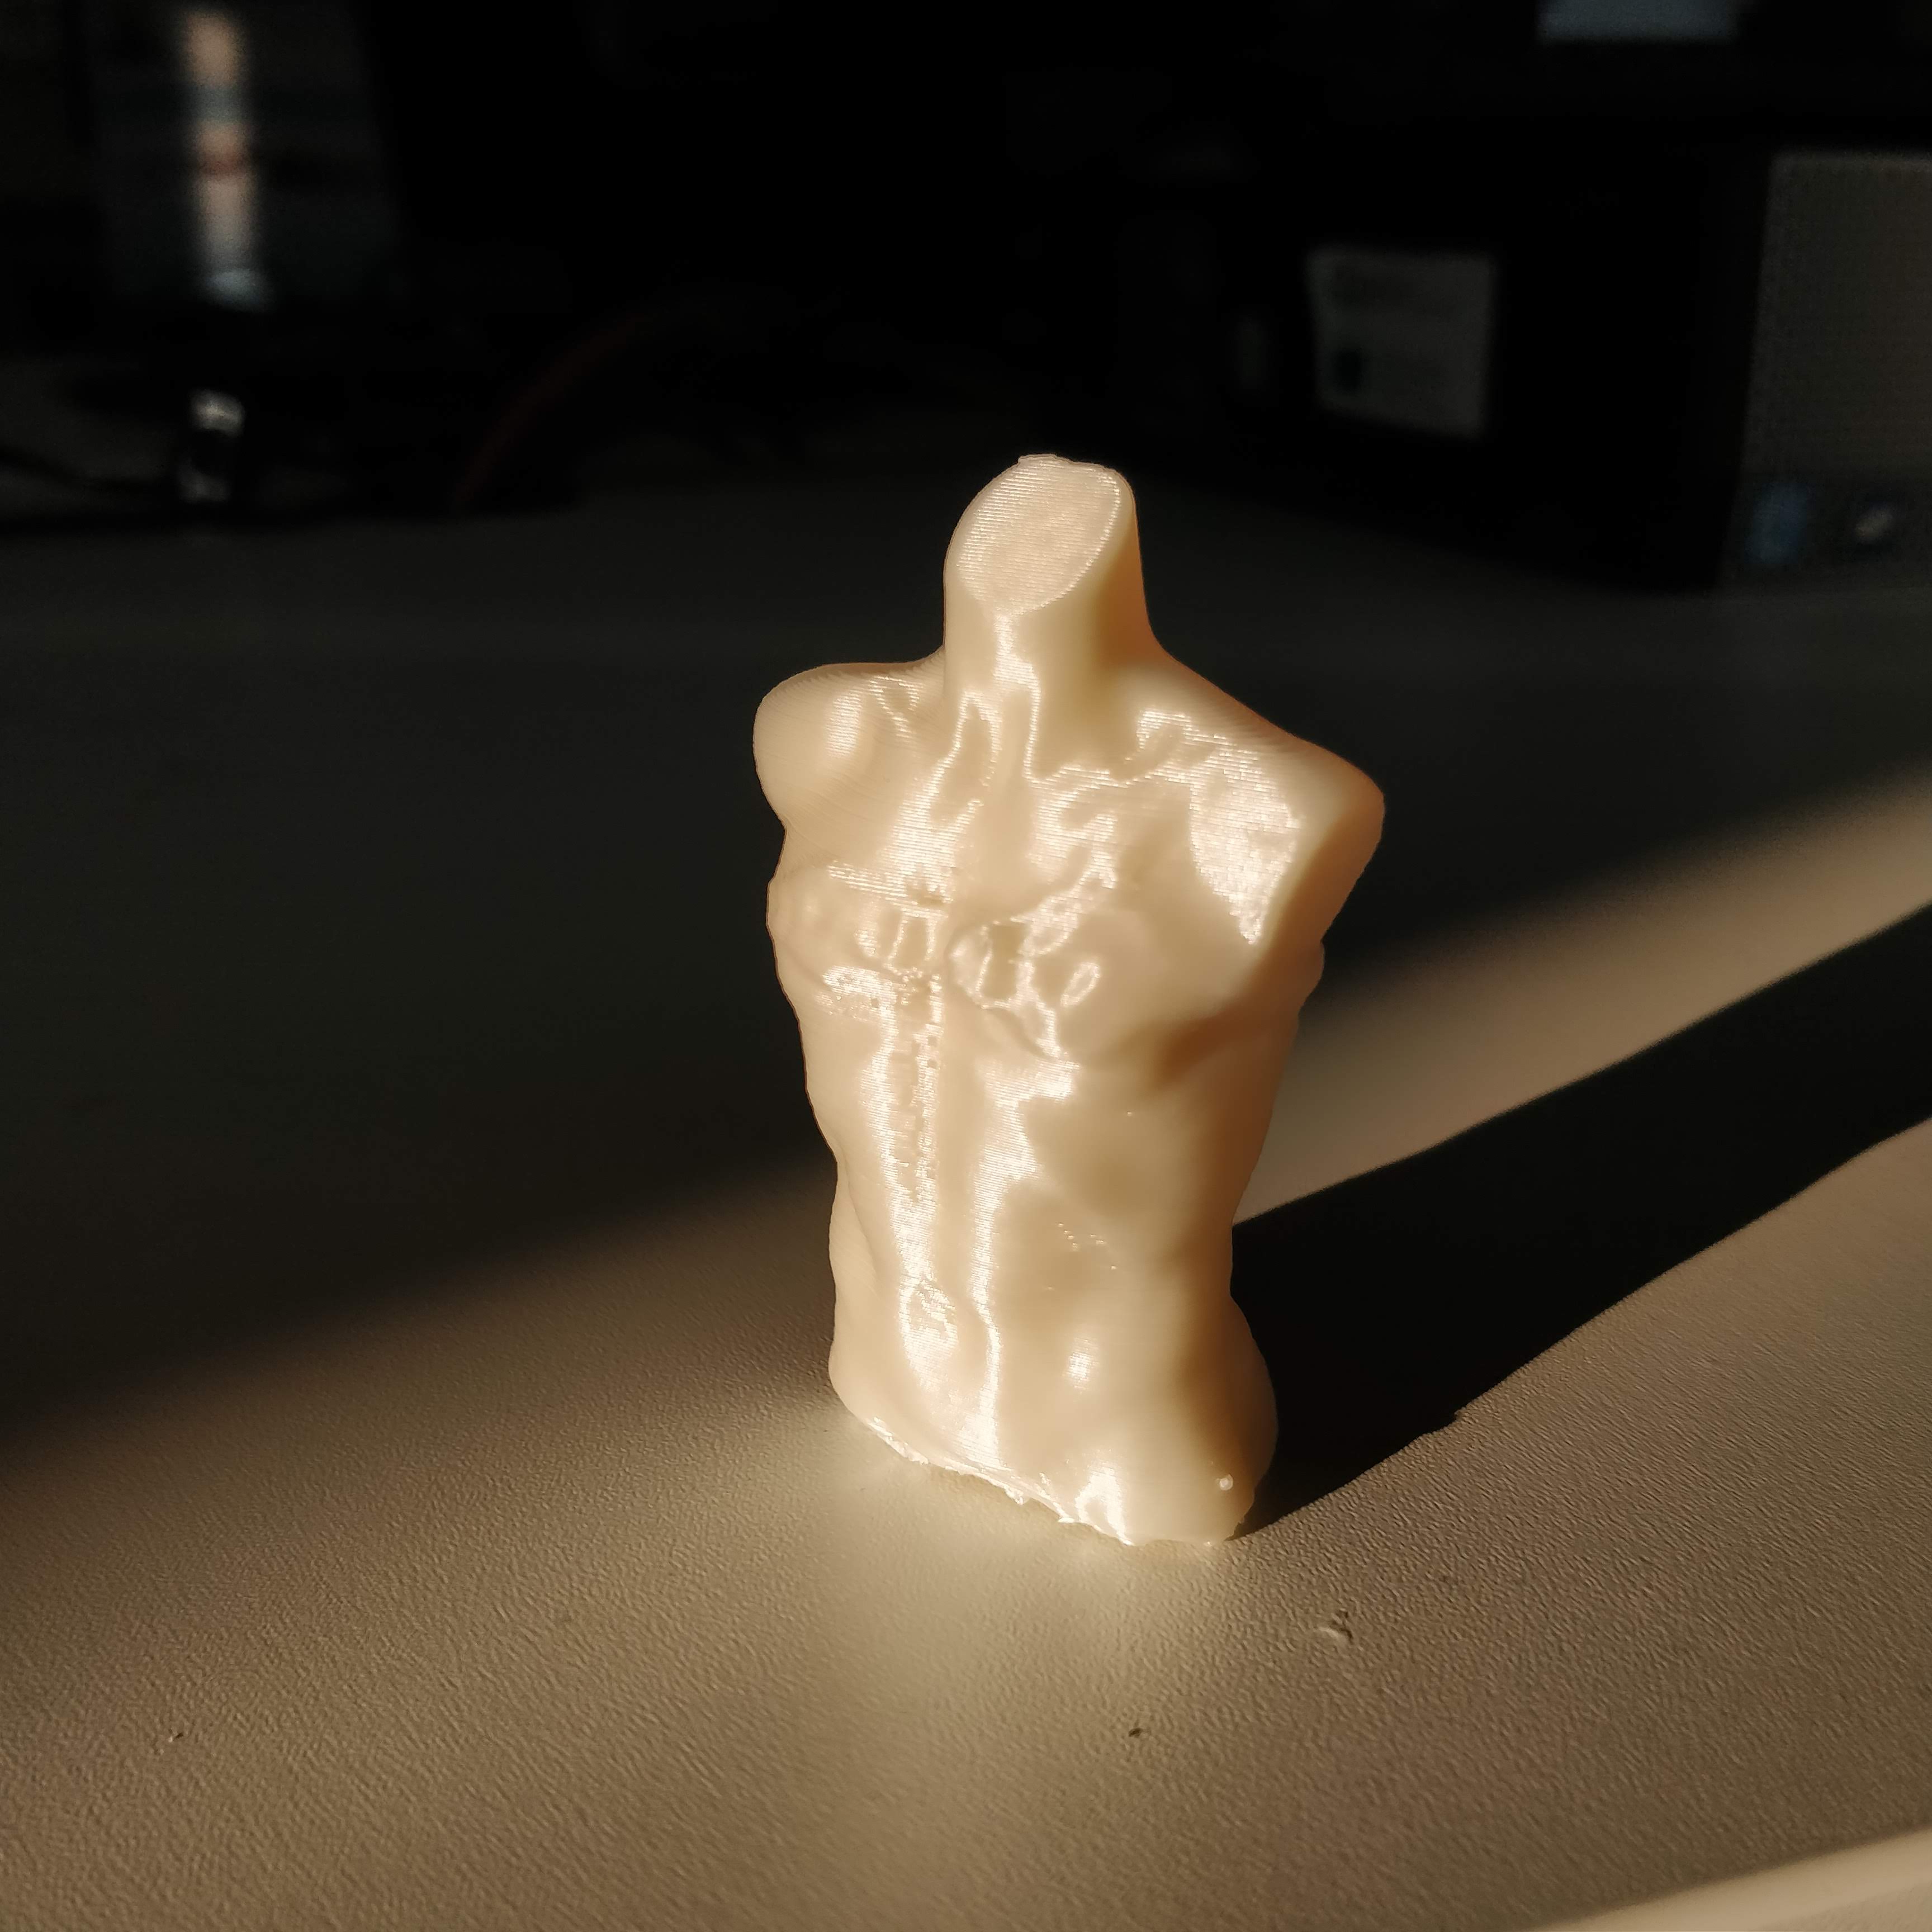
I then decided to 3d-print the model I just had scanned und a smaller scale.

And this is the final result:
download the models
3D-Printing
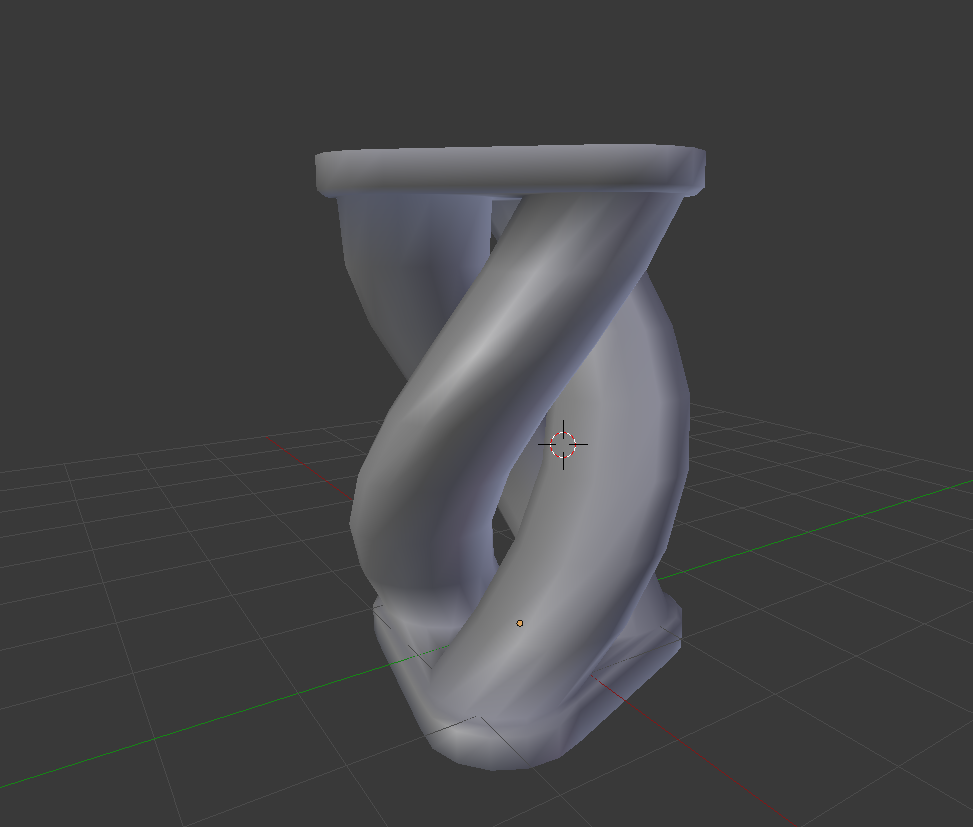
for this part of the assignment I used the free and open source Software "Blender", to create a kind of intertwining helix. As you can see here:
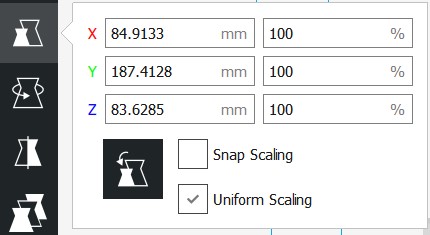
This was then exported as an .obj file and opened in the "Cura" slicing software. Since Blender is not meant for CAD applications, I didn't get the scale right. However that could easily be fixed by simply scaling the object to the desired size in Cura.
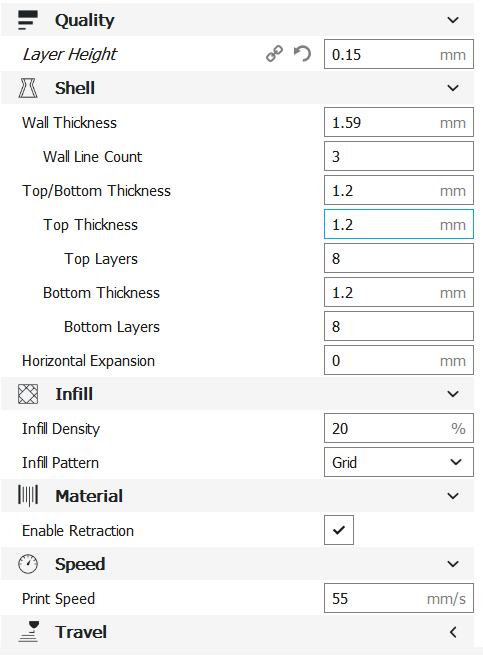
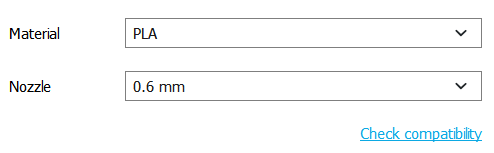
Then it was time to set up all the settings for the print. Since The print was just going to be a showpiece there was no need for any kind of exsessive structural integrity or stability, therefore I used PLA as the printing material. Also there were no small details on the model, so I used a 0.6mm nozzle with a 0.15mm layer height. I also set the infill density to 20% with "grid" as the pattern, this had no real resoning behind it, other than the fact that I wanted the print to finish fast and reasonably rigid. The Speed, Shell, Material as well as Cooling and Travel settings were all left untouched, since I never had any problems with the default settings. I did however check generate support and set the overhang angle to 50°. Also I added a brim , to provide more adhesion to the build plate, since our printers are notorious for not having any build plate adhesion at all.
After all of that was done, the print would take 1:48 hours, which is fine for a print of this size.
This is what the "Layer view" in Cura looked like.
After that it was time to actually print the part. So first thing's first, the file generated in cura has to be on a SD-card. This card can then be inserted into the printer, after that I selected print in the interface.
Then I selected my file in the list of files that is on the memory card (usually it's the bottom one)
Then the printer will get ready to print the design, by heating up the buildplate and the nozzle and extruding a small amount of filament.
This is a short photoseries of the printing taking place:
And after the proposed 1:48h the print was finished and looked like this:
The only thing left to do now was to remove the support with a pair of pliers and a lot of paitance.
3D-scanning
For 3d-scanning I used the sense 3d scanner from 3D systems, it is a handheld device that can be operated using only a laptop that posesses a usb connector.It's software called "sense" is also really simple, first you have to select how big the thing is you want to scan
For my application I used the medium model size, The object I wanted to scan is the torso of a mannequin.
unfortunately the video of me scanning the torso got corrupted, but I have another video that shows the same thing with a different object. By watching it, everything that there is to know about the software will be cleared up.
My model had a few imperfections, but those were easily taken care of by the tools of the sense software.
I then decided to 3d-print the model I just had scanned und a smaller scale.
And this is the final result:
Group Assignment
Here you can find this week's group assignment.download the models