6. 3D Scanning and printing
In 6th week, I learned how to use machines for 3D printing and 3D scan. Through this working, I realinzed not only that I should be good at drwaing 3D modeling but also that I should be careful how I should set my 3D models to print out well.
Group assignment
The detailed process and results of our group assignment are described here.
In the group work, we tried 2 kinds of 3D printers in FabLab Kannai. One is “Maker Bot” and another is “XYZ printer”.
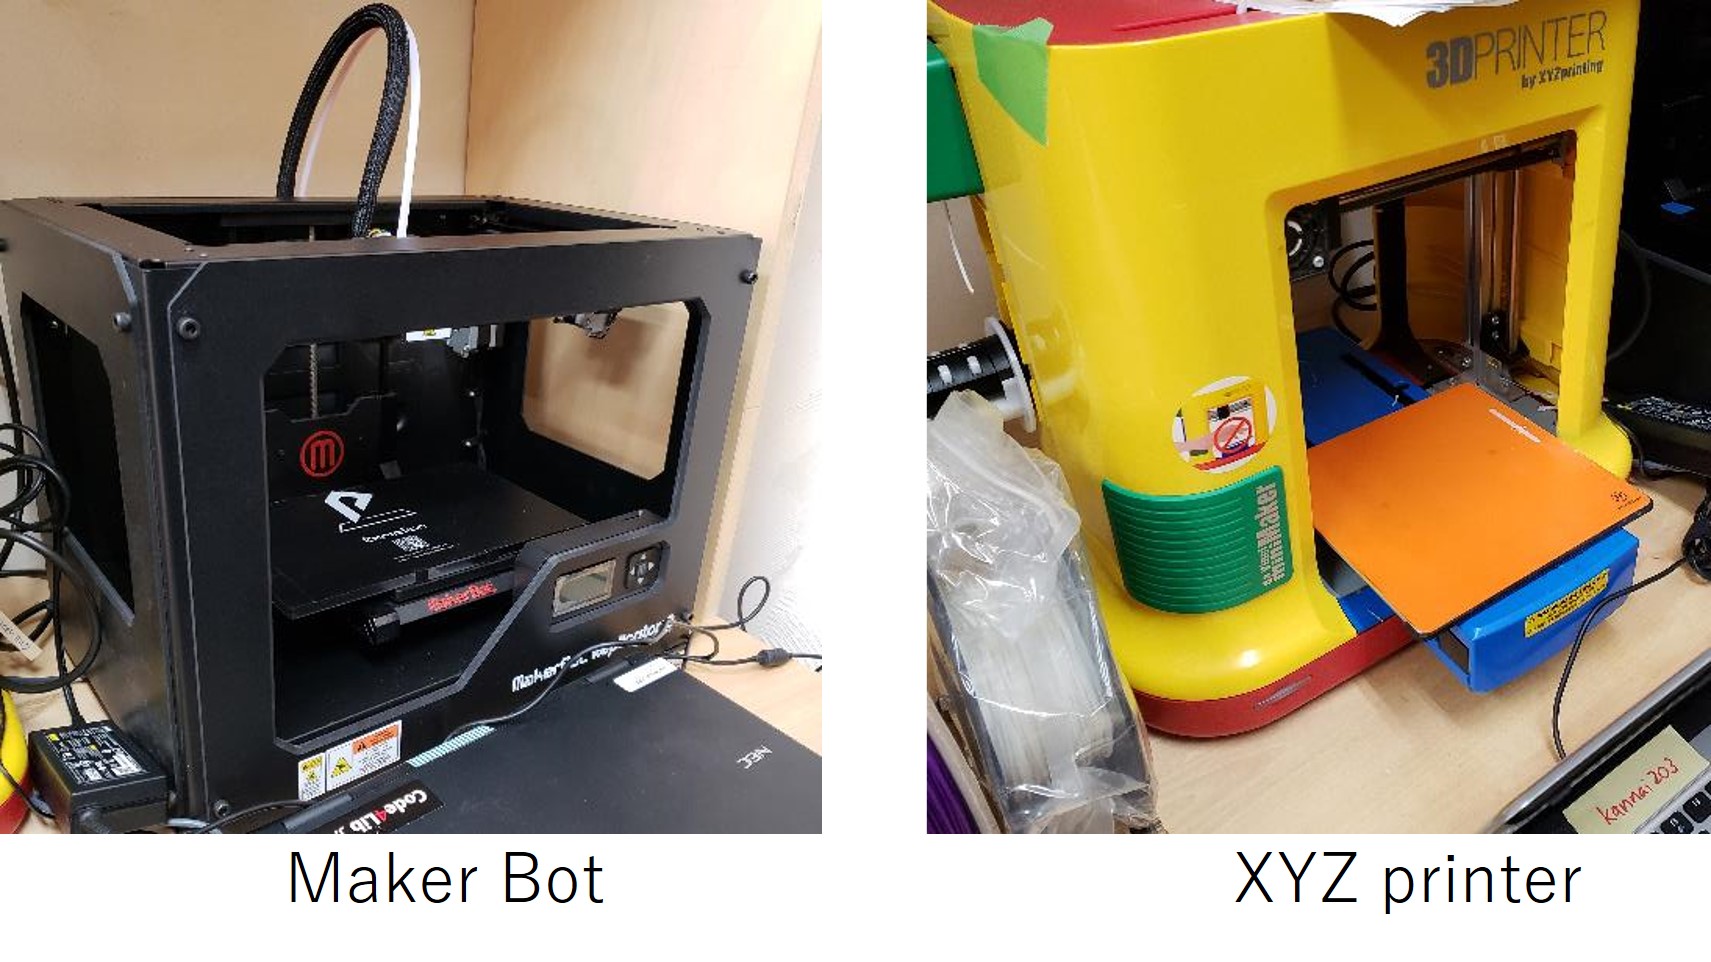
Here are results from each 3D printers.
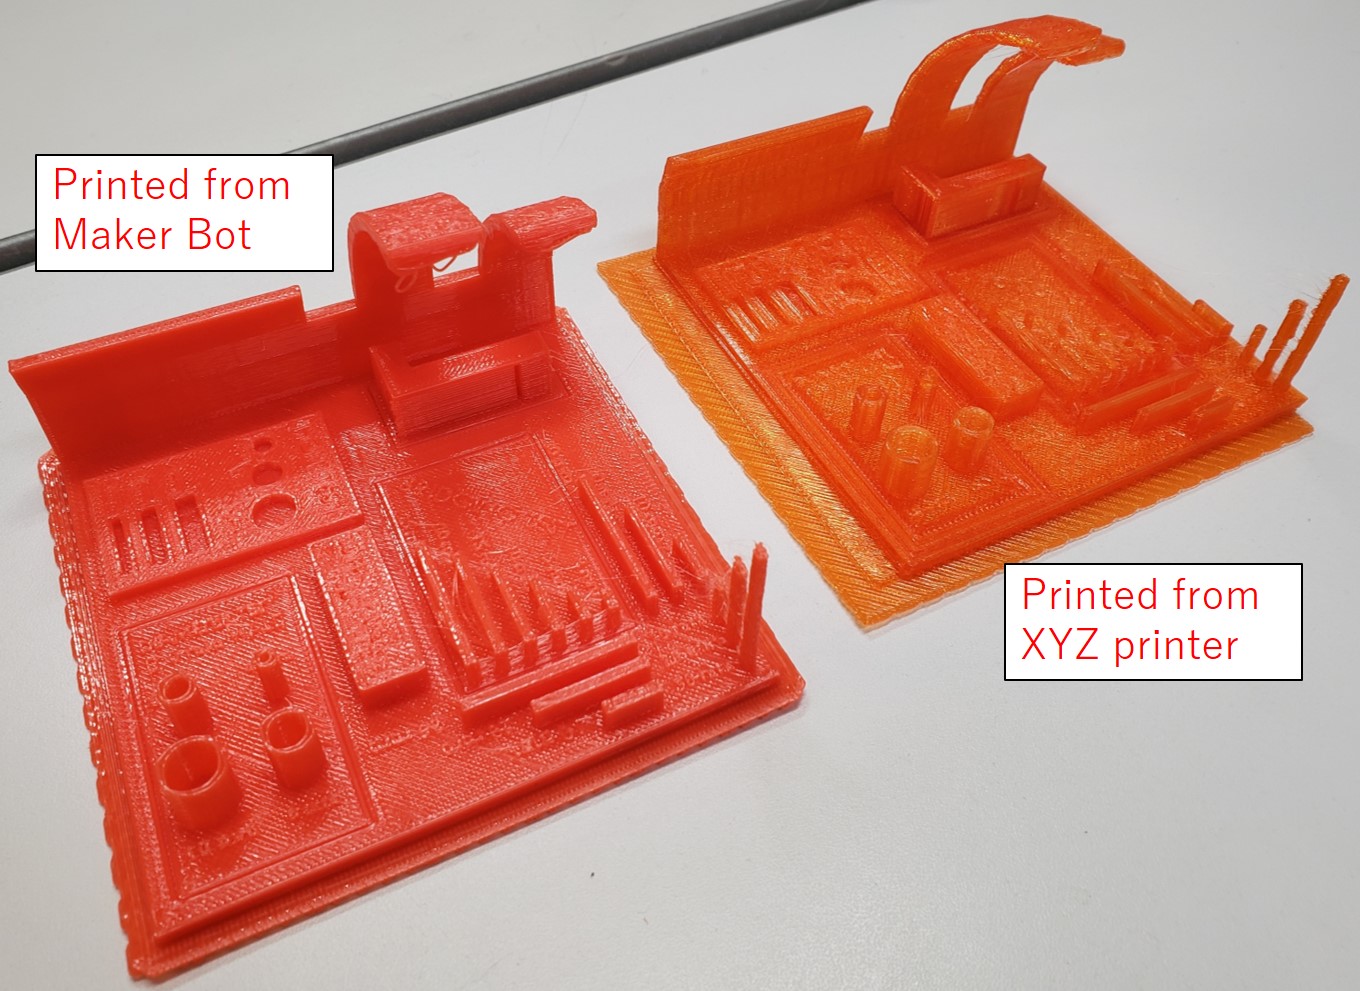
In my opinion about the results of using these printers, using Maker Bot is much faster than XYZ printer to complete printing.(About three times!!) Moreover, output of Make bot is also more accurate than XYZ printer.
Individual assignment
3D scanning
I tried a software “Sense” for 3D scanning. This software has been installed in a desktop computer at Fablab Kannai. Moreover, the software needed a physical scanner connected the desktop computer.
![]()
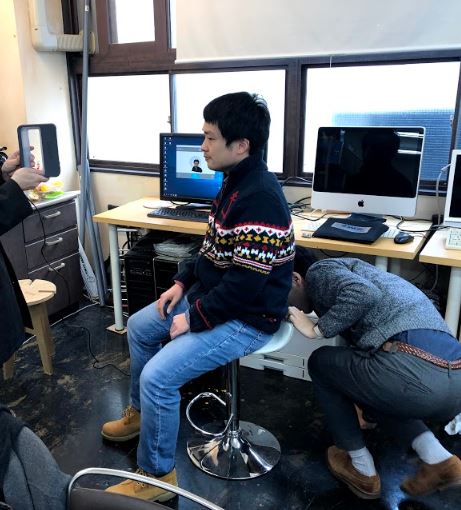
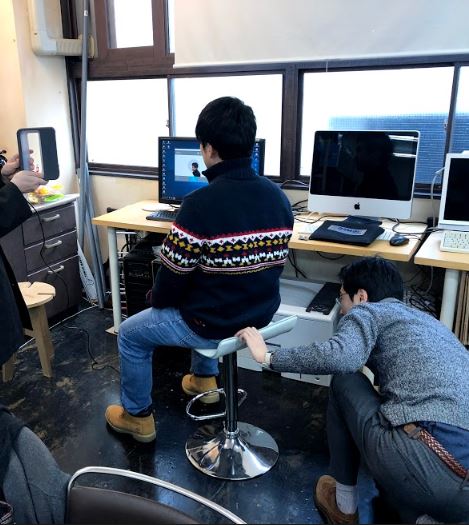
Actual scene to scan my face is shown below. The scanning needed assists from other person. In my case, 2 persons were required !! To scan well, the position of scanner should be fixed, so my face was rotating during capturing.
The rsult was saved as OBJ file and could be checked by activating 3D viewer.
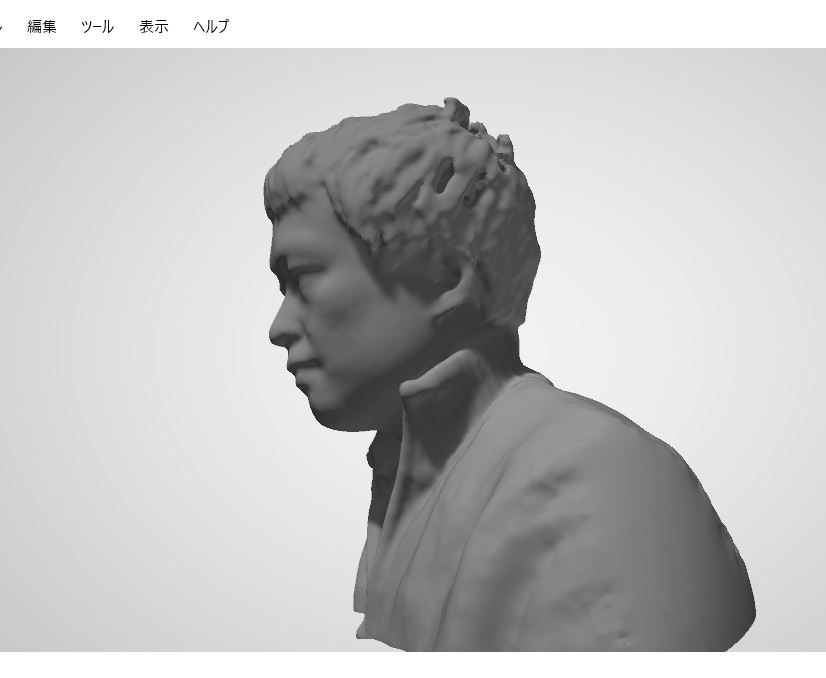
I do not have any idea how to color my scanned face model…
3D printing object that could not be made subtractively
Practice
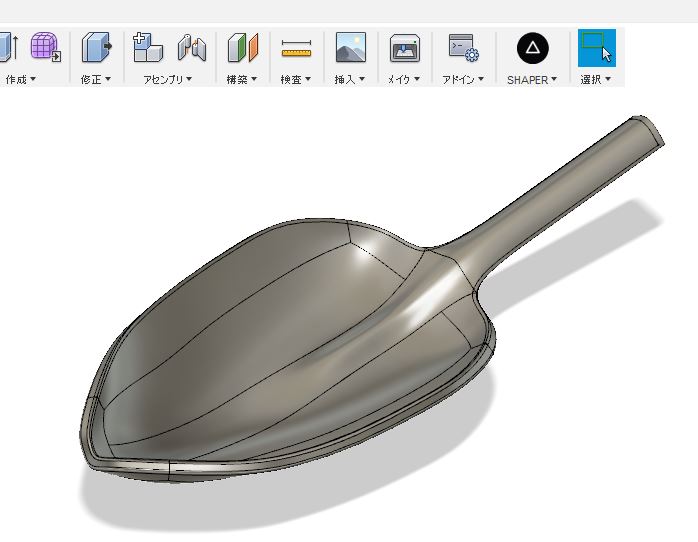
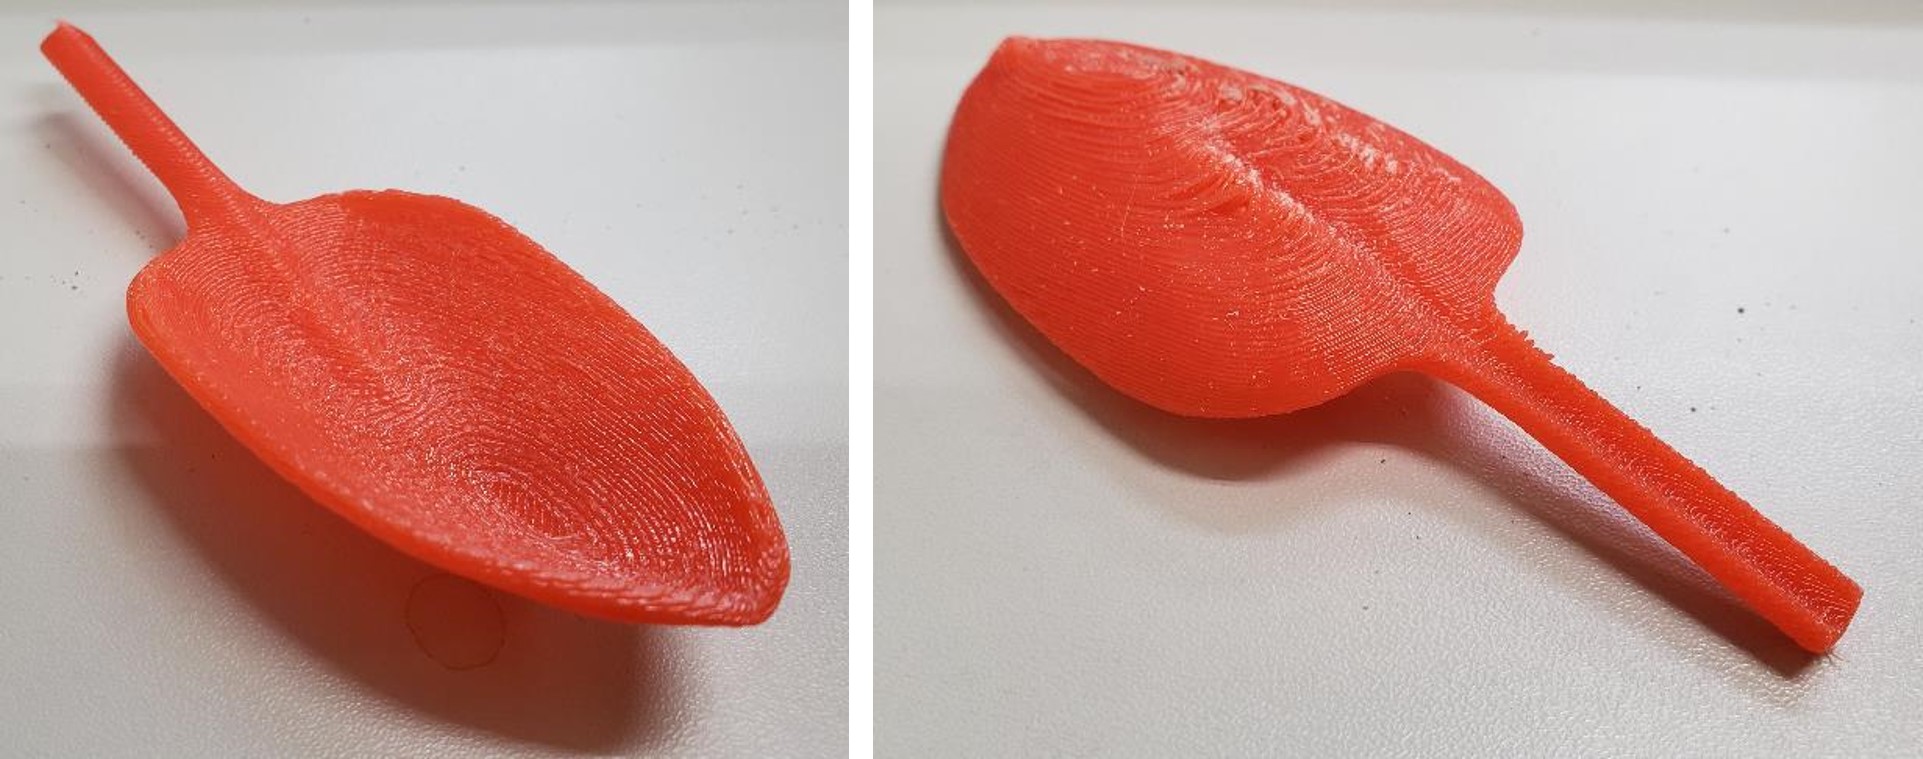
Before designing and printing an object that cannot be made subtractively, I practiced to create other easy model. The first one was mini scoop. I drew a CAD skecth in Fusion360.
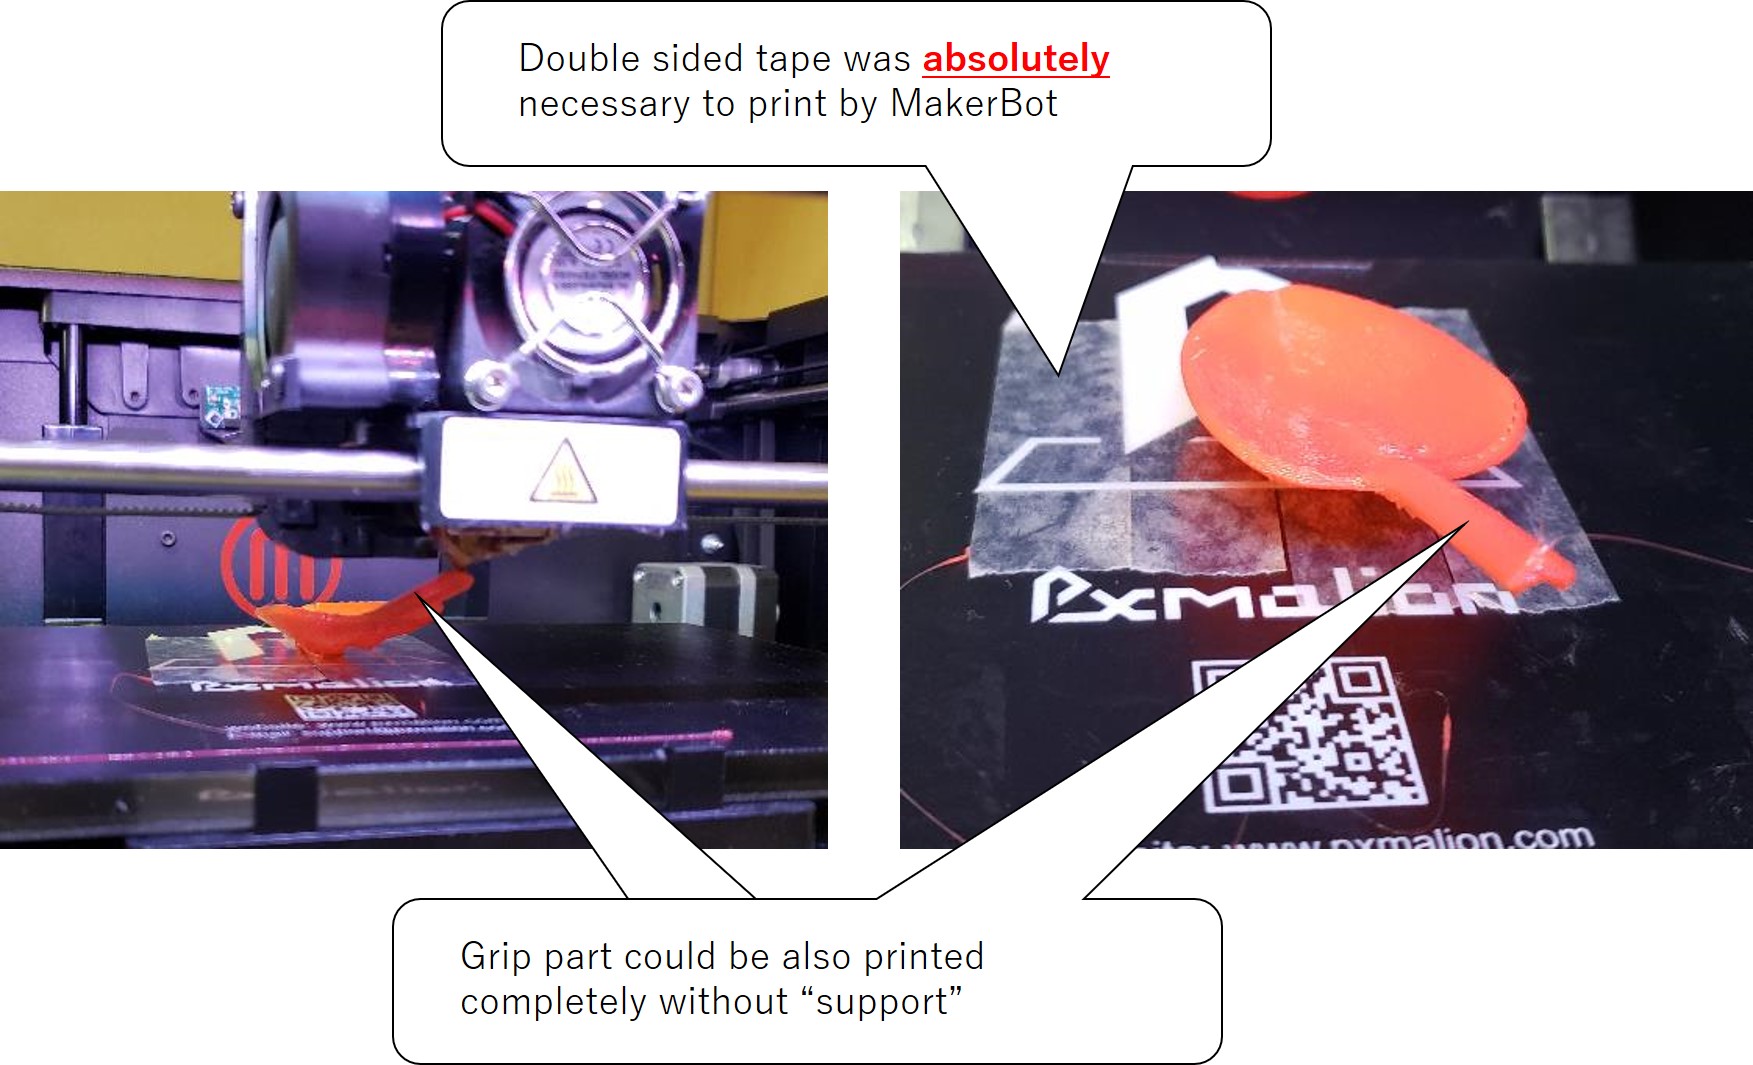
From the result of group assignment, I decided to use MakerBot for my individual assignment. Although MakerBot can print out quickly, double-sided tape is absolutely necessary because the down base is not heated to make the printed object fixed rigidily.
Designing an object that could not be made subtractively
After I had confidence that I could complete printing by myself, I started to skecth. Also in this week, I decided to design “SNOOPY” for assignment. (My wife loves SNOOPY!!)
- Imported model picture into workspace in Fusion360
- Drew sketch curve lines following general outline of unique his face
- Created “Pipe” form along the curve lines and editted the pipes to become similar to the SNOOPY face
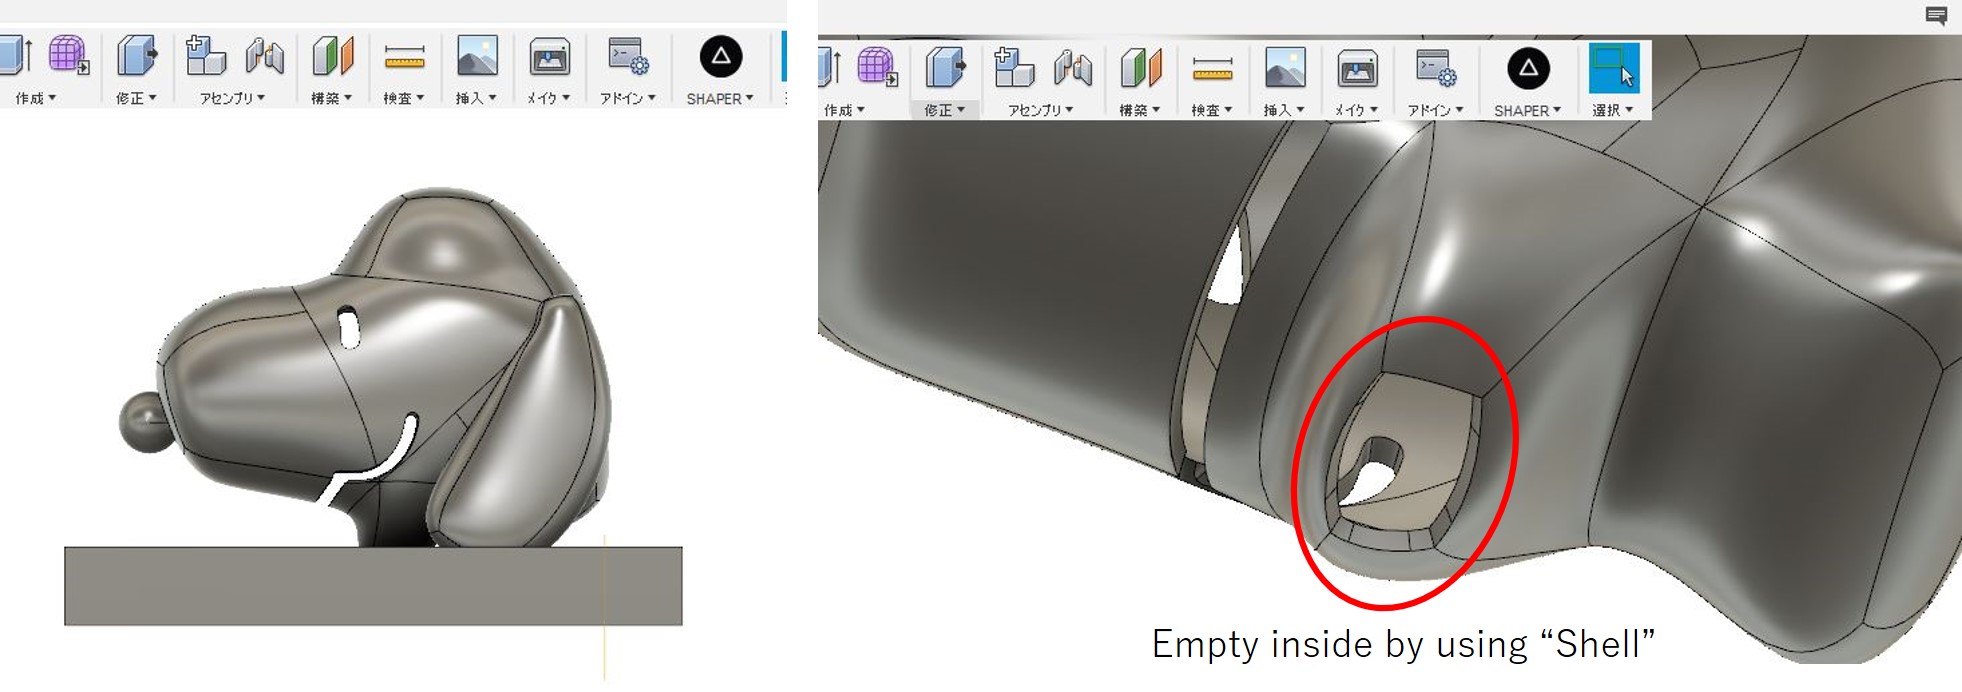
My designed SNOOPY was not able to made subtractively, because as following figure shows the inside of SNOOPY is empty. Then the drill bit cannot reach the inside part to milling or cut this empty space.
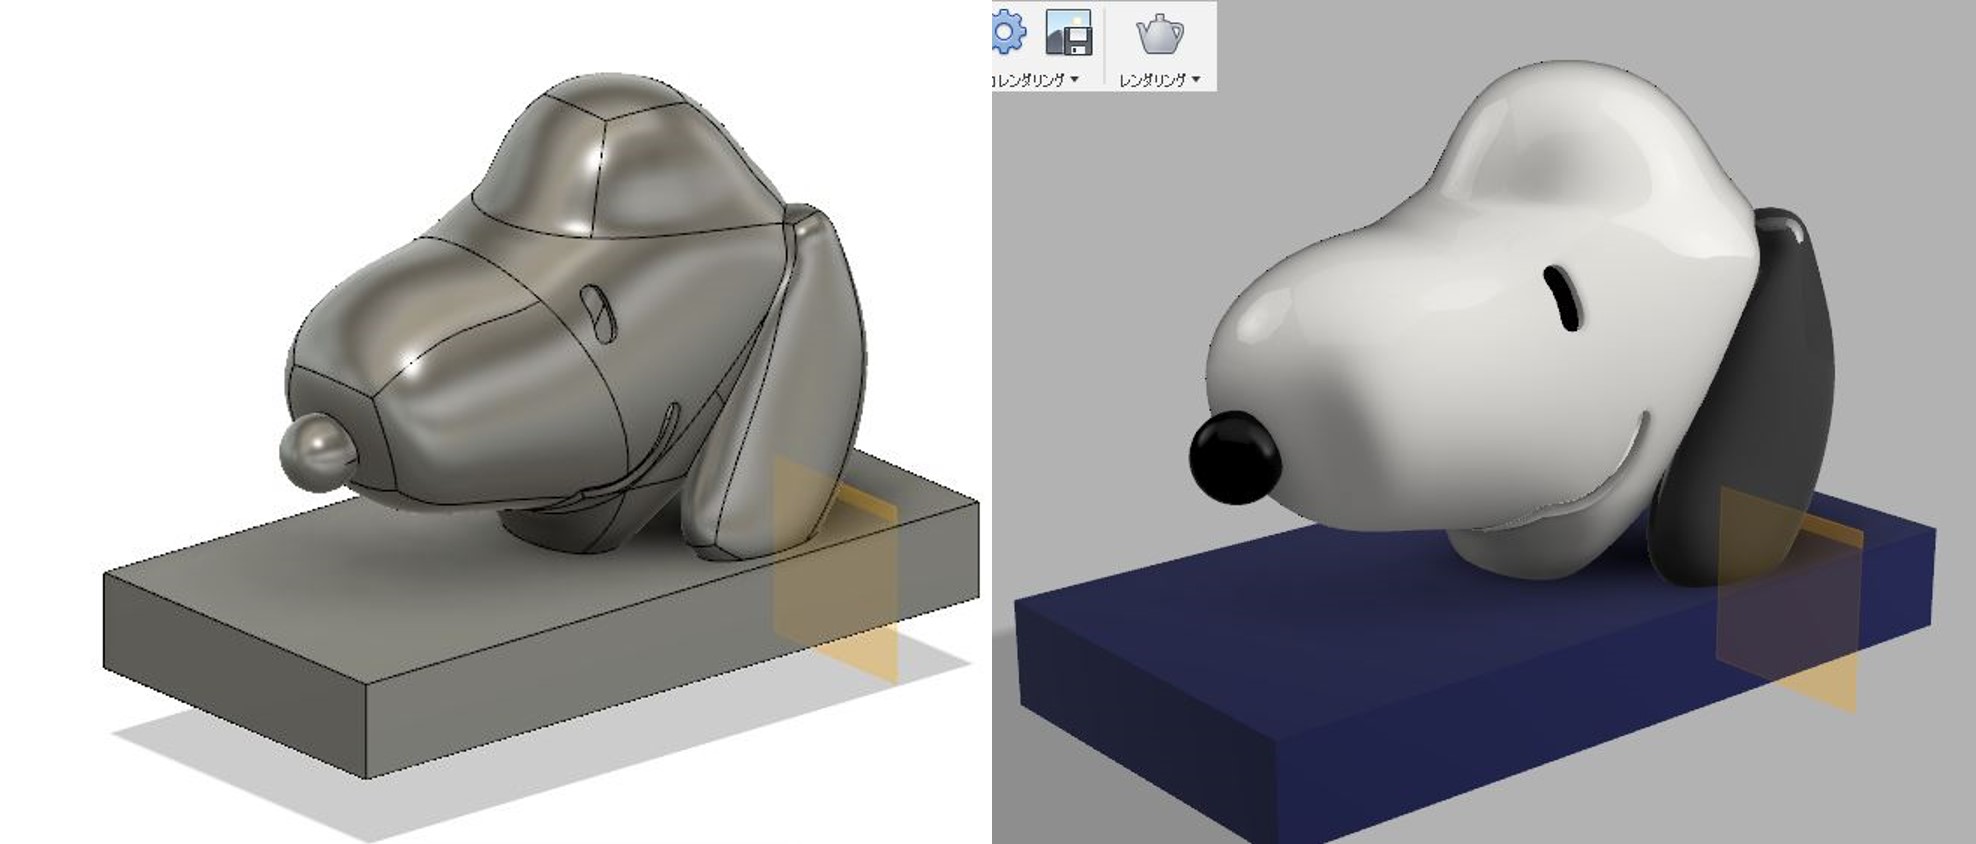
After completing drawing and rendering, completed model was shown below.
Next, to export an appropriate file format to use MakerBot, I used MakerBot software. The software not only exports appriate file format but also simulates actual printing.
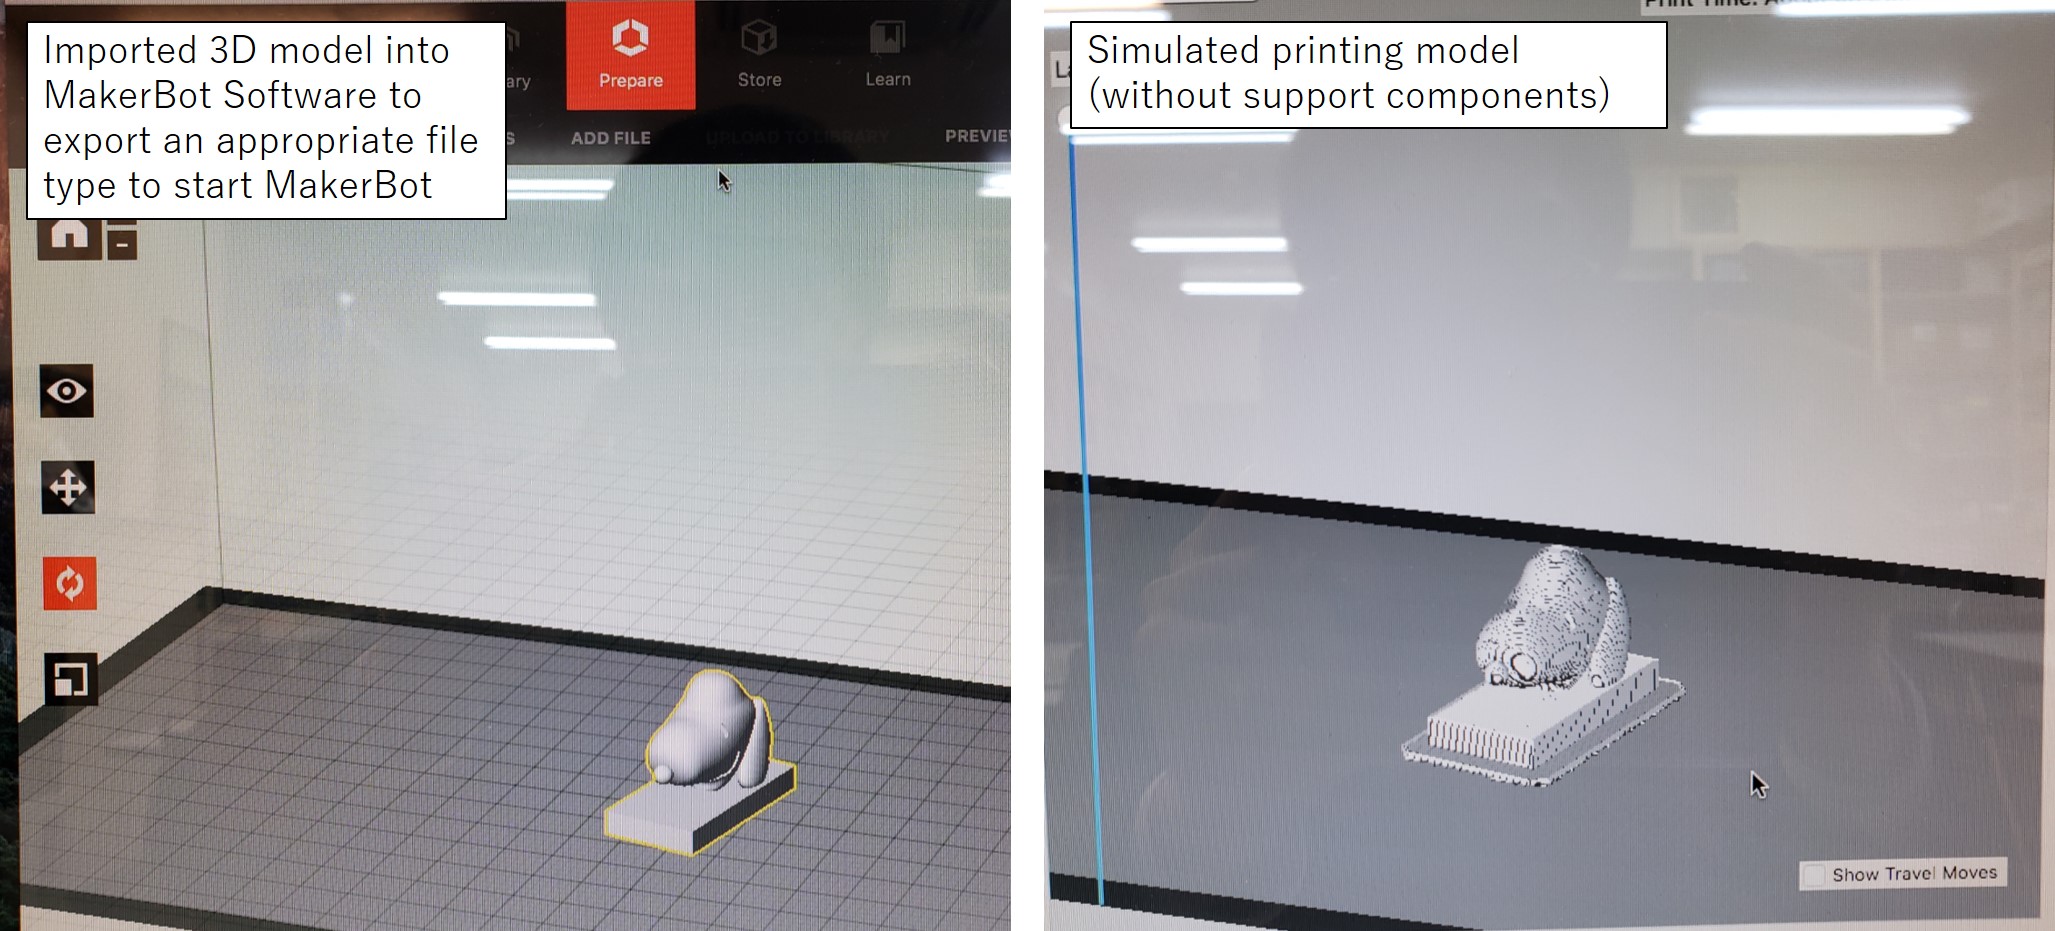
Then, creating super beagle was ready !!

FInally, by cutting extra filaments (looked like beard strings) super beagle “SNOOPY” was born!!

3D Models
Please donwload my files from below links.