18. Wildcard week
The assignment this week is only individual assignment, Design and produce something with a digital fabrication process (incorporating computer-aided design and manufacturing) not covered in another assignment, documenting the requirements that your assignment meets, and including everything necessary to reproduce it.
For this assignment, I decided to create an embroidered button by using an automatic sewing machine.
Processes to embroider
Preparing an image
To import images, I used special software installed in a laptop in Fablab Kannai. The tutorial for the software is here.(Japanese)
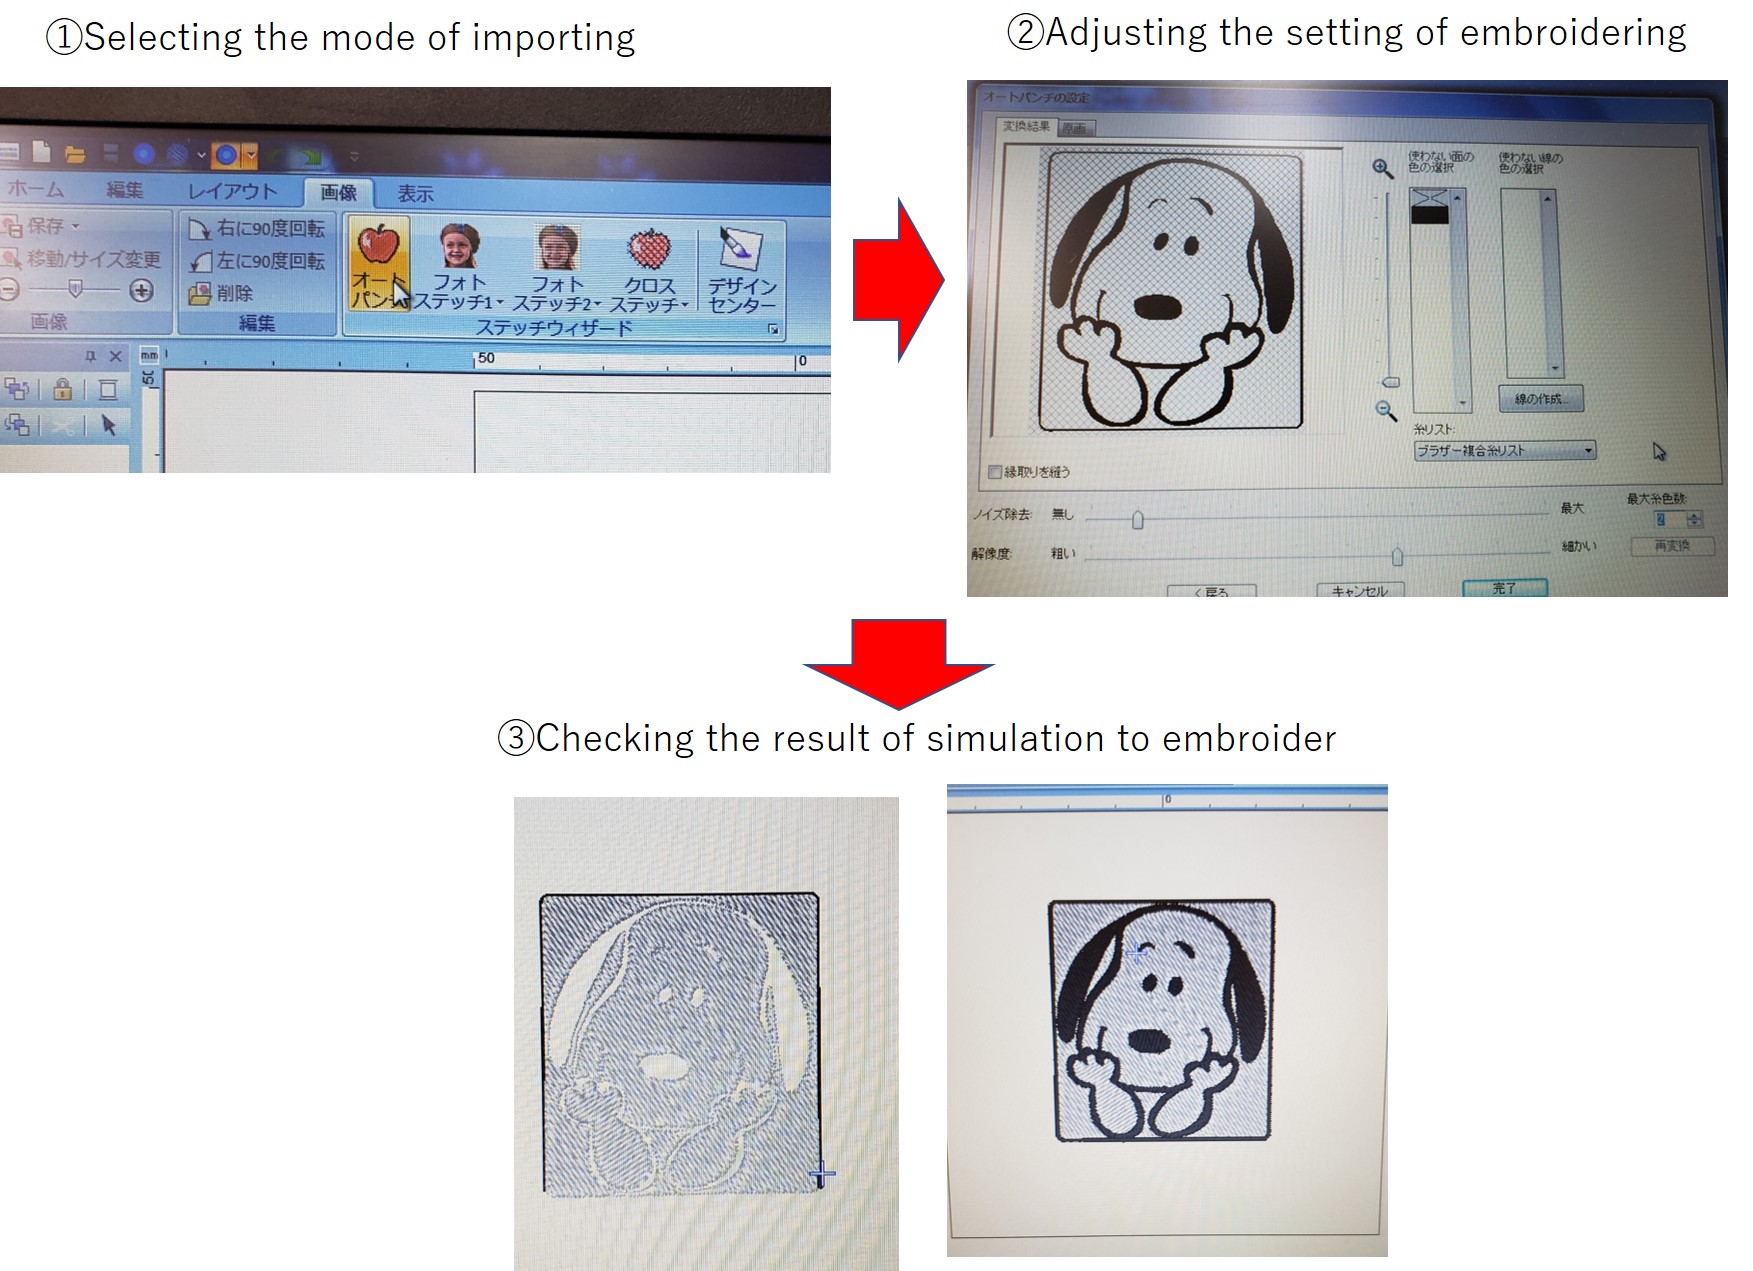
After inporting the image, I defined the color types for embroidering as 2(black and white). After completing adjusting the scale of the image, I exported the data as “PES” file.
Preparing a cloth base
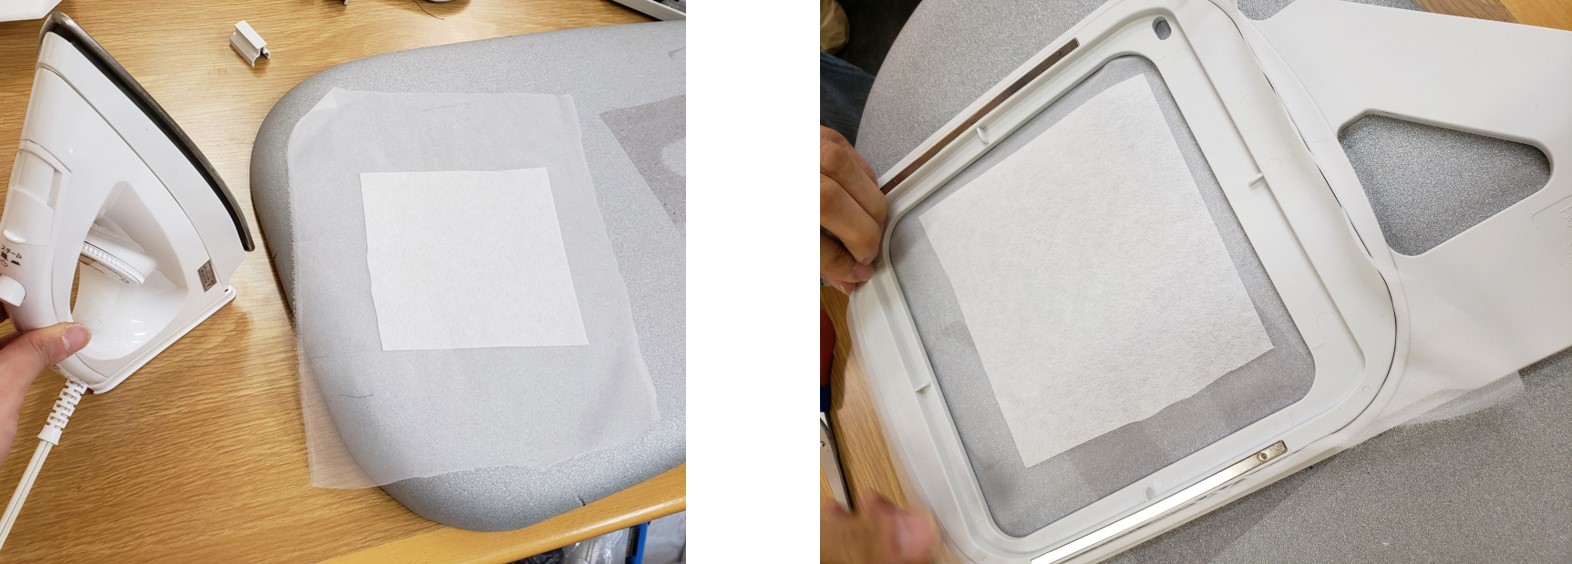
To prepare the cloth base, I used two kinds of clothes. One with glue was attached to another one by using an iron.
Setting the sewing machine
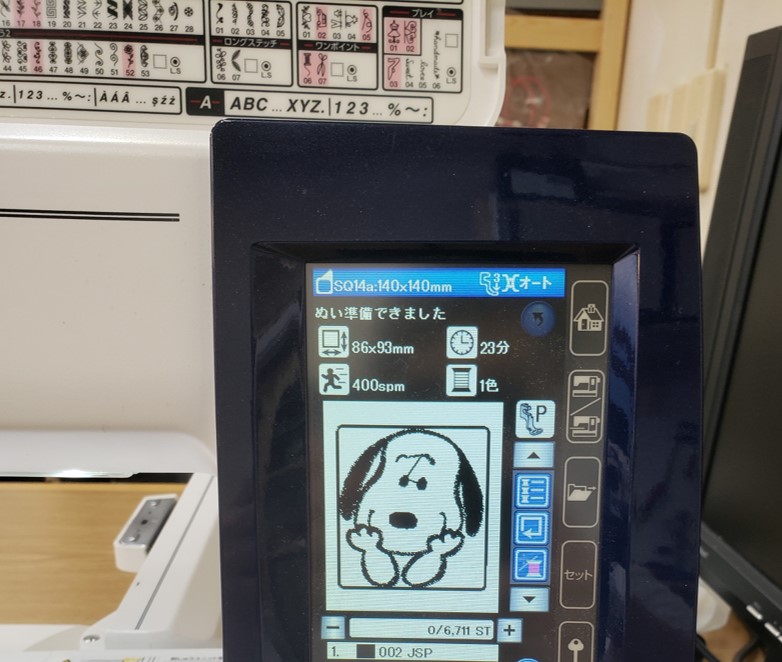
To set the sewing machine, first I imported the prepared image to the machine.
Second, I set a string to embroider to the machine.
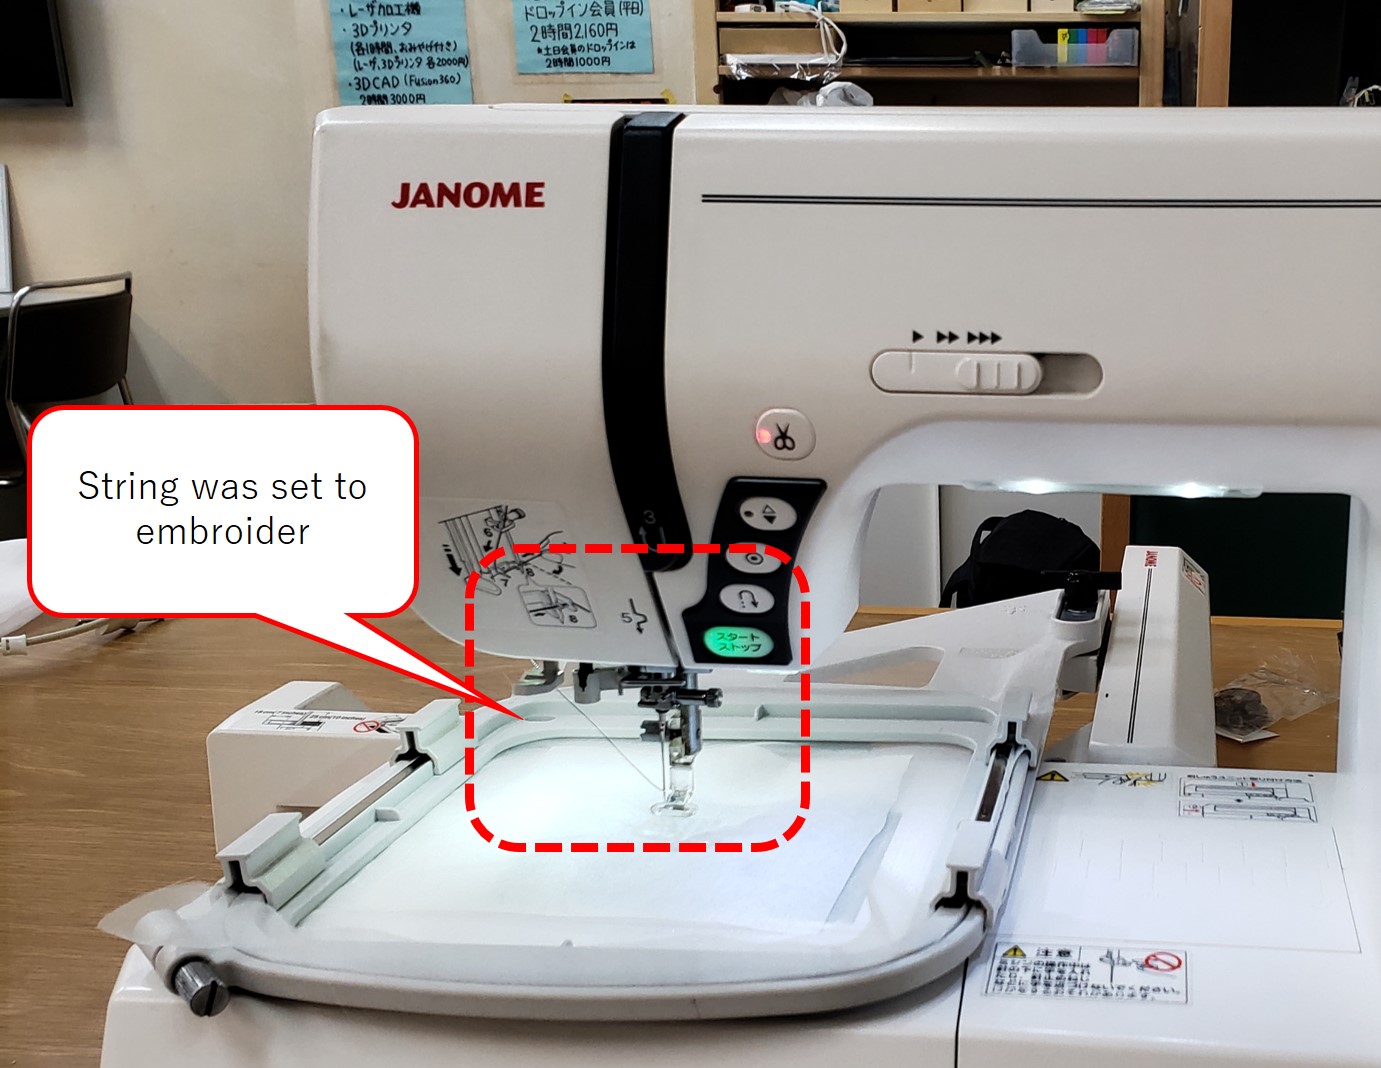
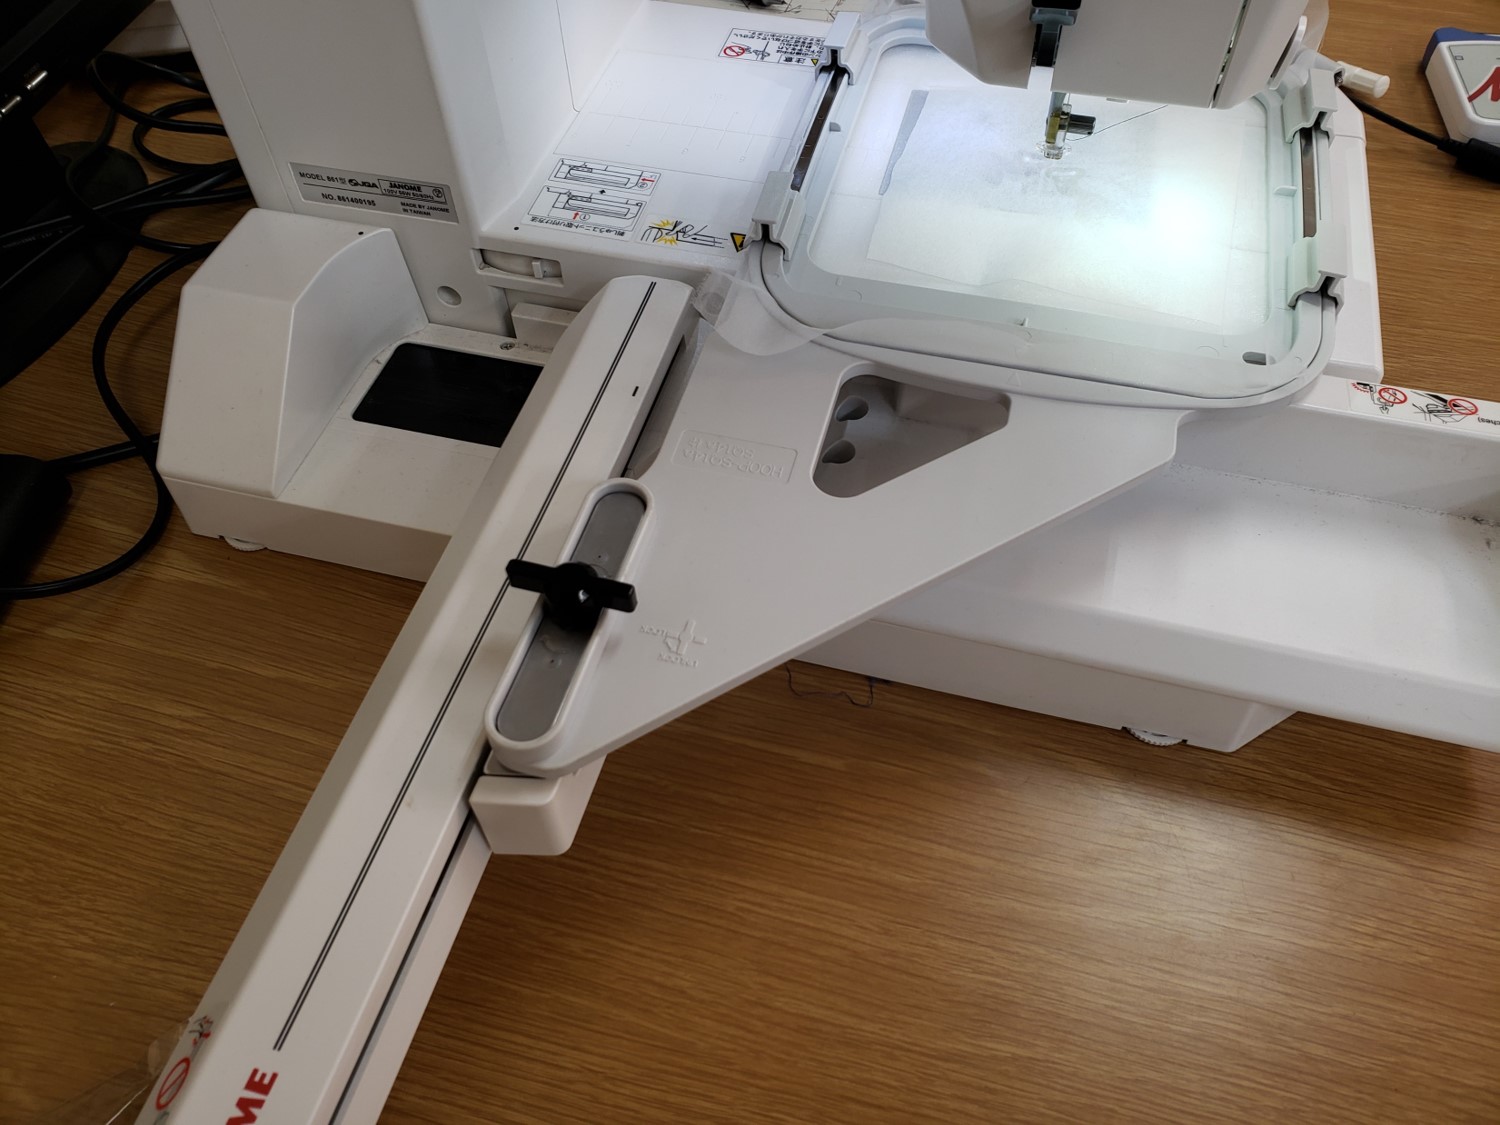
Finally, the cloth base was set rigidly to the machine.
Starting embroidering
Bt pressing the start button on the display, embroidering process would start.
Attaching pin to the embroidered cloth
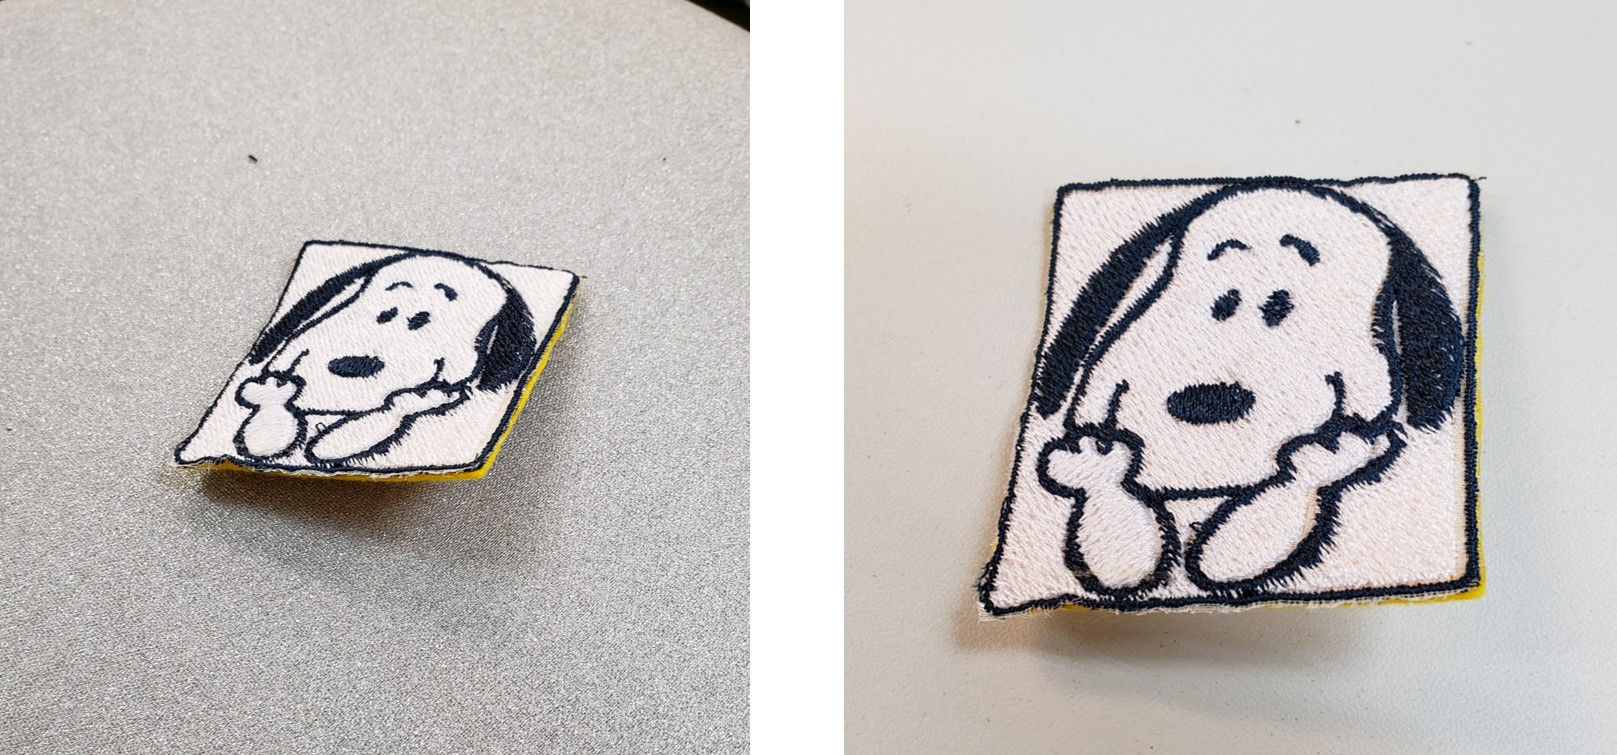
Finally, I attached the pin to the embroidered cloth to make original badge.
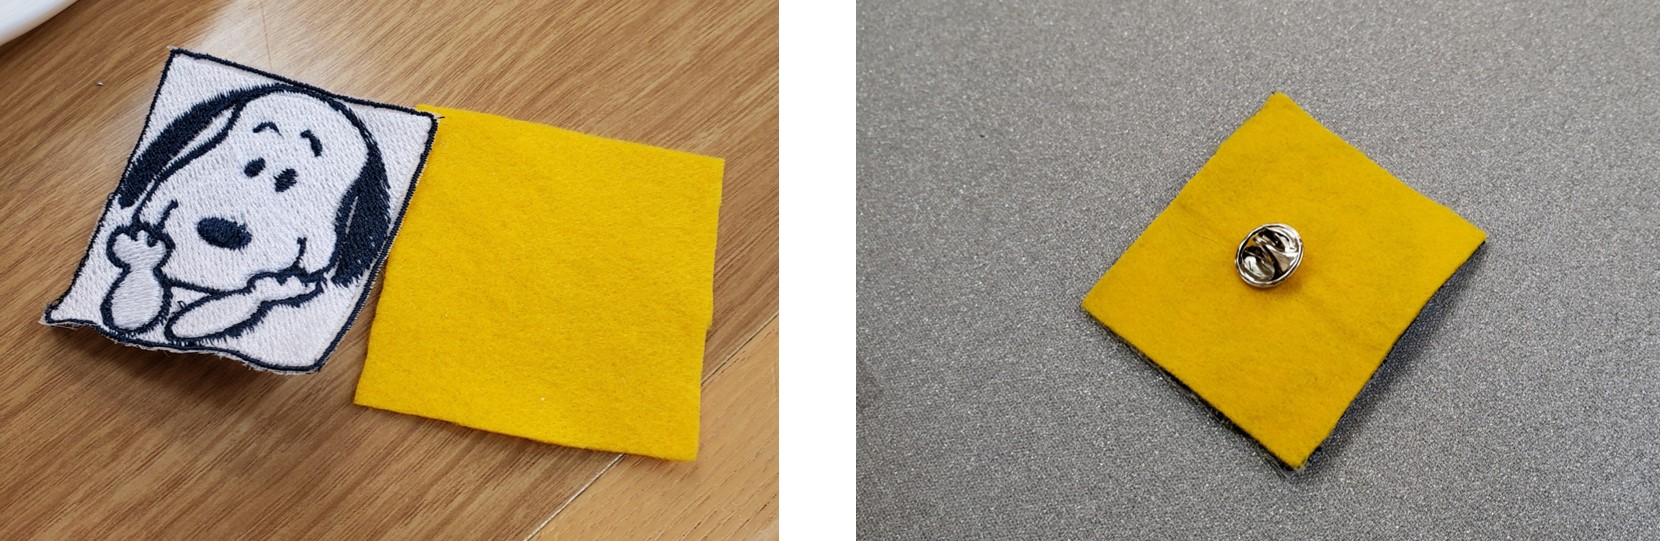
Heroshot is hown below.