4. Computer controlled cutting
This week I worked on the followings.
- [Group Assignment] Measuring kerf with test parts and finding best setting
- [Parametrical] Design and Print parametrical parts
- [Vinyl Cutting] Making a mask with vinyl cutter and print with sundbluster
Measuring kerf with test parts and finding best setting
As a group assignment, we were working on merasuring kerf by making test part with cardboard. For the very first step, we discussed how we could measure it. We came up with to create two parts like joint because it’s easier to measure since affect of kerf is only for 2-dementional.
Then we found a tool called Kerf Check Parts Generator, so we first set it for 3.4cm with 0.5cm gap for holizonal and vertical. Setting for laser cutter was reffered to MakeHaven. It contains parameters for 60 watt Universal lesercut but we have 30 watt version of it, so we halfed them.
| Power | Speed | PMI |
|---|---|---|
| 50% | 4% | 250 |
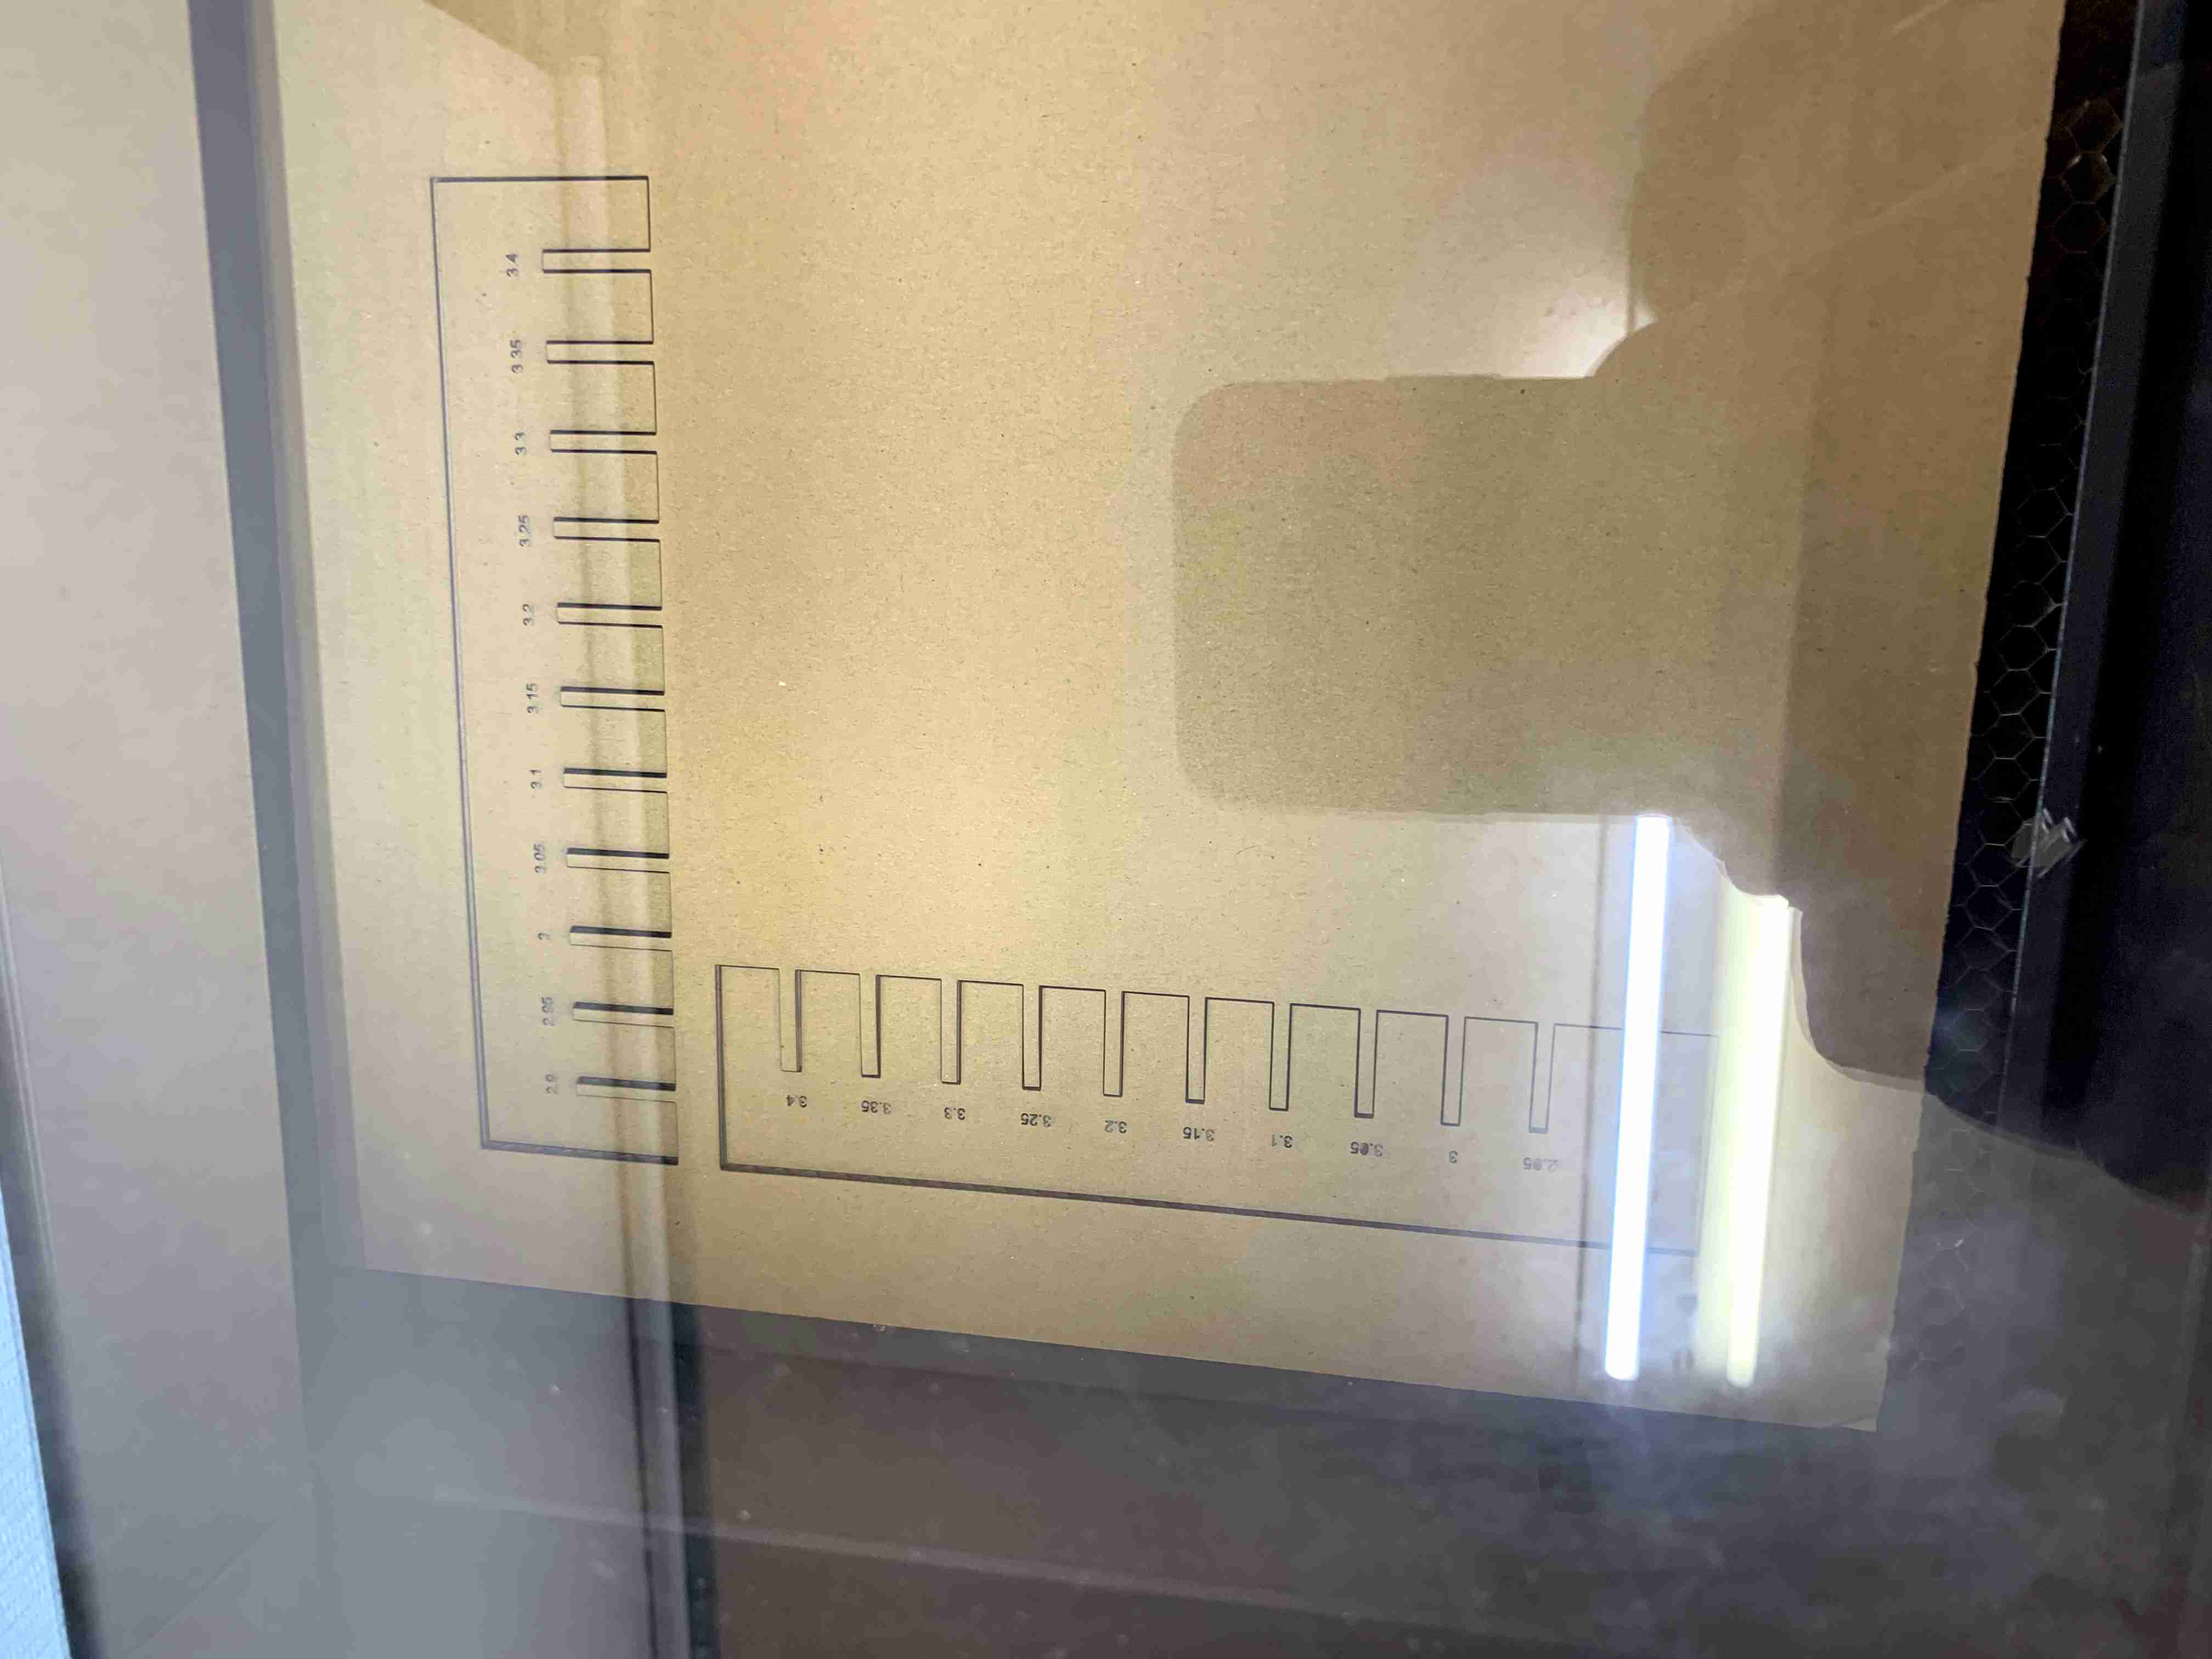
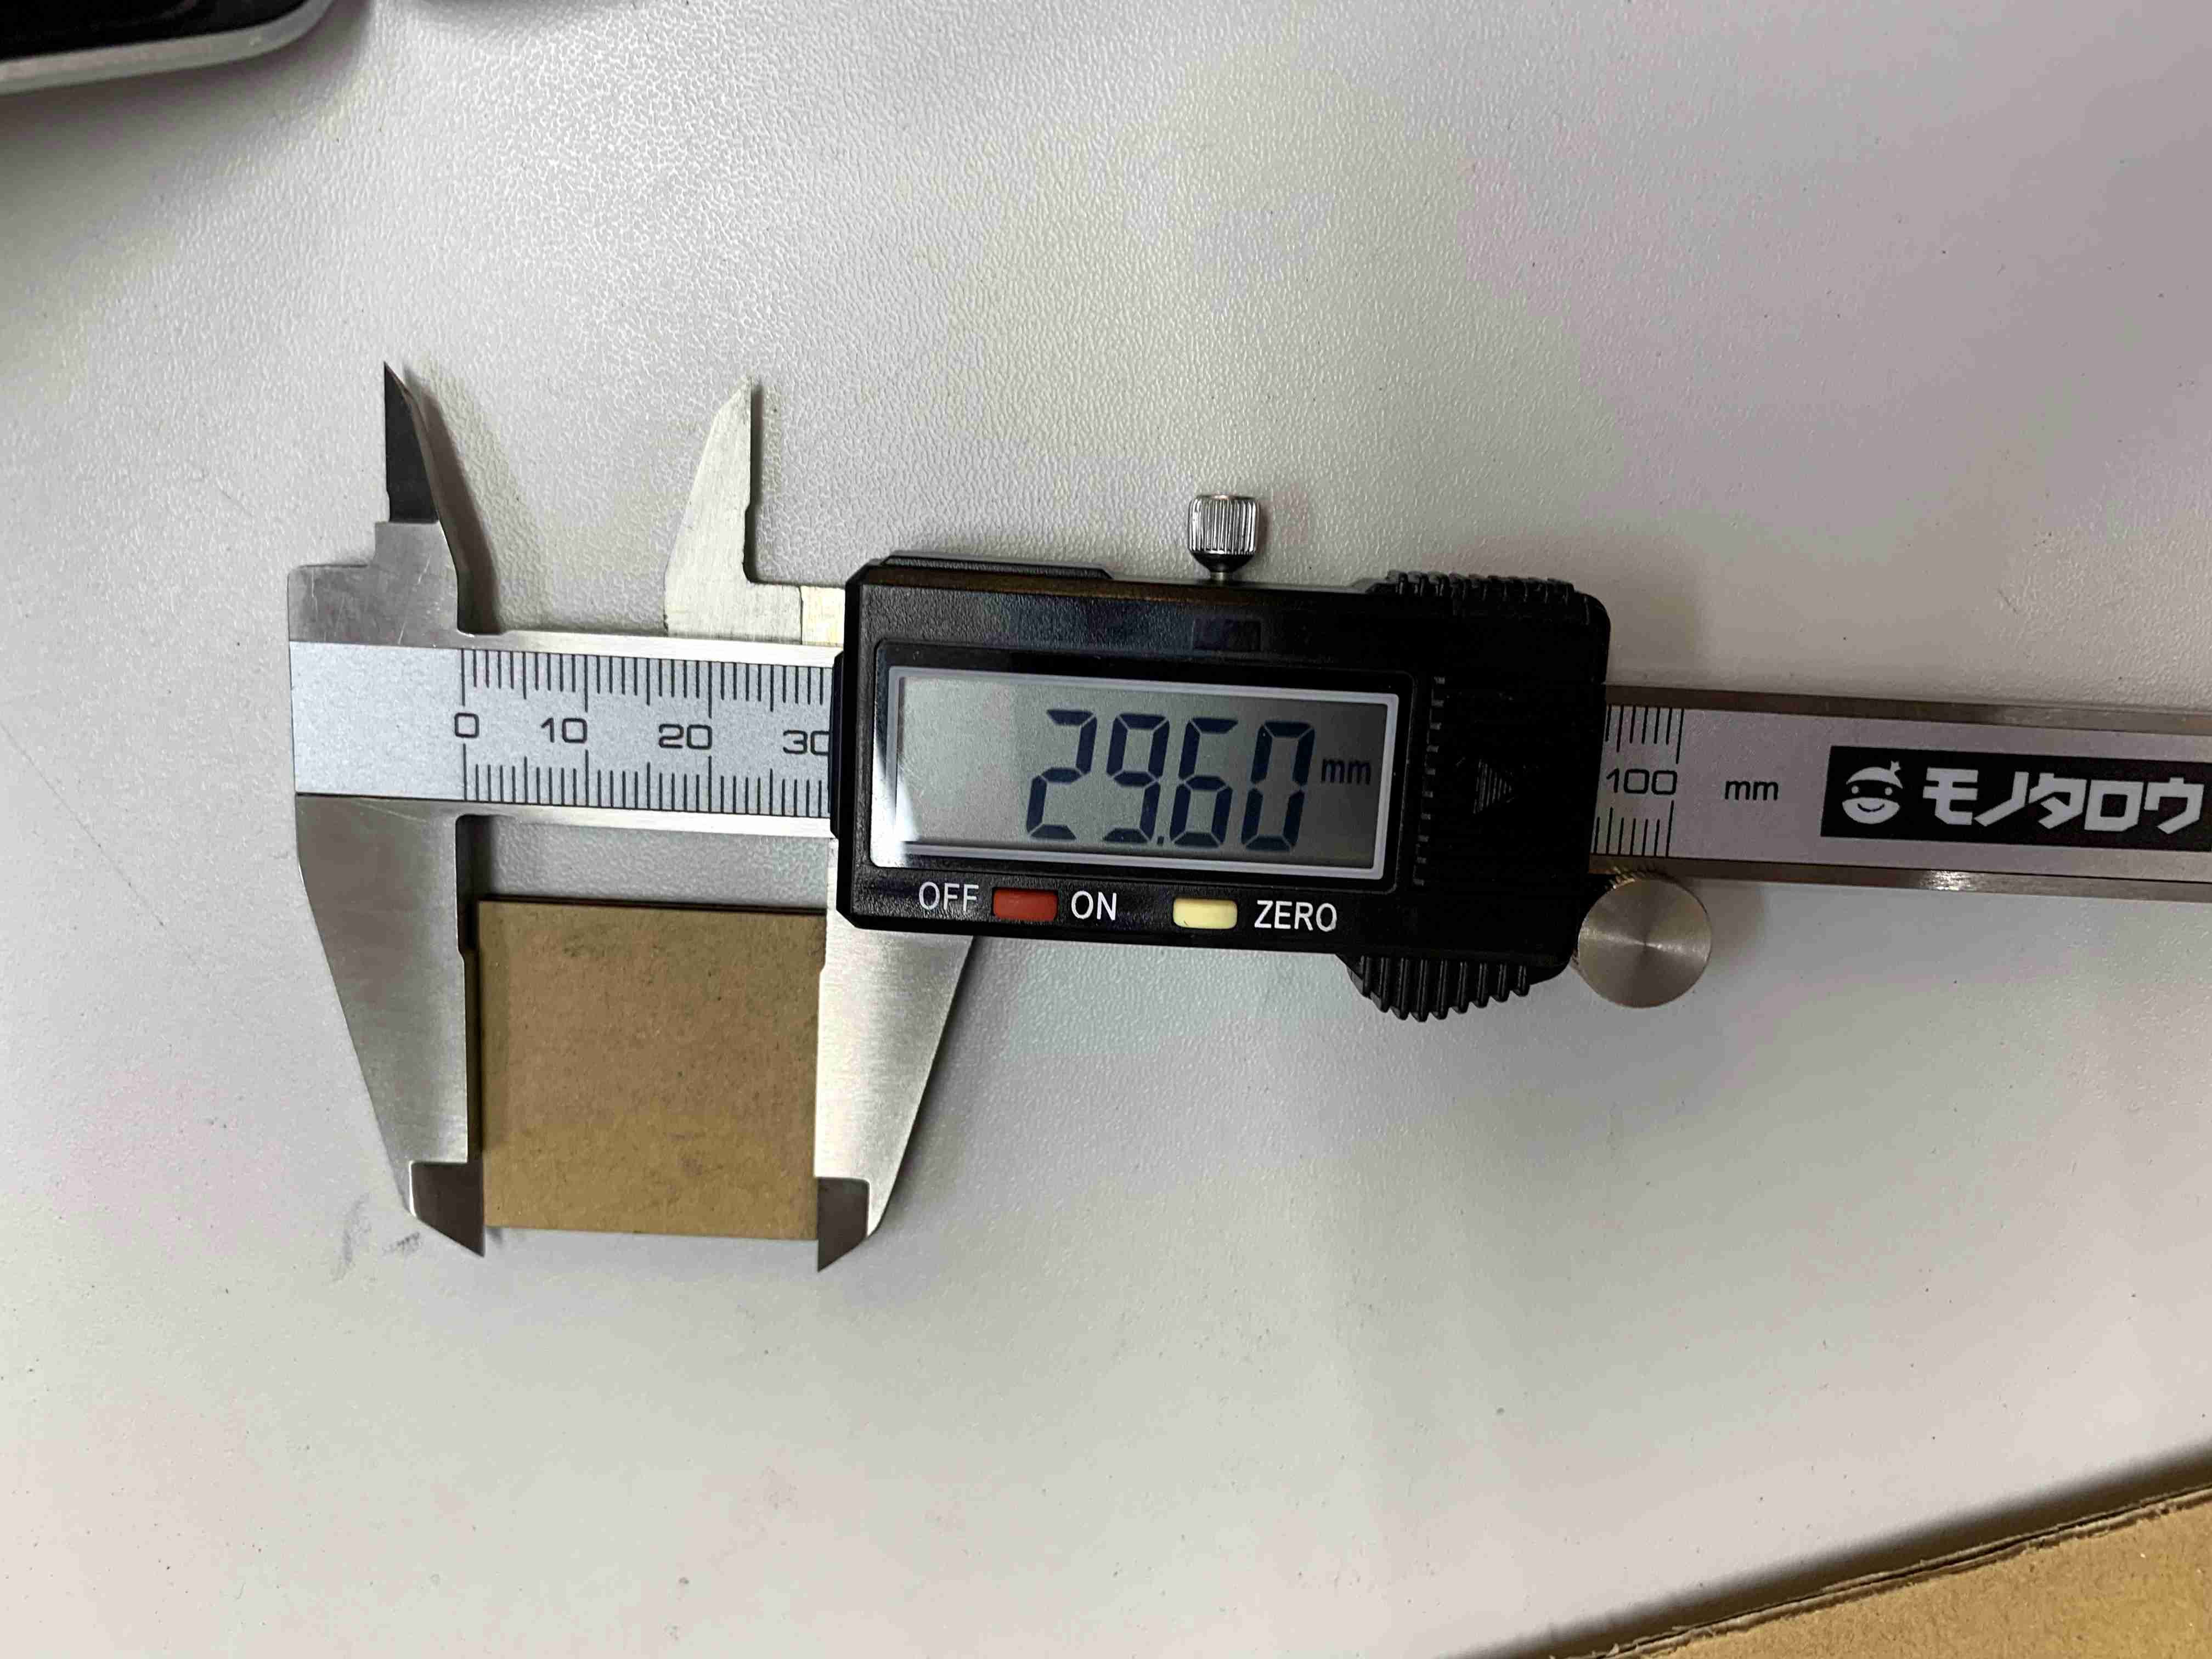
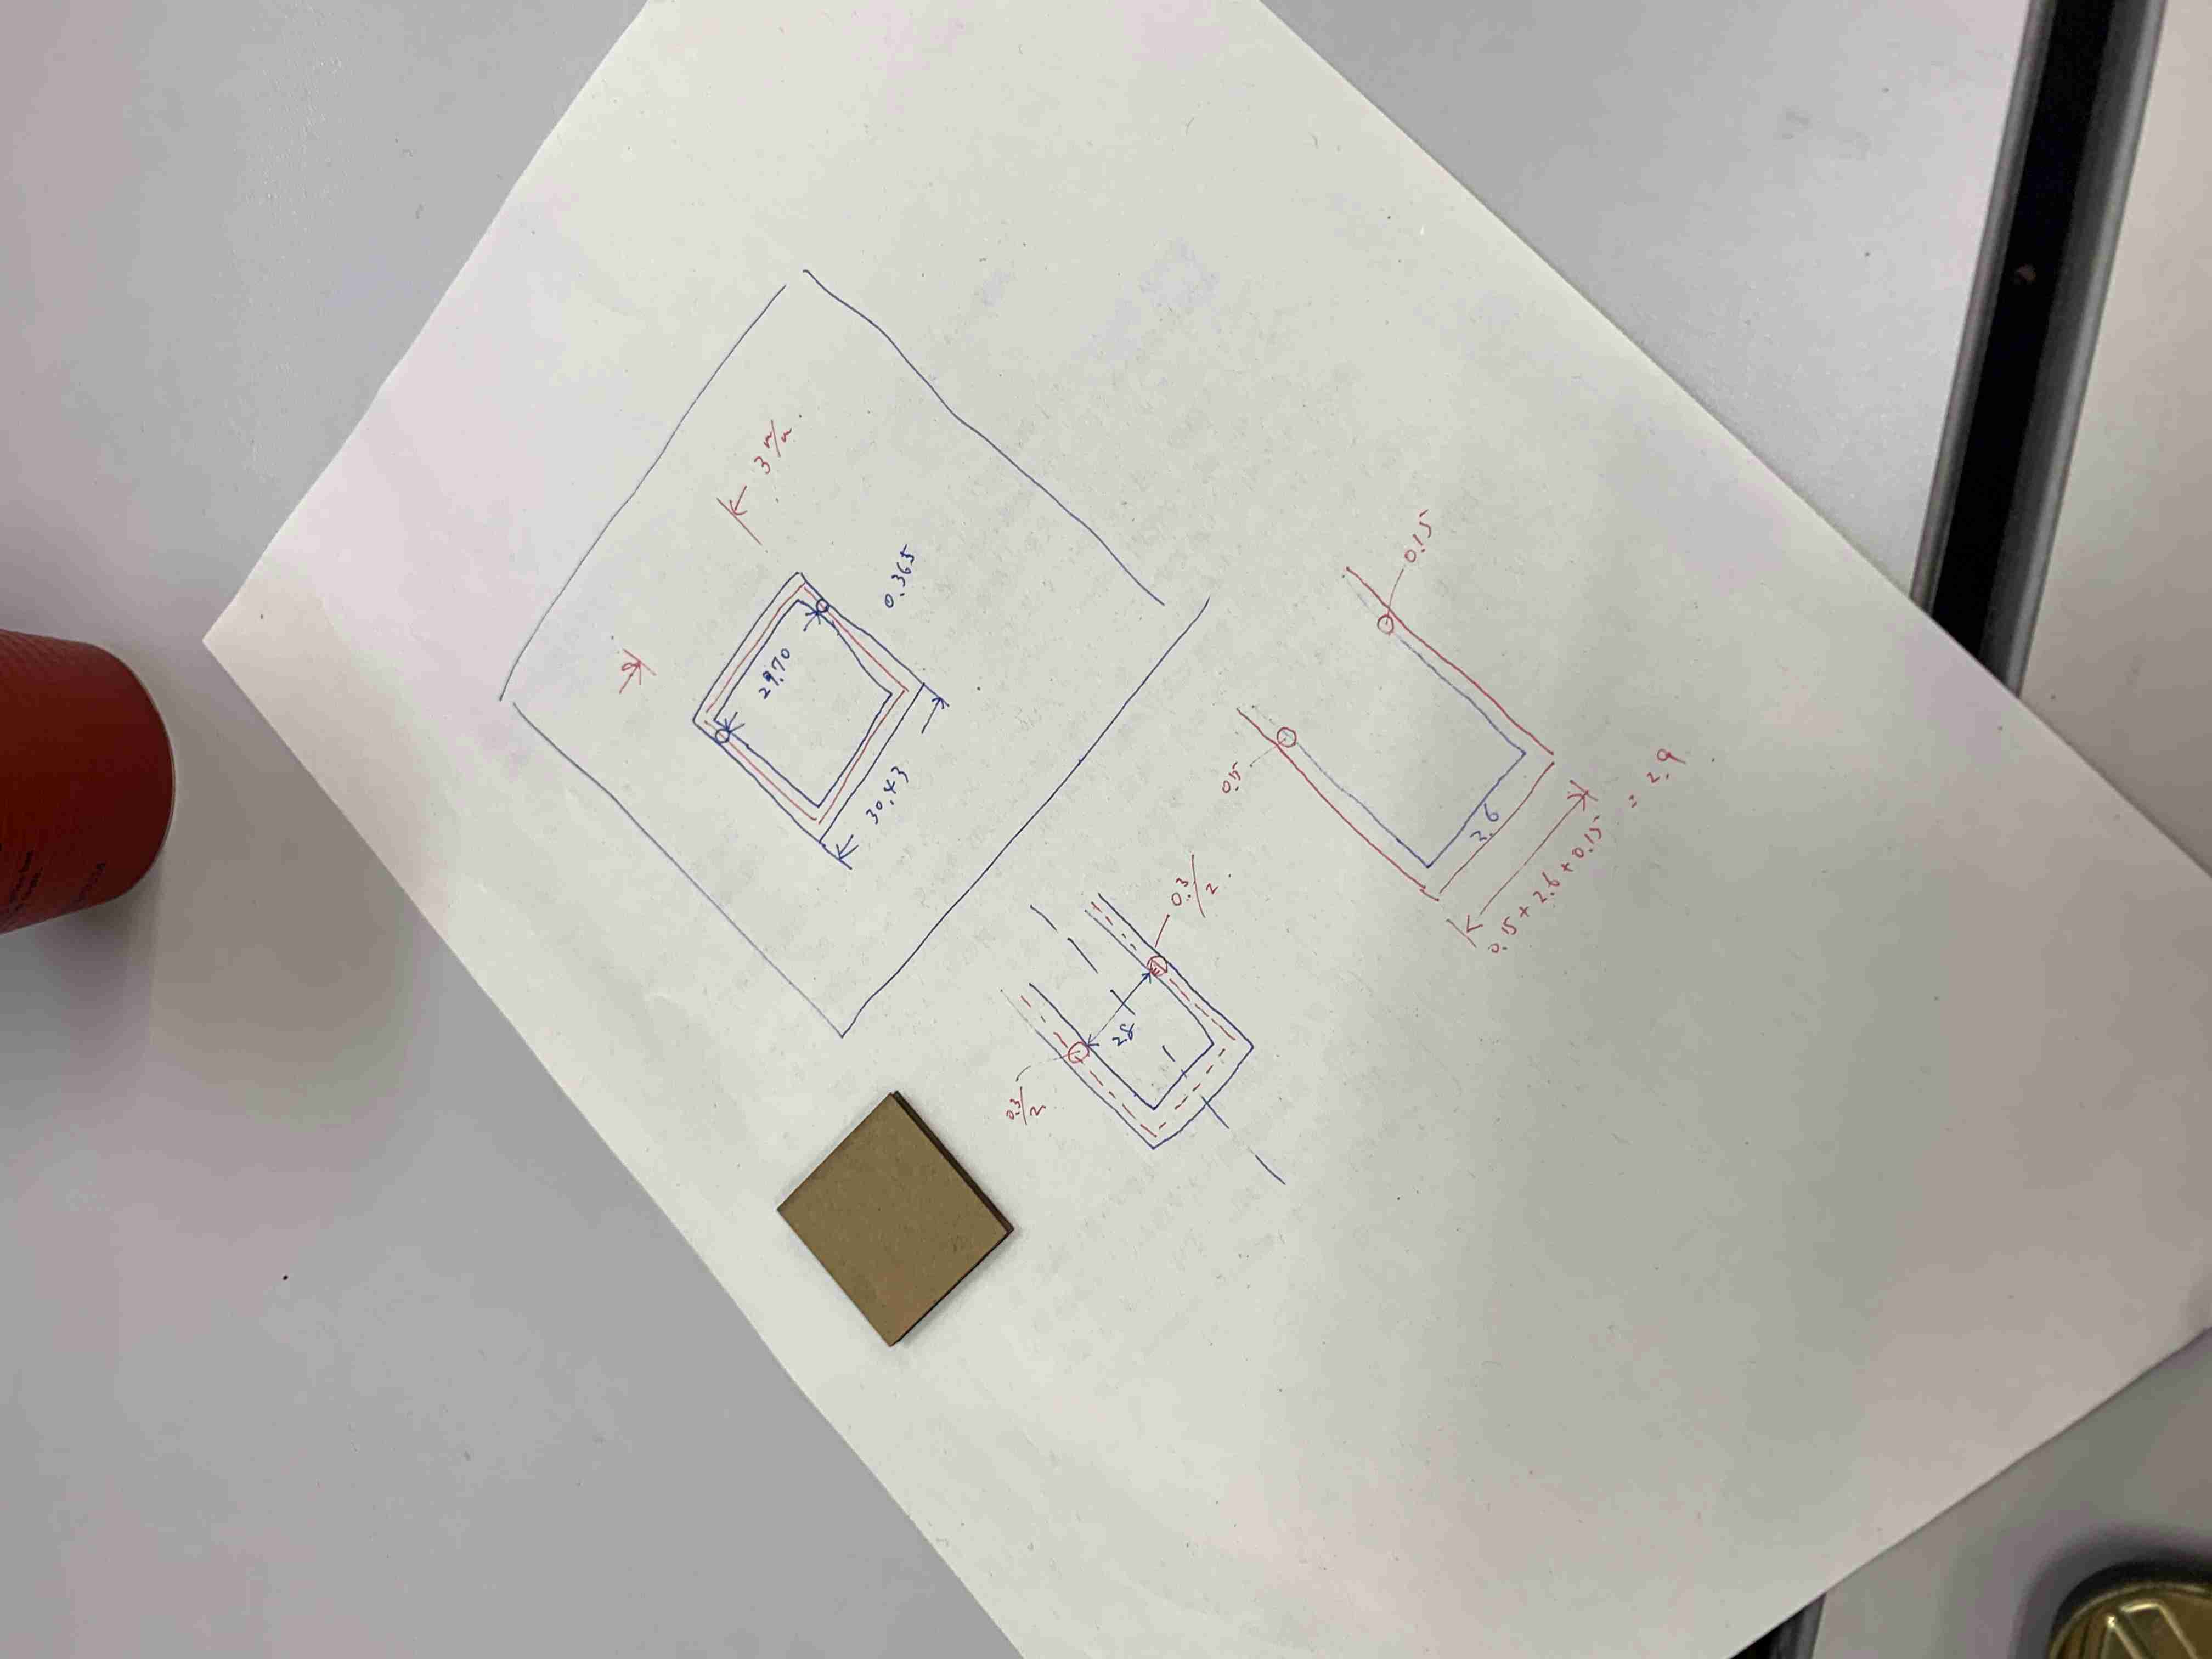
It was a bit too high, so then we set it for 3 with 0.5cm gap. We found that 2.6cm was the best fit. Thickness of the cardbord was 2.9, so we concluded 0.3 is the kerf.
[Parametrical] Design and Print parametrical parts
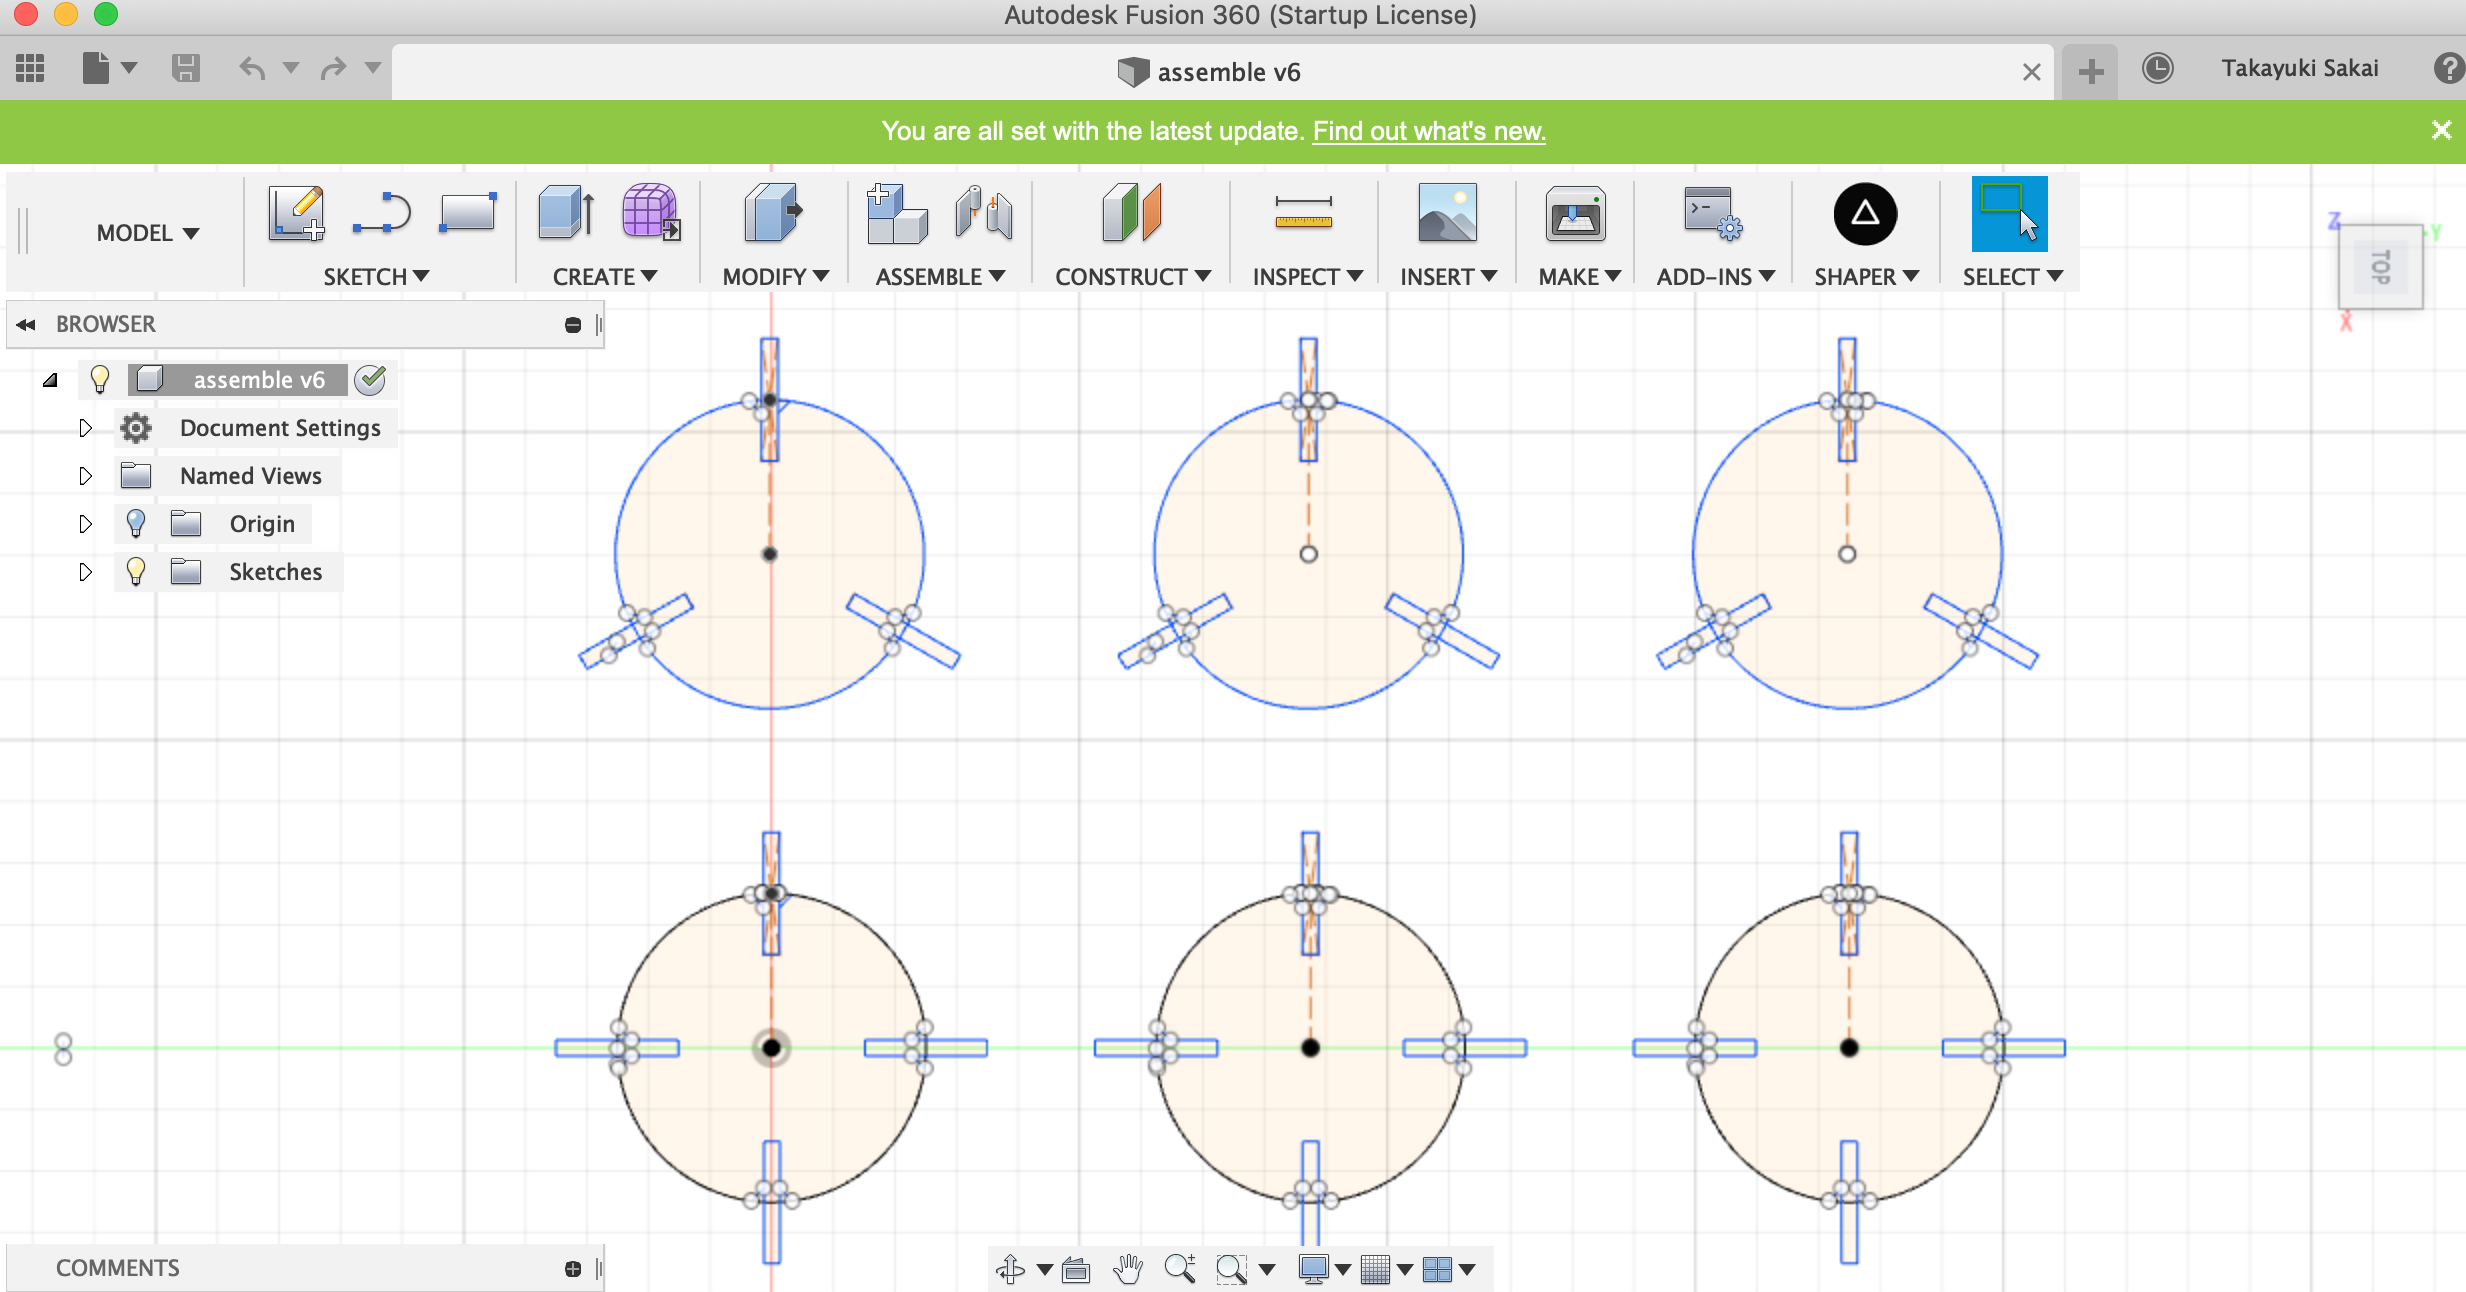
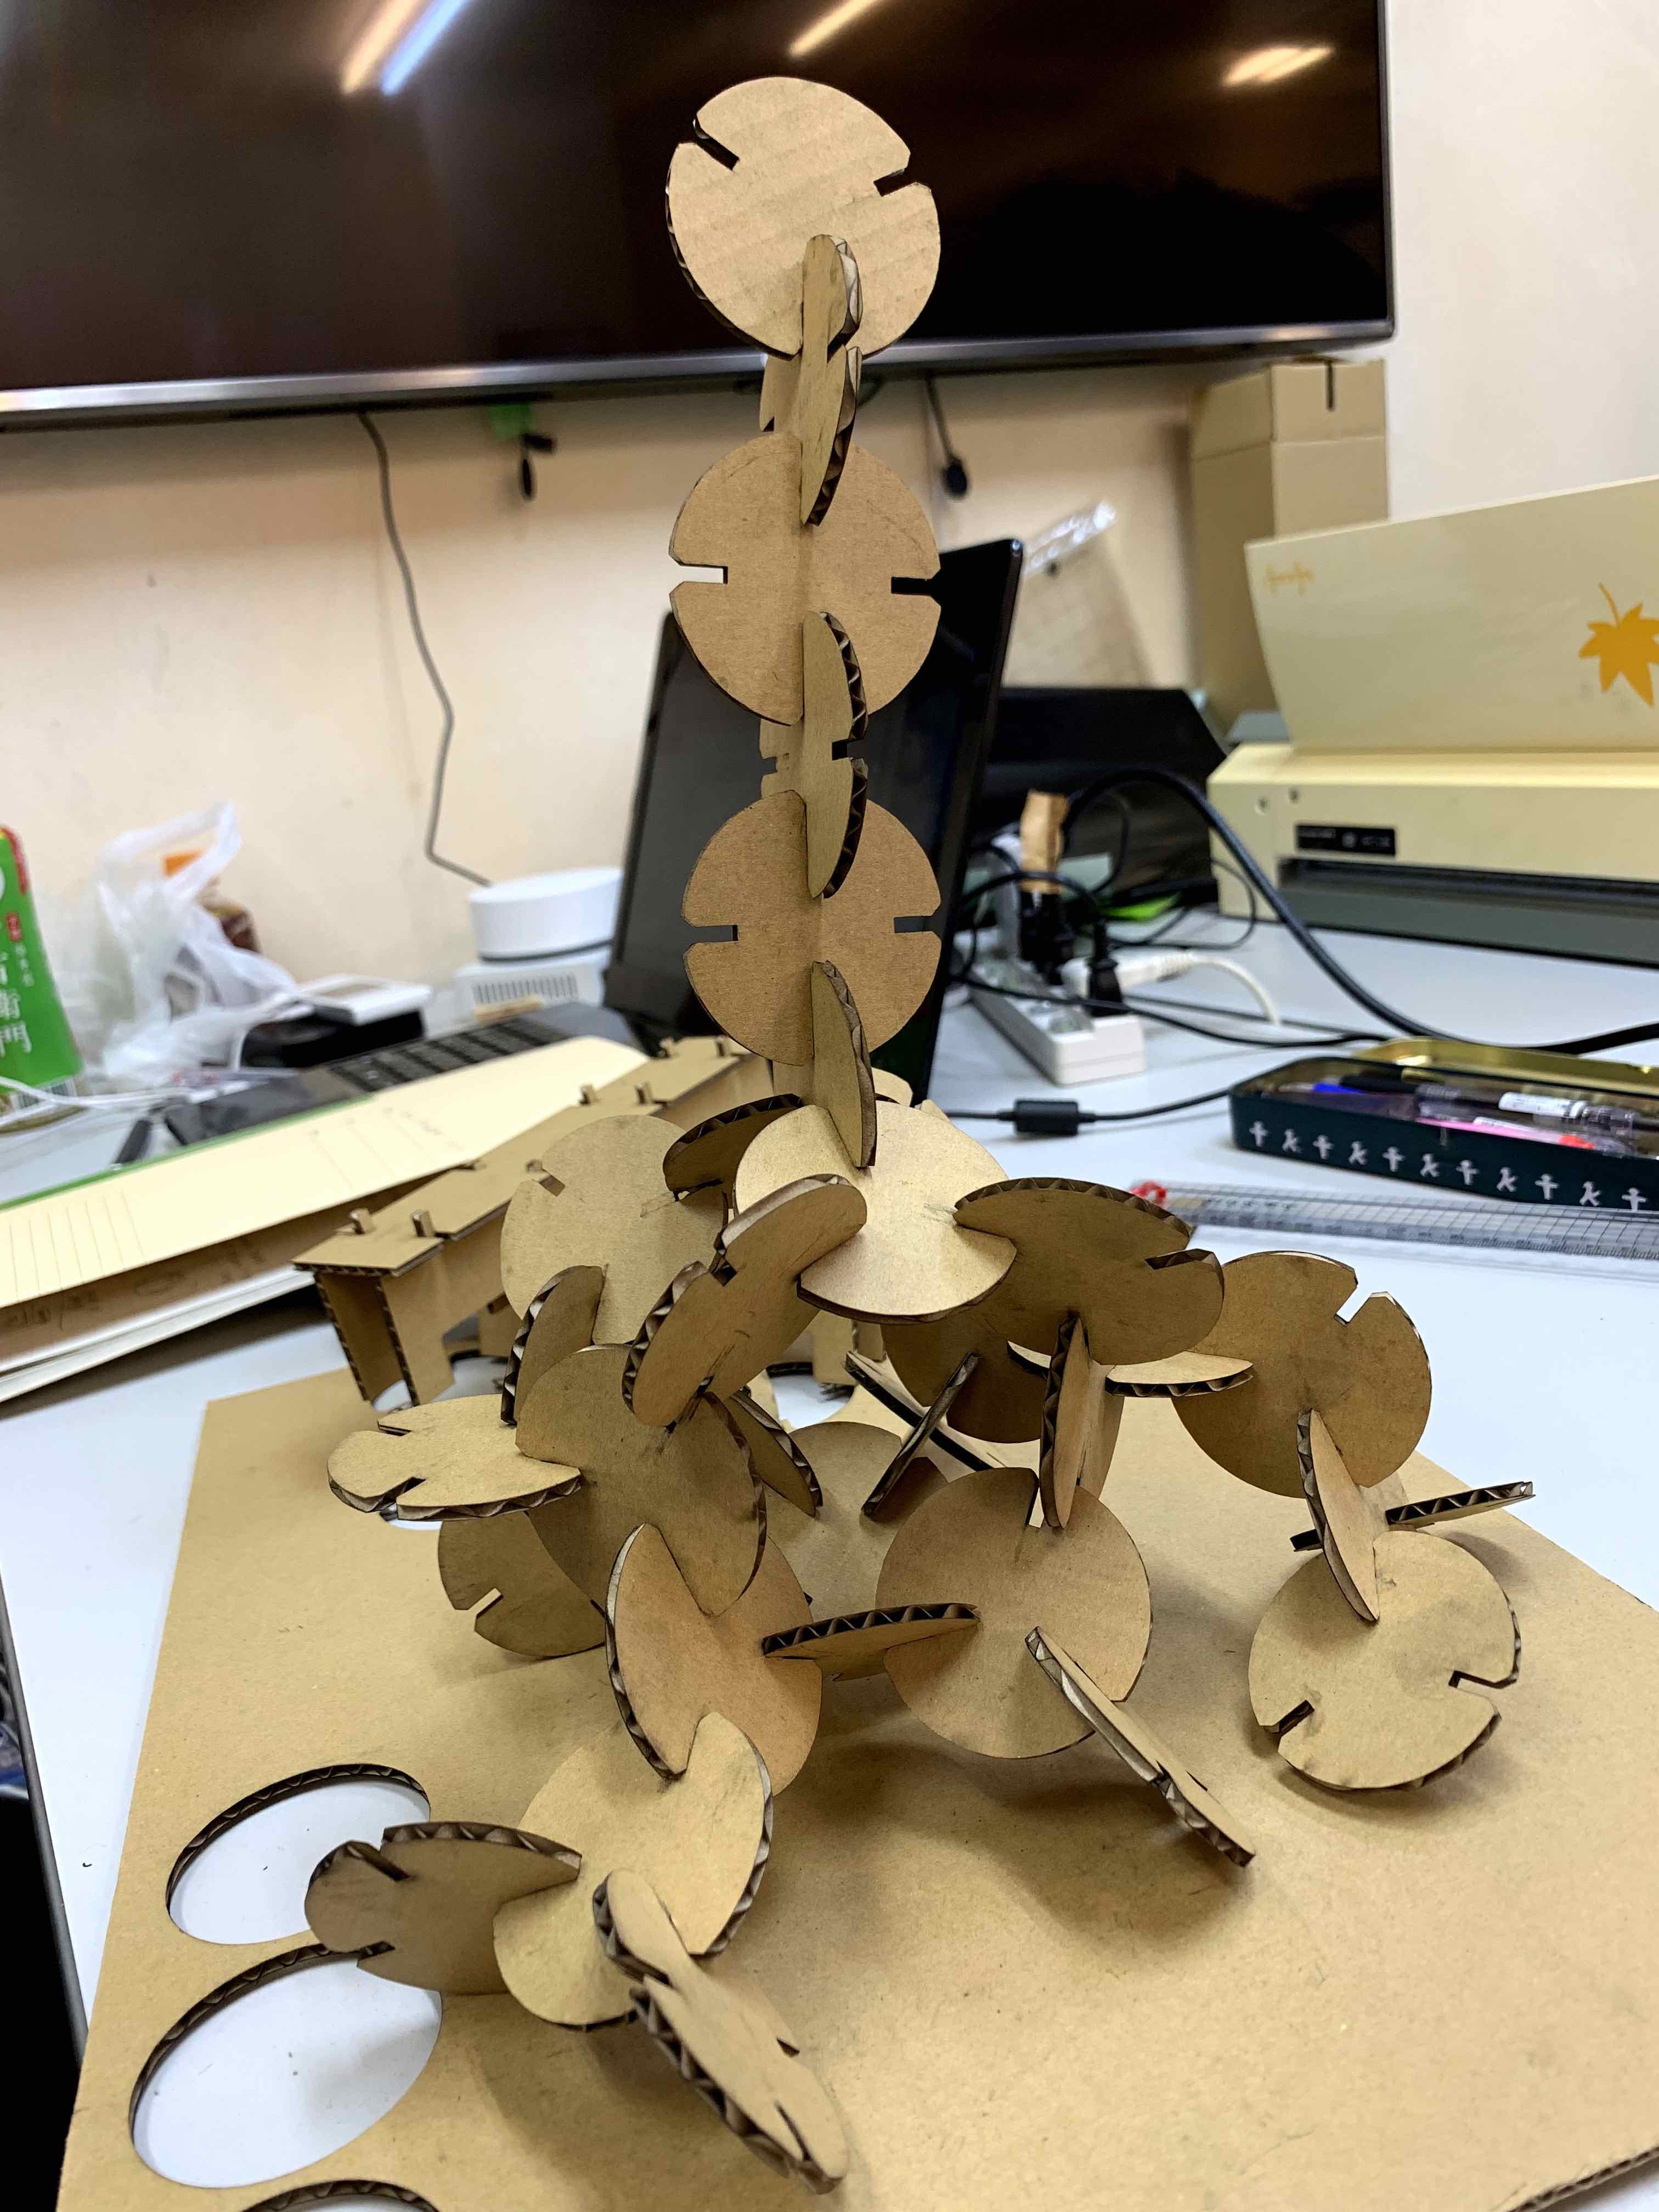
I designed round shape parts. There are two types: one has slits by 120 degrees each and the other has slits by 90 degrees each.
For the very first design, I made a data by Adobe Illustlater but it takes so long and not parametorical. So I use Fusion360 to design parametorically. Circle pattern function easilly design what I done with Adobe illustlater.
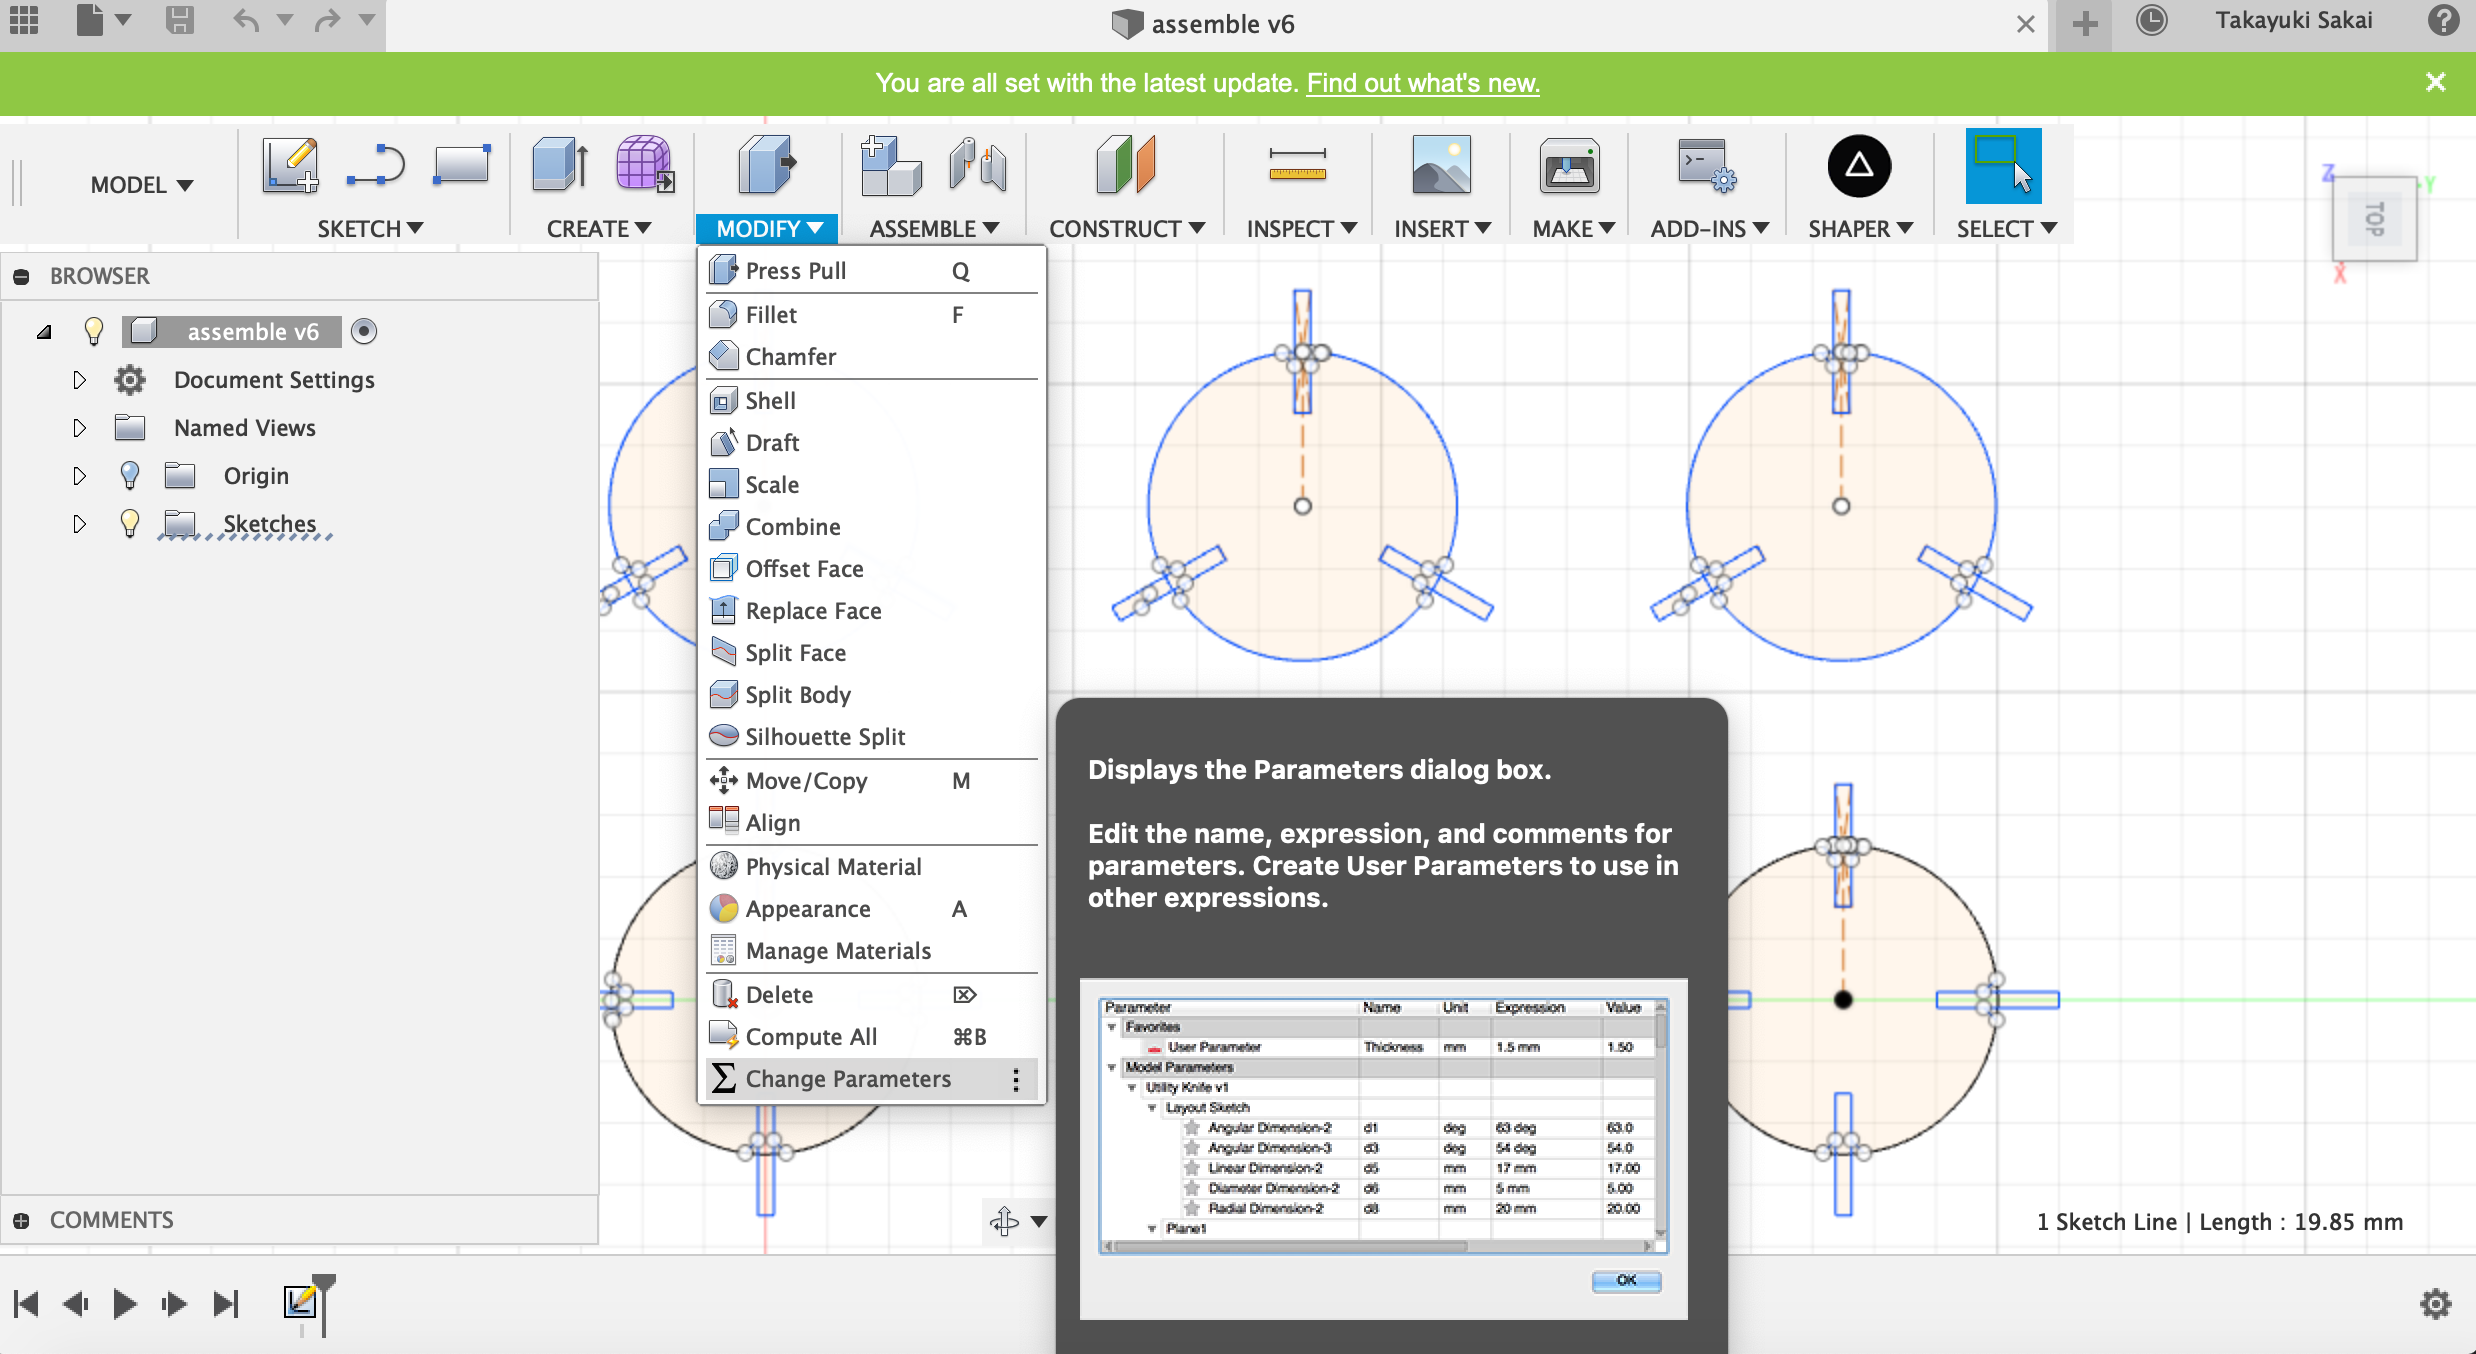
In order to make it paremetric, I use parameter function on Fusion 360. Selected modify > change parameter
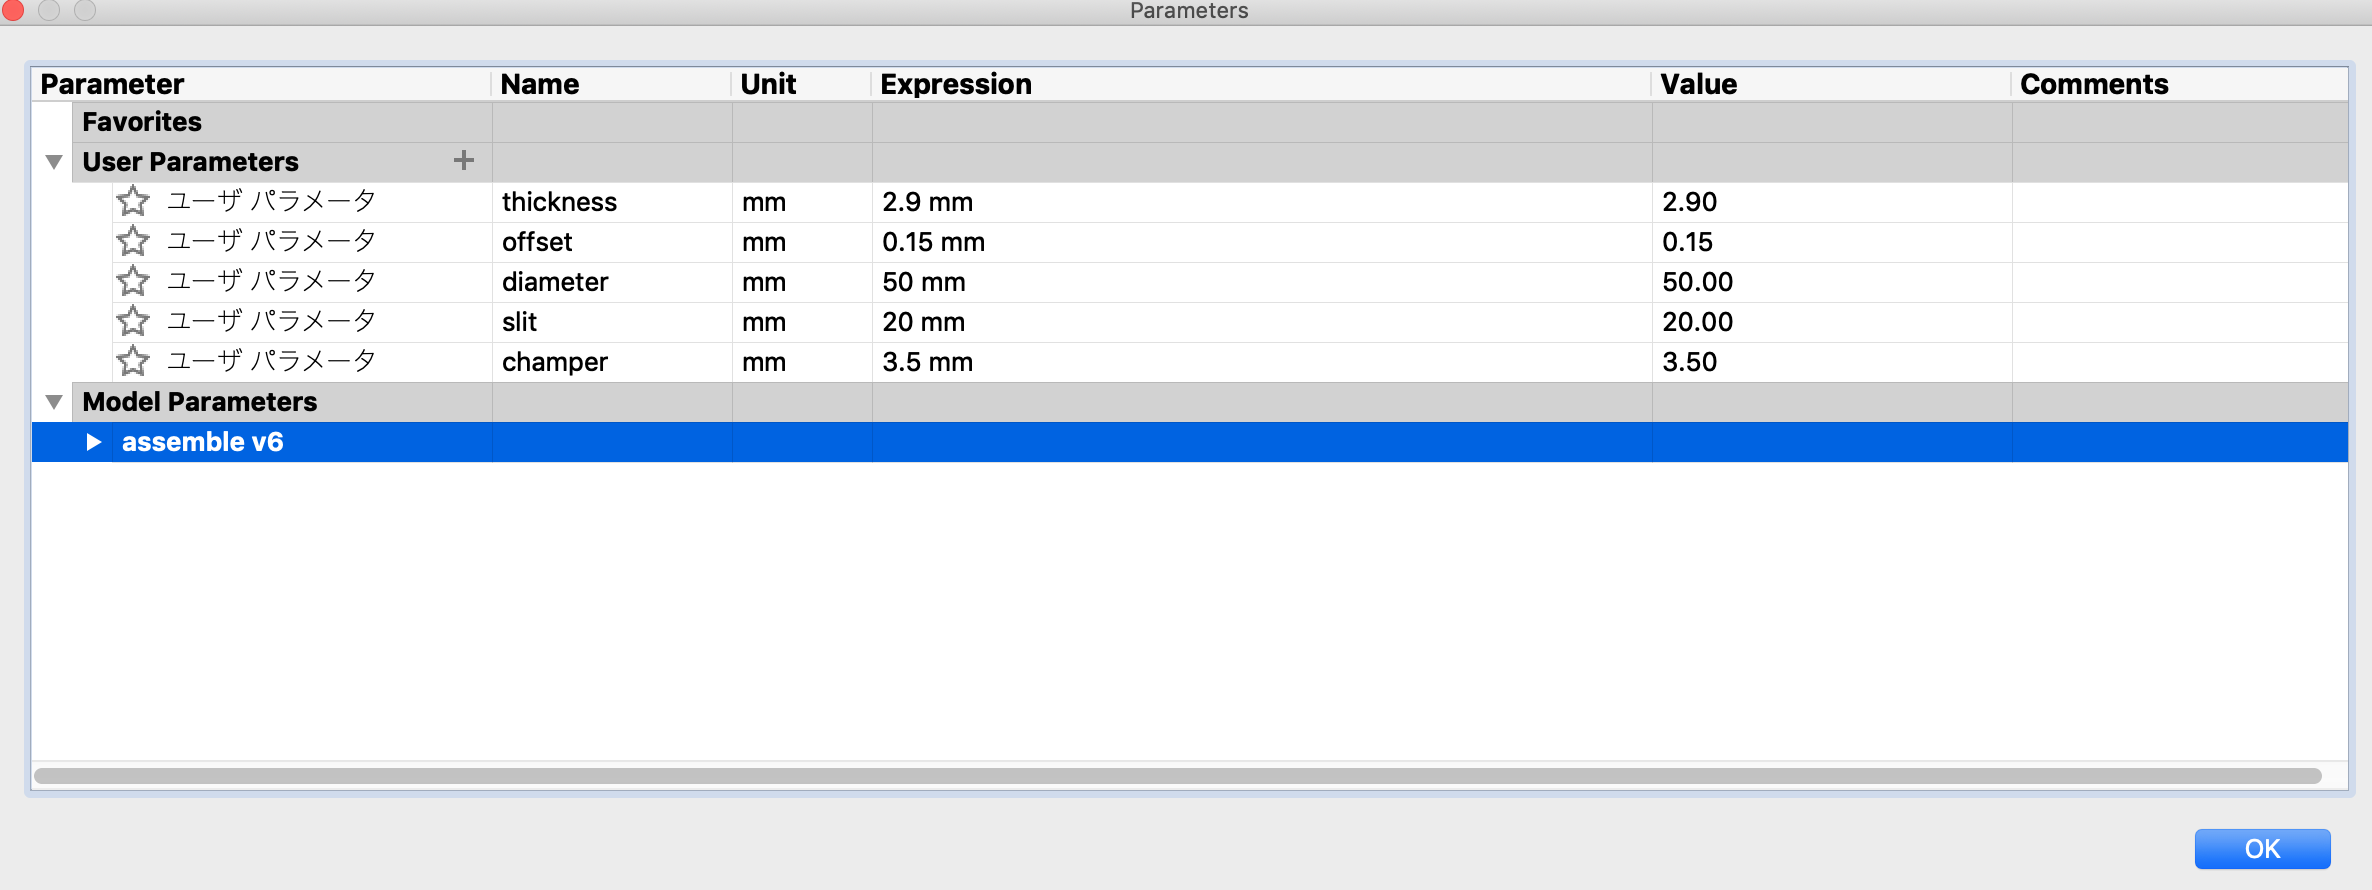
Then set user parameter for diameter, slit etc.
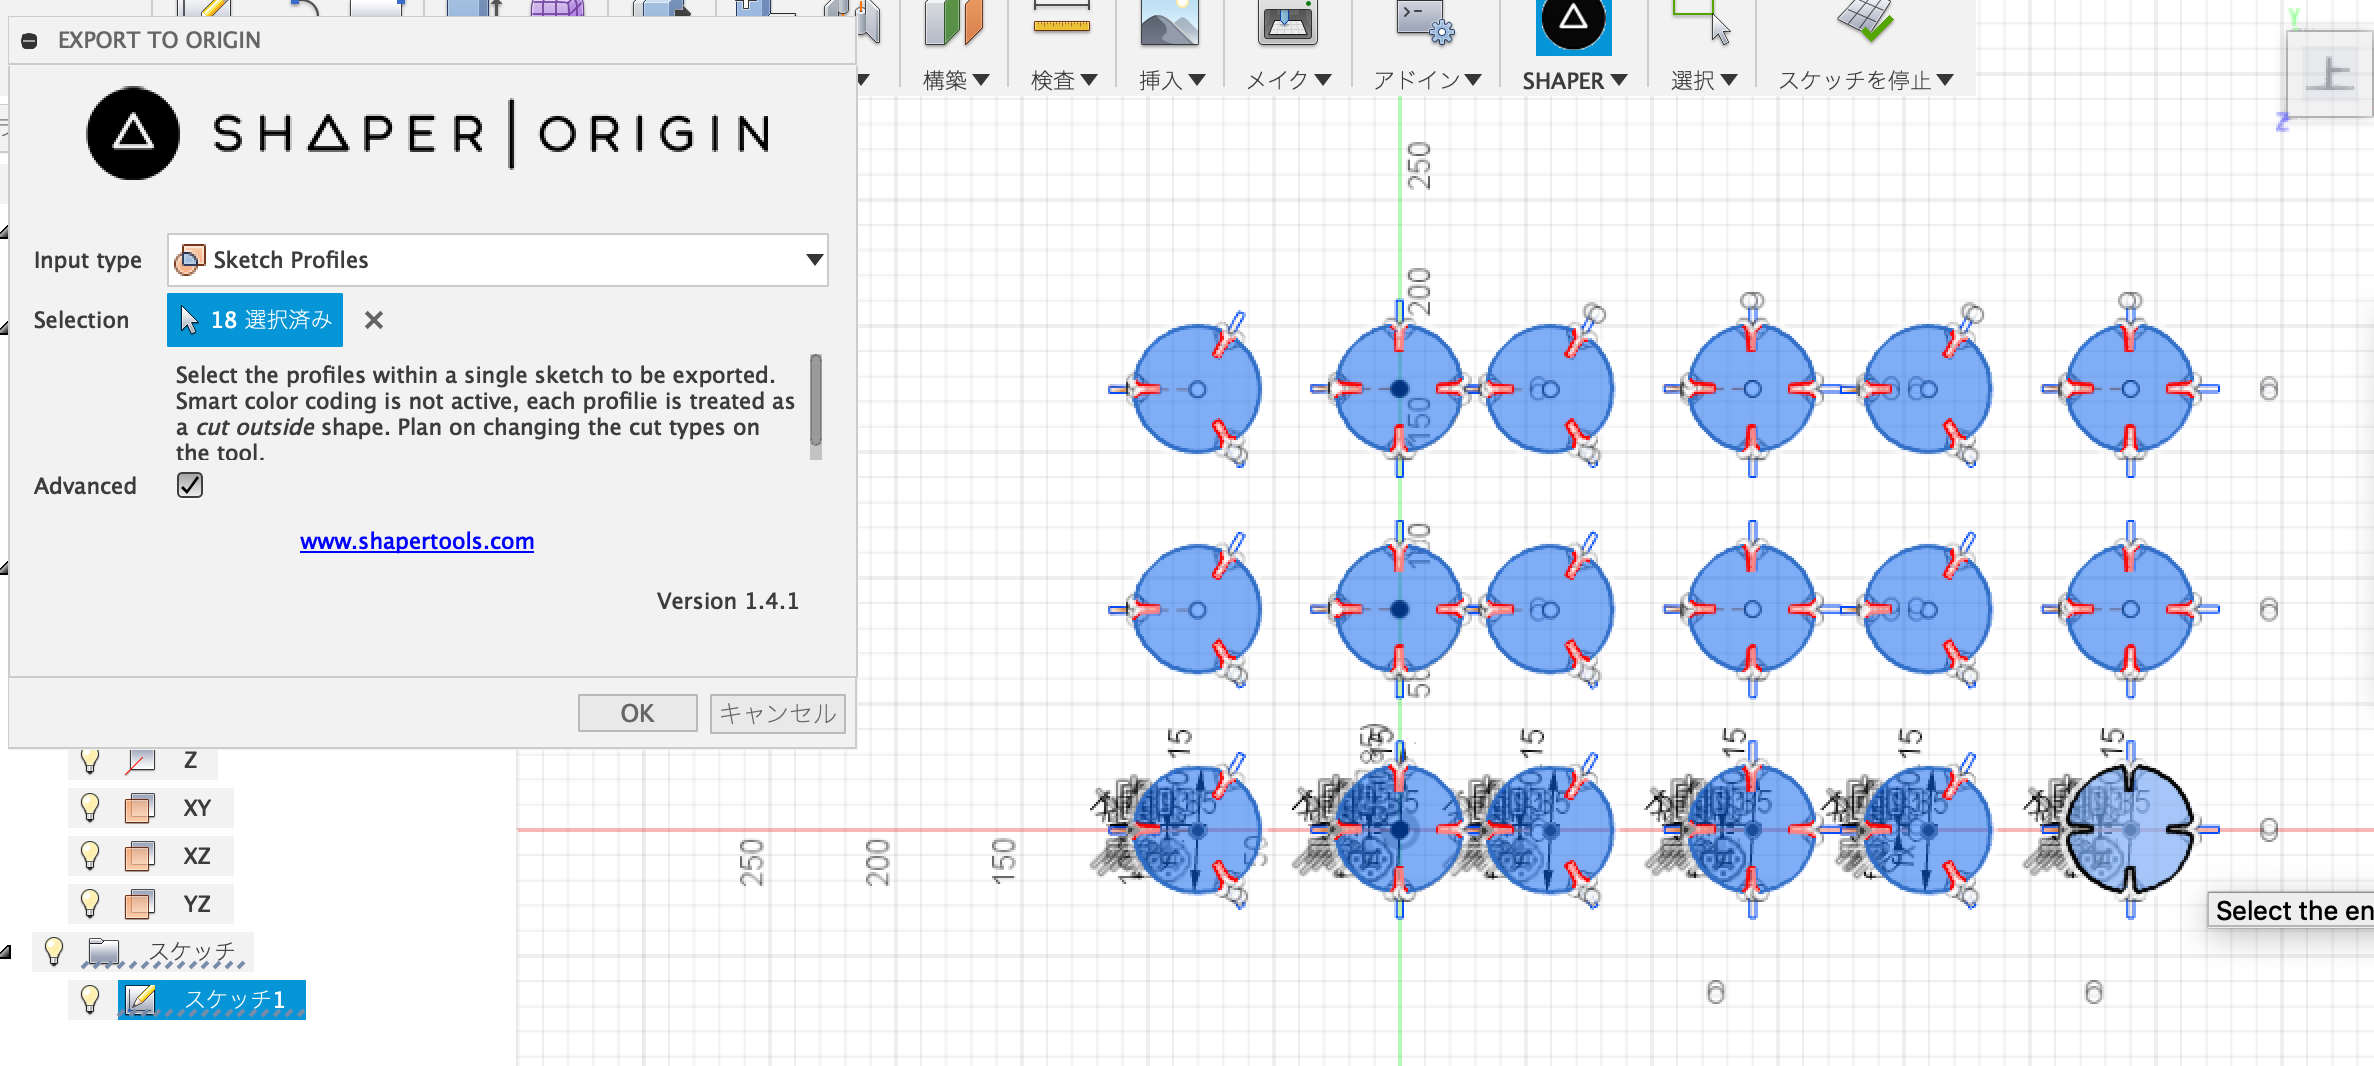
In order to cut, I use an add-on called Shaper since svg file itself contains unsuful lines.
cut parts by laser.
Here’s hero shot
[Vinyl Cutting] Making a mask with vinyl cutter and print with sundbluster
I sundlusted glass masking by a seal which was printed by vinyl cutter.
design file
I designed with Silhouette Studio.
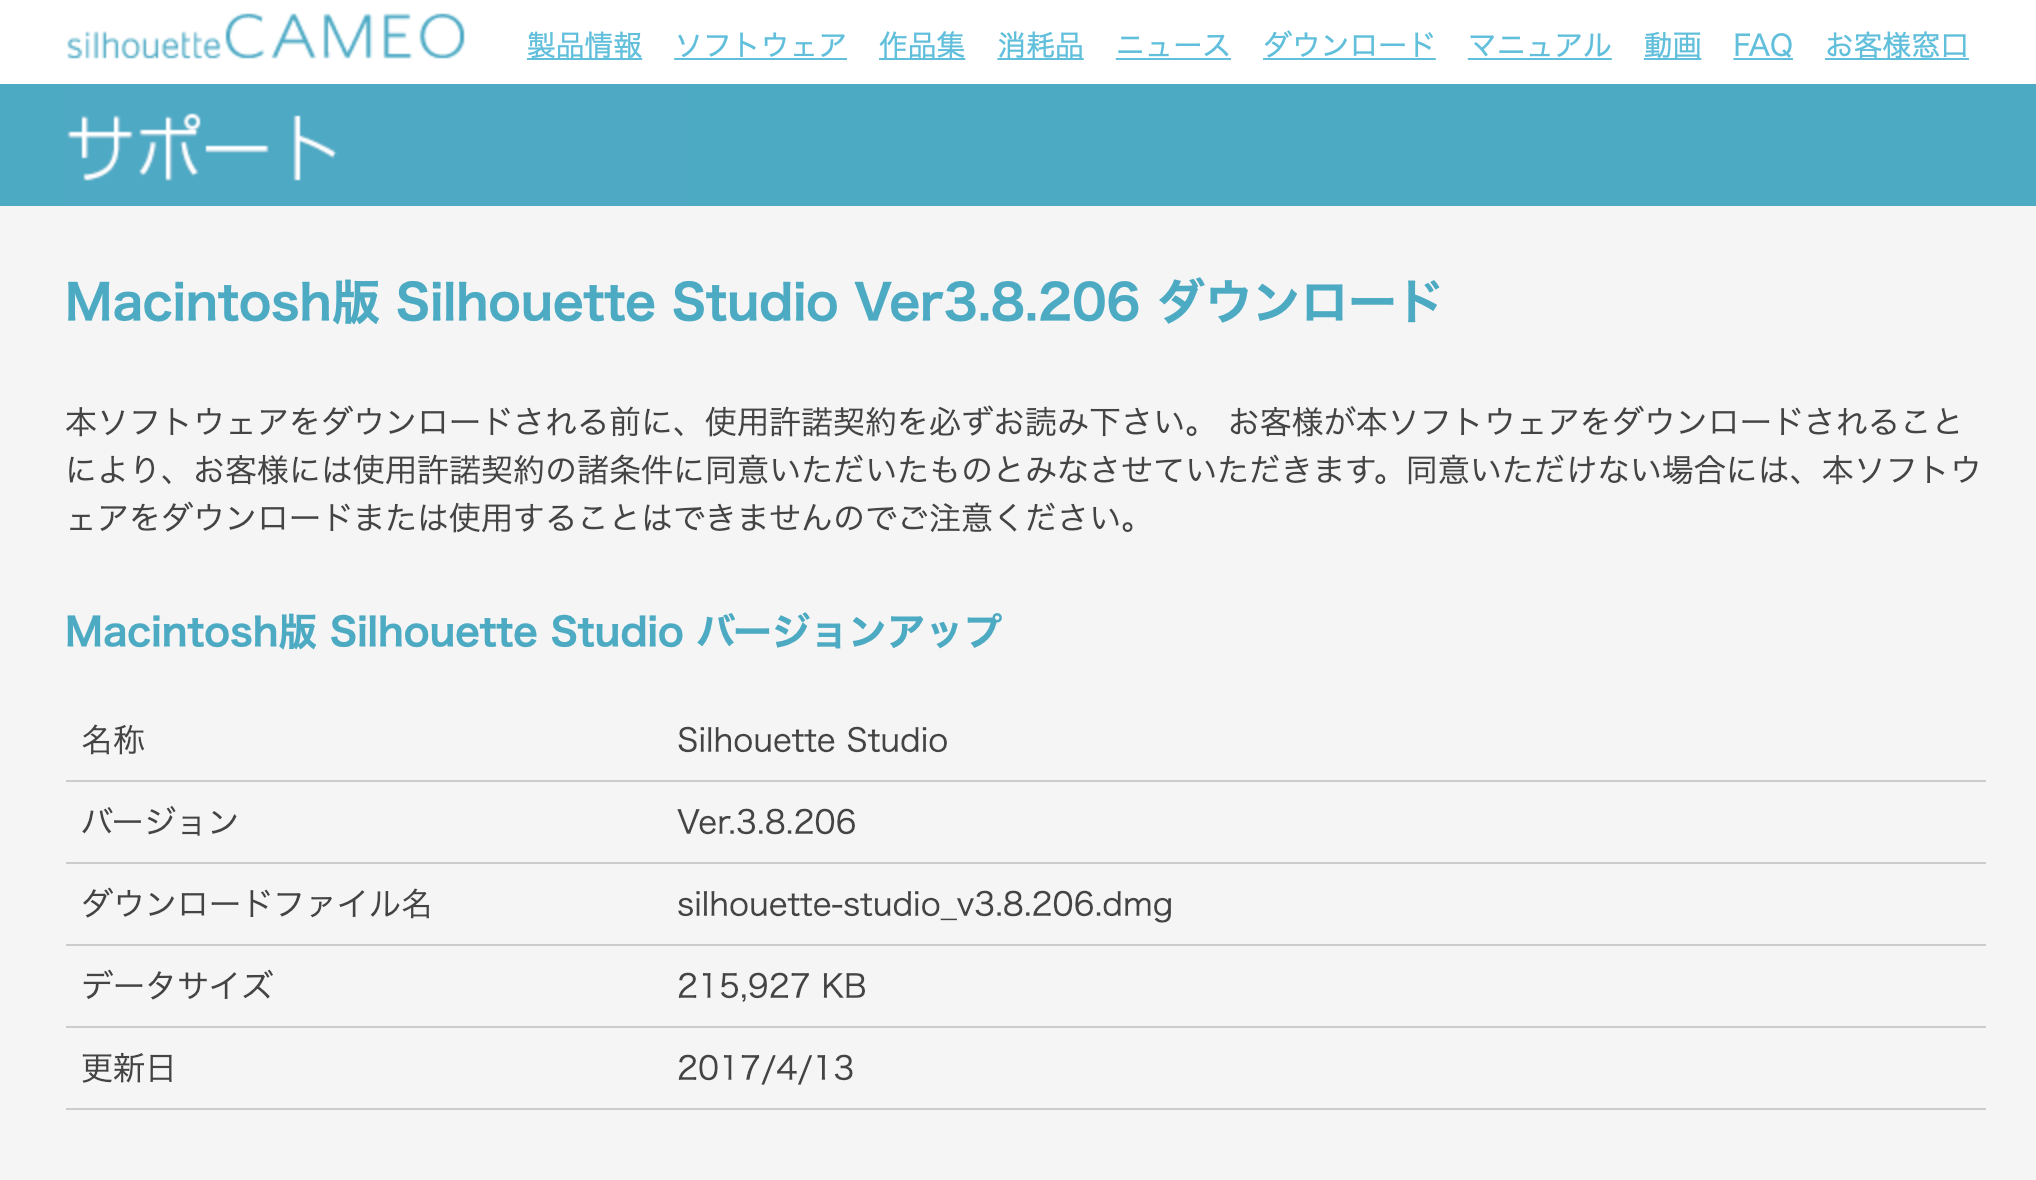
Downloaded Silouette
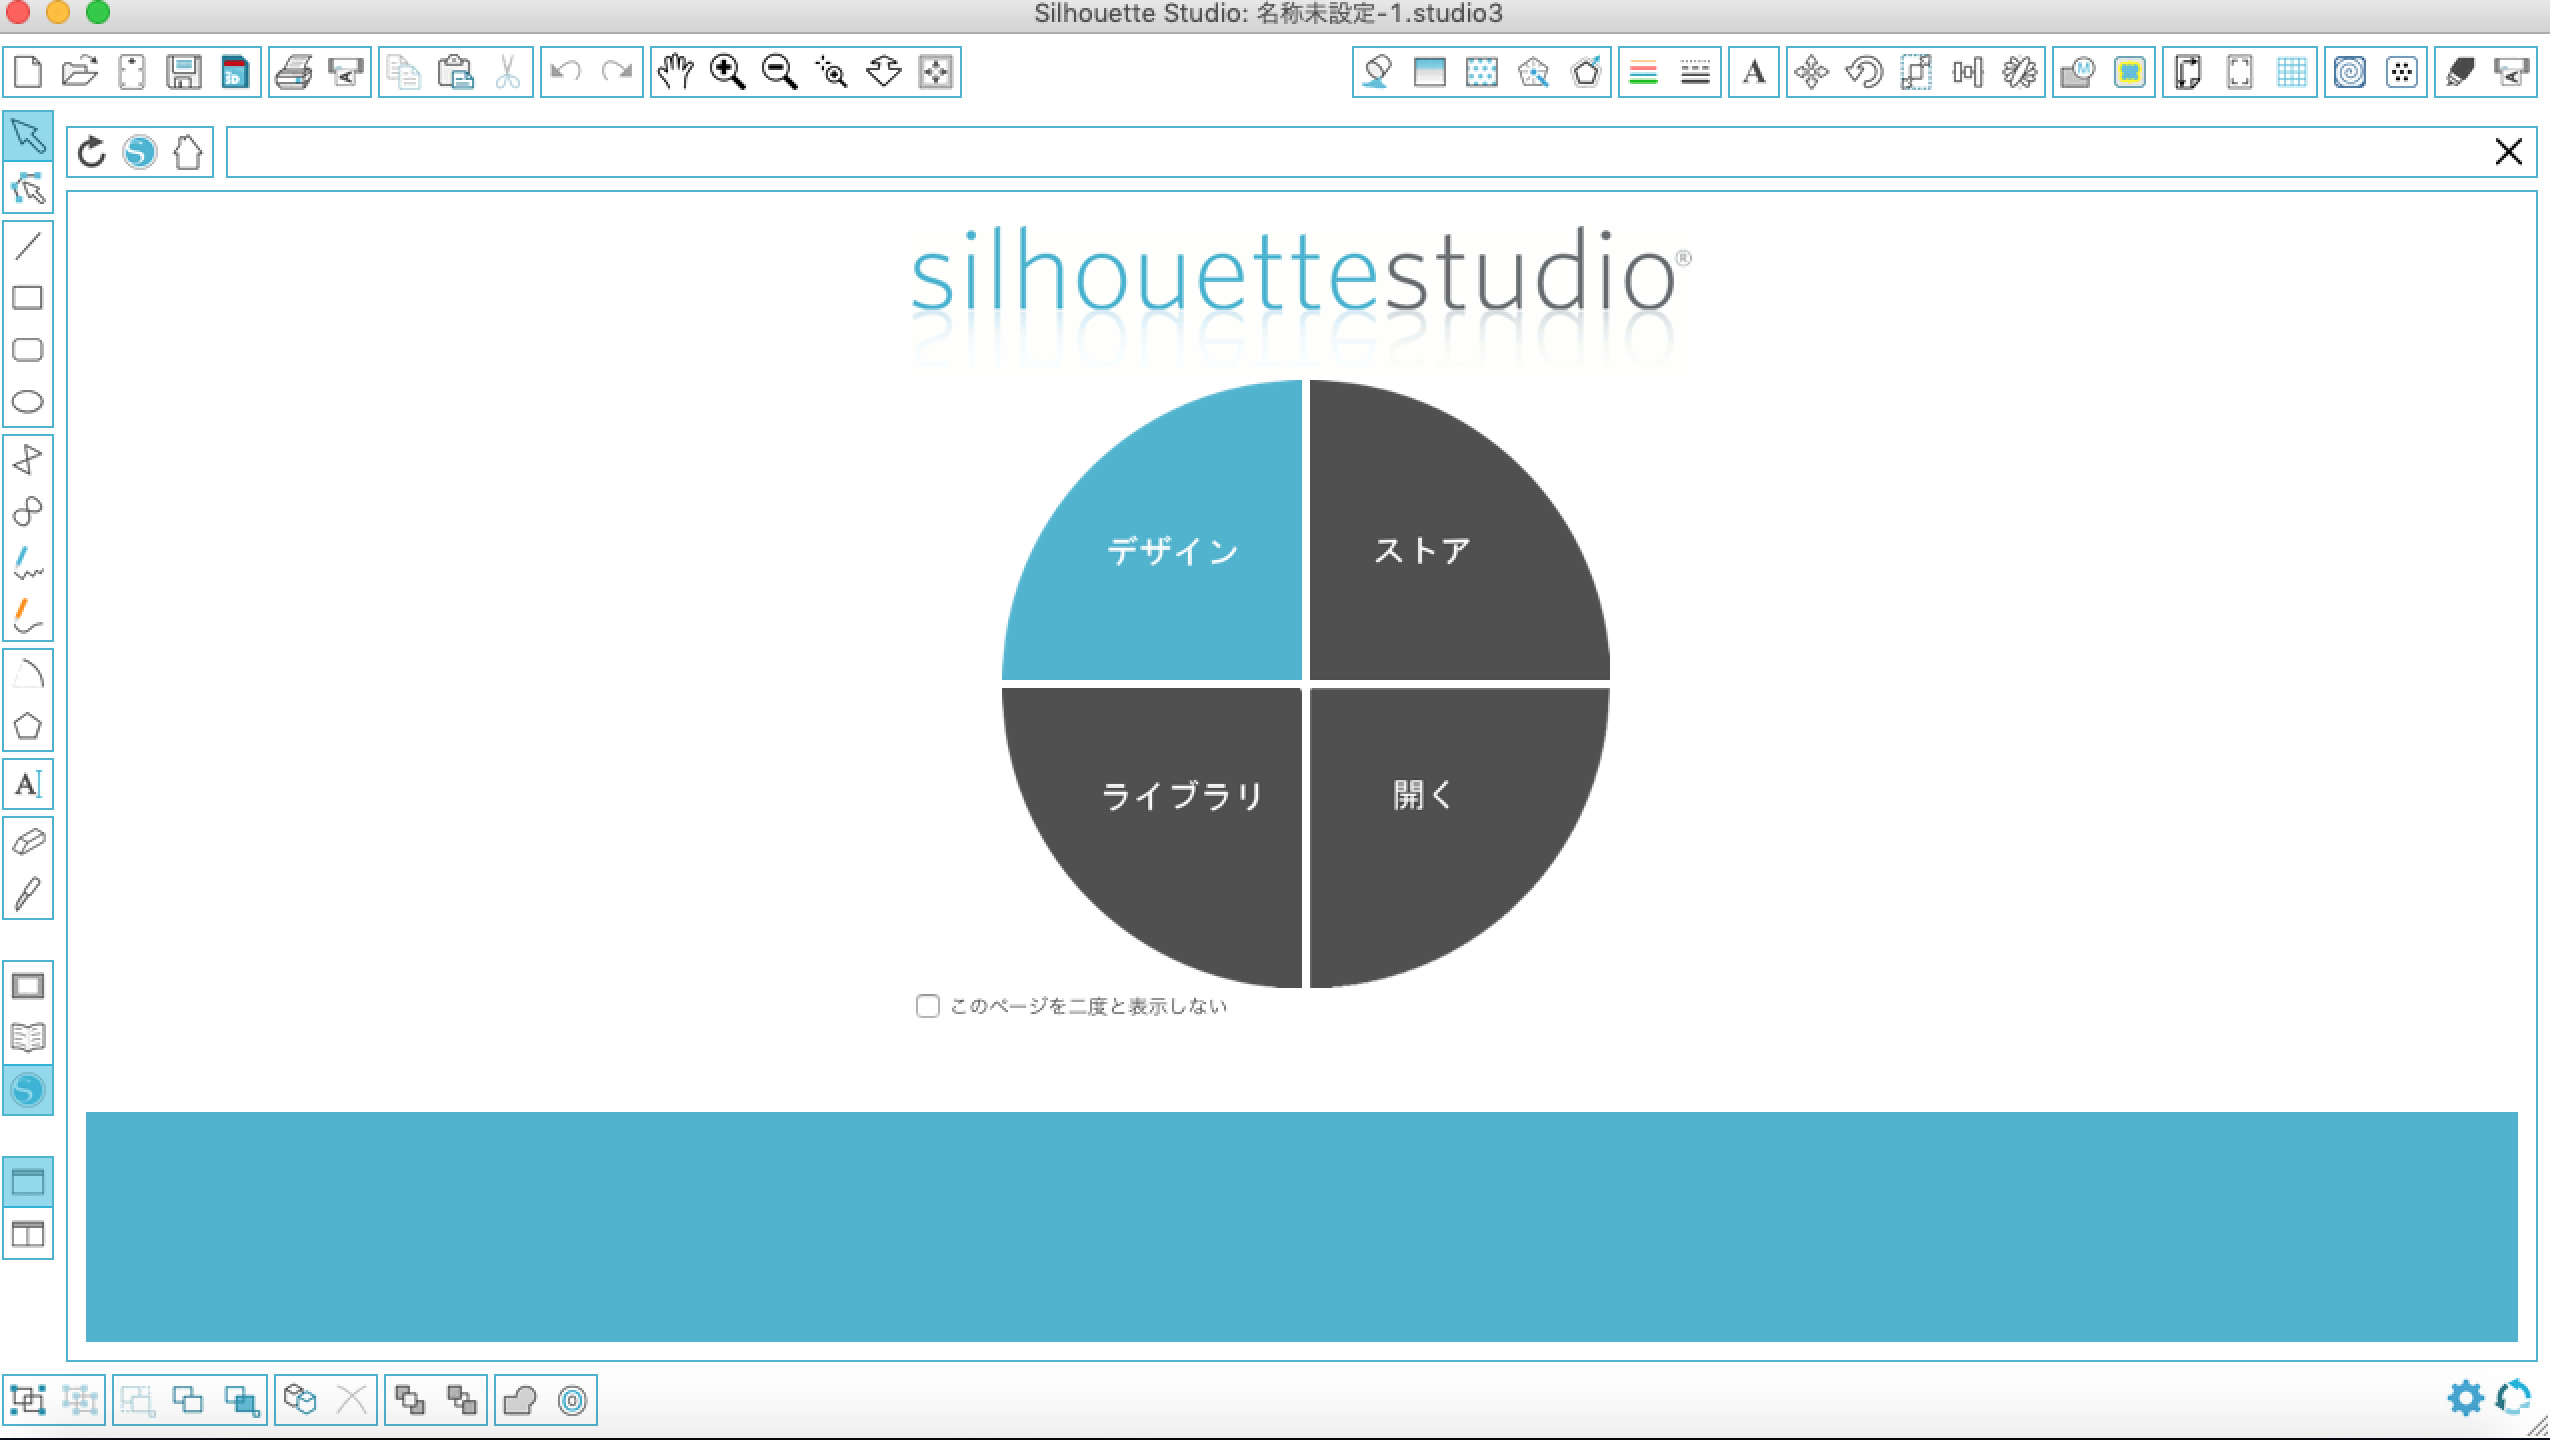
Opened and created new file
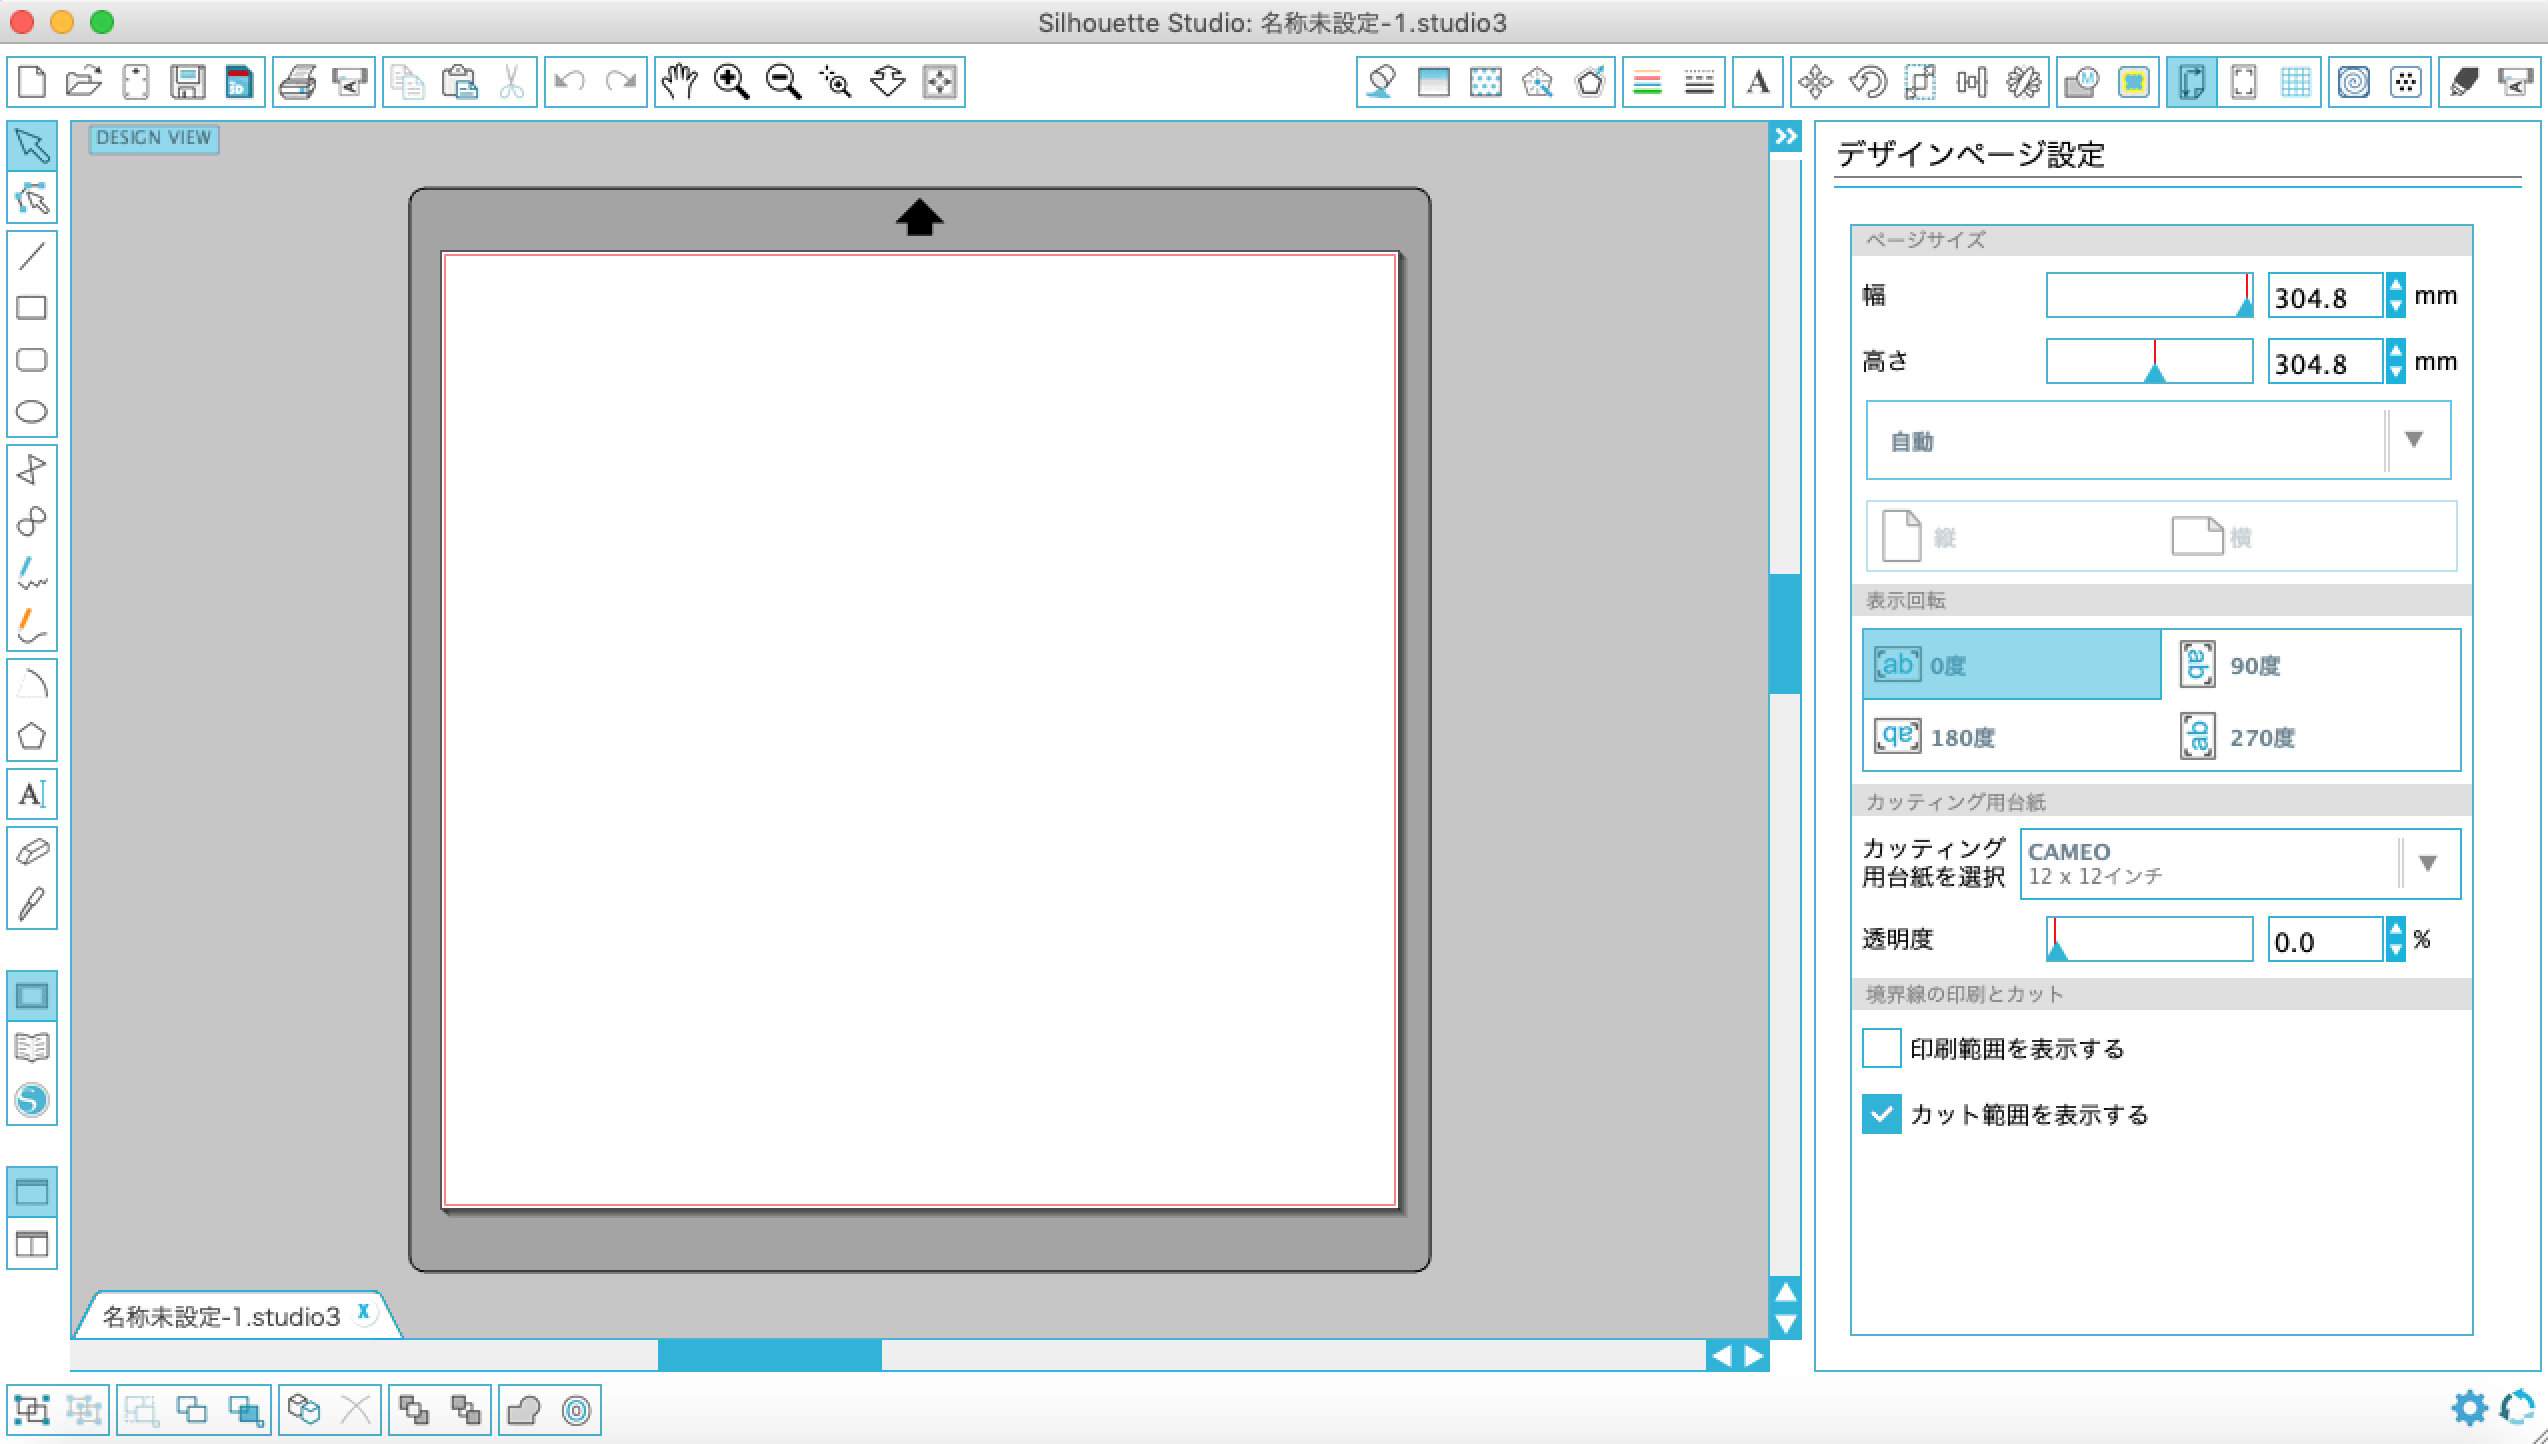
Set a design page size
Imported an image file

Placed it on Silouette cambus
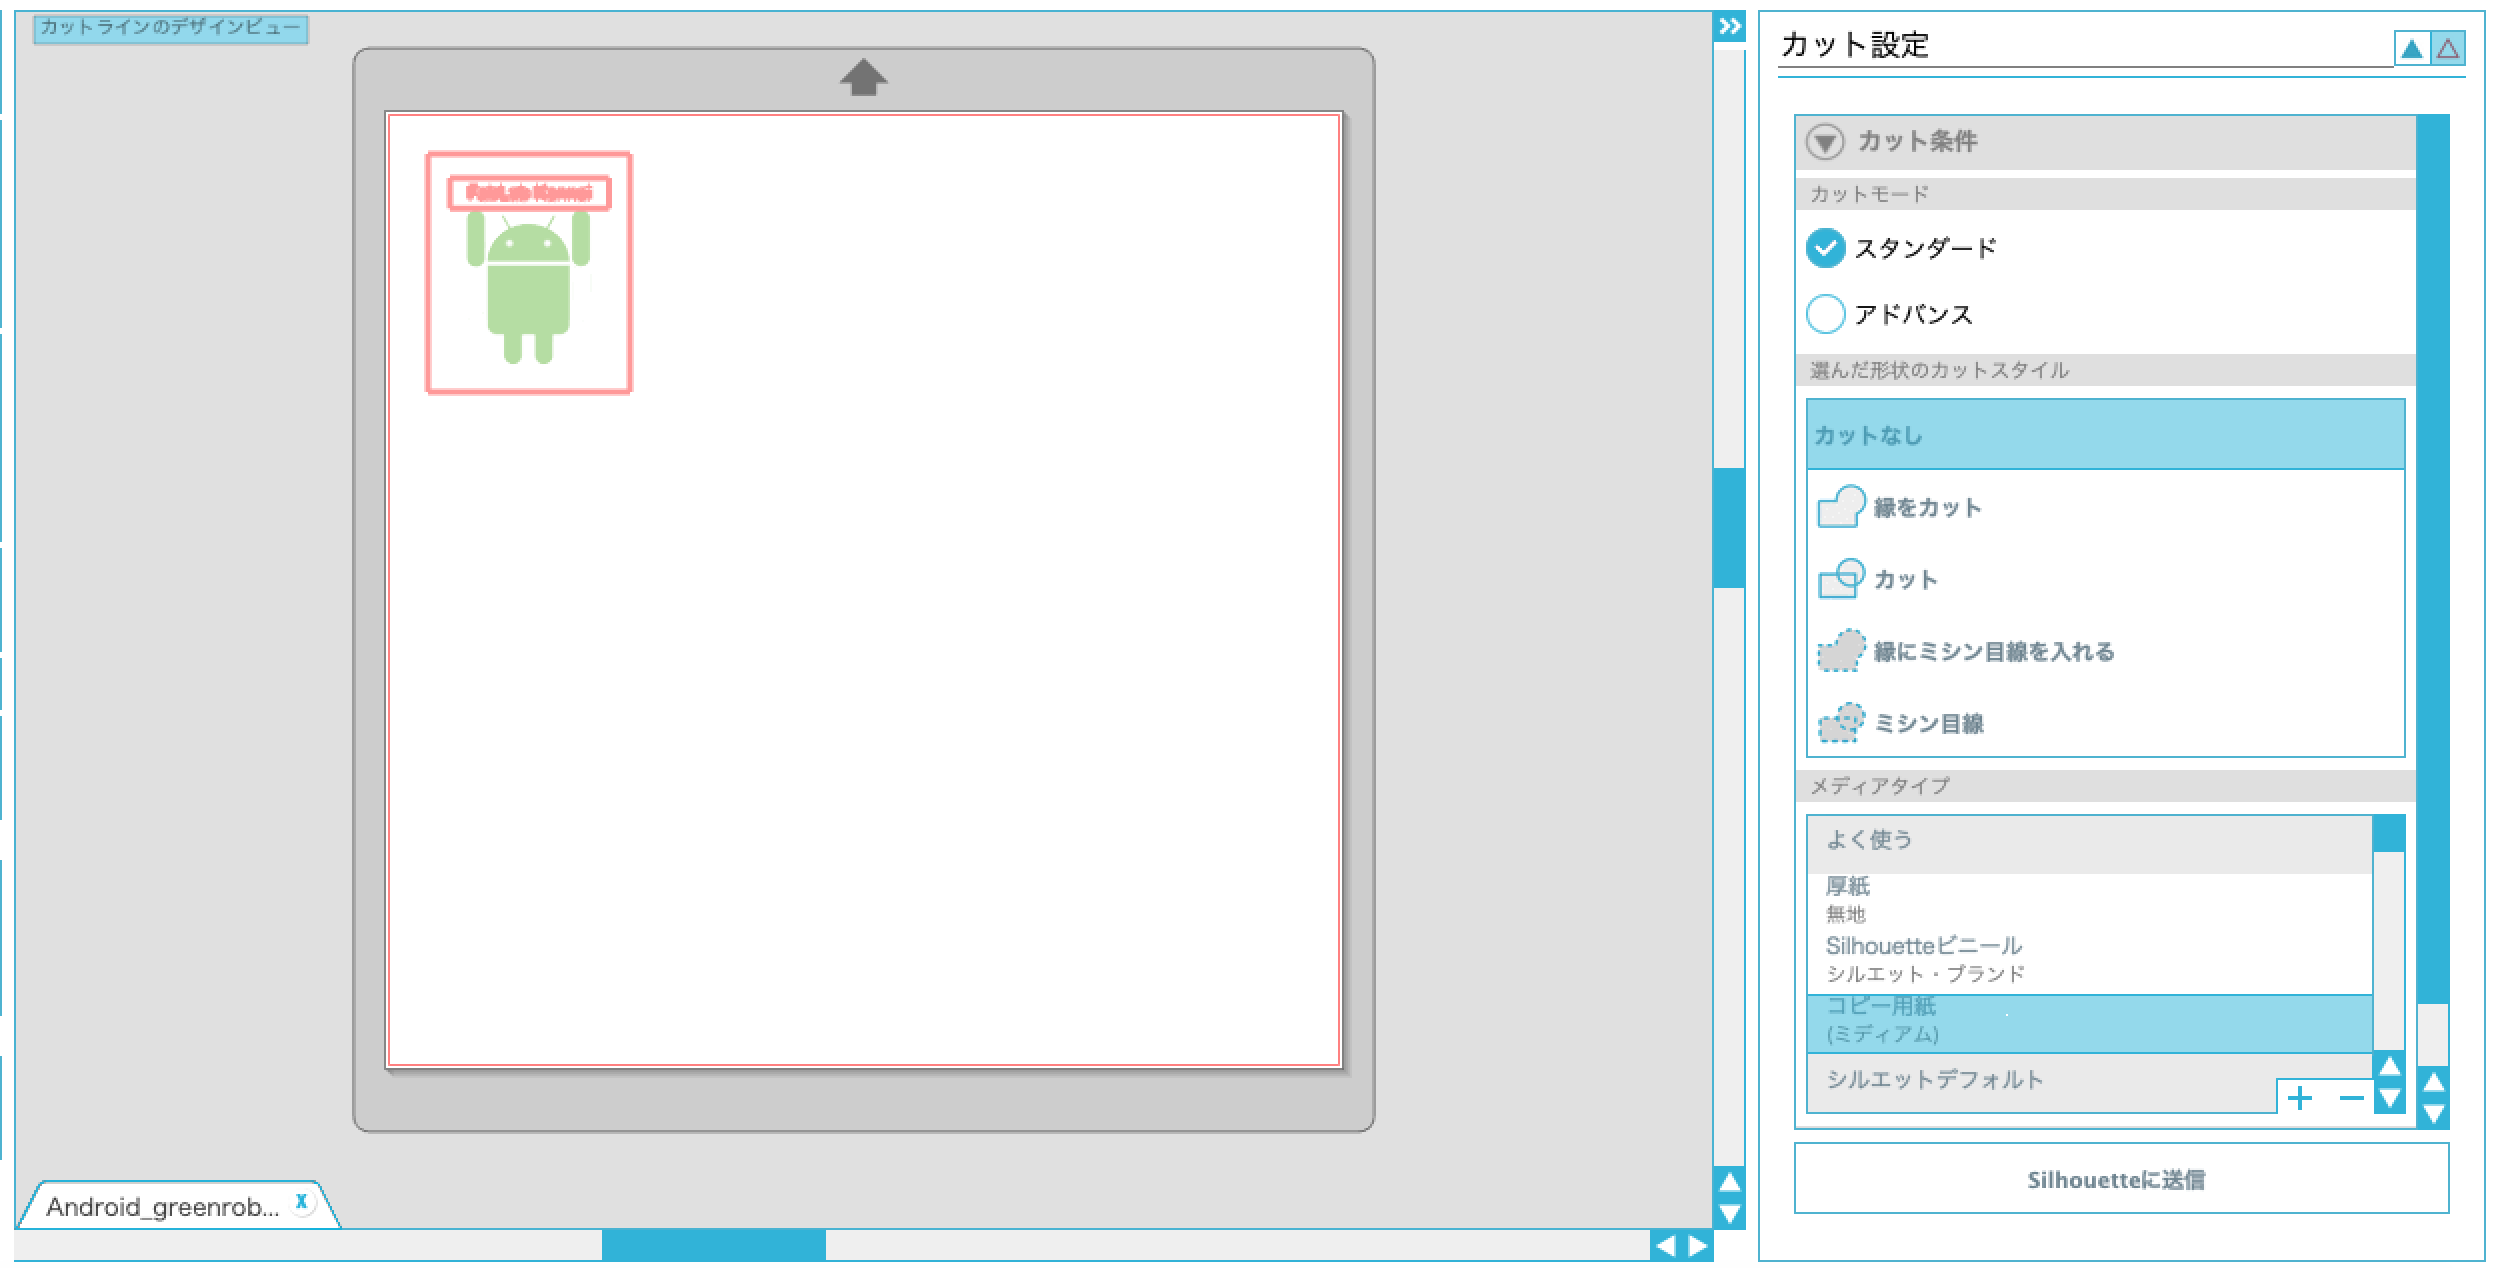
Ready for the file
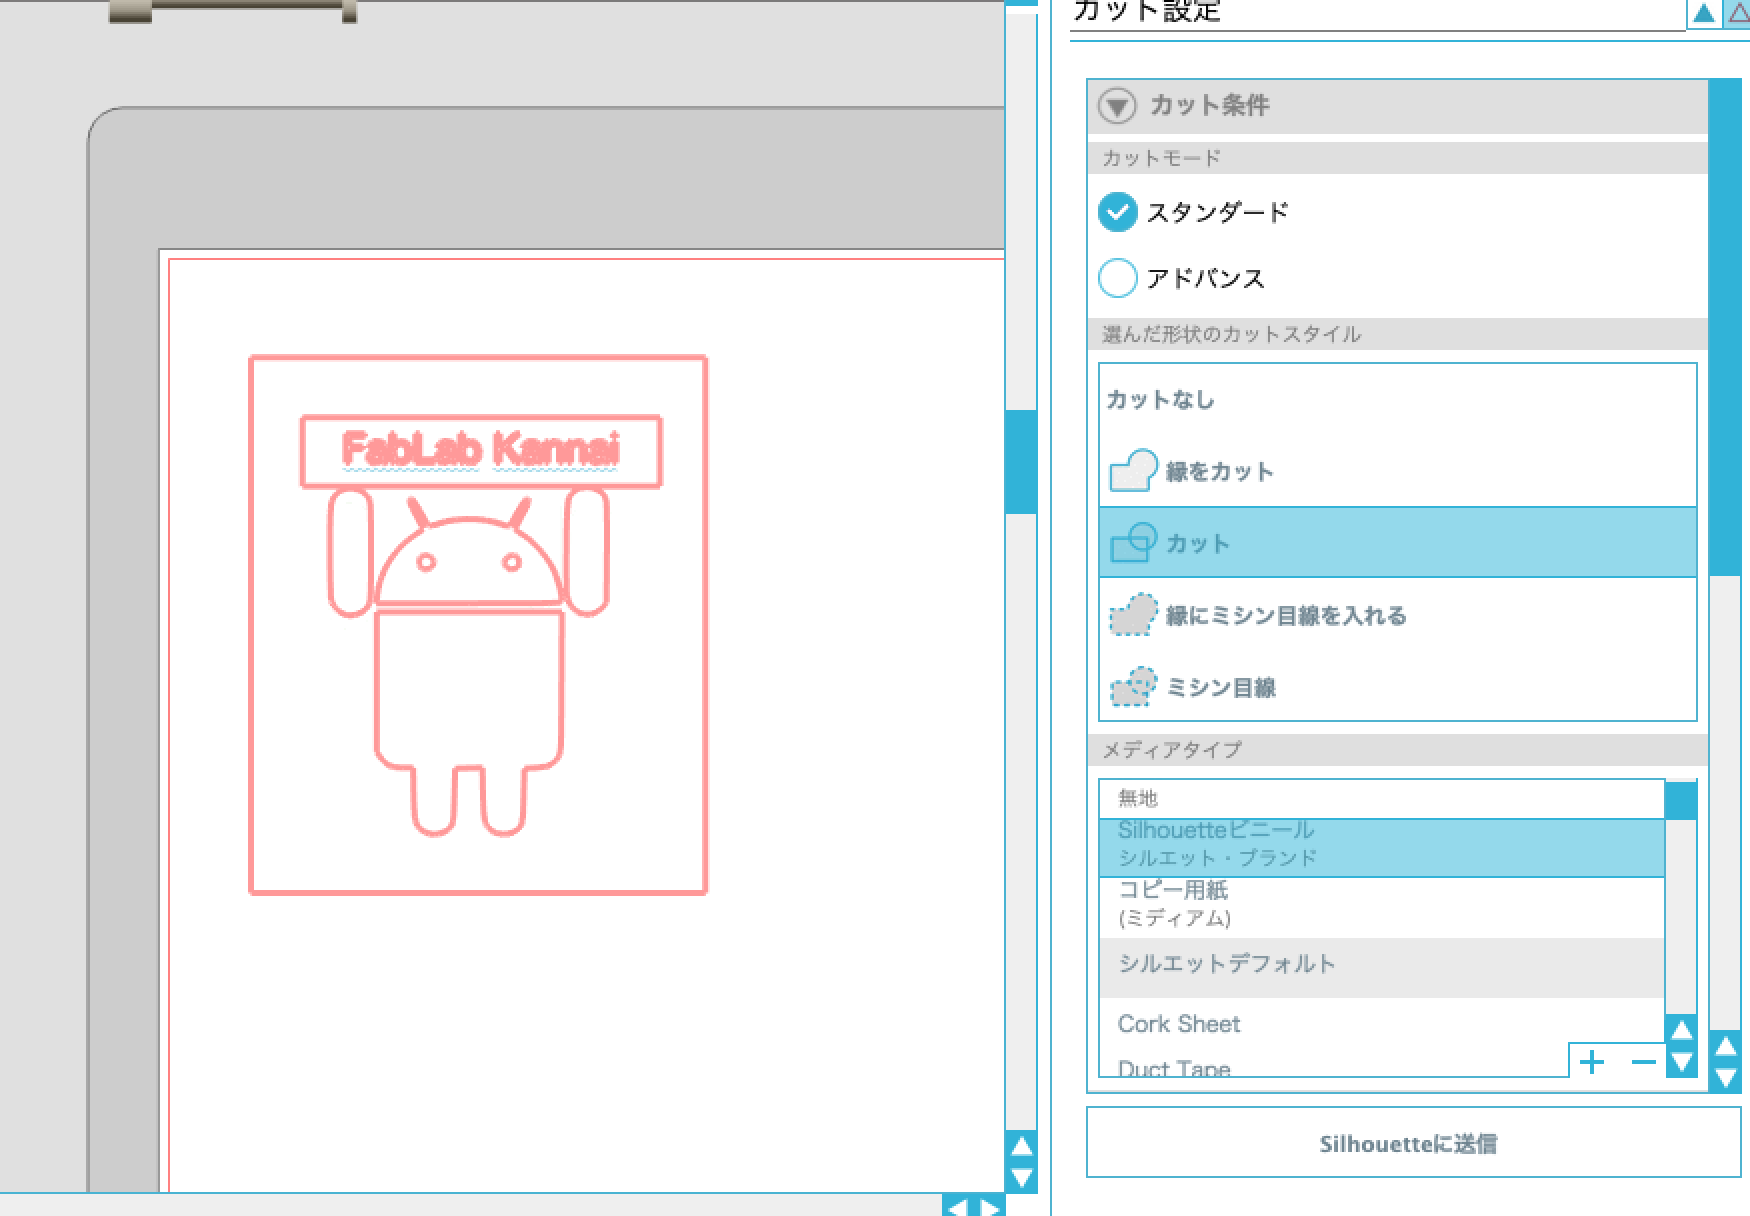
Cutting and blusting
Then prepared for cutting.
Prepared cutting seat
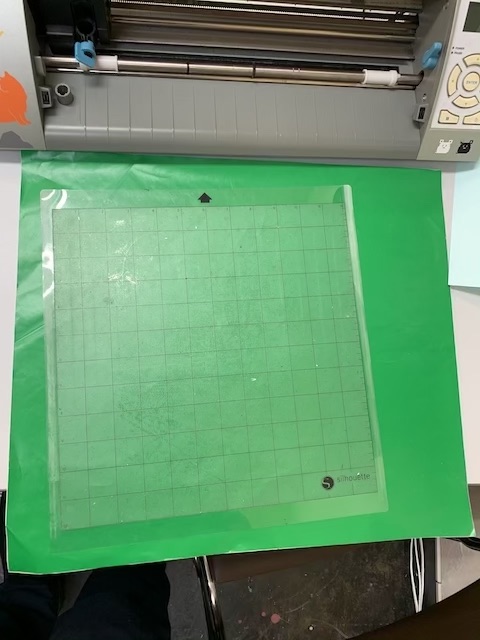
Cut it for fitting a mat
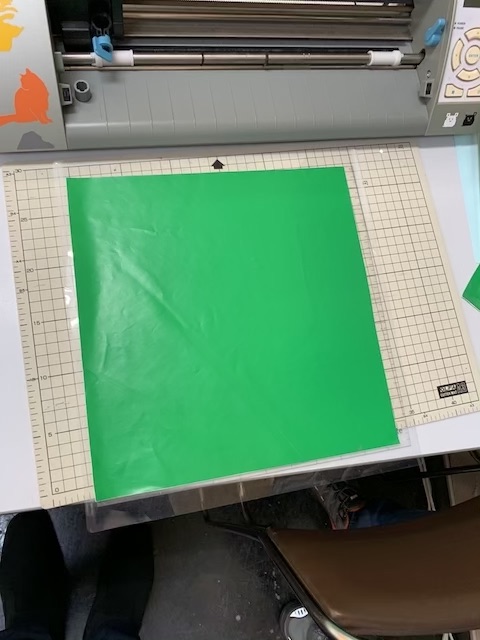
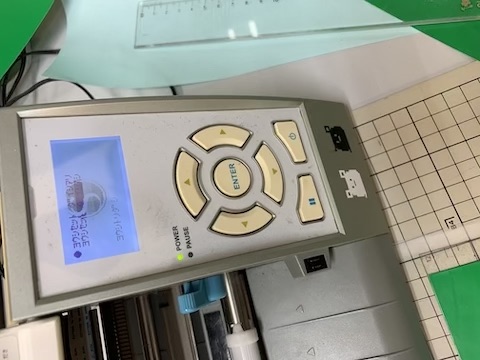
Load the seat into machine and cut the design
Put a file in order to transfer the design to the glass I want to blust
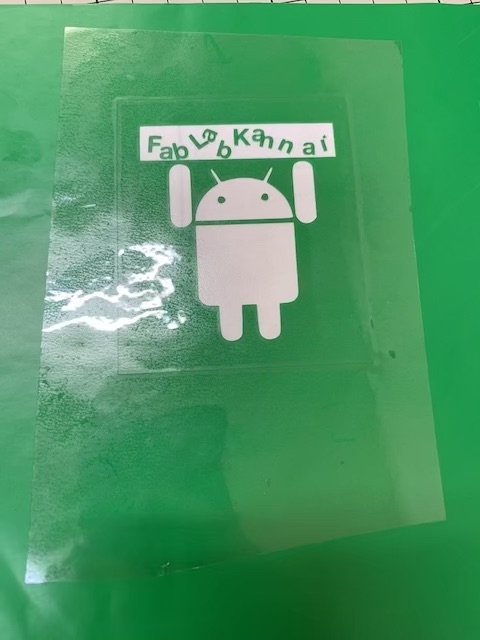

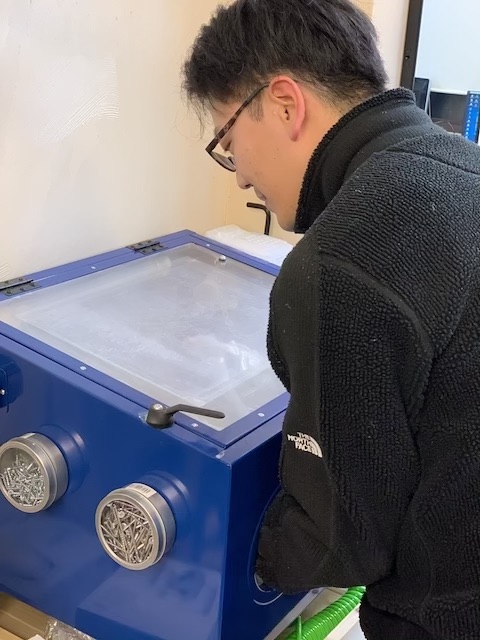
Using masking tape, masked where I don’t want to blust and blusted it
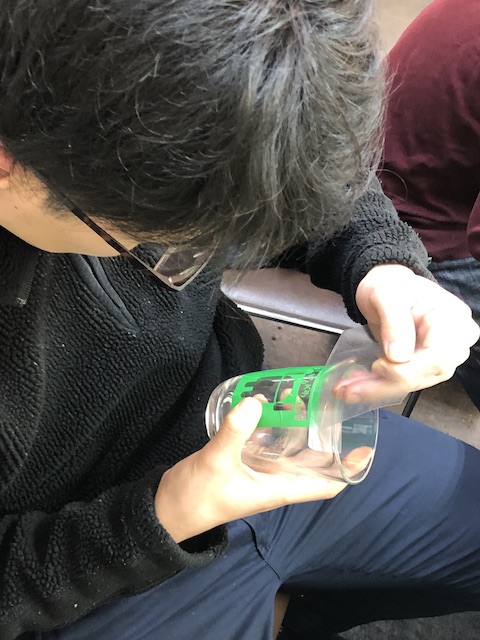
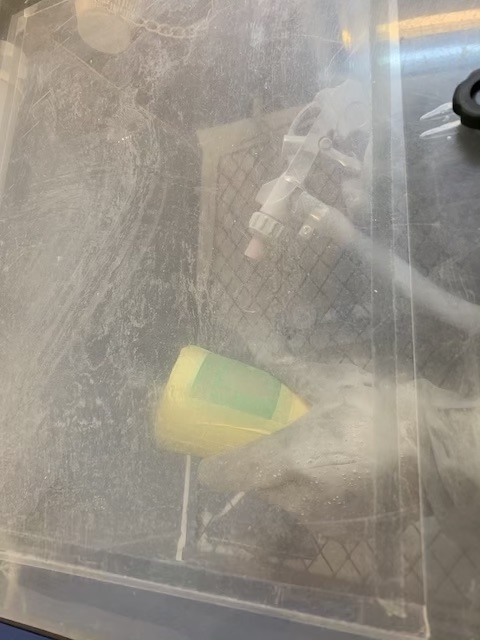
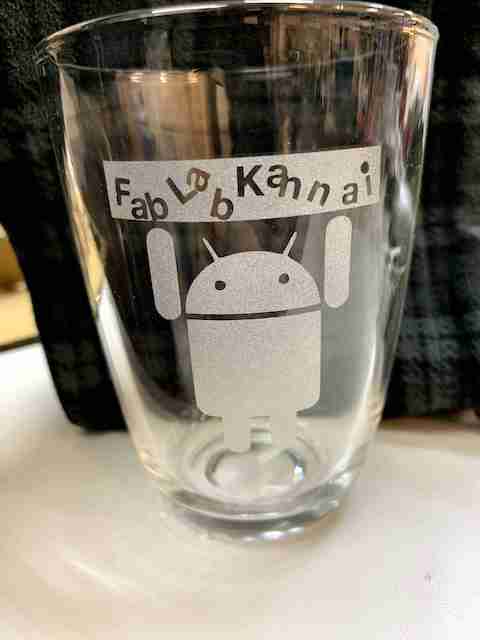
Here’s the glass I blusted.
Remove seal, tapes, and sand.
Here’s the hero shot