8. Computer controlled machining
This week I worked on cutting woods to create big thing.
Assignment
group assignment:
test runout, alignment, speeds, feeds, and toolpaths for your machine

individual assignment:
make something big
Learning outcomes
Demonstrate 2D design development for CNC production
Describe workflows for CNC production
Have you?
Explained how you made your files for machining (2D or 3D)
Shown how you made something BIG (setting up the machine, using fixings, testing joints, adjusting feeds and speeds, depth of cut etc)
Described problems and how you fixed them
Included your design files and ‘hero shot’ photos of final object
What we did
We tested joints as group assinment FabAcademy2019-FabLab Kannai lab site
What I did
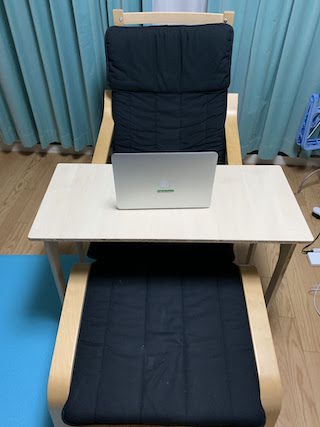
This week I made a big desk fits for Ikea’s Poang chair. Poang is very comfy chair but there is no option of laptop desk.
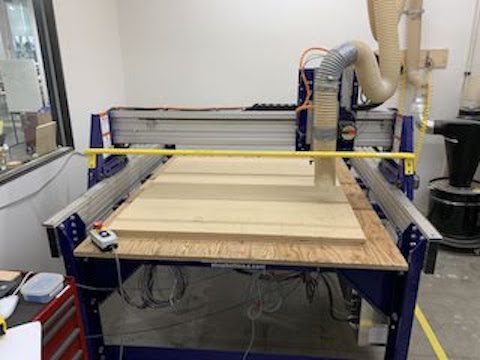
So I decide to make a big desk by using Shopbot
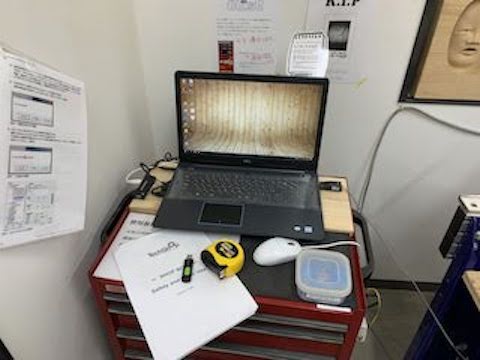
This is ShopBot
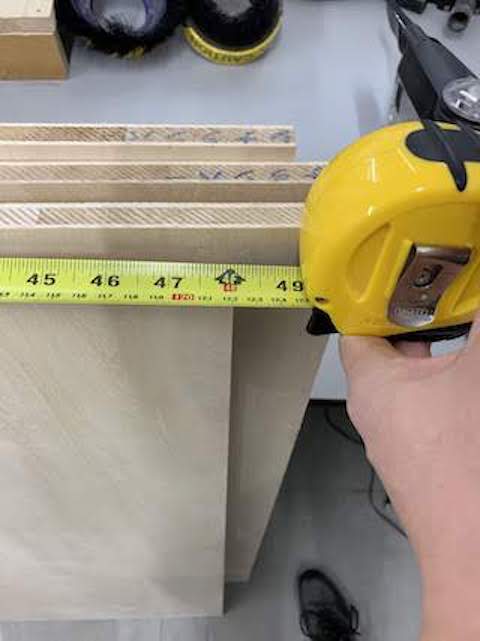
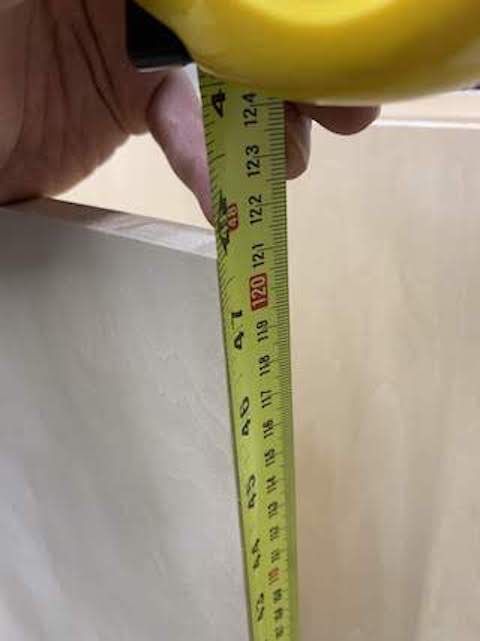
This time we prepared 15mm x 1220mm x 1215mm China lumber core plywood. Poang is 680mm wide, and my MacBook pro is 314mm x 219mmm, so I put margin and designed 880*420mm desk.
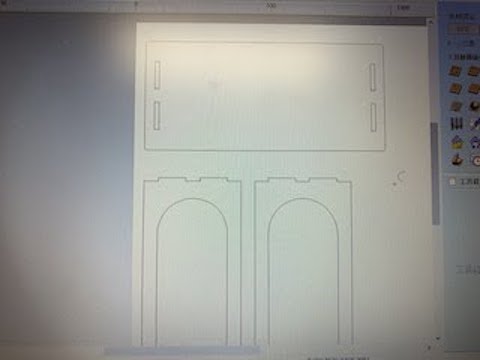
This is the rough drawing.
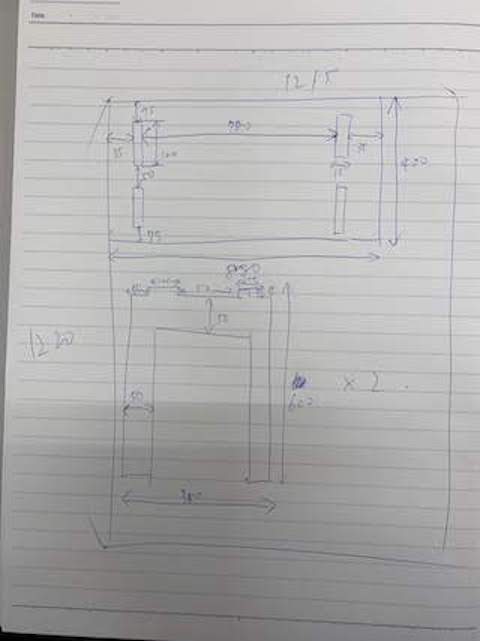
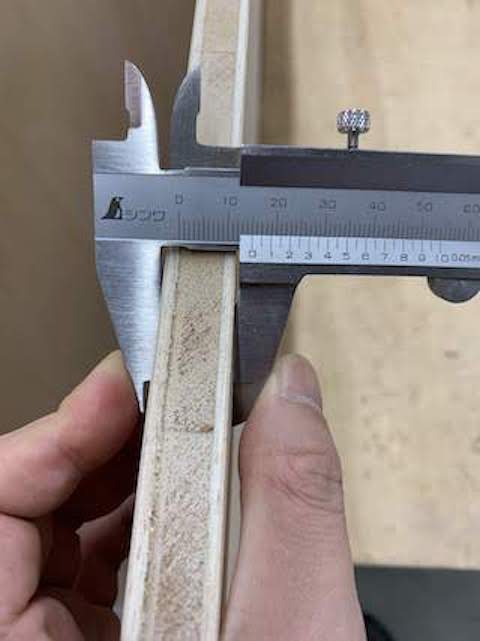
Made sure the thickness is 15mm and size is 1220mm x 1215mm.
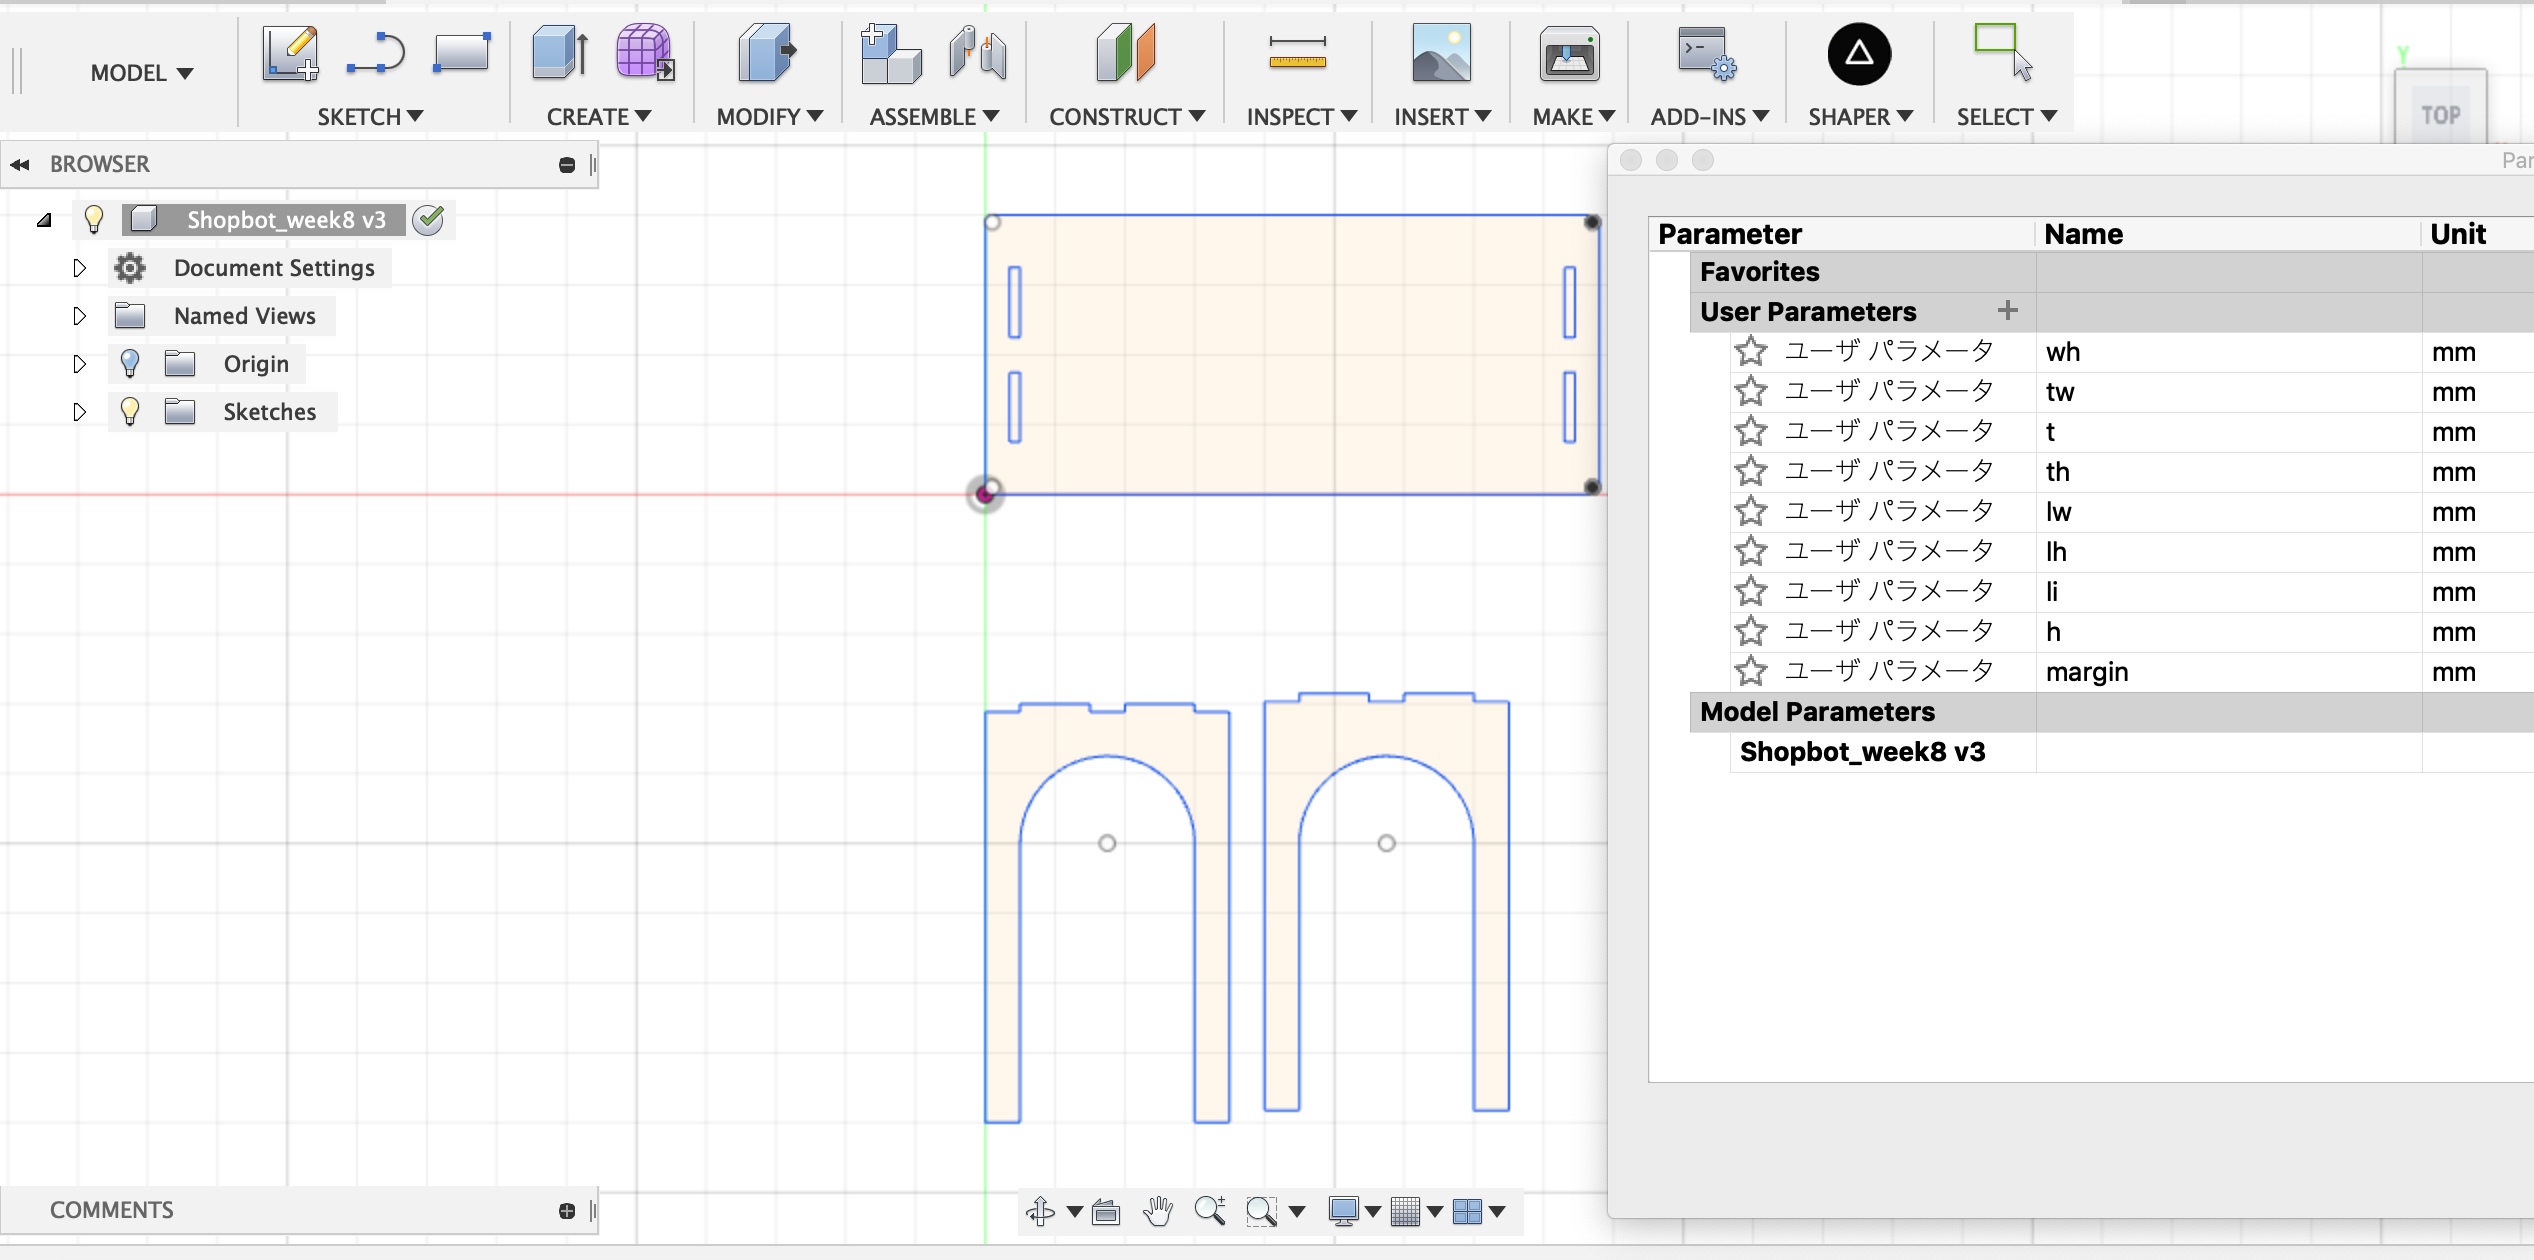
Firstly, I made a design file with Fusion 360.
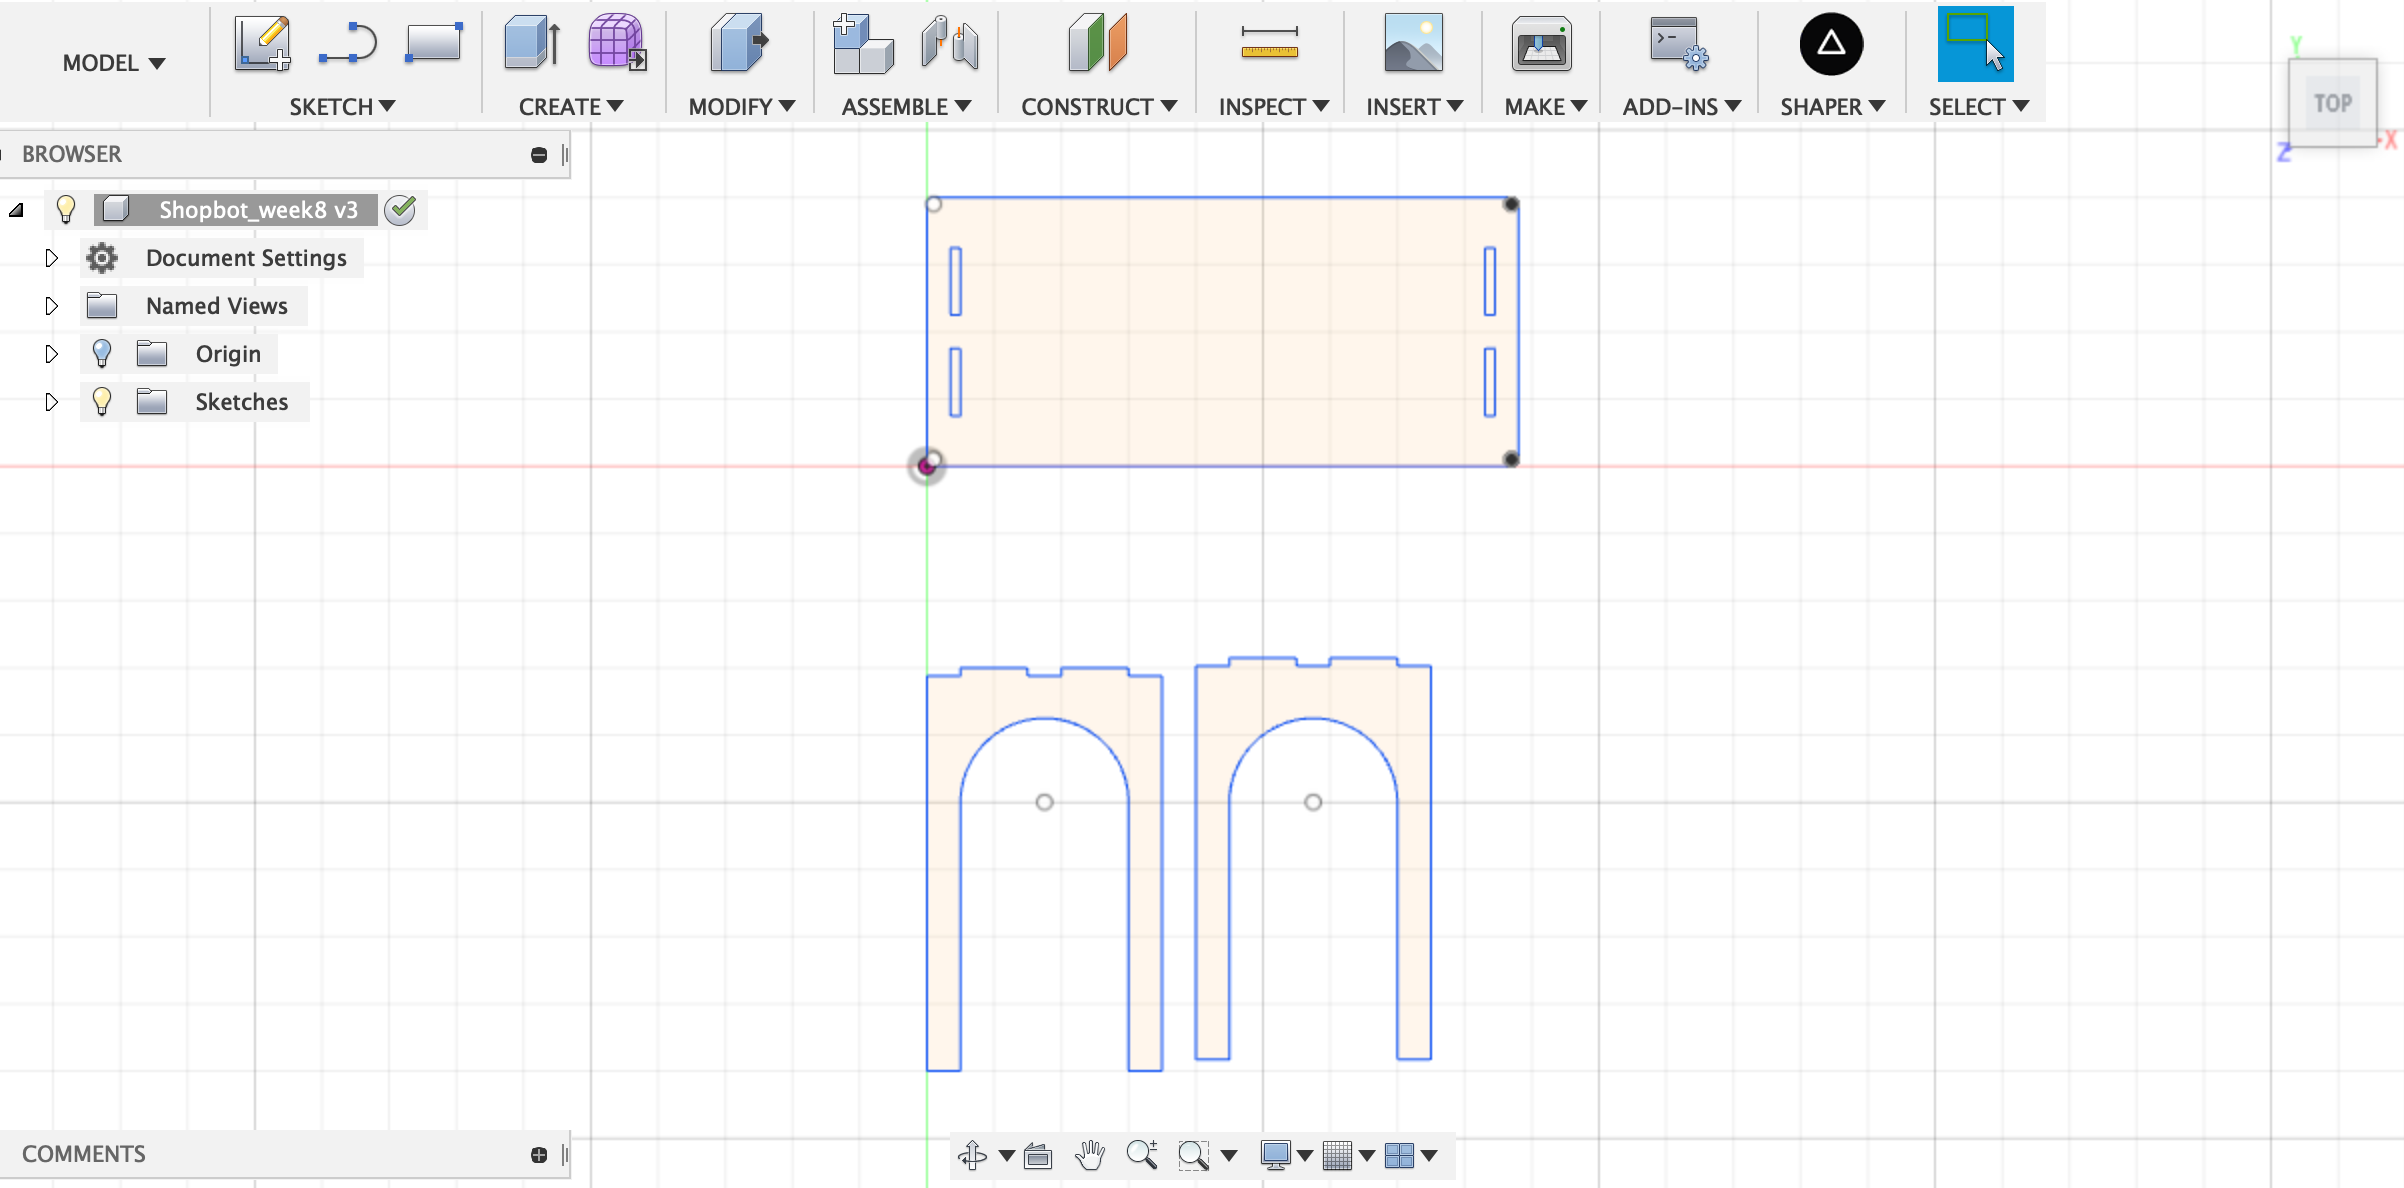
I made it parametrically
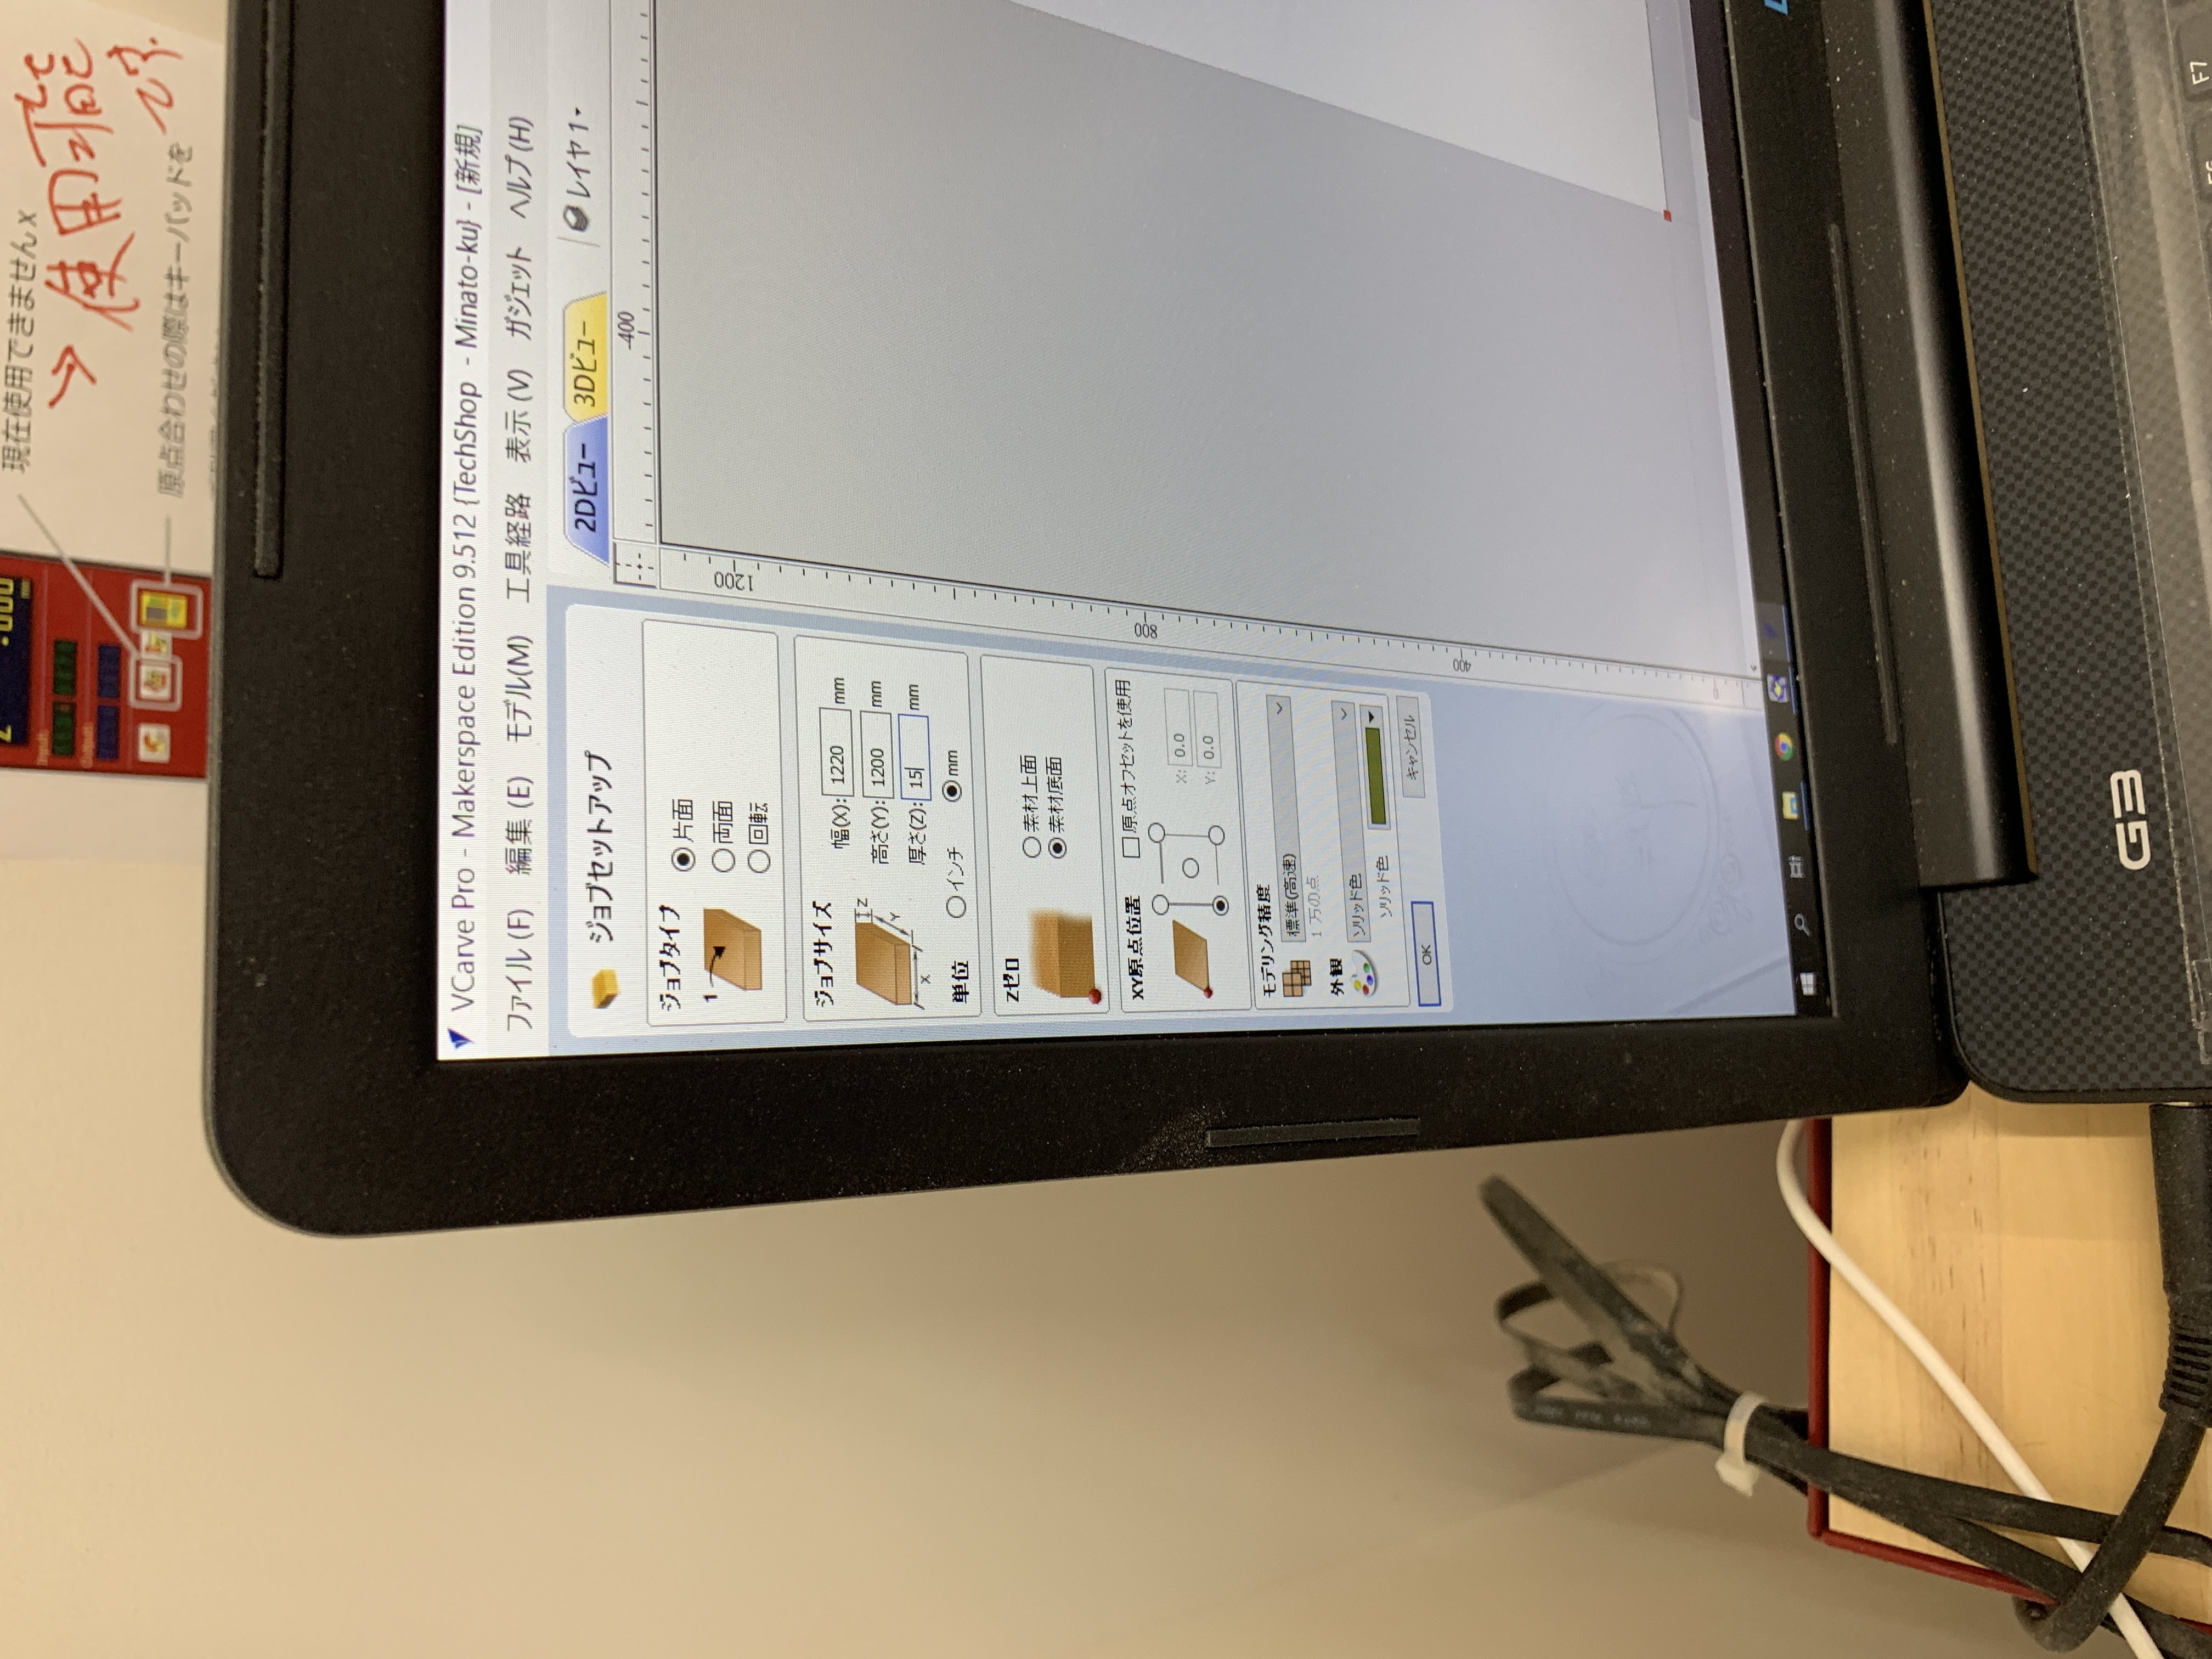
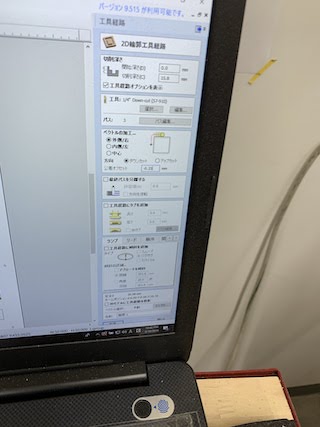
Vcurve Pro
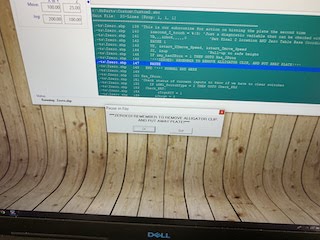
Then exported it as dxf and copied to Vcarve pro connected to Shopbot.
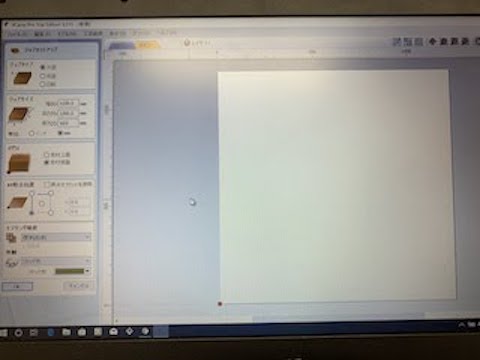
Open new file
Set job size to 1220mm x 1215mm x 15mm and 0 point of Z-axis to bottom.
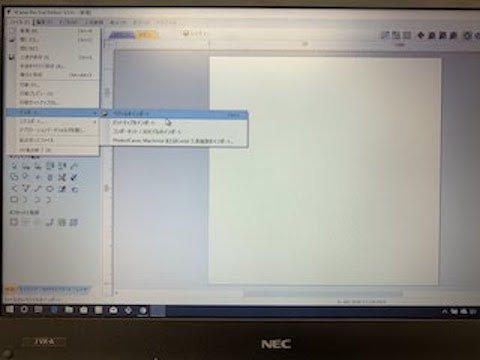
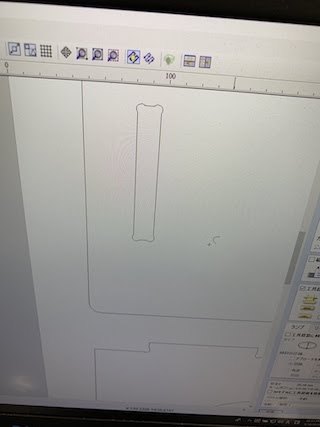
imported dxf file
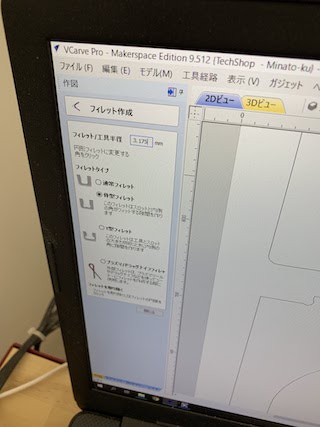
Created bone filet at corners of pockets
Pocket milling setting
Set depth to 12mm, endmill to 0.25inch, offset to -0.25mm, and to pass 3.
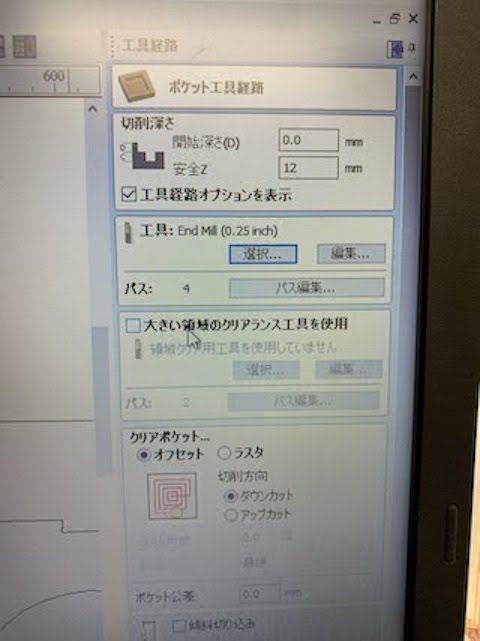
Set clear pocket to offset and downcut.
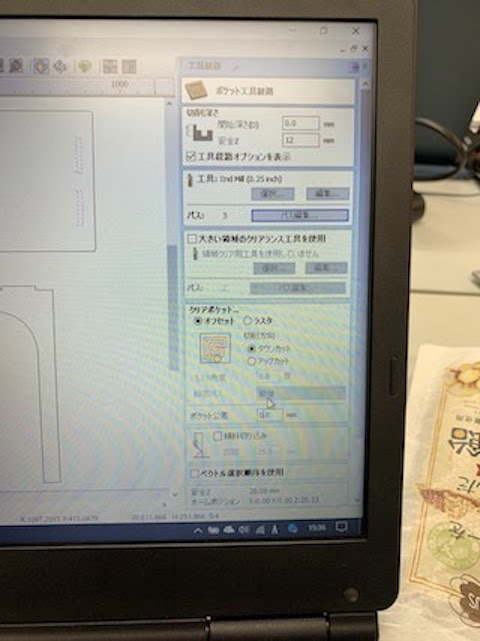
Cut setting
Set cut depth to 15.8mm, tool to 1/4 inch, path to 3, cut to downcut and offset to -0.25mm
Also added tabs to keep cut wood stable. Usually put 3 - 4 tabs.
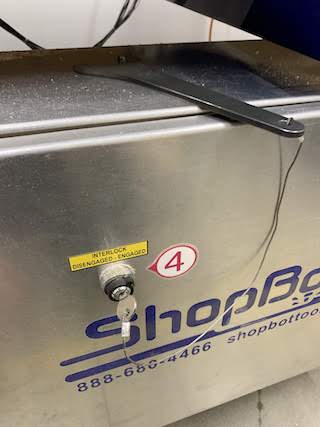
Shopbot setting
Switch on filter
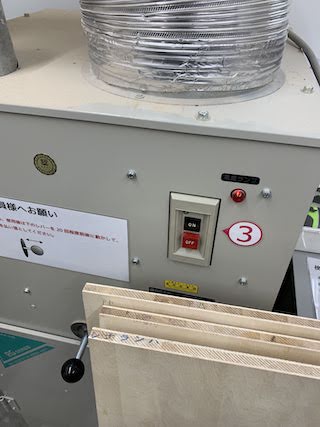
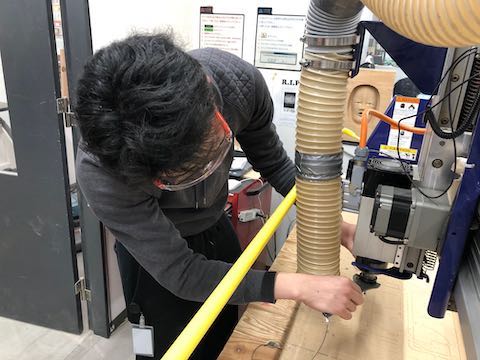
Turning on Shopbot by moving the key to the left
Move the mill to the edge by software pad and calibrate X-Y axis on Shopbot


This is the drill. Put it into machine.
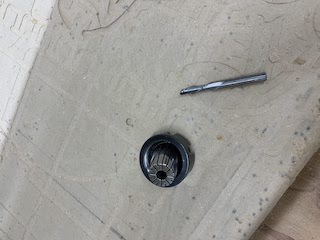
Tighten with the tool for setting a drill
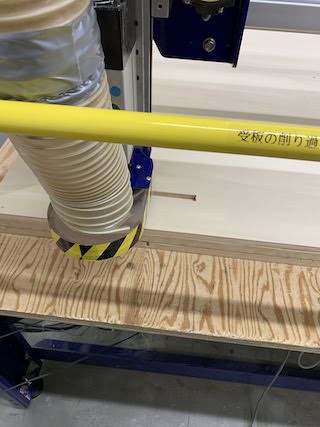
Set a clip on mill, metal blade on basement, and calibrate Z-axis
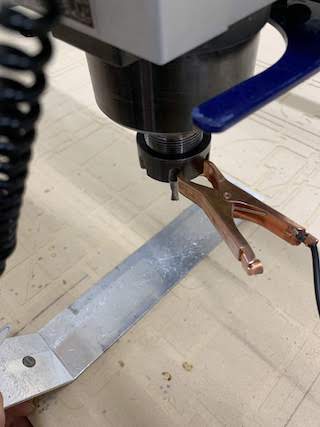

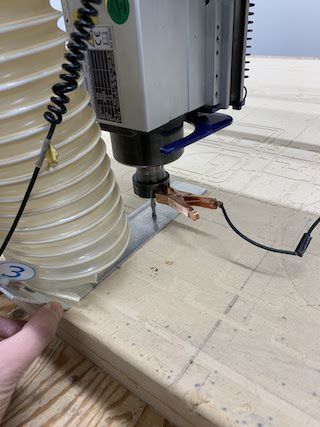
Calibrated
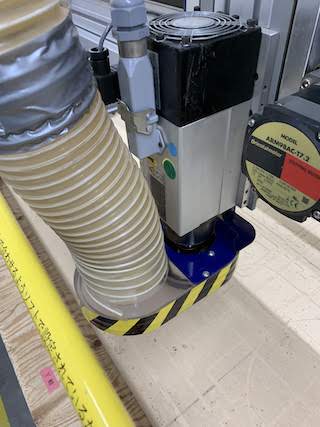
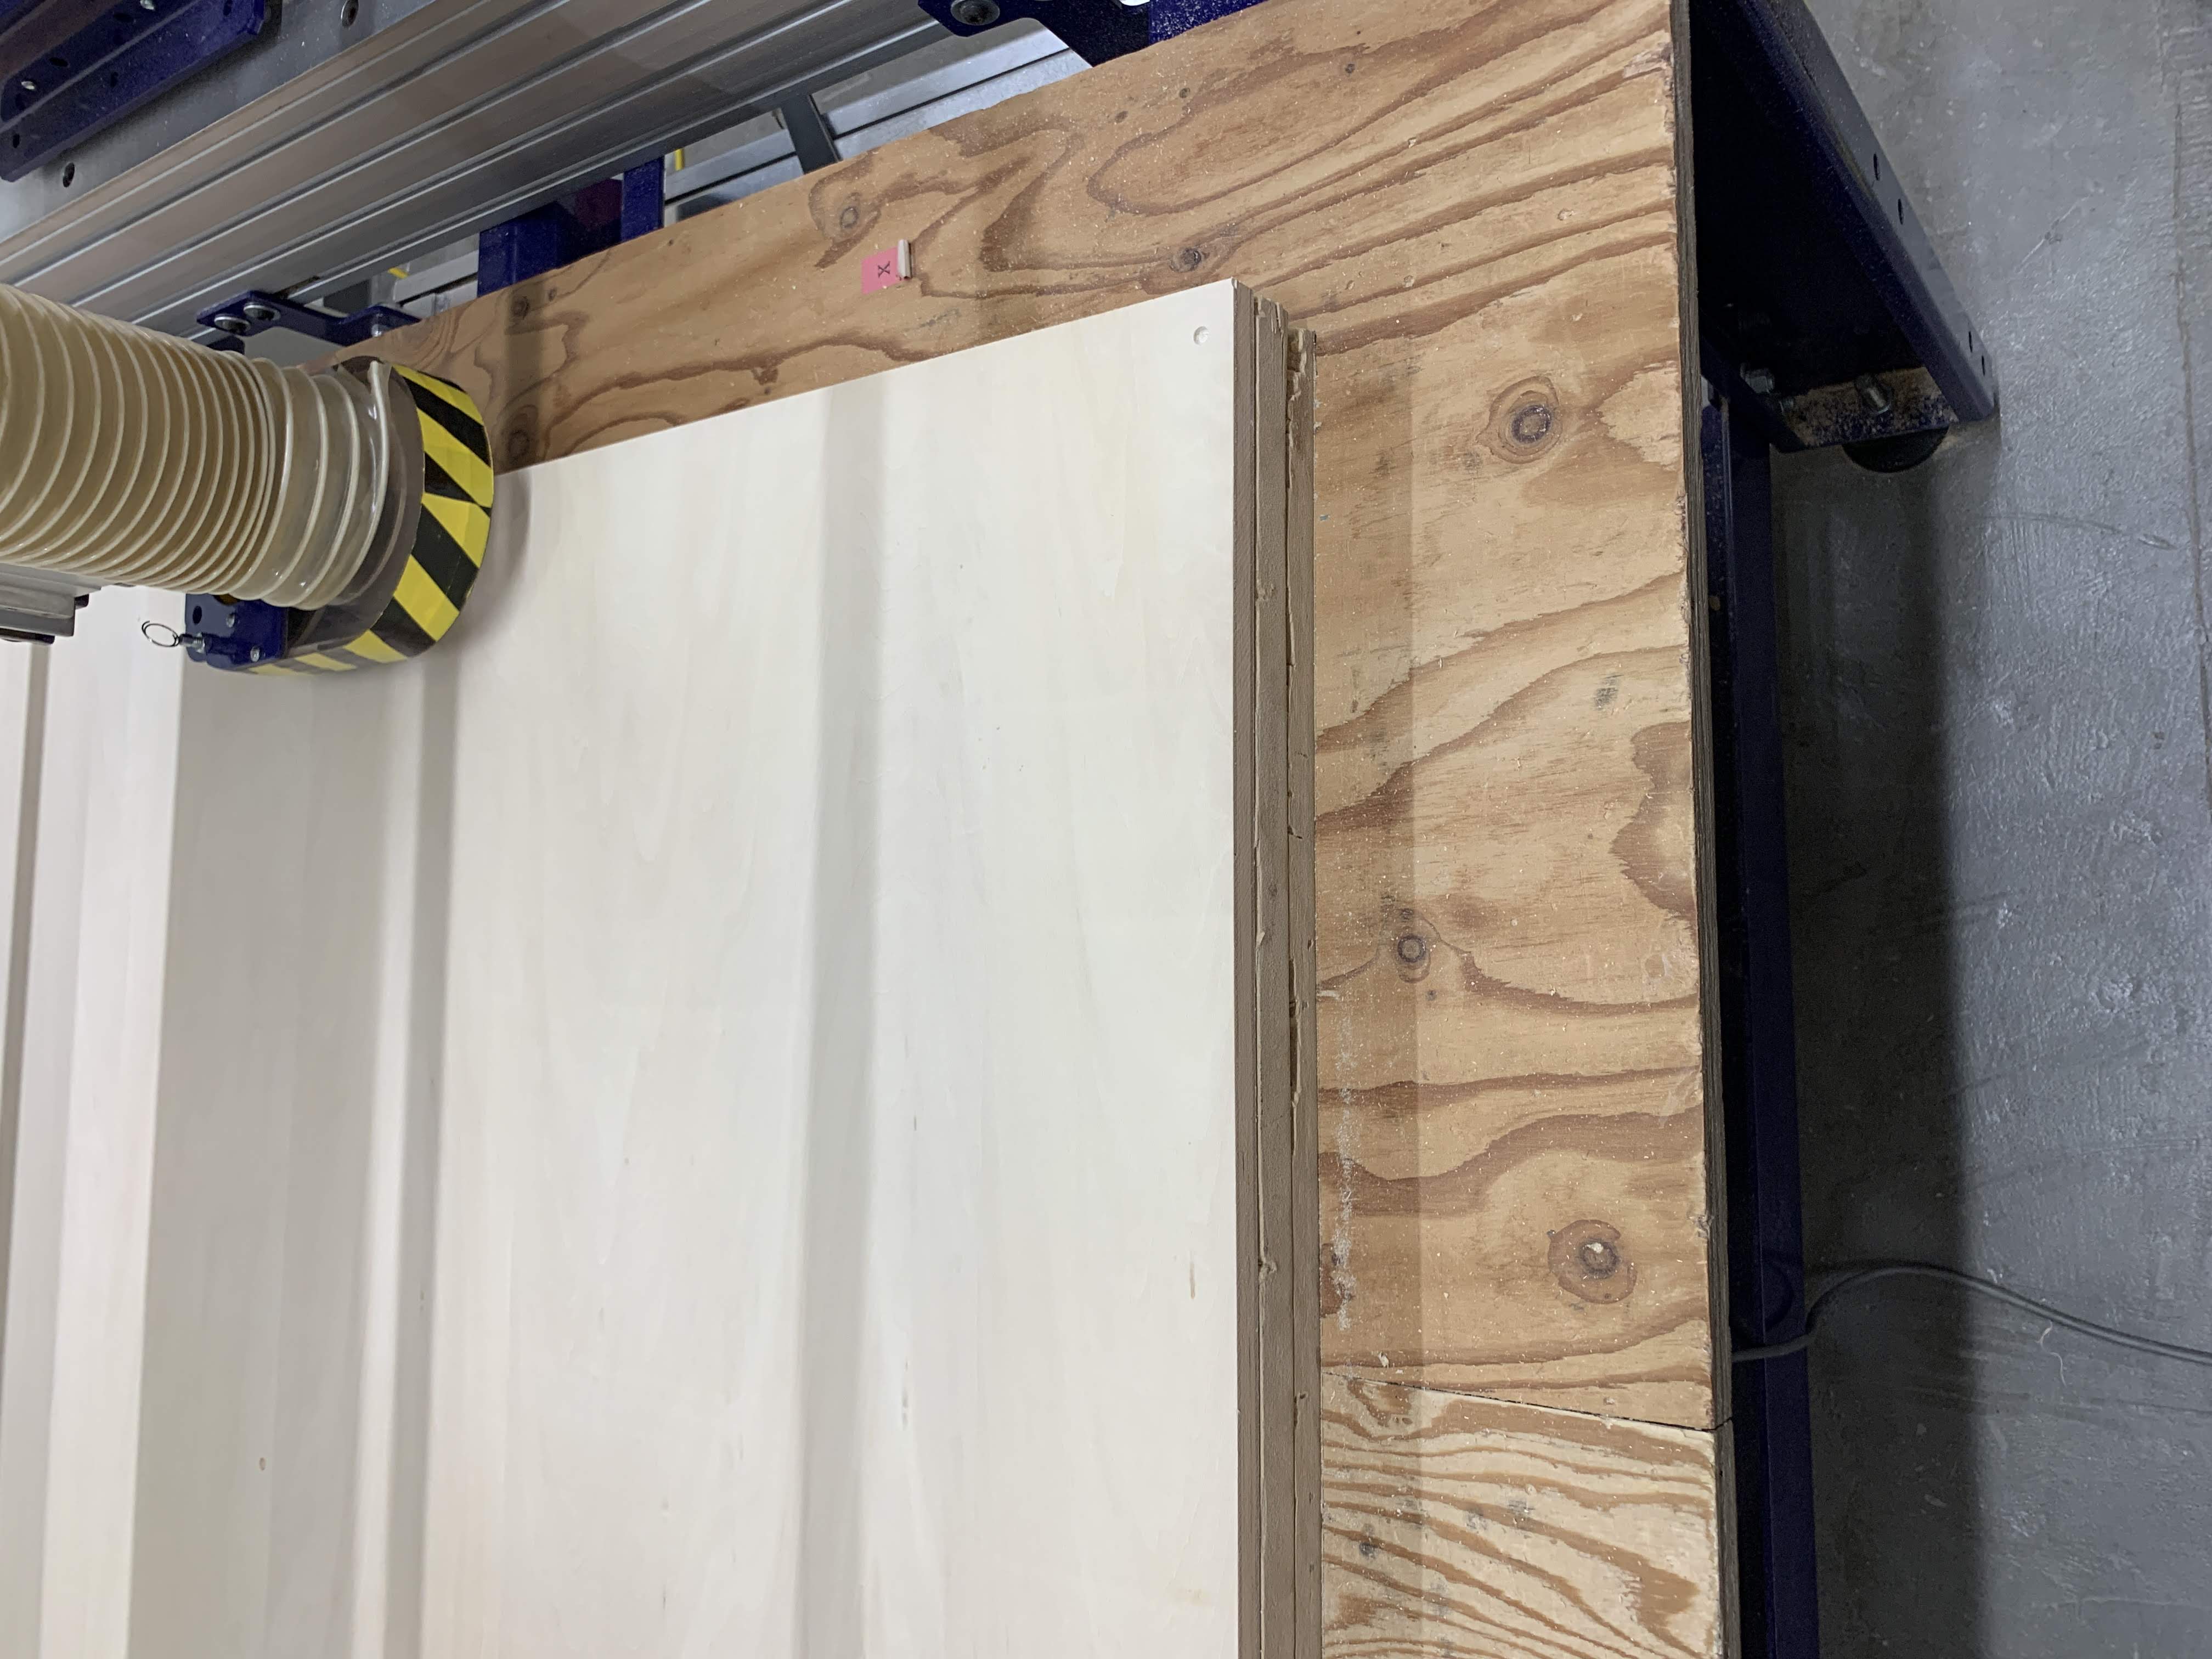
Put air duct for exhaust
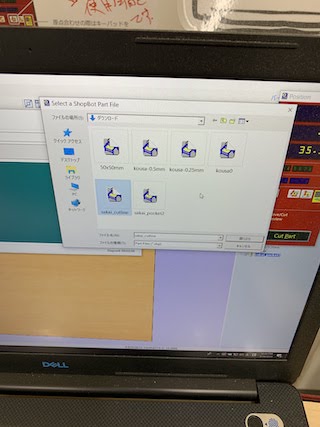
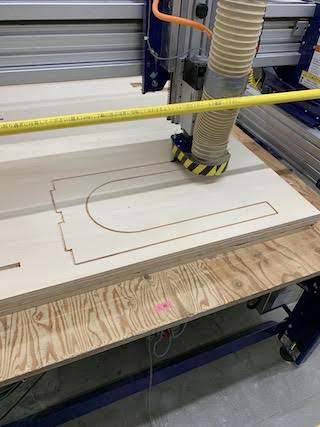
Open dxf file on ShopBot
Before moving to milling my design, I made small pockets at every corner in order to put plastic screw.
Then cut my design. First, I did pocket.
And then, cut out the design.
Keep in mind to hold emergency stop button while milling.
Cut completed
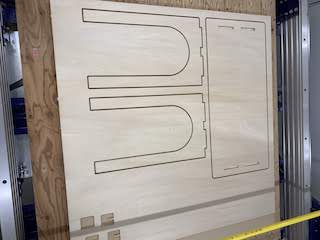
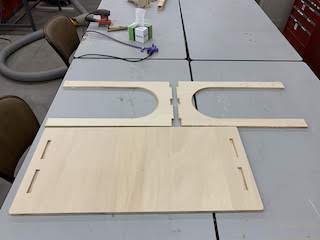
Cut out tabs by chisel

Here are the parts I cut. Make their surface smooth by sander.
This fits perfectly to Poang!