Week18. Wildcard week - Embroidery
This week, I embroidered my handkerchief with a sewing machine.
Embroidery
The following sewing machines were used.
-
- A sewing machine sold by a company called Janome in Japan.
This can be performed by manual straight sewing or embroidery with an attachment. 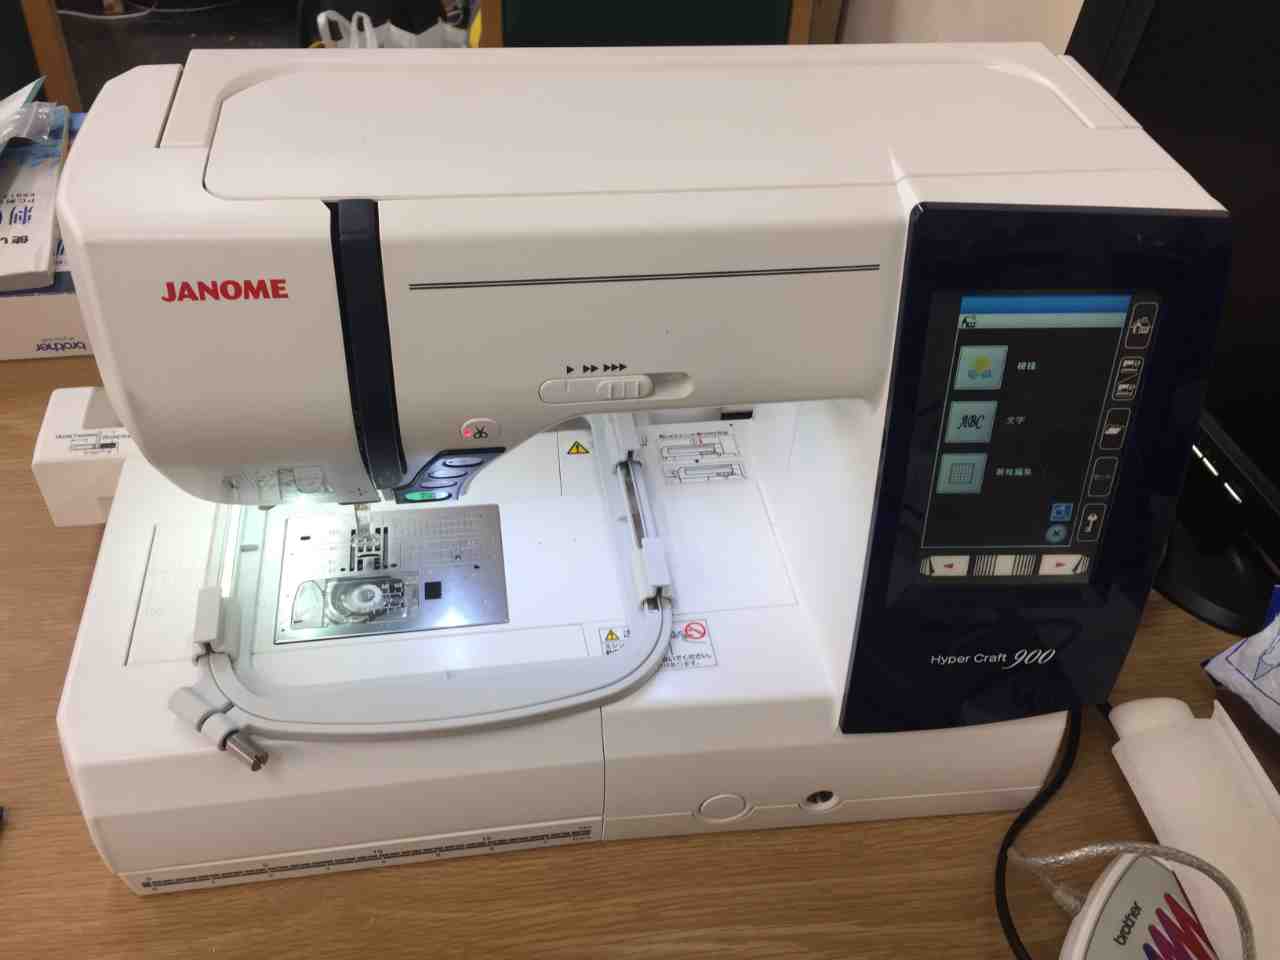
- A sewing machine sold by a company called Janome in Japan.
-
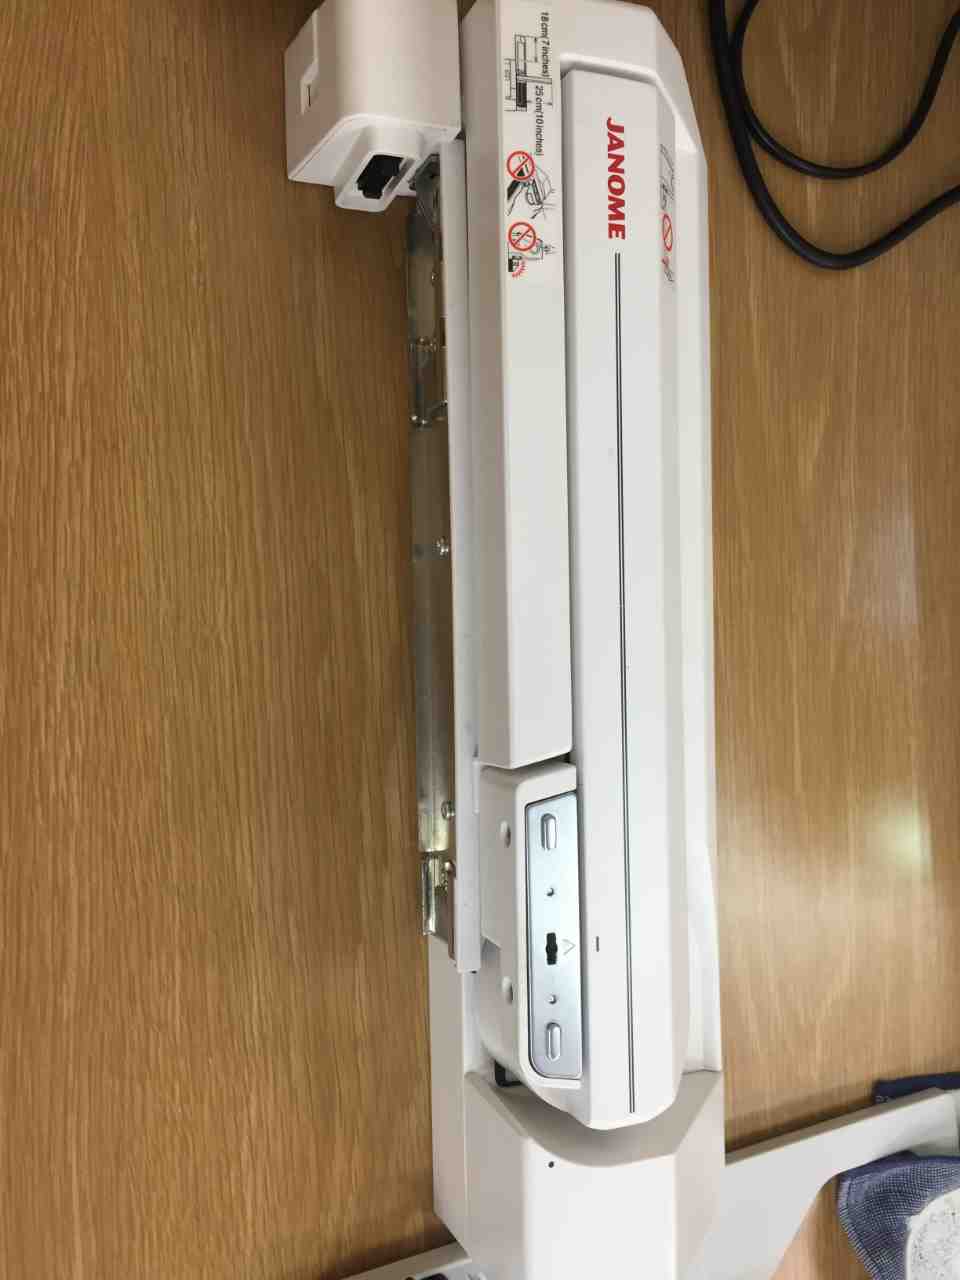
Attachment for embroidery
- Attach the attachment to the back of the sewing machine and set the frame there and use it.
-
- Software for creating data for embroidery.
Designing
The data to be embroidered used the following.
Created data for embroidery from this image.
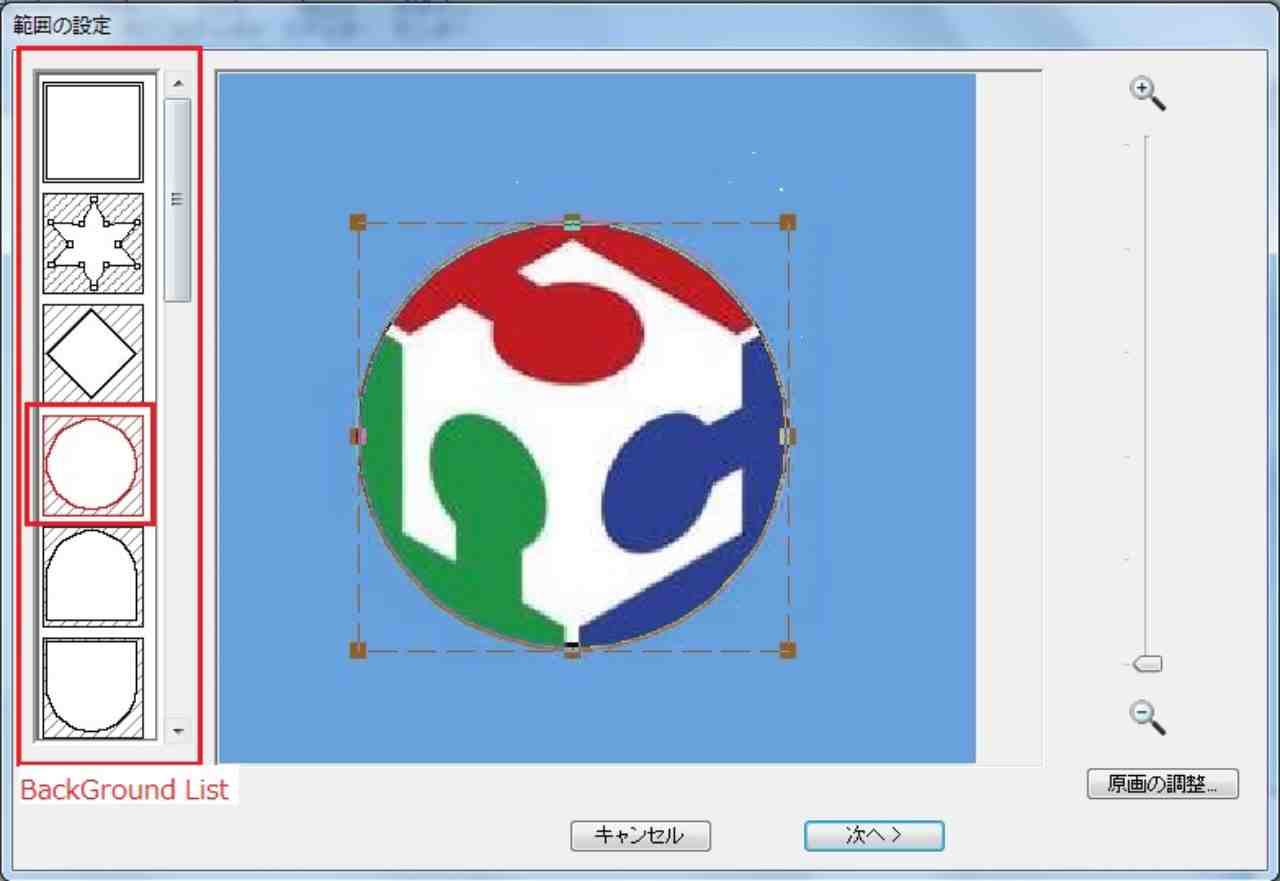
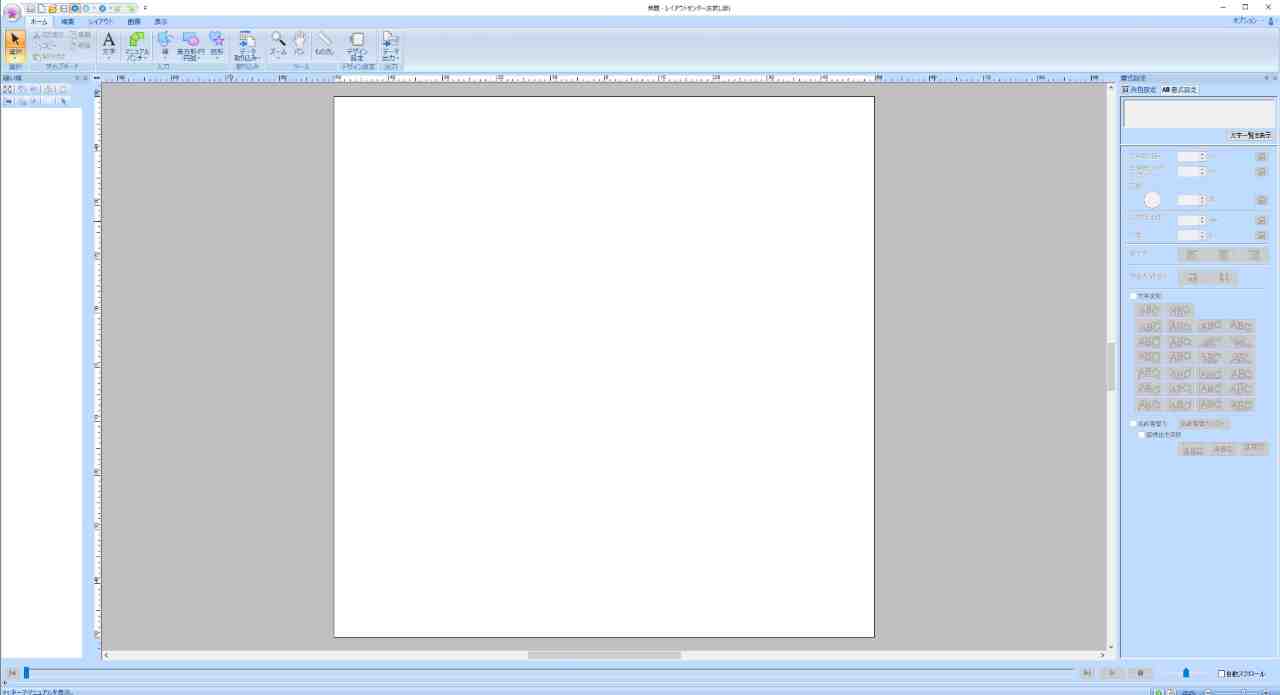
- Open Shishu_Pro
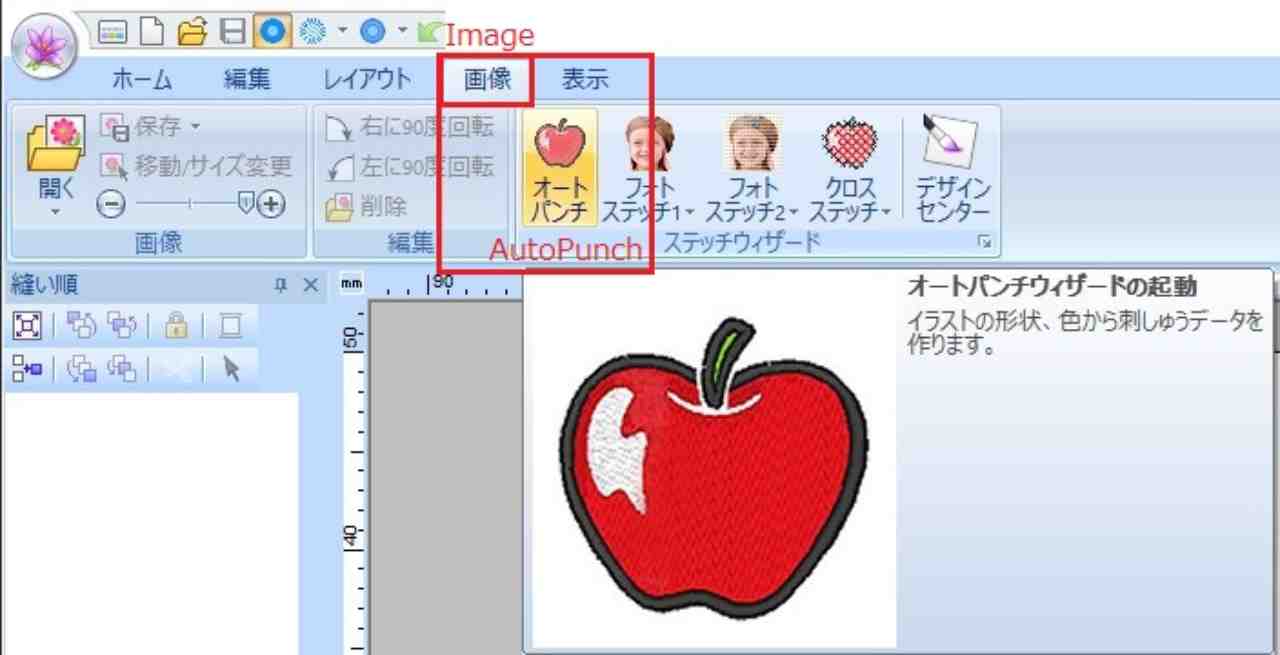
- Select AutoPunch
- Select Logo Data
- Select data to embroider
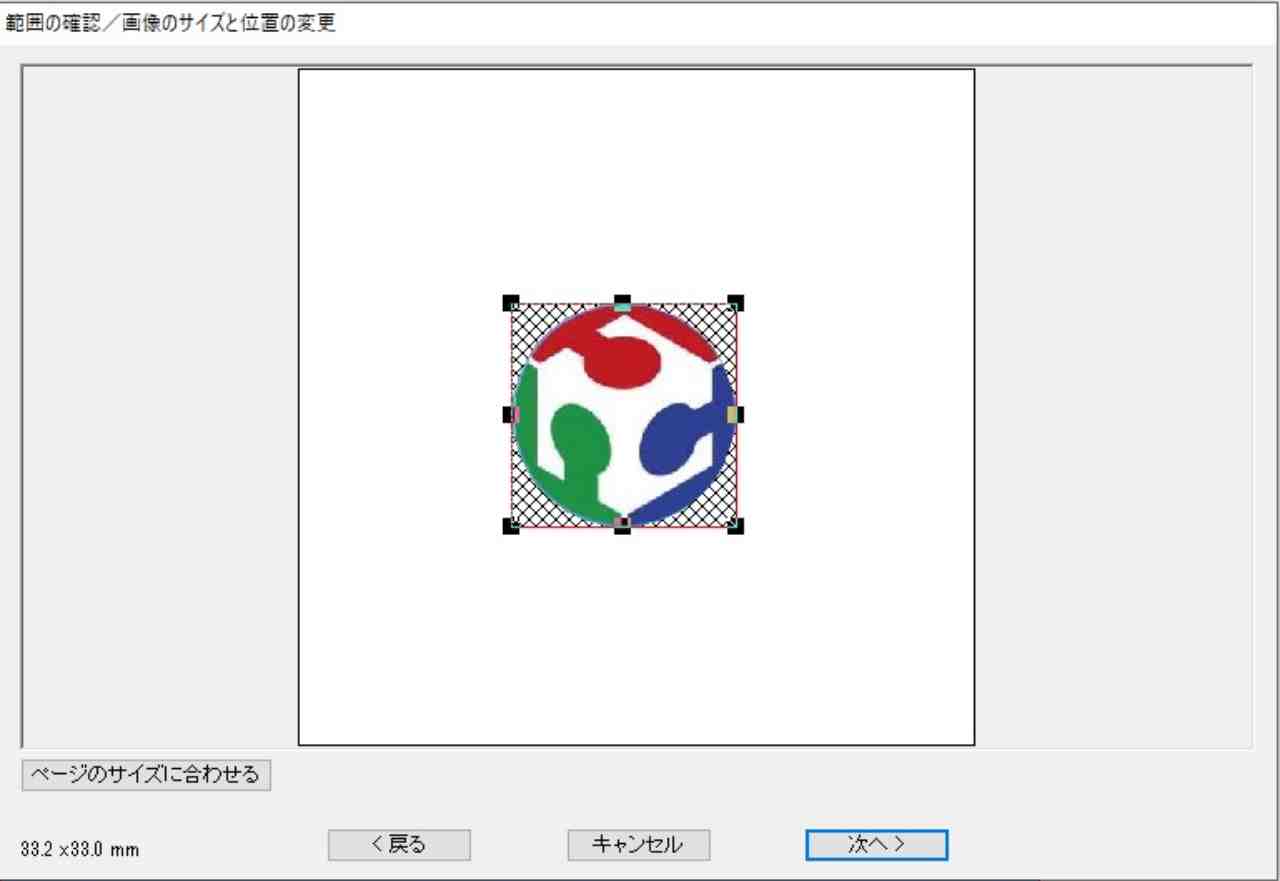
- Select the area to embroider
- Change Size
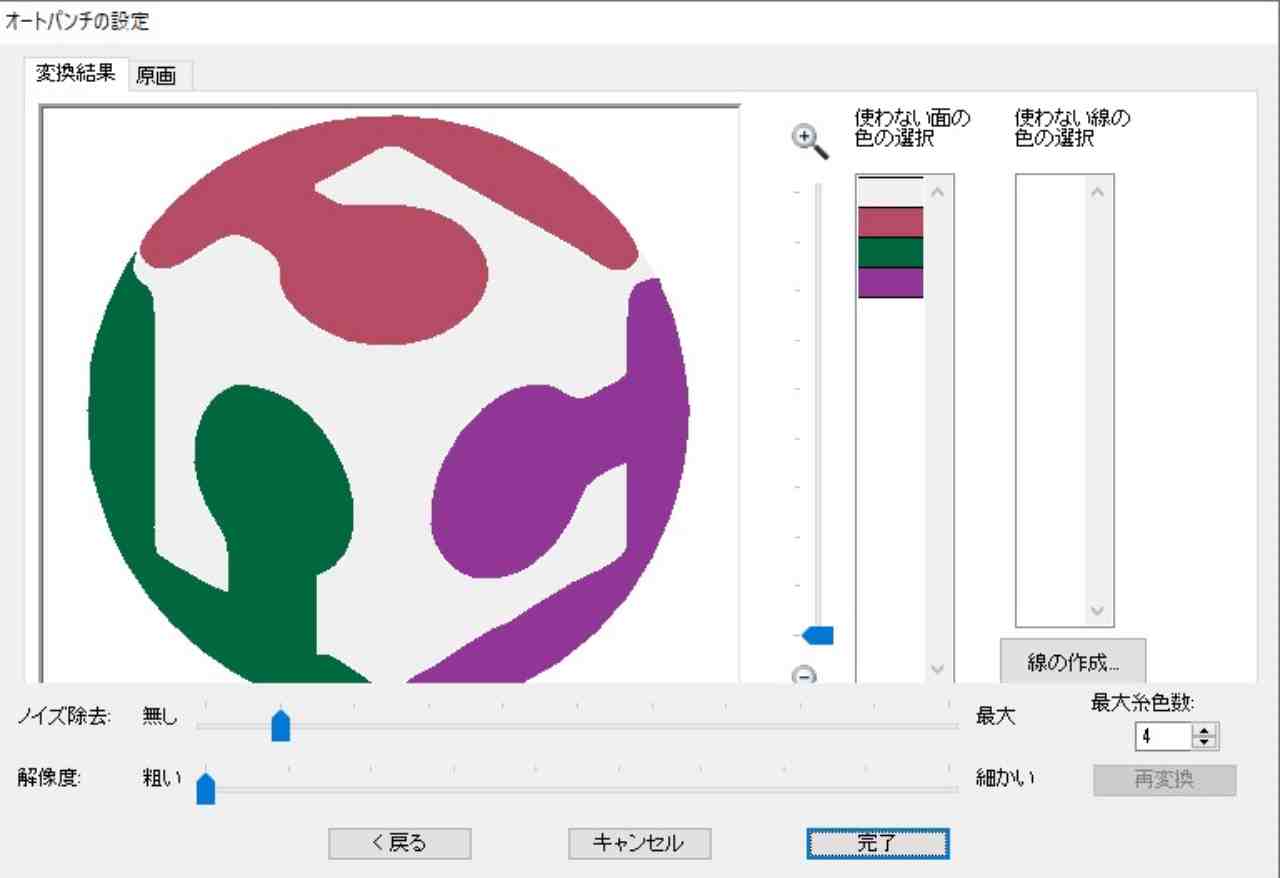
- Thread setting
- The color here is easier to understand if it is closer to the actual color when sewing.
- The color here is easier to understand if it is closer to the actual color when sewing.
- Export Data
- Export the created data.
The sewing machine can not read unless the save destination has the following folder configuration. - [USBroot]\EMB\embf\
- Export the created data.
Sewing
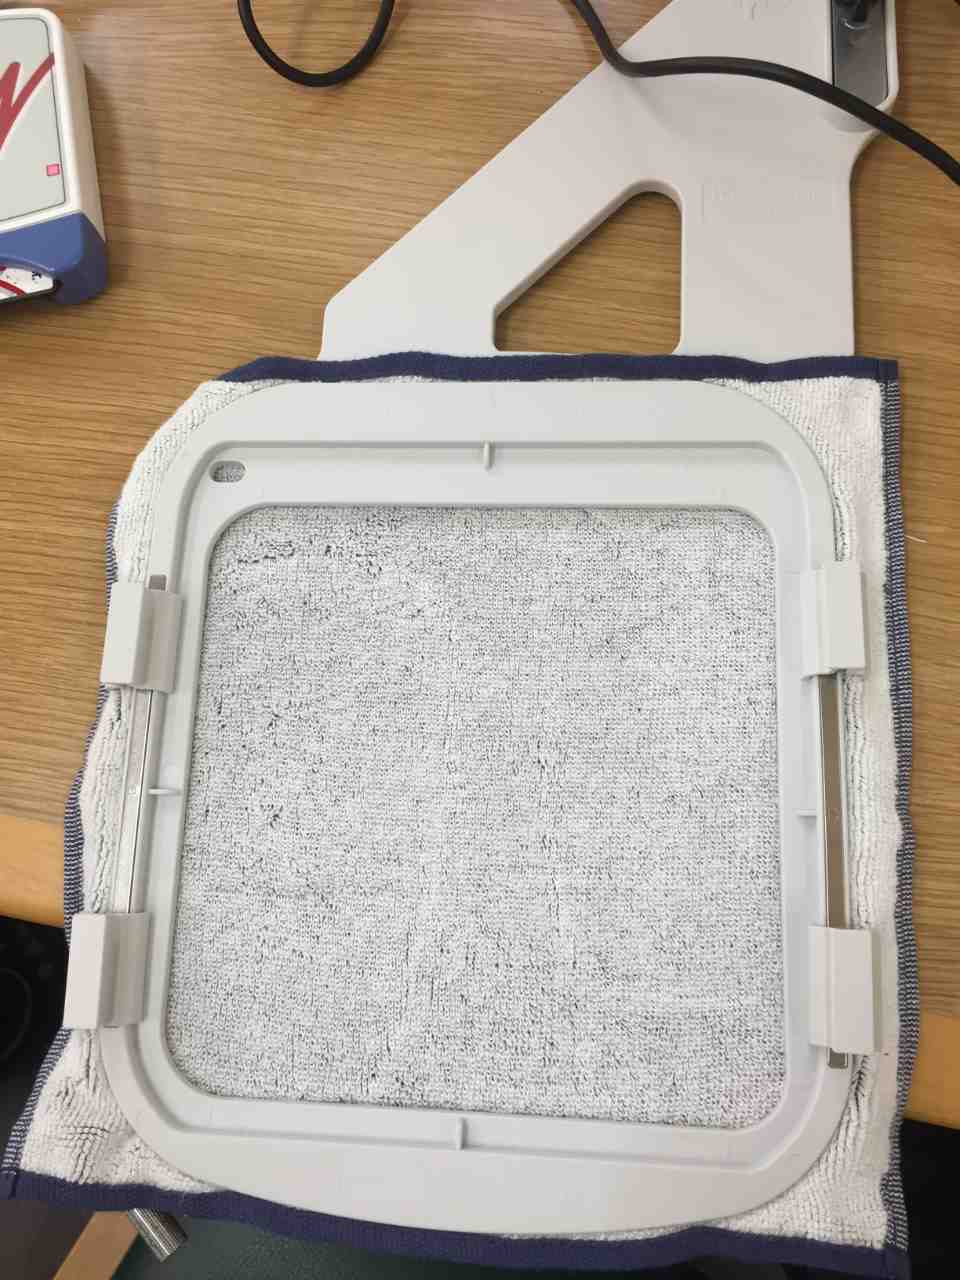
-
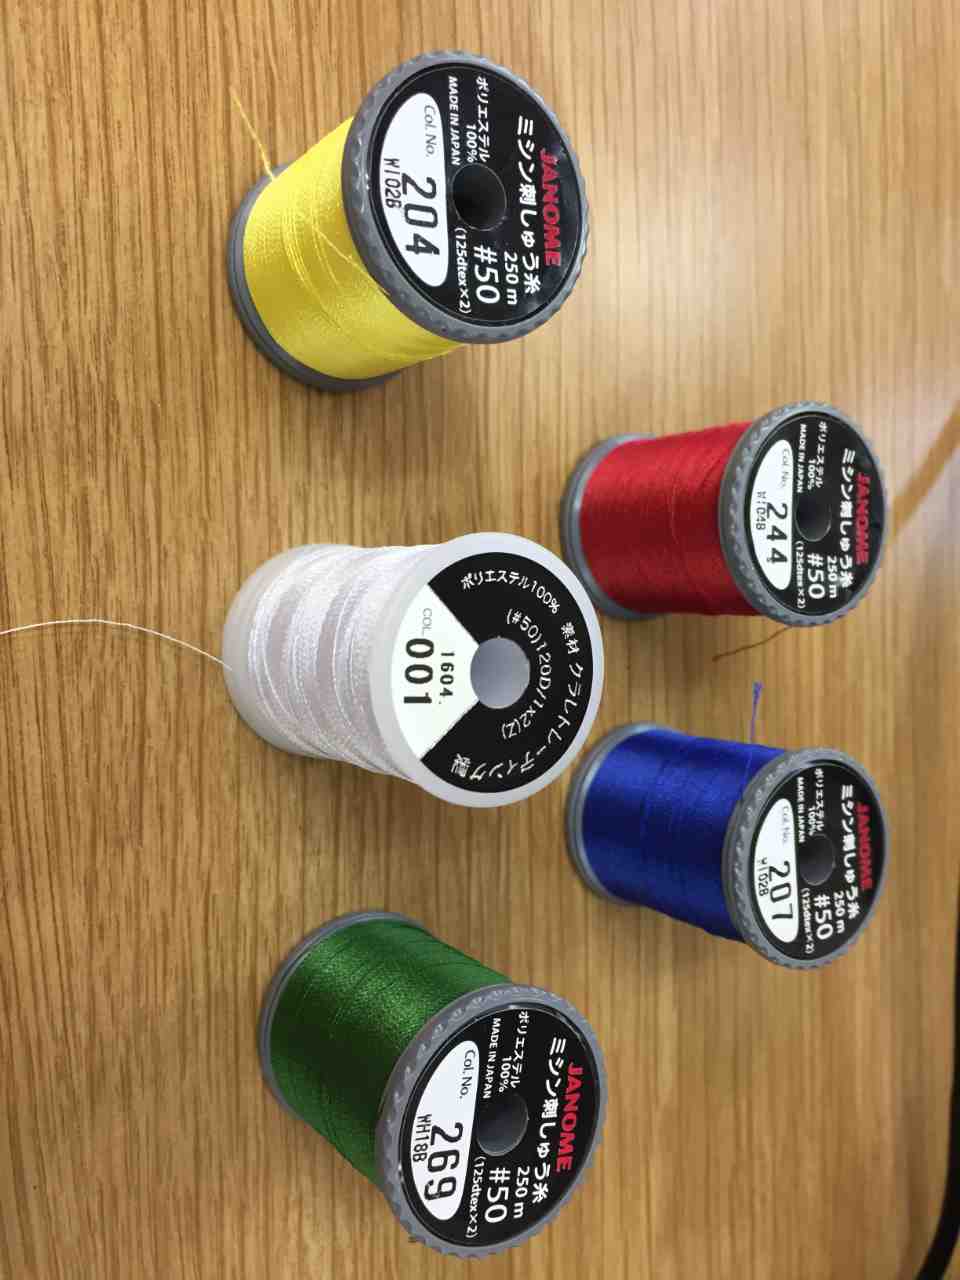
The following thread was used for embroidery.
-
Thread Setting
- Most sewing machines have the same way of setting threads,
and be careful because the sewing machines will stop halfway if they are not set in order. - Thread guide
- Most sewing machines have the same way of setting threads,
-
Import Data
- At this time, only the embf folder is displayed on the display.
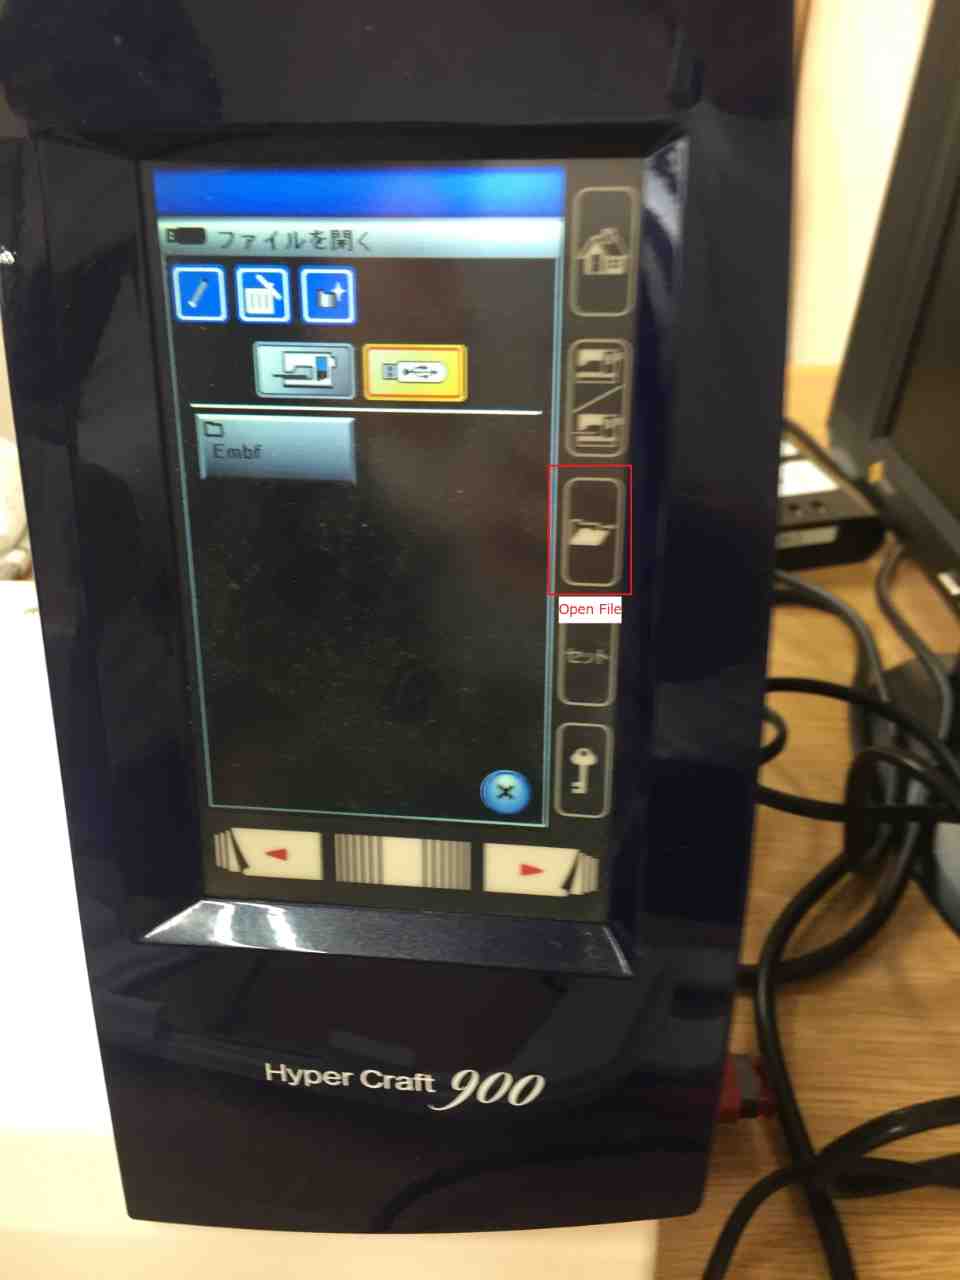
-
Embroider
- Set a thread according to each color and embroider
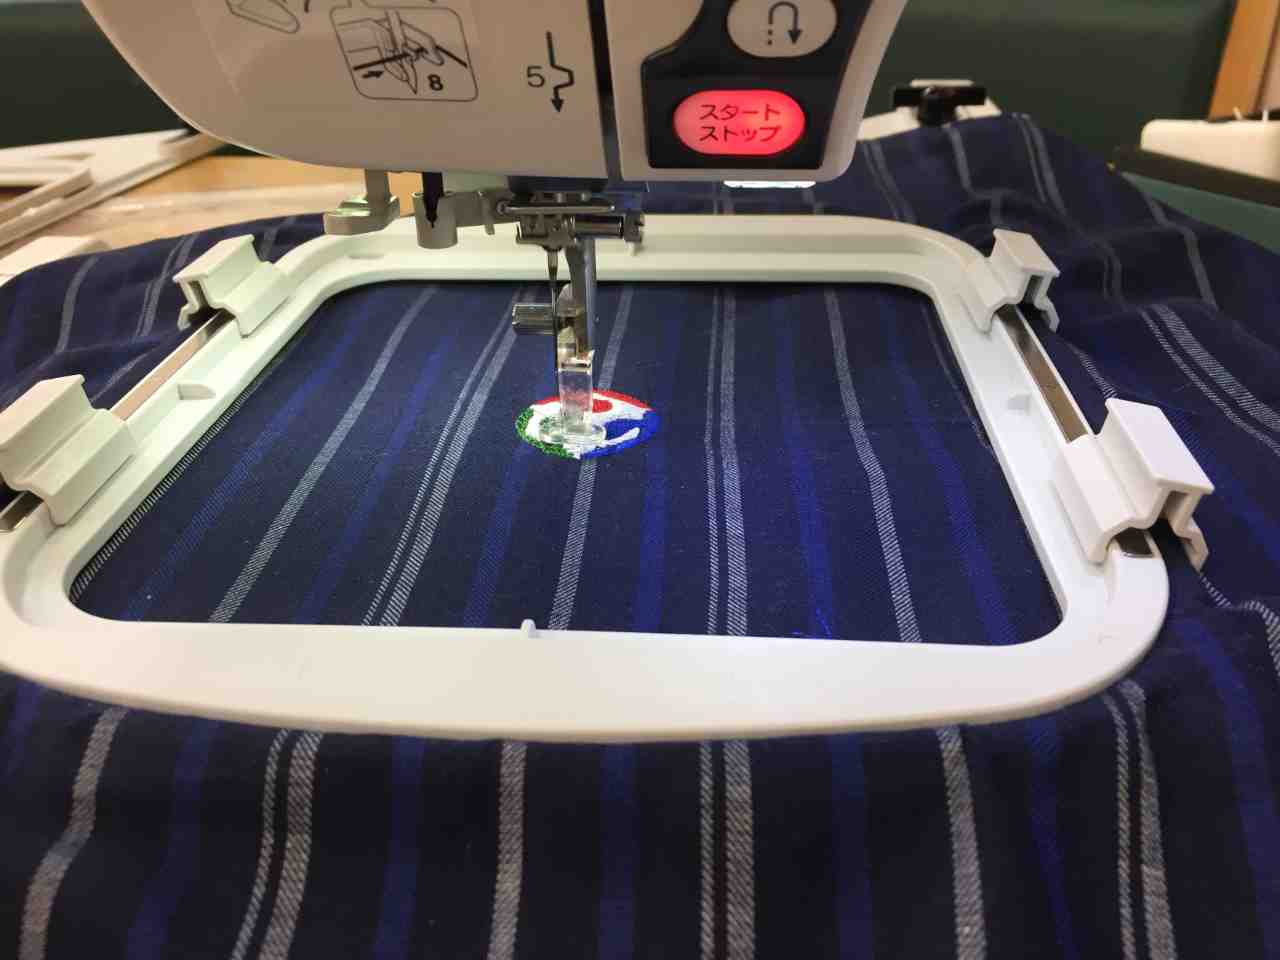
-
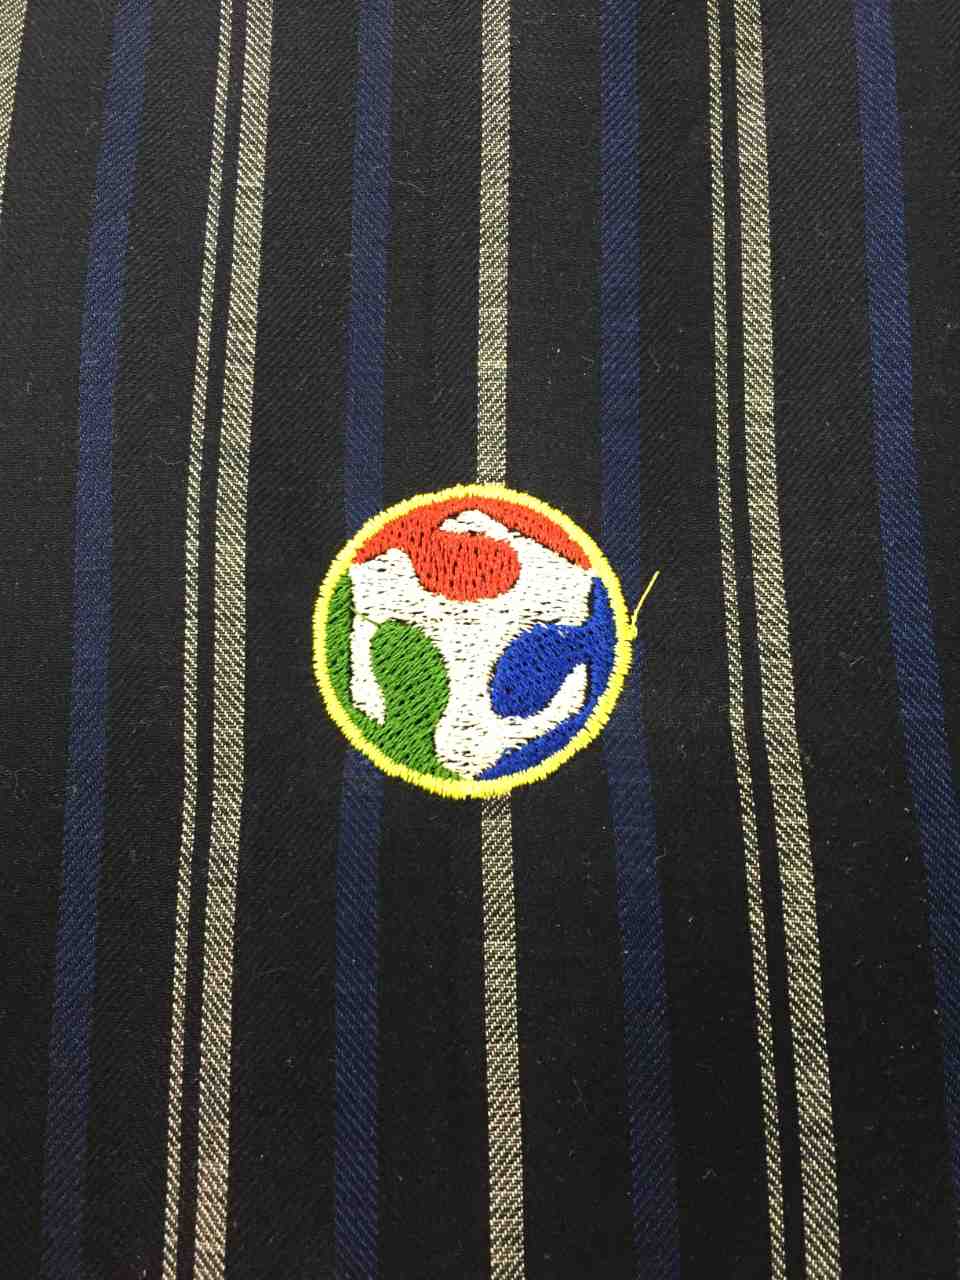
Result
Files
- logoData
- raw Data
- logoDataForShishu_Pro
- Created by Shishu_Pro
- logoDataForJanomeMachine
- Exported by Shishu_Pro