Computer-Aided Design
- Evaluate and select 2D and 3D software
- Demonstrate and describe processes used in modelling with 2D and 3D software
Model (draw, render, animate, simulate, ...)
Introduction
In this week at Fab Academy, My assignment is to select both a 2D designing tool and a 3D
designing tool. These tools are used to design 2D and 3D models for different machines like 3D
printer and CNC. These tools have very importance in product prototyping and product designing. I
have experience in product designing. I use some of the best software available. So, this week is
not a tough week for me.
2D Designing Tools
Raster Designing Tool
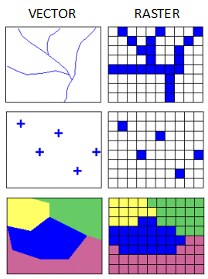
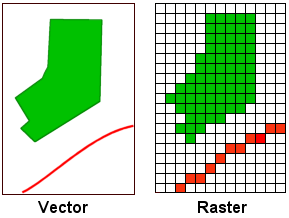
I just got the idea between raster and vector images by just looking at this picture, this
explains everything
Raster image: is made up of individual pixels. Each pixel contains only one colour and
is arranged in a certain fashion to make up the image. This is how normal pictures are displayed.
The problem with raster image is that the maximum resolution is limited by the number of pixels.
That means, when you try and scale the image into a larger size, the quality drops and the edges
of lines become fuzzy (staircase effect). This is the major limitation of using raster images.
vector image: is composed of paths, which are represented by mathematical functions.
These mathematical function represents the actual borders and the different elements in the
image. Hence the maximum resolution of the image is not limited by the number of pixels. These
mathematical functions can scale easily giving lossless ability to zoom to any extent on the
image.
You can erase pixels in a raster image using the eraser tool but, that is not possible in a
vector image. In a vector image you can only trim the path according to some constrains.(I got
this great explanation from the internet)
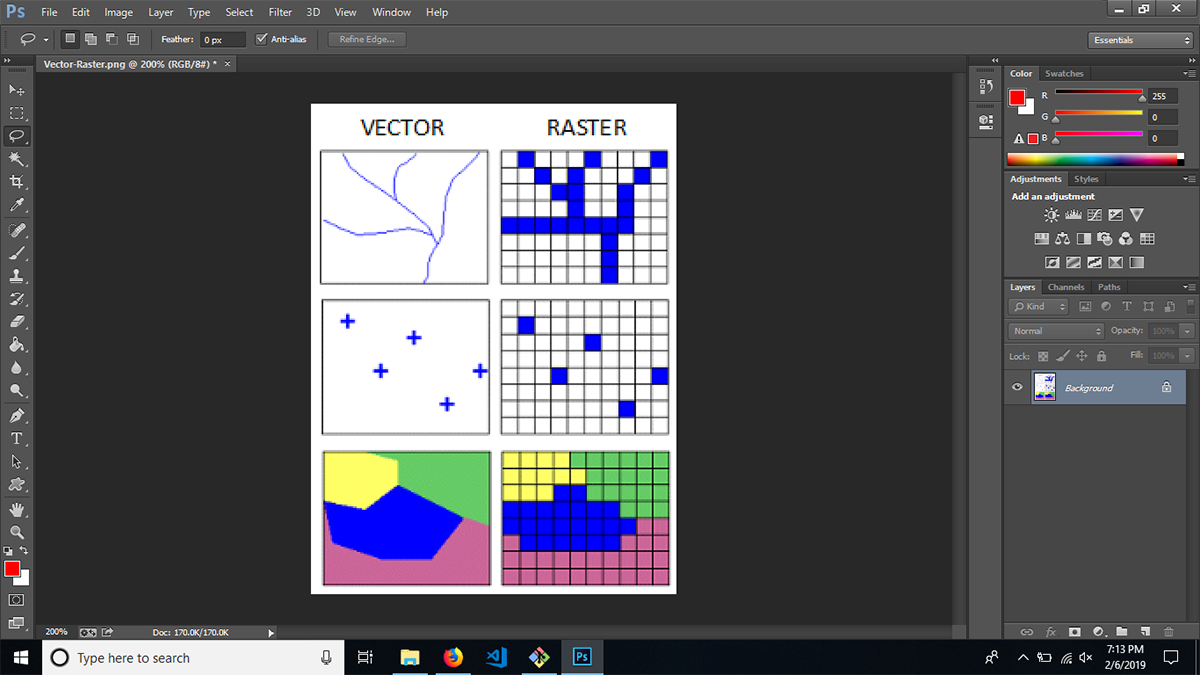
1. Photoshop
I use photoshop to edit my photos. I design flex boards for my mother's shop, using photoshopas i
was not aware of vector design at that time.
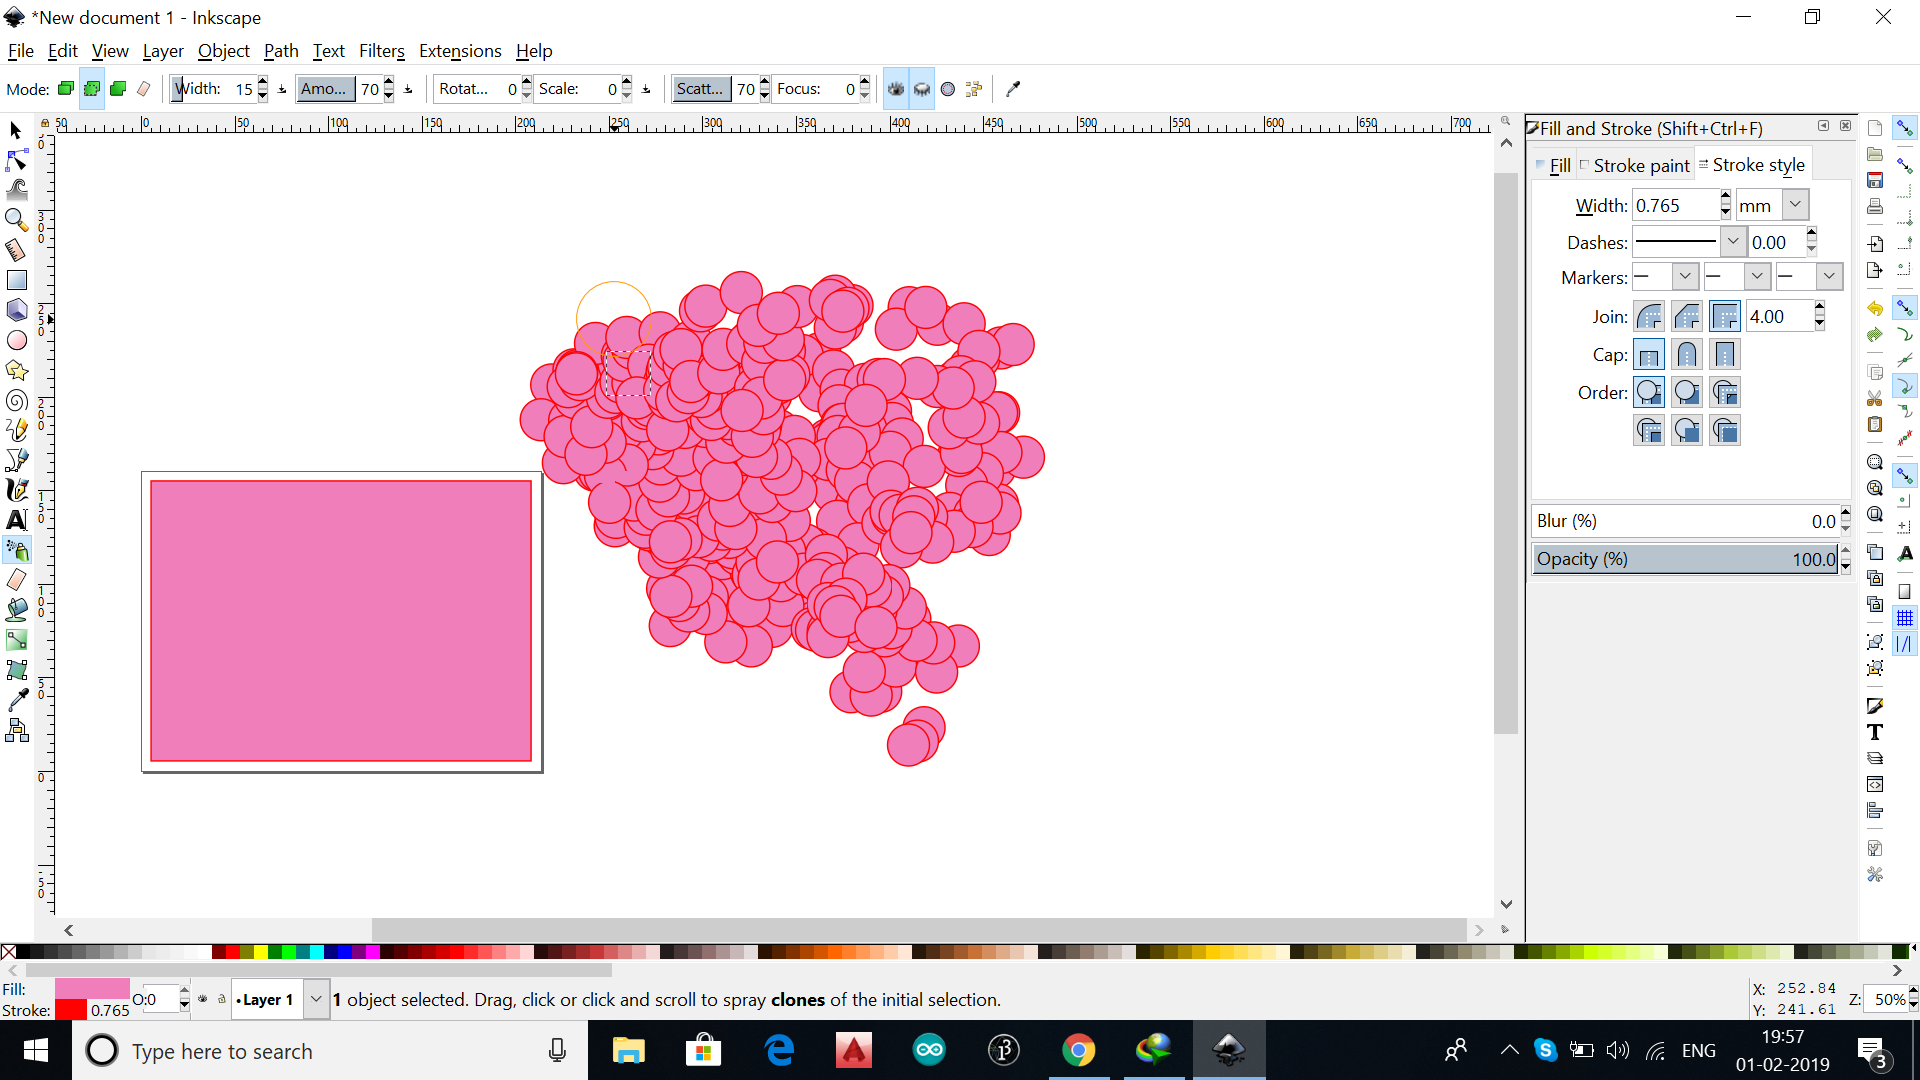
2. Inkscape
I try inkscape to draw a vector image.I m little bit confused in options in this software.
Inkscape is a free and open-source vector graphics editor, it can be used to create or edit vector
graphics such as illustrations, diagrams, line arts, charts, logos and complex paintings.
Inkscape's primary vector graphics format is Scalable Vector Graphics (SVG), however many other
formats can be imported and exported like PDF. I found out that inkscape is little bit harder than
Adobe illustrator and Corel draw. But Inkscape is really capable to do complex designs, that i
doesn't feel in open-source raster designing tools like Gimp and Krita. I did laser cutting
before.
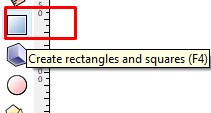
I Started with simple rectangle tool that we can find in every designing tool. Then i removed the
fill and inreased the stroke a little bit. The laser cutter in our lab uses Red color to cut and
black color to engrave (we can change those parameters) Most of the laser cutter use these colors
default. I gave red color to the rectangle for cutting out the shape of the tag. Then used black
color for engraving my personal logo other stuff like address.
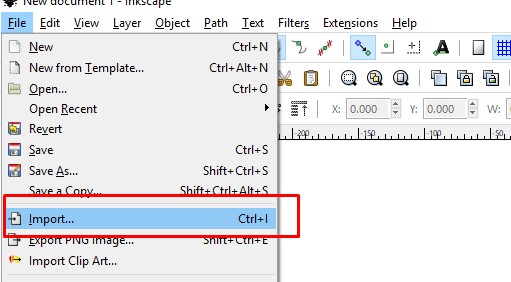
to import images i go to files and select import option and then a window will appear, locate the
the image you want to import then click ok.
Illustrator is an amazing vector designing tools around in between professionals and hobbyists.
developed by adobe. I personally use illustrator to do designs but with that in behind, I feel
illutrator is more comfortable and simple. Illustrator is a piad softwares but it is worth it.
i can enssure wich one is better for me!.Cool right?! Here is some screenshots of illustrator
workspace
while i'am designing!
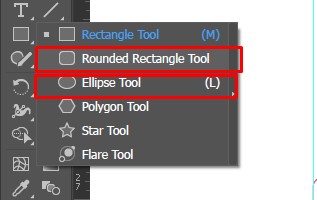
first i used the rectangle tool. Then drawn a rectangle of 7cm width and 4cm height. and used a 3mm
diameter circle on a corner of the tag. For the MR.ROBOT text i imported a svg file that i got from
internet. to import the svg file you can just drag and drop the images and file in to your artboard.
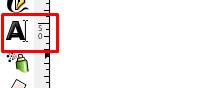
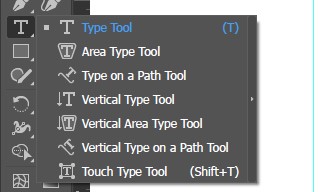
To add text you can find the text tool on your tools panel that you can see in the left side.
2D & 3D
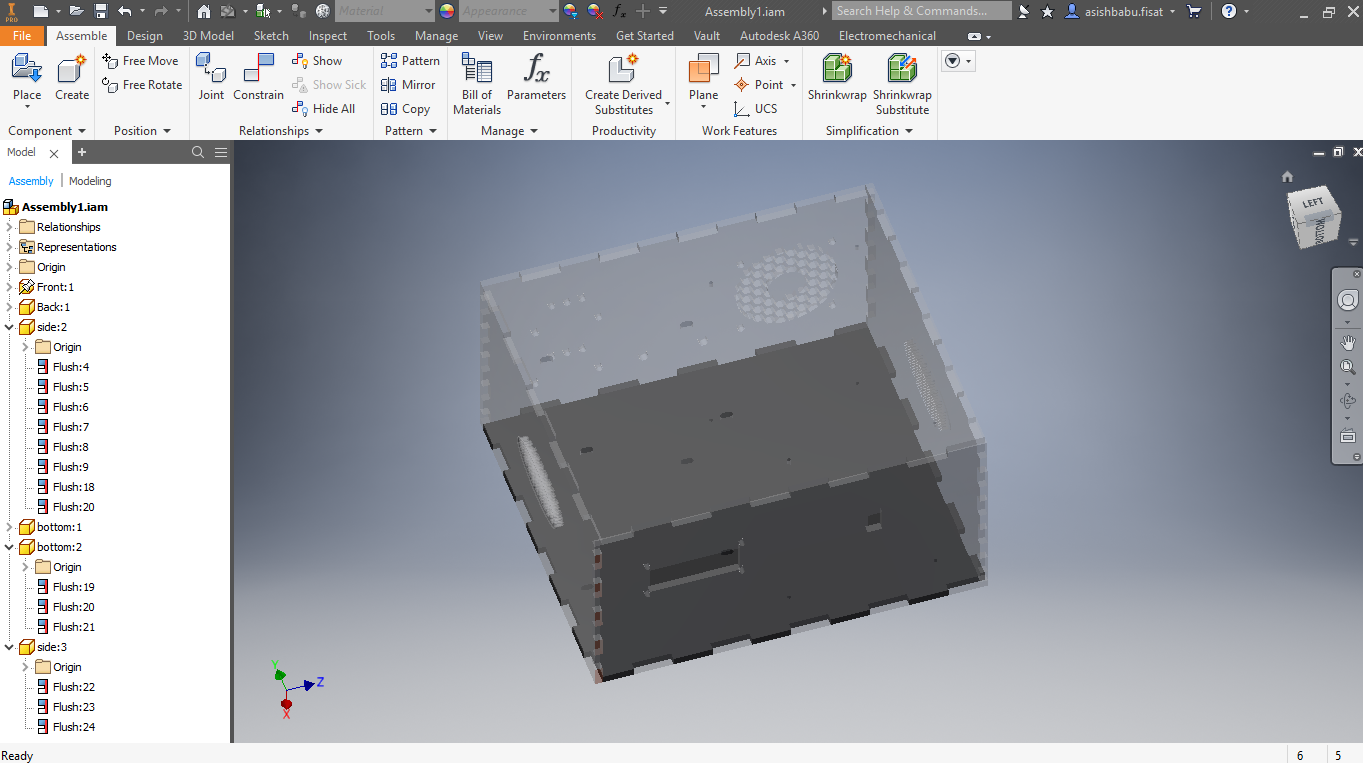
previously I use inventor for design 3D-models. I had built an inverter case in inventor.
In this time i would like to design a flute. in inventor, i got some documentations about flute
design from google. I m new to music, so i dont know anything about music. so read some articles
and i got some measurments from google.
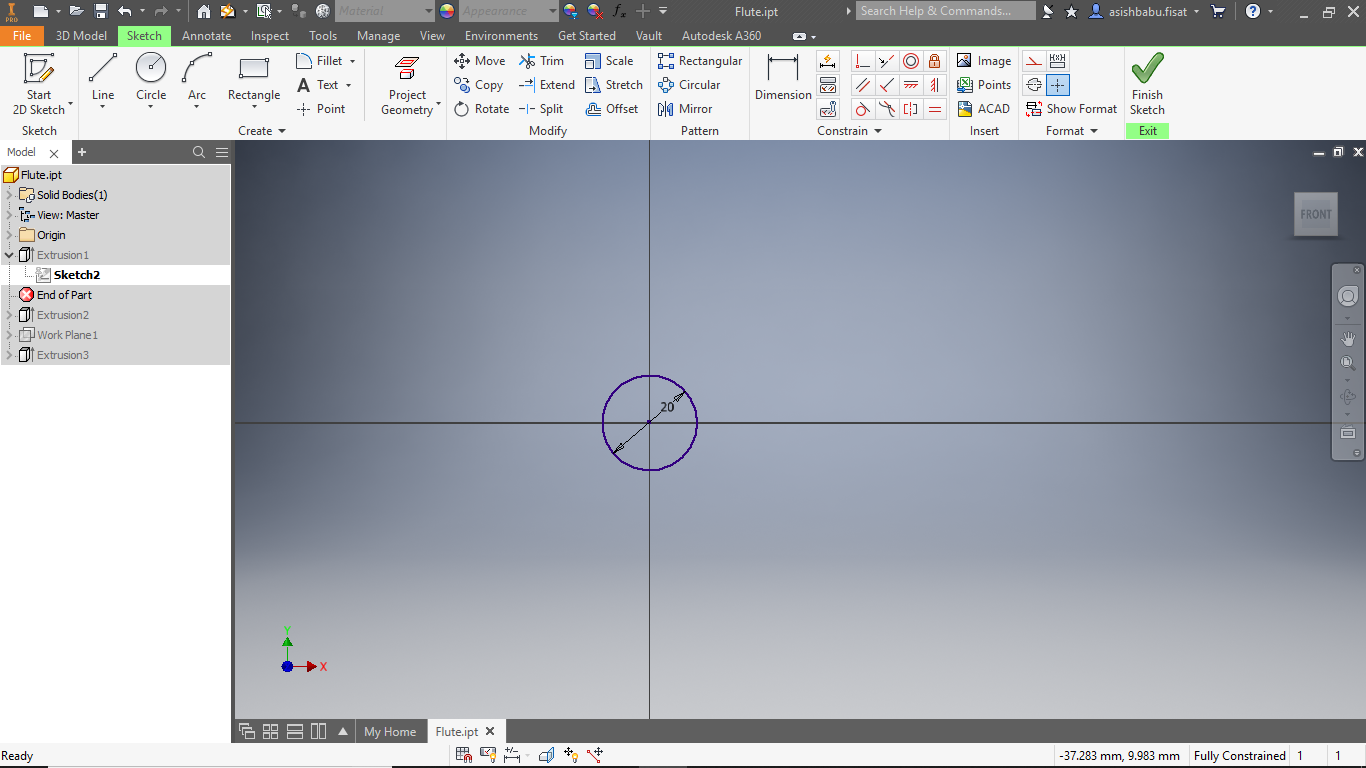
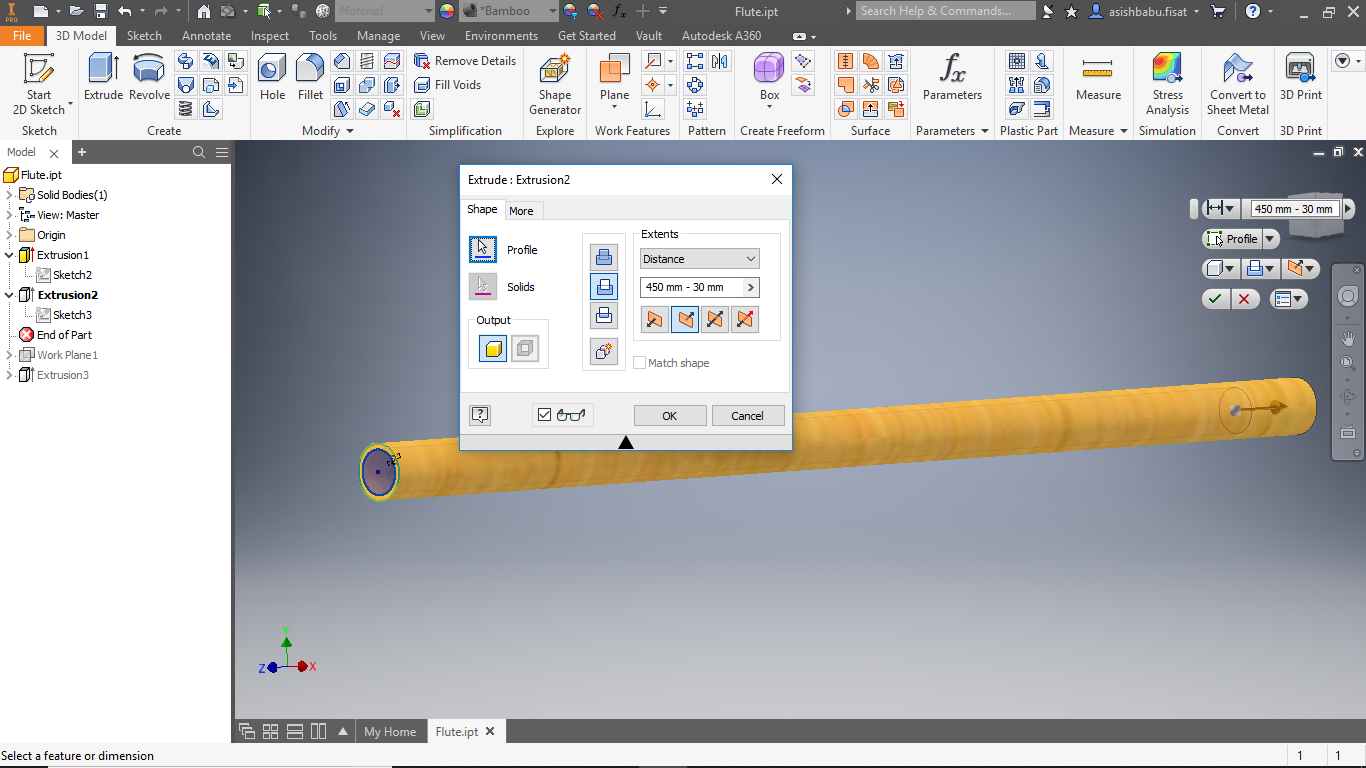
inventor have many tools for 3D design. 1st i draw a circle with 20 mm by circular tool.
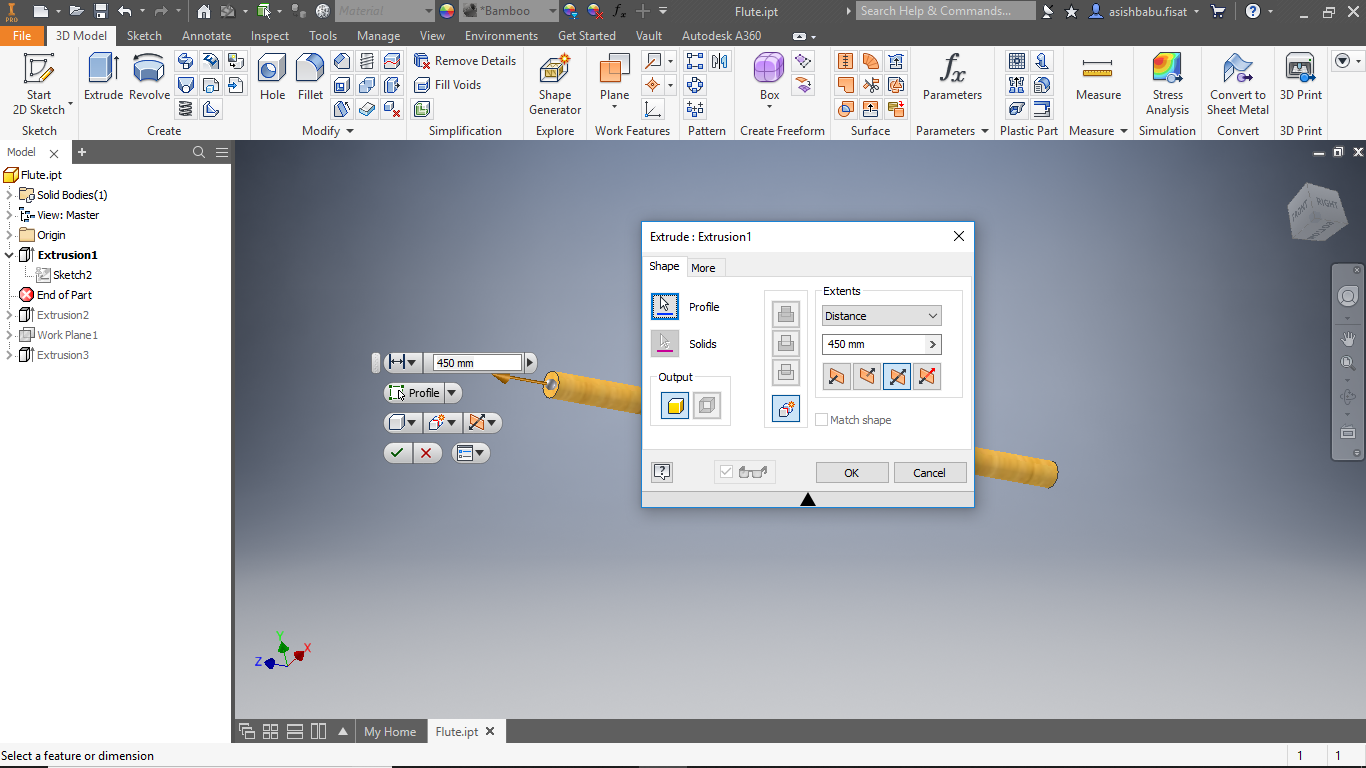
Then extrude it. My flute need 45cm length. So i extrude it to 450mm.
Then i make it to shell with 3mm outer radious.
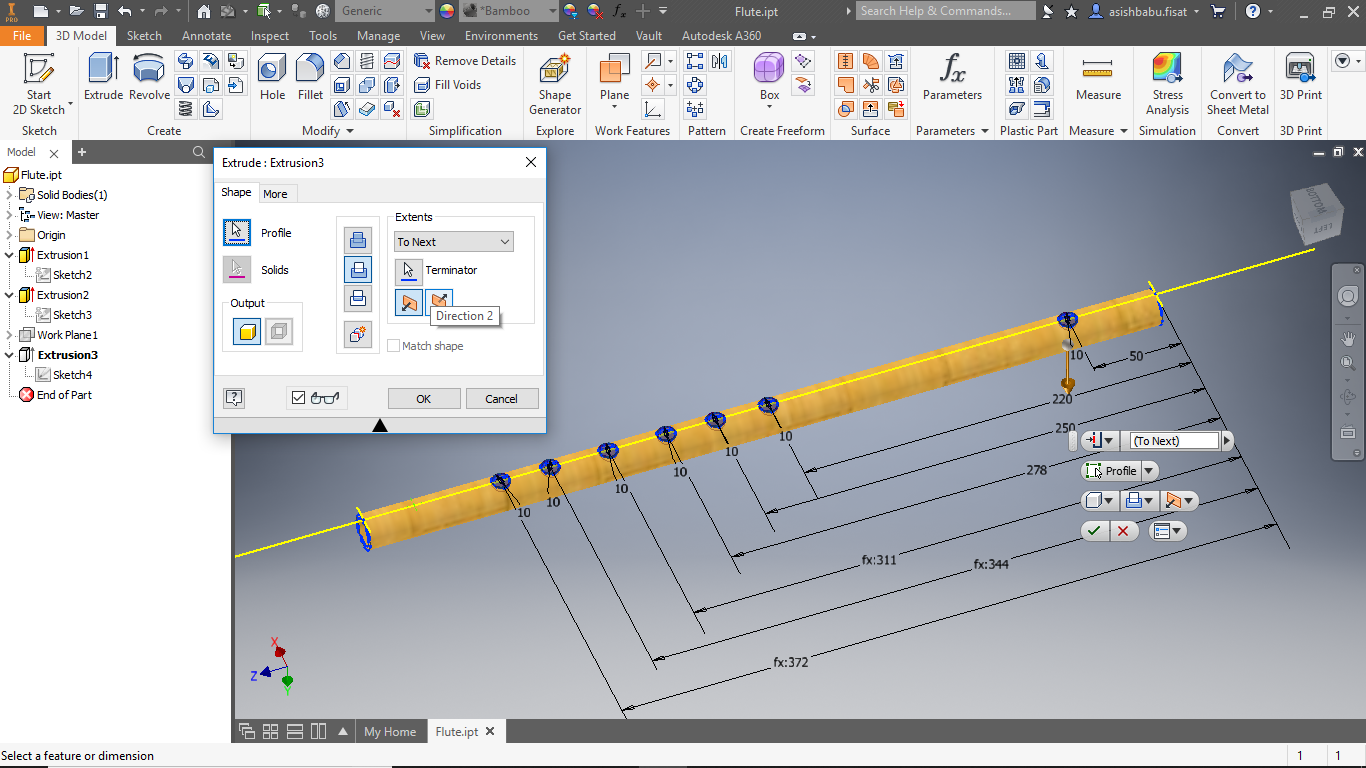
Then we need to make holes to produce music. So i place holes with desired distences to make
each notes different tone.
Download Flute Design
Rendering
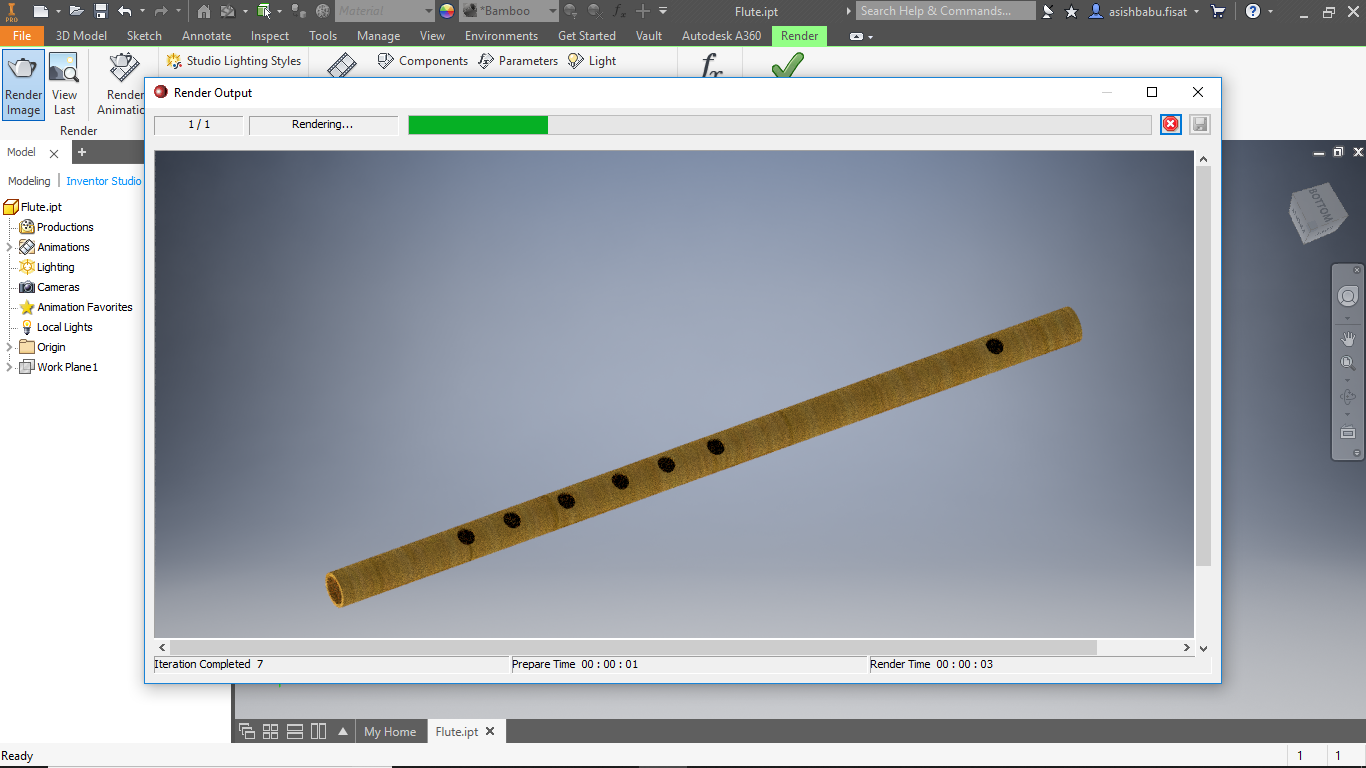
I us inventor studio to render the image of flute which i designed in this week. In this we can set
light source, light intensity, camera position ..etc. I use inventor many times, but this is the 1st time i use this tool.
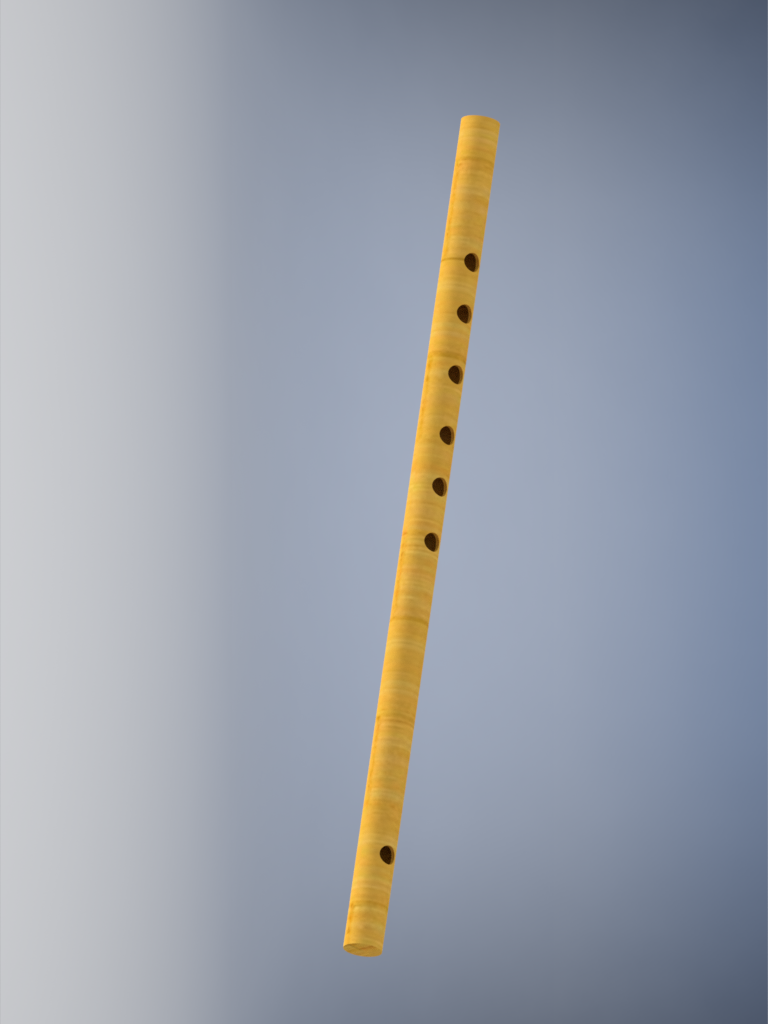
its a cool feature. i like it, because by using this we can see exat thing in tru color. and also we can see different views of the desihned model
Rendered image
3D-model
I use Inventer because I have a friend Sarath ravi who use inventor.He is a proffesional 3D-Designer He helped me to learn 3D. I designed an
inverter case in inventor. And I use sketchfab to add my flute image as 3D in my website.