6. 3D Scanning and printing
Group assignment:
The group assignment can be viewed using this link
Individual assignment:
The aim of the individual assignment was:
Design and 3D print an object (small, few cm3, limited by printer time) that could not be made subtractively.
3D scan an object (and optionally print it)
Prep:
3D Scanning
Headwear :
Headphones(good music)
Software:
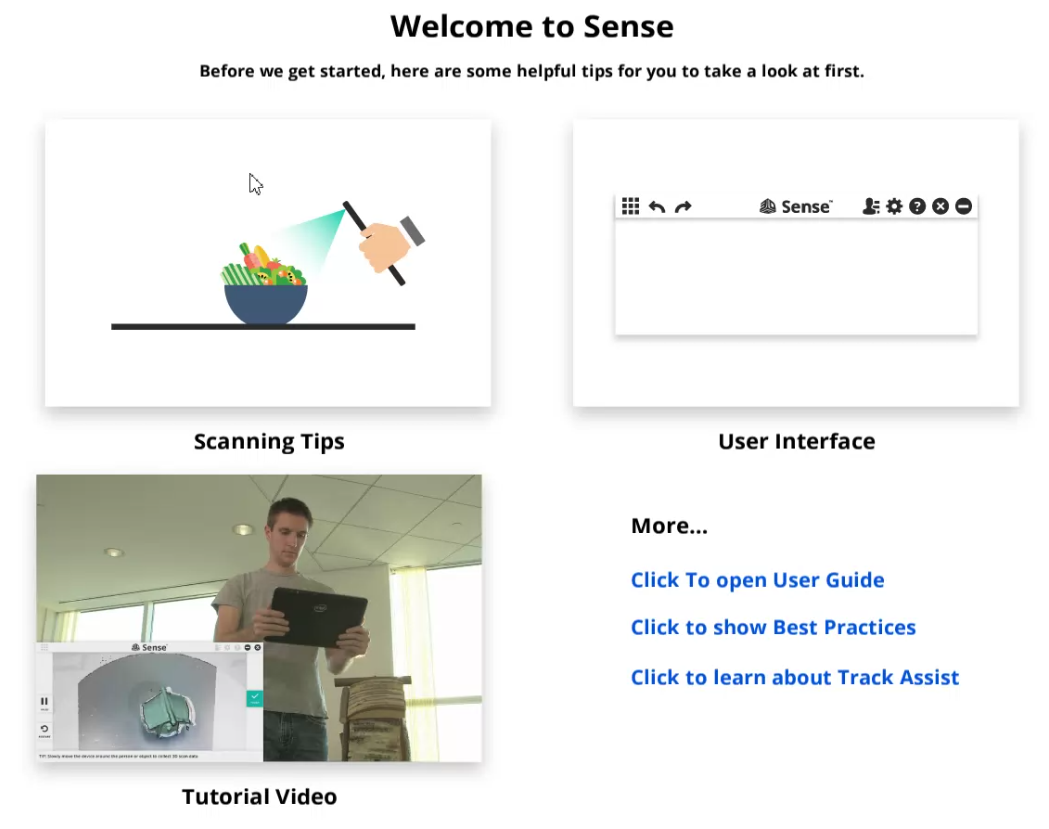
Hardware :

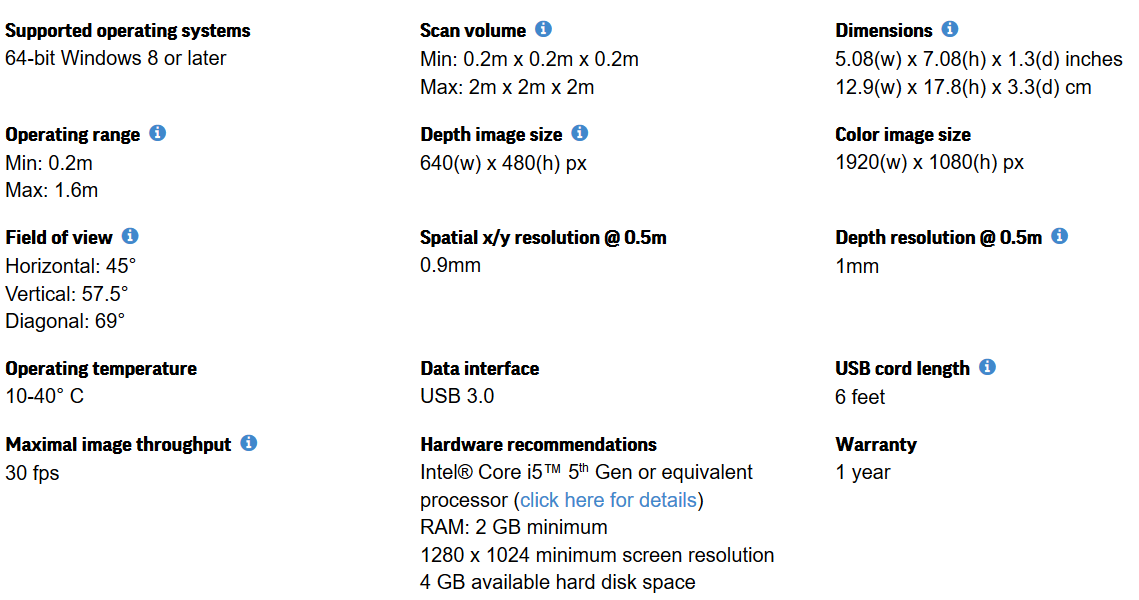
Specifications:
3D scan
I learned 3D scanning using the sense scanner. We took places in scanning each other.
In the Scanning proces we worked with the sense 3D scanner. The scanning required the object or person to remain still while the person scanning translates the scanner around the object. After carefull scanning you will get a ruff 3D mesh fille. The advantage of scanning is that it saves you a lot of time and work to desighn.
There are limits to scanning with the sense scaner. If the lighting is to bright or to dim your scan can fail. Too much movement on the background can cause difficulties. A steady and smooth scan path must be maintained foor maximum results.
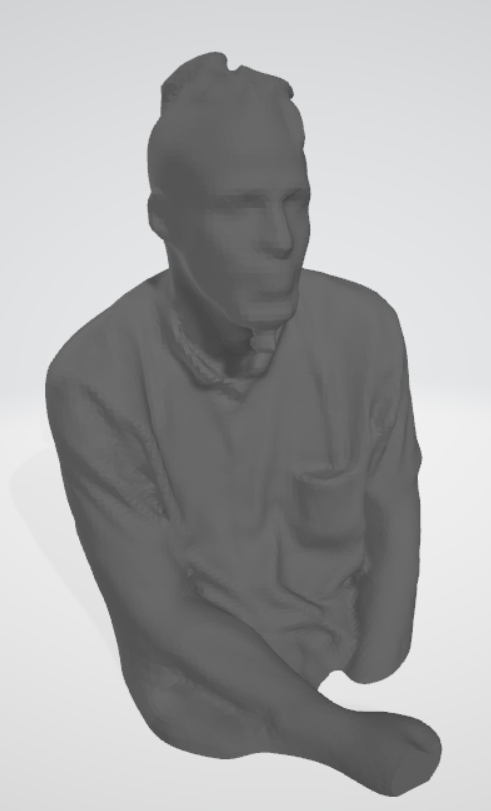
This is a 3D rendering of myself. I needed to sit as stll as possible while Pascal scanned me.
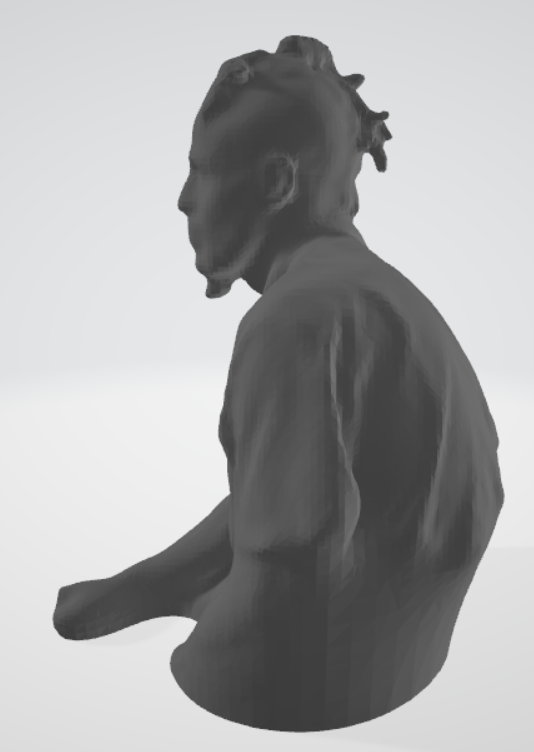
Now that I posses a 3D scan of my self I can use it to desighn custum concepts for myself , like a necklace for example:

3D printing
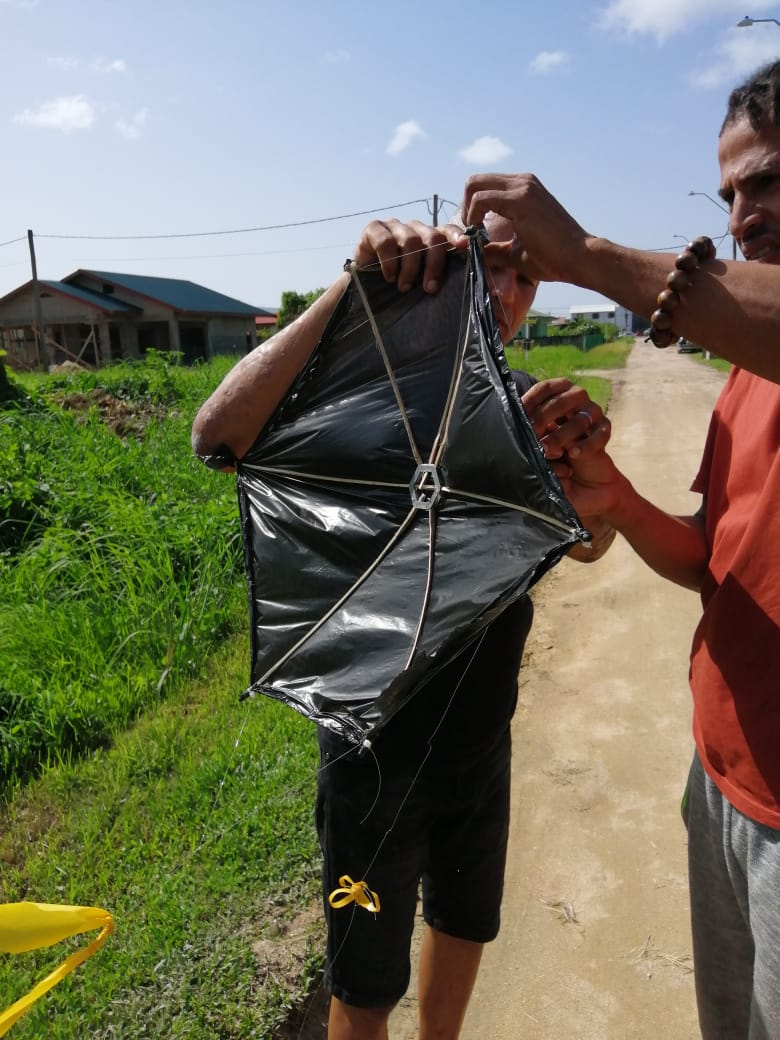
In my second design of the kite, I wanted to 3D print the center for the supporting structure. To create it I used fusion 36.
In fusion 360, you activate sketch mode. Then, you select within the sketch section the hexagon tool; by clicking you can decide the width and the height of the hexagon and also the quantity of the corners. In my case, I did a double hexagon because I wanted a ringed hexagon.
When you are done sketching, you type the shortcut ‘e‘ to extrude your sketch into a body. After you have determined your height, you press enter to solidify your body.
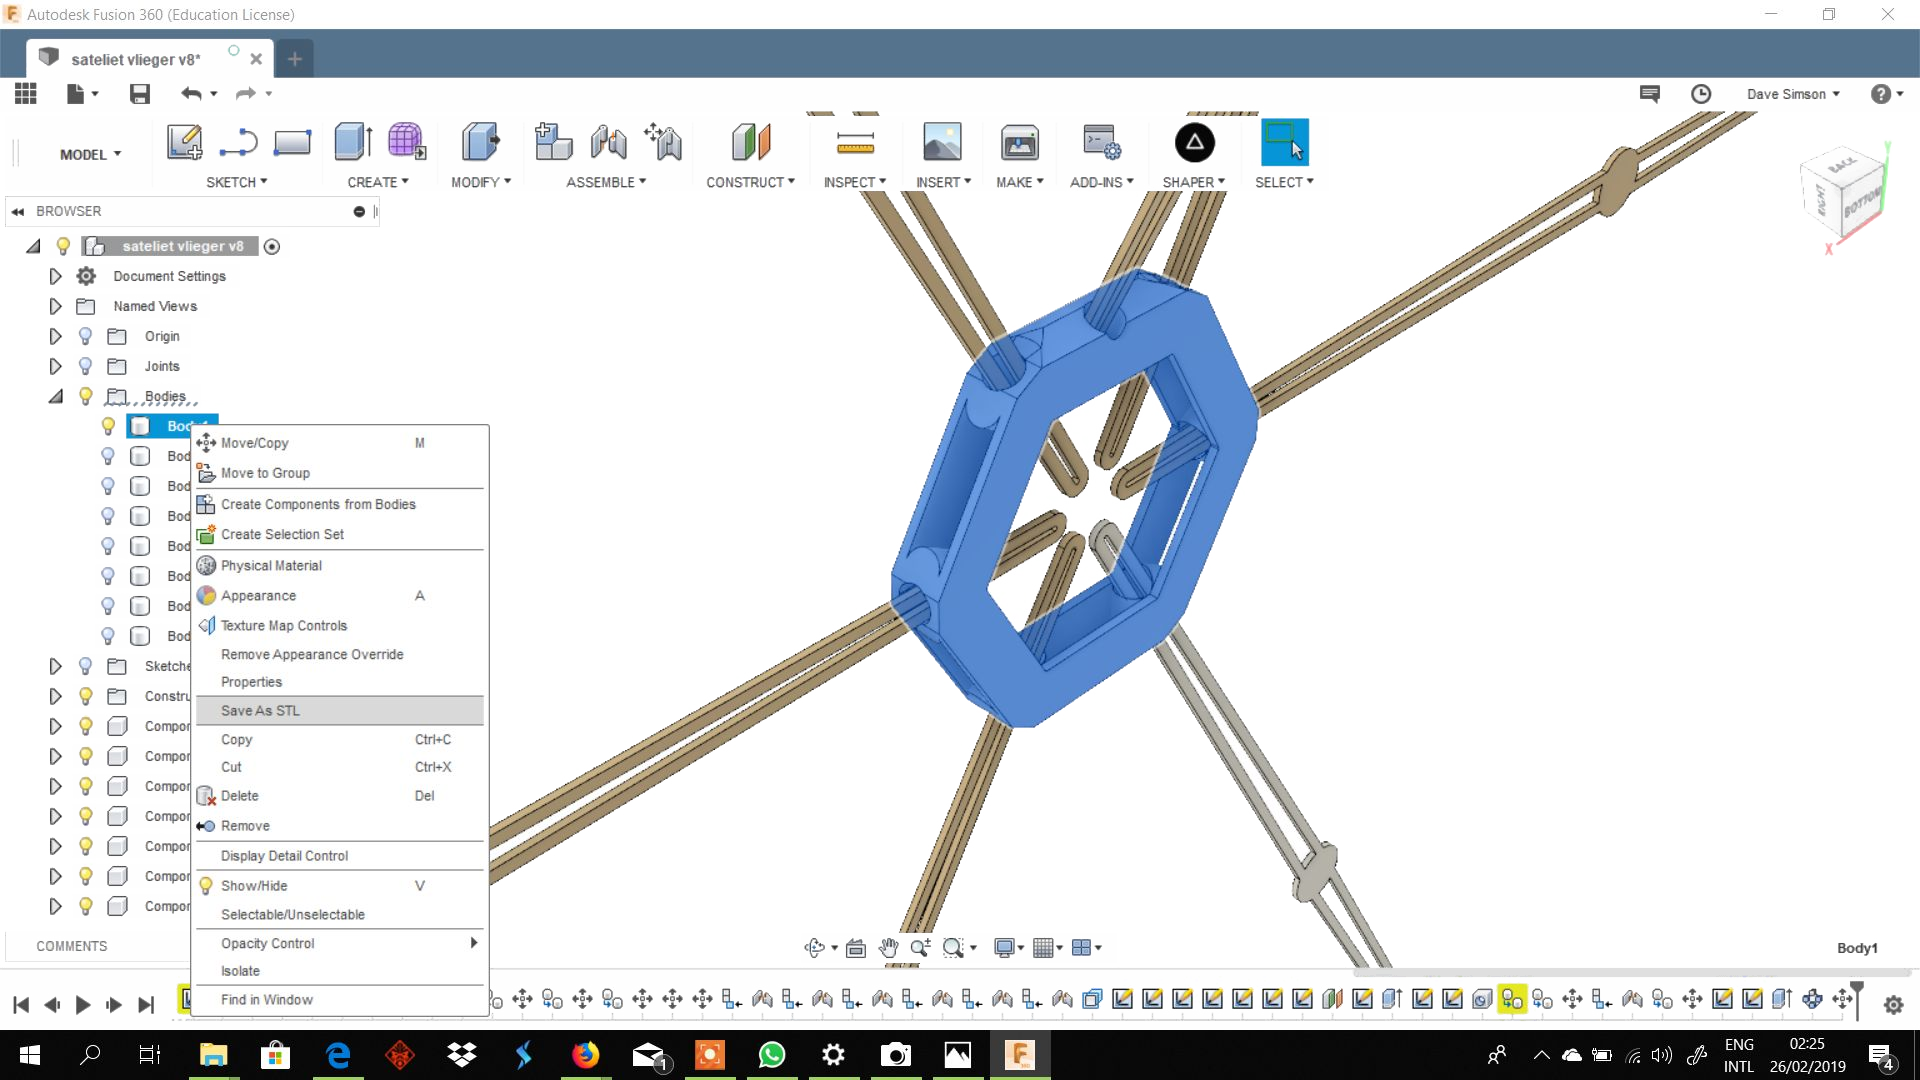
Afterwards, I used the chamfer tool in the modify section to flatten out the corners of the hexagon so I can drill holes through them which will hold the structure of the kite. After all the corners are flatten, you can select the faces you want to drill and press the short command ‘h‘ to activate the drilling tool in which you can set your parameters and then press enter.
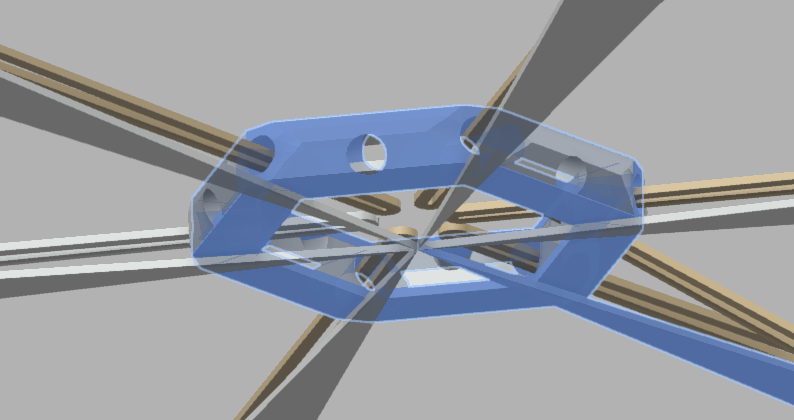
These drilled faces are a reason which the part cannot be made subtrativly. The cnc could not reach this space to cut the material.
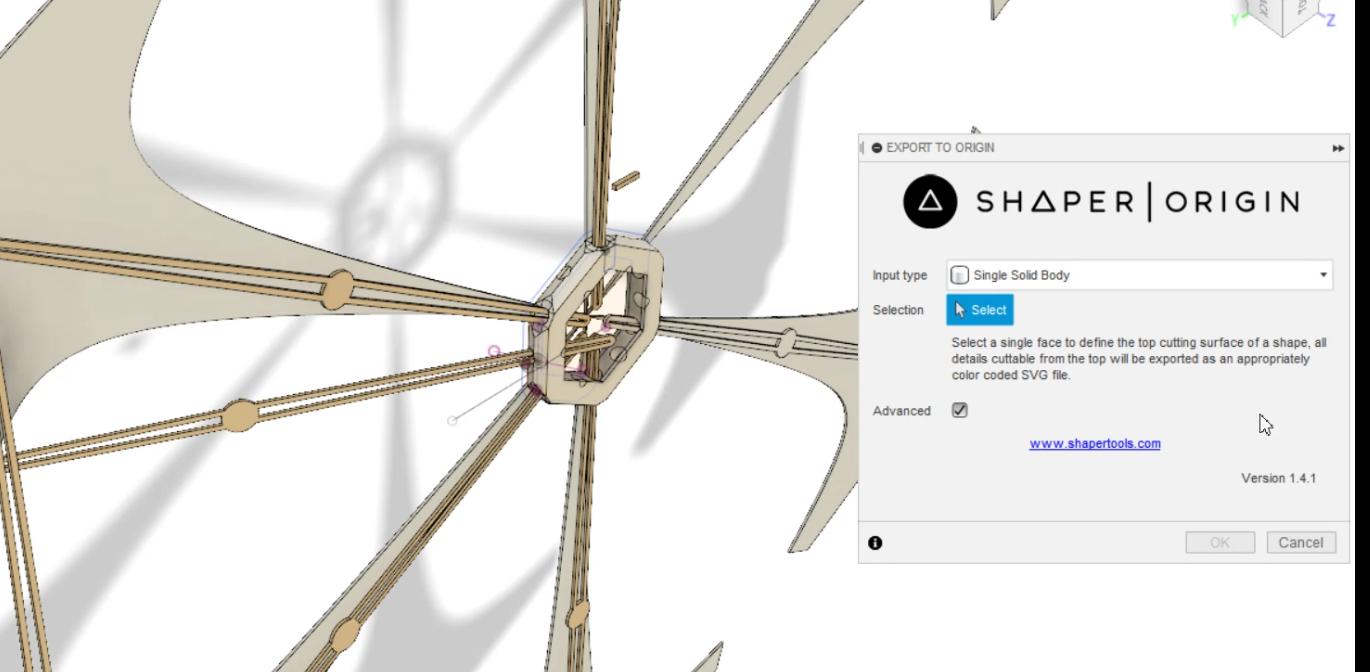
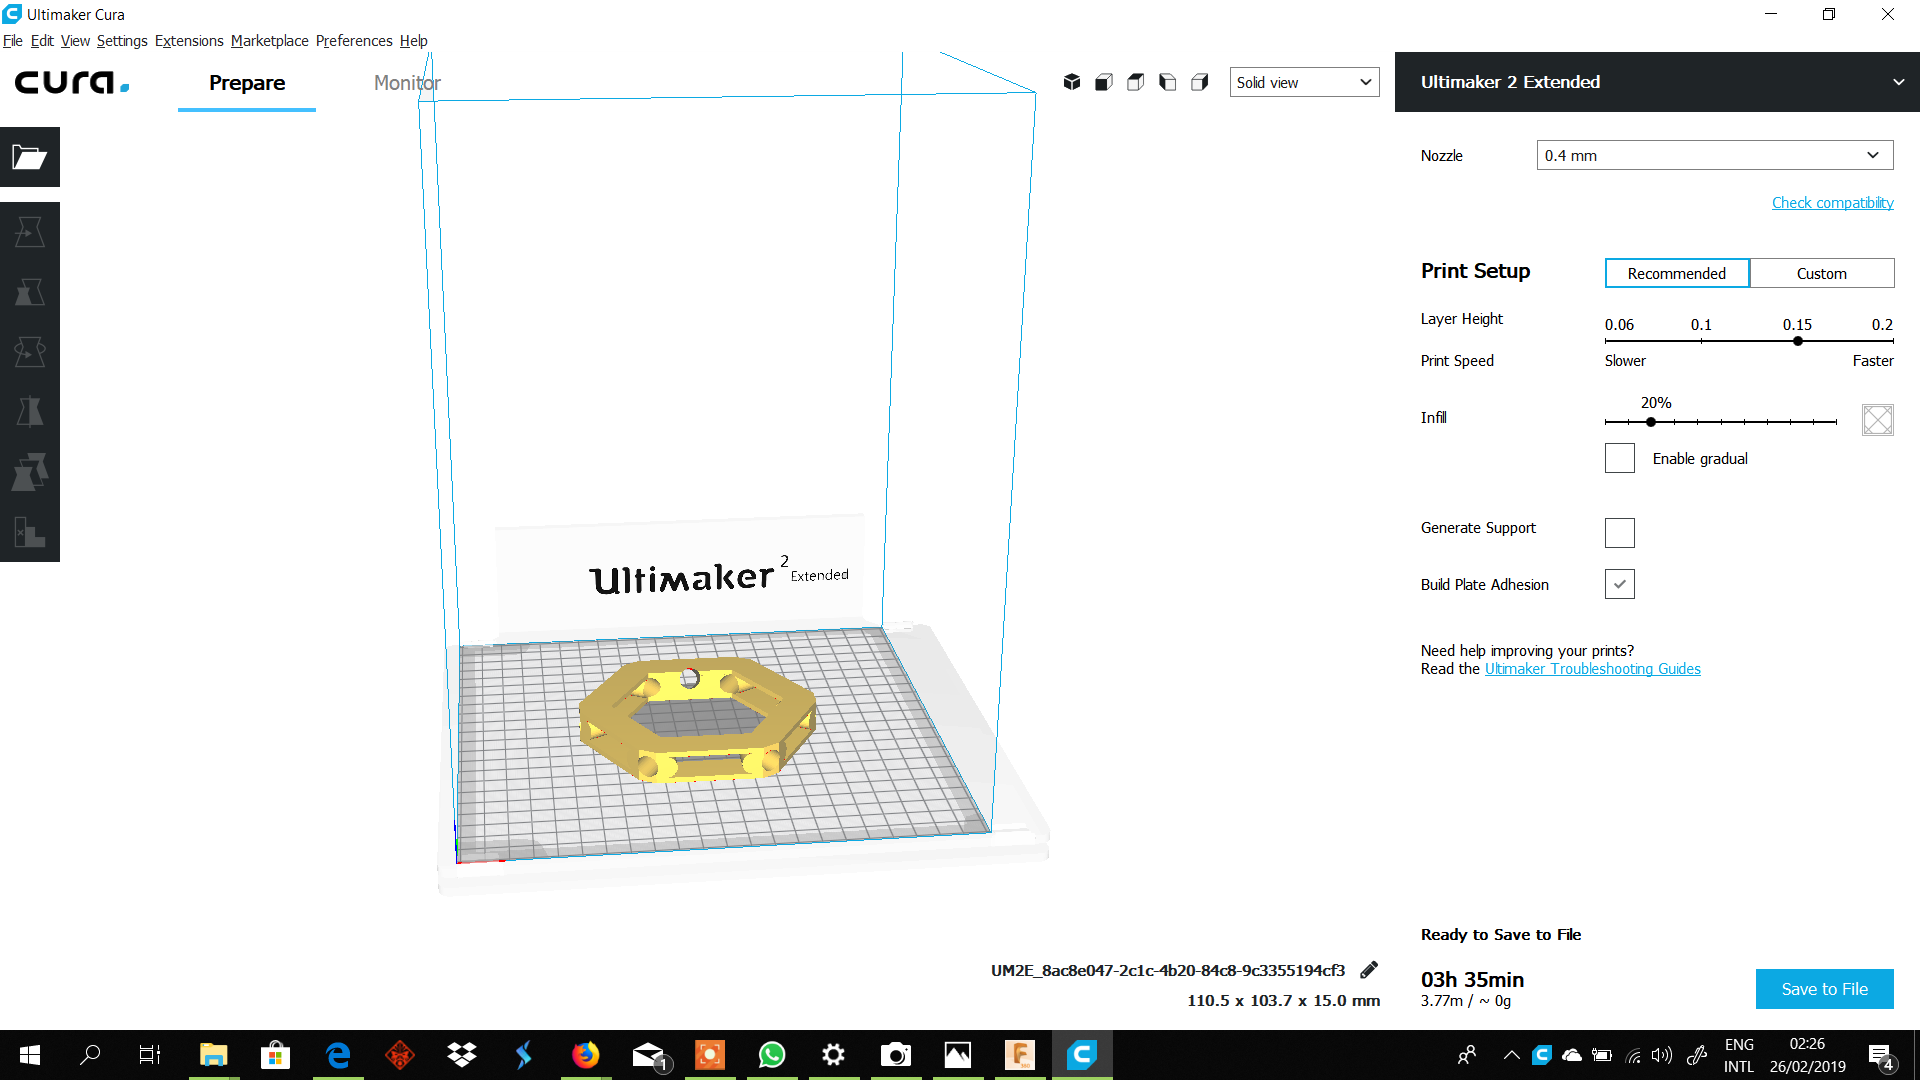
Cura is the software I used in my case. After I prepared the part In fusion 360 I exported it as “STL” file using the Shaper|Originthe add in to import it in Cura :
With the stl file you can 3D print your design.
What I learned by testing the 3D printers:
In the group assignment I learned the limits and the possebillities by printing an test object with diffrent features(angles, corner, tickness ec.)