Week 6 3D Scanning and printing
For this week we had a group assignment and a individual assignment
Group assignment
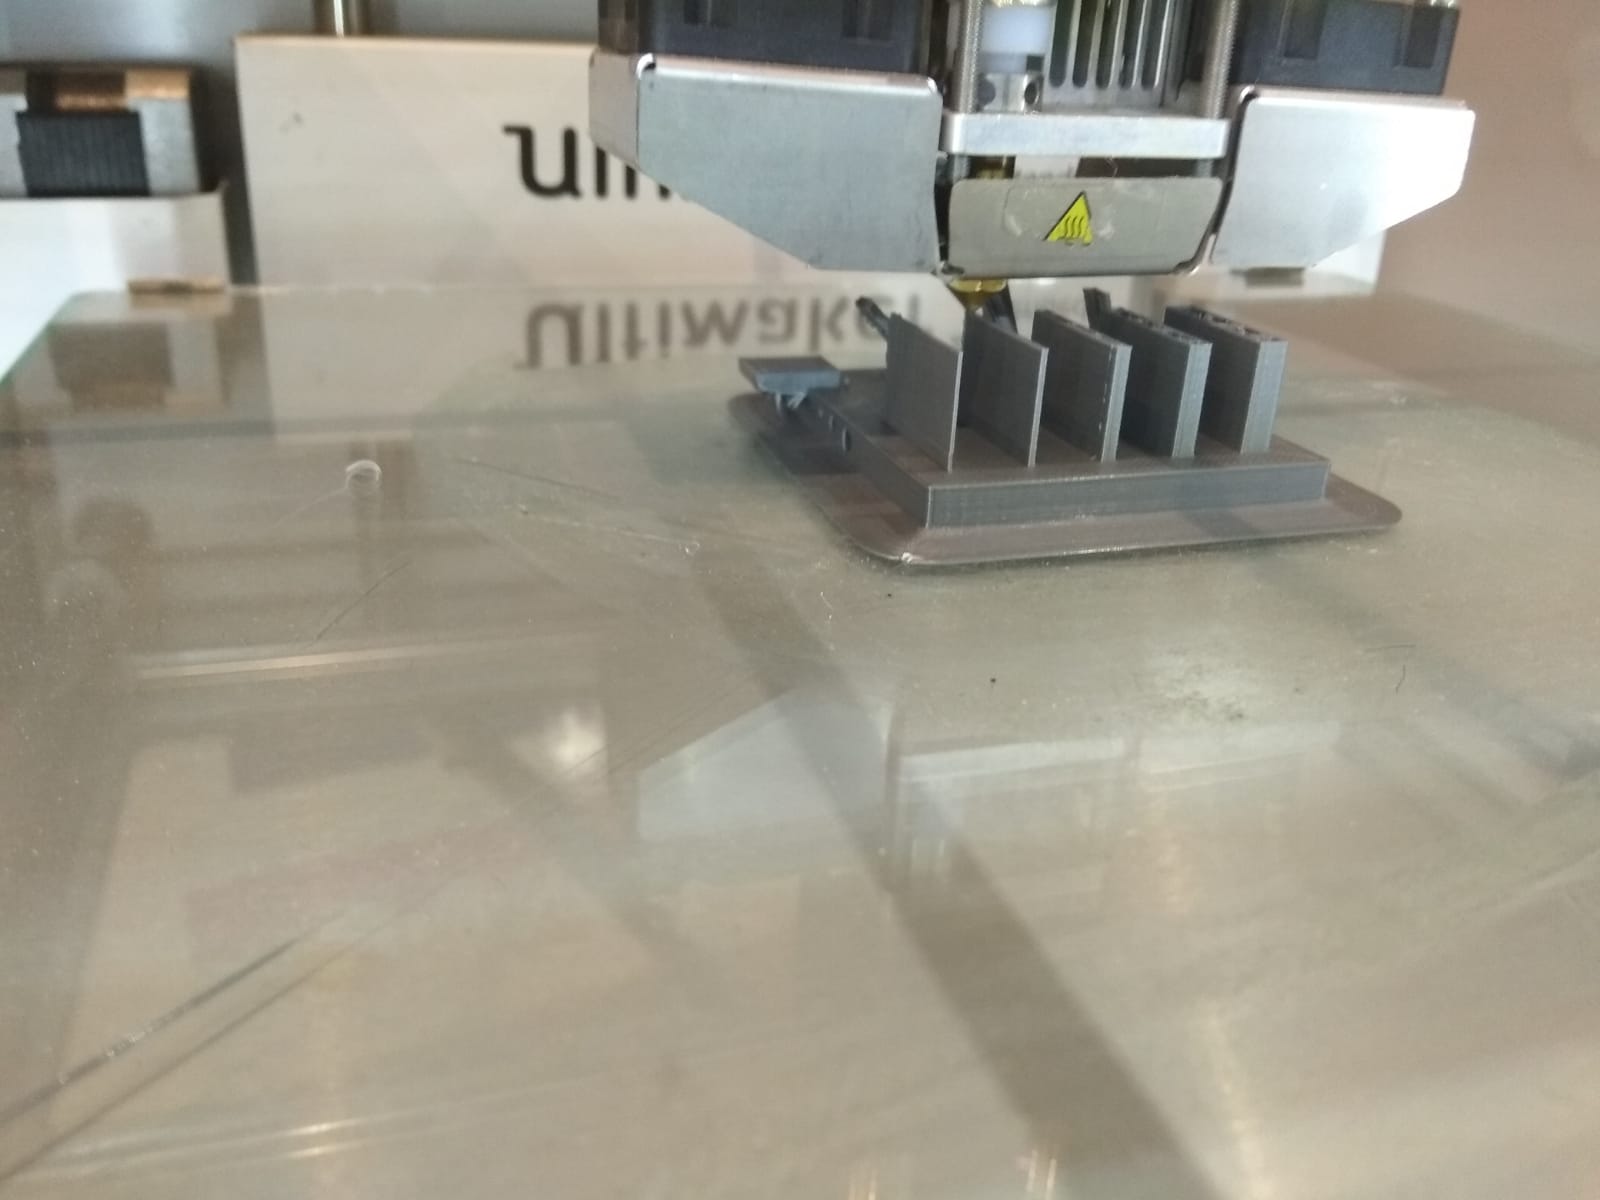
The group assignment was to test the design rules for our 3D printer. We used the Ultimaker 2 extended +. See more info. The material that was used was the PLA color silver, 2.85mm and we also had to downloaded the software Cura 3.6.0. We then followed these steps
- Create 3D design
- Save as stl. file
- Download the software Cura
- Place the recommended layer height on 0.15 (small object)
- Infill 20%
- Save file on memory card and remove (eject)
- Insert memory card in printer
- Place fillment, if tube has leftover fillment remove first
- Heat up the plate to 220 degrees celsius
- Select file and print
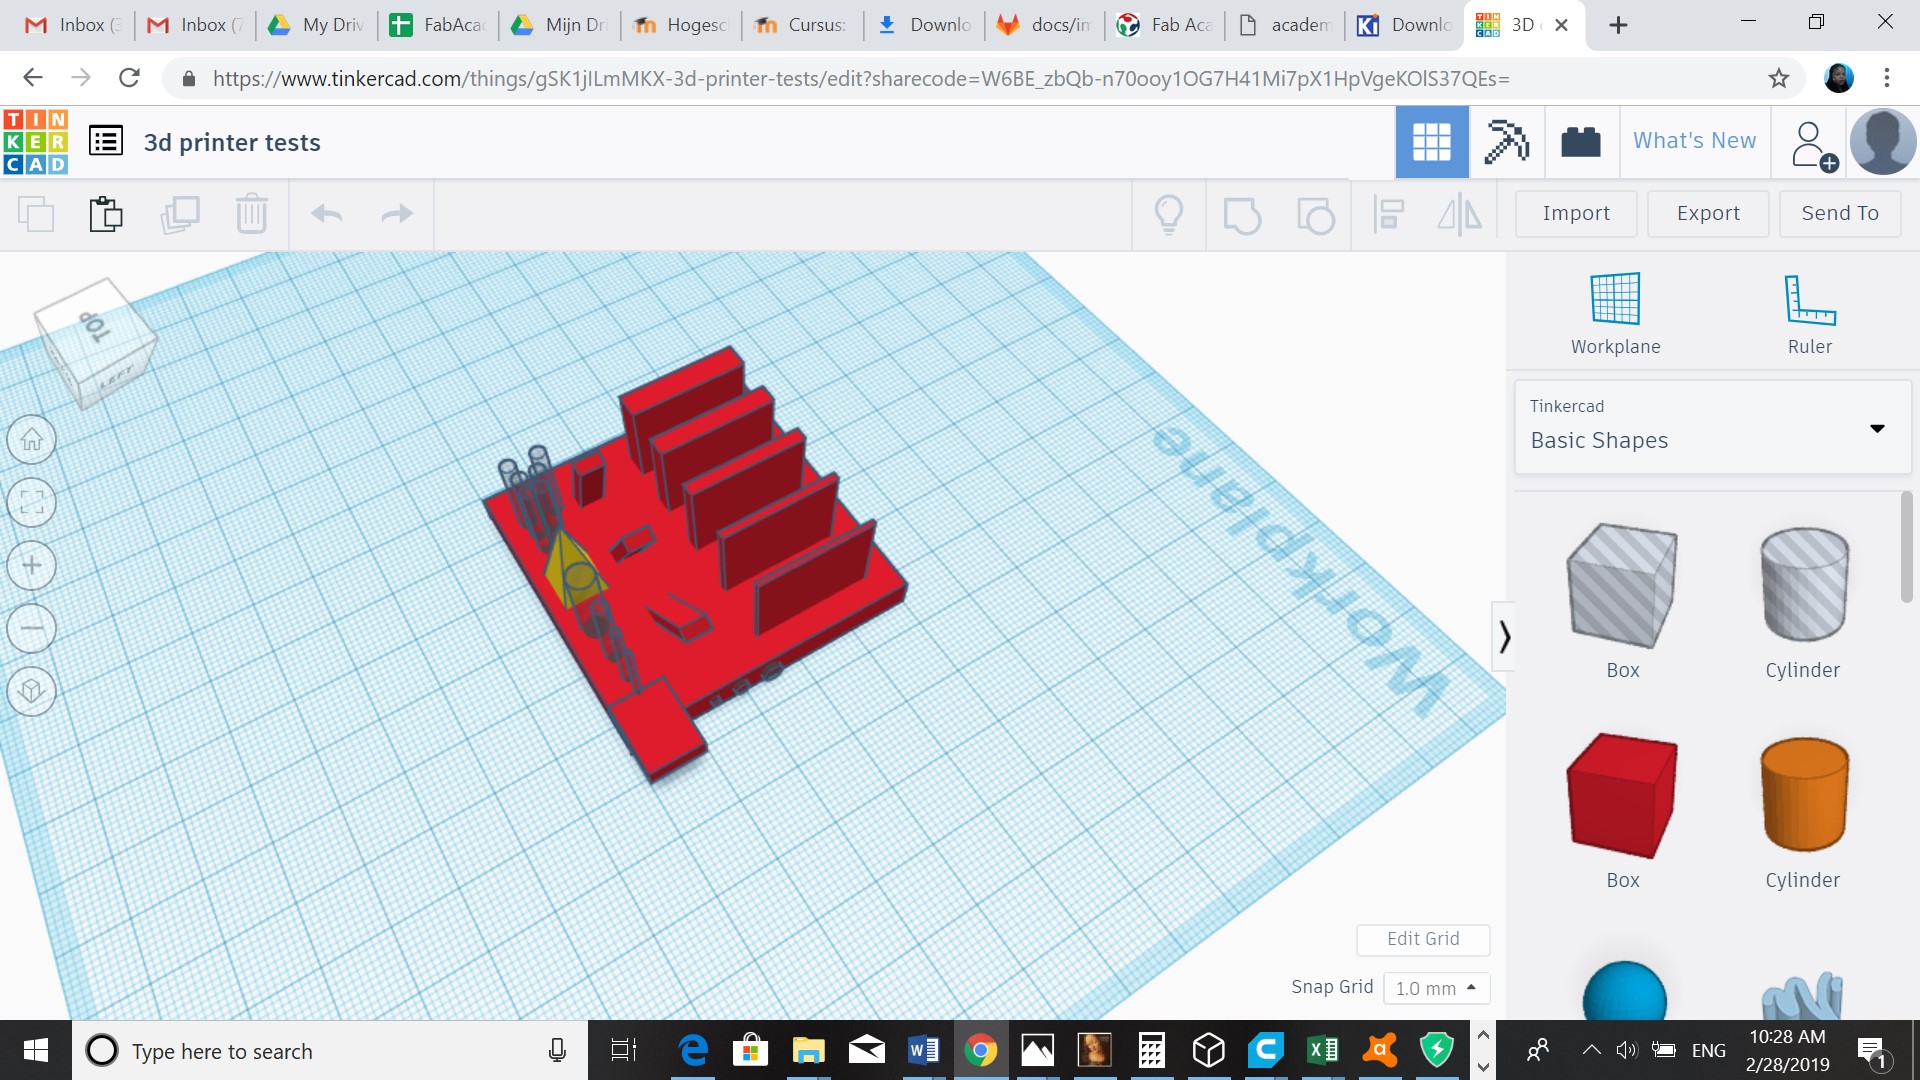
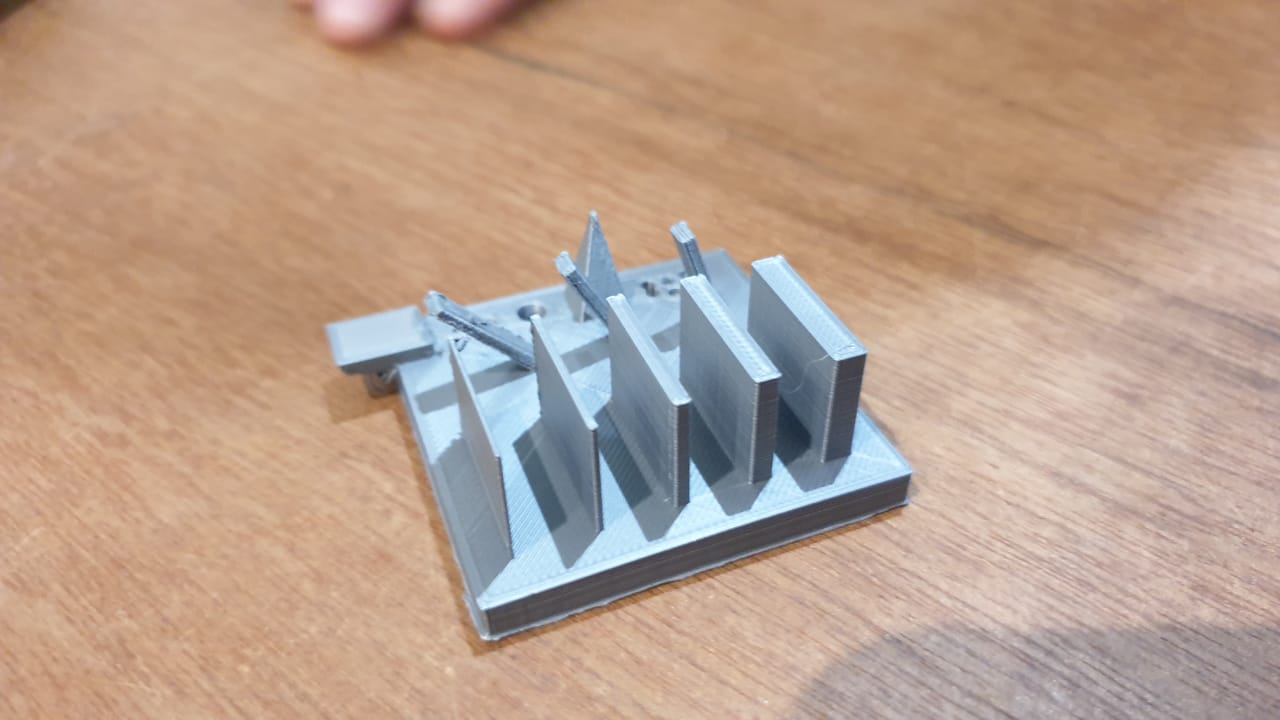
The object that we printed was a design used by our instructor. I had the following charicteristics
-
Walls of different thicknesses (from 0,5 mm to 4 mm)
-
Round holes with different diameters (from 1 mm to 3 mm)
-
Holes separated by different length spaces (0,1 mm to 2 mm)
-
Inclined and overhanging parts to test possible angles
-
Pointy structure to test material bonding
Individual assignment
For our individual we had to design and 3D print an object (small, few cm3, limited by printer time)that could not be made subtractively (meaning it can’t be milled or cut by a lasercutter) and 3D scan an object (and optionally print it)
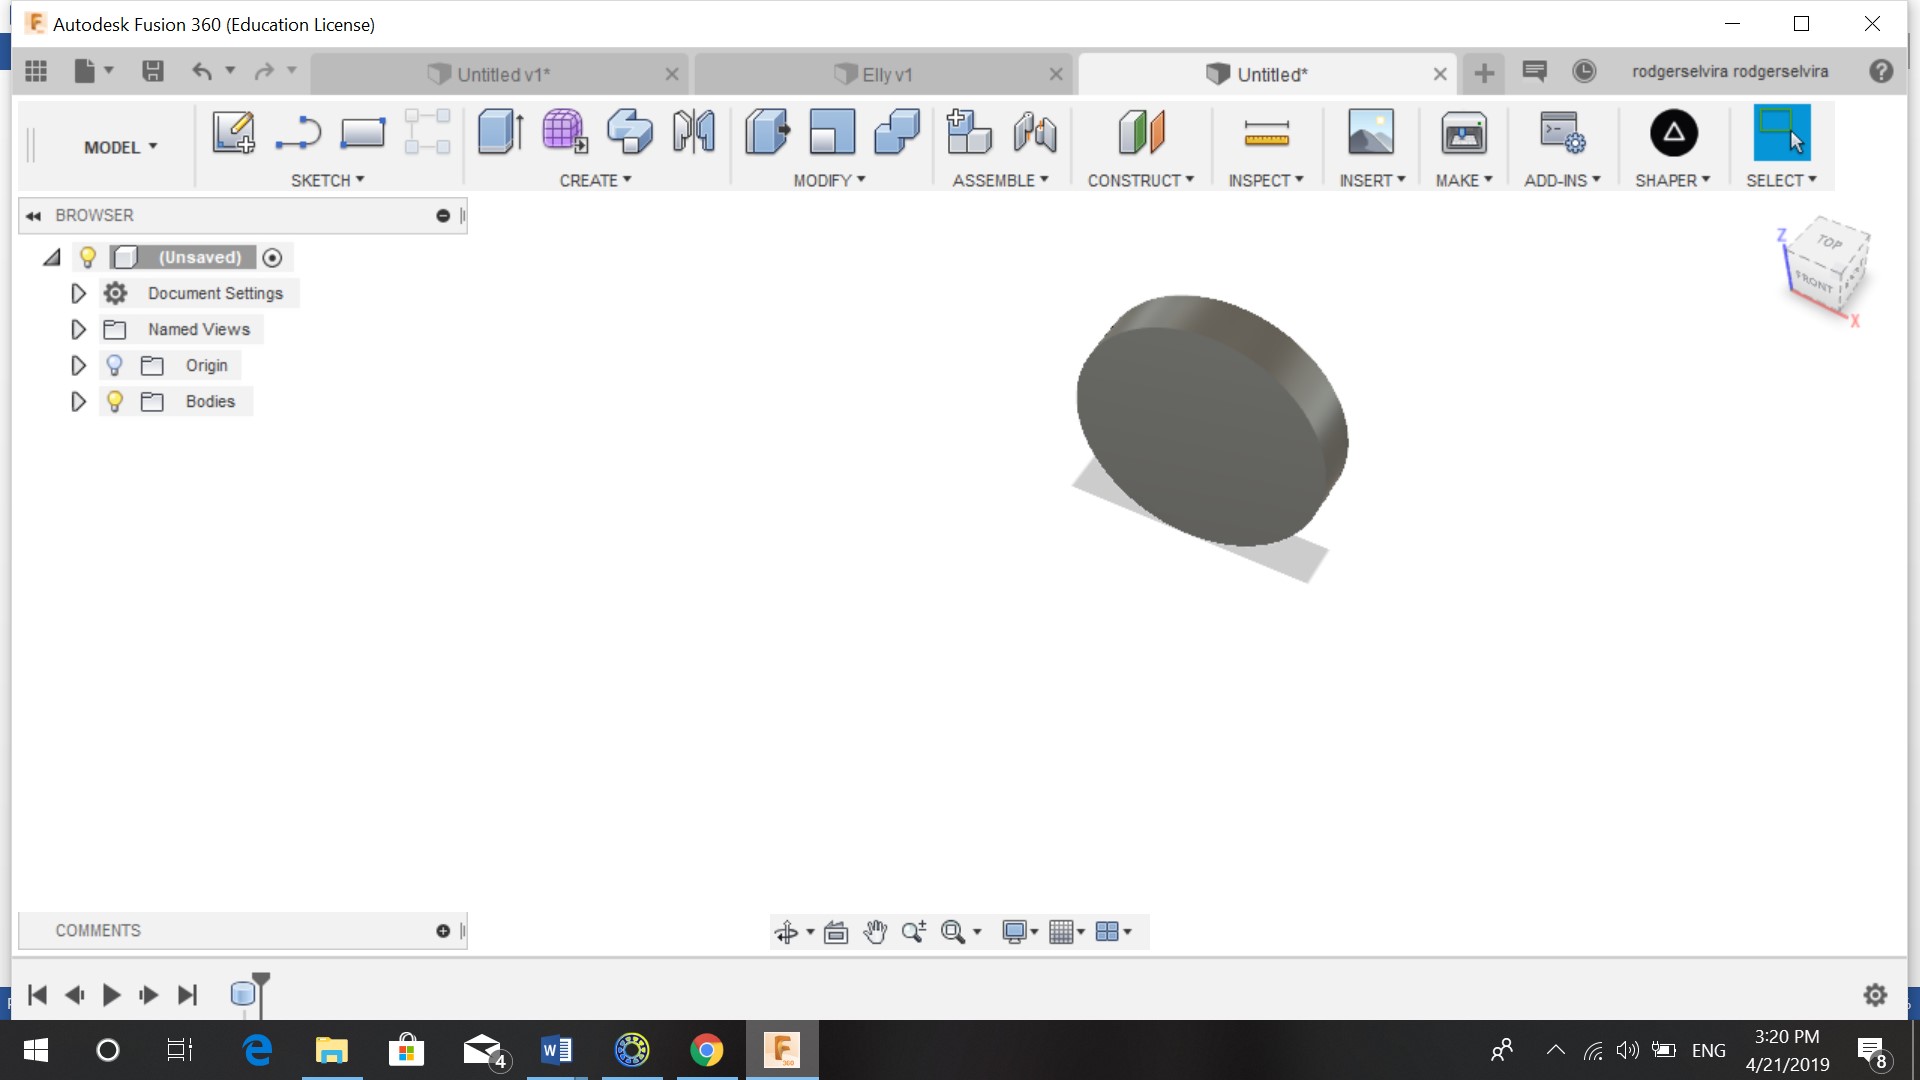
First I made my design in Fusion 360 following these steps
-
Choose Cylinder (under create list), diameter= 5 cm, height= 0.5 cm
-
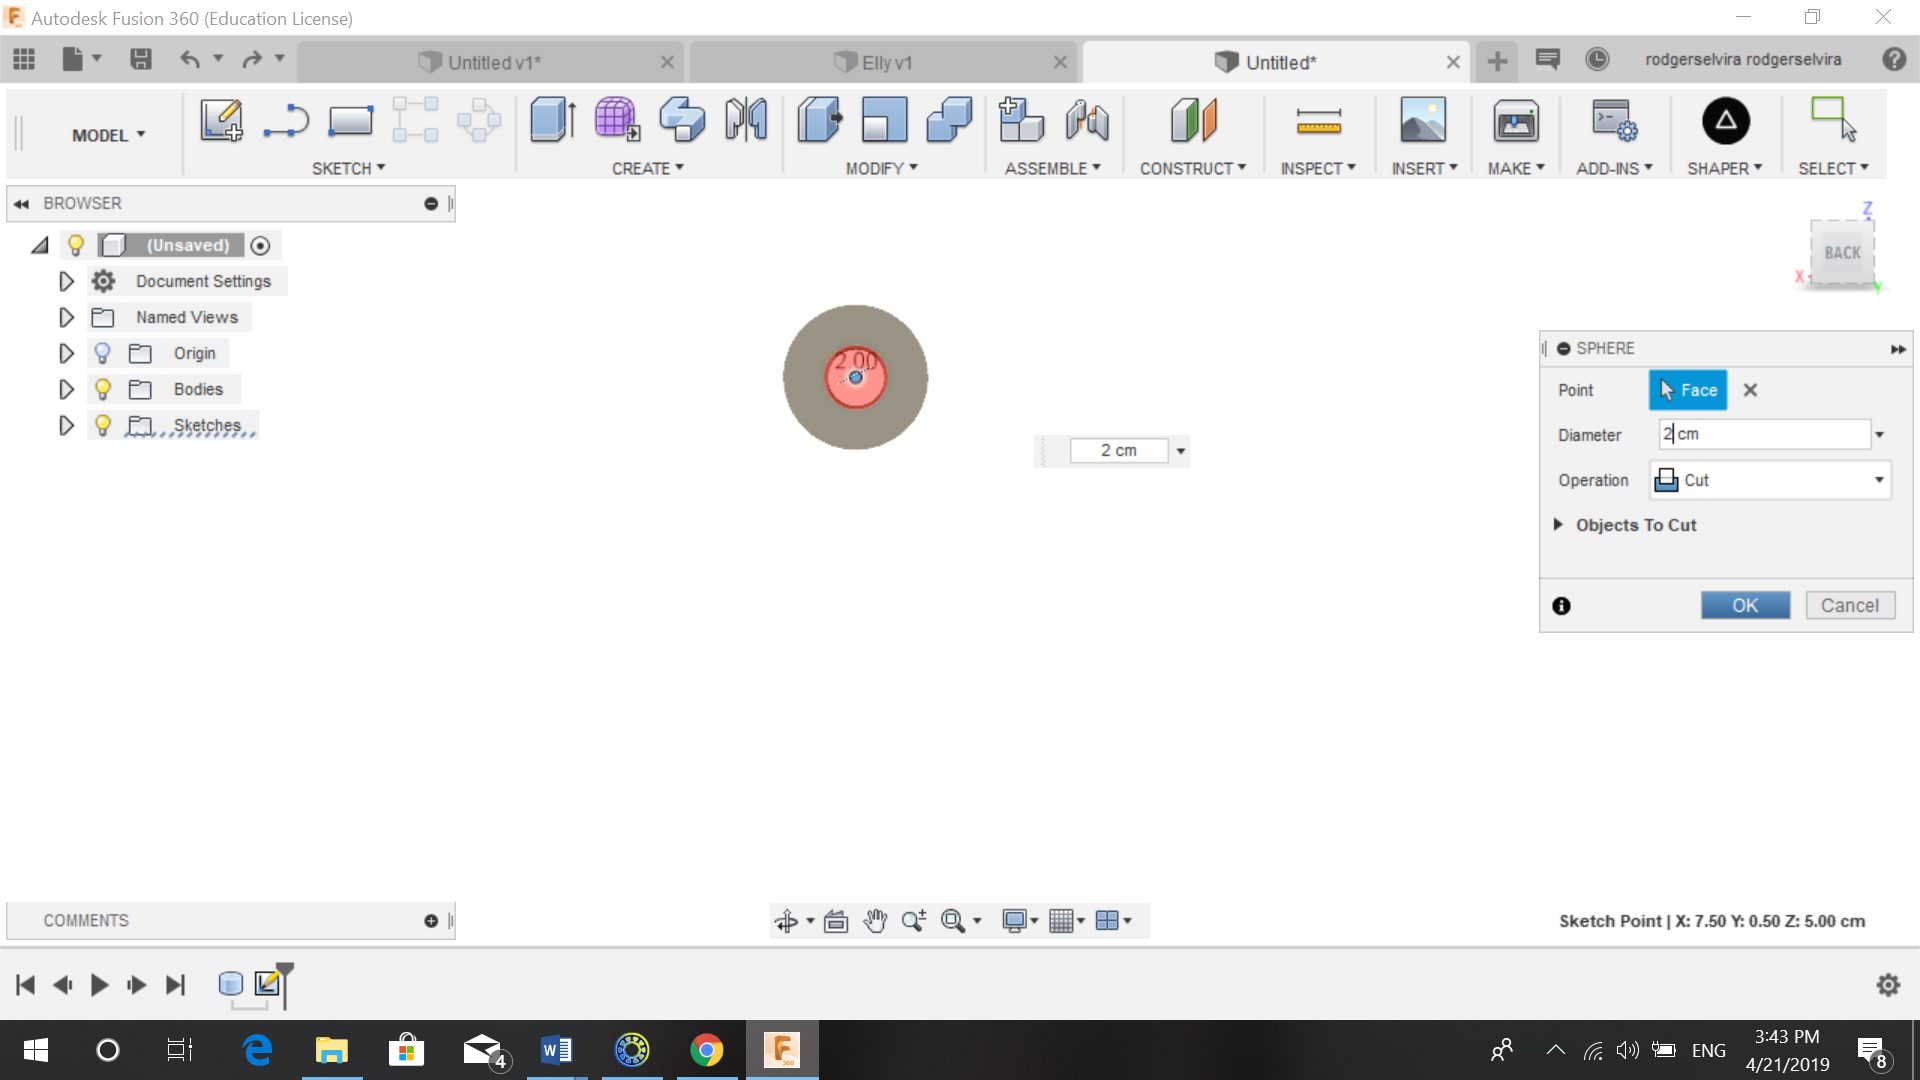
Choose sphere (also under create list), diameter= 2 cm
-
I then chose coil and joined the coil with the cylinder
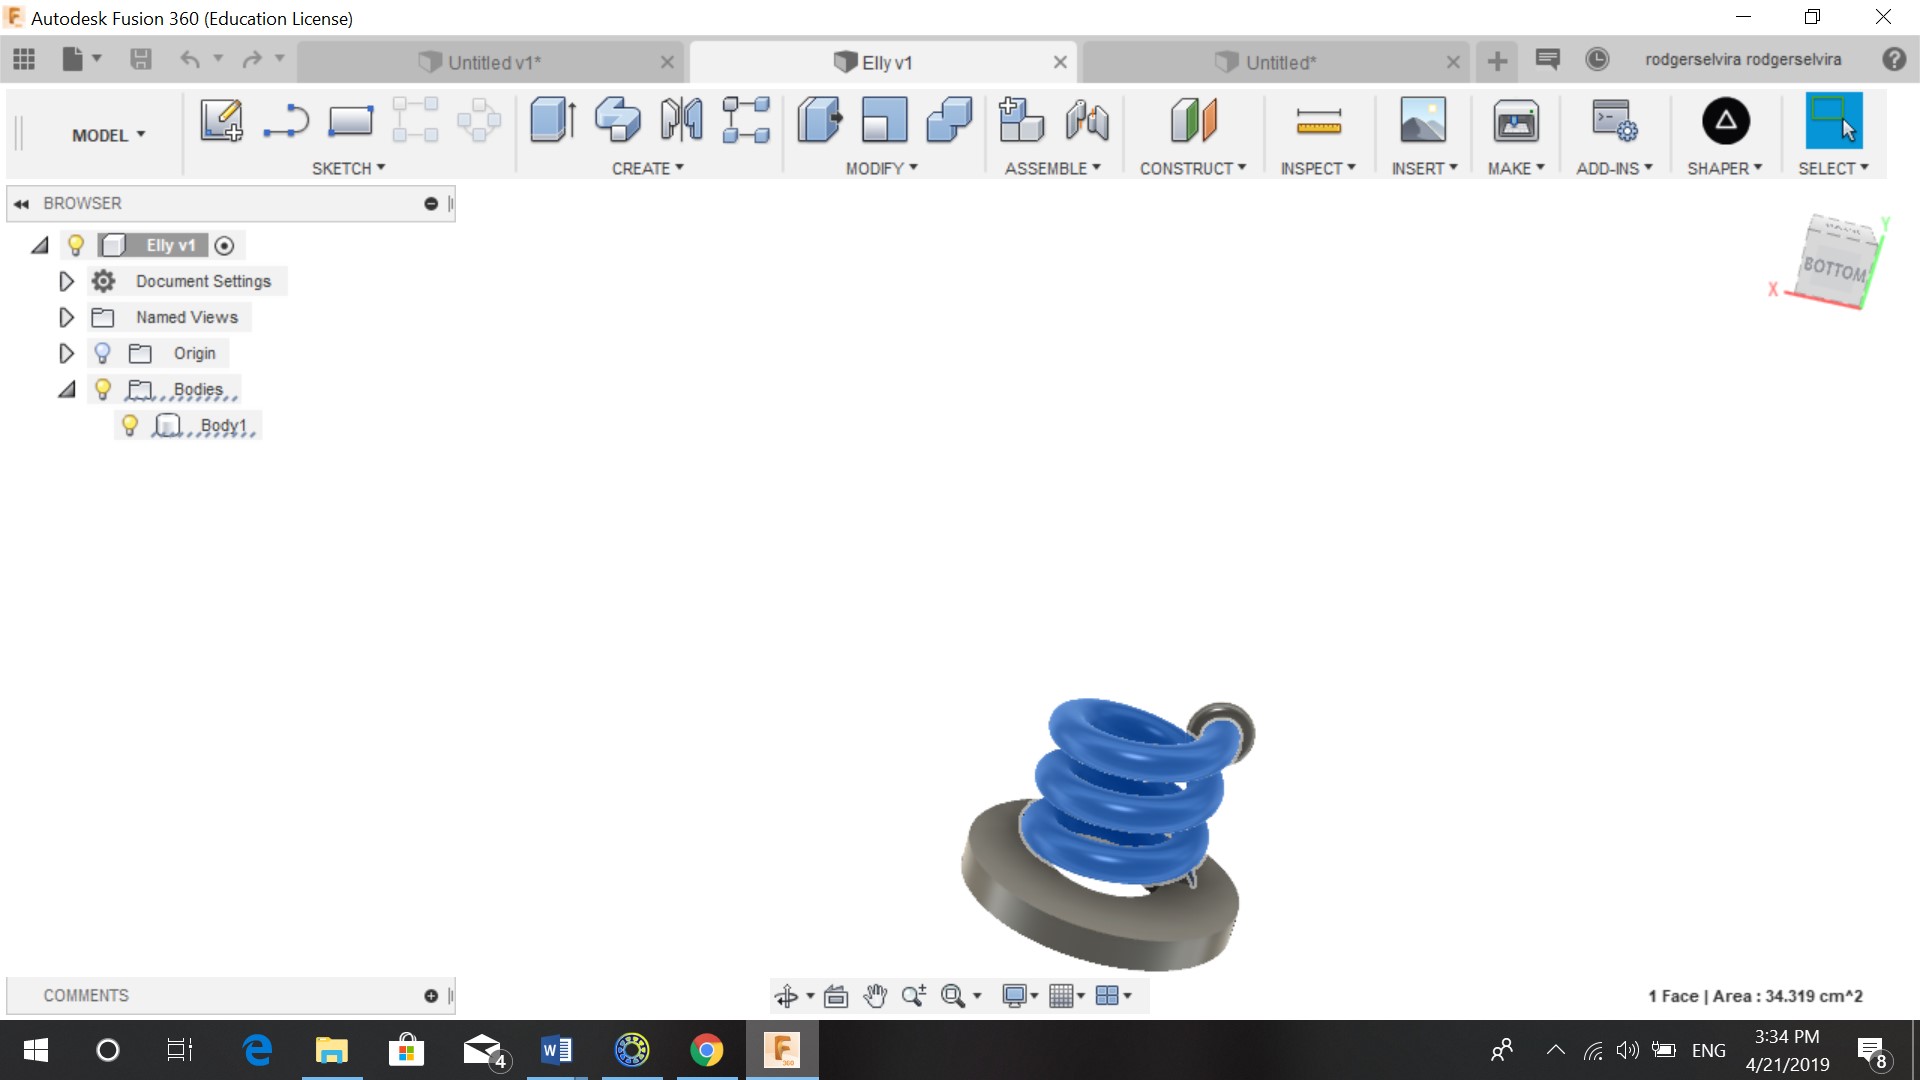
My design came out like this
After I created the design I had to 3D print it. Just like the steps given above (group assignment), I followed these steps:
- Save as stl. file
- Download the software Cura
- Place the recommended layer height on 0.15 (small object)
- Infill 20%
- Save file on memory card and remove (eject)
- Insert memory card in printer
- Place fillment, if tube has leftover fillment remove first
- Heat up the plate to 220 degrees celsius
- Select file and print
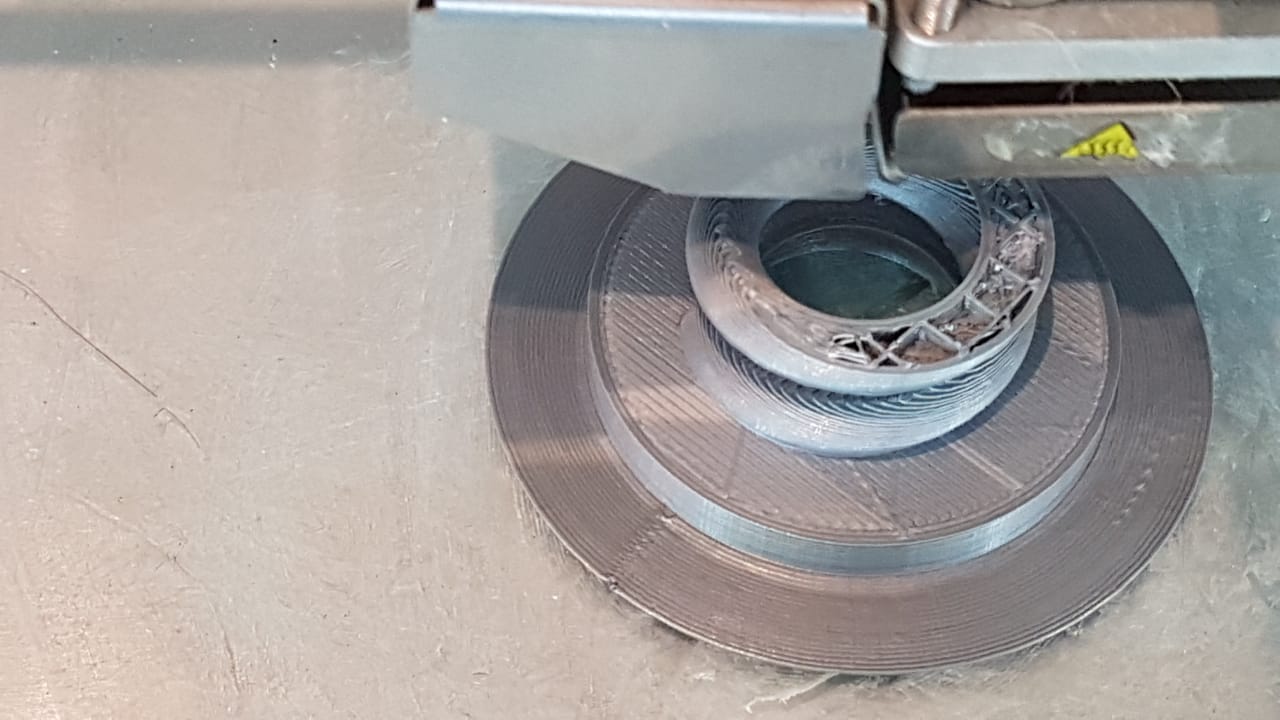
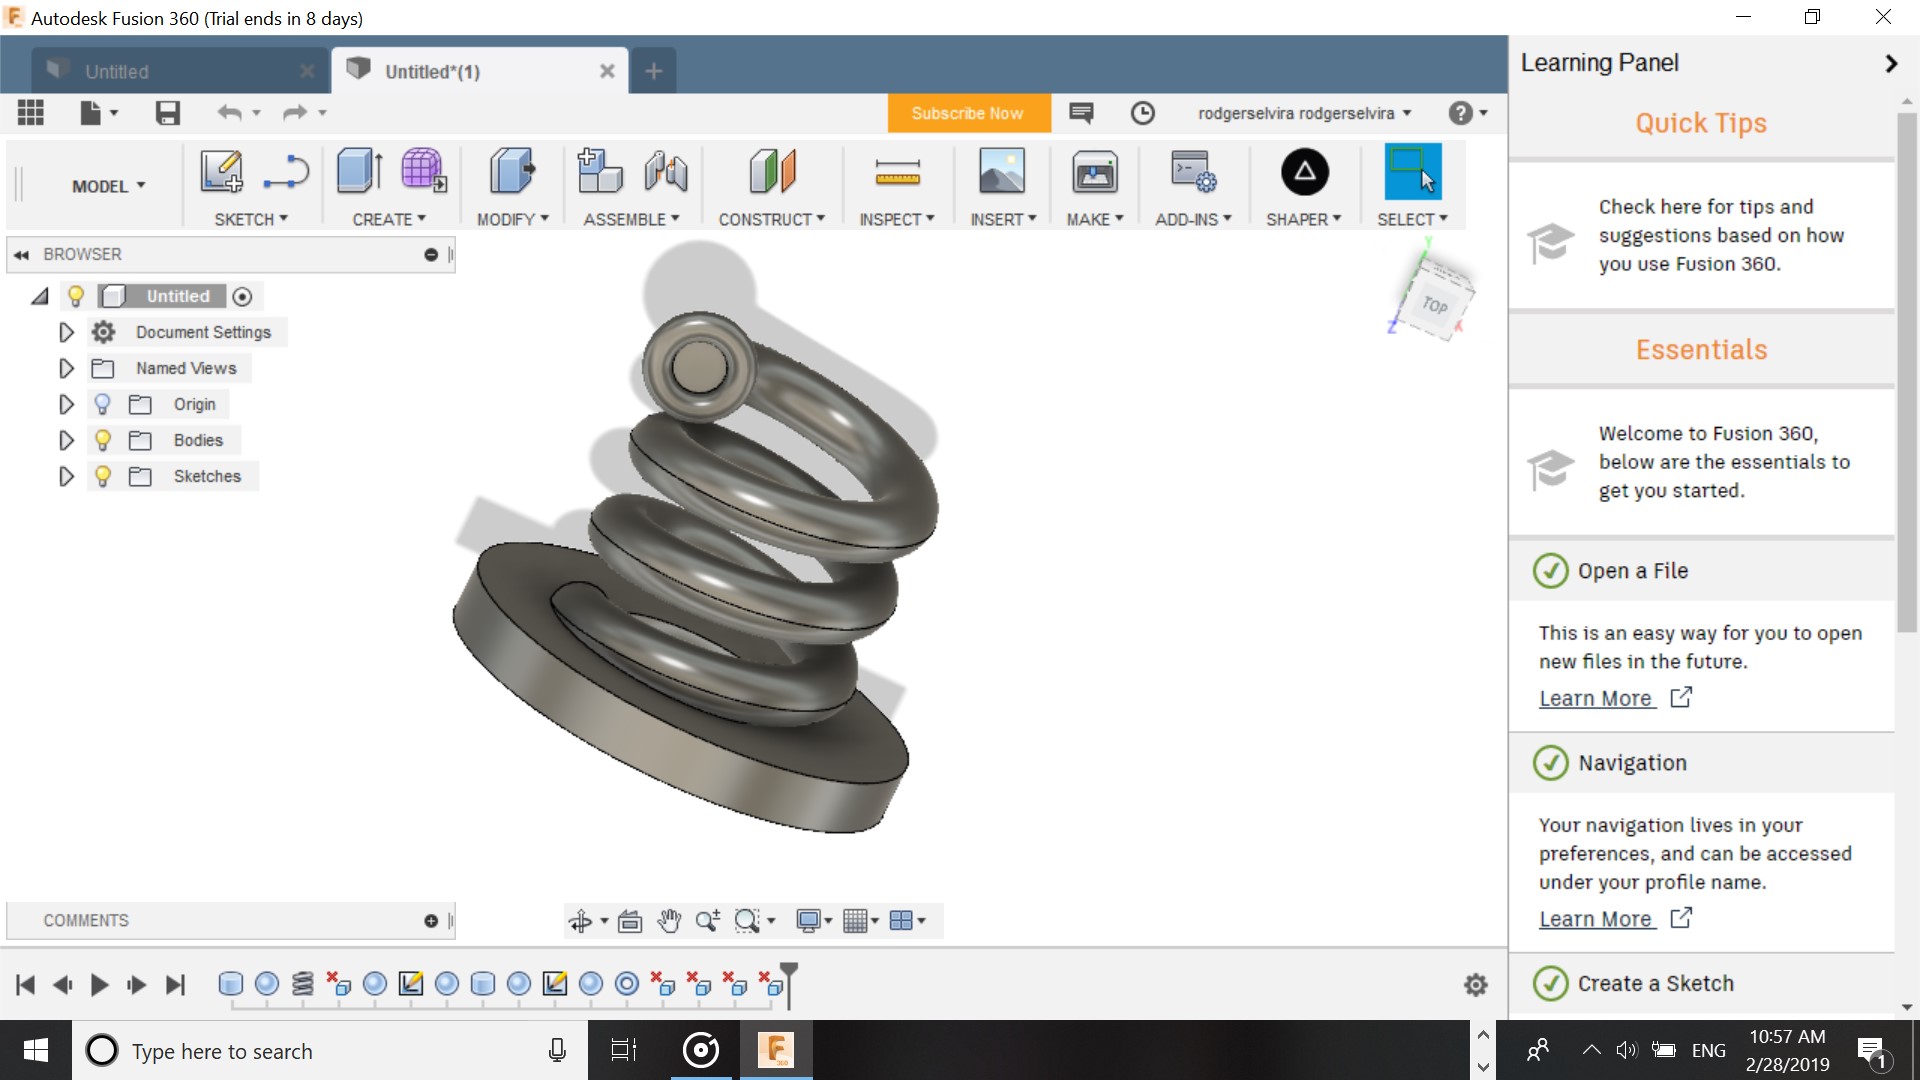
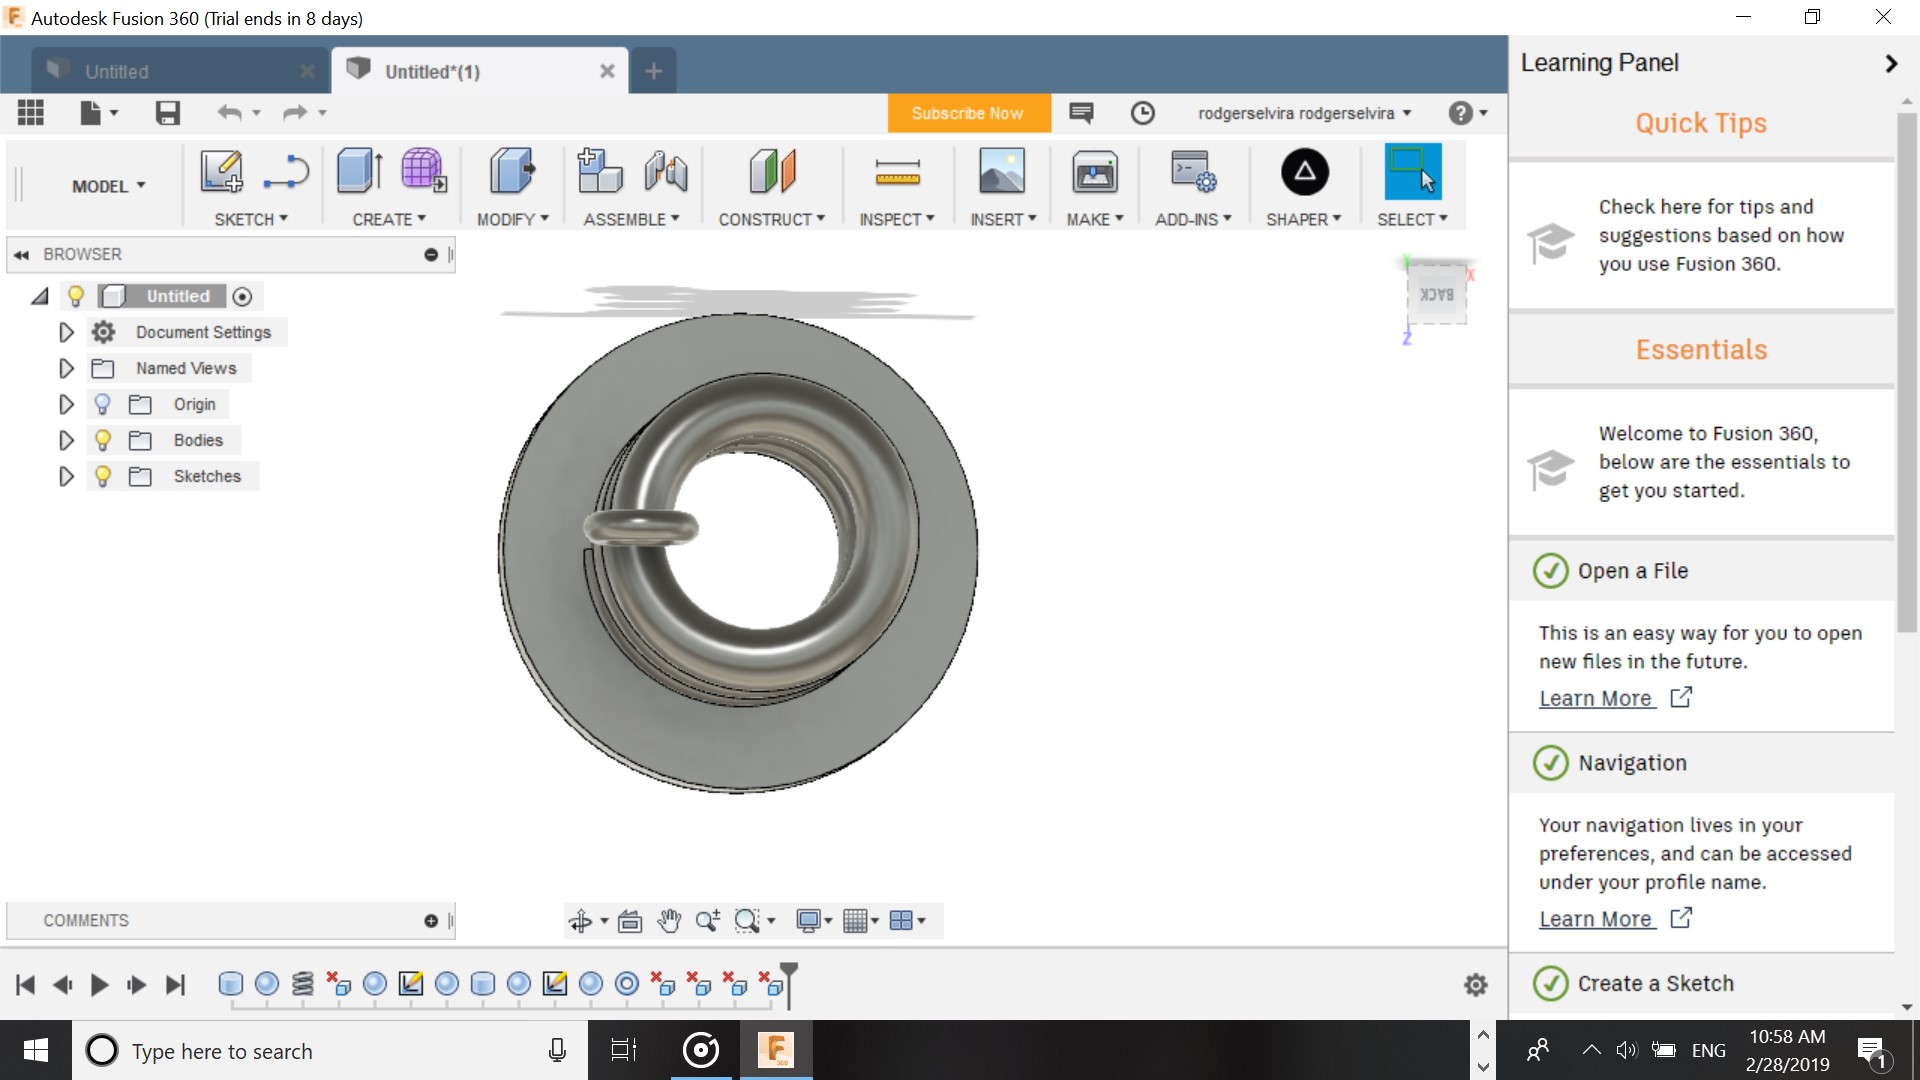
The result of my 3D print
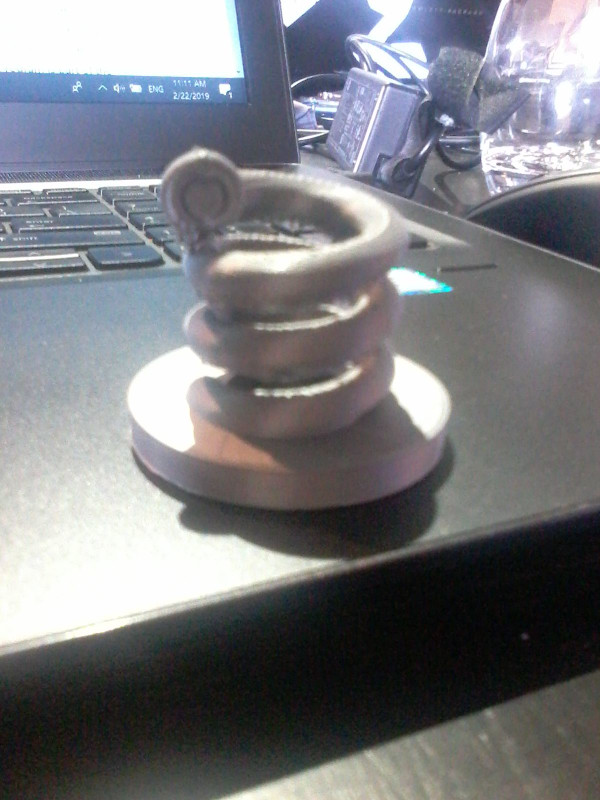
Because of the form of my design, the coil did not have smooth edges beneath it because the printer had to print the form without any support. This is why it also is a non substractive object.
3D Scanning
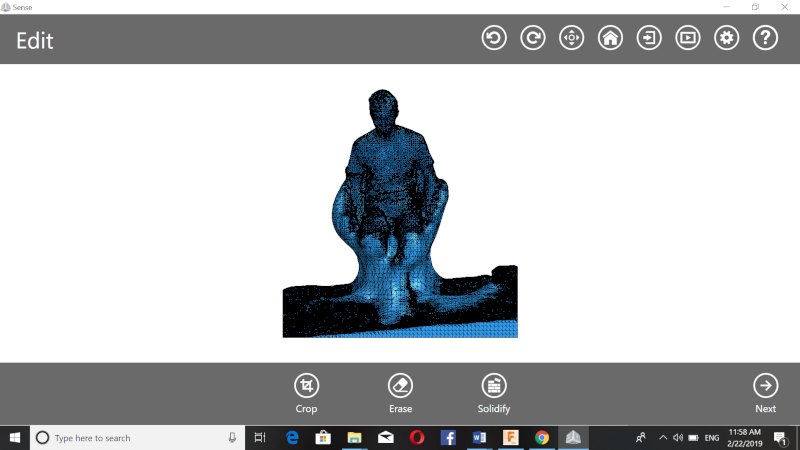
To start scanning we had download the Sense setup. Before using Sense we had to enter a code (5204) to let it start working. We connected the scanner to our laptop using the USB cable and taped the scanner to the back of our laptop to work more efficient. We decided to make a full body scan of one another and it took a few times beacuse the scanner lost the image. To get the best results the person must be scanned two times and in the end the scanner should be held over teh head to get the form of the head fully. After you are done with scanning you follow these steps
-
Edit the scan
-
Solidify
-
Click on settings to remove the color
-
Insert edge and boundaries
-
Save the file to STL.
-
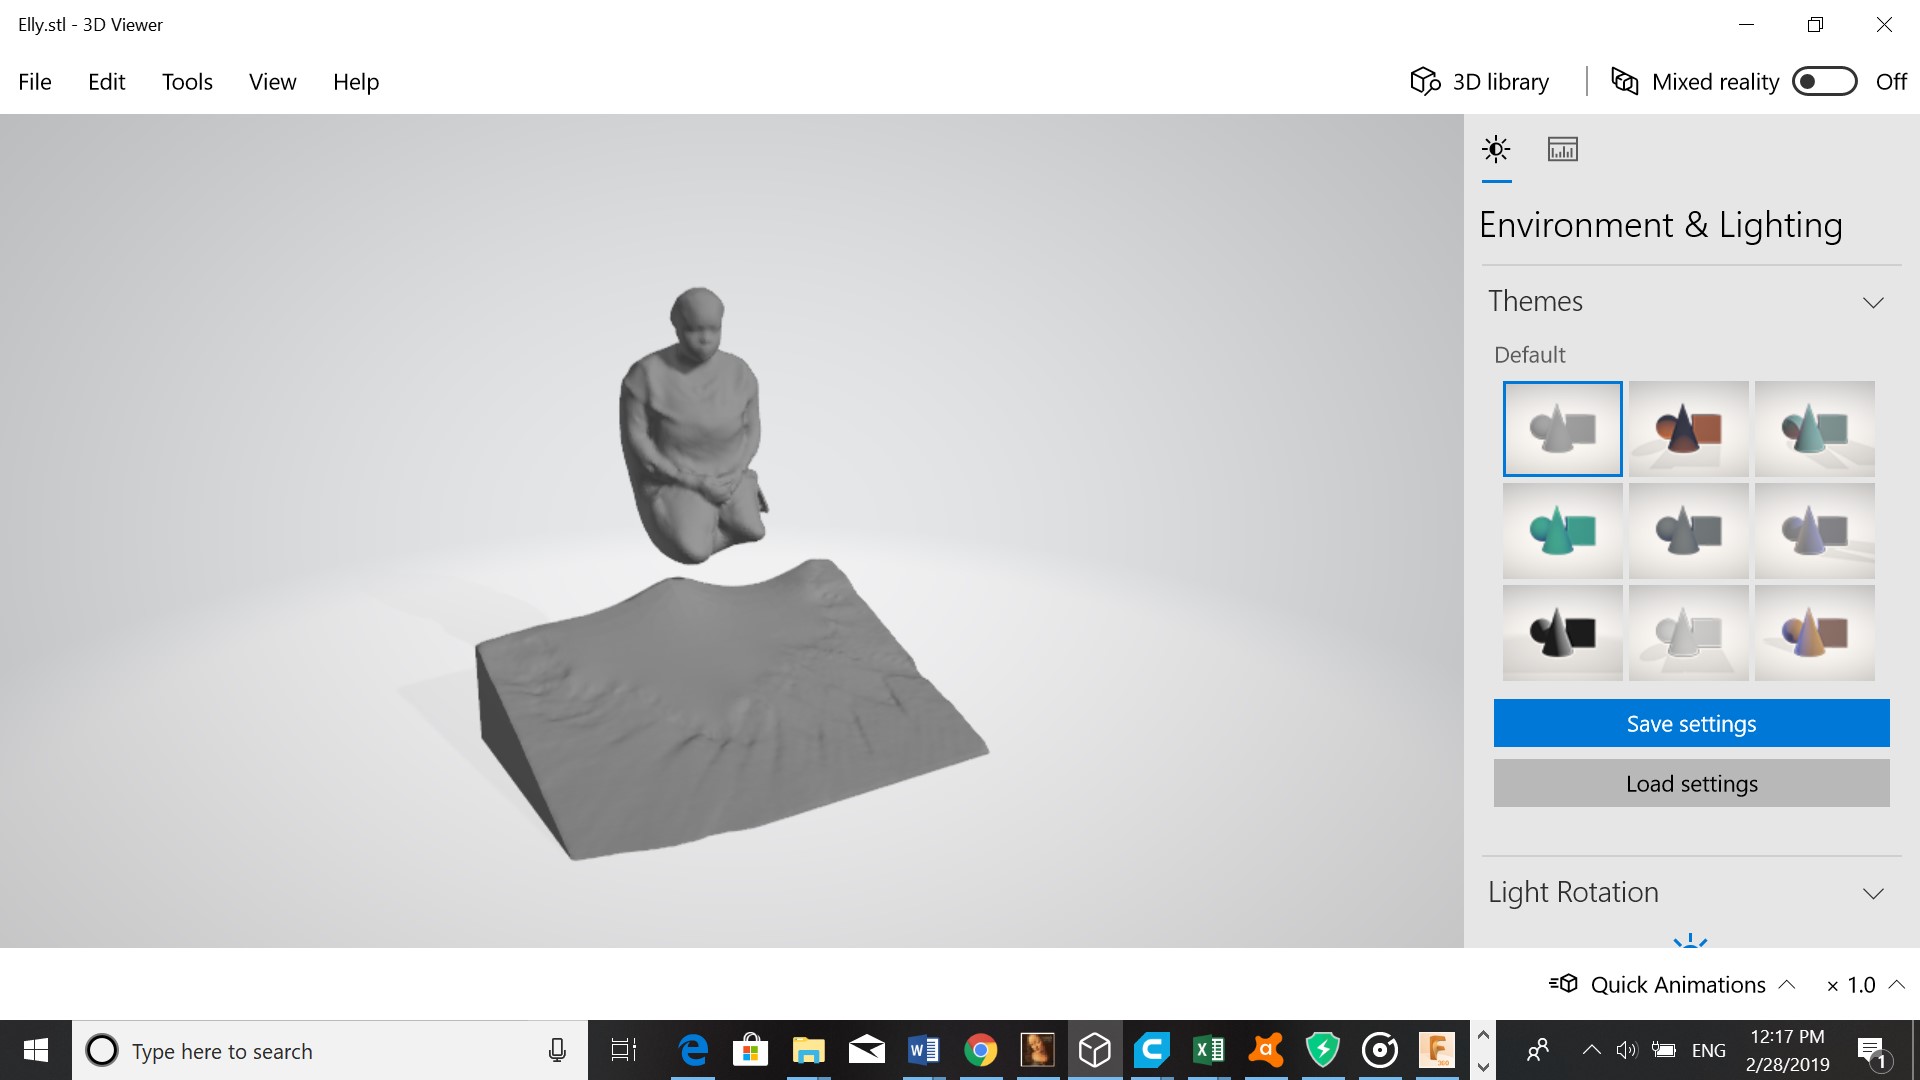
The person I scanned was Shafier Abdoelazis. To see how the scan came out click here
-
Open STL in Cura

- I did not print out my scan because we were running out of time and printing was optional.