Week 10 Molding and casting
This week we had a group assignment and a individual assignment
Group assignment
For the group assignment we had to review the safety data sheets for each of your molding and casting materials, then make and compare test casts with each of them You can find more info by clicking here
Individual assignment
Designing
For the individual assignment we had to design a mold around the stock and tooling that we’ll be using, mill it (rough cut + (at least) three-axis finish cut), and use it to cast parts.
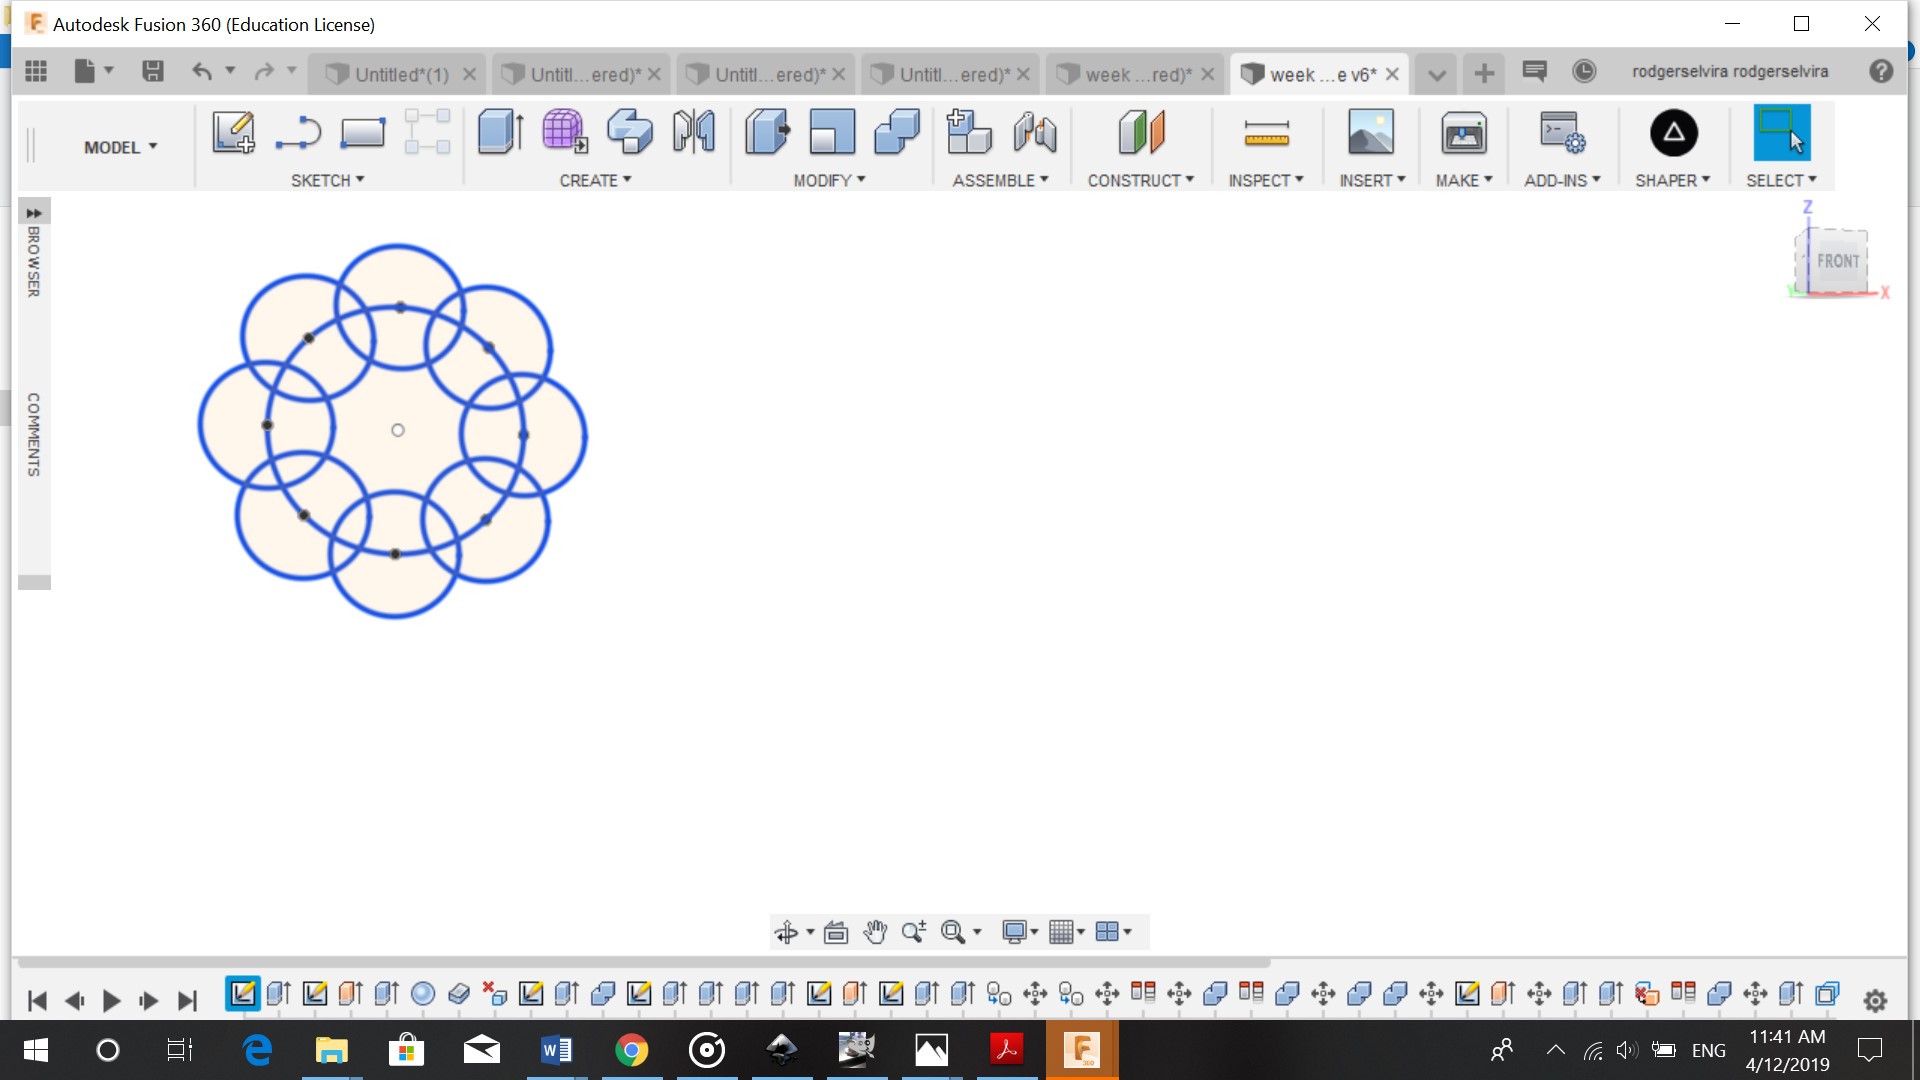
I created my design Fusion 360. You can download the file via this link. First I sketched the flower and extruded it. We are using soap with the following dimensions
- height: 23 mm
- length: 93 mm
- width: 43 mm
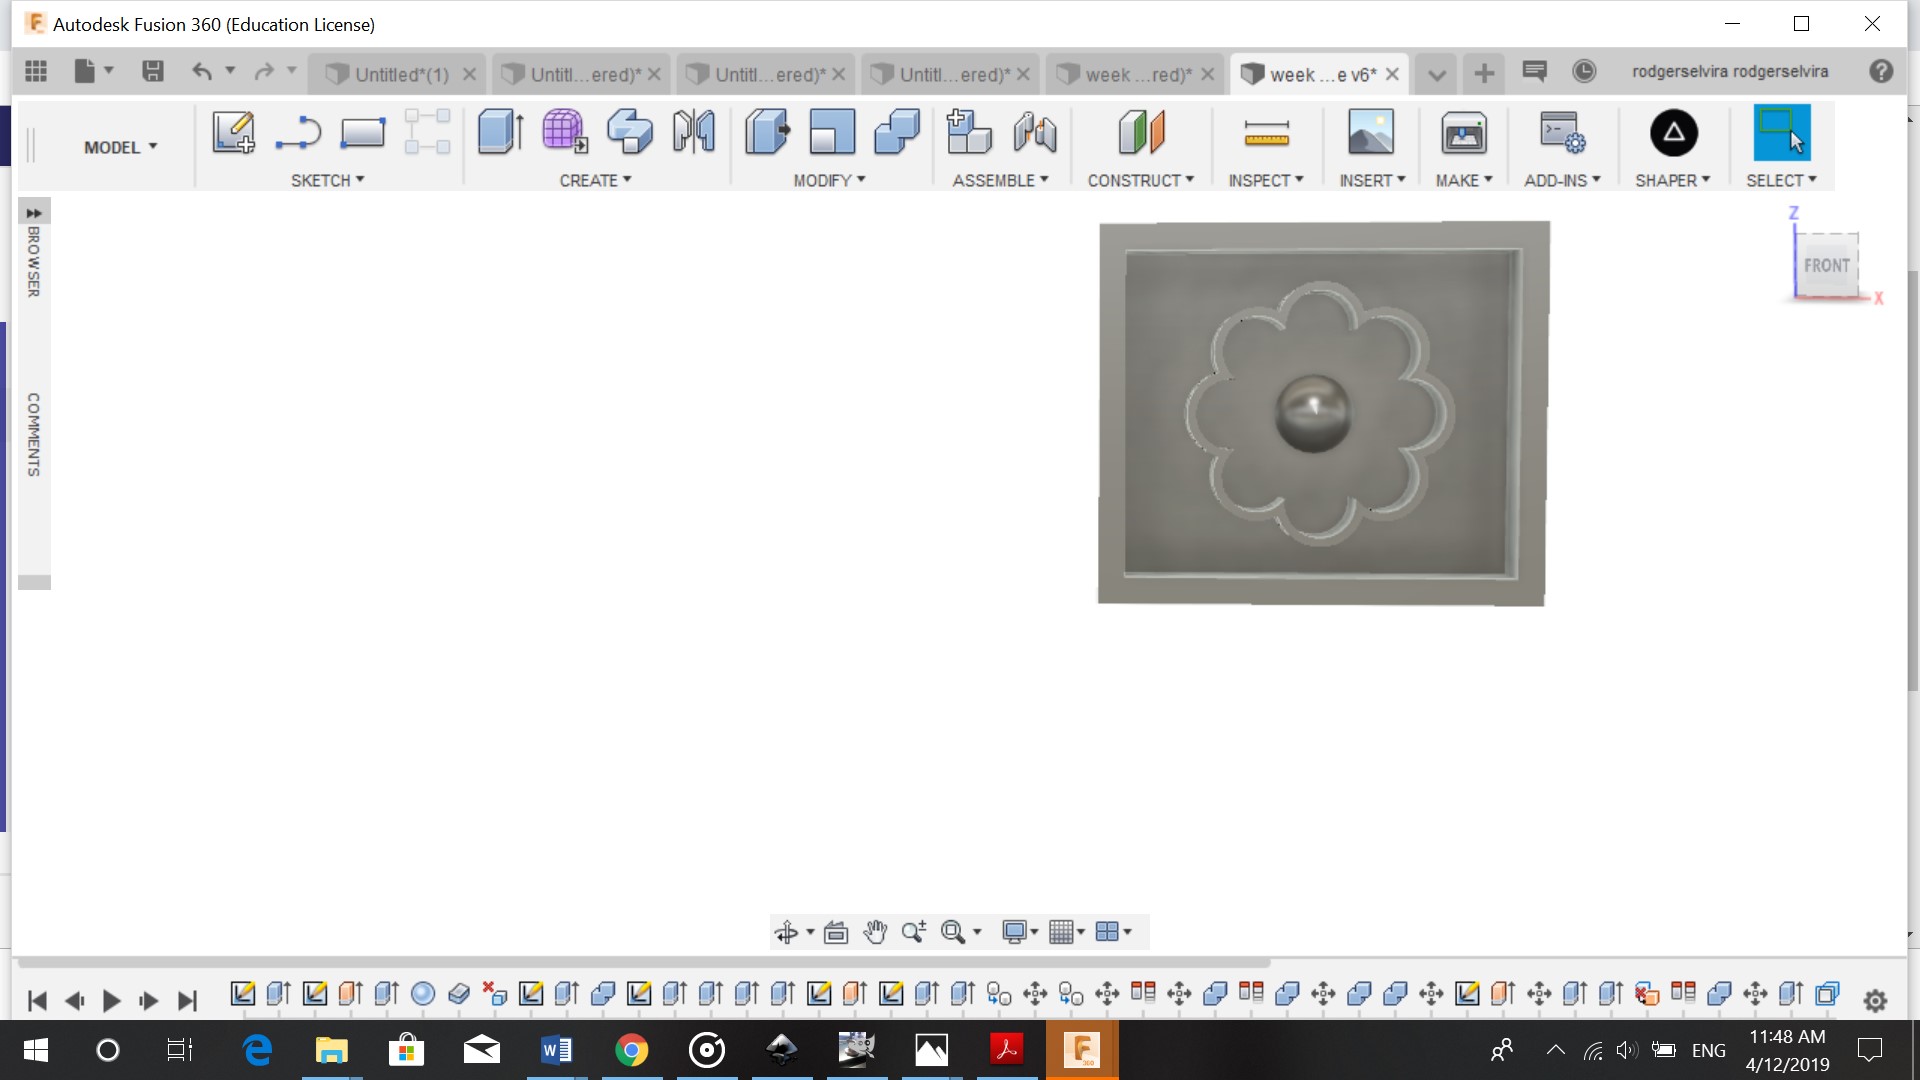
To make the mold I did the following steps:
- Make a rectangle and extrude it to the same height as the soap (23 mm)
- Inside this body I sketched another rectangle and extruded this to -8 mm. (First extrusion was -1mm, but this had to be changed because of the tool we were using)
- I the alligned the flower and the rectangle, so the flower would be right in the middle of the rectangle.
- After that I combined the two bodies to get one single body out of it.
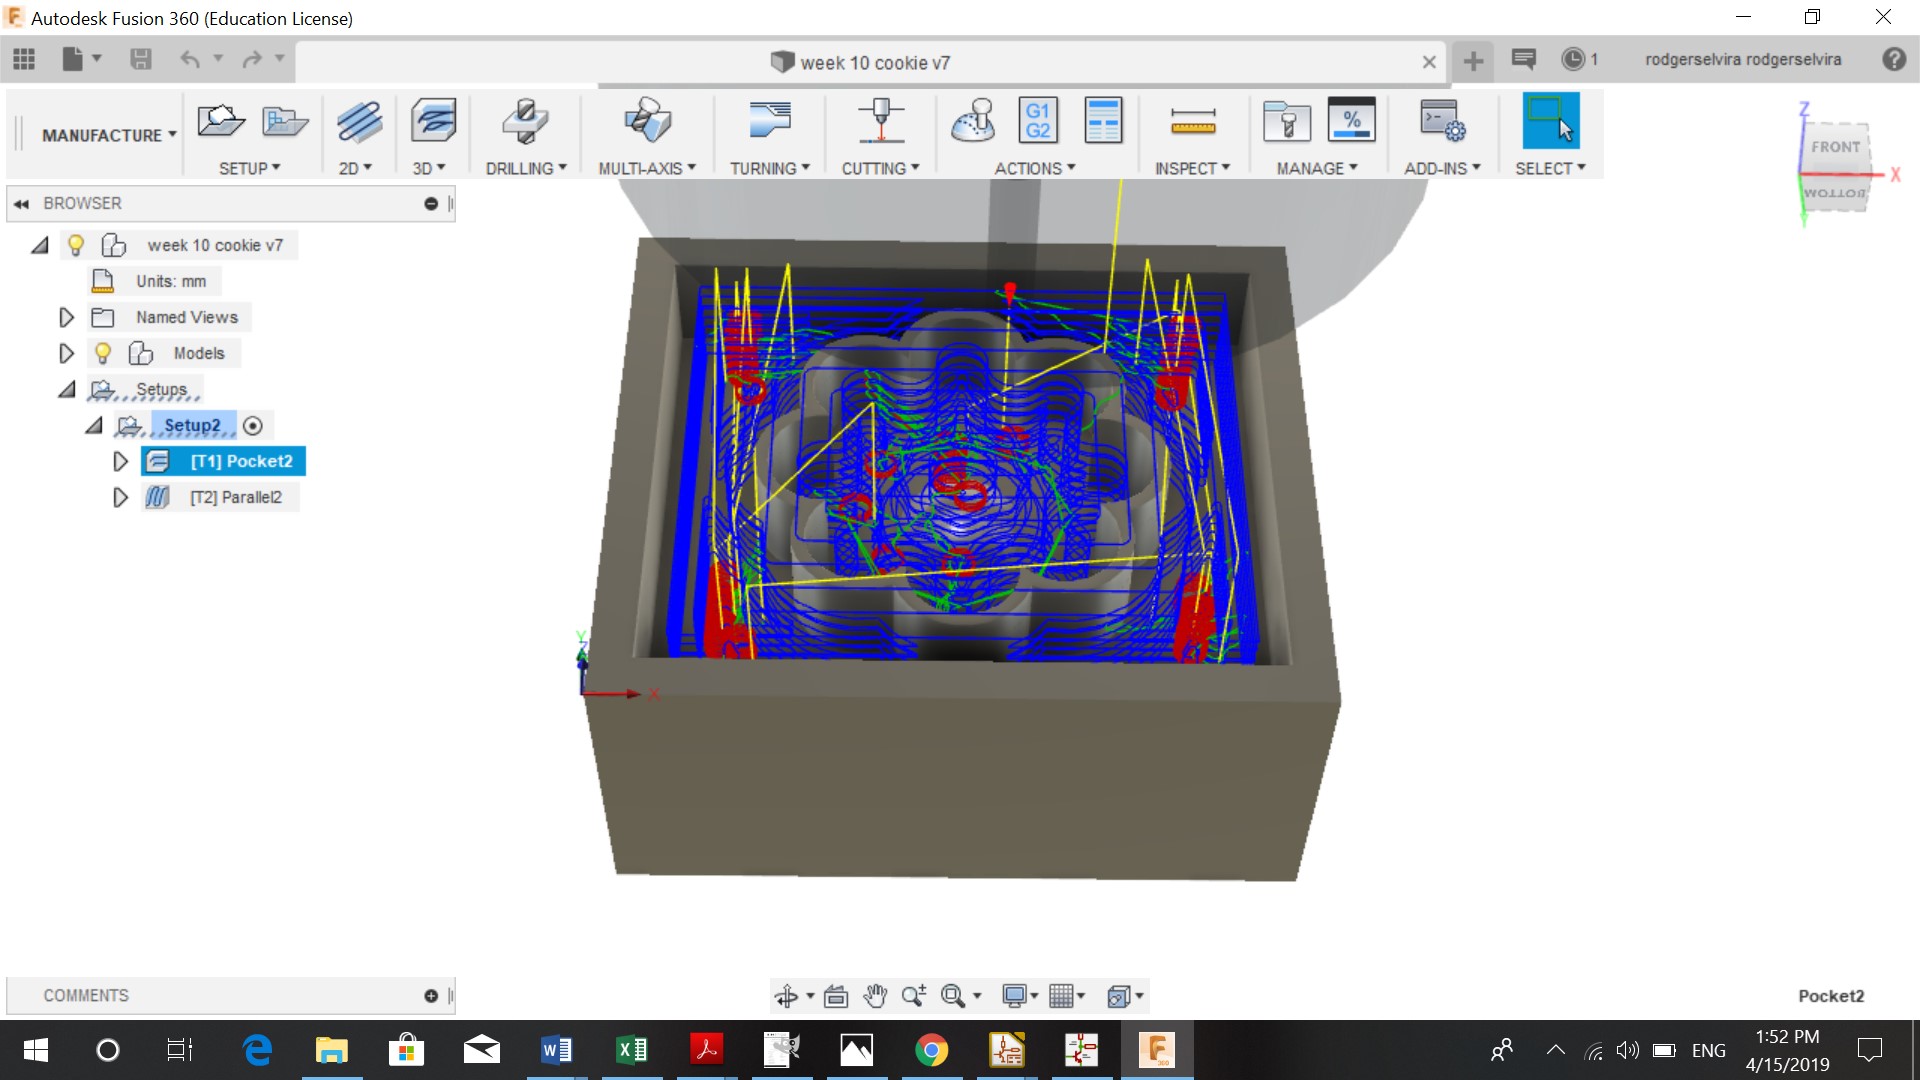
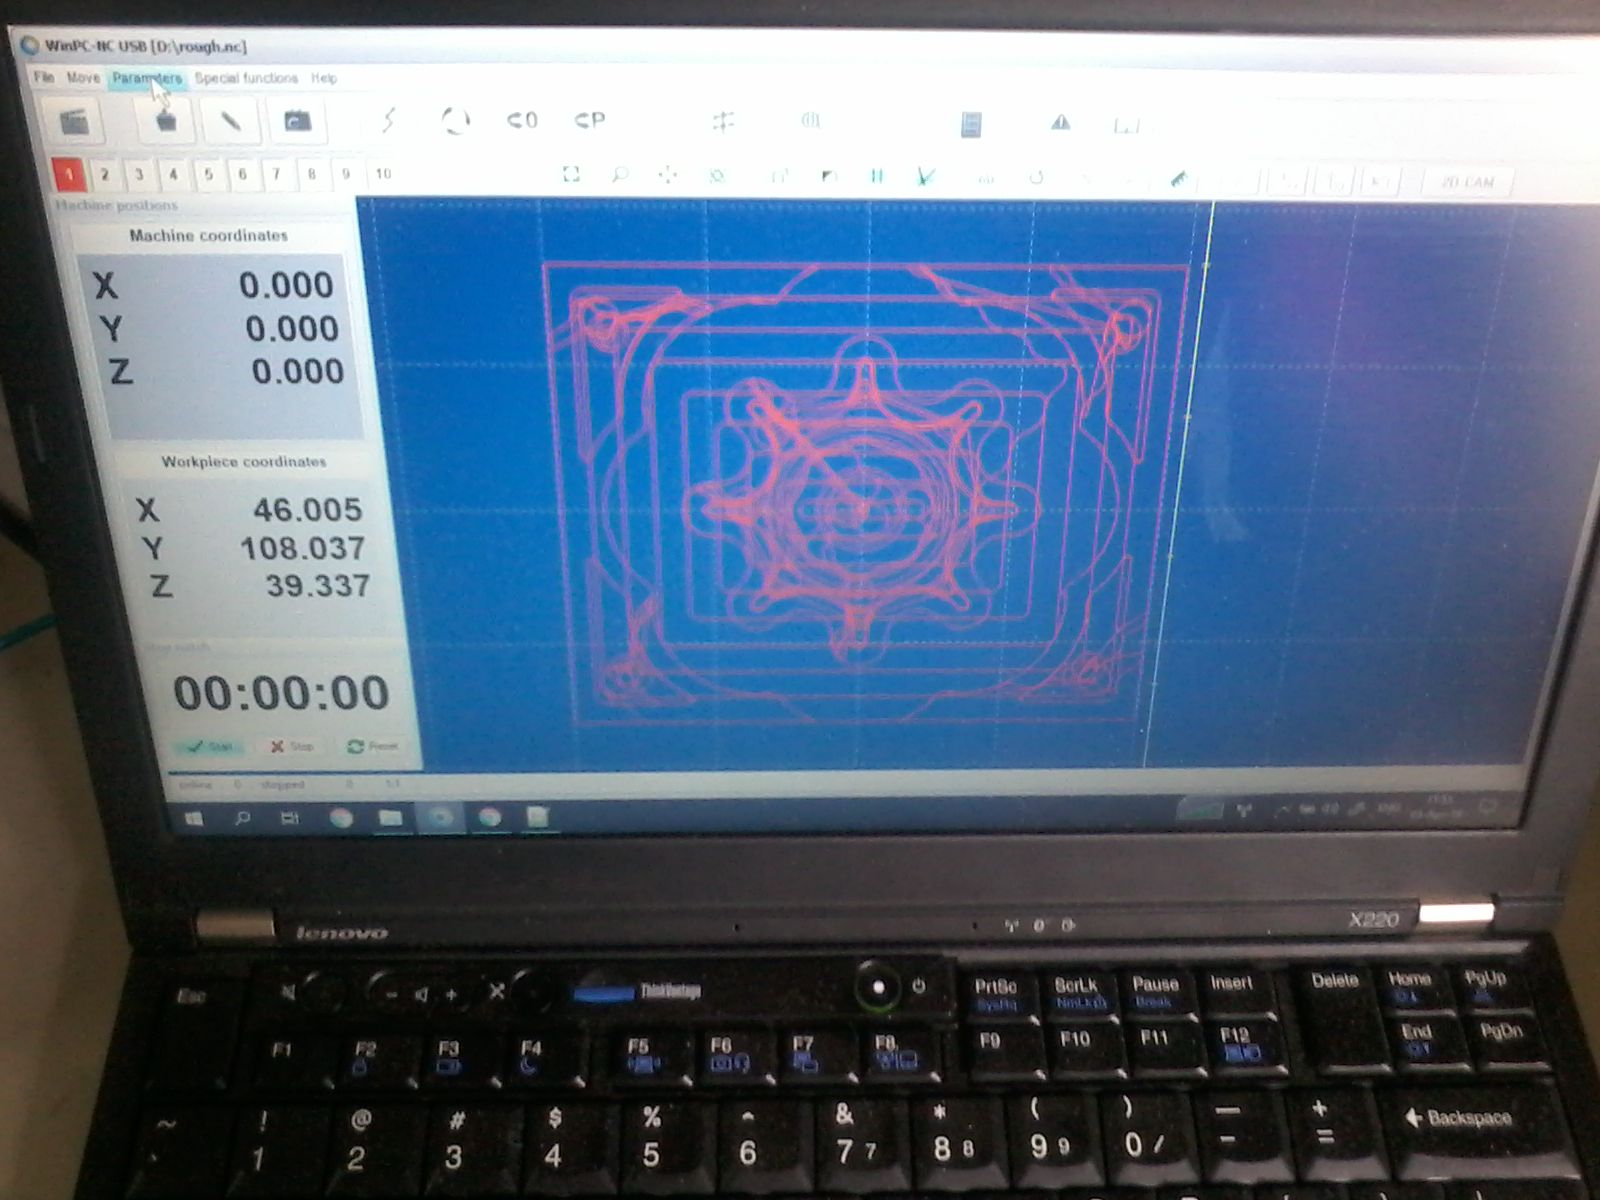
After the design is done, the nc files needs to be created. In fusion you go to Manufacture (click on model and the list will open). Setup
Rough cut
For the rough cut I followed these steps:
-
Under 3D, I clicked on pocket clearing
-
Select tool
-
Tool = Bullnose (1/8”)
-
Disable coolant
-
Cutting feedrate= 900mm/min
-
Height: offset 10mm, retract 5mm, feed 5 mm, top 0 mm, bottom 0 mm
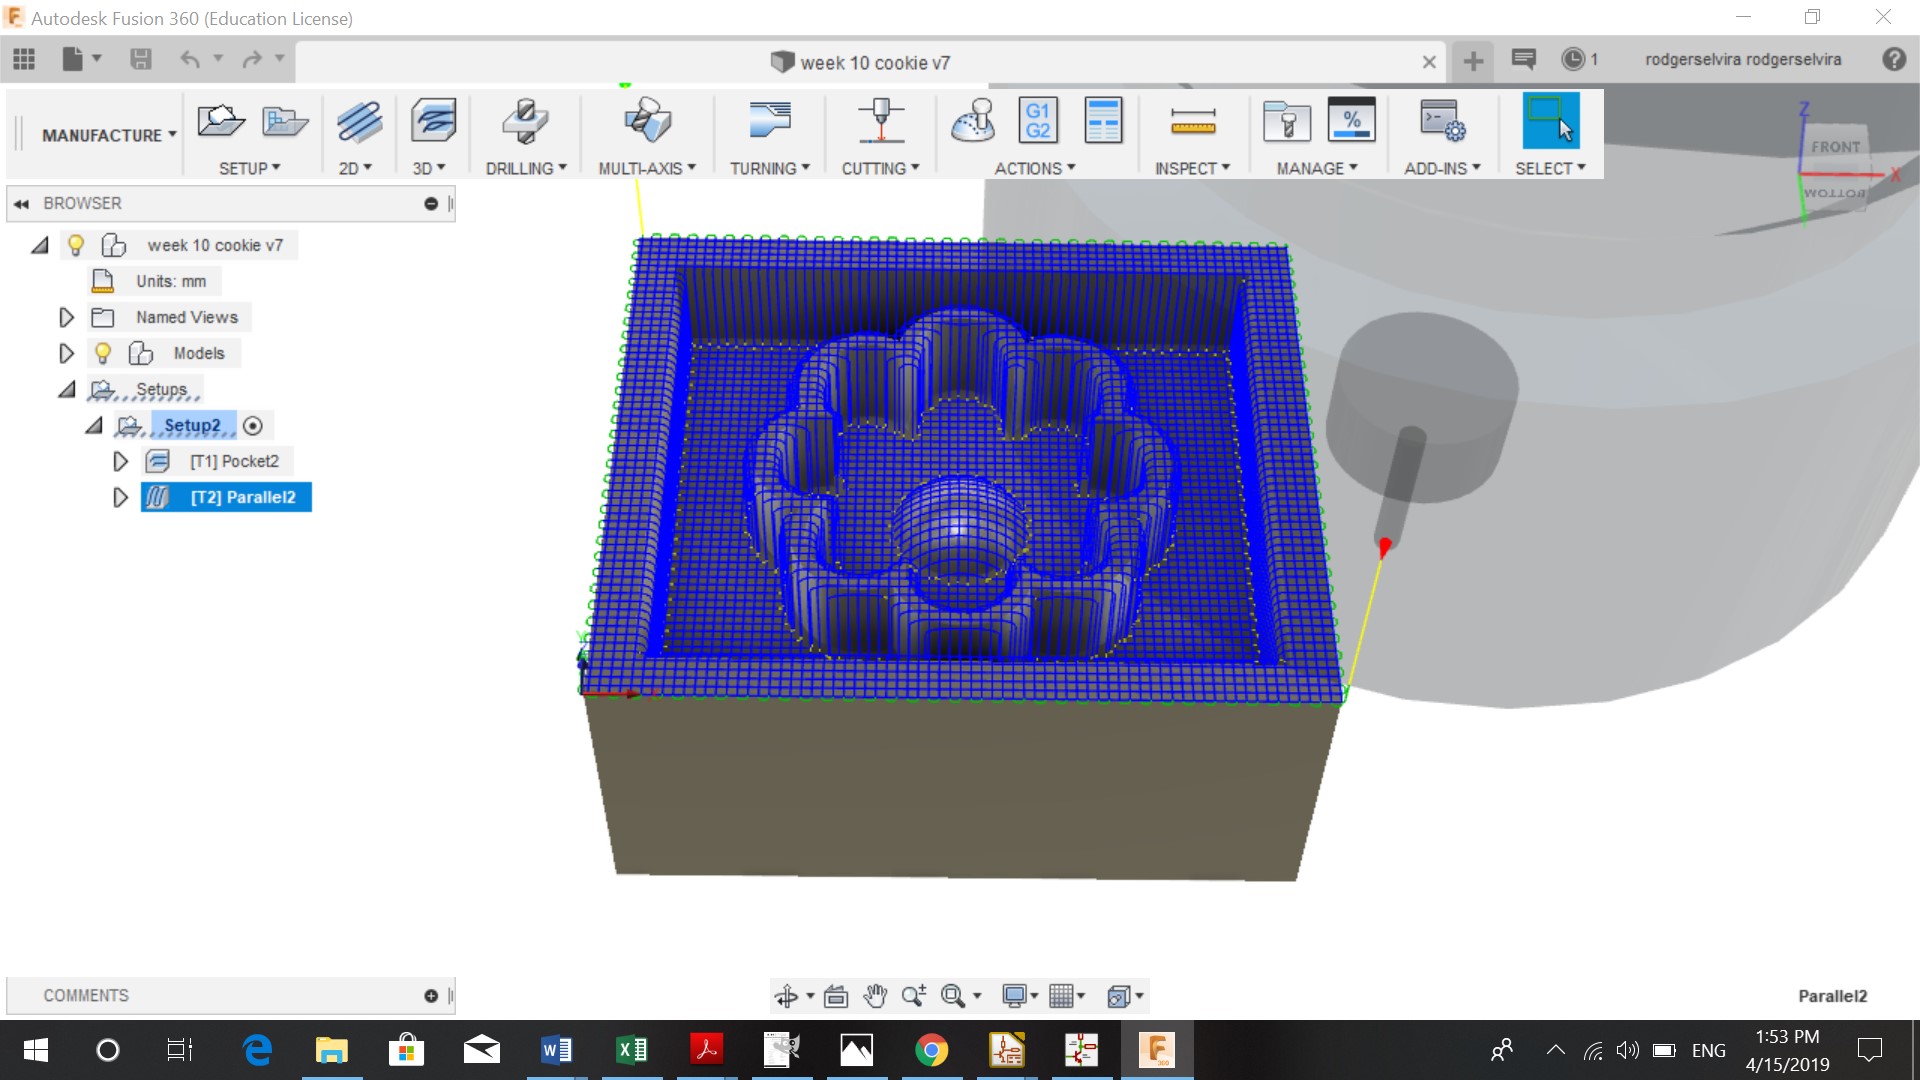
Finishing cut
-
Under 3D, I clicked on Parallell
-
Select tool
-
Tool = Ballnose (1/16”)
-
Disable coolant
-
Cutting feedrate= 900mm/min
-
Height: offset 10mm, retract 5mm, feed 5 mm, top 0 mm, bottom 0 mm
Milling
Before milling the soap it needed to be attached to the machine so it wouldn’t move.
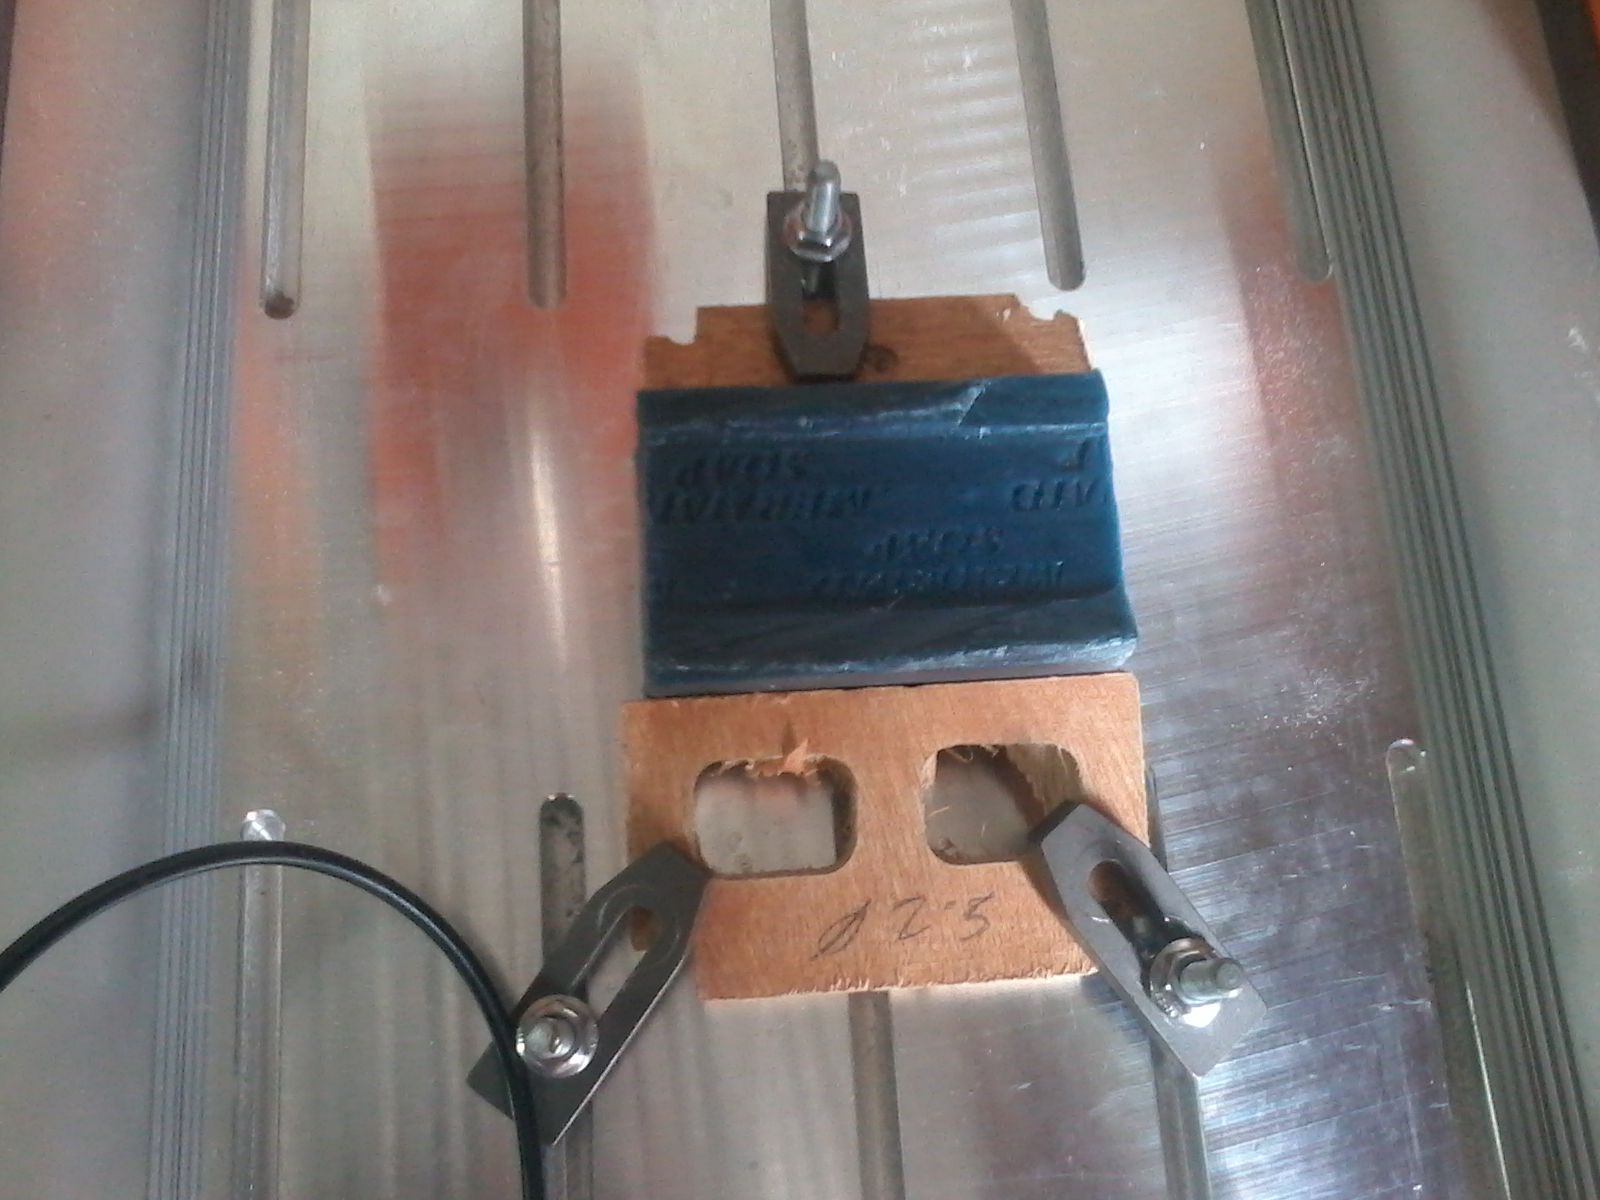
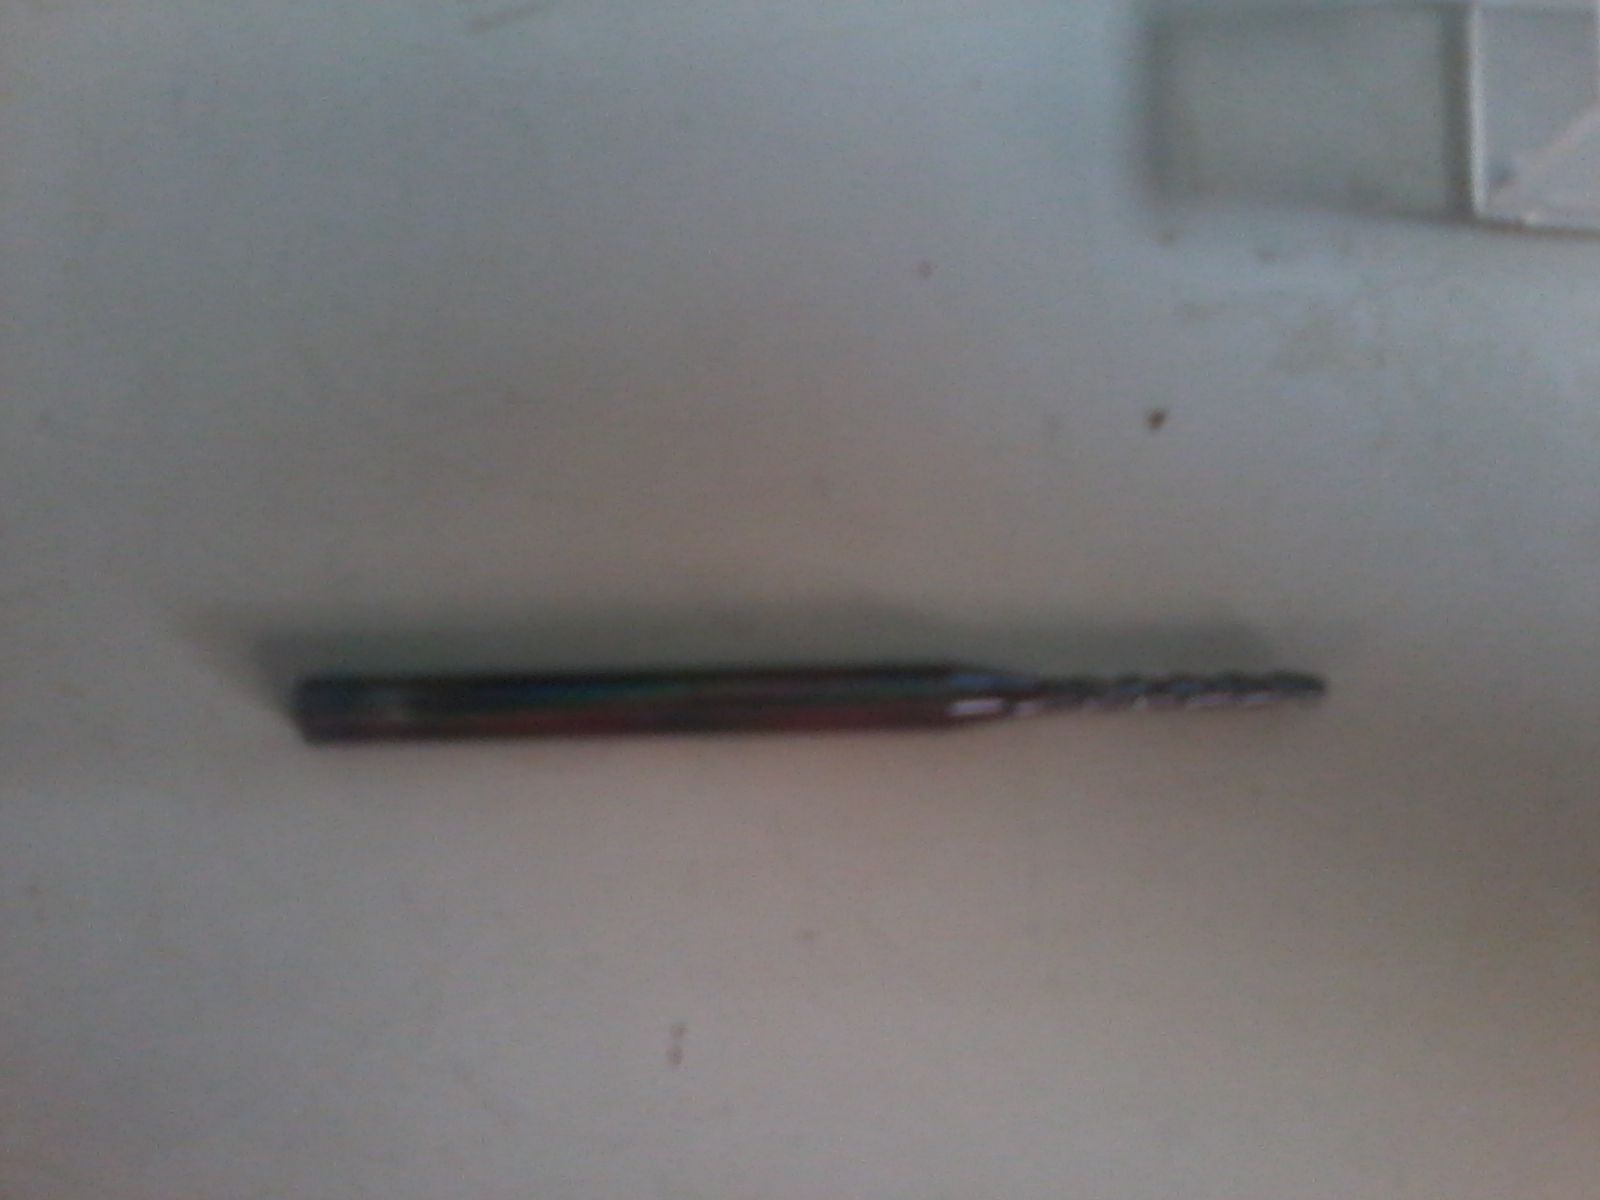
I then placed the bit and thightened it with a wrench.
I saved my nc file on the desktop and opened it using WinPC-NC. I checked import format (deselect invert Z-Axis), miscellaneaous parameter (zero point) and coordinates (zero point in file= origin coordinates)
After this I determined the Z.
In the first try, my rough cut came out very clean
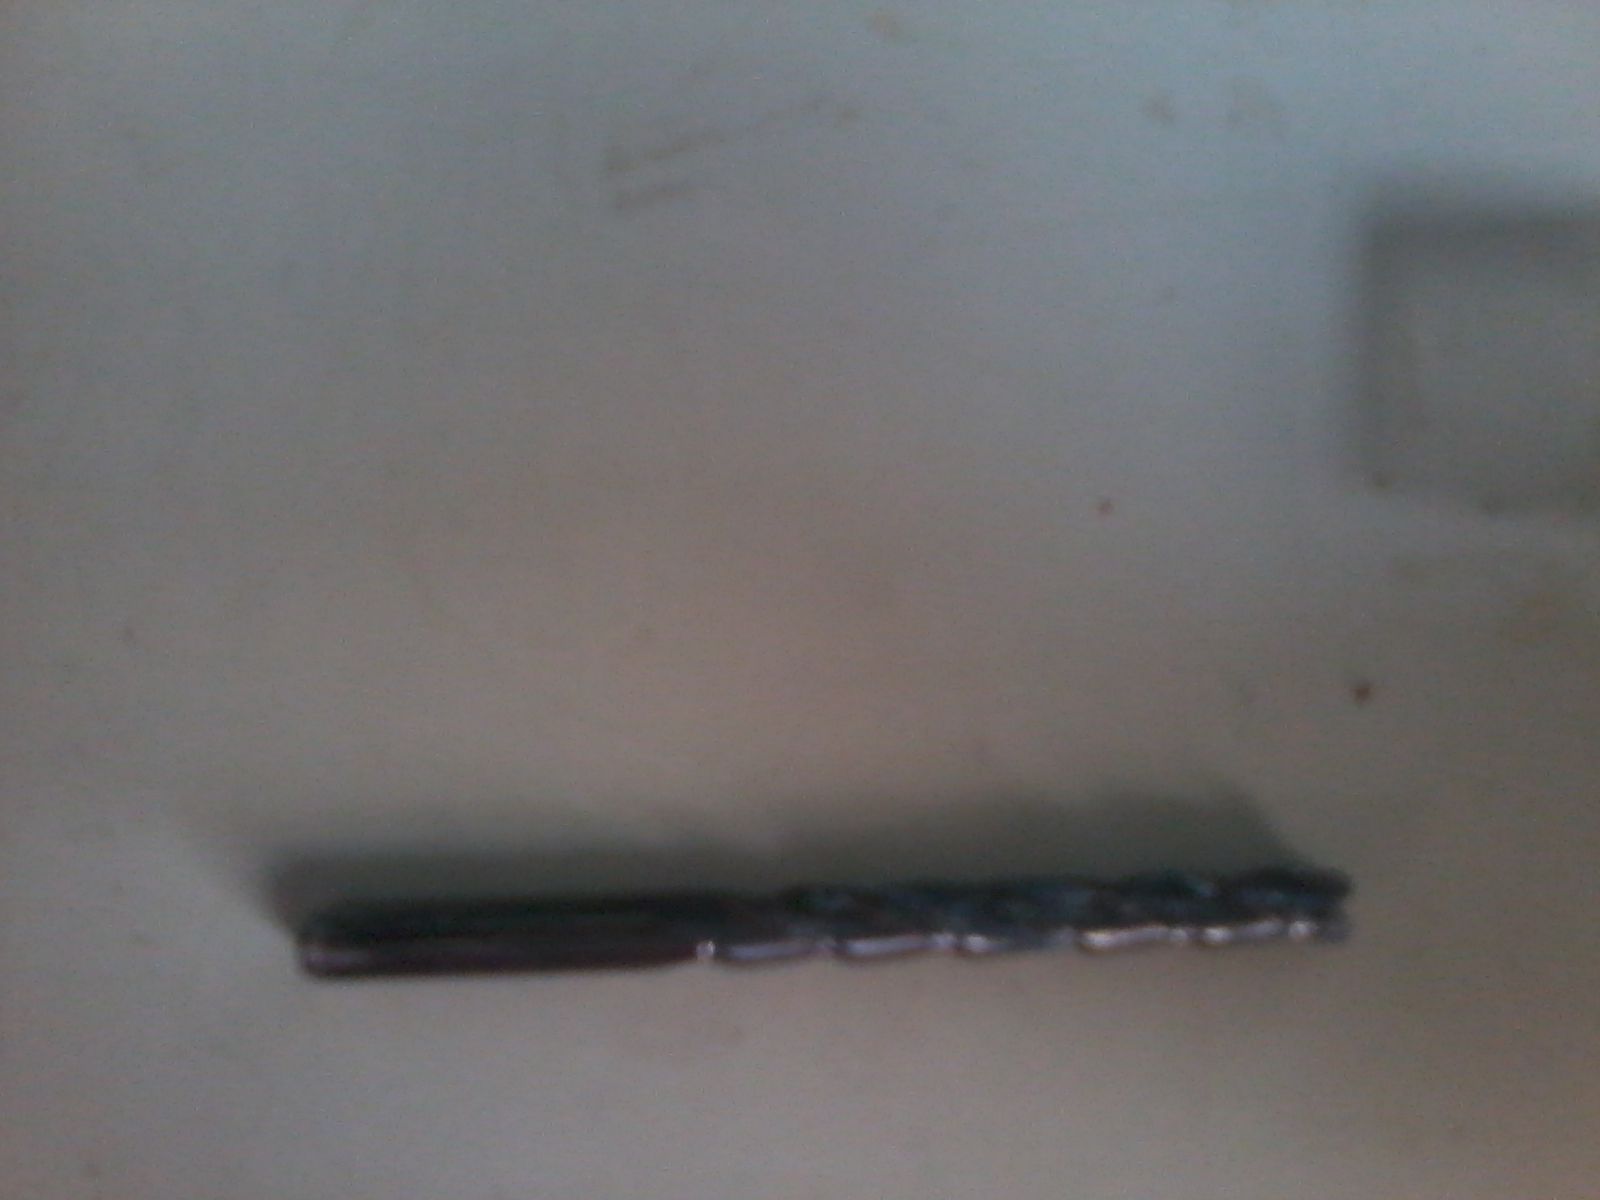
For the finish cut I did the same steps and used this bit.
But when doing the finish cut I got errors from the laptop. The cause of this was that I had stopped the machine using the Stop button, but hadn’t reset it. I tried the finish cut after this but the Bit took a plunge into my soap so the first try was a fail.
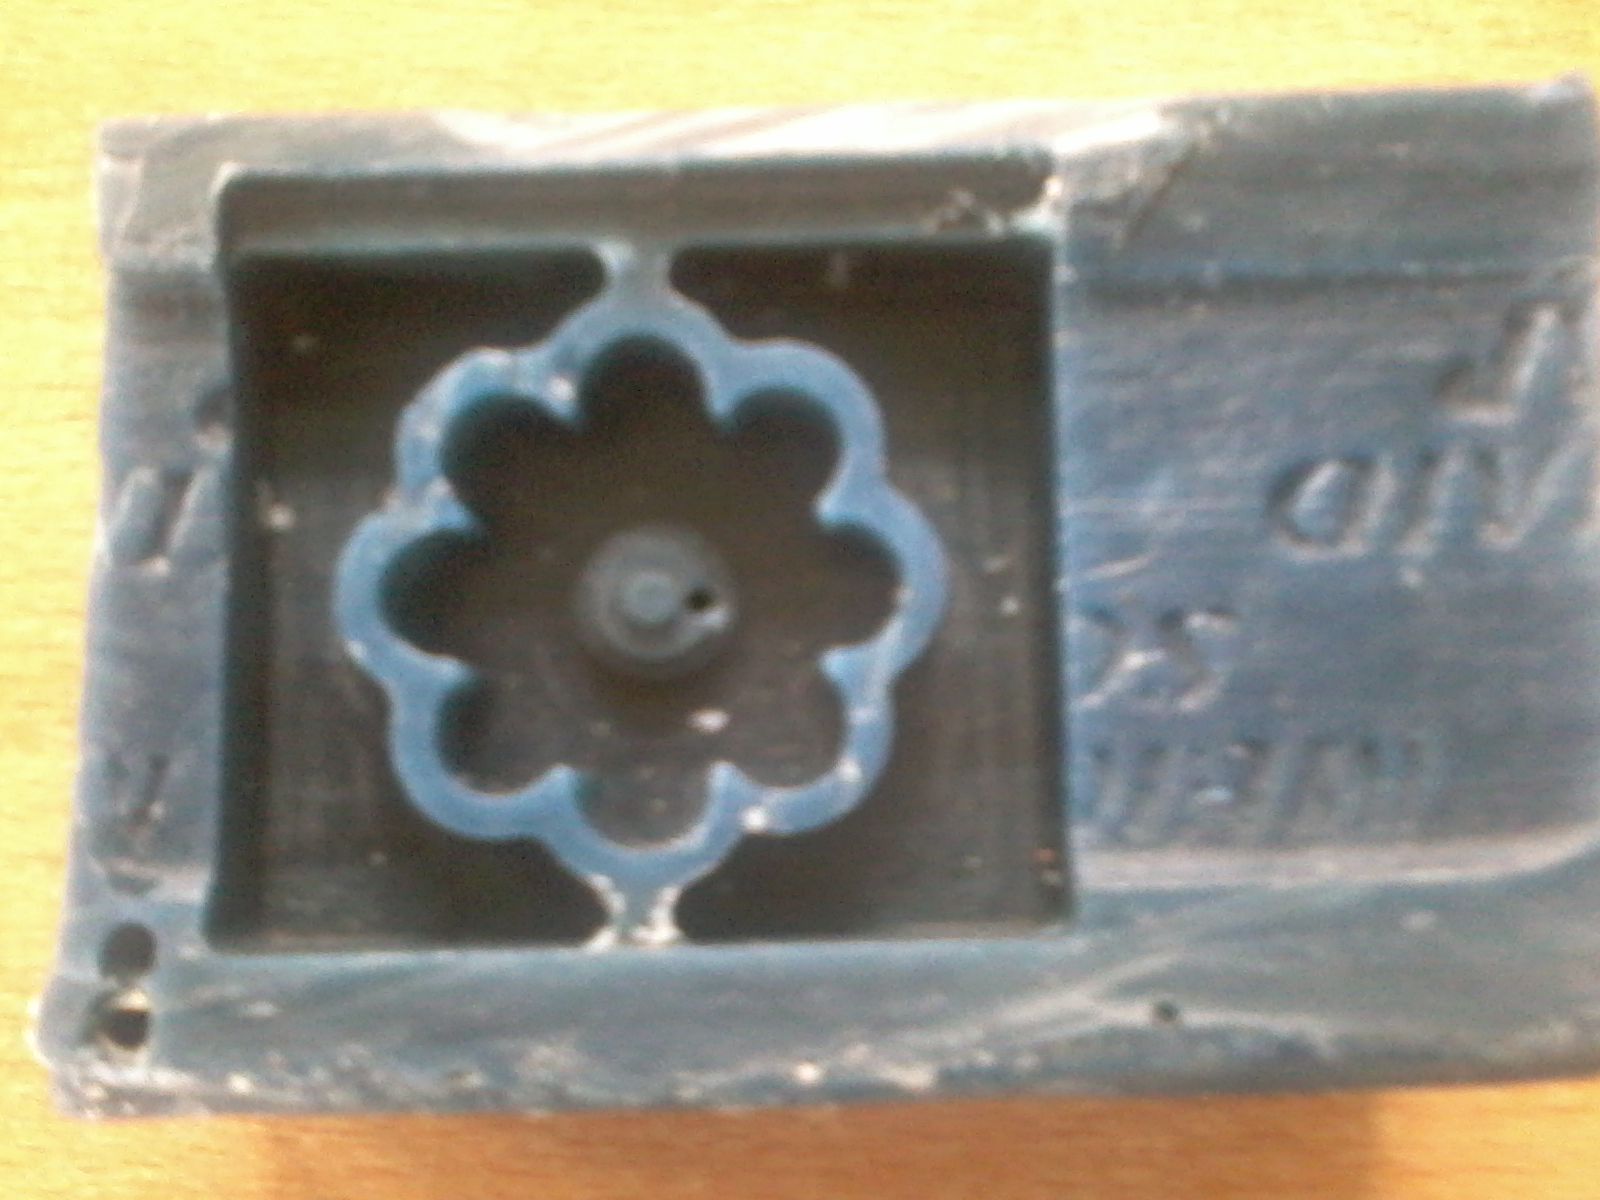
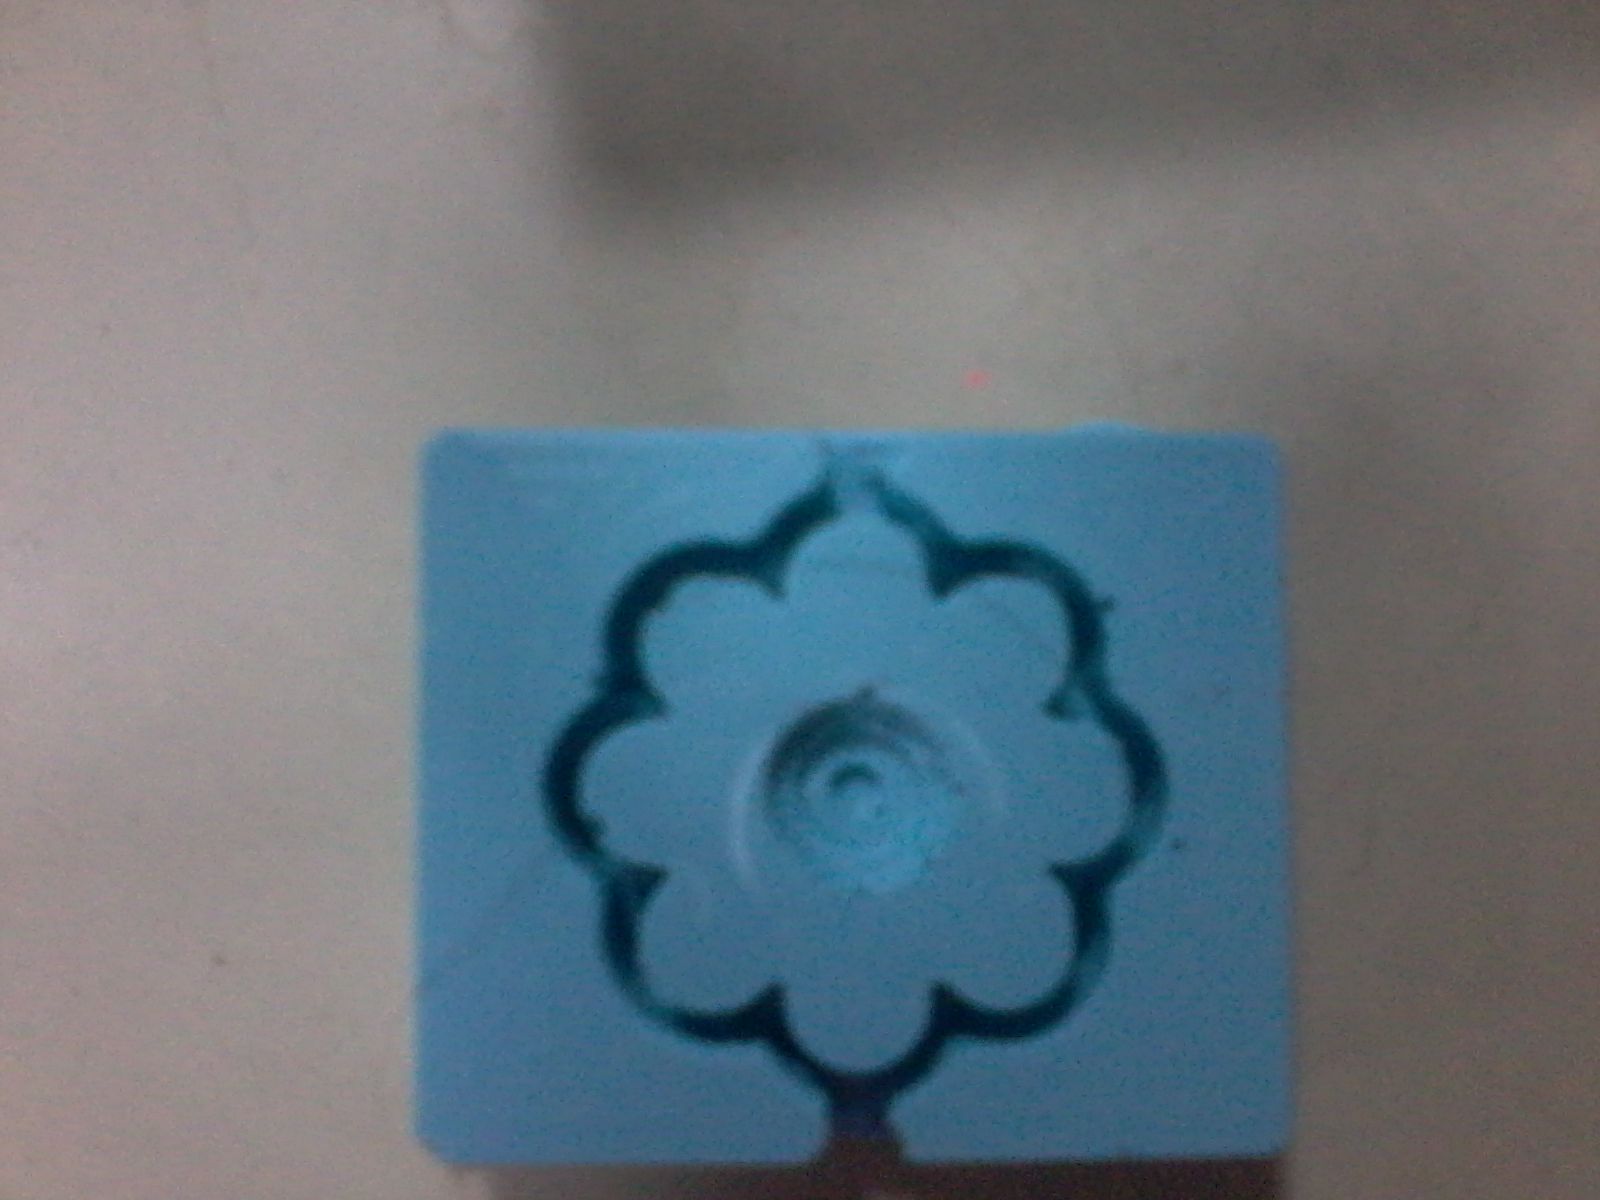
For the second try I did the same steps and got a good result

Casting
To cast our mold we used to OOMOO 25 sillicone rubber compound and Smooth cast liquid plastic. Both of these components exist of part A and B.
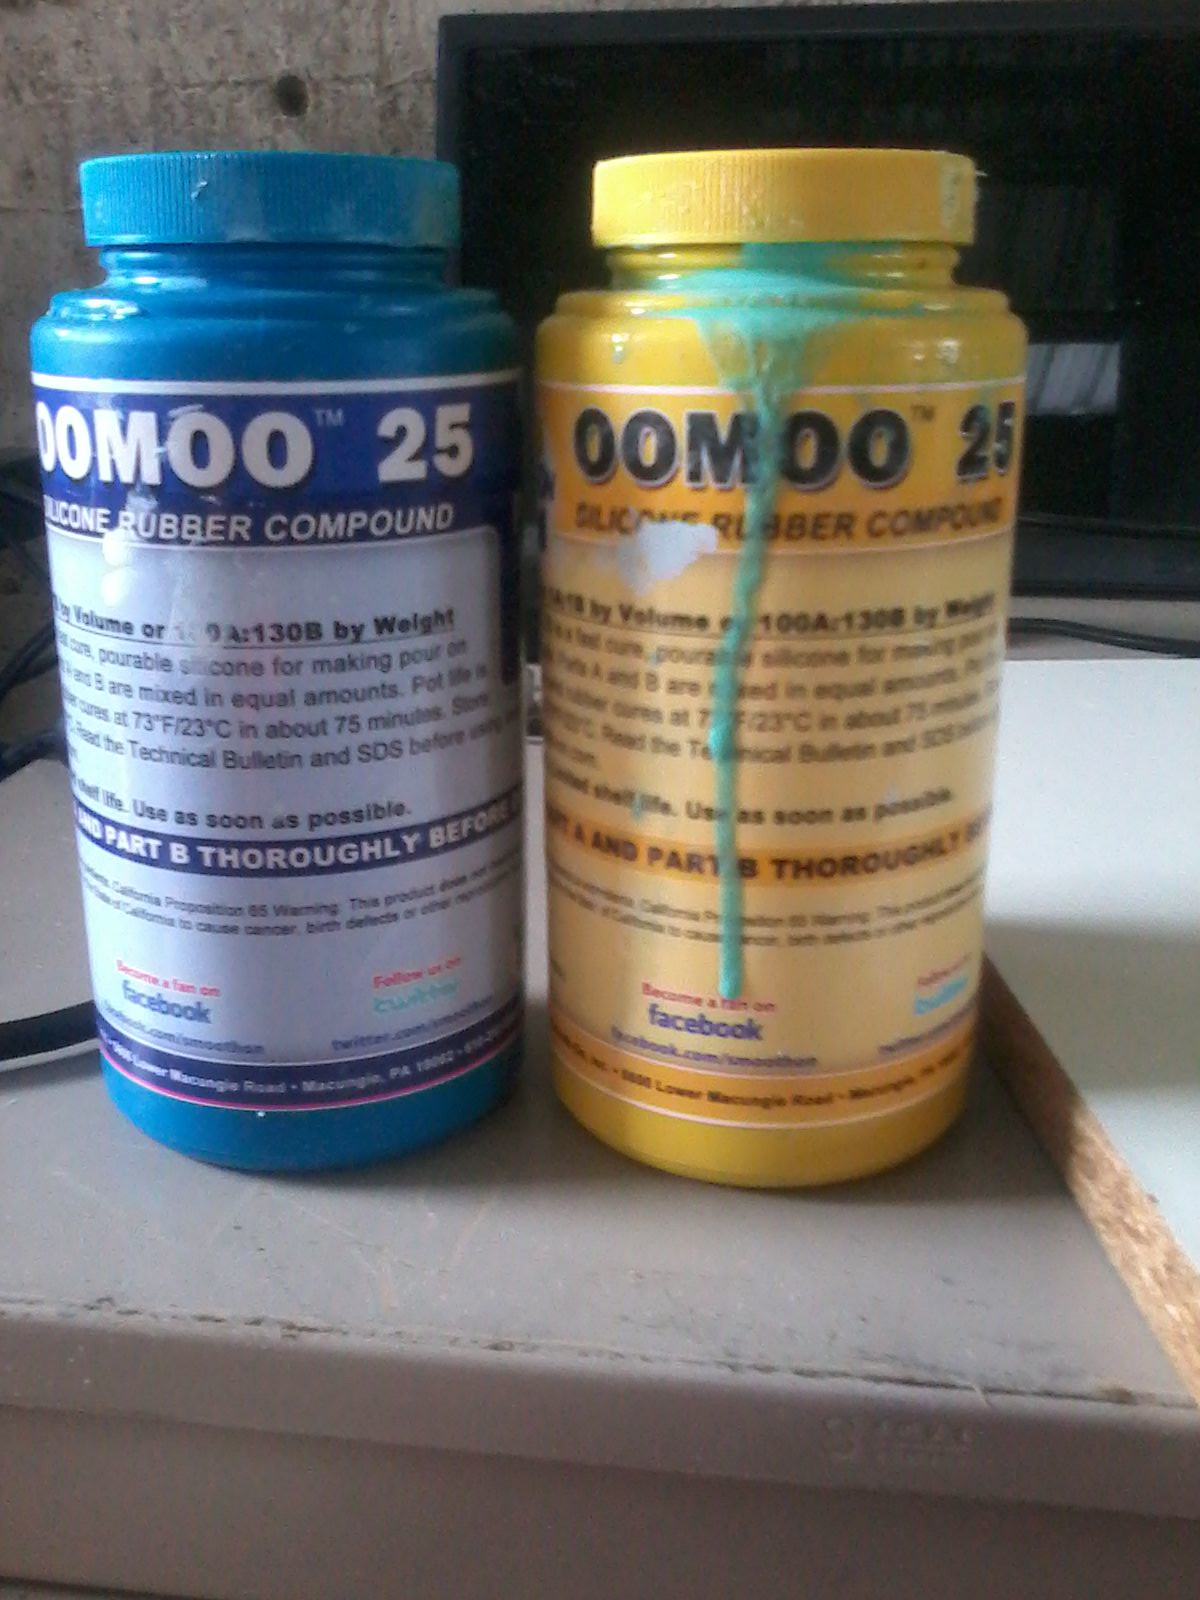

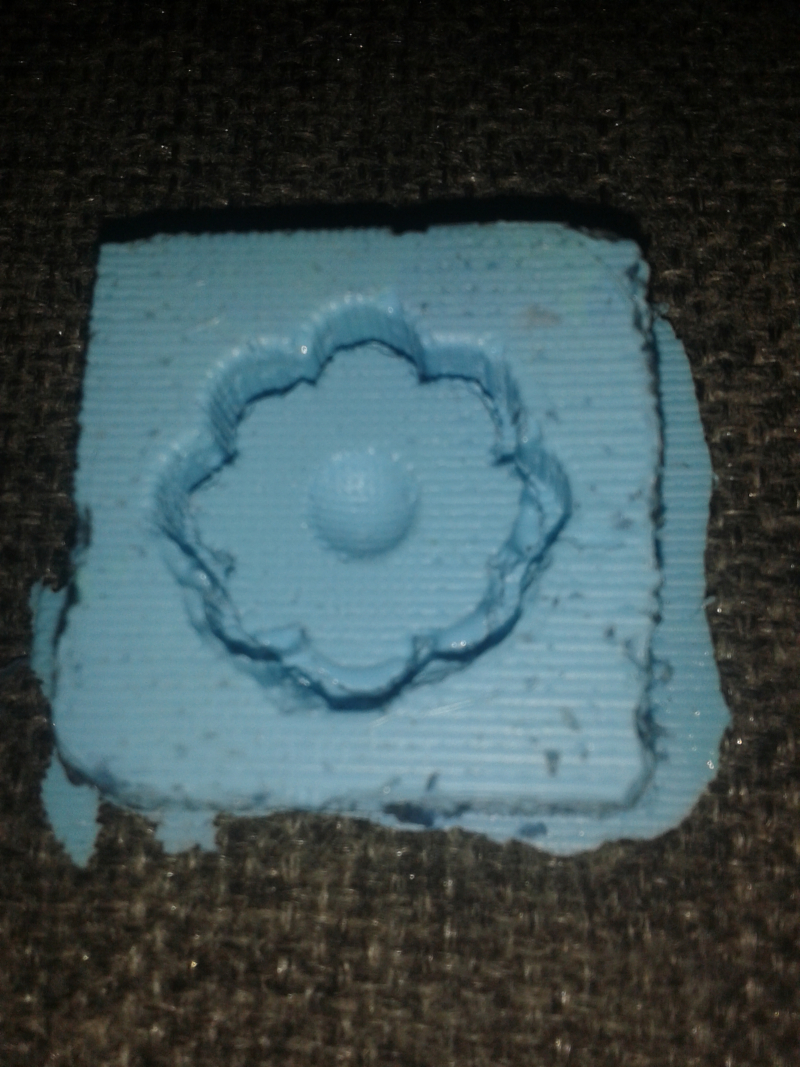
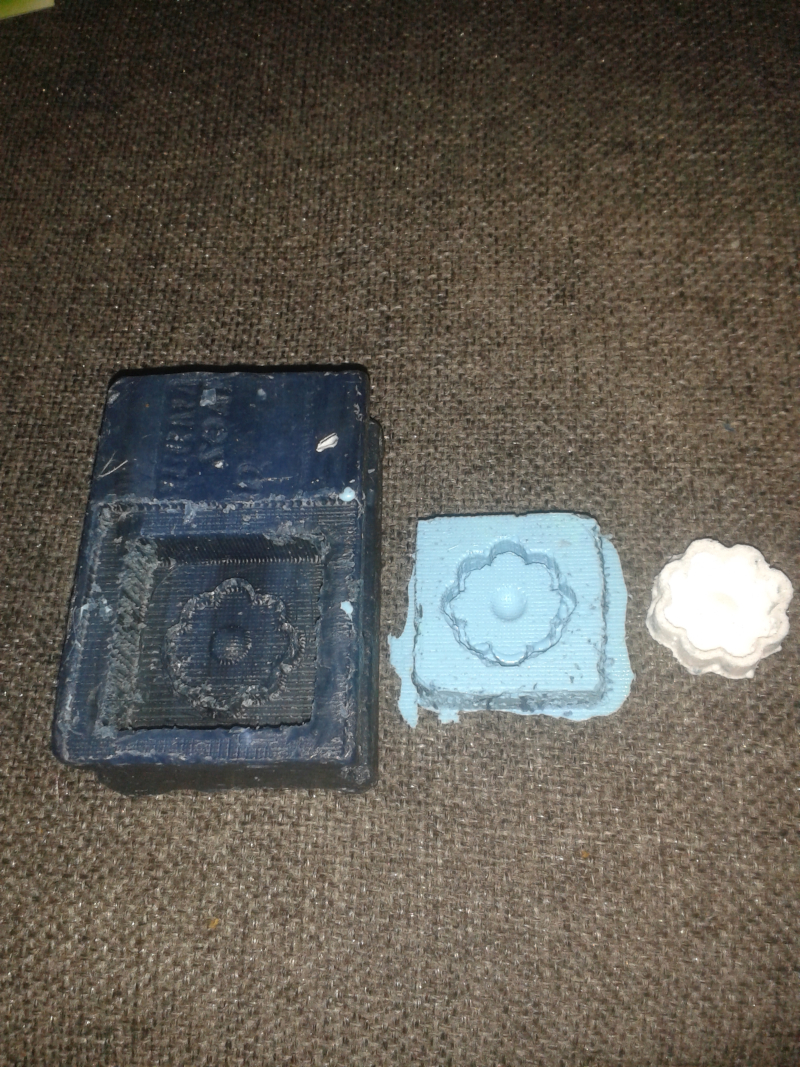
I first read the instructions. I then mixed two tablespoons of the rubber sillicone part A with 2 tablespoons of rubber sillicone part B and poured it on my mould.
My plastic mold could’t come through because it poure out the rubber mold.
Trial 2
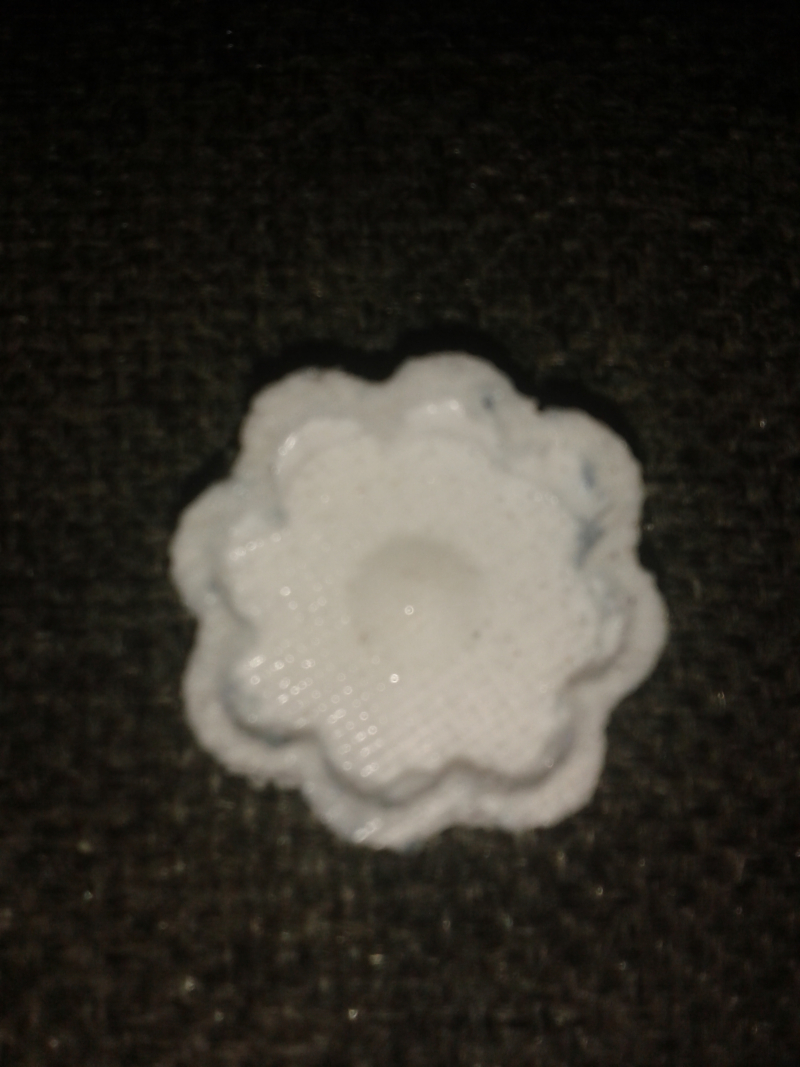
For the second try, The sides of the soap were lifted up a little bit, so the plastic mold would not pour through. This link shows the new design
I used the same components to make the rubber and the plastic mold.