6. 3D Scanning and printing
Group assignment
Individual assignment
Week 06 - 3D scanning and printing.
Intro
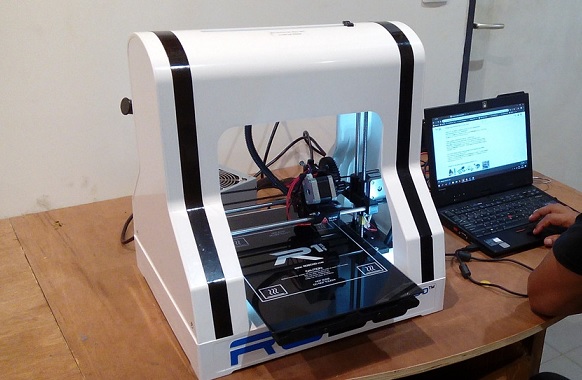
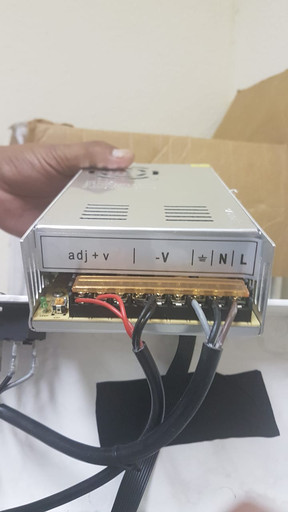
First i would start with the Robo 3D+ But with the set up, i burned the powersupply by connecting it to 220 volt instead of 110 volt socket. I forgot to turn the voltage switch on the powersupply to 220 volt , i assumed it was auto changing voltage. :(
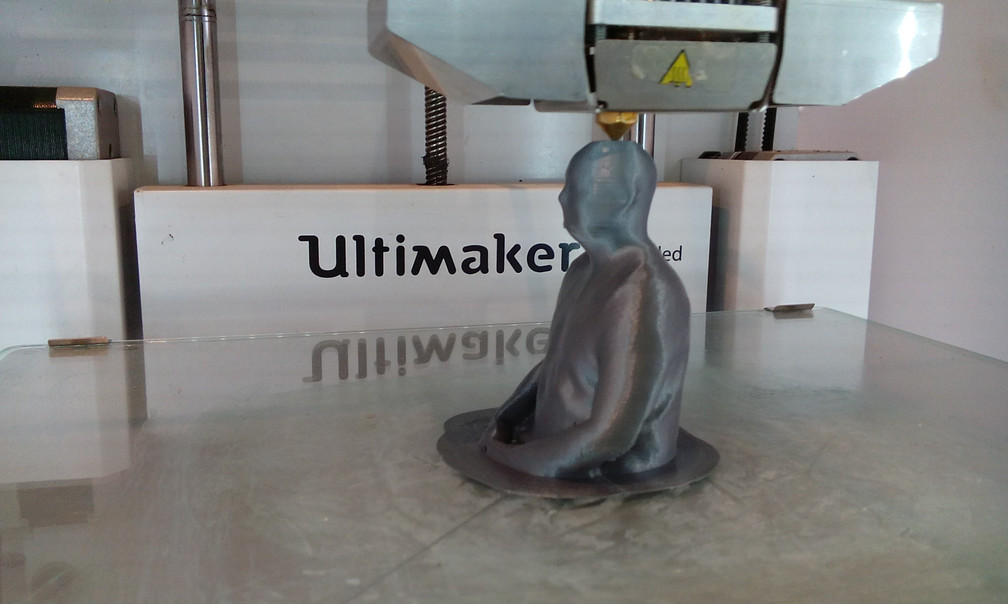
Luckily we had an other 3D printer available and that was the Ultimaker V2 extended
3D Design in Thinkercad
I want to use this assignment to produce a case for my final project, so i started designing in Thinkercad Why Thincercad?it is very straight forward and because i do not really need a difficult design it is sufficient. especially for beginners in 3D design.
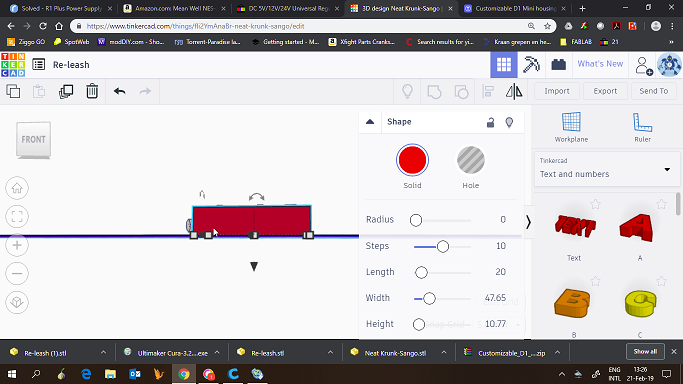
- Started with a retangler solid block design and made withe the “Hole”option this like a box. You just make a smaller block design and fit it into the bigger block as an ‘Hole”
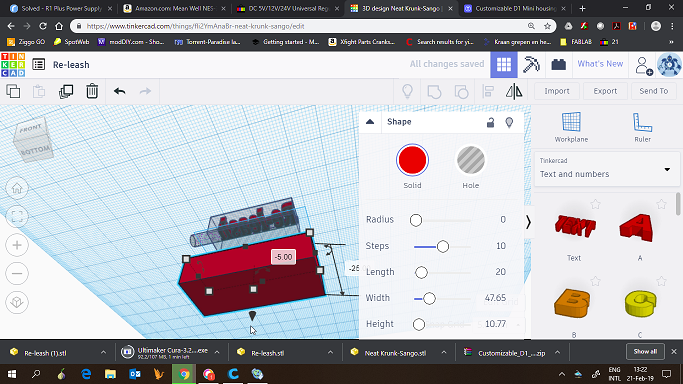
- For the branding i designed also the name of the project and extruded it on top of the box
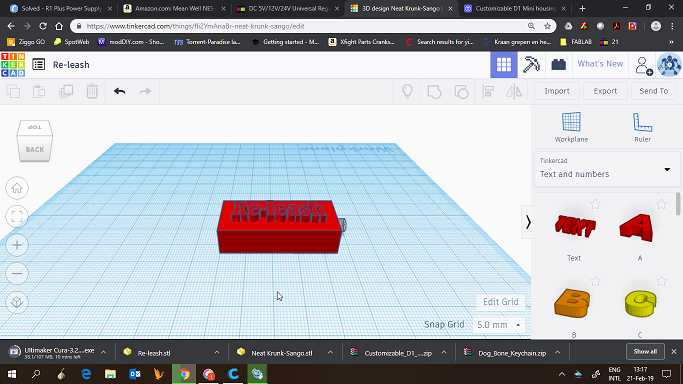
- This was the result
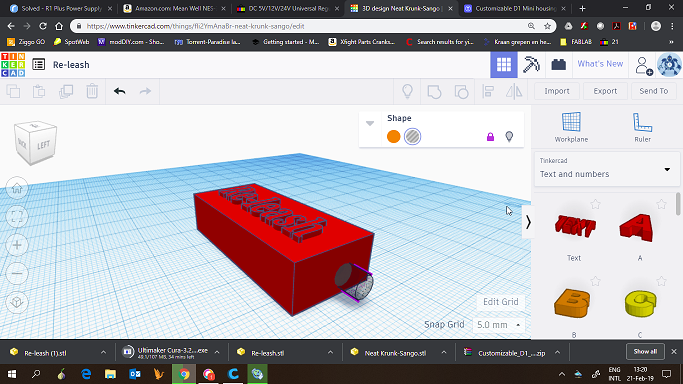
- Why this is not an subtractively design is because of the hole at the side of the box. A CNC machine can not make this in one go.That is why i use the 3D printer.
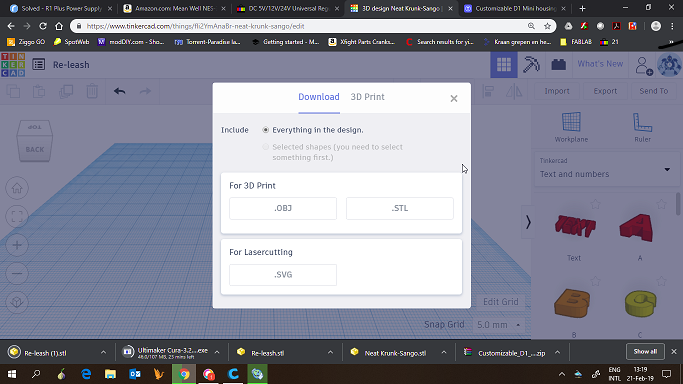
- After finishing the design, i downloaded it as an .STL file
3D Printing
For the 3D printing i am using the Ultimaker 2 Extended. It comes equipped with a heated build platform and can print at a resolution of up to 20 microns. It supports both PLA and ABS and can print at a speed of 300 mm/s.
The Ultimaker i used has the capabiltiy for offline printing, and i used an SD card with my .STL on it
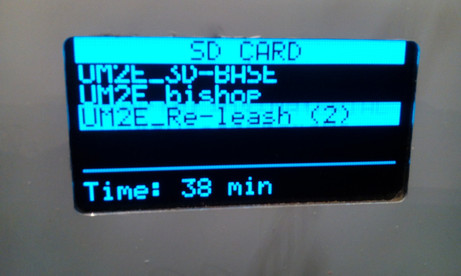
- It is pretty straight forward , just insert the SD into the printer
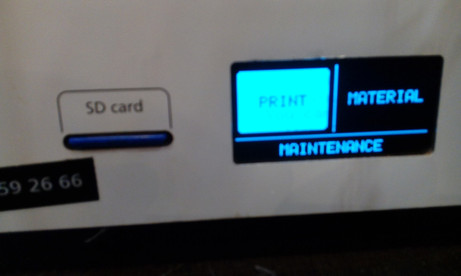
- Hit the startbutton

- And the machine will start, first to heat up.
- When the temparture hit 200 degrees celcius the machine starts printing
- My first print went wrong, because i did not glue the bed of the printer. Putting glue on the bed is very important if you do not want the print moving around. The glue prevents this so it will not happen so fast
- So it is also important not to leave the 3D printer non -supervised
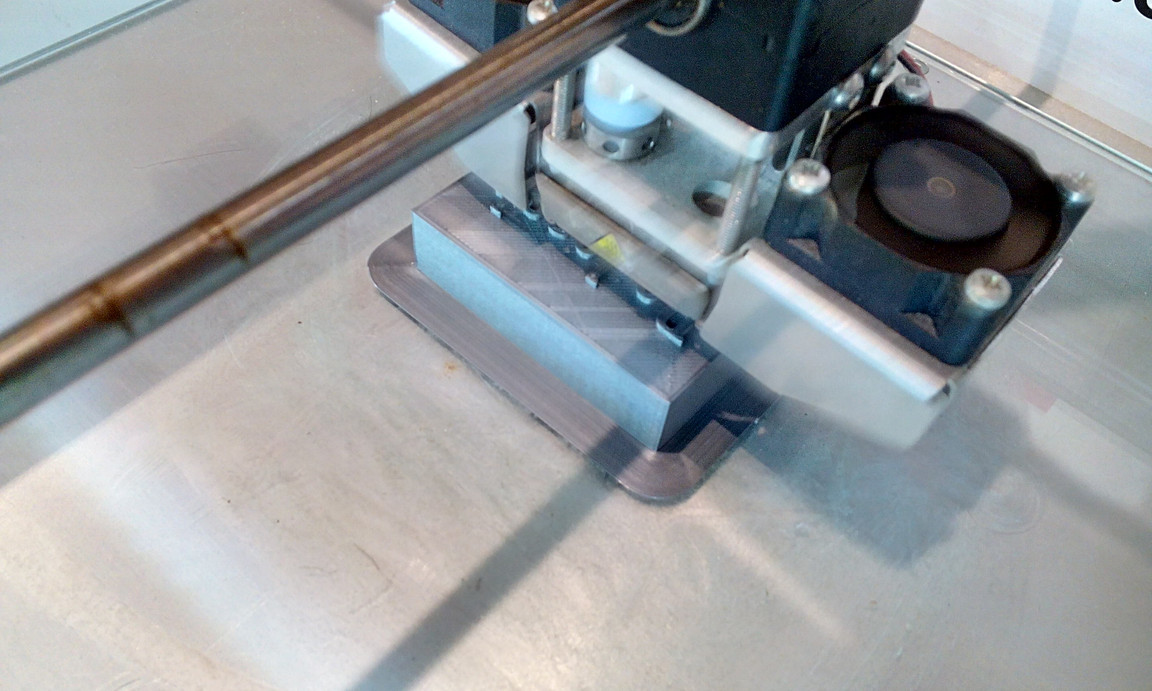
- So i started the whole process again and addded glue (paperglue) to the bed, and after 30 minutes the design was still stuck to the bed
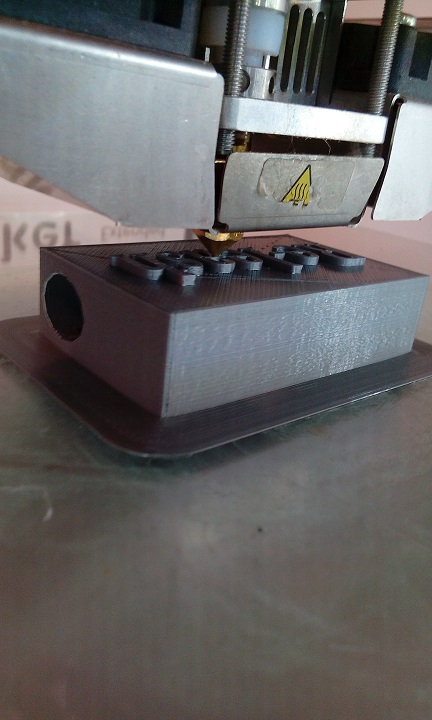
- From this angle you can see the hole on the side, this is something and CNC can not make
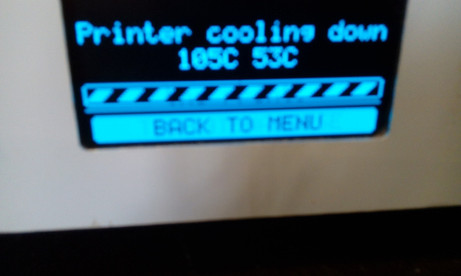
- After the print is finished the machine will cooldown, and it is safe for you to remove your print
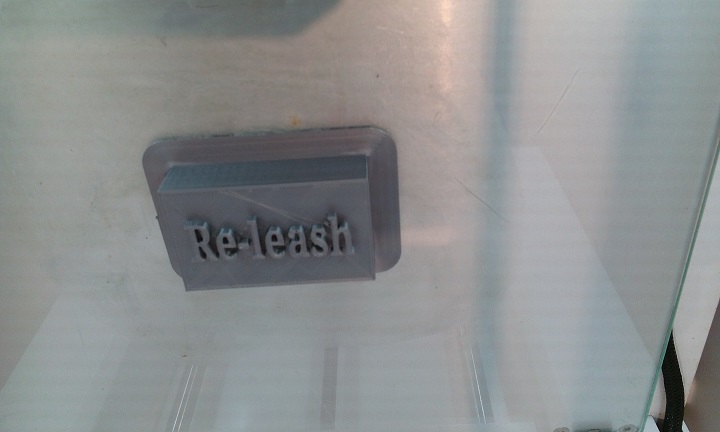
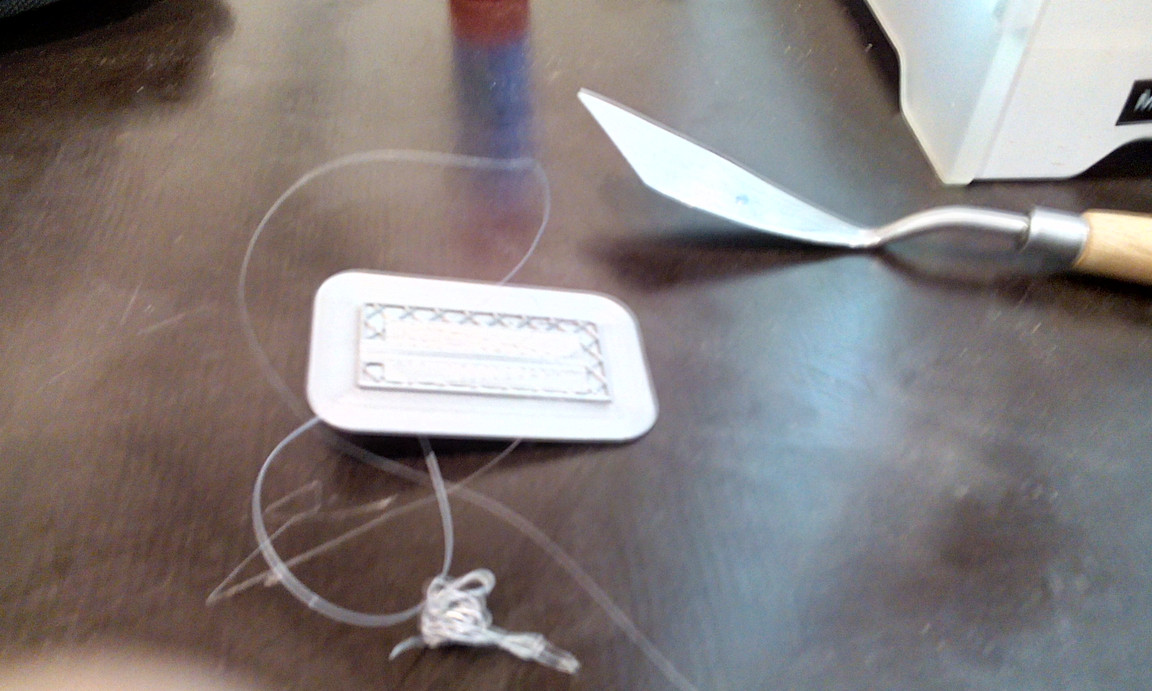
- Finally the end result with skirt, the skirt i removed afterwards
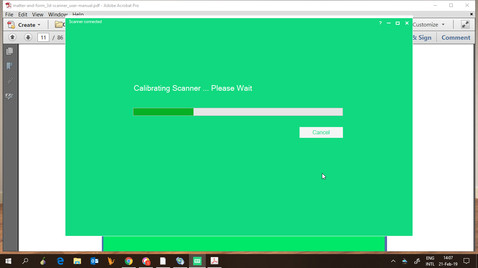
3D Scanning
Matter and Form / 3D Sense
For the 3d scanning i had two scanners, the first one the Matter and Form 3D scanner is a bit limited. The con’s and pro’s are:
- It has a small working area
-
You can only scan small objects
-
It is stable
- Can get details, if there is not to much light