12. Output devices
Group assignment
Individual assignment
Redesign
I used the Hello_Speaker 45 , because my end project will have a build in speaker. So i could have also used the solenoid within the design, but because coding is not really my thing i have to start simple. As Neil said Spiral development is the best method make one thing work and then go to the next. And as my final project will use a speaker i started off with that, and i would be testing in a later stadium with the solenoid and speaker together.
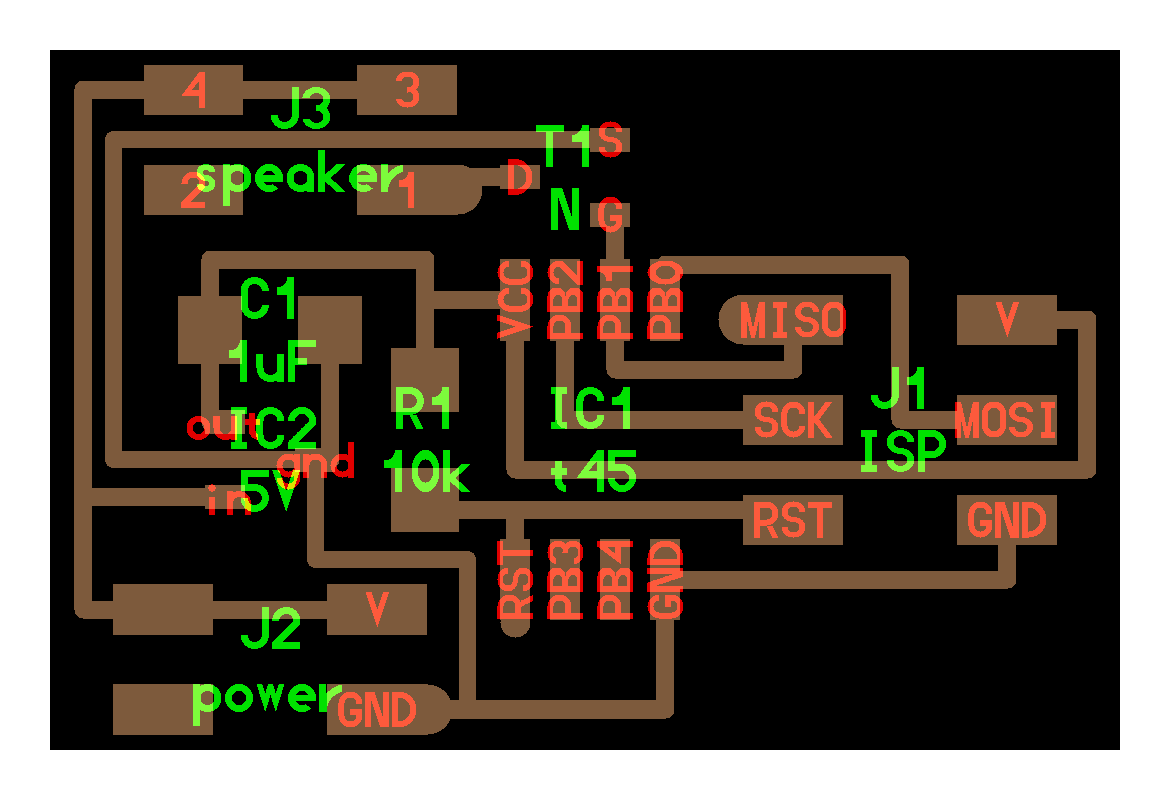
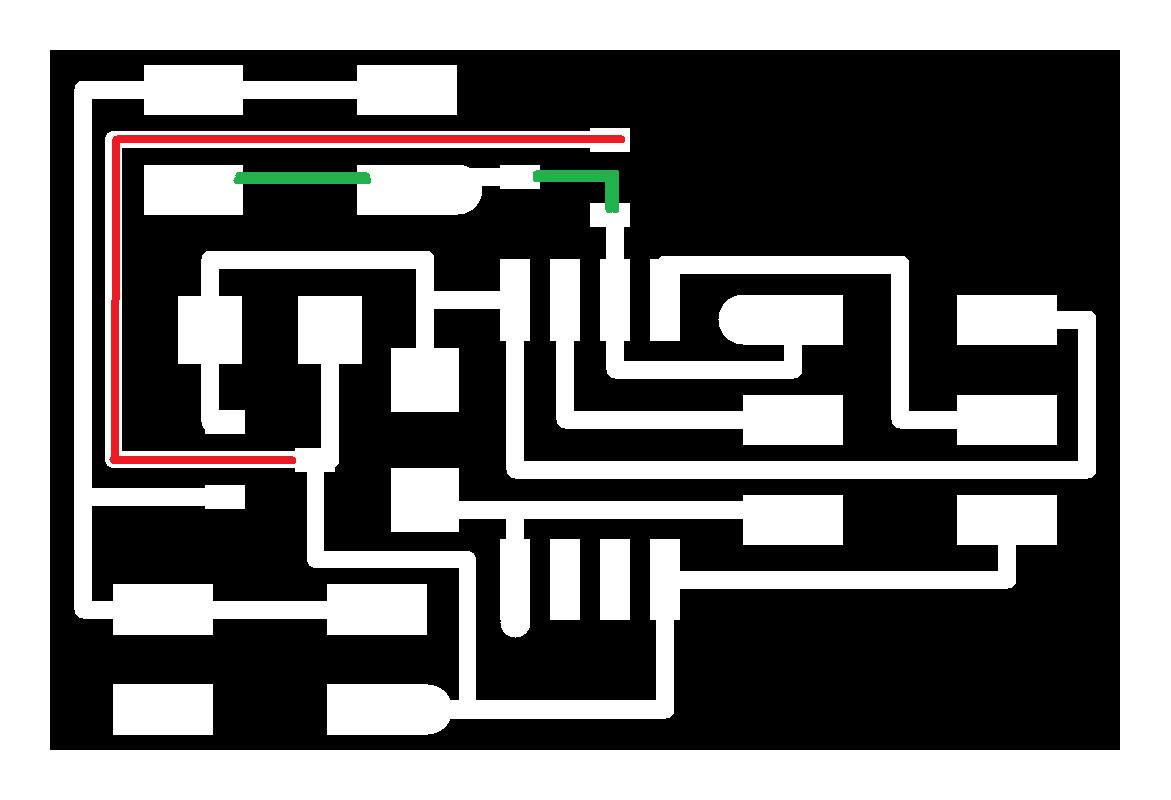
But i decided not to use the T1N mosfet transistor, because the speaker would be connected straight to the controller. It does not need high power, so it can be attached to the controller. So i changed the traces in the schematic, the “green” traces is what i added, and the “red” traces is what i deleted.
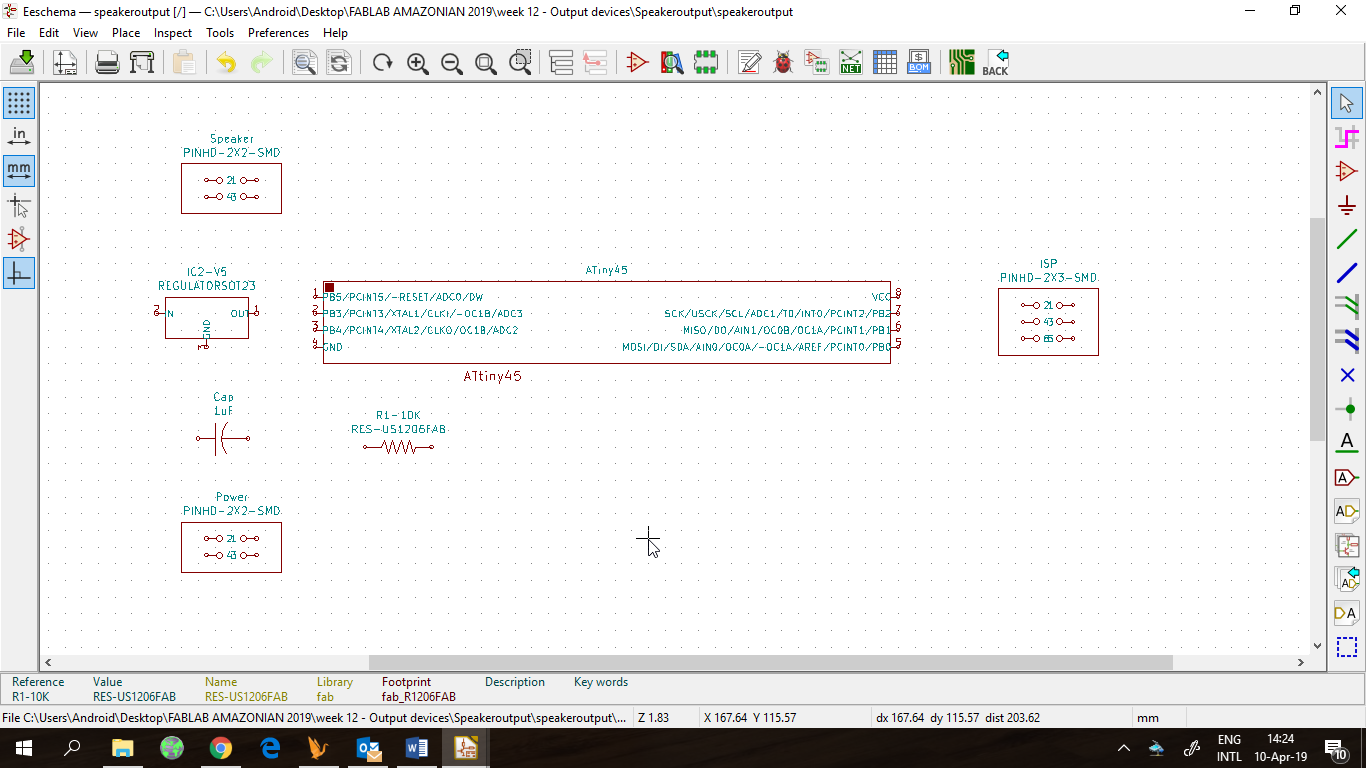
I added the components to my kicad project.
And made the connections.
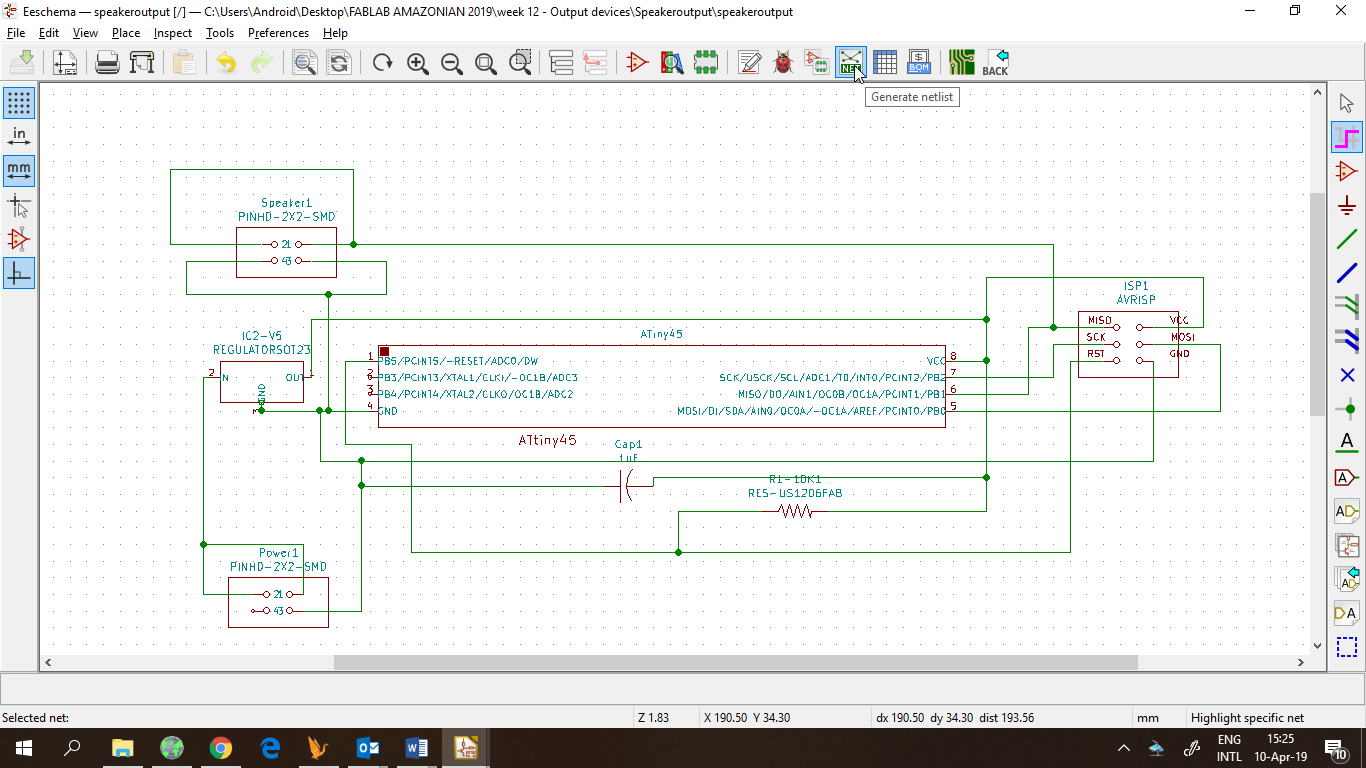
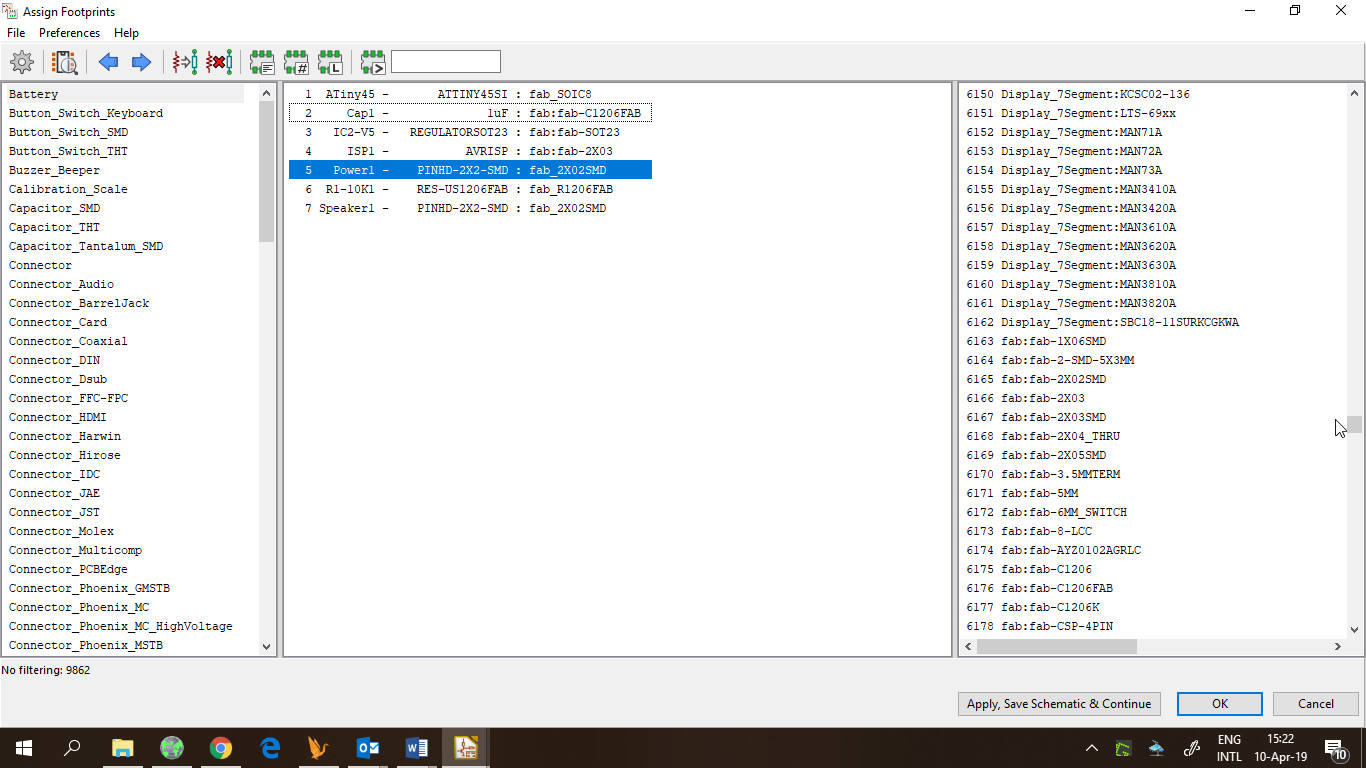
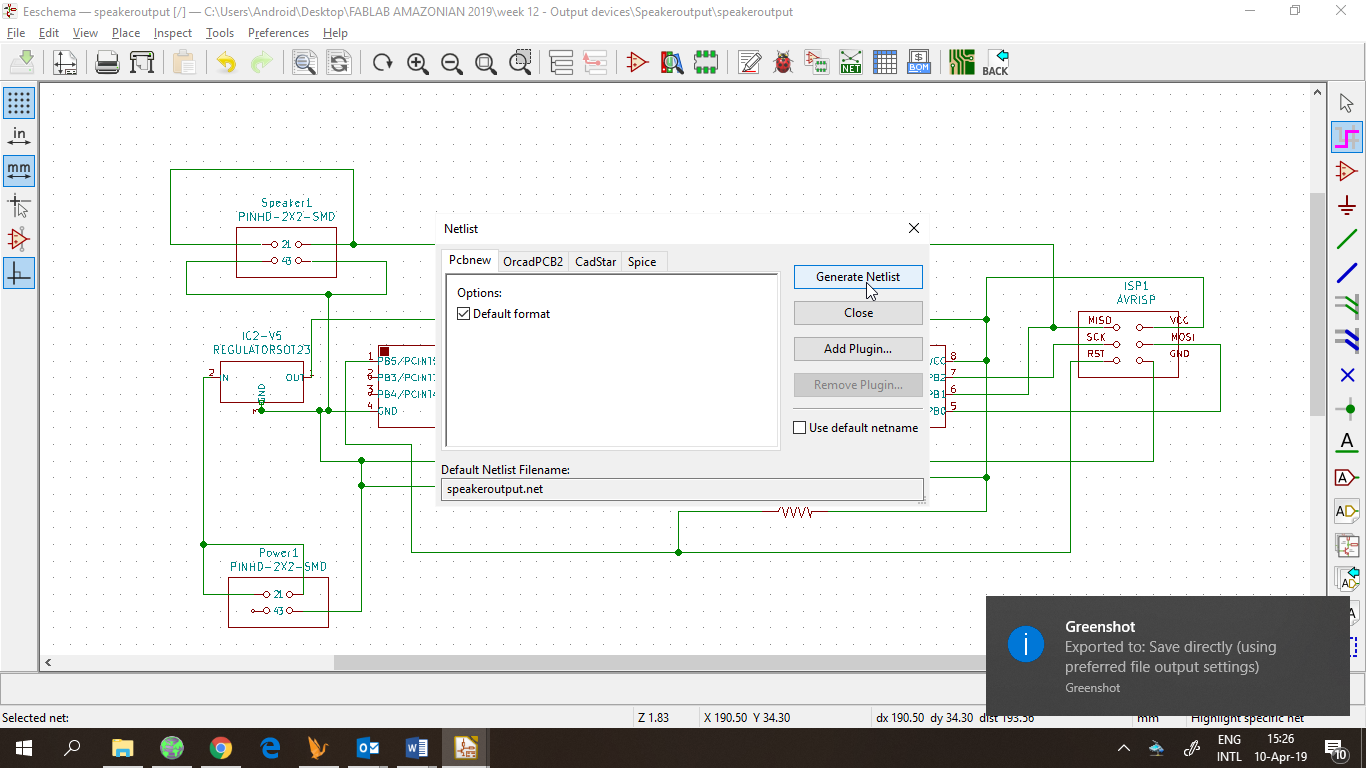
Then annotate the schematic, assign footprints and generate netlist
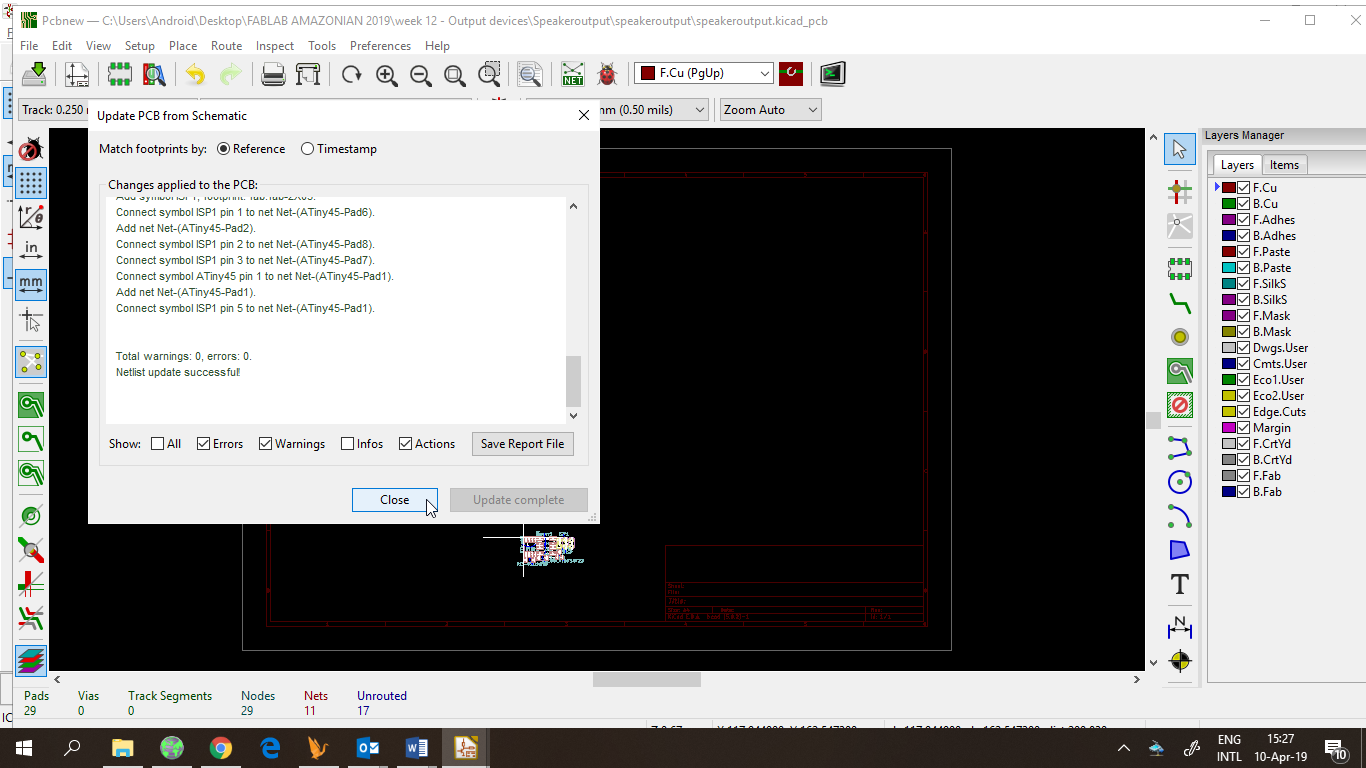
Then go to pcbnew to design the board.
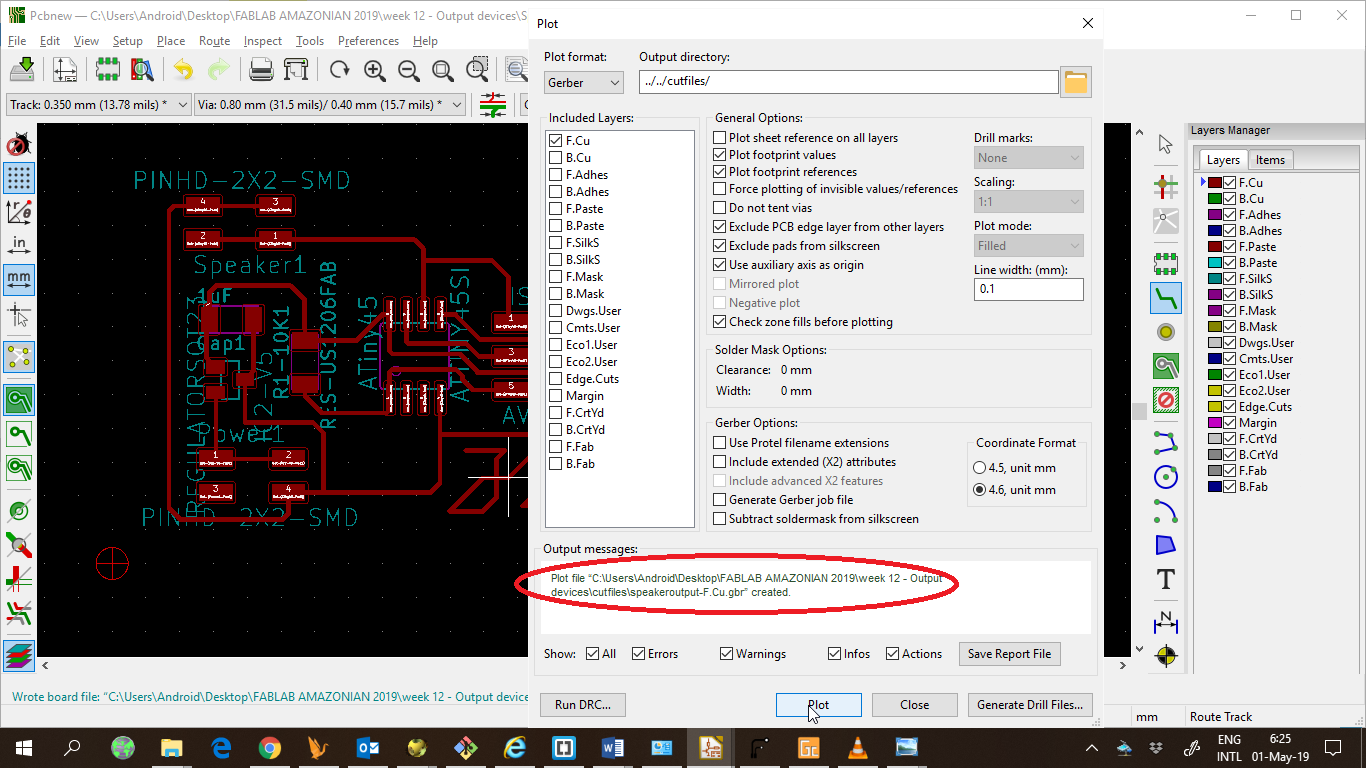
And when done, export to gerber.
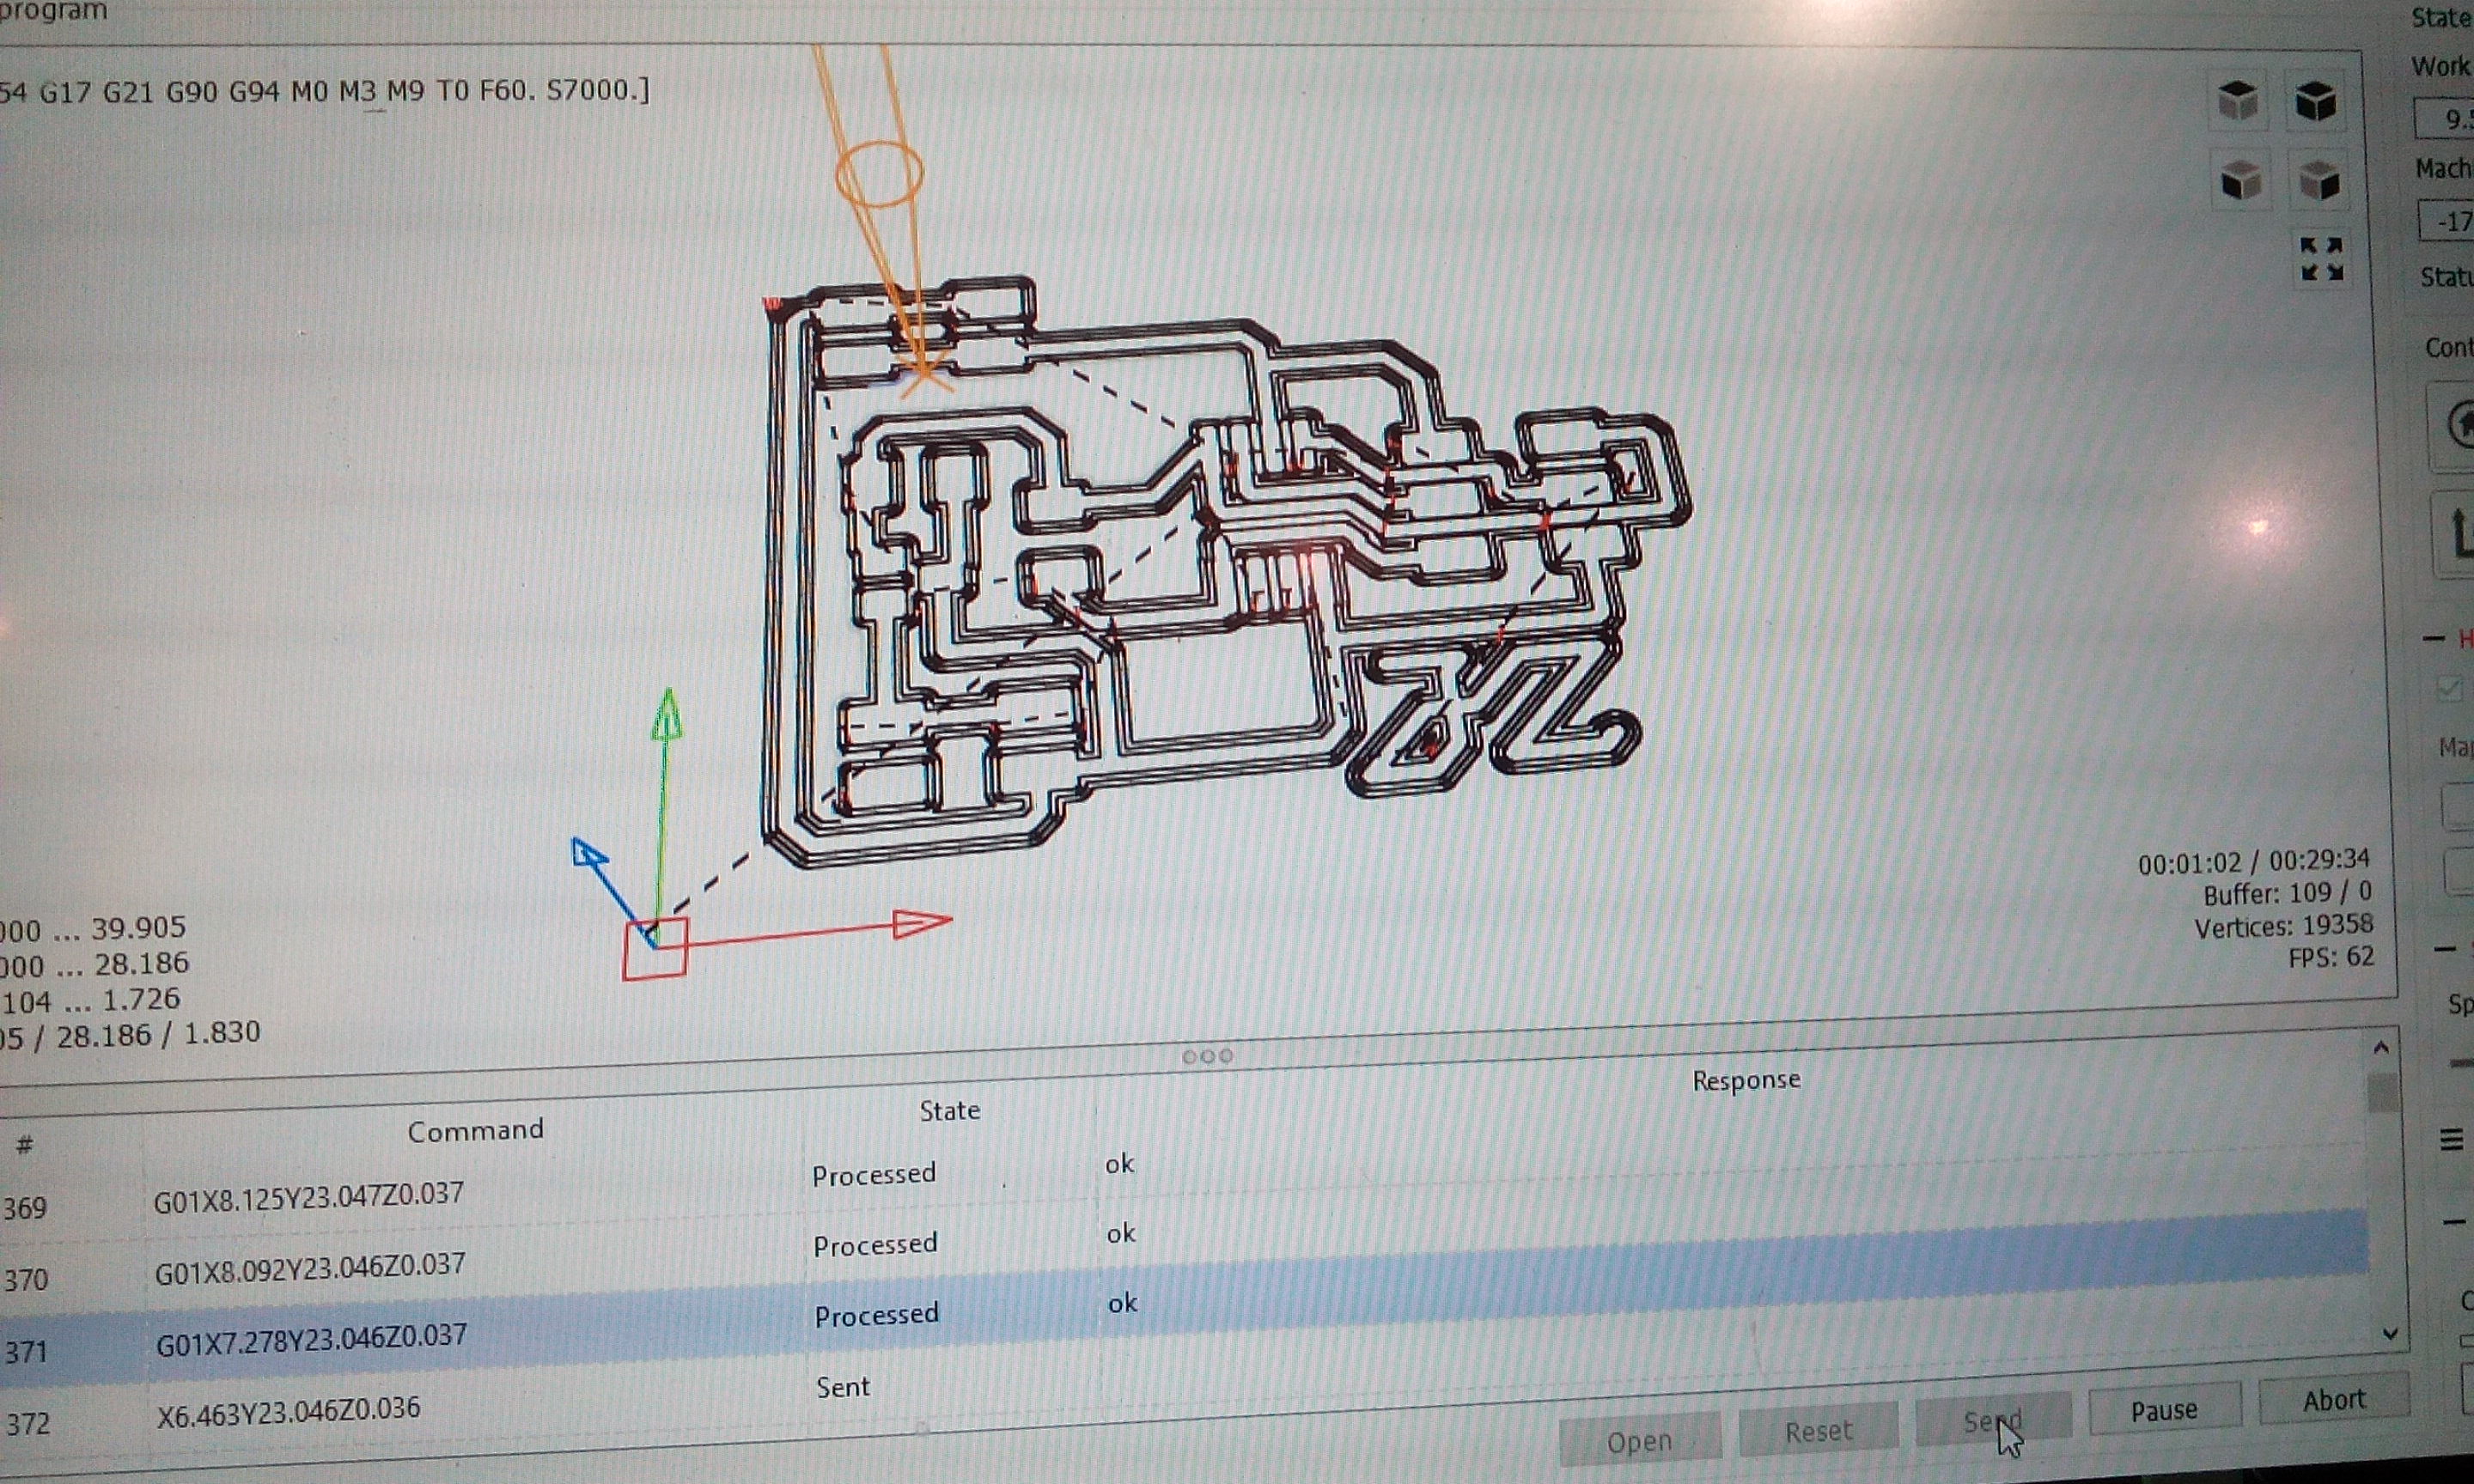
Then, using flatcam, I generate the gcode for the milling machine
The parameters are:
-Tool dia: 0,4 -Cut z: -0,15 -Feedrate: 1 -Spindle: 2000
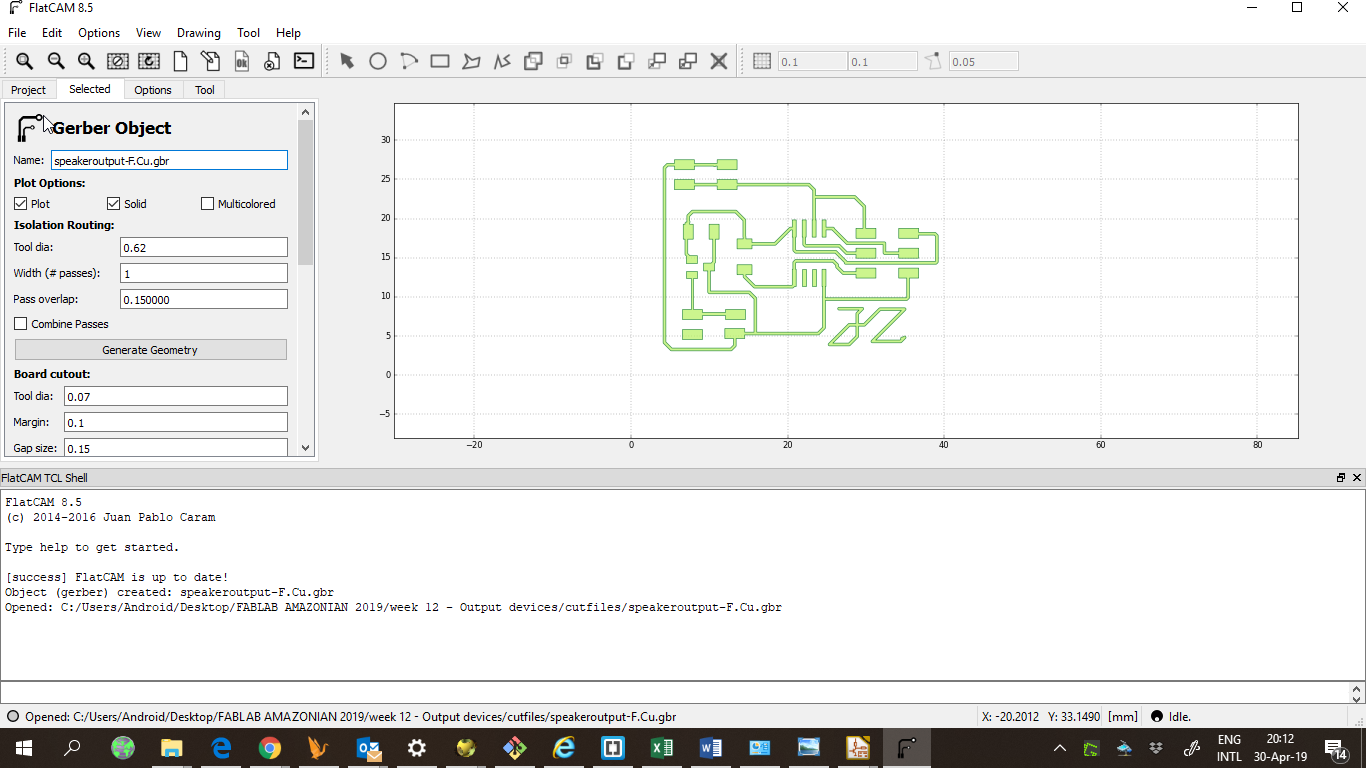
I used more passes to clear the copper from the board and improve the soldering process.

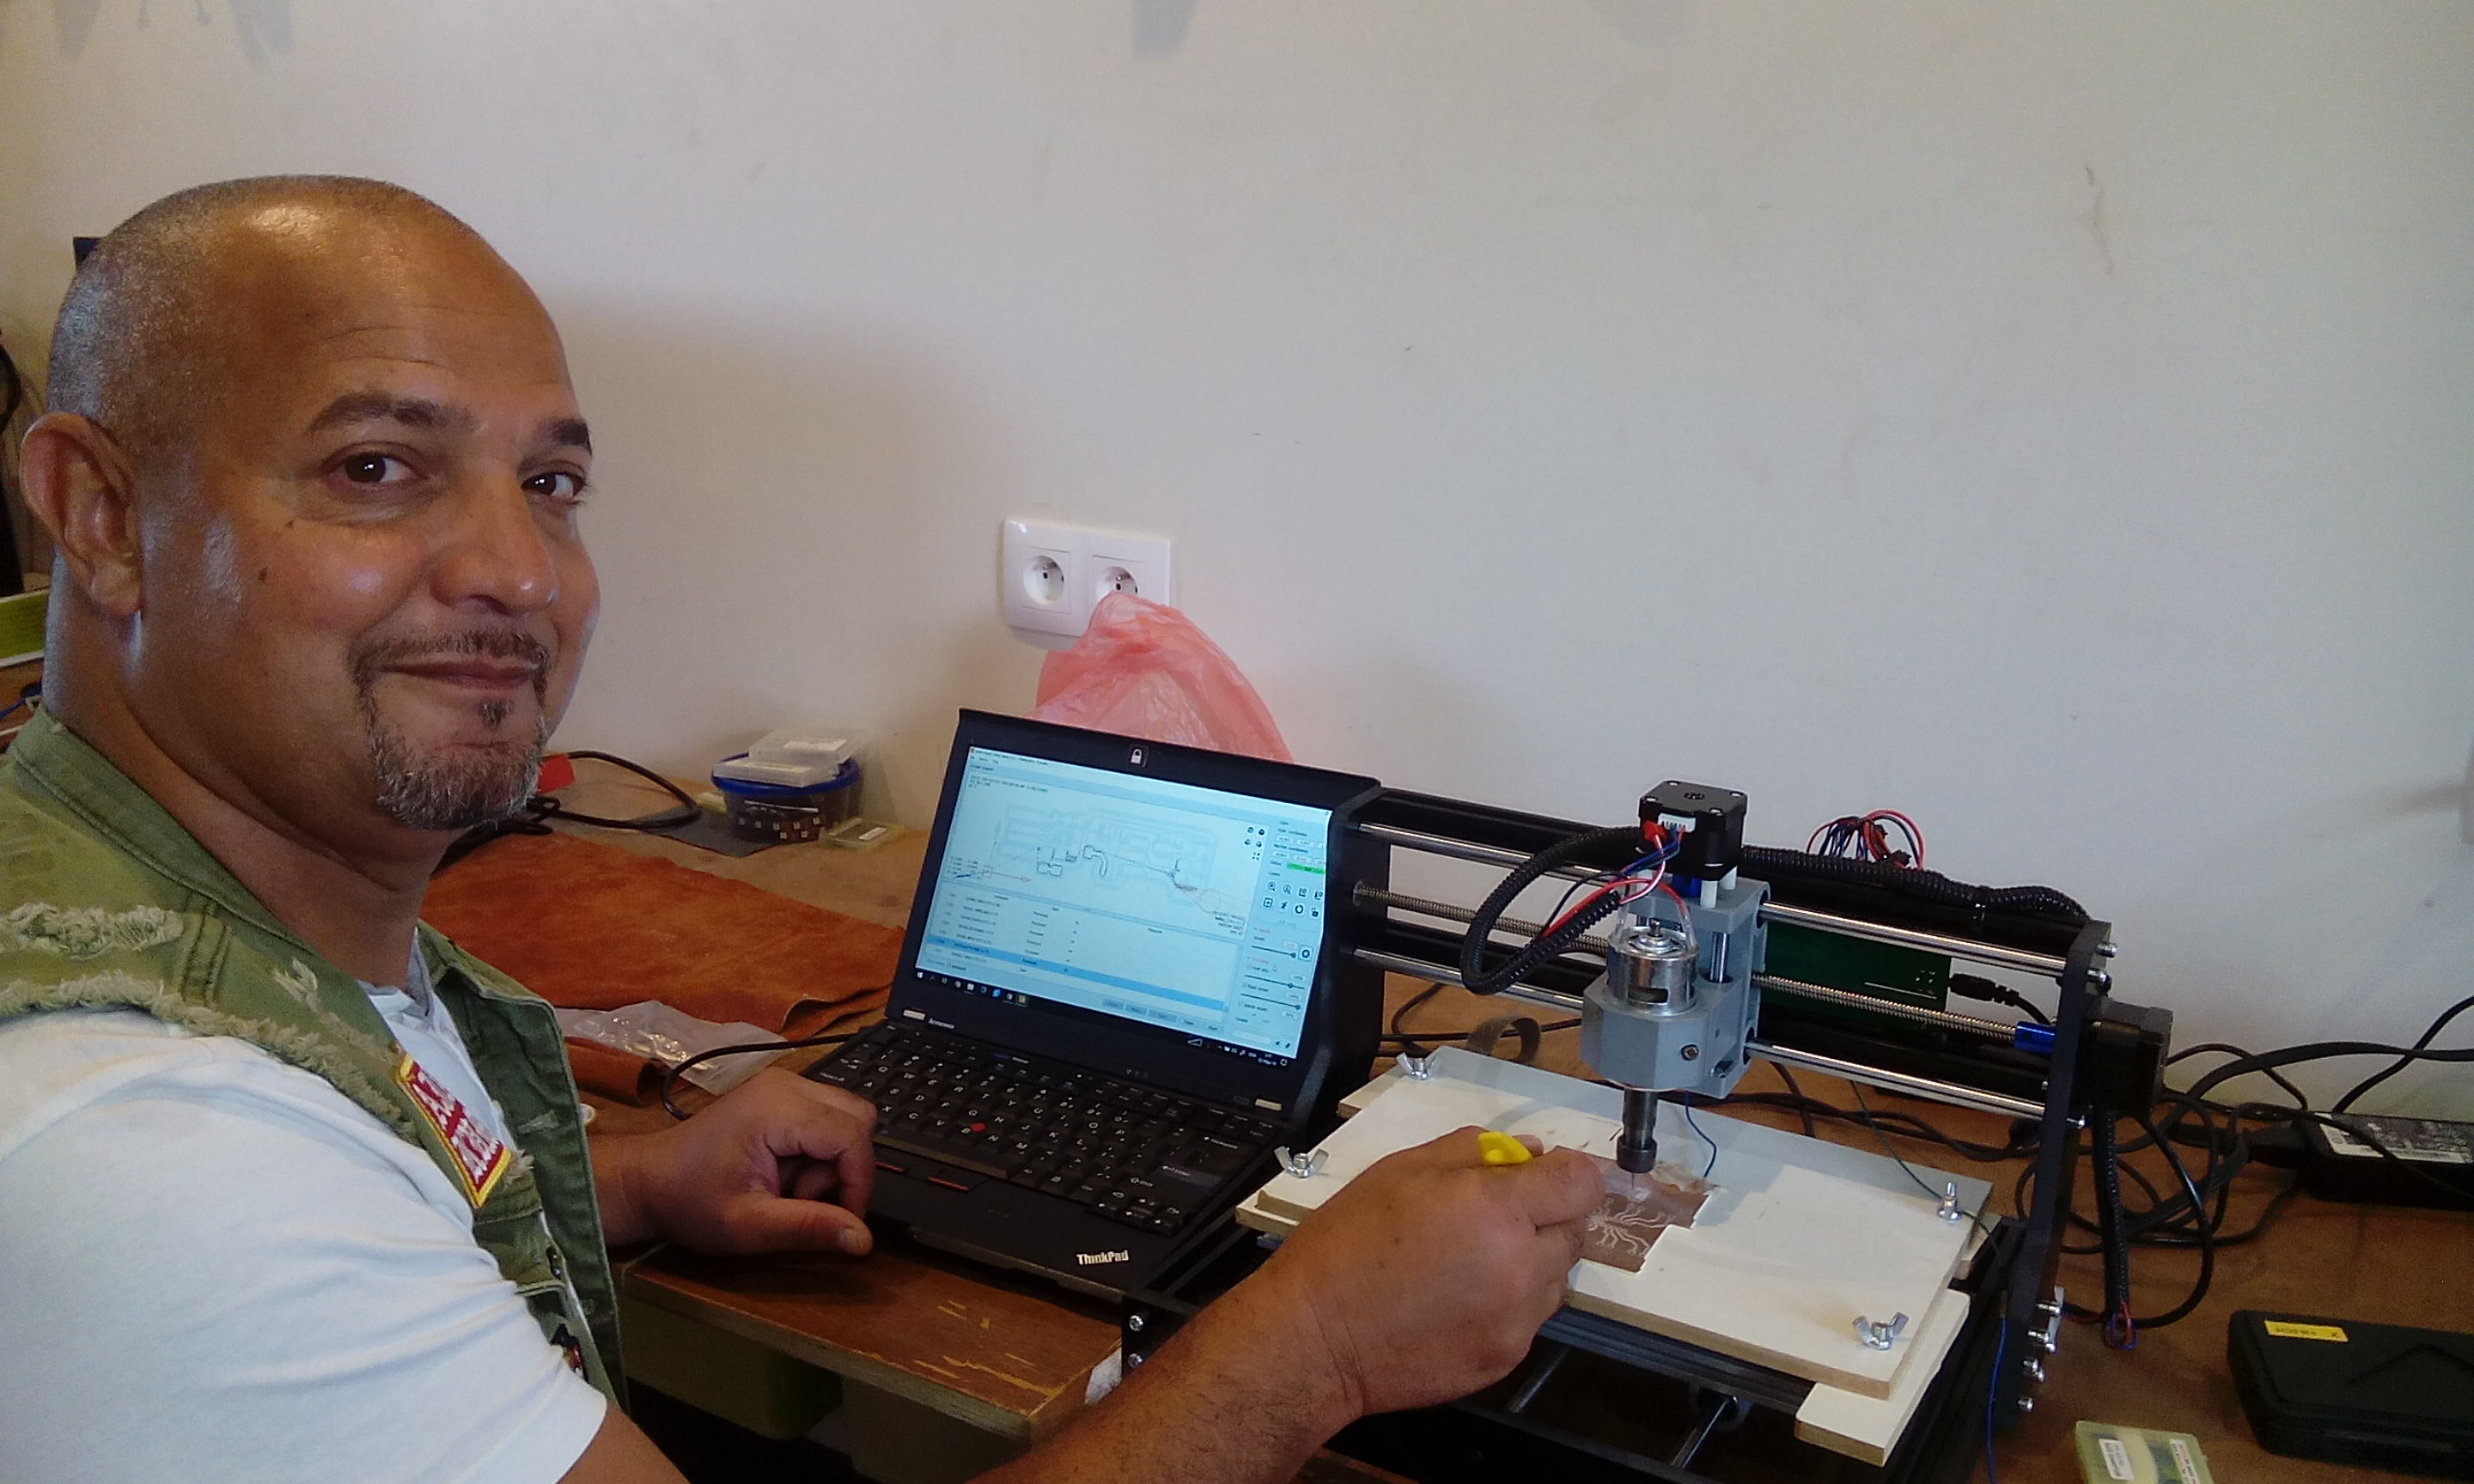
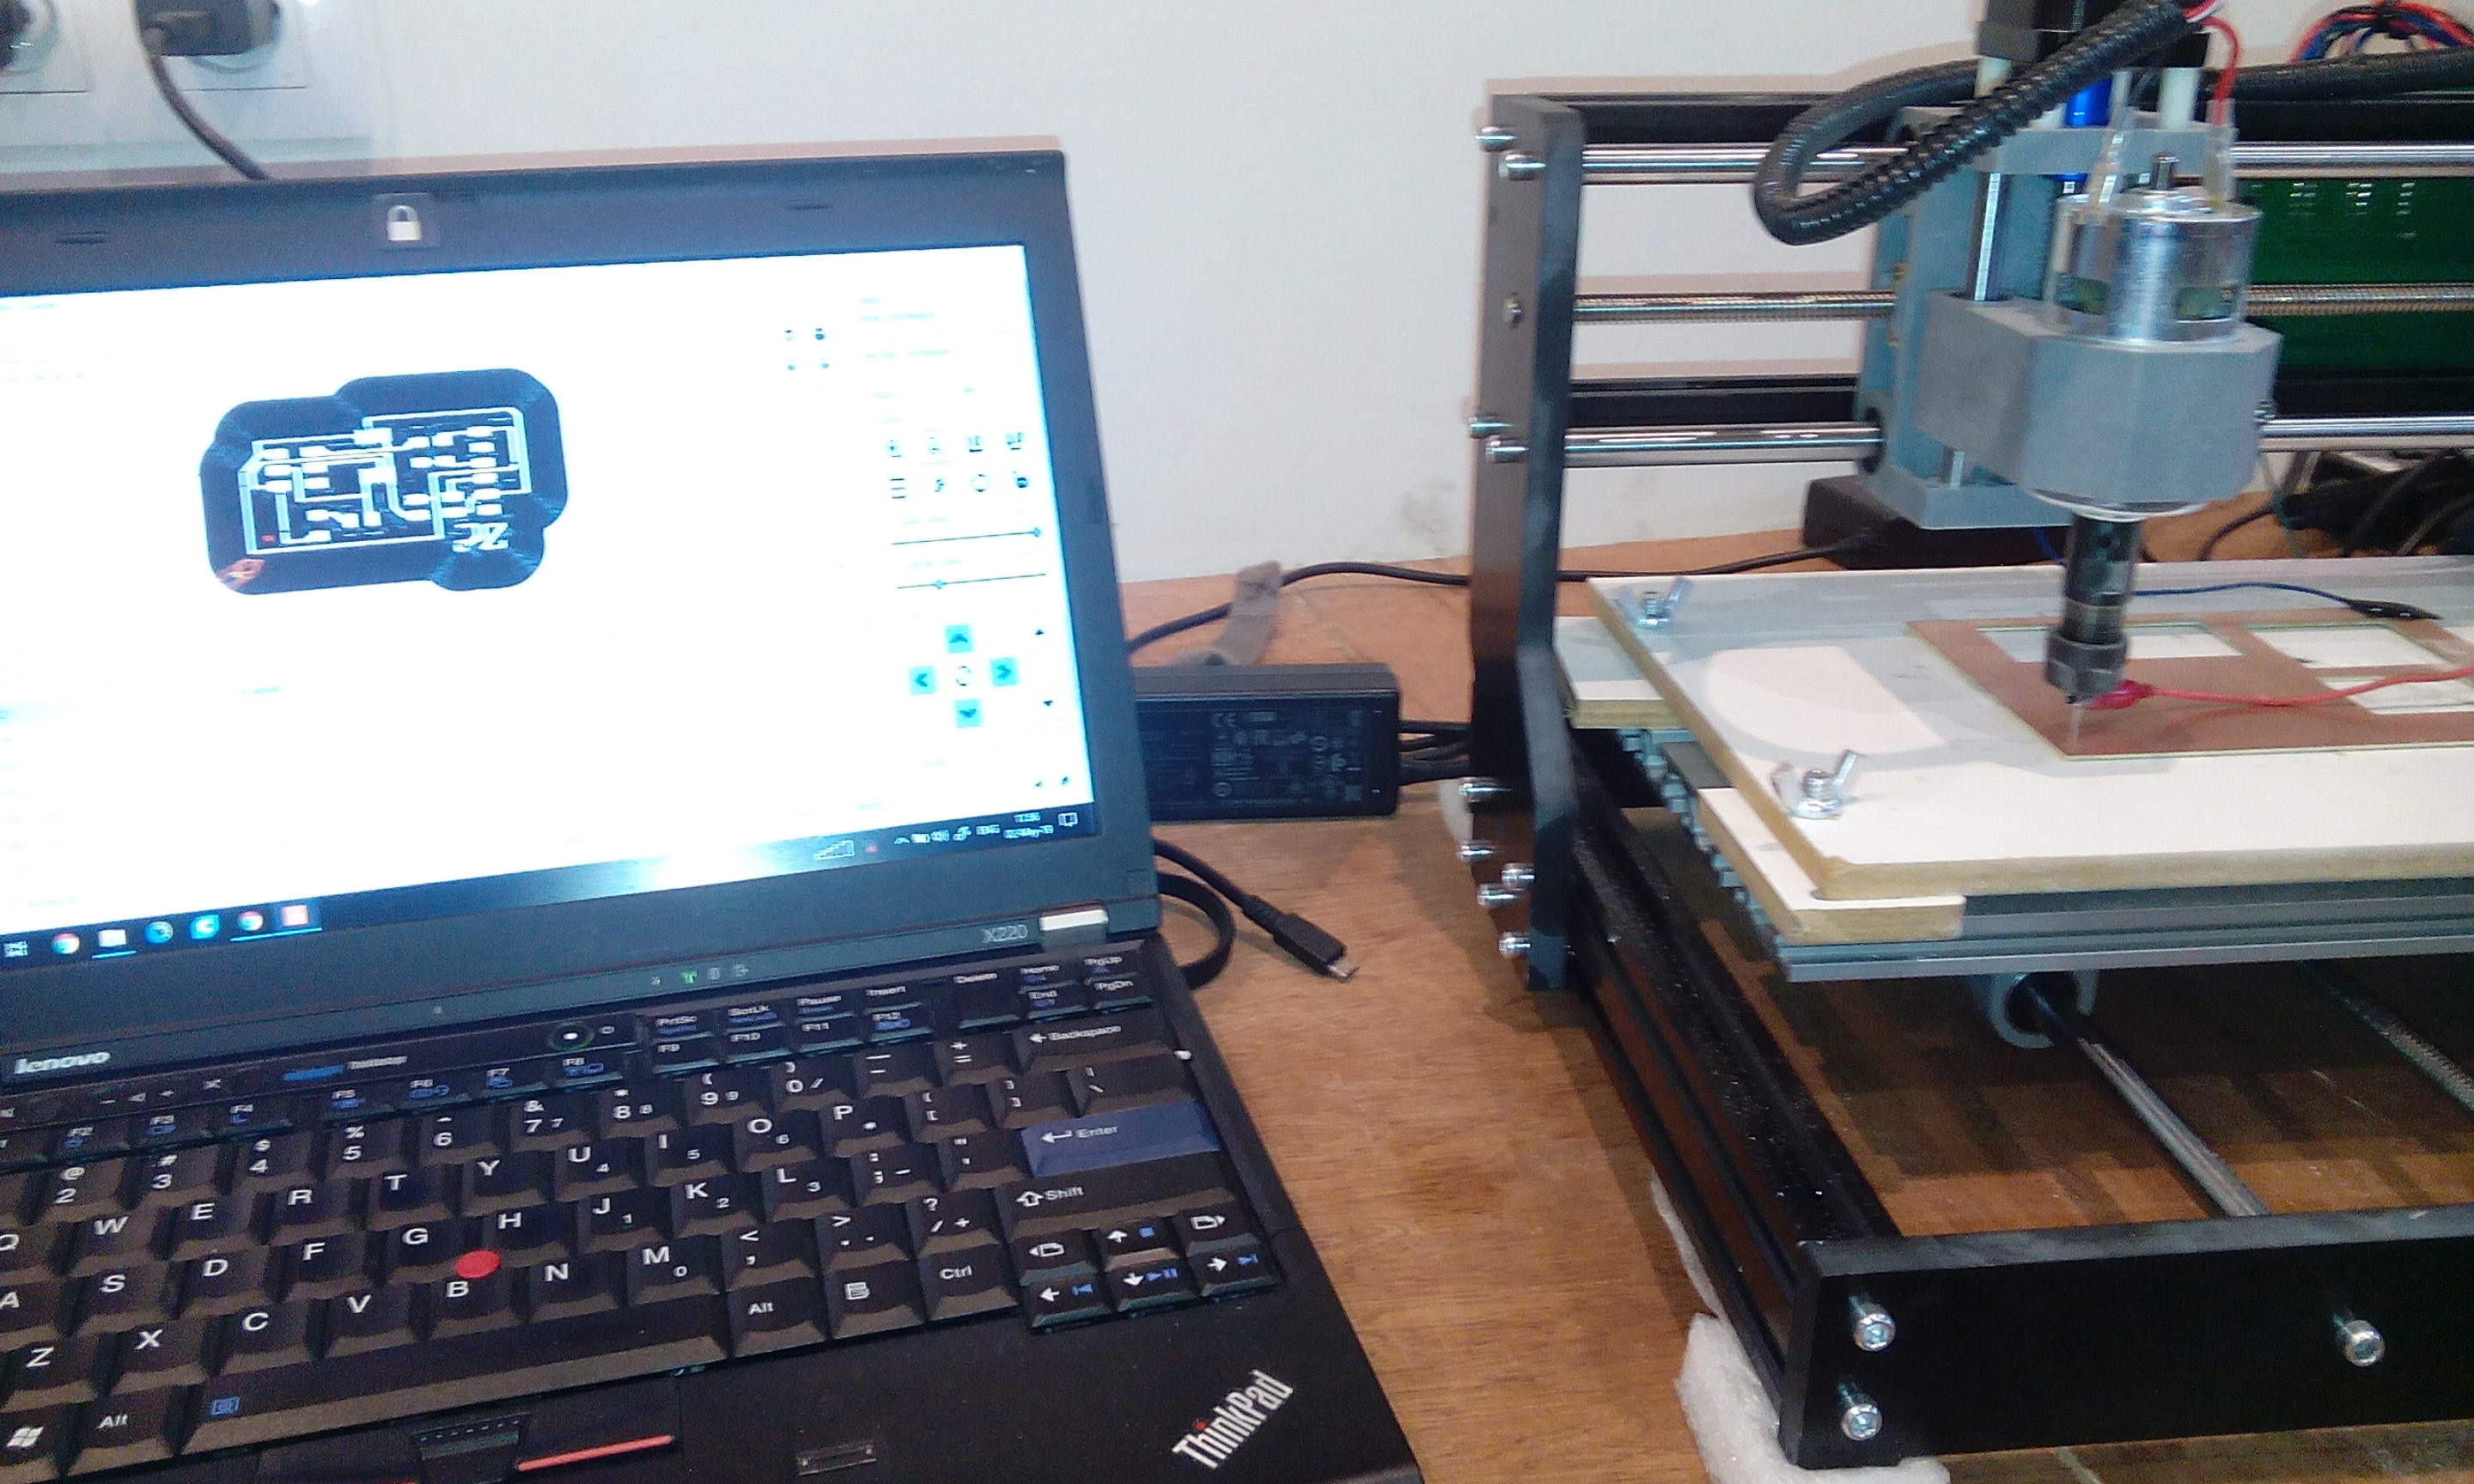
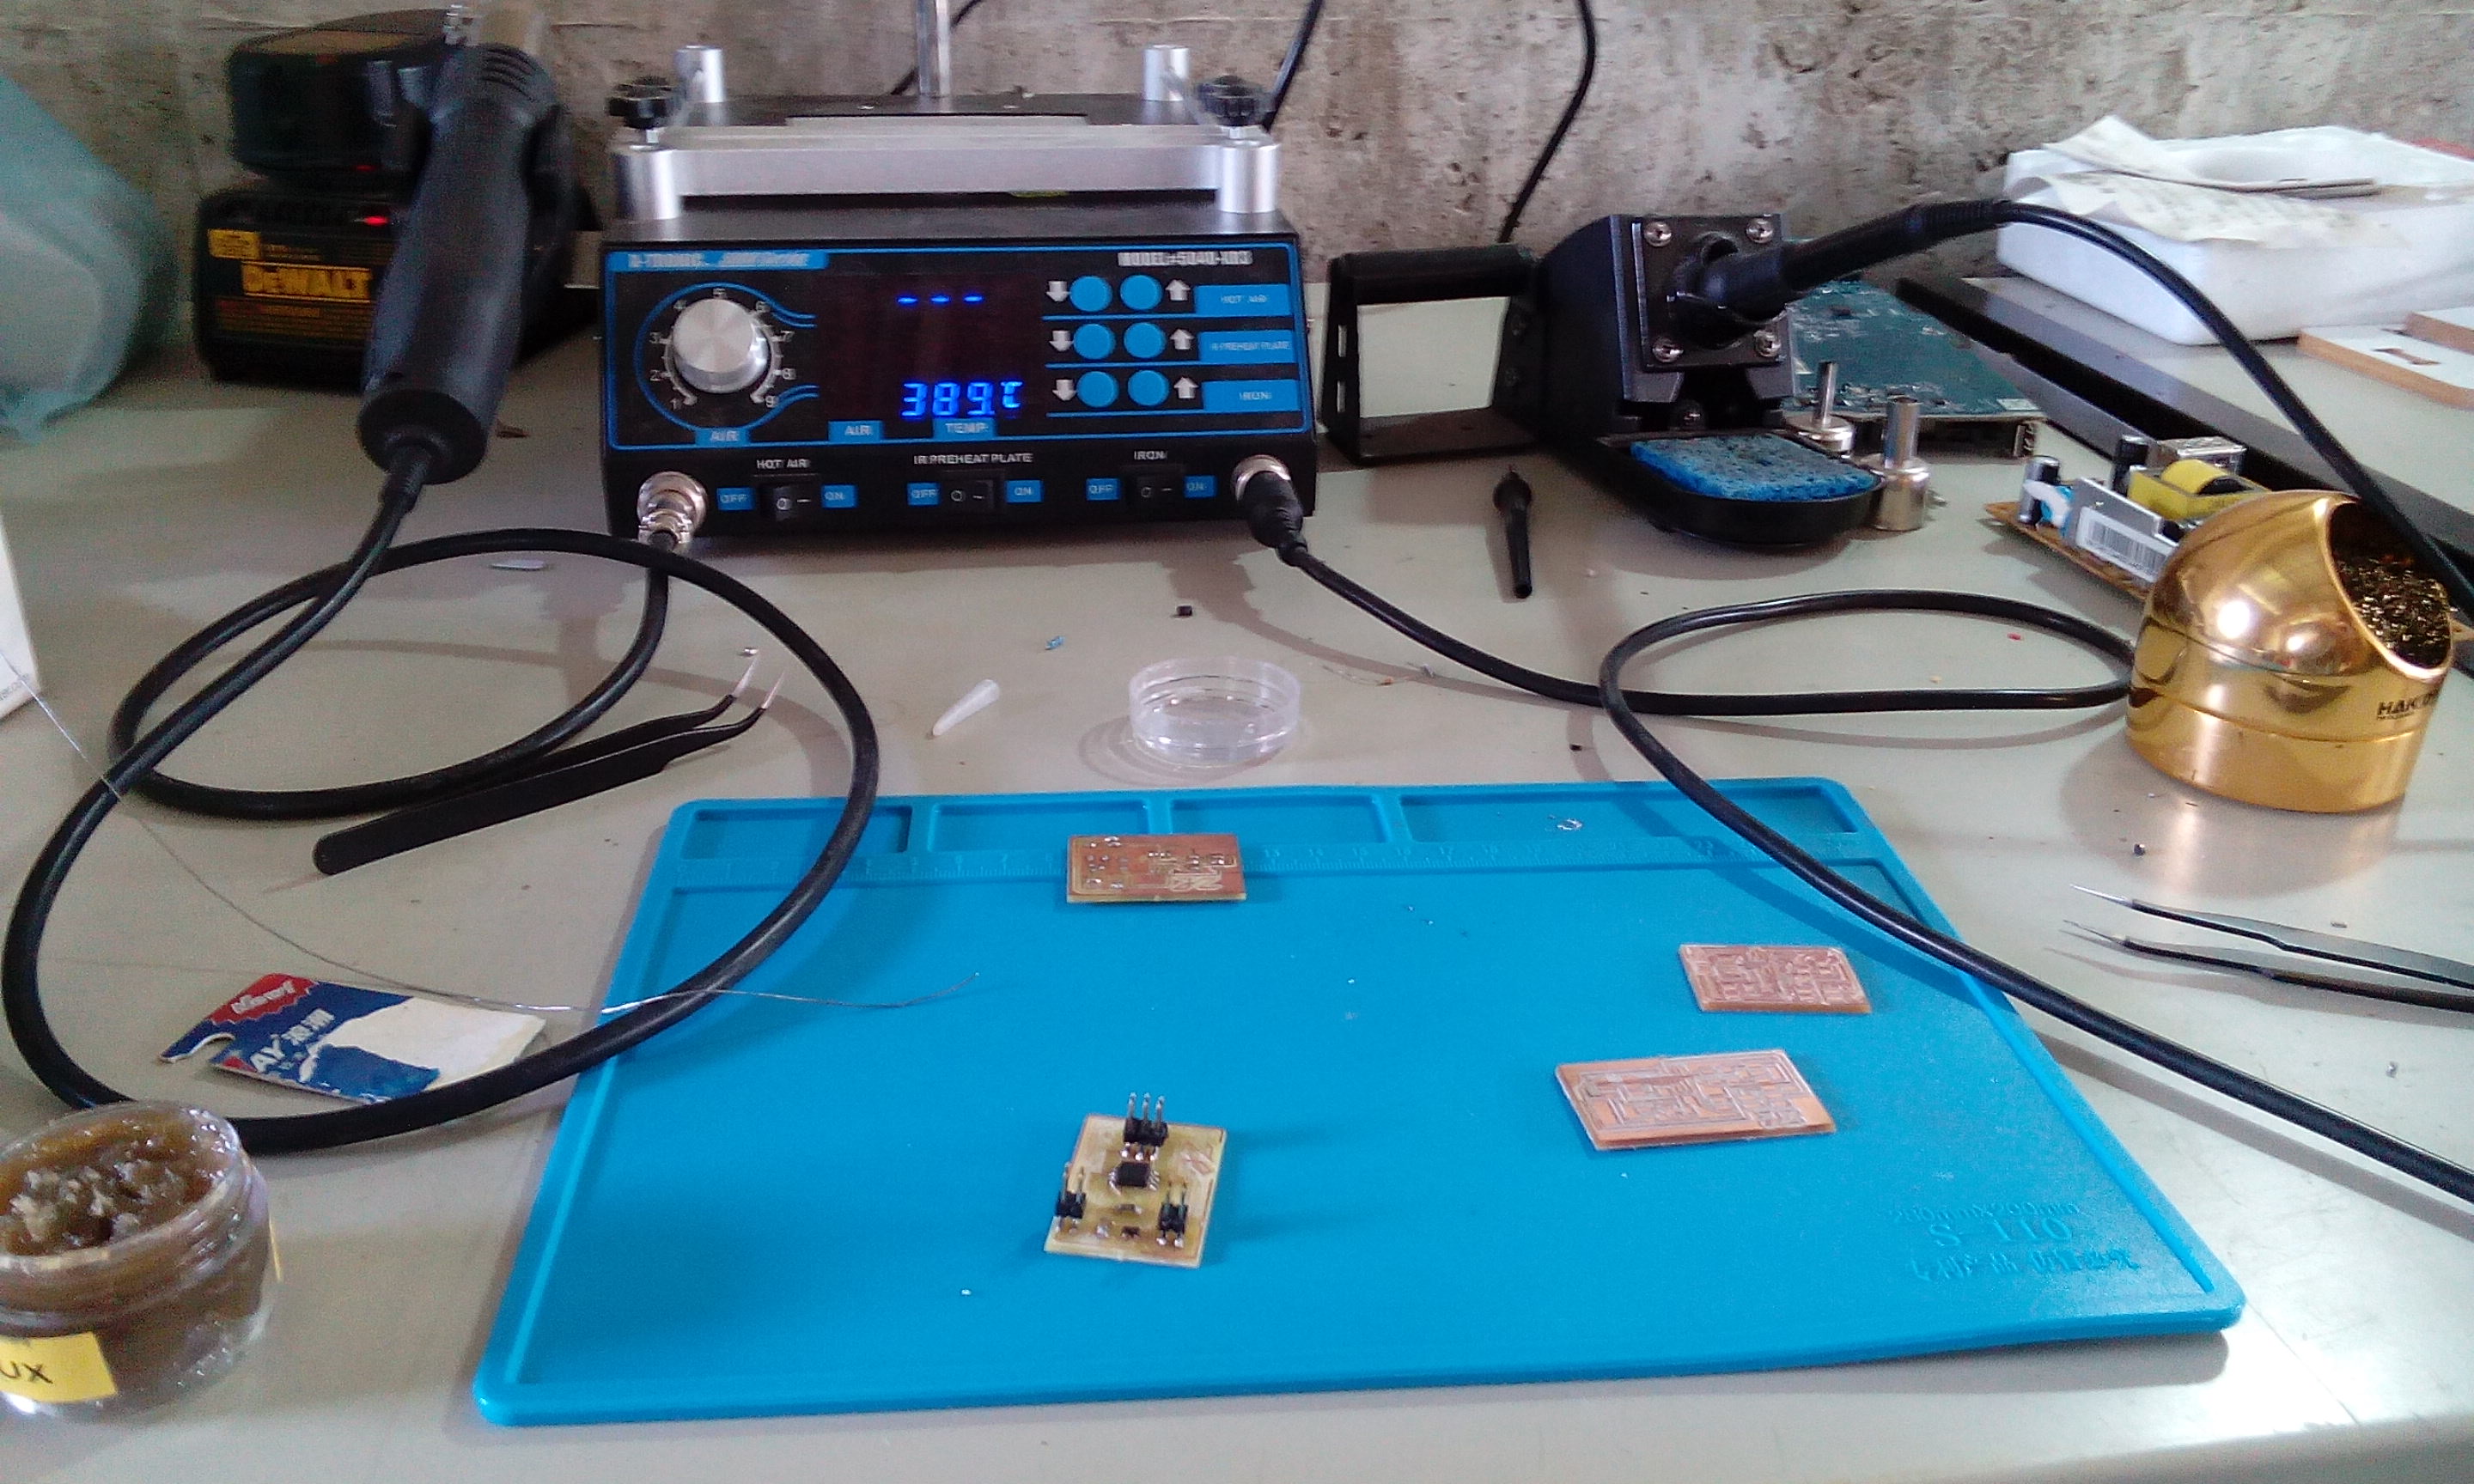
Milling the board
Because i fell in love with the PCB milling i investet in the CNC 3018 pro. This makes it capable for me to learn much more about the milling process and using the software, i will explain the software of the CNC 3018 pro in the next assignment
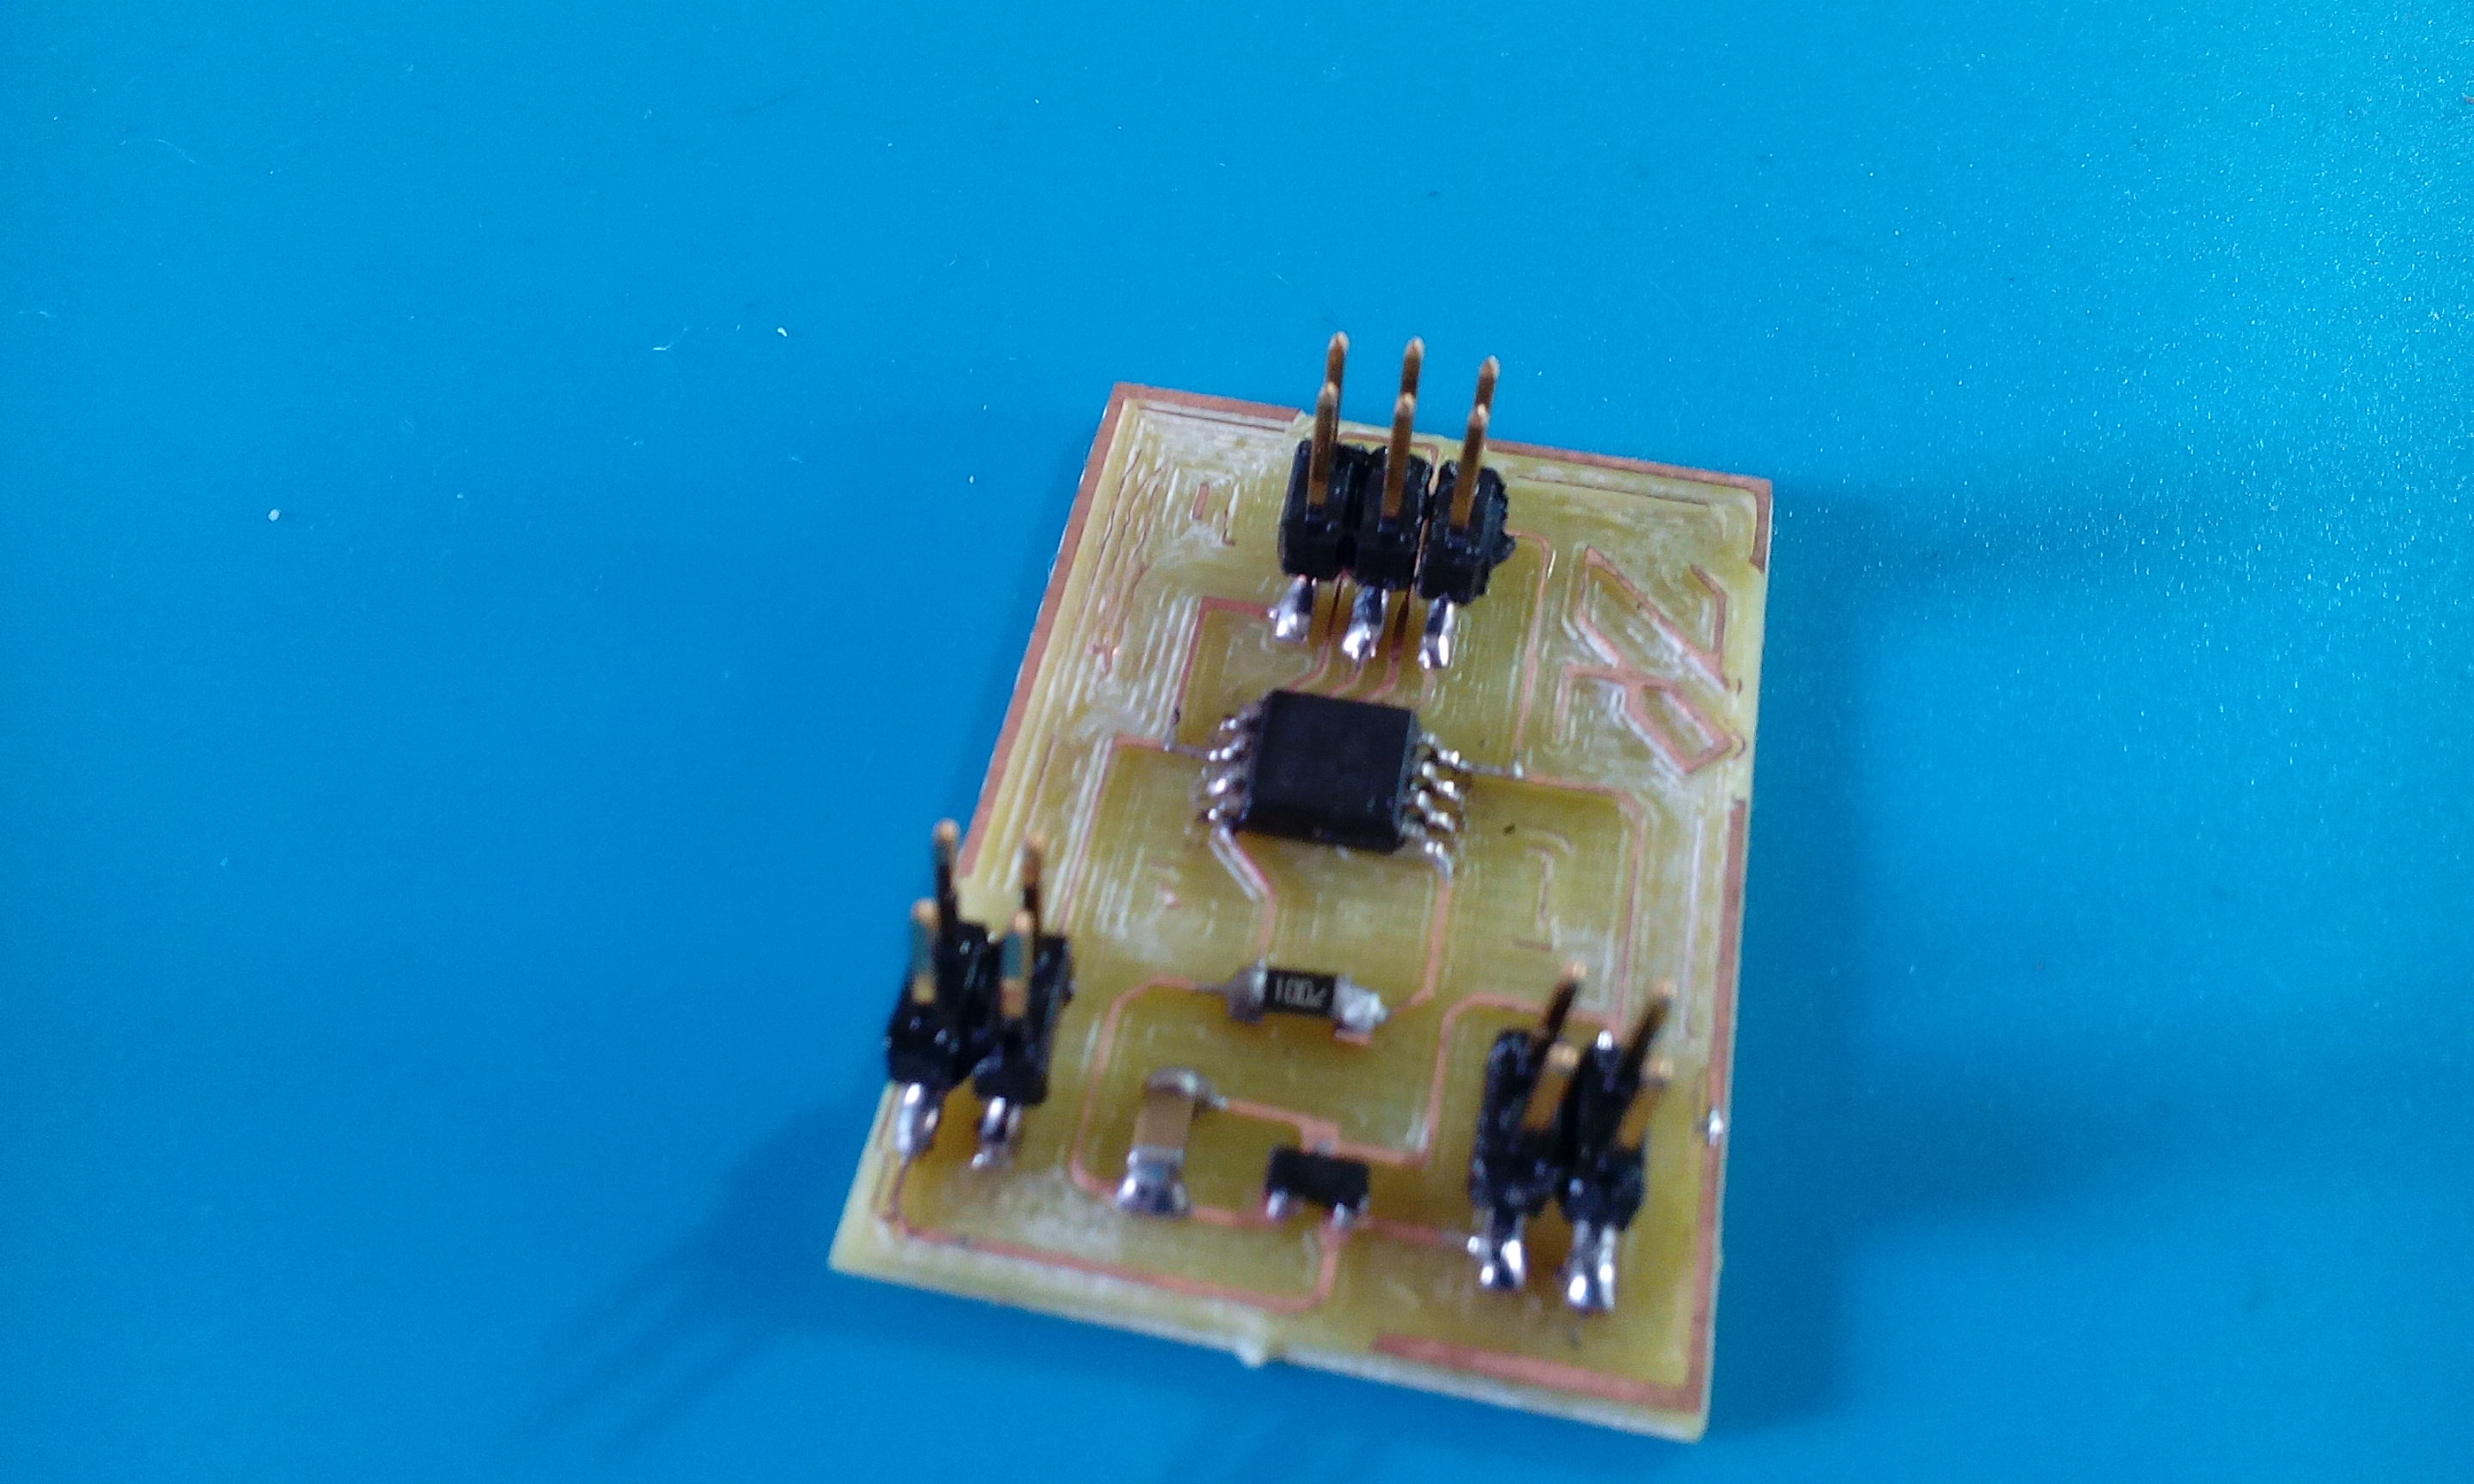
Then I looked for the components and soldered my board.
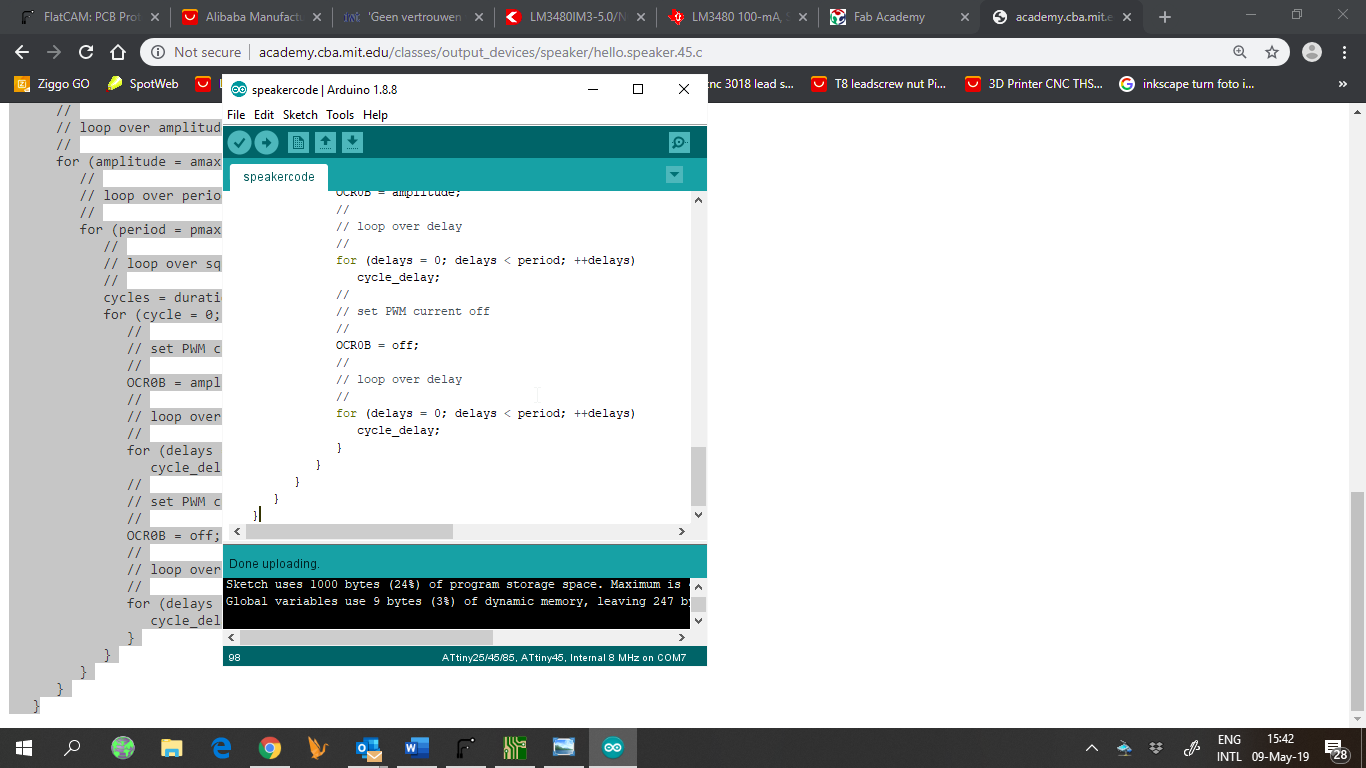
Programming the board
I coonected the programmerd and burned the bootloader. Then I tested the board with Neil’s code.
The arduino was used for power
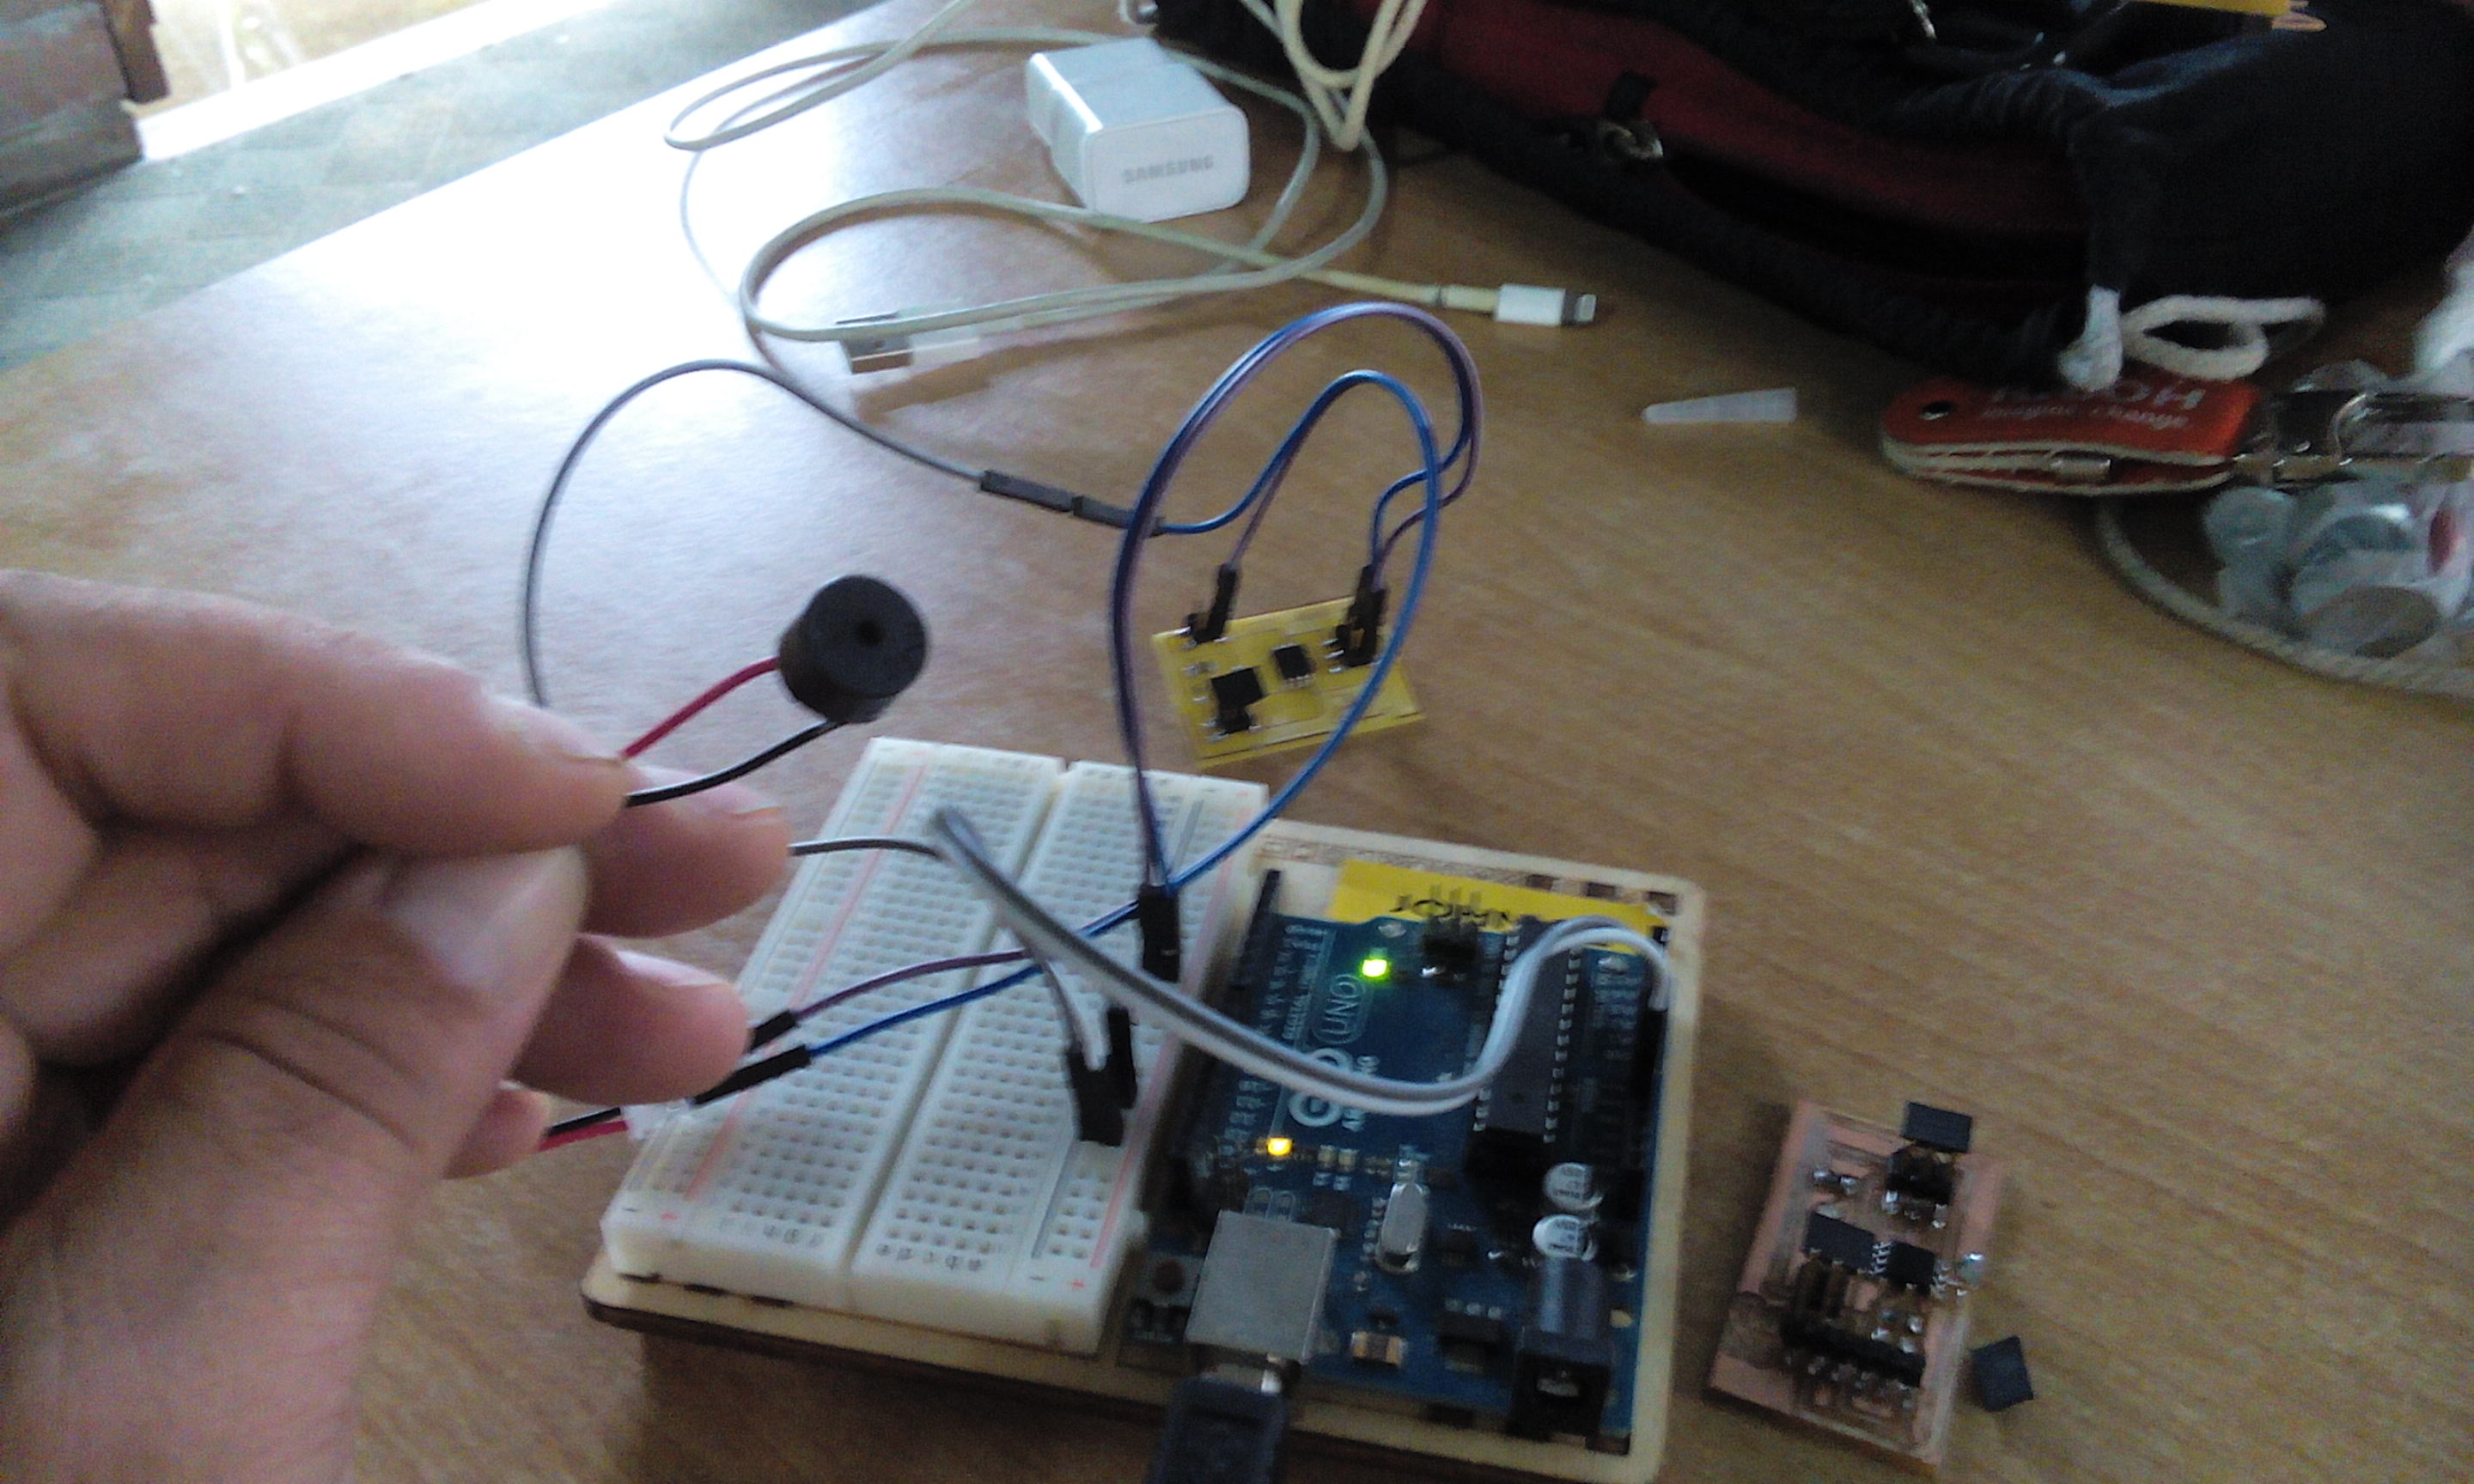
The board making a sound.
Then, I looked for another code and started making changes to understand how sounds work for the buzzer. I found a very simple code that works like the Blink example from Arduino:
    tone(buzzer, 1000); // Send 1KHz sound signal...
    delay(1000);        // ...for 1 sec
    noTone(buzzer);     // Stop sound...
    delay(1000);        // ...for 1sec
So, this code generates 1 kHz sound on the pwm pin connected to the buzzer.
Then, I hacked the code to test the range of sounds I can get from the circuit. Using a for statement I can have a sample of the different frequencies:
    for (int i = 0; i < 20000; i=i+10)
    {
        tone(buzzer, i); // Send 1KHz sound signal...
        delay(50);        // ...for 1 sec
    }
At around 10 000 Hz i stop hearing the high pitch, and hear only something like static noise from the buzzer.