18. Wildcard week
Design and produce something with a digital fabrication process (incorporating computer-aided design and manufacturing) not covered in another assignment, documenting the requirements that your assignment meets, and including everything necessary to reproduce it. Possibilities include (but are not limited to composites, textiles, biotechnology, robotics, folding, and cooking.
The Objectives are:
- [x] Show how you made your project / the steps you performed
- [x] Describe the problems encountered and how you solved
- [x] Include design files and include hero shot
Our group agreed to have a go at embroidery for our wildcard week activity.
Kazlab has 2 different embroidery machines and we worked on the Brother Innovis duel function machine a very simple but versatile tool making decent prints.
First lets install the prerequisites.
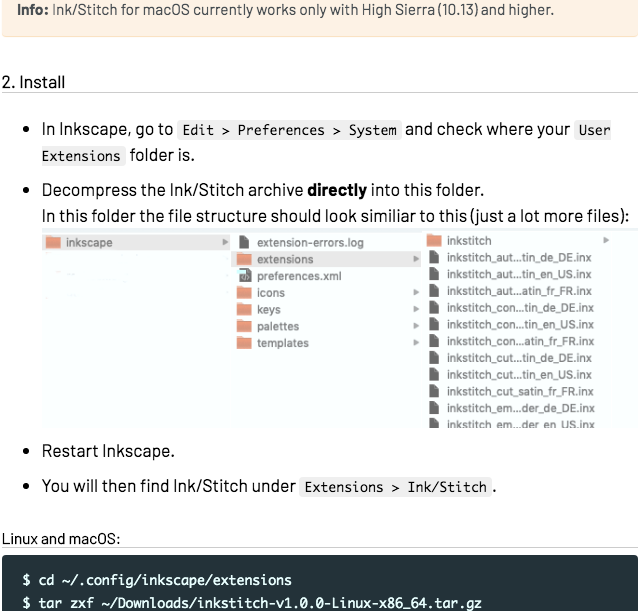
- Go to https://inkstitch.org/docs/install/ Download & Install Inkstitch extenions
So i download and run
$ cd ~/.config/inkscape/extensions
$ tar zxf ~/Downloads/inkstitch-v1.0.0-Linux-x86_64.tar.gz
- Re-open inkscape -> goto extensions / Inkstitch should be there
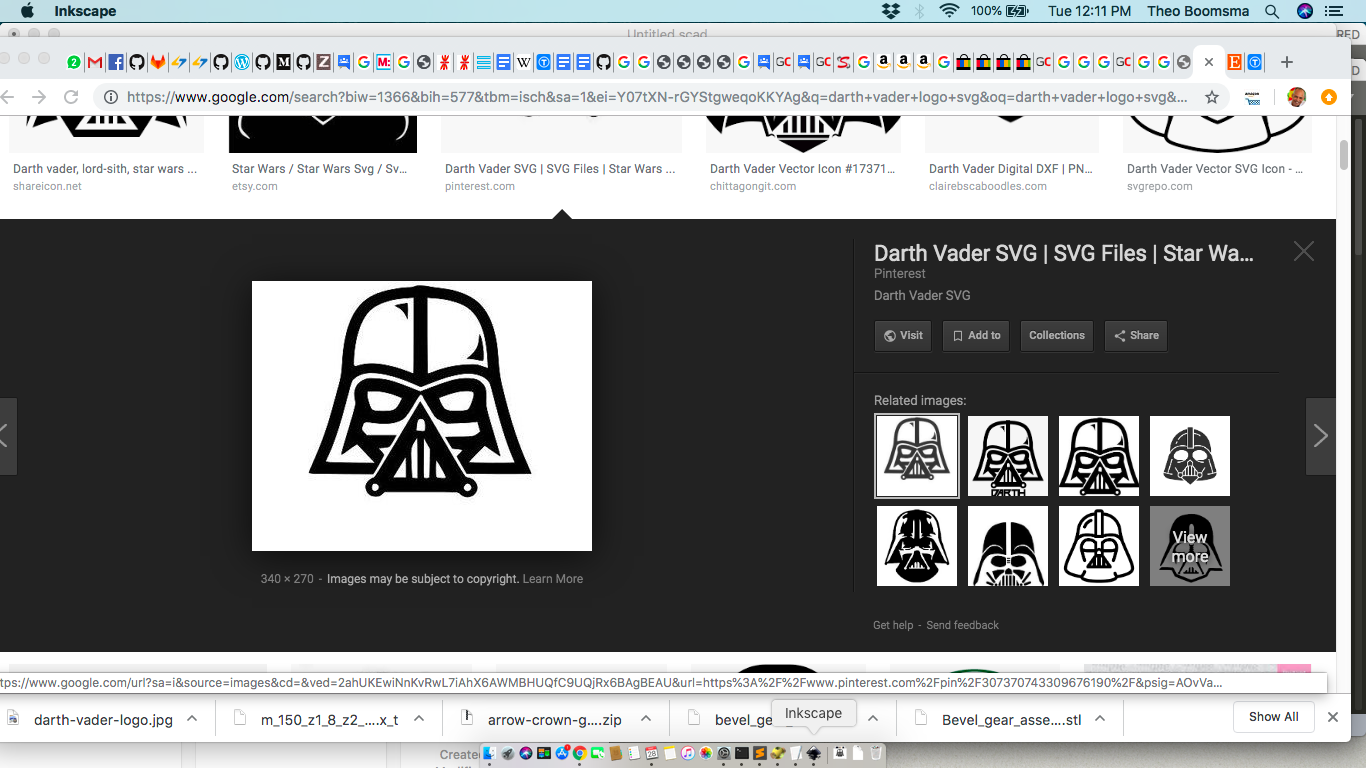
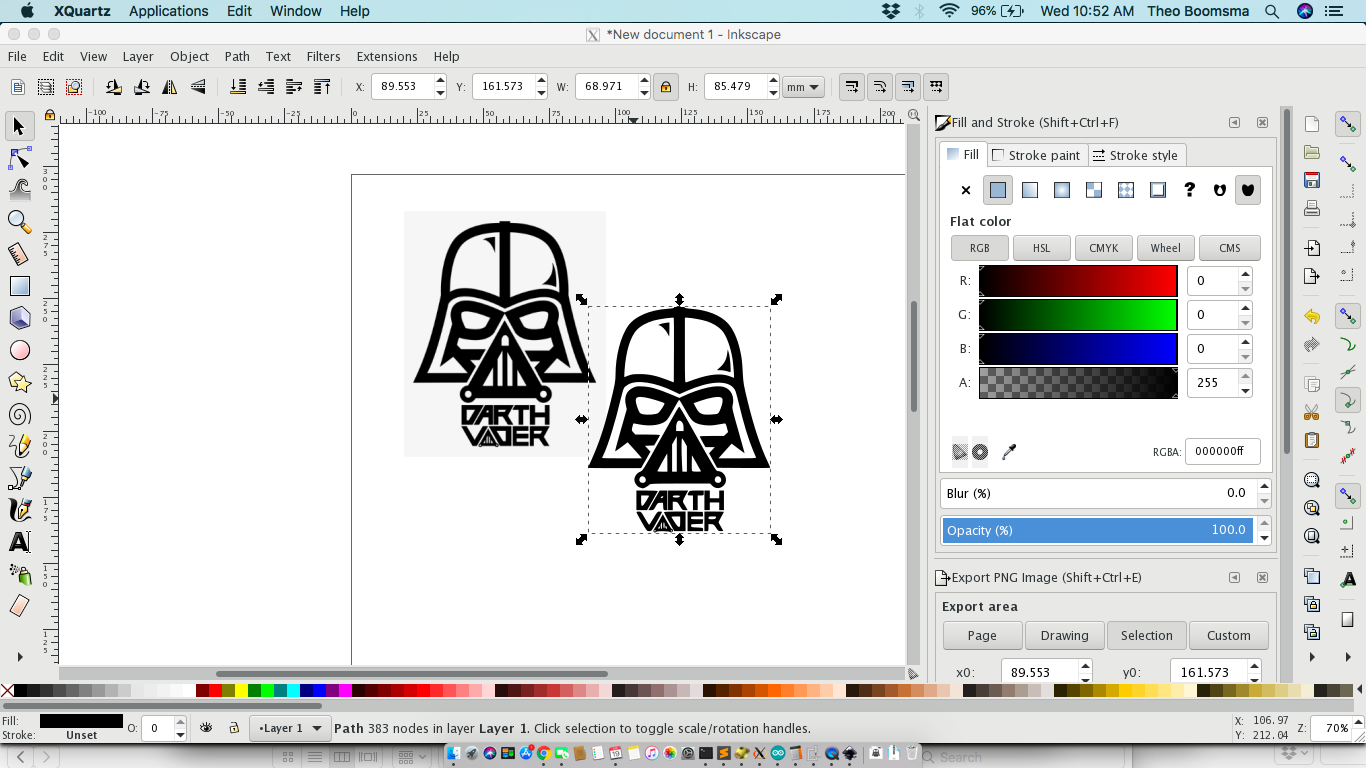
- Open your desired image \ Please note that ready-to-use SVG files are hard to find an most often commercially available so learn the art of bit tracing ASAP it will do you wonders especially when in a hurry.
 \
\
Screen grab of my desired image (Command + Control + Shift + 4 on the Mac)
 \
\
- Bittrace it after pasting it of opening it from file
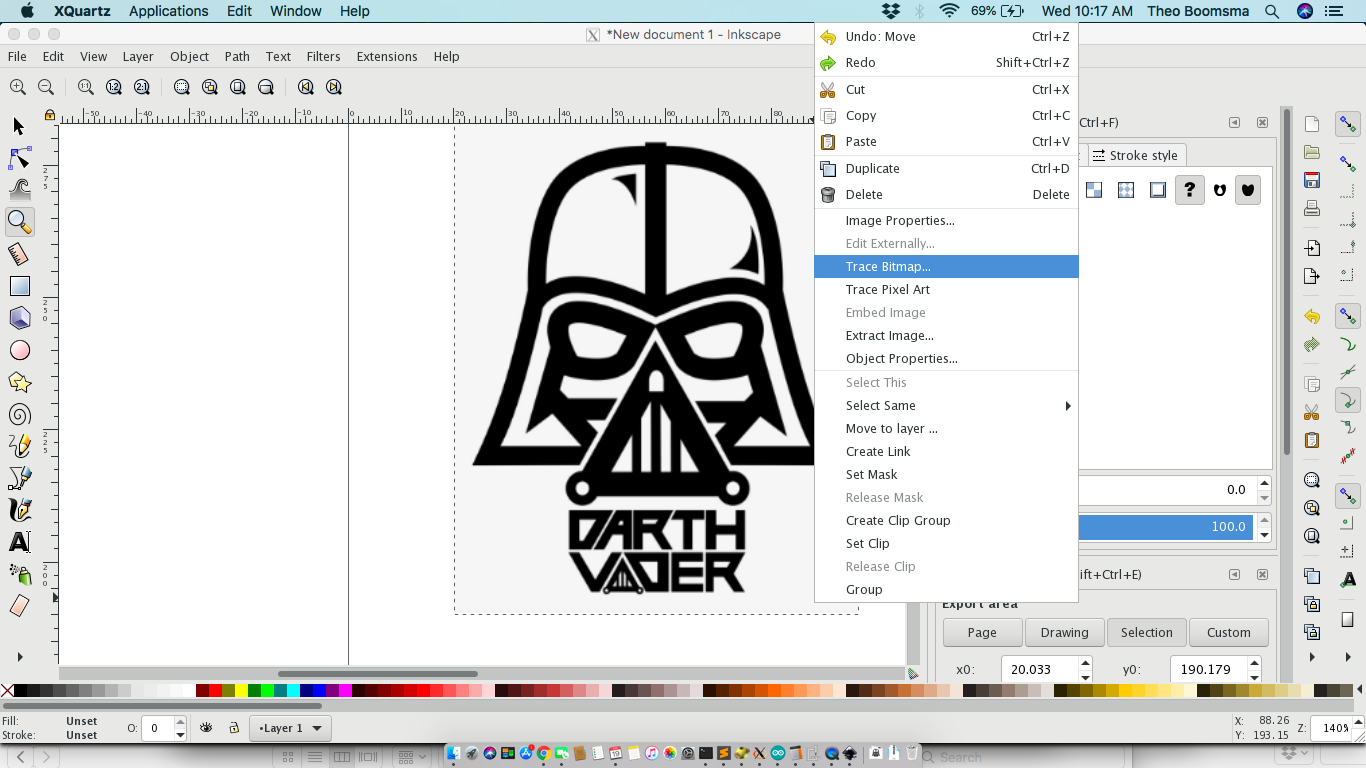
Start the Bittrace
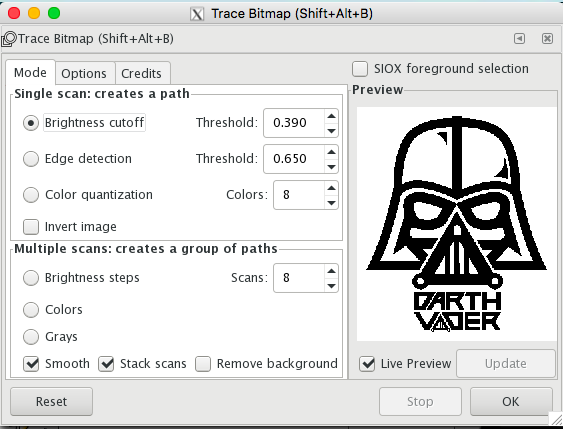
The original and the bittrace are directly on top of each other so move the latter away and delete the original now.
“I am NOT your father”
The vectorized Image can have fill (inside) and add a stroke for outline so choose what is best for your solution.
Update: I started off with only the outline but since it was gona be a tiny print i later changed to use only the infill and also take out the text below the image
- Cross-print check params / Max size for this machine 170x280mm. Adjust your print size by changing it here already.
- Extension -> Inkstitch -> Parameters \ Testing only the contours to be printed (setting the Stroke on) and simulate the paths with the “live preview” option
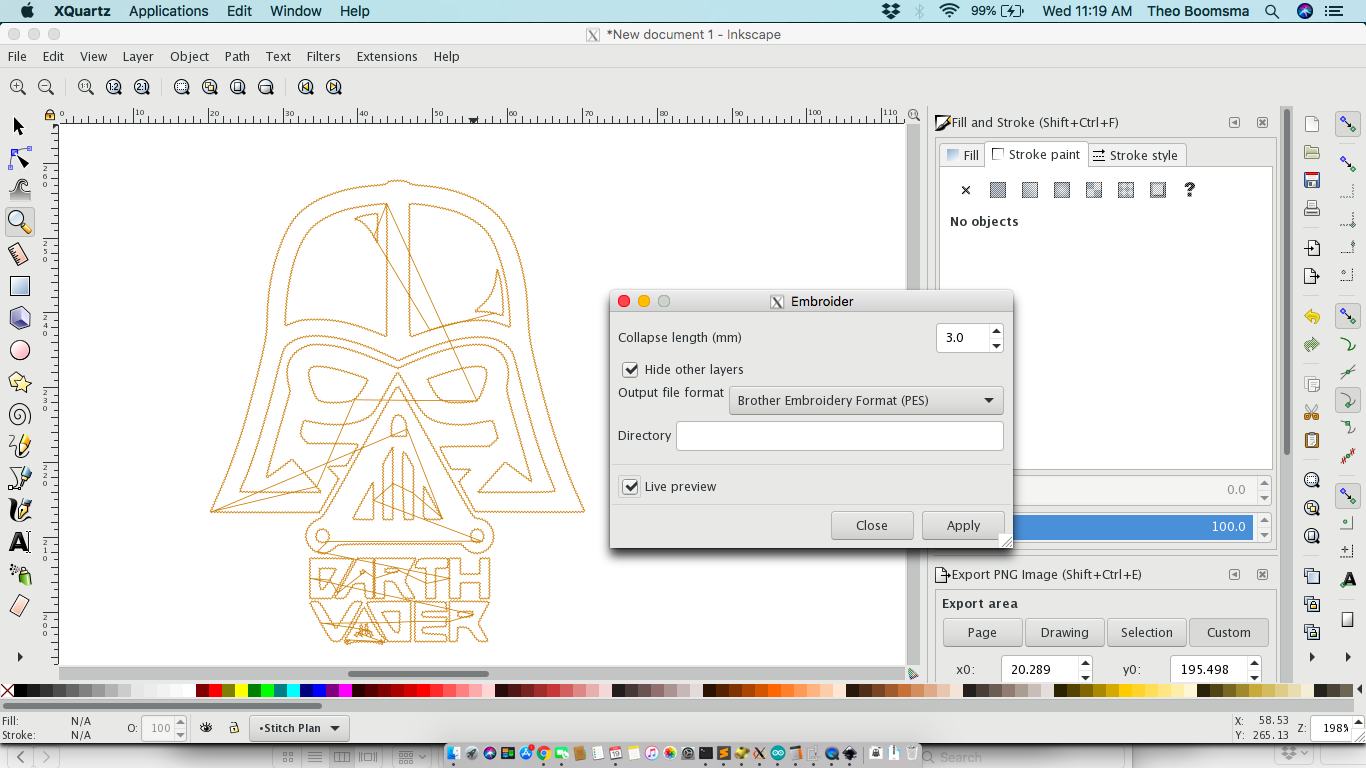
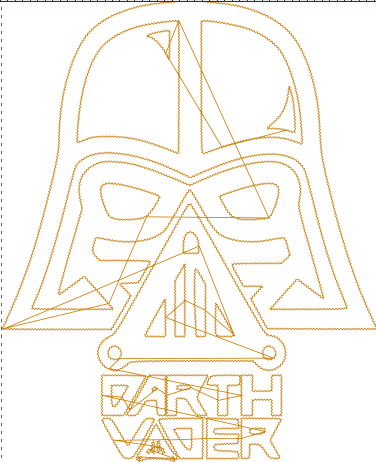
The embroidery paths are visualized
- Write the .pes file just generated to a USB memory stick
- Import into the embroidery machine and select for printing
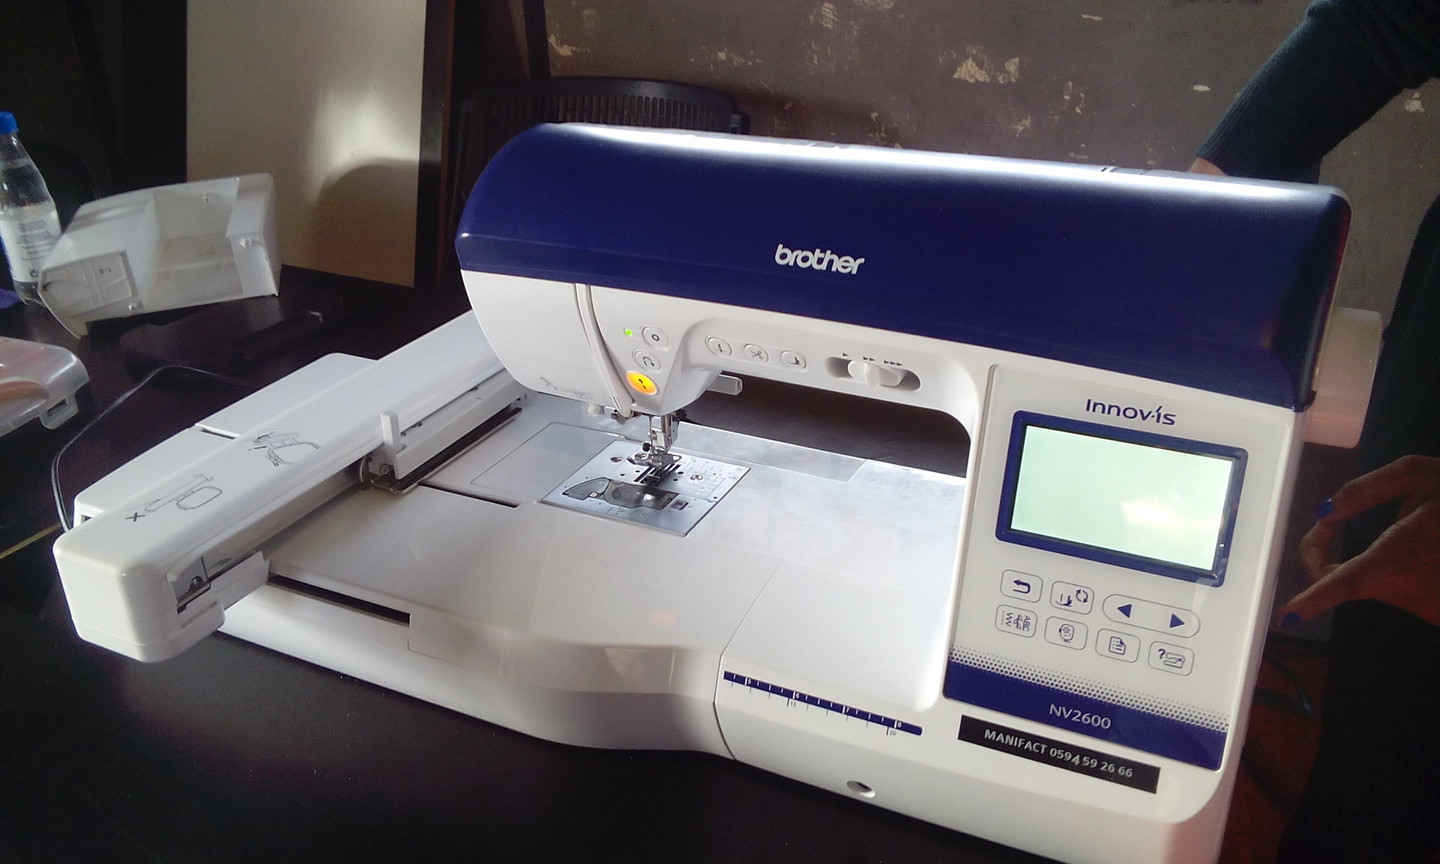
Installing the extra Embroidery bed, since this is a dual mode sewing and embroidery machine
We are ready to go
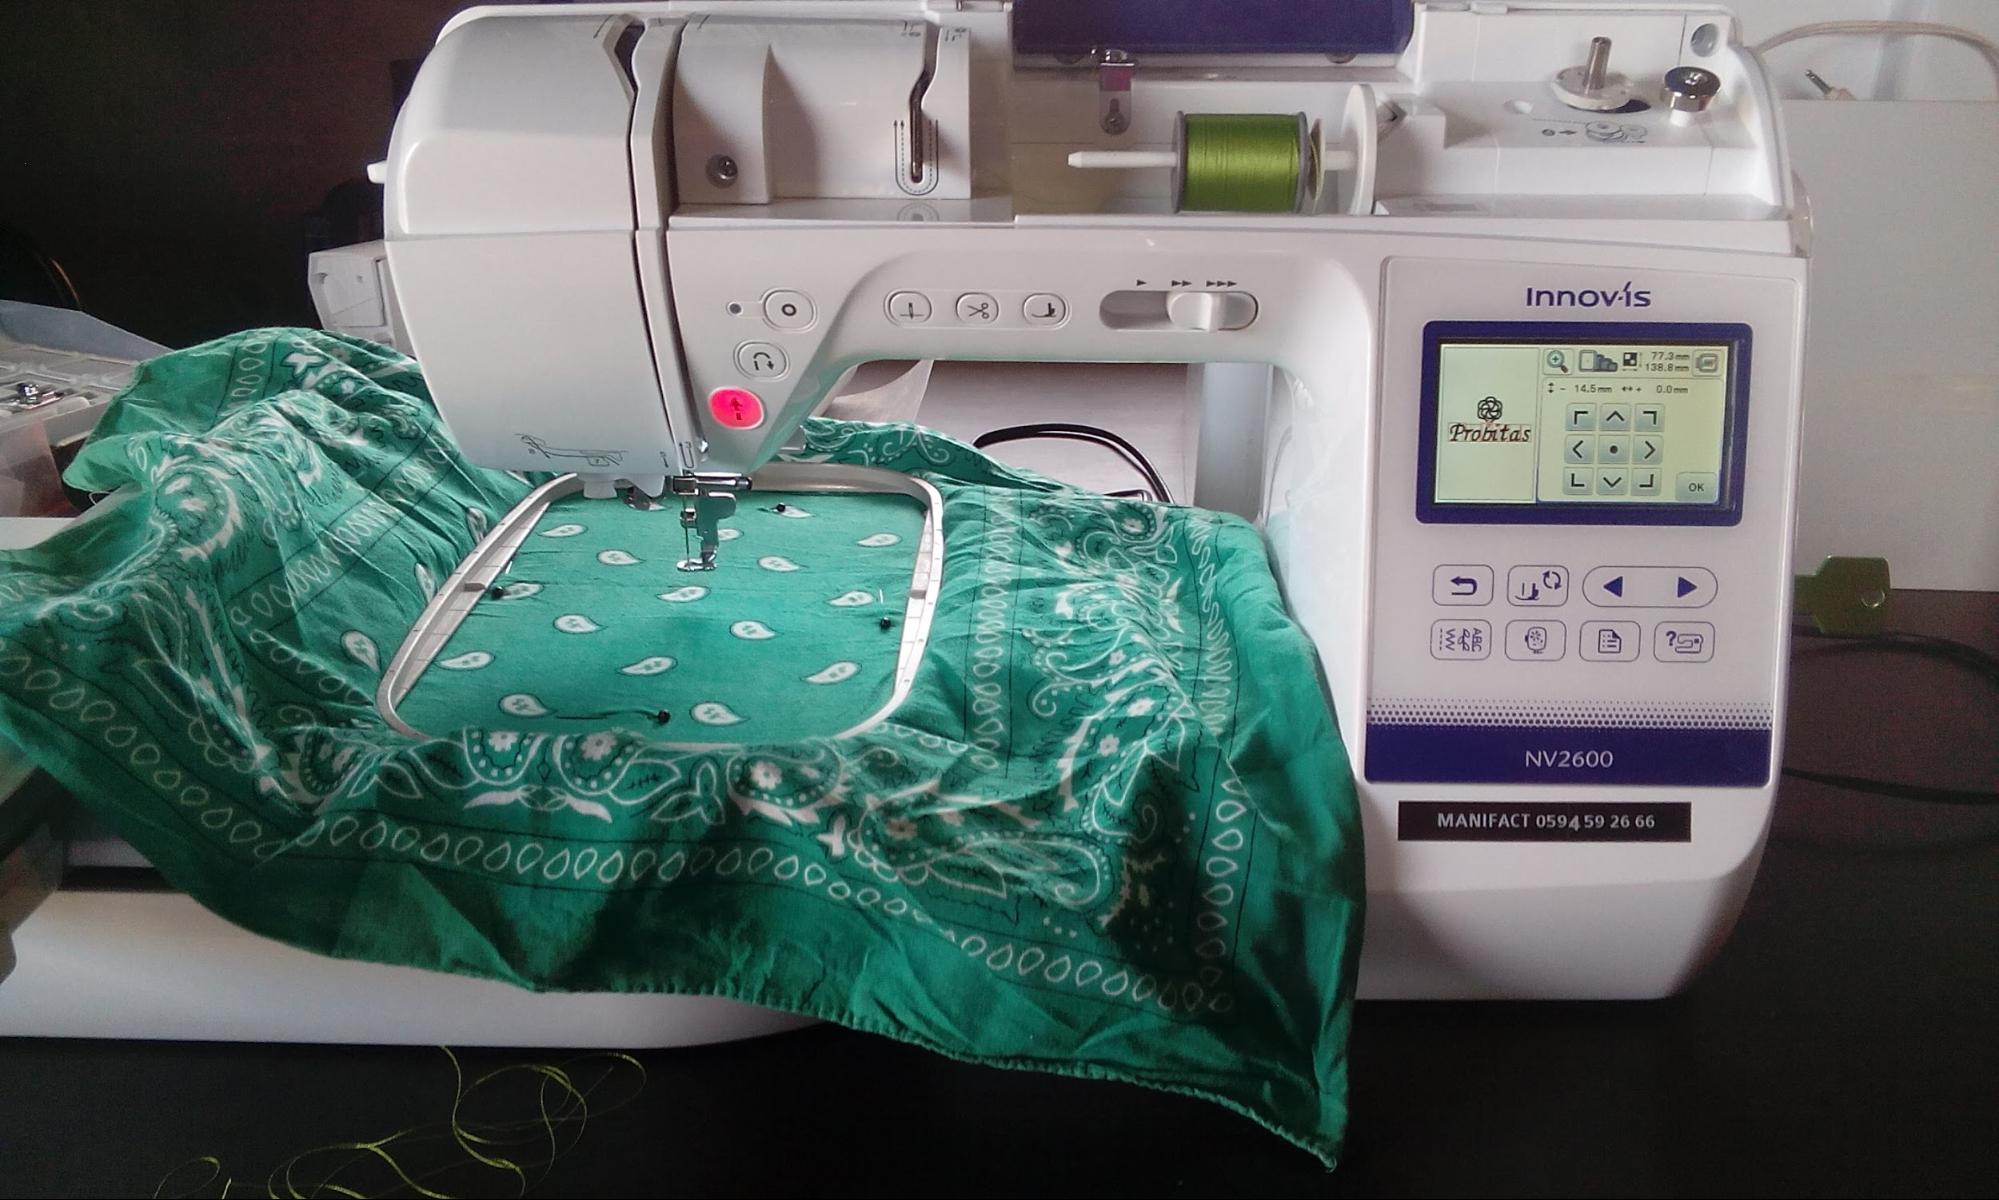
Now hookup your cloth into the designated frame. That’s actually the limiting factor to your design.
When your cloth is fixed on the special frame you can start the process
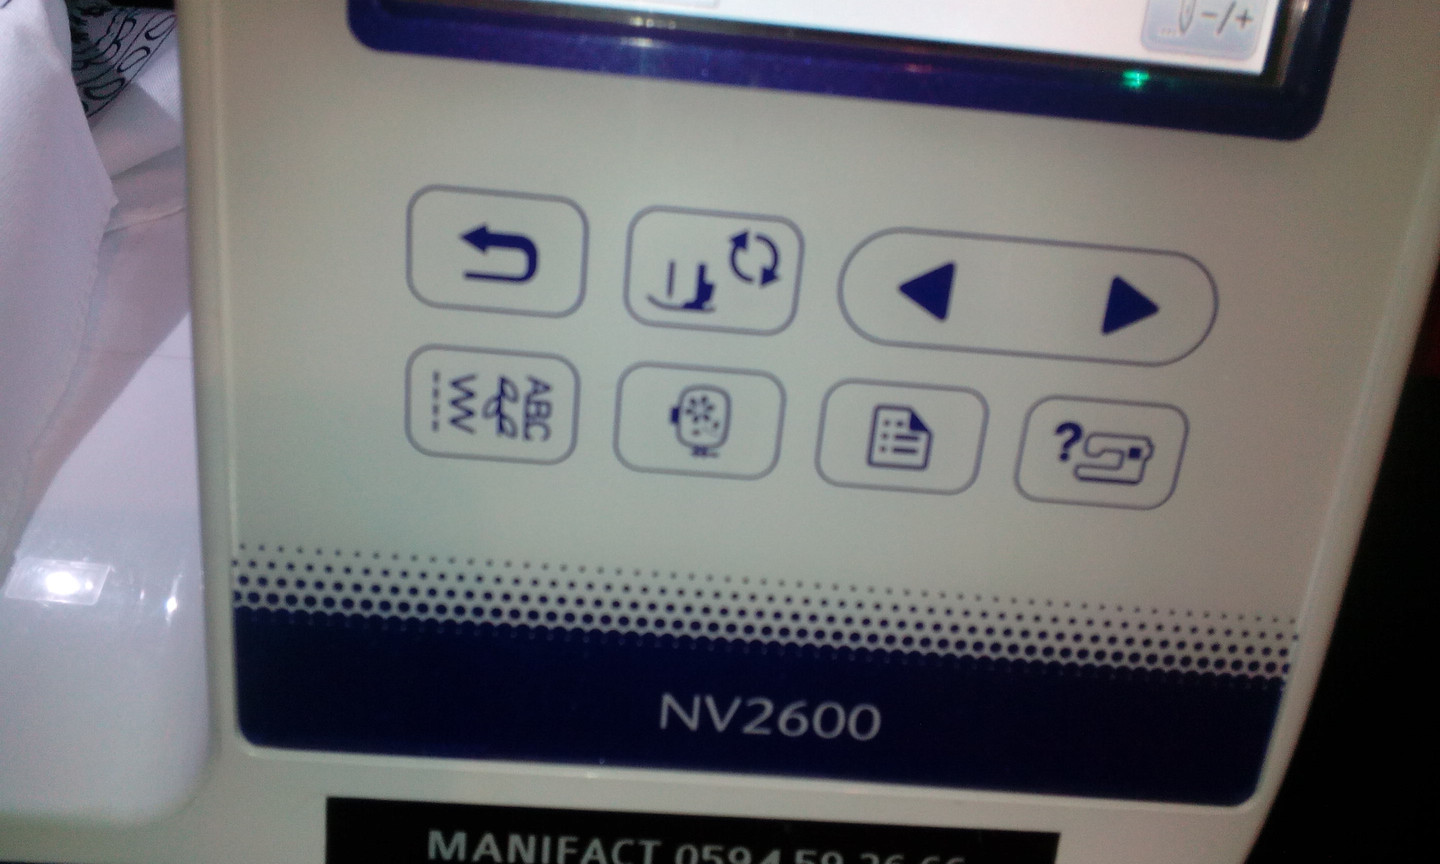
The navigation buttons for selecting and configuring the machine
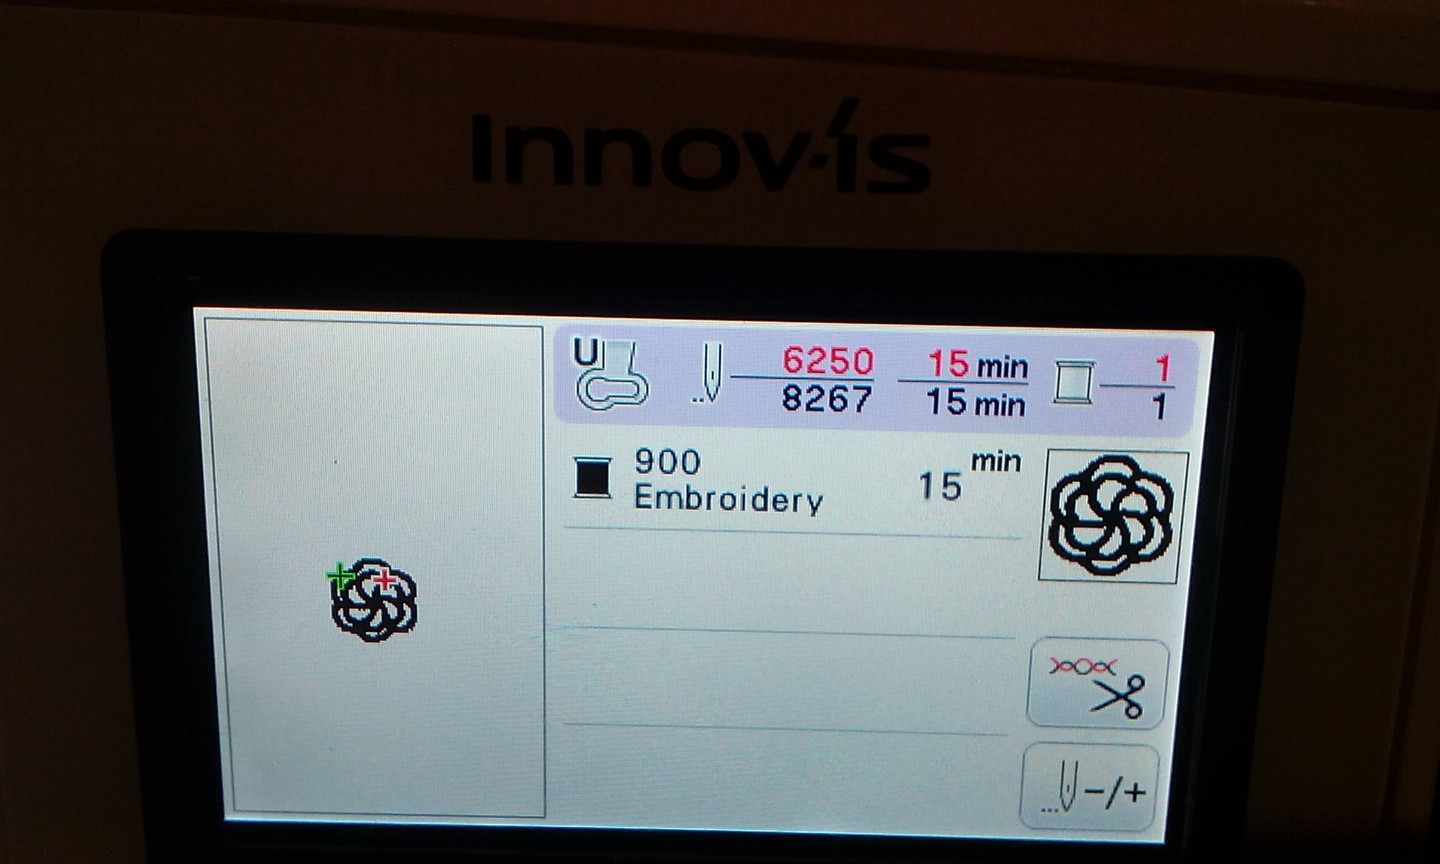
The file for the design was on an USB stick, the machine recognizes the file and displays it in the machine UI
Here you could change the speed, the number of stitches and estimate the time for processing.
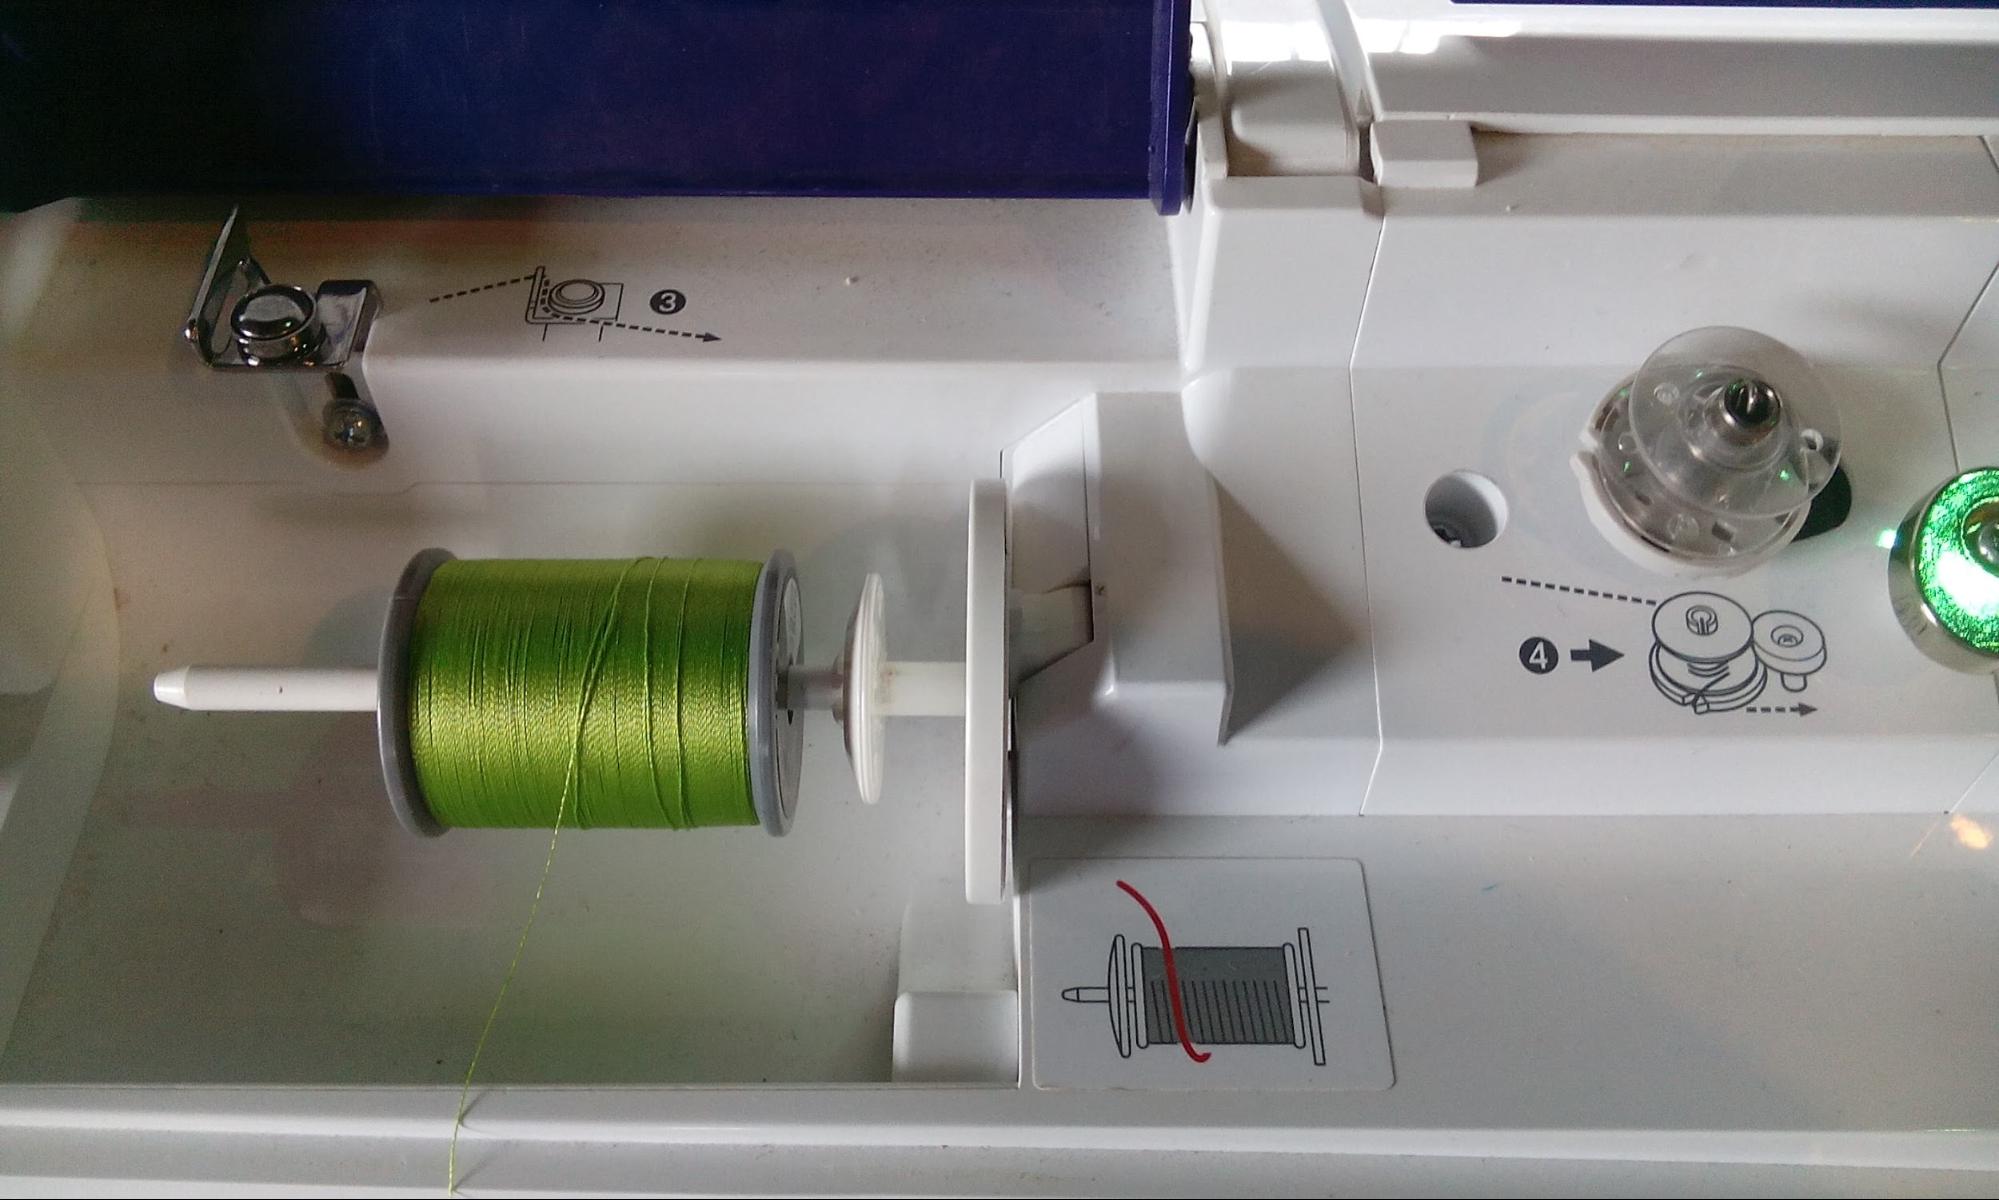
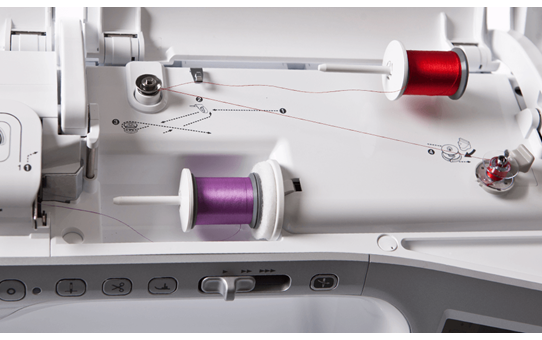
Setup wires for Embroidery
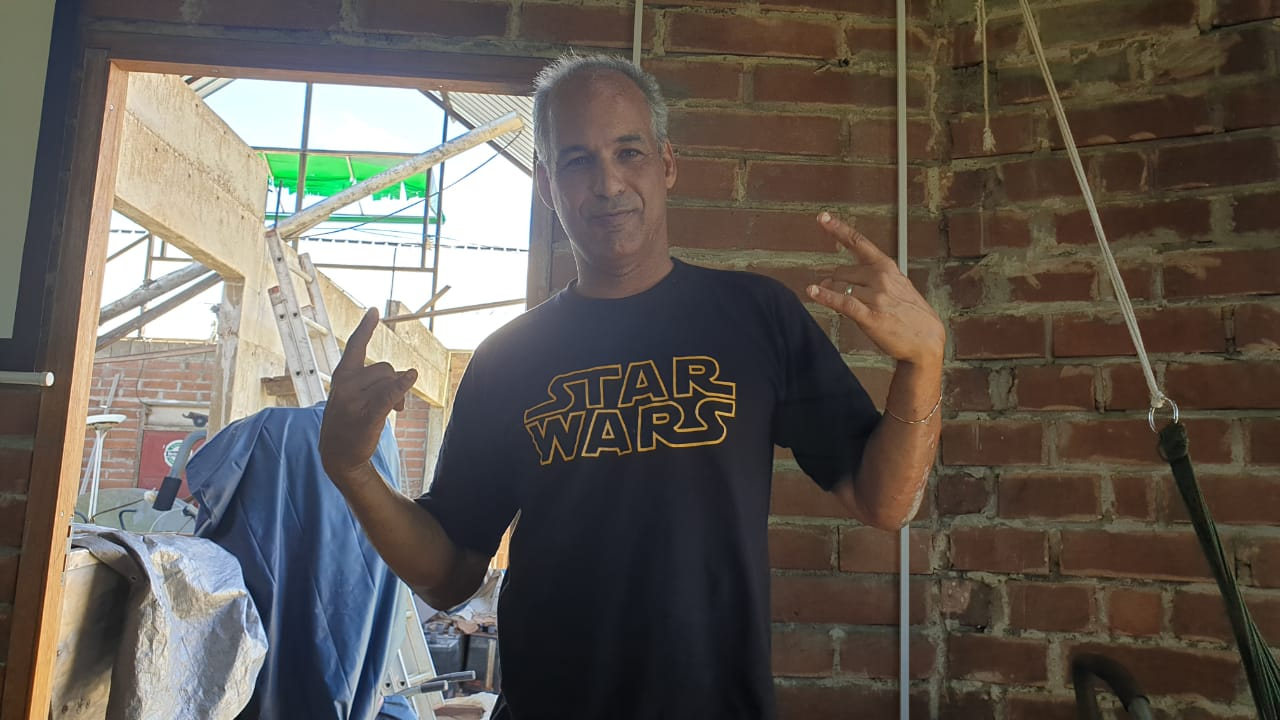
Practice run on an old hanky first before ruining my favorite Star Wars shirt ;)
Embroidery was a welcome variation to the mostly technical exercises we did so far.
The routing of the thread when changing color is a true entertaining piece of old skool engineering or maybe even a cool treasure hunt. We pass that wire through at least 18 different creeces, pulleys and holes before being able to start printing.
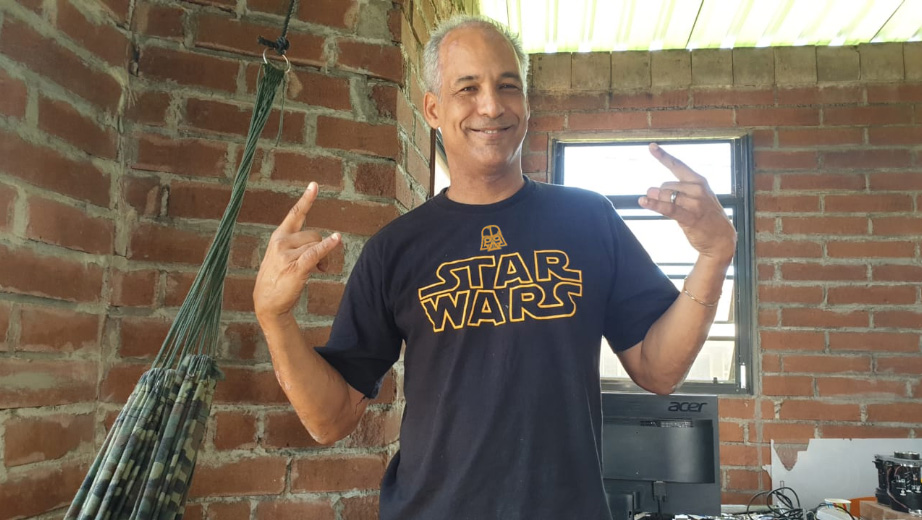
The end-result / my shirt
Before
Beamed up!
Files & Downloads
Contains
DarthVader.svg Inkskape file (after bittracing the screen dump) DarthVader.pes