2. Project management
When I first logged into GitLab with my Fab Academy credintials it was nice to have a website template. I really wanted to pracetice my HTML skills that I haven’t exercised in a long time. I spent about 8 hours making the website structure and formatting before I realized it was going to take me 10 hours a week to format the website with basic HTML and CSS.
I decided to looks more into Markdown and Gitlab to consider going a different route and learning a new skill.
I am excited to dive into Git after doing some research. For a long time I have been using Google Drive for host files and content. Until Fab Academy I didn’t know much about Git. My favorite advantage to git is the way adding and removing files works. Git actually keeps a history of everything committed to the repository. This will allow me to track changes and better collaborate with people. Google Docs, for instance, allows multiple people to edit a single document but there if I need to revert to an earlier version weeks later it would be nearly impossible. I have always done this by saving multiple versions of the smae thing but they it gets confusing because people will contribute to outdated files.
Now with Git, I can have one file and see who made what change when. Plus, I can setup permissions to allow me to approve changes.
I went into the Doc folder opened the index.md file to edit. This file serves as the Home page for my Fab Academy website.
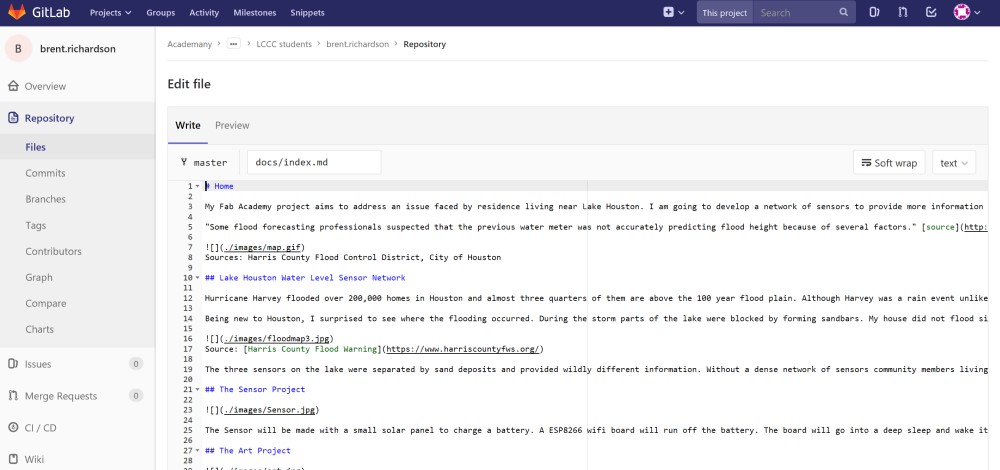
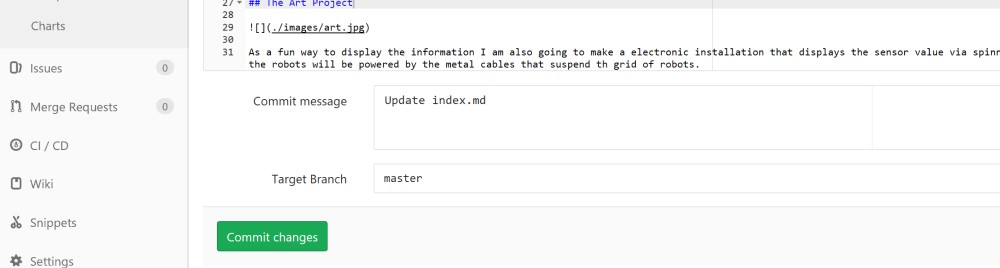
Once in edit mode I added some images and text before committing the change. It looked correct on the Gitlab preview but when I navigated to my fab academy URL no website appeared.
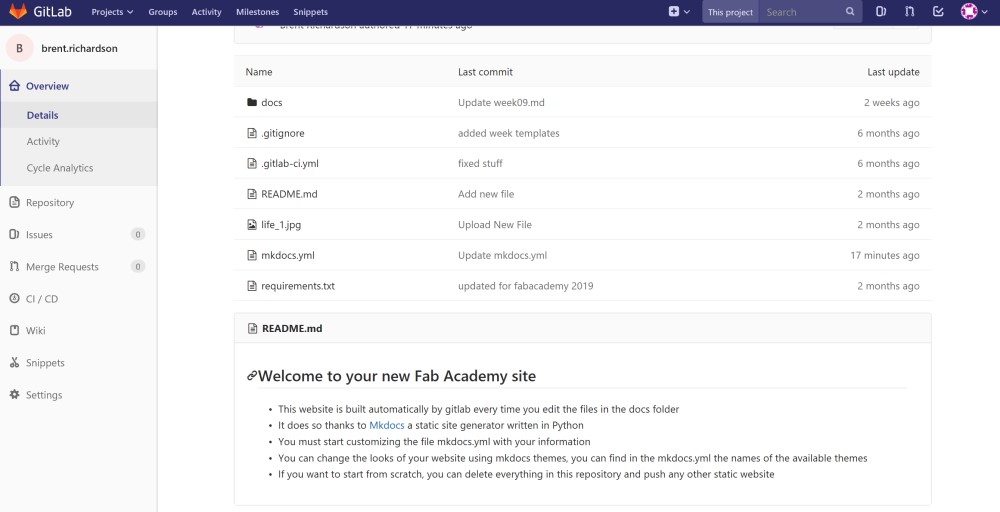
After some research and contacting a few people in the Loraen cohort it was brought to my attention that I needed to edit the mksdocs.yml file like is described in the readme.txt file.
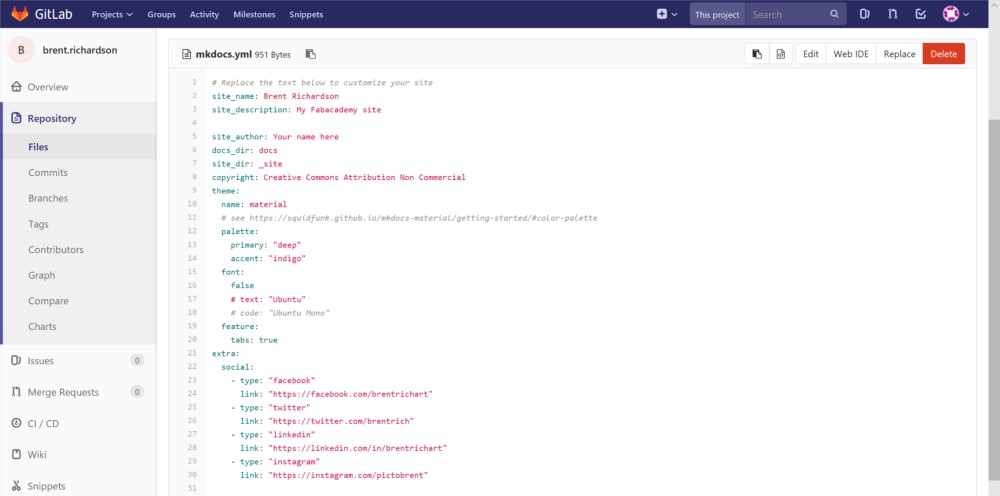
Once I changed the variable content with my information and committed the change. Then, once I made it back to my Fab Academy page and cleared my browser cache the site appeared.
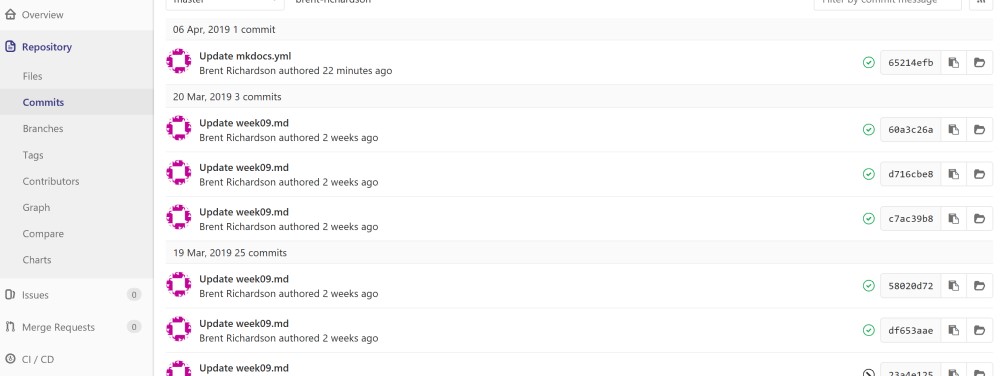
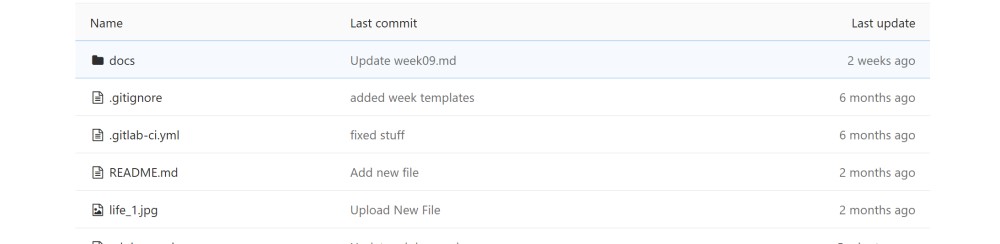
One of my favorite parts about Gitlab is that it logs all changes that are made to the site. By clicking the Commits link on the sidebar it is possible to see all the changes committed to the Gitlab site.
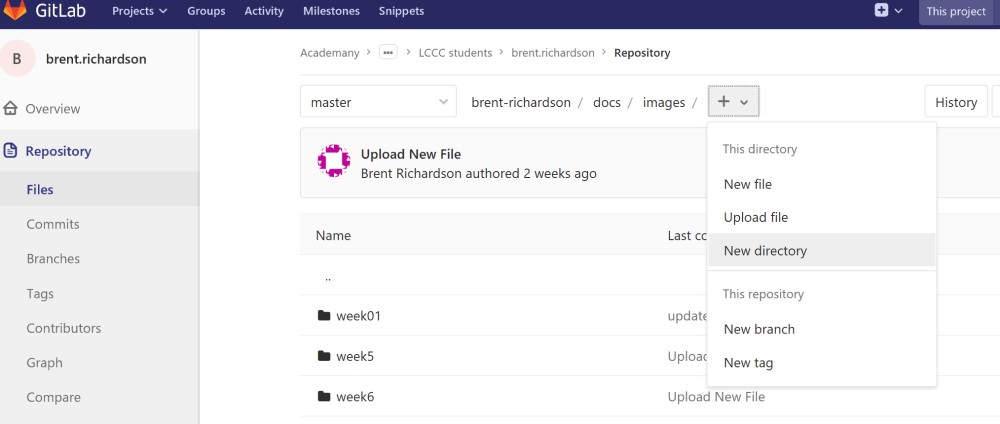
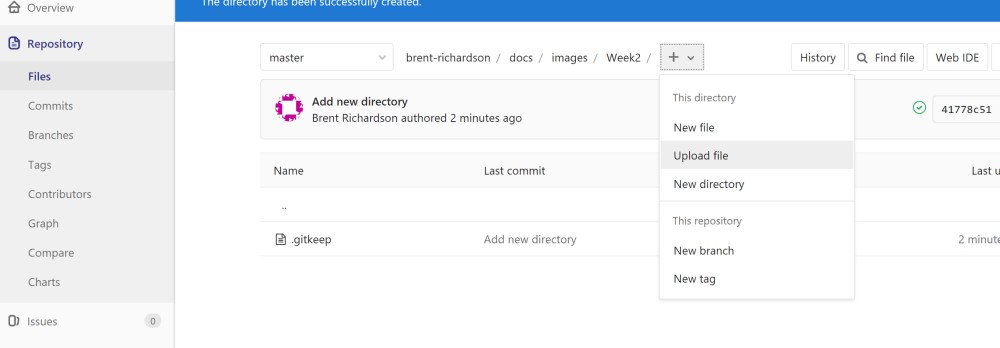
To add images to a post I created a new sub-directory to hold the images for each week in the image folder. doc/images/week2
Turns out I have been making a GIT rookie mistake. In the image aboveyou can see that I left no message to the commit (change/upload to the repository). It is important to leave messages anytime a commit is made to remind you and others what the change was at a glance.
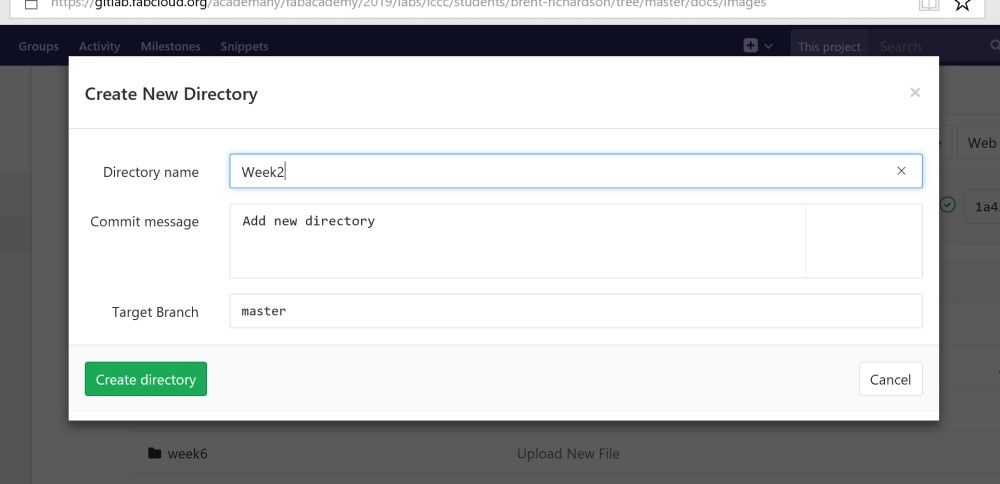
I didn’t realise at fist but in Markdown the image path is case sensative. So, since Week2 has a capitol W when I type the path it will need o be a capatol W.
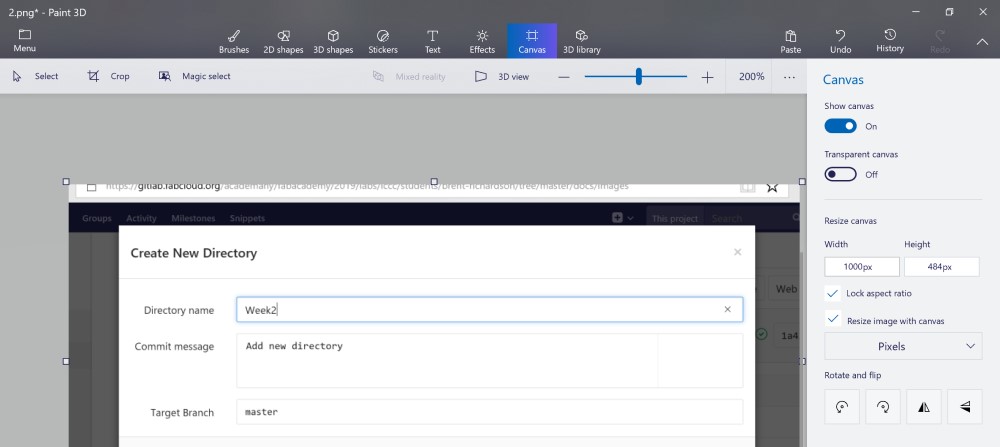
Before uploading any images I made sure to format them all and optimize them for the web. Usine Paint 3D I cropped and resized screenshots to 1000px.
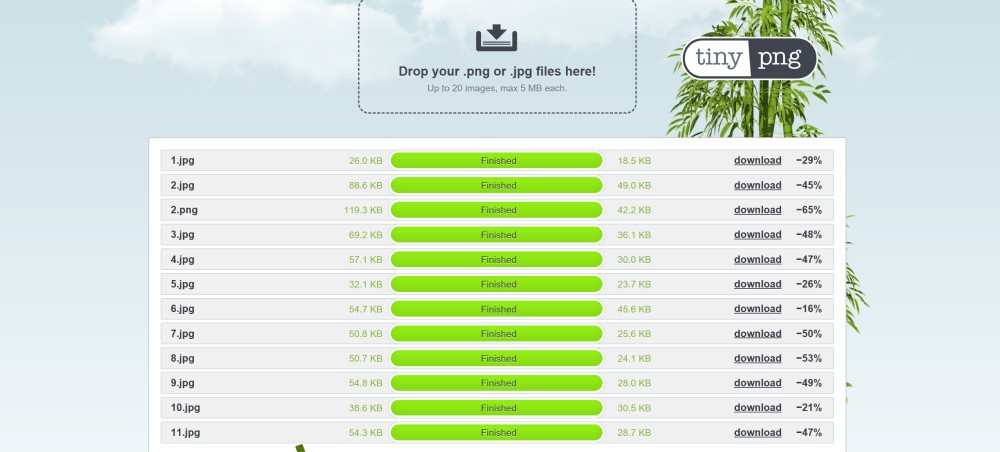
Once the images were saves to resonable size I uploaded them all to TinyPNG. You can see from the image how the online software compresses all the images significantly.
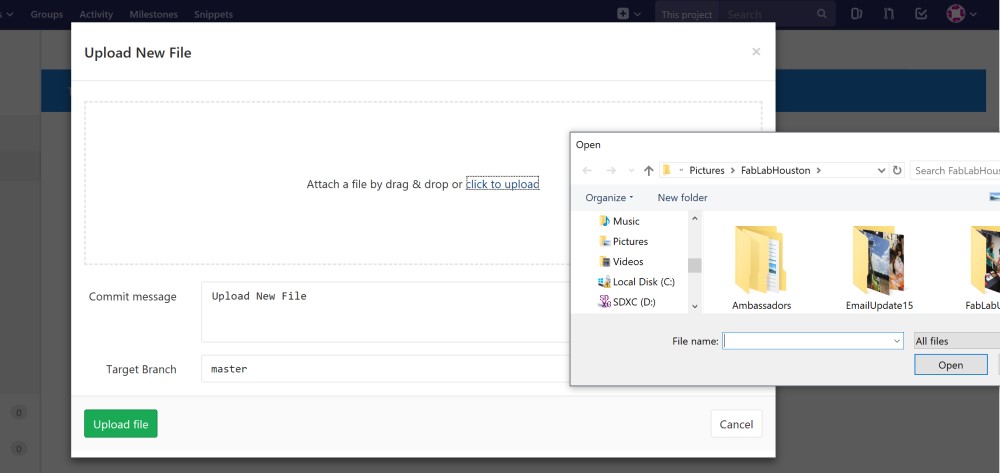
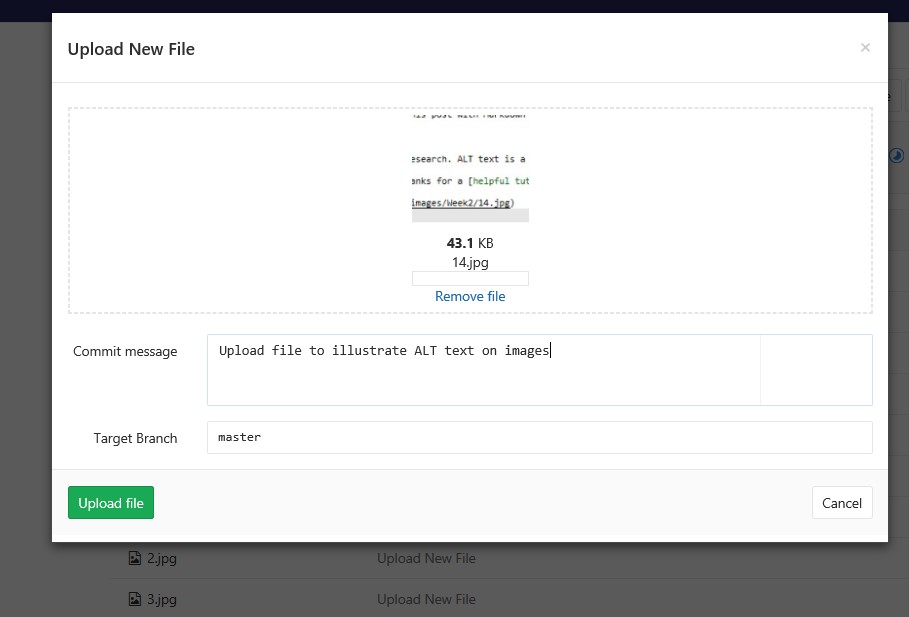
I like that everything can be done through the browser but it is time consuming to upload images. After navigating to images/Week2/ I clicked the + button at the top of the screen and clicked “Upload file”. The challenge is that you can only upload one file at a time.
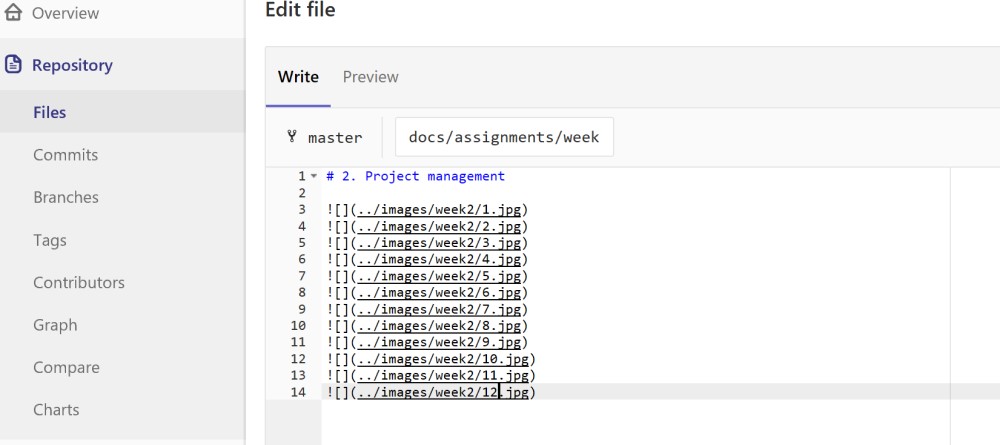
After uploading the files I embedded all the images on this post with Markdown image links. This images shows that I failed to enter the link with a capatol W. At first when I committed the changes the image links were broken but I quickly realized the link needed to be case sensative.
Alt Text
Turns out I missed a big part of web development in my research. ALT text is a bit of code that serves to describe a photo to search engines, and people. Sometimes ALT text is the bit of text that pops up over an image when you hover the mouse over an image and leave it for a bit.
Here is how to do ALT text in MarkDOWN. I learned his thanks for a helpful tutorial
In the images above I have not text between the brackets [] but this is where the alt text should go.
