6. 3D Scanning and Printing
This week I learnt how to duplicate shapes and how to print 3D objects; I discovered, respectively, the rules to convert light points of shapes and to set 3D printer properly.
3D Scanning
Using scanner machine and softwares I learnt how to duplicate shapes, catching light points and converting them in meshes.
3D systems Sense
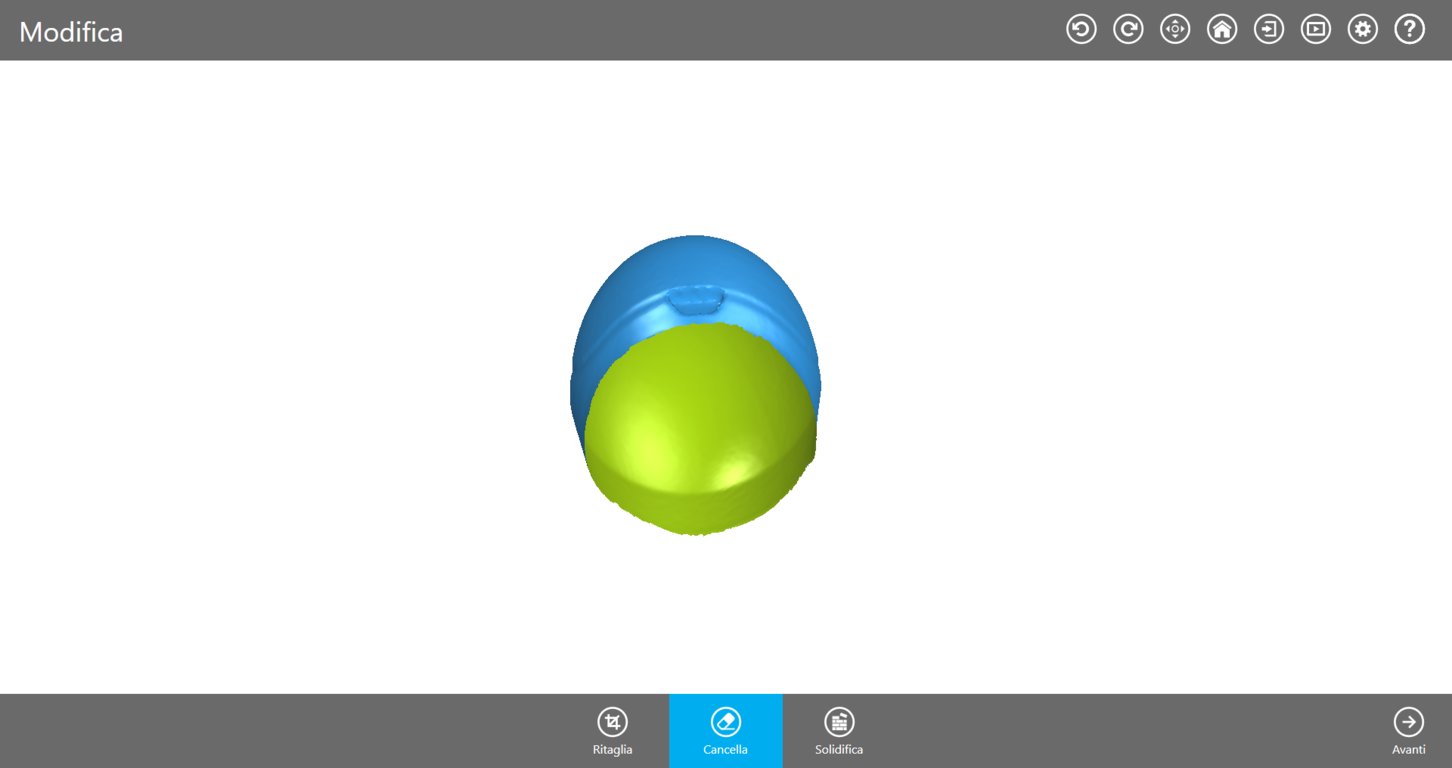
I used the Sense scanner by 3D Systems to scan a 3D printed helmet: 1st I clicked the space bar to start scanning and 2nd moving and recording around it the Sense software catched and converted light points of the helmet. 3rd Then I clicked again on the space bar to stop scanning. 4th So I could edit those meshes deleting and smoothing points, and also encasing the whole model using “solidify”.
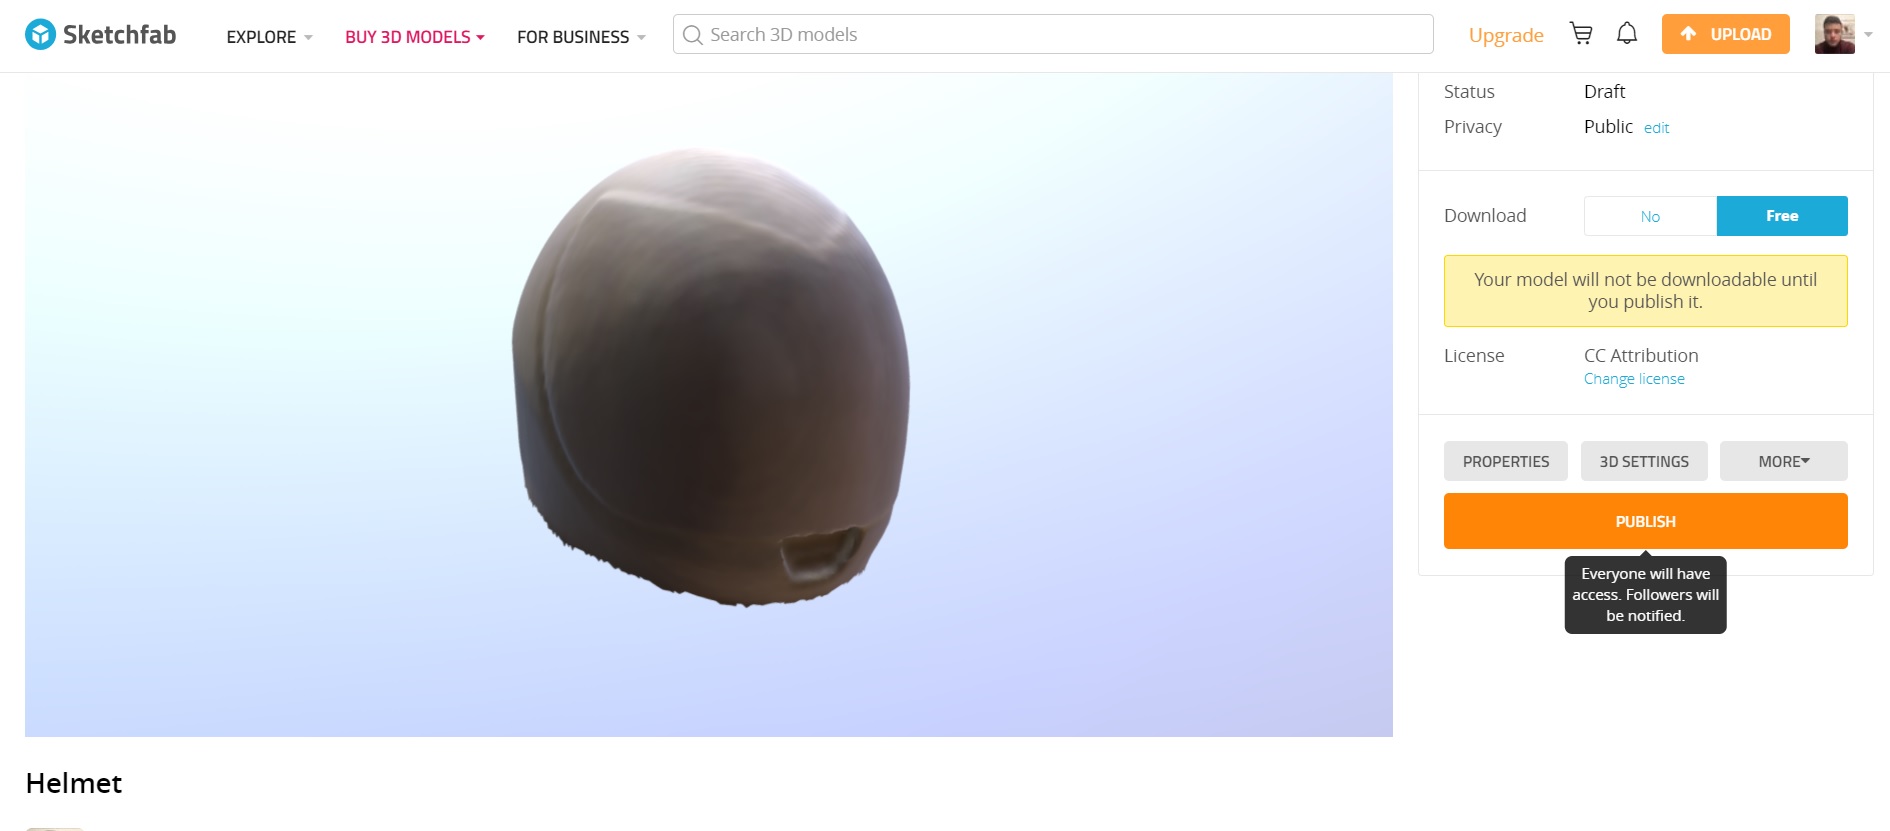
Then I uploaded and shared this .obj file on Sketchfab. I uploaded the files at the foot of the page.
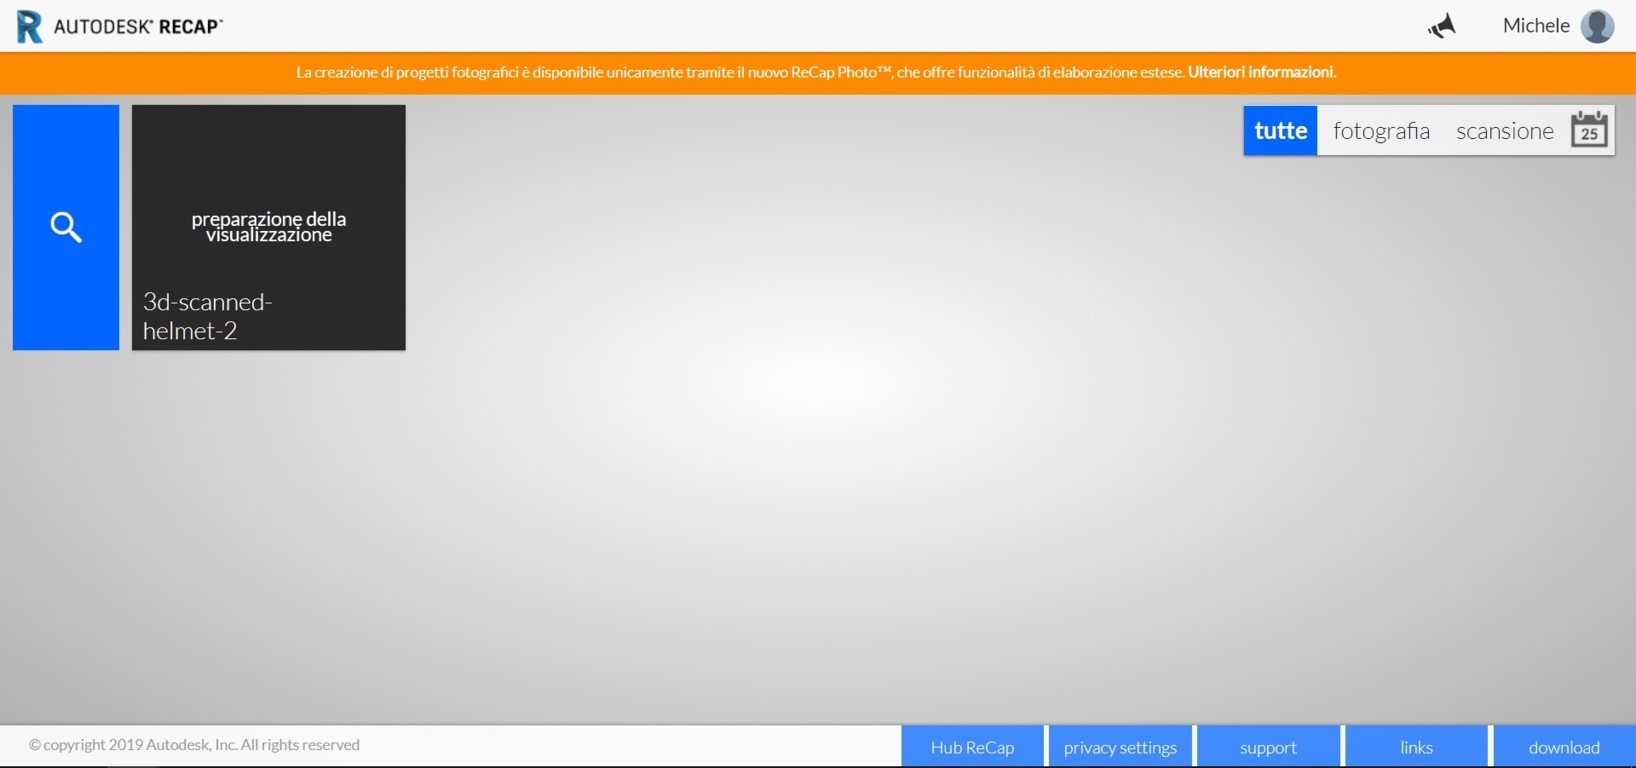
Recap
I also worked using Recap software; 1st I installed on Recap and Recap Photos, and its others plug-in. 2nd I uploaded photos and converted them automatically in meshes; It need at least 20 photos, and 3d I selected the “auto-crop” mode.
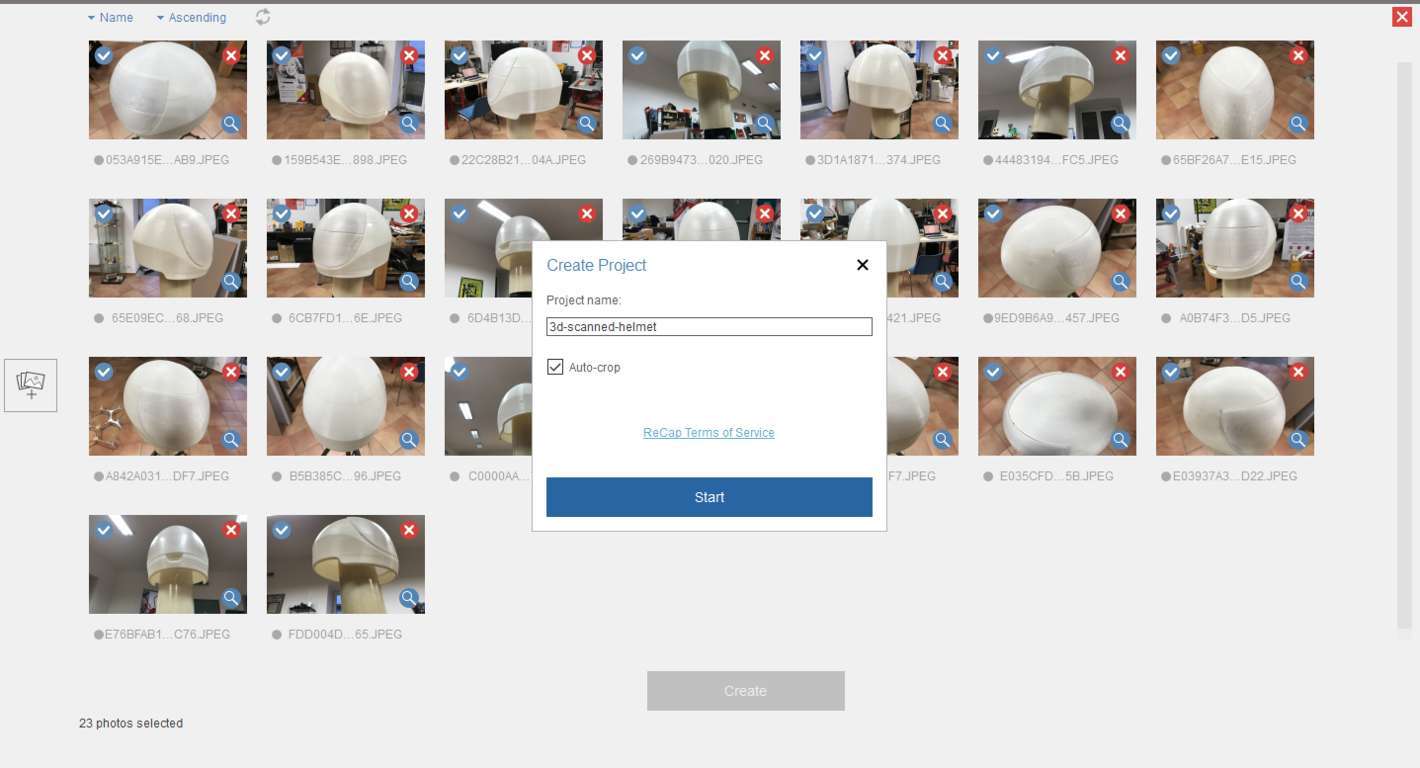
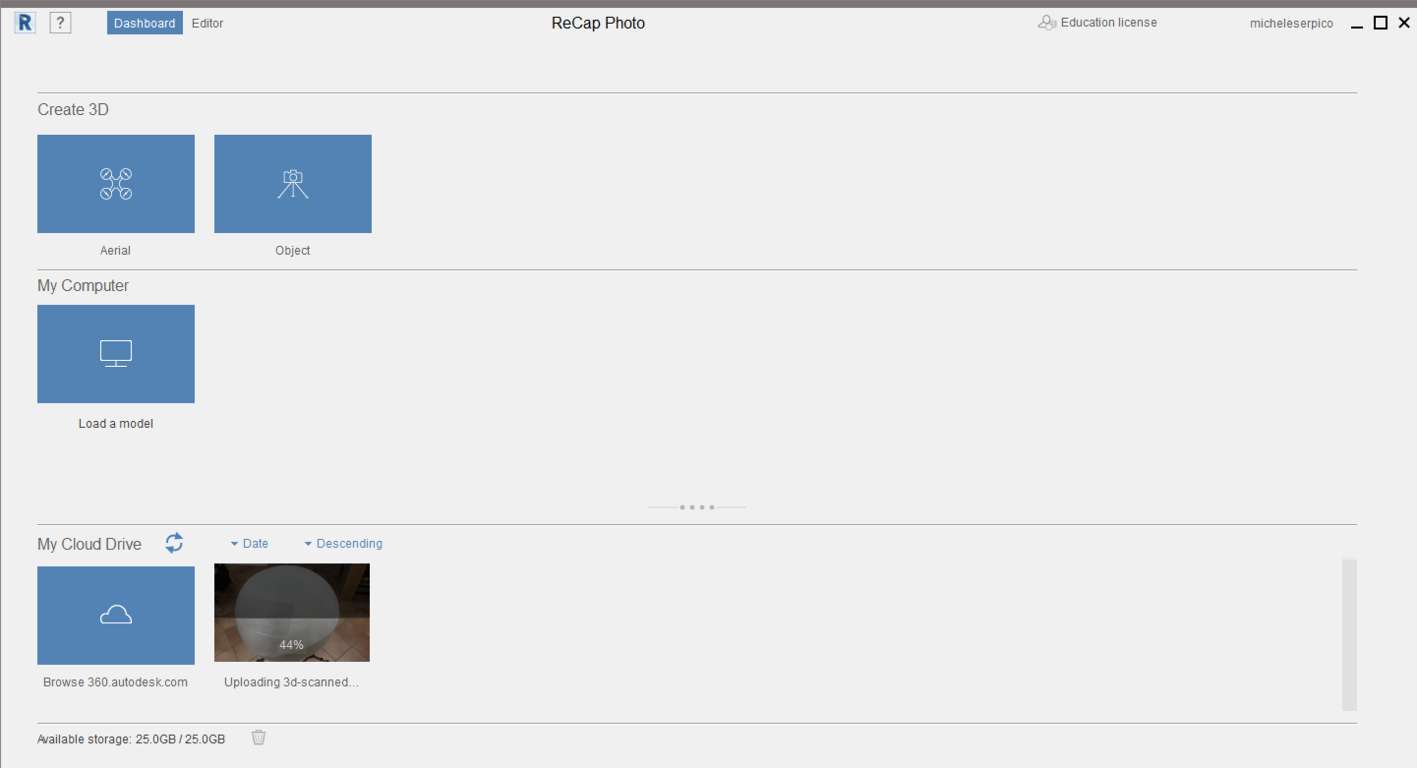
4th Recap also save automatically the projects online in the specific cloud, where everyone can manage, edit and share projects.
3D Printing
I learnt that 3D printers have to be set properly, in order to make high quality objects melting specific materials according to the points of modeled shapes.
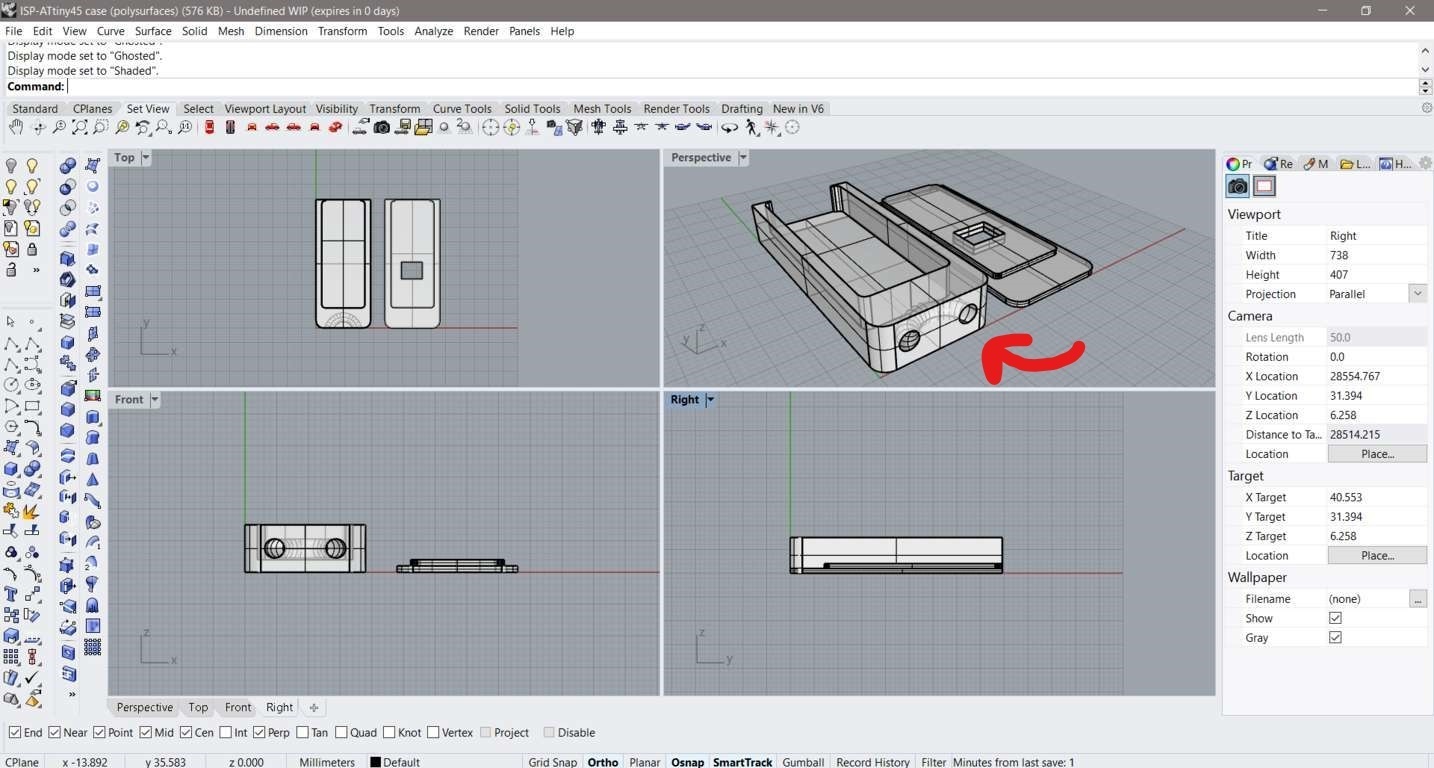
Modeling
To print something, 3D printers have to be set with supported CAD files uploaded from wi-fi or SD micro-card.
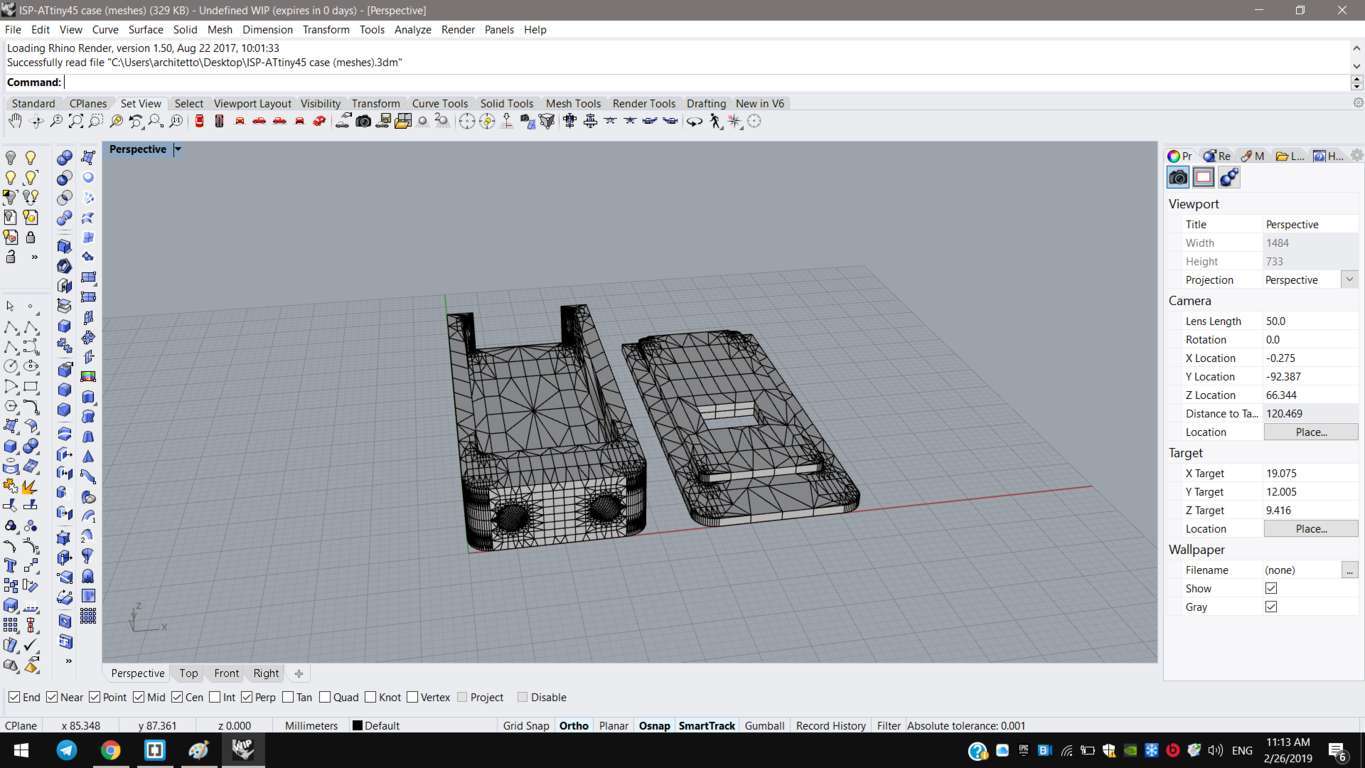
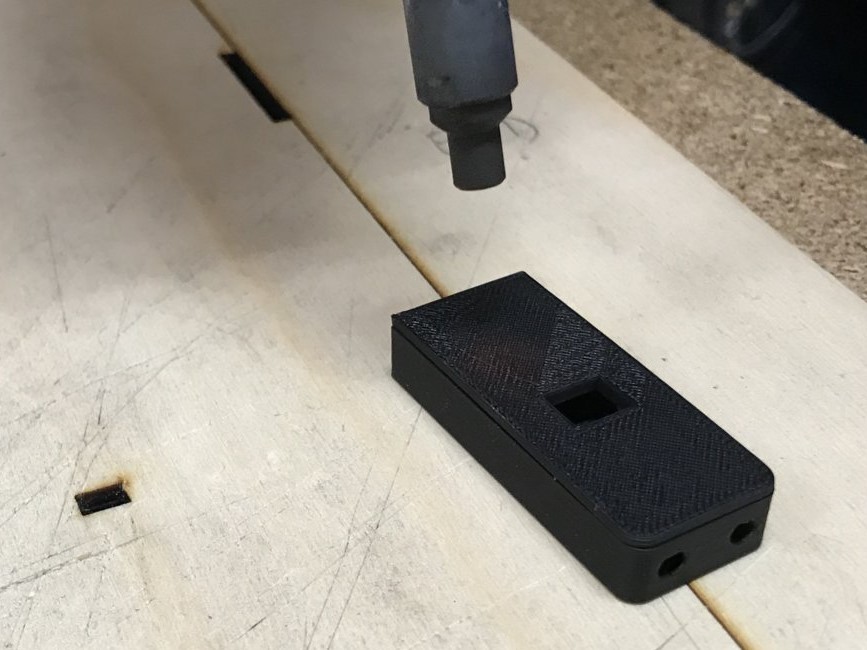
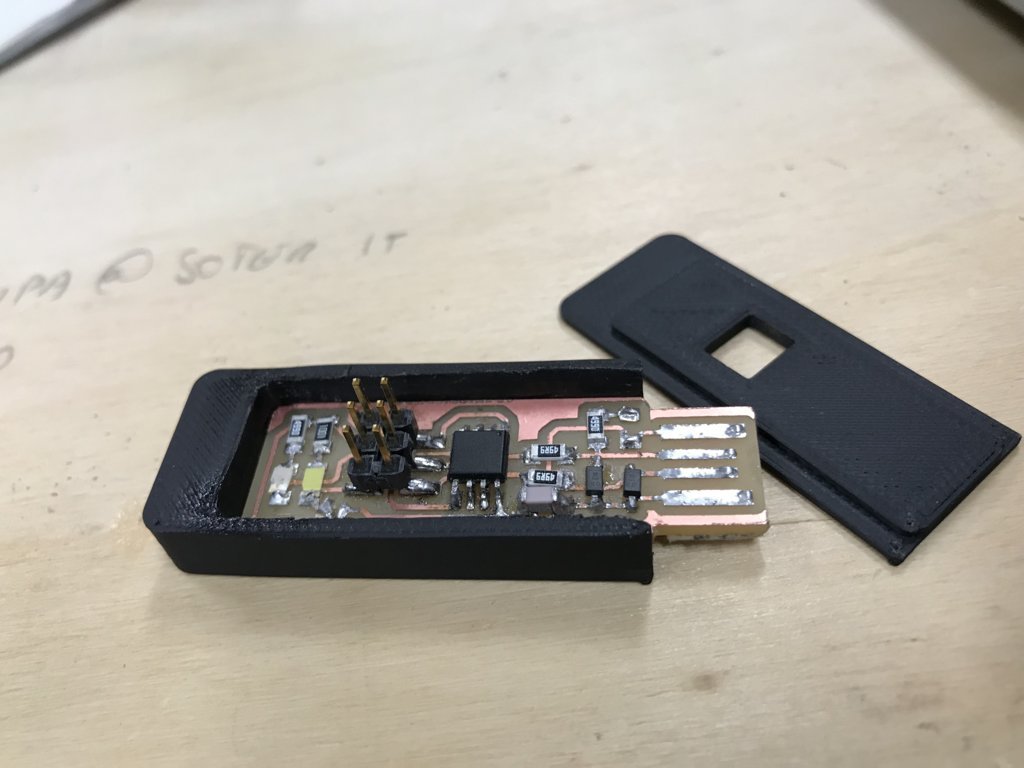
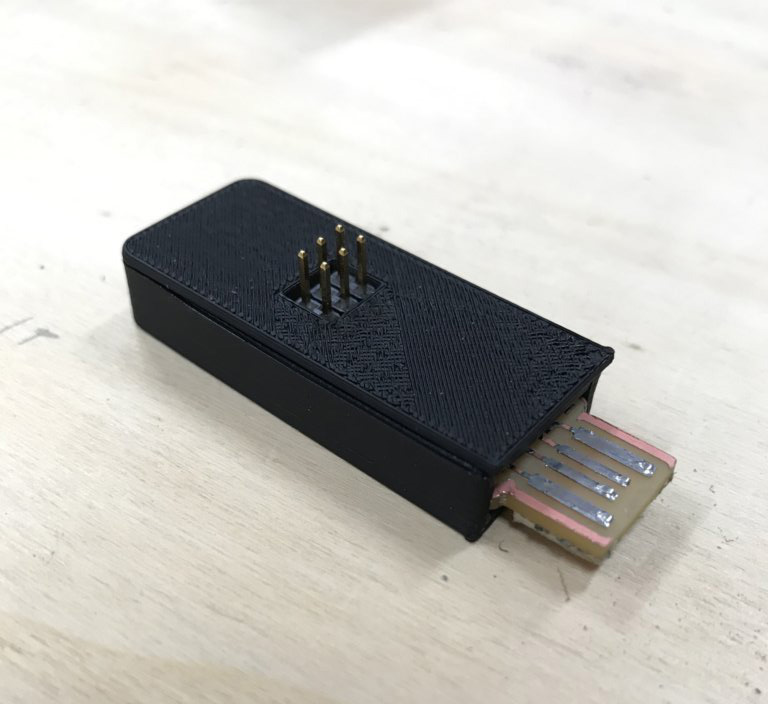
Using Rhinoceros, I modeled and converted in meshes a case for the ISP-ATtiny45 I made.
I added also an hollow part to carry the ISP. This part can’t be made subtractively.
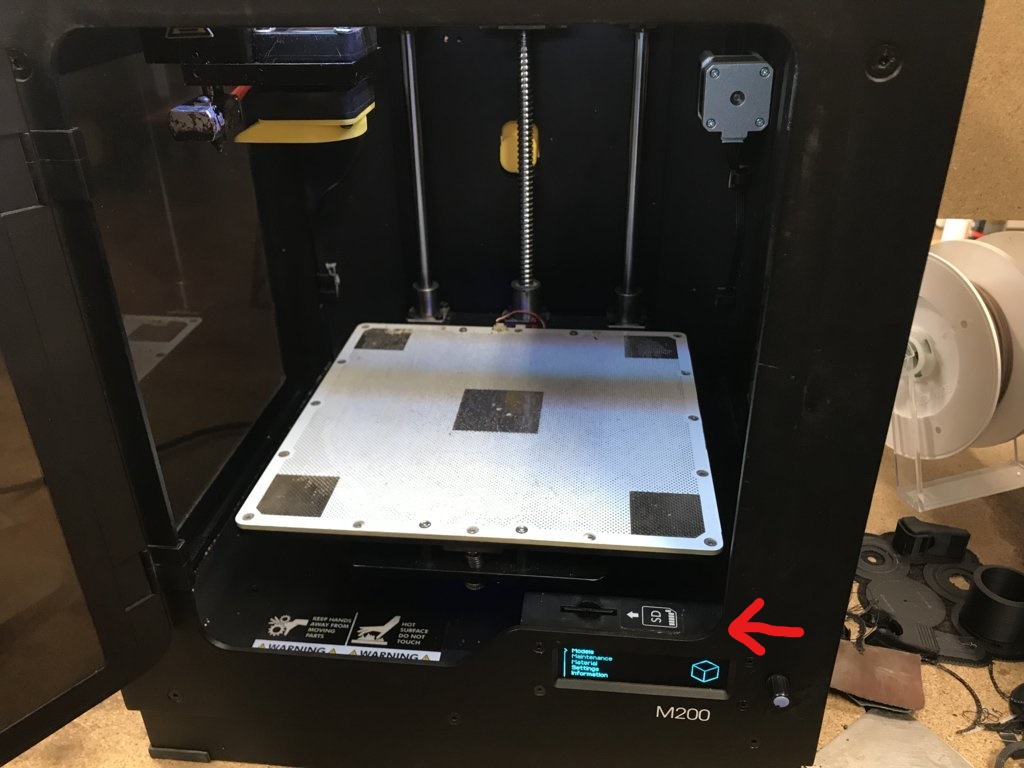
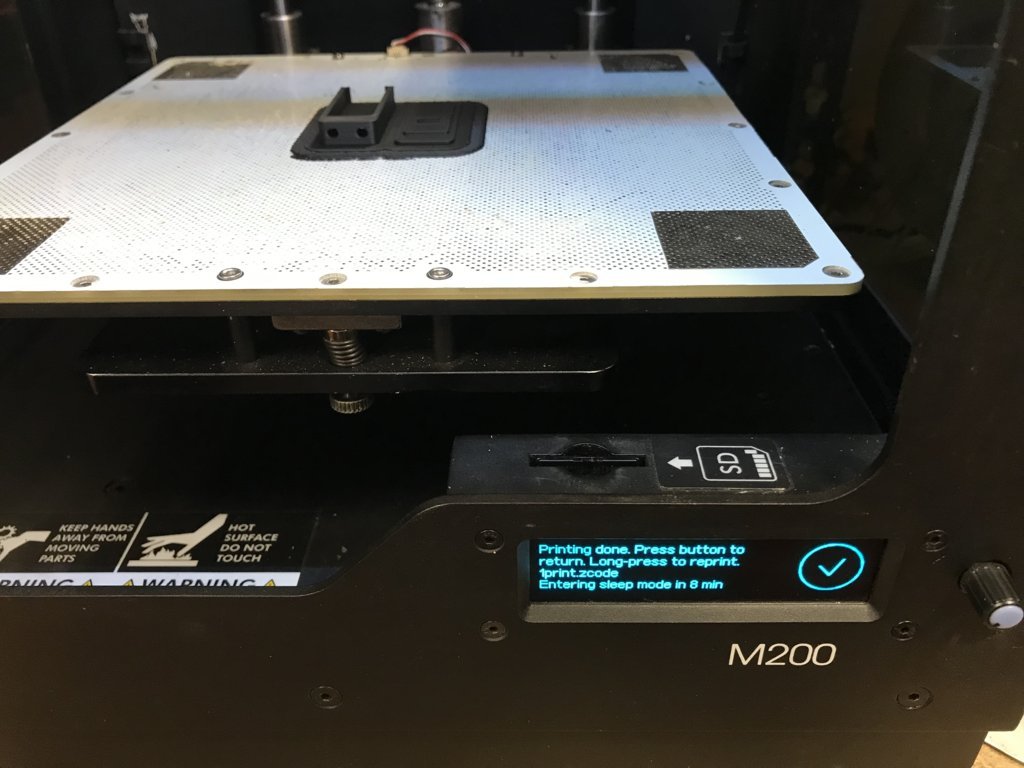
Zortrax M200
I printed this case using a Zortrax M200; its extruder work moving along x and y axis, instead the plane moves up and down according to z axes. It has a printing area of 200x200x185 mm.
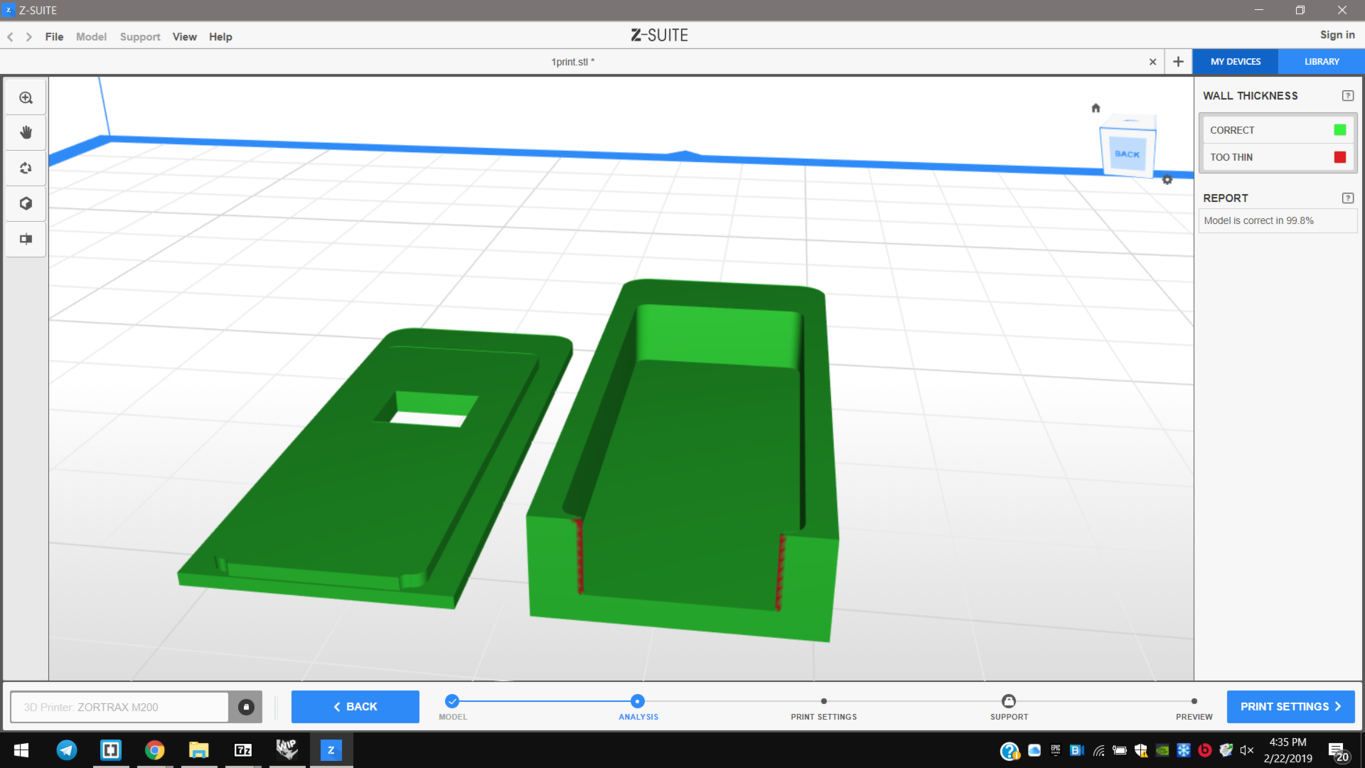
So I installed Zortrax software Z-Suite and opened it; 1st I imported the model and 2nd positioned the pieces closer to optimize printing time, selecting “auto-arrange”. 3rd In red, I checked part of objects that need support, named “smart bridges”, and always in red also the parts that are too thin.
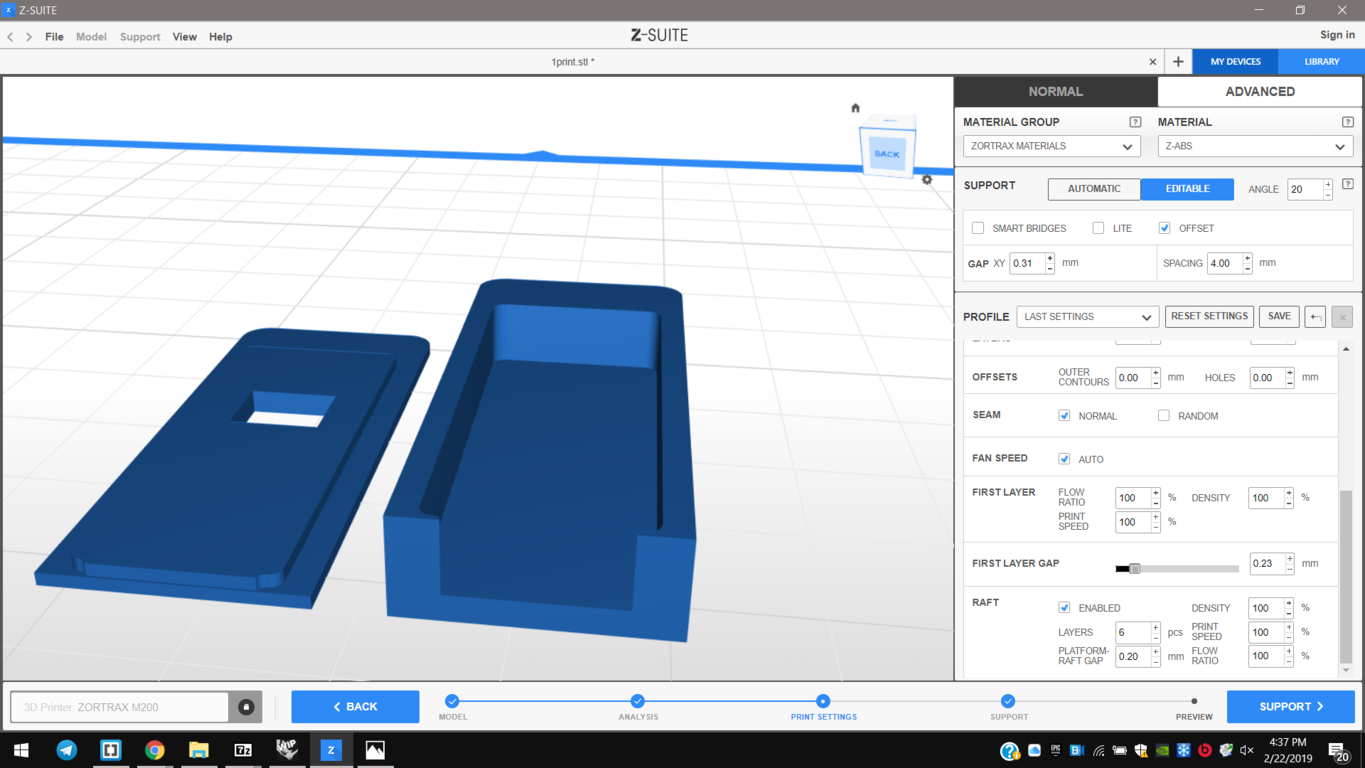
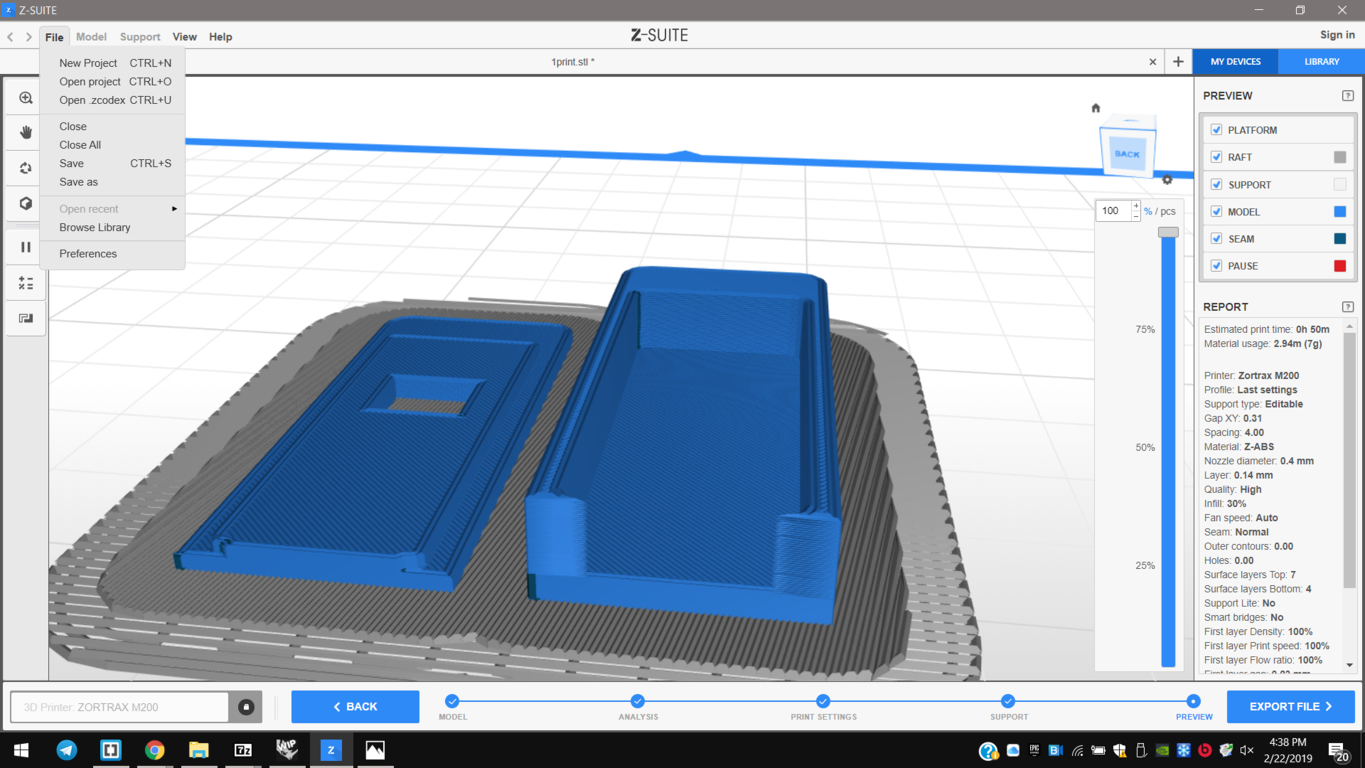
Then I started to set other necessary parameters. 4th Z-Suite calculates the fan speed automatically, but I had to learn that: 5th setting more numbers of melting layers and offset parameters means more quality of printing, so I reduce the layer thickness to 0.14 mm; 6th the type and the density of the infill determinate the the interior resistance of printed objects; I set it about 30% 7th enabling raft and setting it layers I could divide printed objects from the printing plane, with 6 layers more and density about 100%, to print and after to remove them properly. Then 8th I saved and exported my file.
I could print without smart bridges support, and I could also choose the density and speed of the first layer(100%).
The plastic material to fuse I used is the ABS, with a diameter of 0.4 mm.
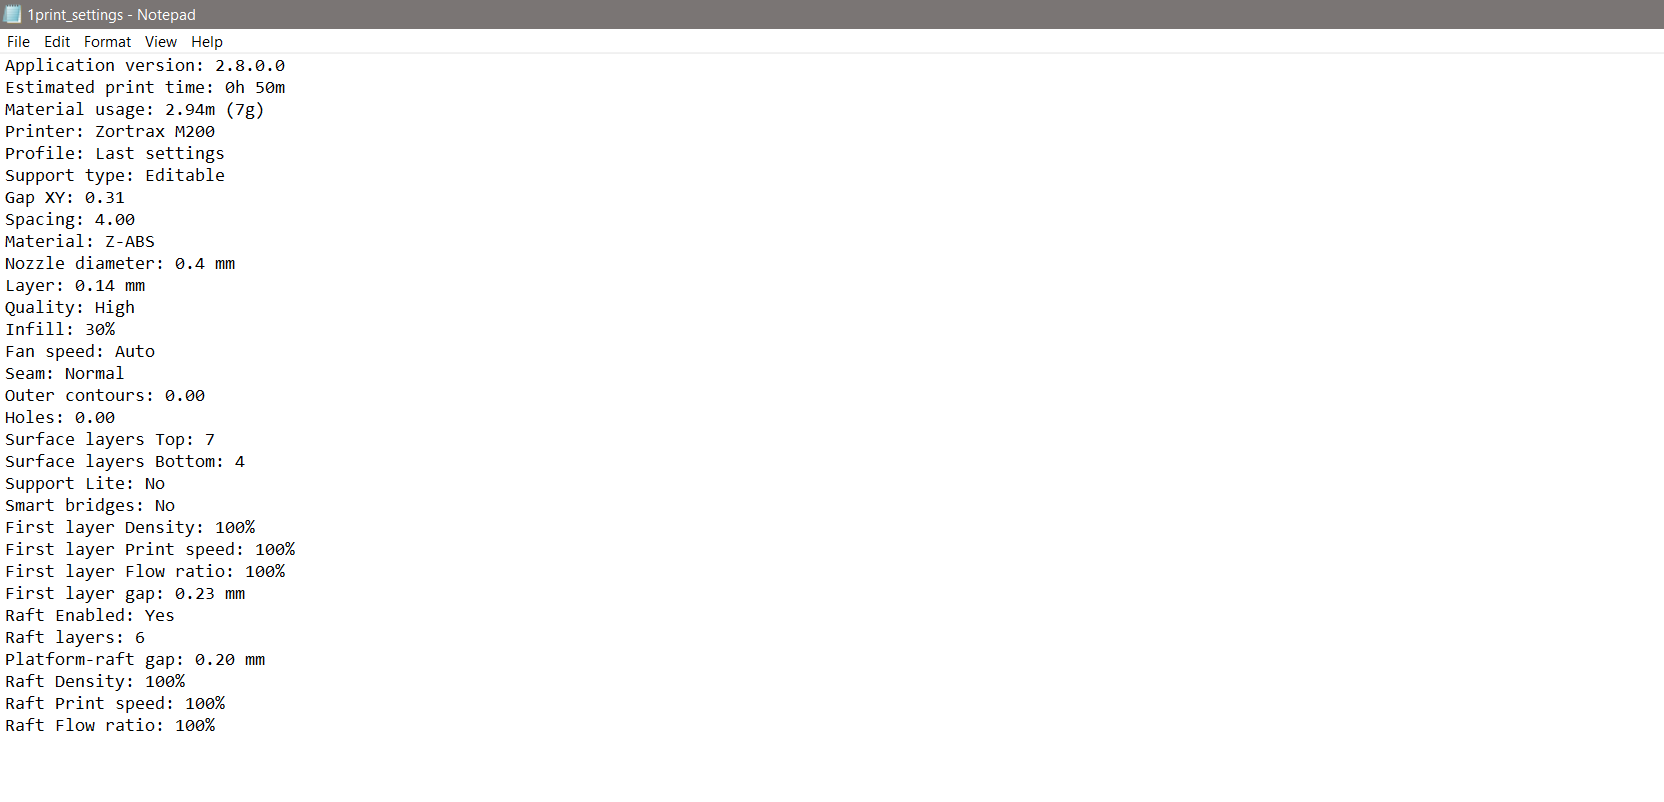
Material usage: 2.94m (7g)

ISP-Attiny45 case
At the end, I generated the print settings file to check the resume of parameters and I started printing.
I carefully removed the pieces from the plane and the case from the draft;
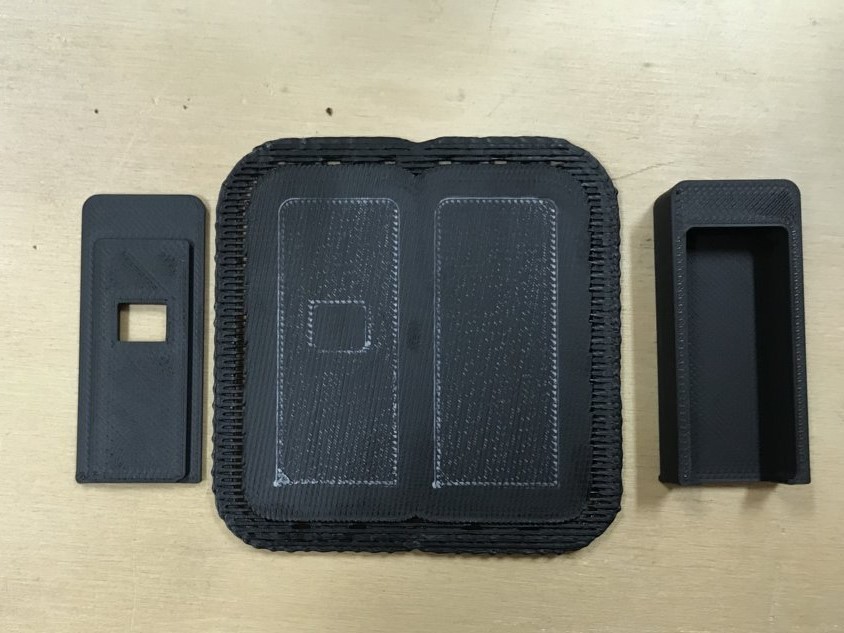
Then I removed deburrings heating them.
I uploaded on Sketchfab also the .stl file of this case.