16. Interface and application programming
Assignment topic
Individual assignment: write an application that interfaces a user with an input &/or output device that you made. Group assignment: compare as many tool options as possible
Individual assignment
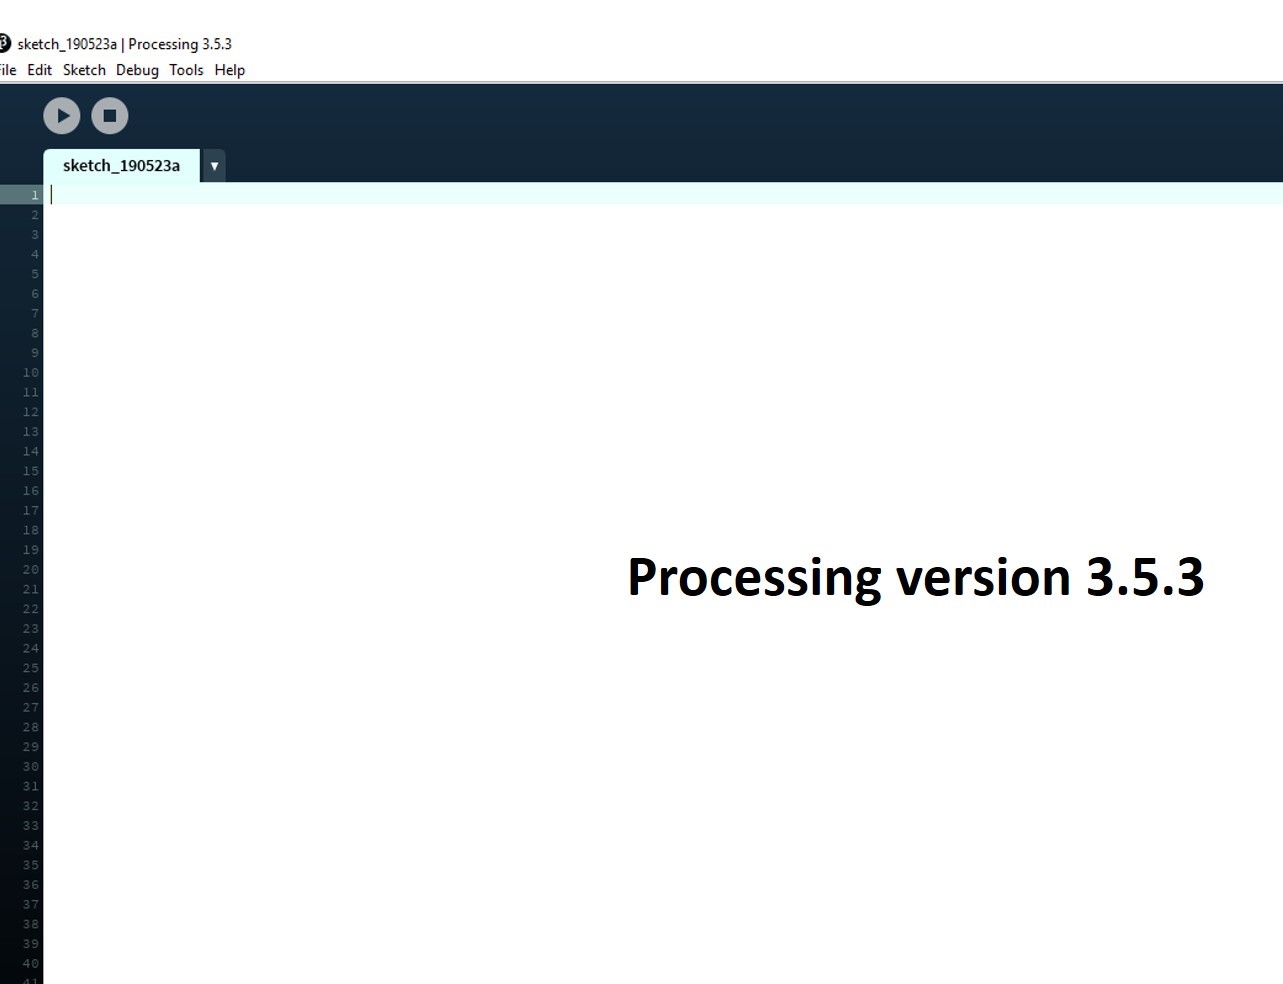
In this week, I need to make an application that interfaces a user with my input device hall sensor. To make a user interface application, I decided to make with processing software. First, I started to learn about processing software a little bit and installed and started to work with simple codes in the examples of processing software. It is open source and free to download. Processing is a flexible software sketchbook and a language for learning how to code within the context of the visual arts. Since 2001, Processing has promoted software literacy within the visual arts and visual literacy within technology. There are tens of thousands of students, artists, designers, researchers, and hobbyists who use Processing for learning and prototyping. I downloaded and install the processing software. See the screenshot of installed processing. It supports Javascript language for making the user interface.
I used the below code for my hall sensor for the serial communication,
```
  void loop(){
     state = digitalRead(hallSensorPin);
     if (state == LOW) {
        digitalWrite(ledPin, HIGH);
        Serial.write(1);  //Include this if you have the serial communication   configured
     }
    else {
      digitalWrite(ledPin, LOW);
  }
 }
```
I made a small change in the code from my Input week. Instead of sending the string “Magnet detected” through the serial port, I used a simple int 0. This int is used as a flag. When the magnet is detected I will send just a byte to inform the computer.
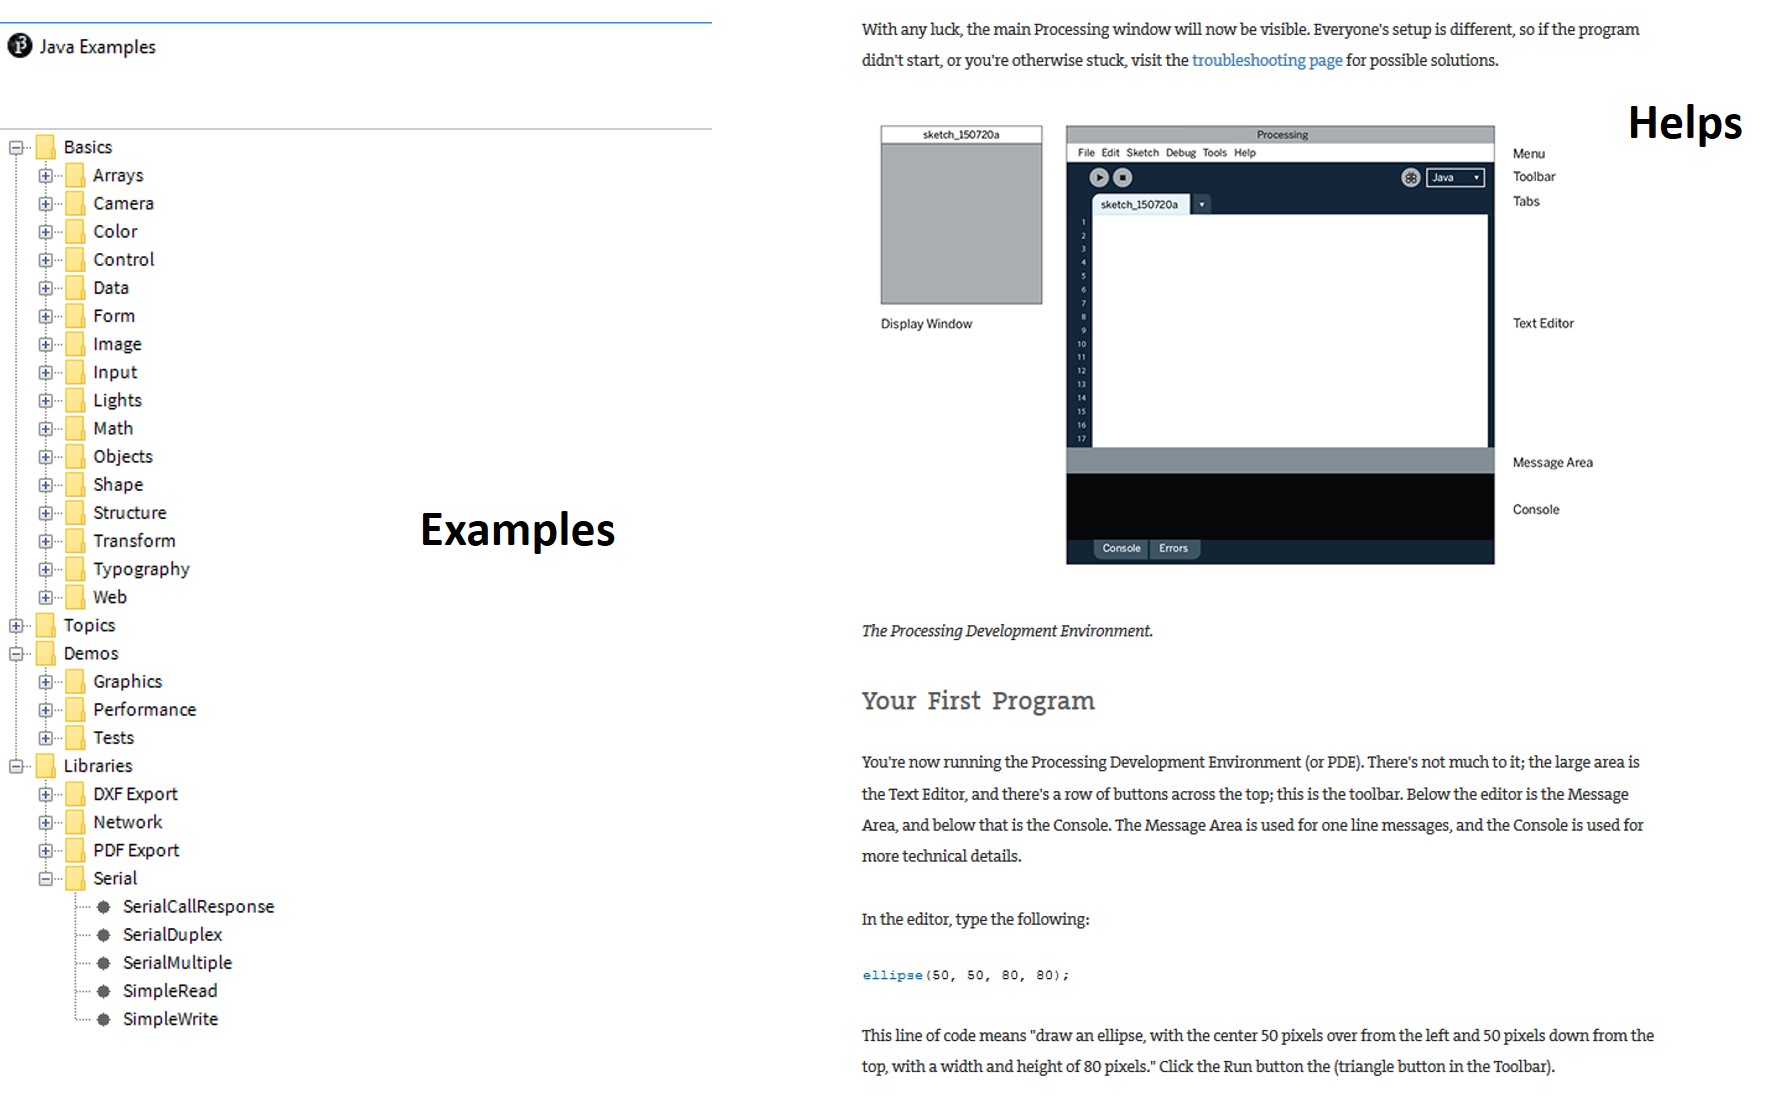
I started to learn some examples of programs and help menu to find some syntax used for various purposes. Some of the screenshot is shown below,
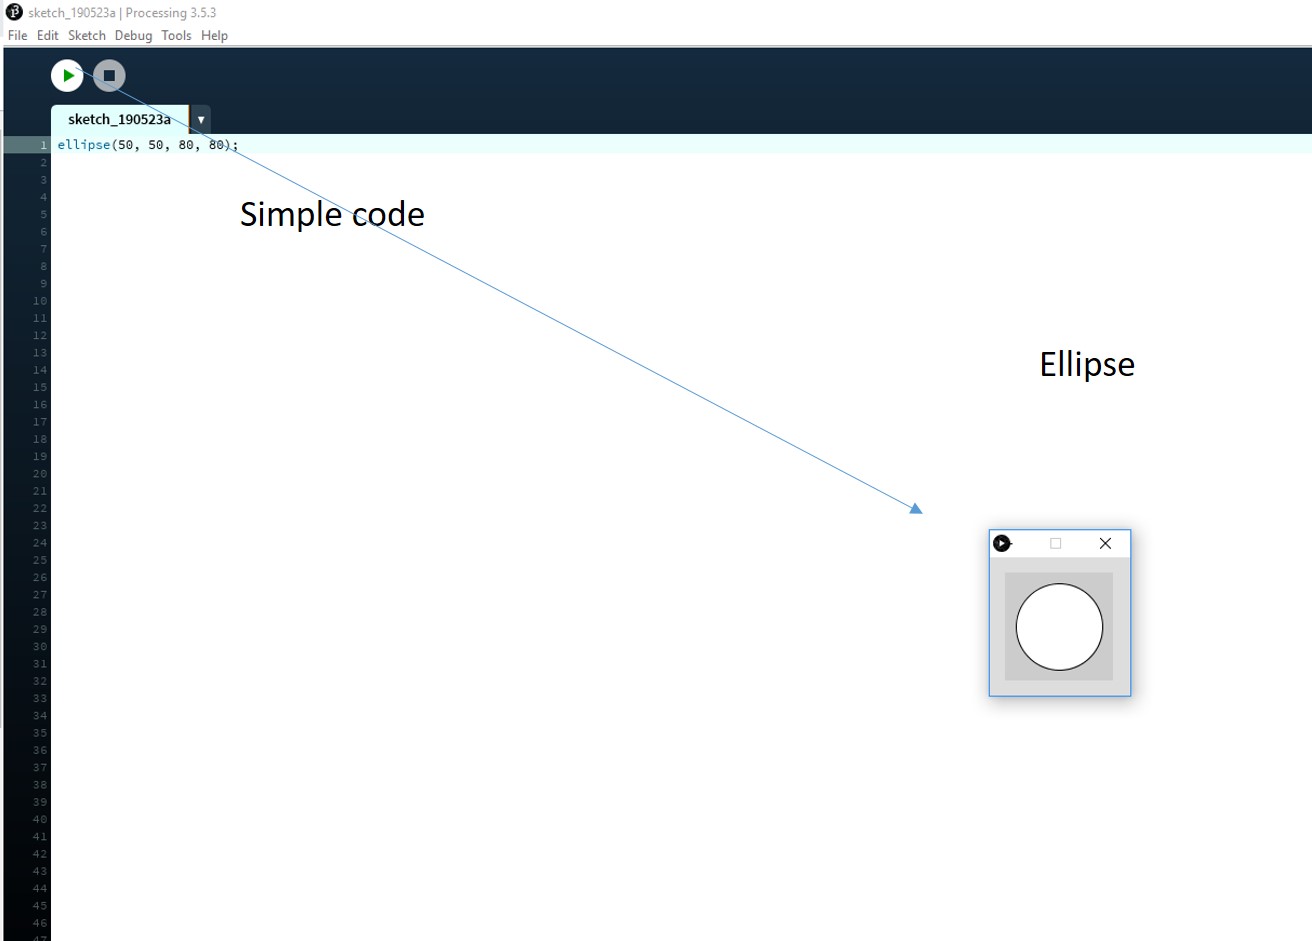
A simple code for drawing ellipse run and understand the concept little by little, see the first code tested in Processing.
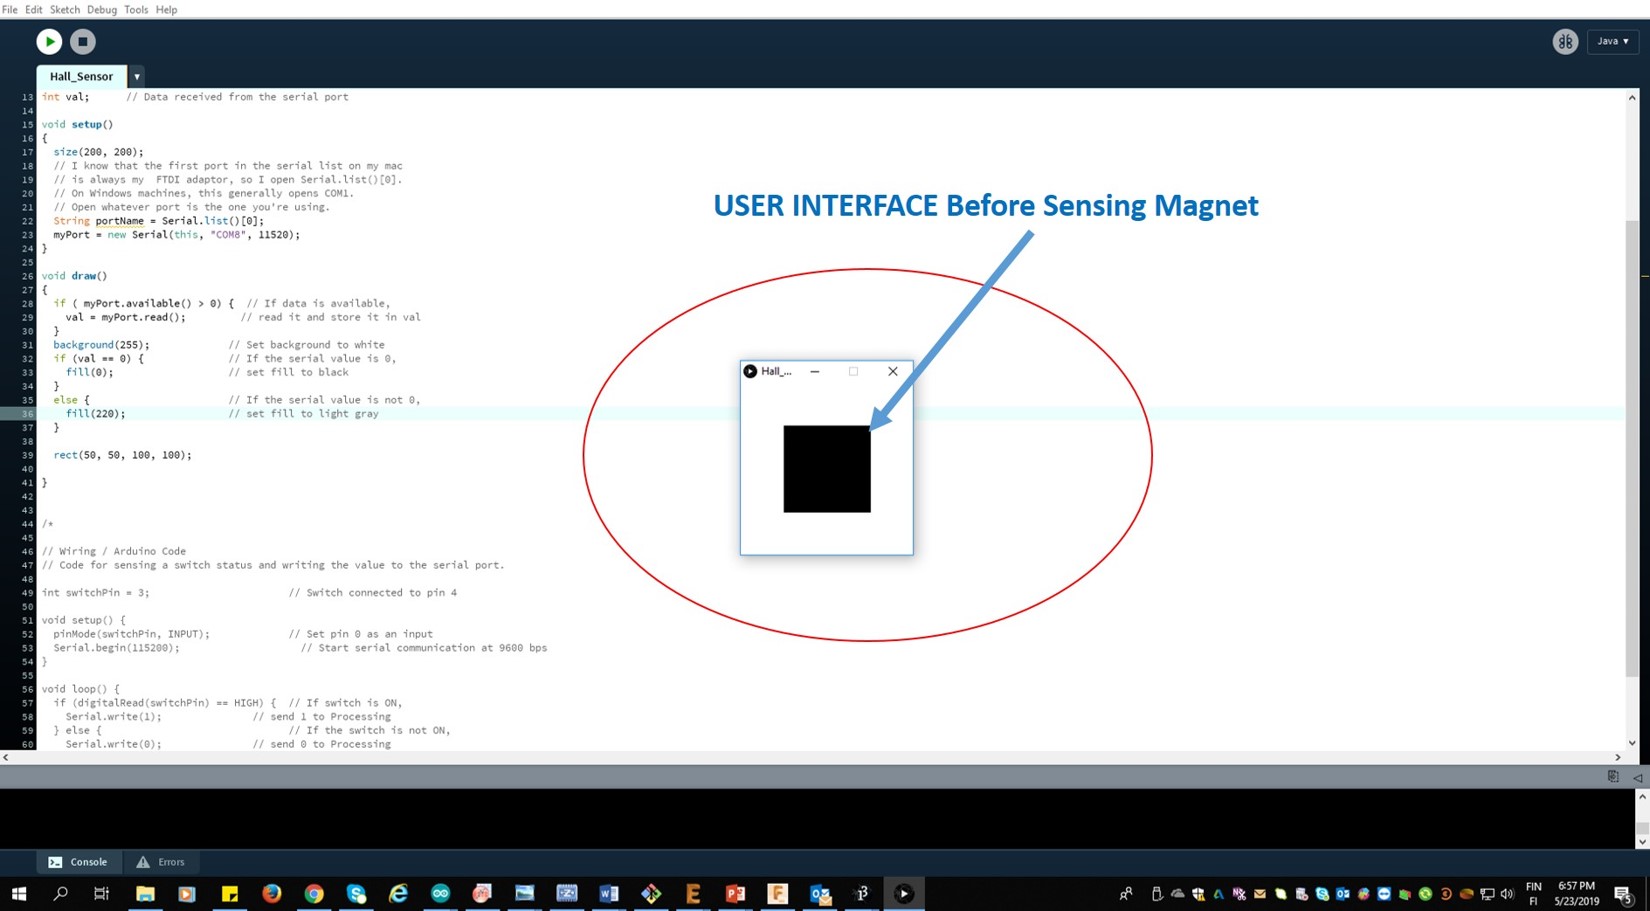
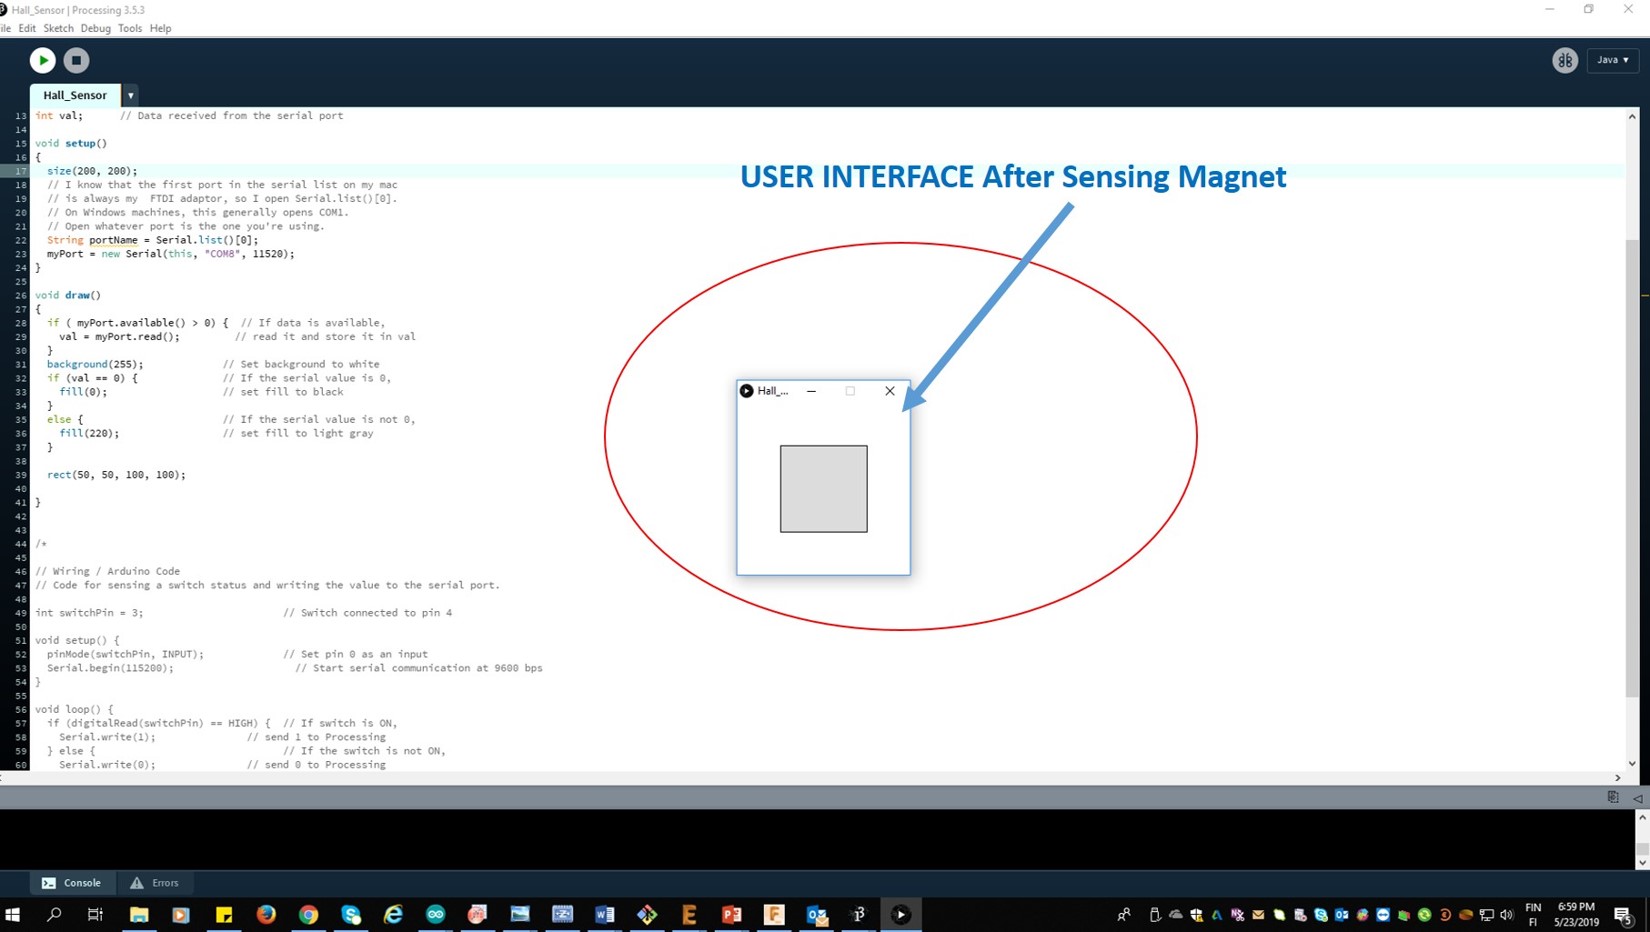
Then, I started to learn from the example program in the simple serial read, This program is edited based on my board program, that is COM port 8 and baud rate of 115200 and use Arduino pin 3 for the hall sensor output. I set all the necessary changes based on my hall sensor board and run the code. The example code is to read the serial port and change the color (black to grey) of the square in the interface window programmed. When a magnet detected by hall sensor black square turn to grey in color.
See the program execution before sensing,
See the program execution after sensing the magnet,
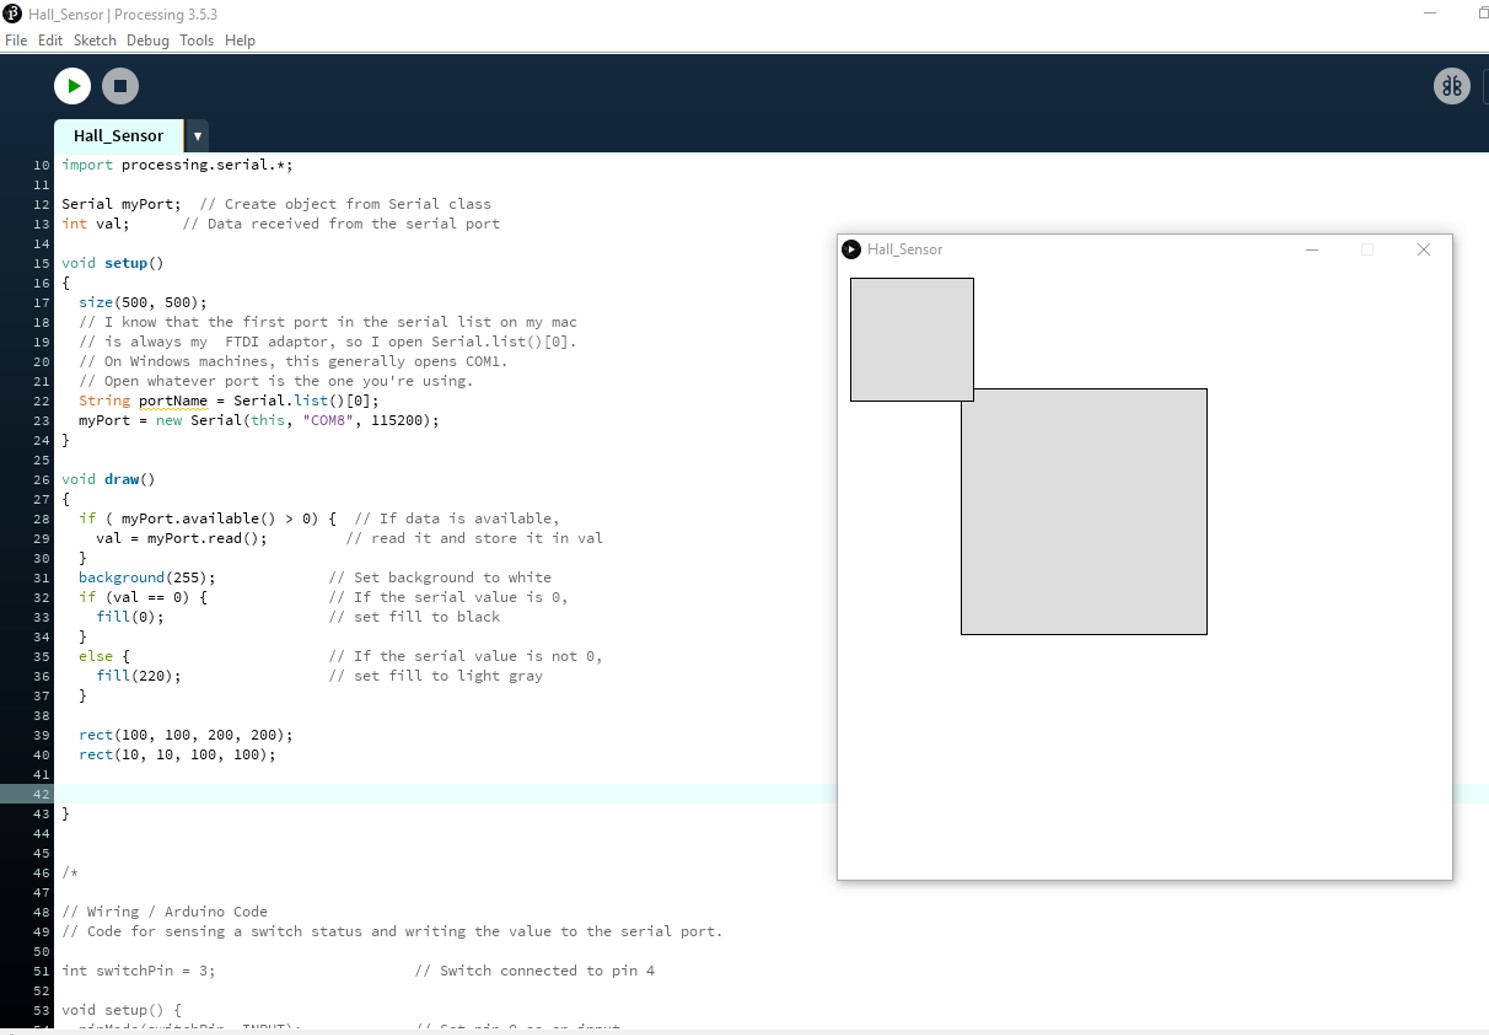
ATTinyCore is used to program ATTiny with Arduino IDE. From ATTinyCore instructions: “AttinyCore provides a , a built-in software serial named Serialis provided to maximize compatibility, […]. TX is AIN0 (PA1), that is the leg I have connected to the RX in the FTDI. That is why Serial is used in the code instead of SoftwareSerial. After this, I little modified the program by adding another rectangle in the corner of the existing square and change the window area, see the highlighted parts in the program and after execution window,
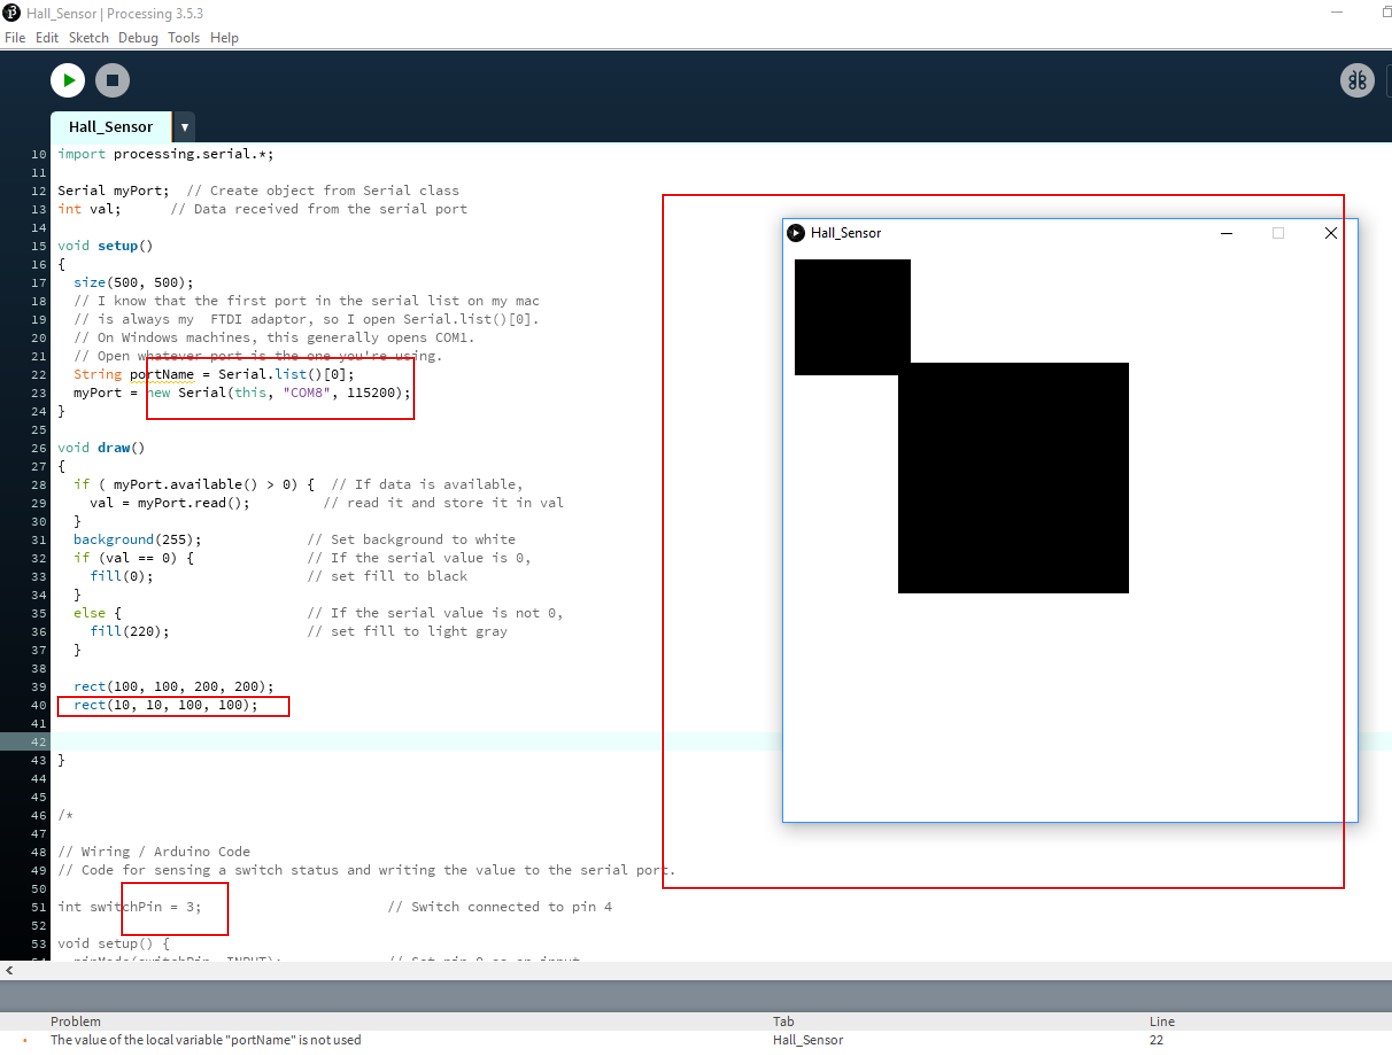
After the magnet sensed by the hall sensor, the board is communicated to the user interface to turn the color change.
Video file
Group Assignment
This week group assignment done with all the group members. This week we used Processing, Blynk, and PyQt5 were used and learn something about this. Some of the examples codes are also discussed in this section as the part of the group assignment.
Processing
I used processing for my individual assignment. Processing is a flexible software sketchbook and a language for learning how to code within the context of the visual arts. There are tens of thousands of students, artists, designers, researchers, and hobbyists who use Processing for learning and prototyping. I have tested some of the serial read, write program.
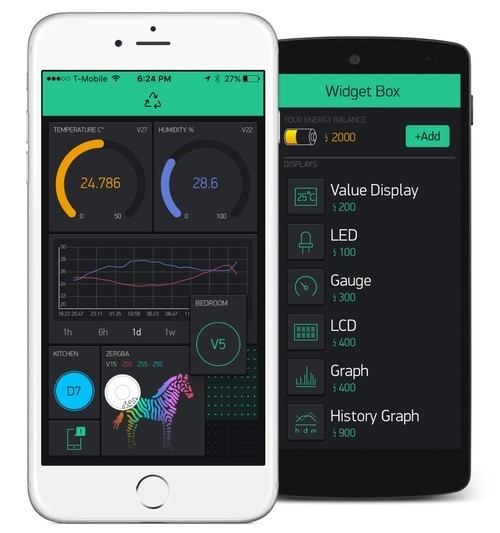
Blynk
Blynk is a Platform with iOS and Android apps to control Arduino, Raspberry Pi and the likes over the Internet. It’s a digital dashboard where you can build a graphic interface for your project by simply dragging and dropping widgets. Blynk is not tied to some specific board or shield. Instead, it’s supporting hardware of your choice. Whether your Arduino or Raspberry Pi is linked to the Internet over Wi-Fi, Ethernet or this new ESP8266 chip, Blynk will get you online and ready for the Internet Of Your Things.
PyQt5
PyQt is a Python binding of the cross-platform GUI toolkit Qt, implemented as a Python plug-in. PyQtis free software developed by the British firm Riverbank Computing. PyQt is the framework for creating GUI. PyQt is used for developing desktop application using python. Latest version is PyQt5 we can design window, text box, label, etc using designer application. By default, if we click on the x button on the titlebar, the QWidget is closed. Sometimes we want to modify this default behaviour. For example, if we have a file opened in an editor to which we did some changes. We show a message box to confirm the action. We show a message box with two buttons: Yes and No. The first string appears on the titlebar. The second string is the message text displayed by the dialog. The third argument specifies the combination of buttons appearing in the dialog. The last parameter is the default button. It is the button, which has initially the keyboard focus. The return value is stored in the reply variable.
See the message box after running the pythoncode,

Summary
This week, I learned a new software processing to make user interface for application. The work is demonstrated with my input week hall sensor communicate with user interface done with processing software. I am very slow in learning and understanding programs. So, I selected simple programs and codes to impement this assignment.