2. Project management
In this week, I refreshed my Git skills and developed this website. I added a home page, a bio, the present page, and the rest are works in progress.
Tasks
- Work through a Git tutorial
- Build a personal website
- Sign the student agreement
Working with Git
I have a GitHub account and I have been using Git on and off for a few years now. Although, I never remember what I should do when the time comes and always have to go back to the tutorials.
Iván Sanchez, one of our Fab Lab instructors, gave us a basic introduction to using Git and explained the policies for you using Fab Academy’s GitLab account, policies such as handling files and images. After going through a basic introduction to Git, Iván thought it would be better if we worked on the commands as he explained them. Later the same day, I briefly went through the Atlassian Git tutorial.
In the previous day, I signed up, created a password and a public/private for my GitLab account and during the class we went through the same process and more as described below:
- I created a public/private key pair in order to create a secure communication channel to the remote repository and added a passphrase. From the command line I typed:
ssh-keygen -t rsa -b 4096 -C "<<michael.oduor@oulu.fi>>"
This command generates the key in my computer’s home directory:

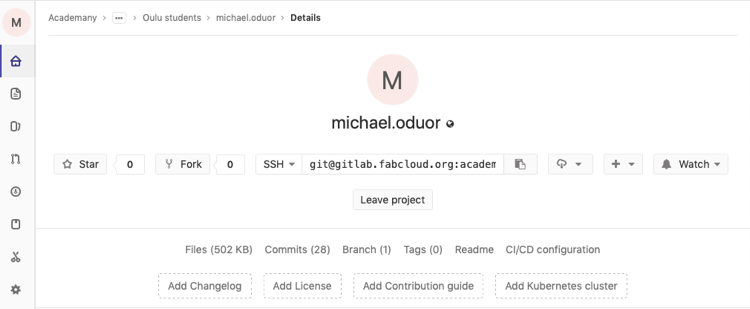
- After that, I copy the public key to the clip board and and browse to my Fab Academy account in Fab Cloud. After logging in, I go to Settings > SSH Keys and copy the contents of the generated public key. These two processes are shown below:


-
When this was done, I made a local copy of the remote repository (a copy of my project from the Fab Academy gitlab account) using
git clone. Thegit clonecommand downloads the remote repository to a computer and creates a directory with all files and their history locally. -
I then configured my user information for the local repository with:

-
The remote repository had a ready to use theme based on MkDocs, a static website generator.
-
After cloning the repository, I went into the cloned folder, opened and customised the YAML configuration file for MkDocs (mkdocs.yml) in a text editor. This file has the details for site name and other settings. I opened the file in SublimeText and changed the site description, site author, and added links to my social profiles (Github, Twitter, and LinkedIn). I then synchronised the changes with the remote repository.
-
I moved the files from the working directory to the staging area - a snapshot of the changes in preparation for versioning.
git add .
- Then I made a commit of the file to permanently store the changes in the version history.
git commit -m "Added personal information"
- After making the local commits, I pushed the changes to the remote repository using:
git push origin master
- After this, my Fab Academy site was up and running!
The above git commands should be executed in the order they are presented. Plus, it is always good to check the status of the repository with git status. Before a file is available to commit, the file should be added to the staging area and then changes recorded to the local repository. After this, the local commits can be or are sent to the remote repository.
Making the Website
I have been working on and off over the years on web design and have knowledge in creating basic websites, so this week’s tasks are probably the least difficult of the coming weeks. Although, I always find a way to complicate even trivial issues. As I have not been consistently working on Web development, it is always a process of relearning.
I gave myself extra work this week by trying two different static site generators in addition to some Bootstrap frontend frameworks. I am familiar with static site generators and have previously used Pelican which I initially wanted to use for my Fab Academy site, but then I thought why not try the recommended [MkDocs] (https://www.mkdocs.org) that had a ready-to-use template already uploaded on Fab Academy’s gitlab. So I went through a process of installing both of them and giving them a try before deciding.
I decided to use MkDocs and it turned out to be a good choice. It is recommended to install MkDocs with a package manager and as I use Anaconda and already have python installed, did not need to install either. Although for MkDocs, I could not install it with the regular conda install ... command for installing packages before adding conda-forge... to the download channels with:
conda config --add channels conda-forge
Once the conda-forge channel was enabled, I created a MkDocs environment and installed MkDocs in this environment with:
conda create -n mkdocs
conda install mkdocs
After MkDocs is installed you create a new project and then go into the directory with the change directory (cd) command as shown below:
mkdocs new my-project
cd my-project
In my case, I already had a directory with the template files which were based on the materials theme and all I needed to do was change to the directory when working on the files:
cd Documents/Courses/Fab_Academy/FA_2019/
When I changed to the directory, I got an error stating the material theme was not available. This theme is the one defined in the MkDocs configuration file (mkdocs.yml), so I had to install it with:
pip install mkdocs-material
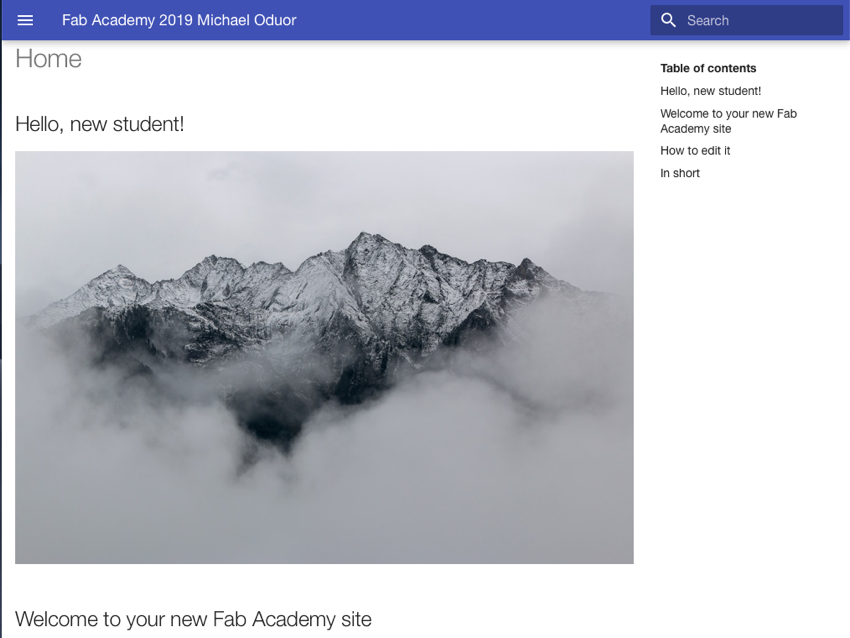
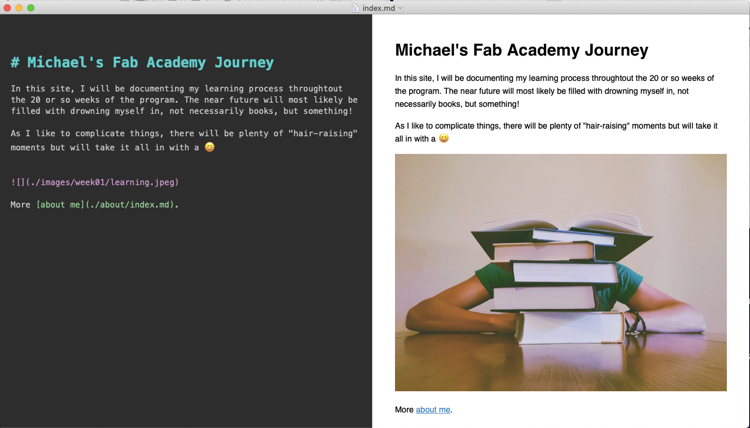
As MkDocs’ documentation sources are written in Markdown, a lightweight markup language that you can use to add formatting elements to plaintext text documents, I used the same for creating the site. I have used Markdown earlier so it was a relatively easy process. I switched between SublimeText and MacDown for editing. MacDown is good because you can see the changes as you edit. Later, I will probably be using SublimeText more as it can be integrated with Git to automate the commit process. I first made the Home page.
MkDocs comes with a built-in dev-server that lets you preview your documentation as you work on it. You should be in the same directory as the mkdocs.yml configuration file, and then start the server by running the mkdocs serve command. The output of this command is shown below:

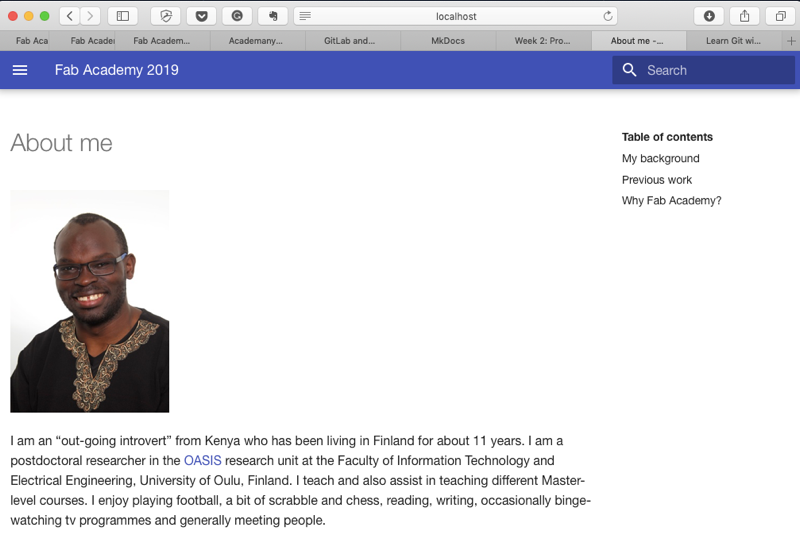
When I opened up http://localhost:8000 in the browser, I can preview different pages such as the About Me page.
After that I created the current page and synchronised the changes with the remote repository using the git commands described above.
Below is the structure of the site.
michael-oduor
│   mkdocs.yml       --> Configuration file for mkdocs
│   requirements.txt --> What is needed to build the site
│
└───docs/
    │
    └───Home Page    --> Michael's Fab Academy Journey
    │
    └───About
    │       About me
    │       Student Agreement
    │
    └───Assignments  --> The page for each week's tasks
    │       Principles and Practices (week01)
    │       Project Management (week02) ...
    │
    └───Images      --> All the images for each week's tasks are here
    │       week01
    │       week02 ....
    │
    └───Projects     --> Page for documenting the final project
            Final Project
Working with images
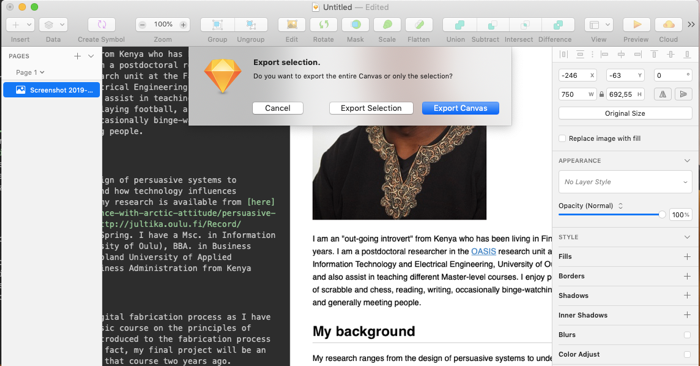
As the files we upload to Fabcloud should be light and suitable for the Web, I chose to use Sketch for compressing the images and optimising them for the Web. Later on or if needed I might also consider using ImageMagick which Neil introduced during this week’s lecture. Iván Sanchez Sanchez also showed us how to use it during our local lecture. It is easy to resize an image with Sketch. You just open the file in Sketch, resize it, then click on export selection and choose a location to save the file. Not sure, though, whether the file sizes are small enough so might have to still compress them later.
Resources used
- Git: Version control system (I used the one that is preinstalled with the OS)
- SublimeText: A text editor
- MacDown: Markdown editor
- MkDocs: A static site generator
- Sketch: A vector-based graphics editor for macOS.
Reflection
Summary
This second week, I was introduced to MkDocs and used it to create this Website, learned (or refreshed my knowledge) about Git and Markdown. I also familiarised myself with GitLab the Fab Cloud environment as I had never used Gitlab before.
Main Difficulties
The biggest challenge has been documentation. It surprisingly takes so much time to document what you have done or plan to do. I will have to find a way to make the process quicker as the coming weeks will be more challenging, and will not always be able to use as much time as I did in this week!
The other minor issue is clearly defining the final project and show how I will extend it from an earlier project. The overall idea is clear, I just need to sharpen the focus. Once this is done, I can hopefully develop it during the weekly assignments.
Main lessons
Using MkDocs and I also tried using Brackets, an open source text editor, for the initial editing of a Bootstrap template. Afterwards, I decided to just use MkDocs and the more familiar SublimeText