Week 10
Mar 20. Molding and Casting
Group Assignment
Review the safety data sheets for each of your molding and casting materials, then make and compare test casts with each of them.

Silicone
Polimer that vulcanizes at room temperature. Silicone Fact Sheet in Spanish. Not for culinary use. Use gloves and protective glasses to manipulate resin. Do not ingest.
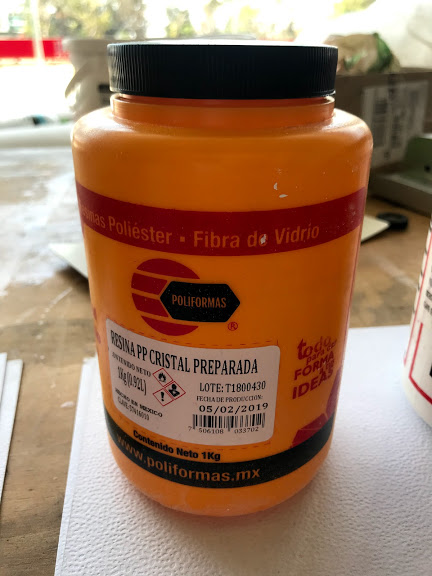
Crystal Resin
Prepared Crystal Resin. Fact Sheet in Spanish. Use gloves and protective glasses to manipulate resin. Do not ingest.
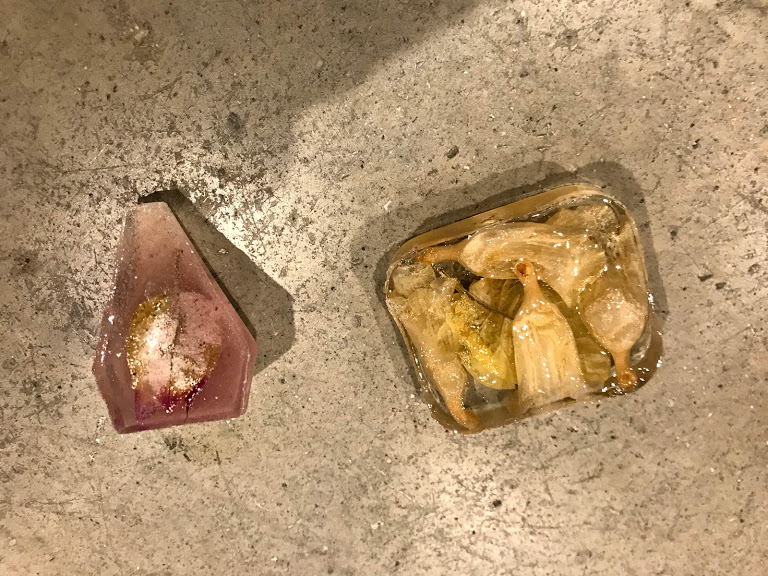
Tests
I wanted to encapsulate flowers, so both my tests include a flower, bugambilia and a jacaranda.
Instructions
- Mix the Silicone with the solvent, equal parts of each.
- Once the thinned silicone has a milky texture you can add the catalyzer, 80 drops per 100grs of mixture as a reference. If you add less it will take longer for it to harden and it can cause the product not to catalyze.
- Pour the silicone over the positive cast to create a mold.
- Wait until it harden. The texture will look rubbery.
- Once your mold is created take it away from the cast. Its ready to use.
- Mix the crystal resin with the catalyzer, 80 drops per 100grs of mixture as a reference. If you want it to go faster add more but it can break the cast, if you add less it will take longer for it to harden and it can cause the product not to catalyze.
- Add any additional components to the mix, I included flowers, tint and a little bit of sand.
- Pour into previously made silicone molds.
- Wait for them to harden. The process feels warm because it creates an exothermic reaction.
- Enjoy your pieces.
Individual Assignment
Design a mold around the stock and tooling that you'll be using, mill it (rough cut + (at least) three-axis finish cut), and use it to cast parts
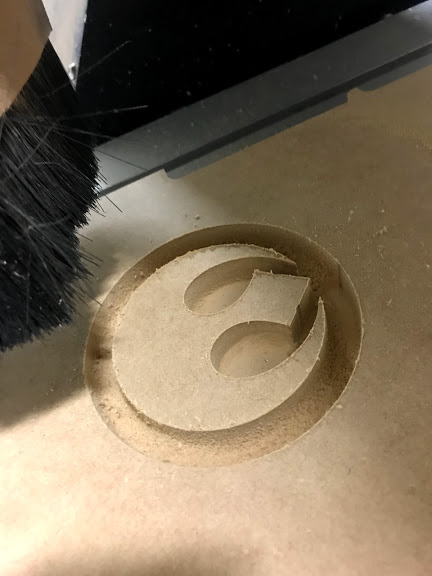
Piece
Resistance Logo from Star Wars, easily recognized and fairly easy to vectorize and give volume.
Router
Material to create positive mold, MDF 18 mm.
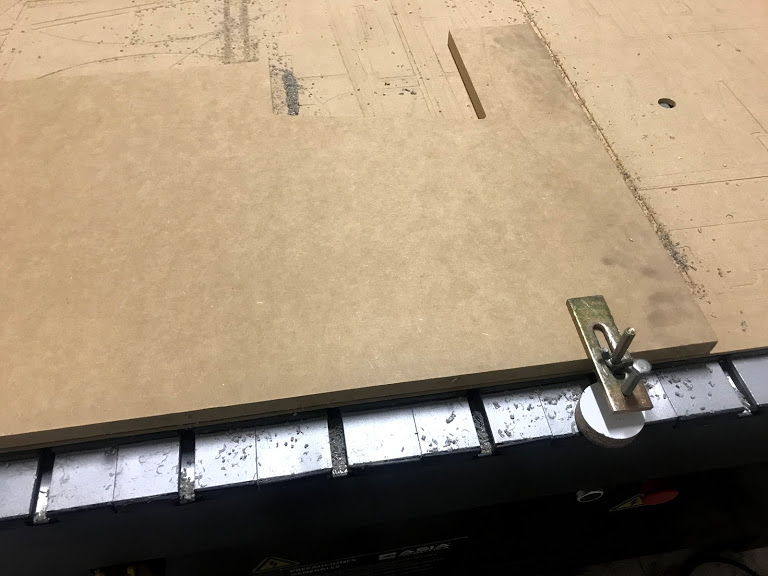
Boxing
Before providing volume it was necessary to box the piece.
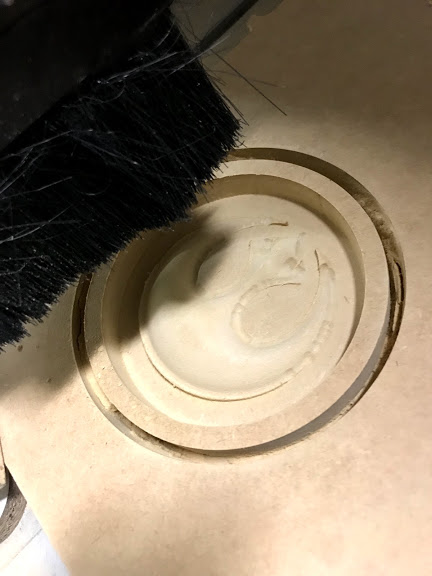
Volume
A change in the router tool provides the finishing touches to the volume required in the logo.
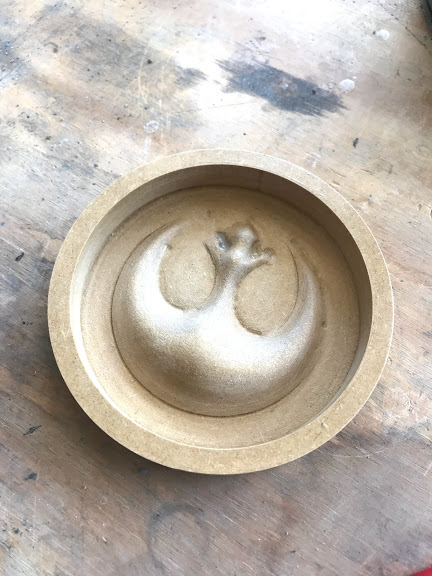
MDF mold
The final mold was sanded to provide detail.
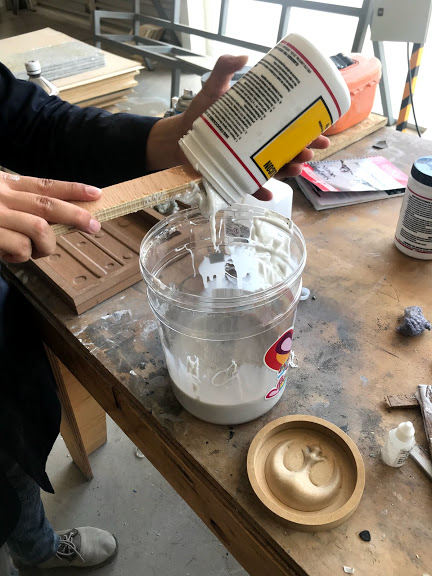
Silicone Mix
Mix the silicone with the solvent until you get a milk texture.
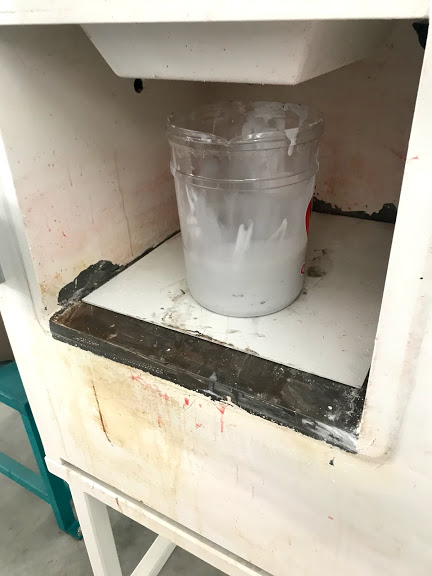
Vacuum Process
We used a vacuum machine to get all the air out of the silicone prior to pouring into the mold.

Vacuum Machine
You need to push the button to get the air aout of the silicone, repeatedly.
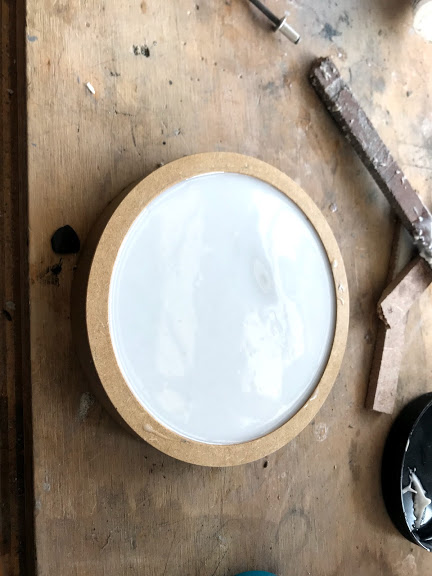
Silicone Setting
Pour into mold and wait for it to set and harden.
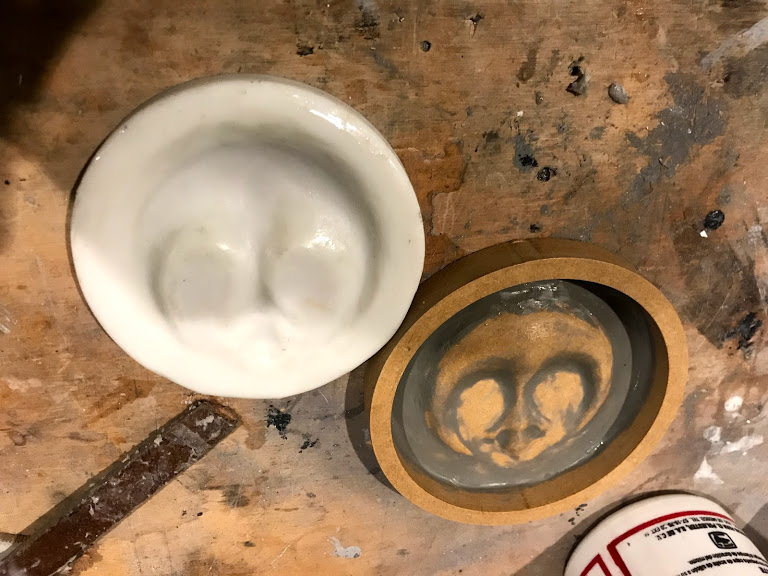
Silicone Mold
Final mold in silicone.
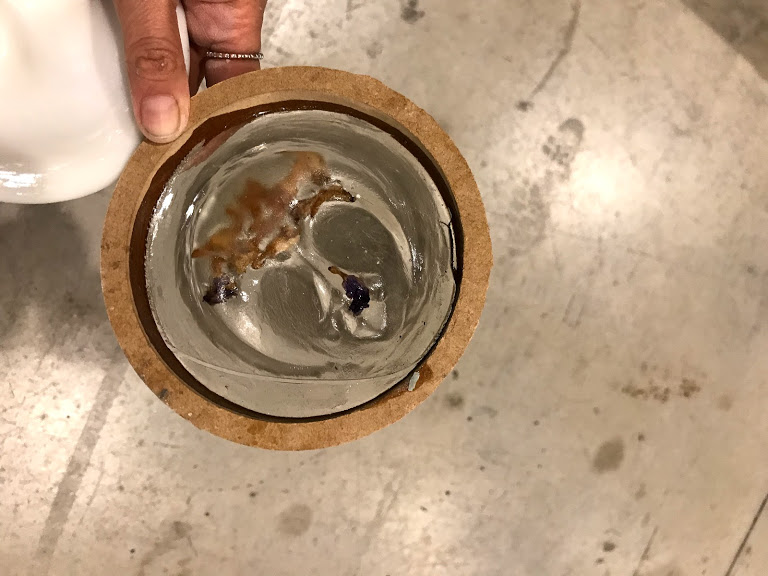
Crystal Resin with Flowers
It had too much catalyzer so it broke while setting.
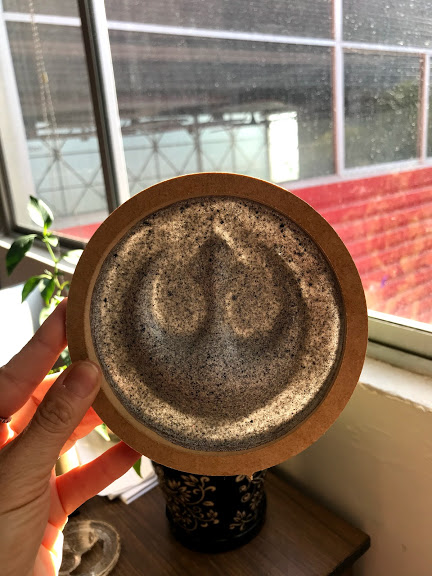
Crystal Resin with Sand
Right amount of catalyzer and it ended up being just perfect.
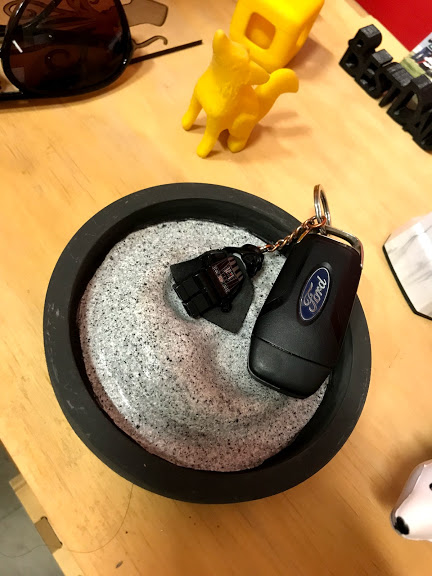
Final piece
I needed soemwhere to place my keys in the office and it works out perfectly.
Instructions
- Define what you are going to cast, I went for the Rebelion logo because it is easily recognizable.
- Create the CAD file in 3D.
- Open in Aspire and define which process to use, I boxed, than gave volume and after evrything was fginished cutted.
- Sand your wood piece (or in this case MDF), every single detail from your piece will show in your silicone mold and in your final piece.
- If imperfections persist cover with a little bit of play-doh.
- Mix the Silicone with the solvent, equal parts of each.
- Once the thinned silicone has a milky texture you can add the catalyzer, 80 drops per 100grs of mixture as a reference. If you add less it will take longer for it to harden and it can cause the product not to catalyze.
- Pour the silicone over the positive cast to create a mold.
- Wait until it harden. The texture will look rubbery.
- Once your mold is created take it away from the cast. Its ready to use.
- Mix the crystal resin with the catalyzer, 80 drops per 100grs of mixture as a reference. If you want it to go faster add more but it can break the cast, if you add less it will take longer for it to harden and it can cause the product not to catalyze.
- Add any additional components to the mix, I included flowers and a little bit of sand mix in the different versions I made.
- Pour into previously made silicone molds.
- Wait for them to harden. The process feels warm because it creates an exothermic reaction.
- Put your piece to use.