Week 3
Jan 30. Computer-Aided Design
Individual Assignment
Start using different software for computar-aided modelling and define which one best suits my needs, which is easier for me to handle and will help bring my final project to reality.
Create the first CAD model for my final project.
AutoCAD
A computer-aided design (CAD) program used for 2-D and 3-D design and drafting. AutoCAD is developed and marketed by Autodesk Inc. and was one of the first CAD programs that could be executed on personal computers. Install AutoCAD on your computer, licenses for students and faculty are availbale at AutoDesk.
Run AutoCAD
Run the application, for me the hardest part was doing the first exercise (without documenting it, I know my bad) on a computer with a version and trying to recreate it in my computer with a different version.
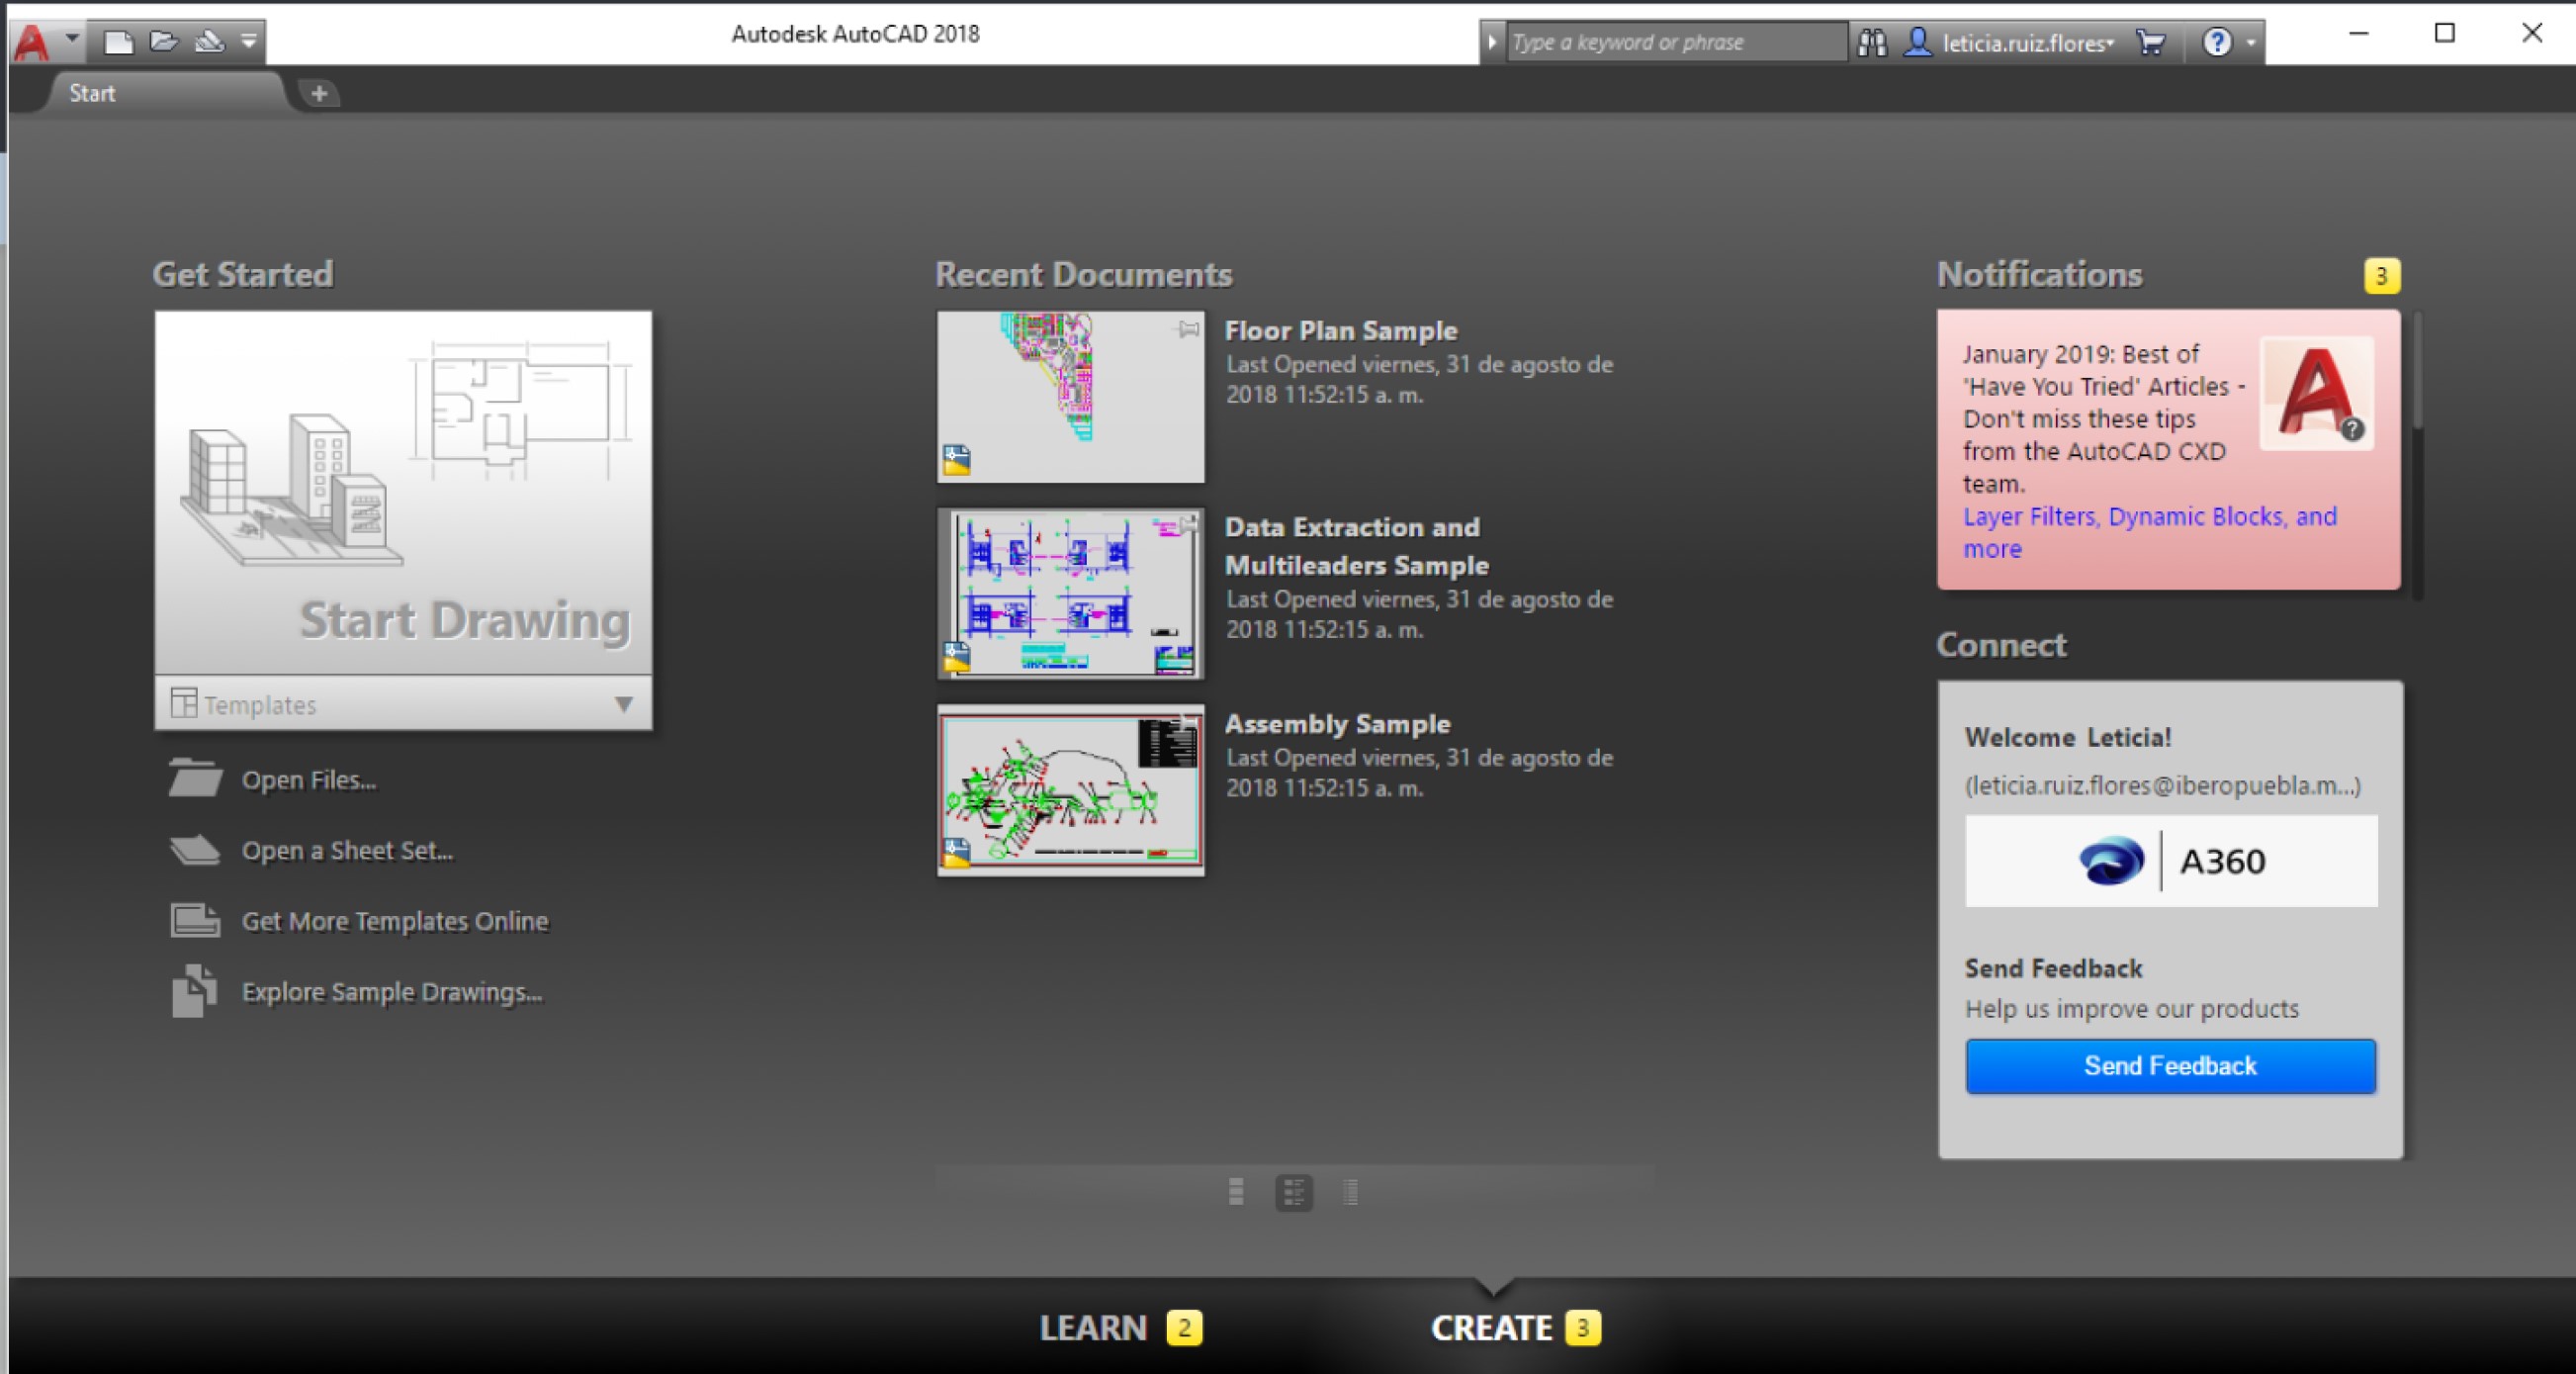
Start Designing
The versions are similar but have clear differences between them. Click on start drawing and start designing.
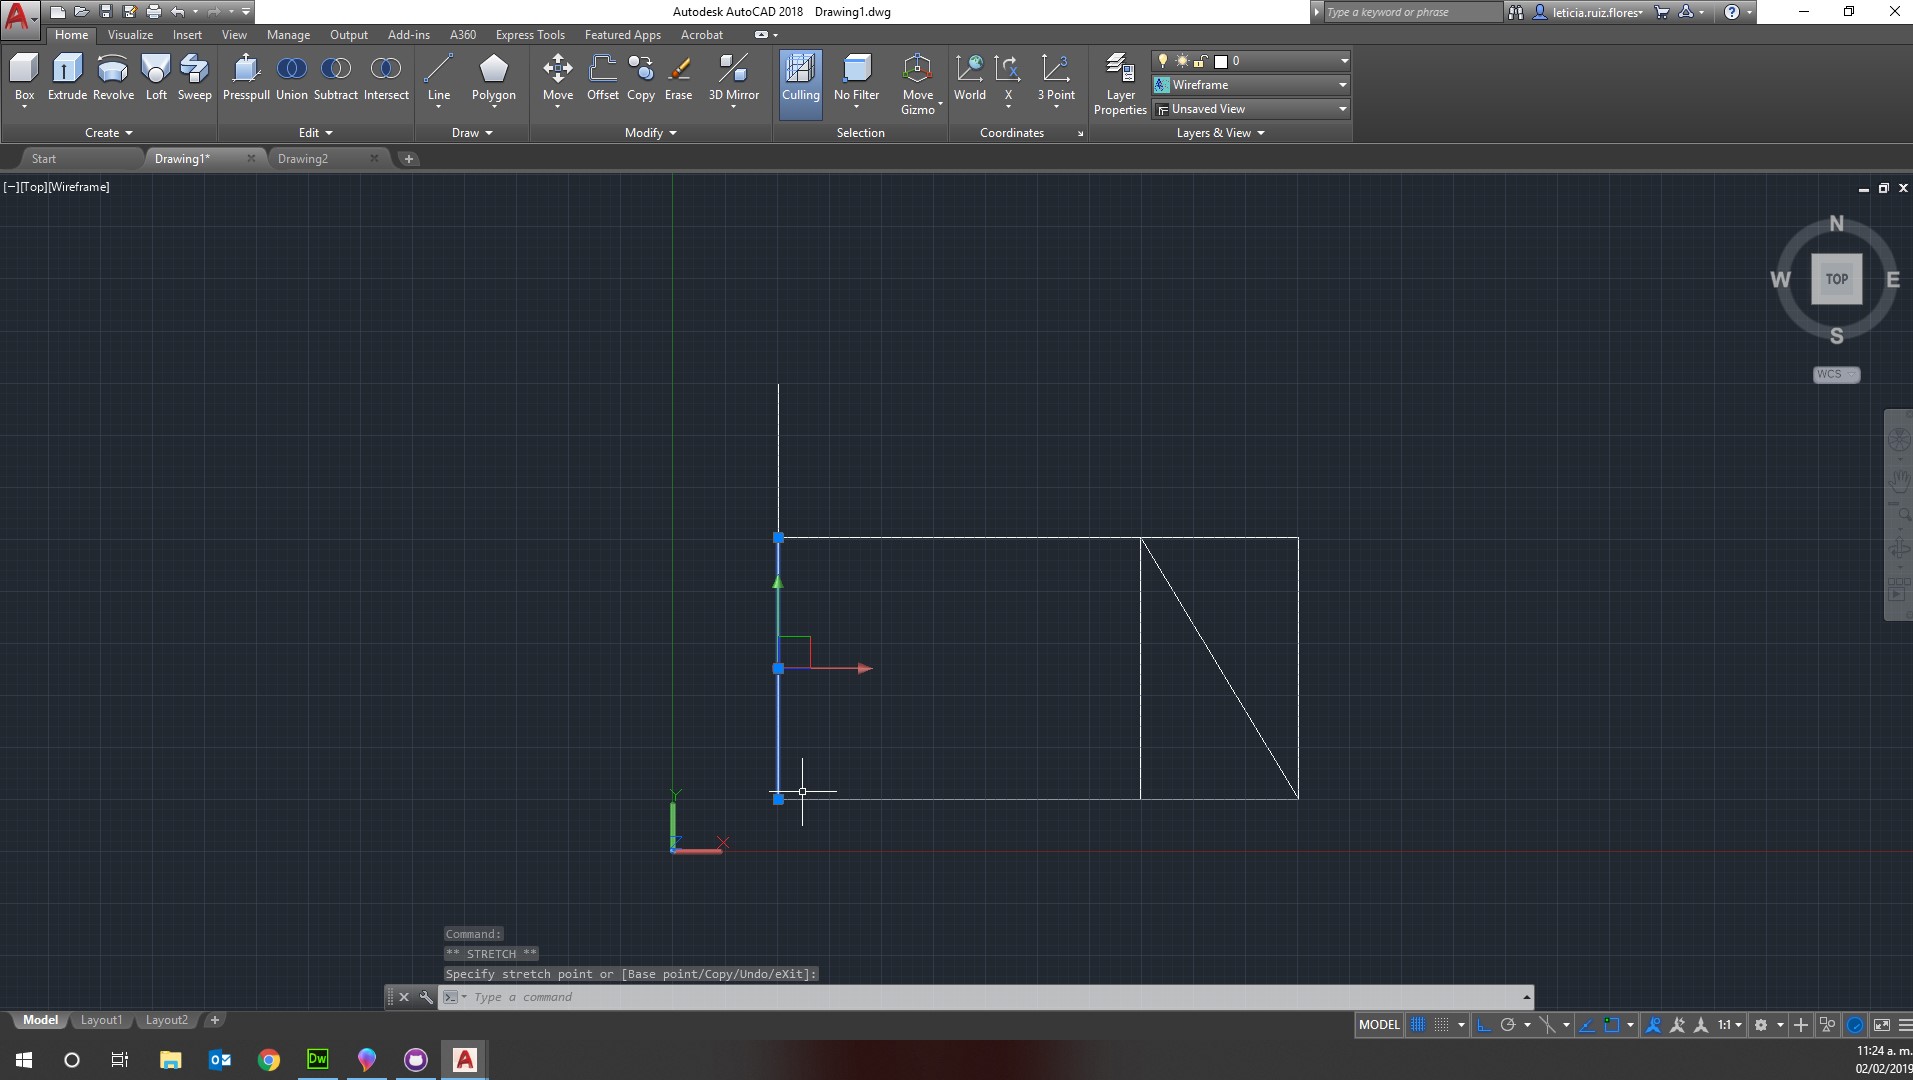
Basic Example
I created a basic rectangle with triangles at the side to try out the different tools. I can safely say at this point I have not mastered any of them.
Instructions
- Guarantee you learn on the same version you'll actually work with, I can't stress this enough.
- Open AutoCAD and click on Start Designing
- Draw a line and a perpendicular line that has a constraint of union with the first line
- Draw a parallel line to the first one and join to the second one, make a cosntraint of same size as the first
- Draw the final line closing the rectangle and make a cosntraint for the parallelel lines to be the same size
- Create different layers to mark differences between cut and mark for cnc cutting
SolidWorks
A solid modeling computer-aided design (CAD) and computer-aided engineering (CAE) computer program that runs on Microsoft Windows. SolidWorks is published by Dassault Systèmes.
Start SolidWorks
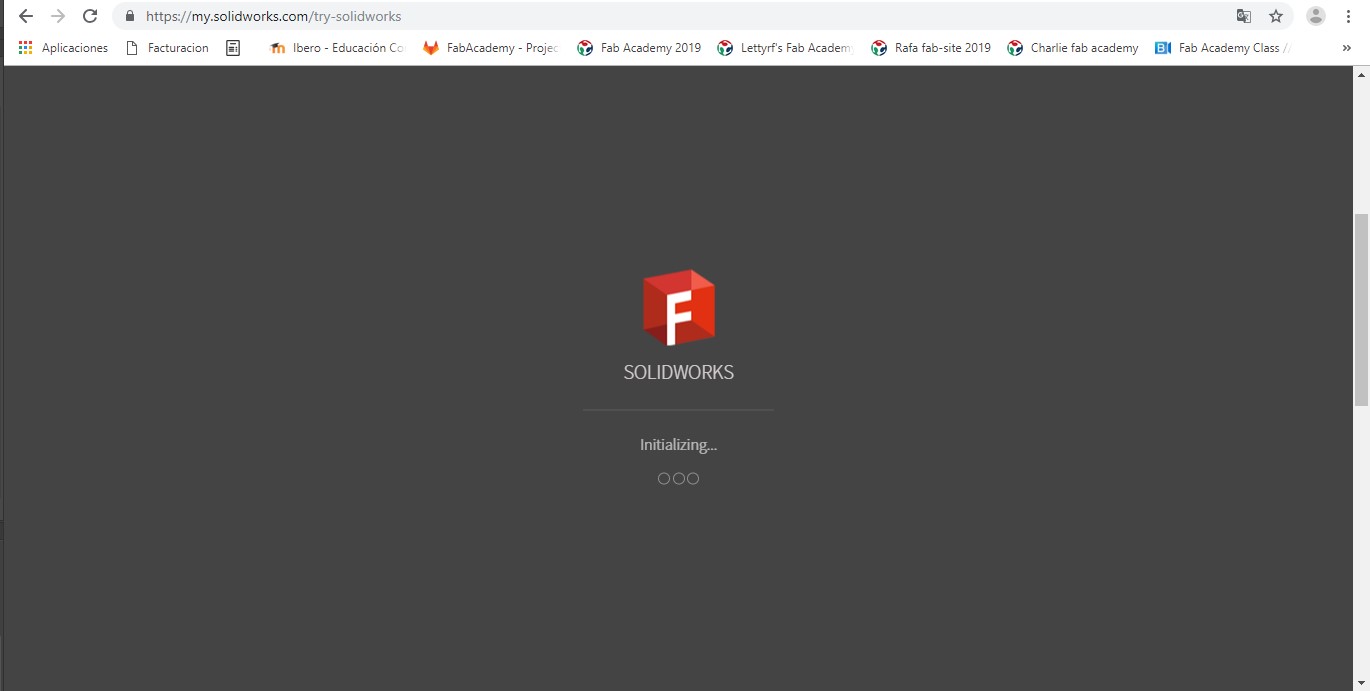
Install SolidWorks on your computer, once you get a license, or run a trial version on-line at Try SolidWorks. Be warned, the trial version does not let you save onto your computer.
First SolidWorks
Run the application, for me the hardest part was doing the first exercise (without documenting it, I know my bad and yes exactly the same thing as AutoCAD) on a computer with a version and trying to recreate it in my computer with a different version. They are similar but have clear differences between them.
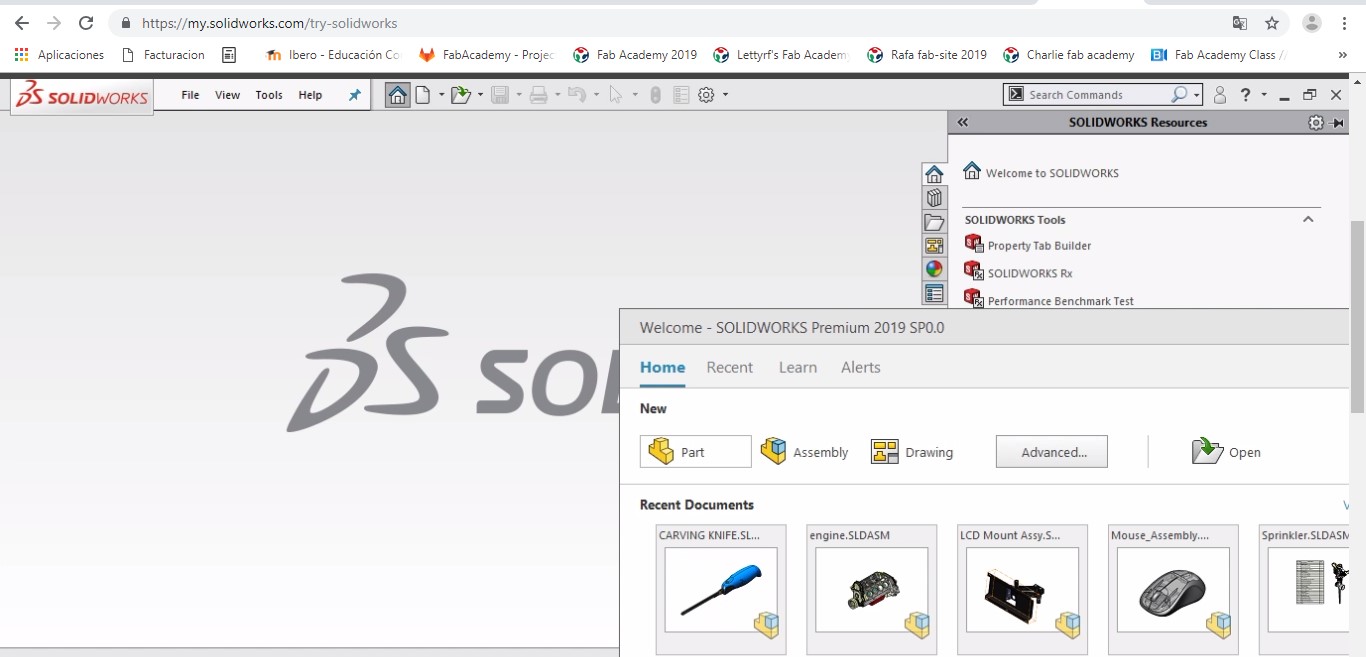
Create a Part
Click on create a part to start using the program.

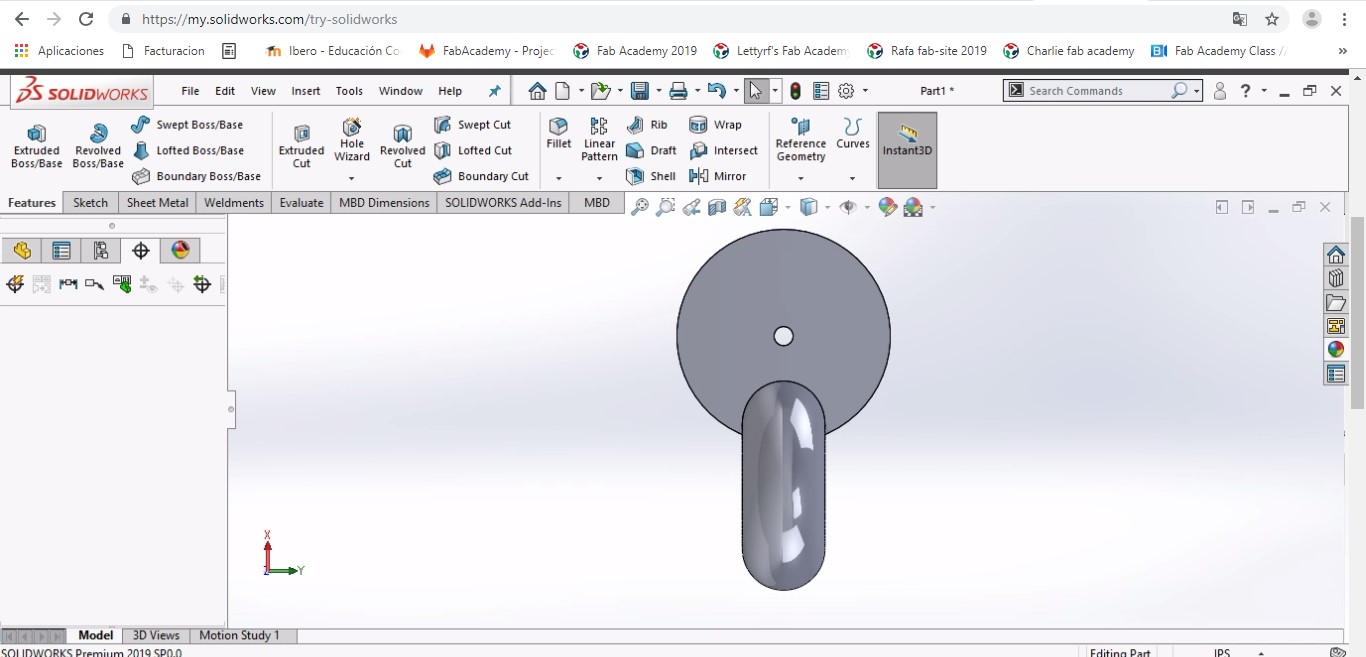
Extruded Circle
Got to sketch and create a circle, than click on close sketch and go to features and click on extruded boss/base. Define the amount of extrusion needed and the direction.
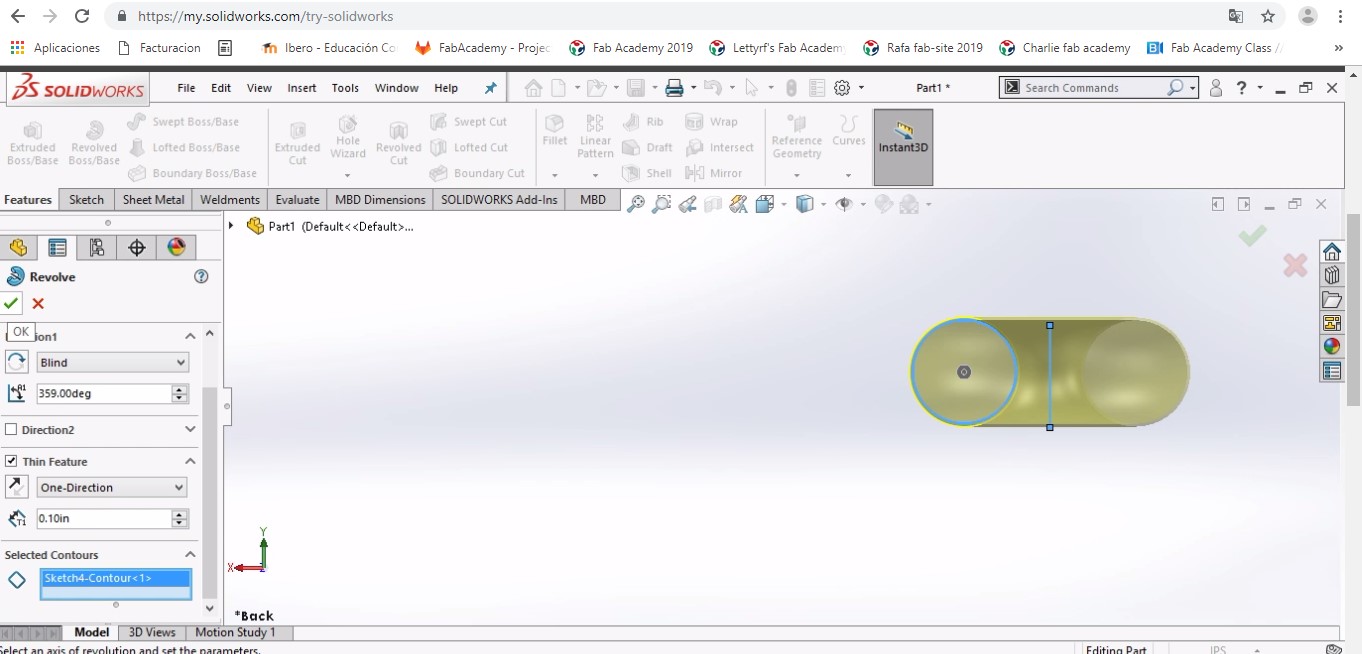
Donut
Create a circle on the sketch option, than define a line parallel to it, close sketch. Go to the features and select revolved boss/base, select the line and than the circle to revolve around it creating a donut.
Dont Cut by Circle
Over the donut include the circle and cut the image to create a different part form the two previos ones.
Instructions
- Guarantee you learn on the same version you'll actually work, I can't stress this enough
- Open SolidWorks and click on create part
- On sketch create a circle, than click on close sketch
- Go to features and click on extruded boss/base. Define the amount of extrusion needed and the direction.
- Got to sketch and create a circle
- Draw a line parallel to it, close sketch
- Go to the features and select revolved boss/base, select the line and than the circle to revolve around it creating a donut.
Fusion 360
A cloud-based CAD/CAM tool that combines organic shapes modelling, mechanical design, and manufacturing in one comprehensive package. Install Fusion360 on your computer, licenses for students and faculty are availbale at AutoDesk. For me it's a combination of AutoCAD and SolidWorks, probably for purists this is not the case. I actually enjoyed working with it more than with the other two.
Start Fusion360
Run the application, either on your computer or on-line. The versions are fairly similar between them.
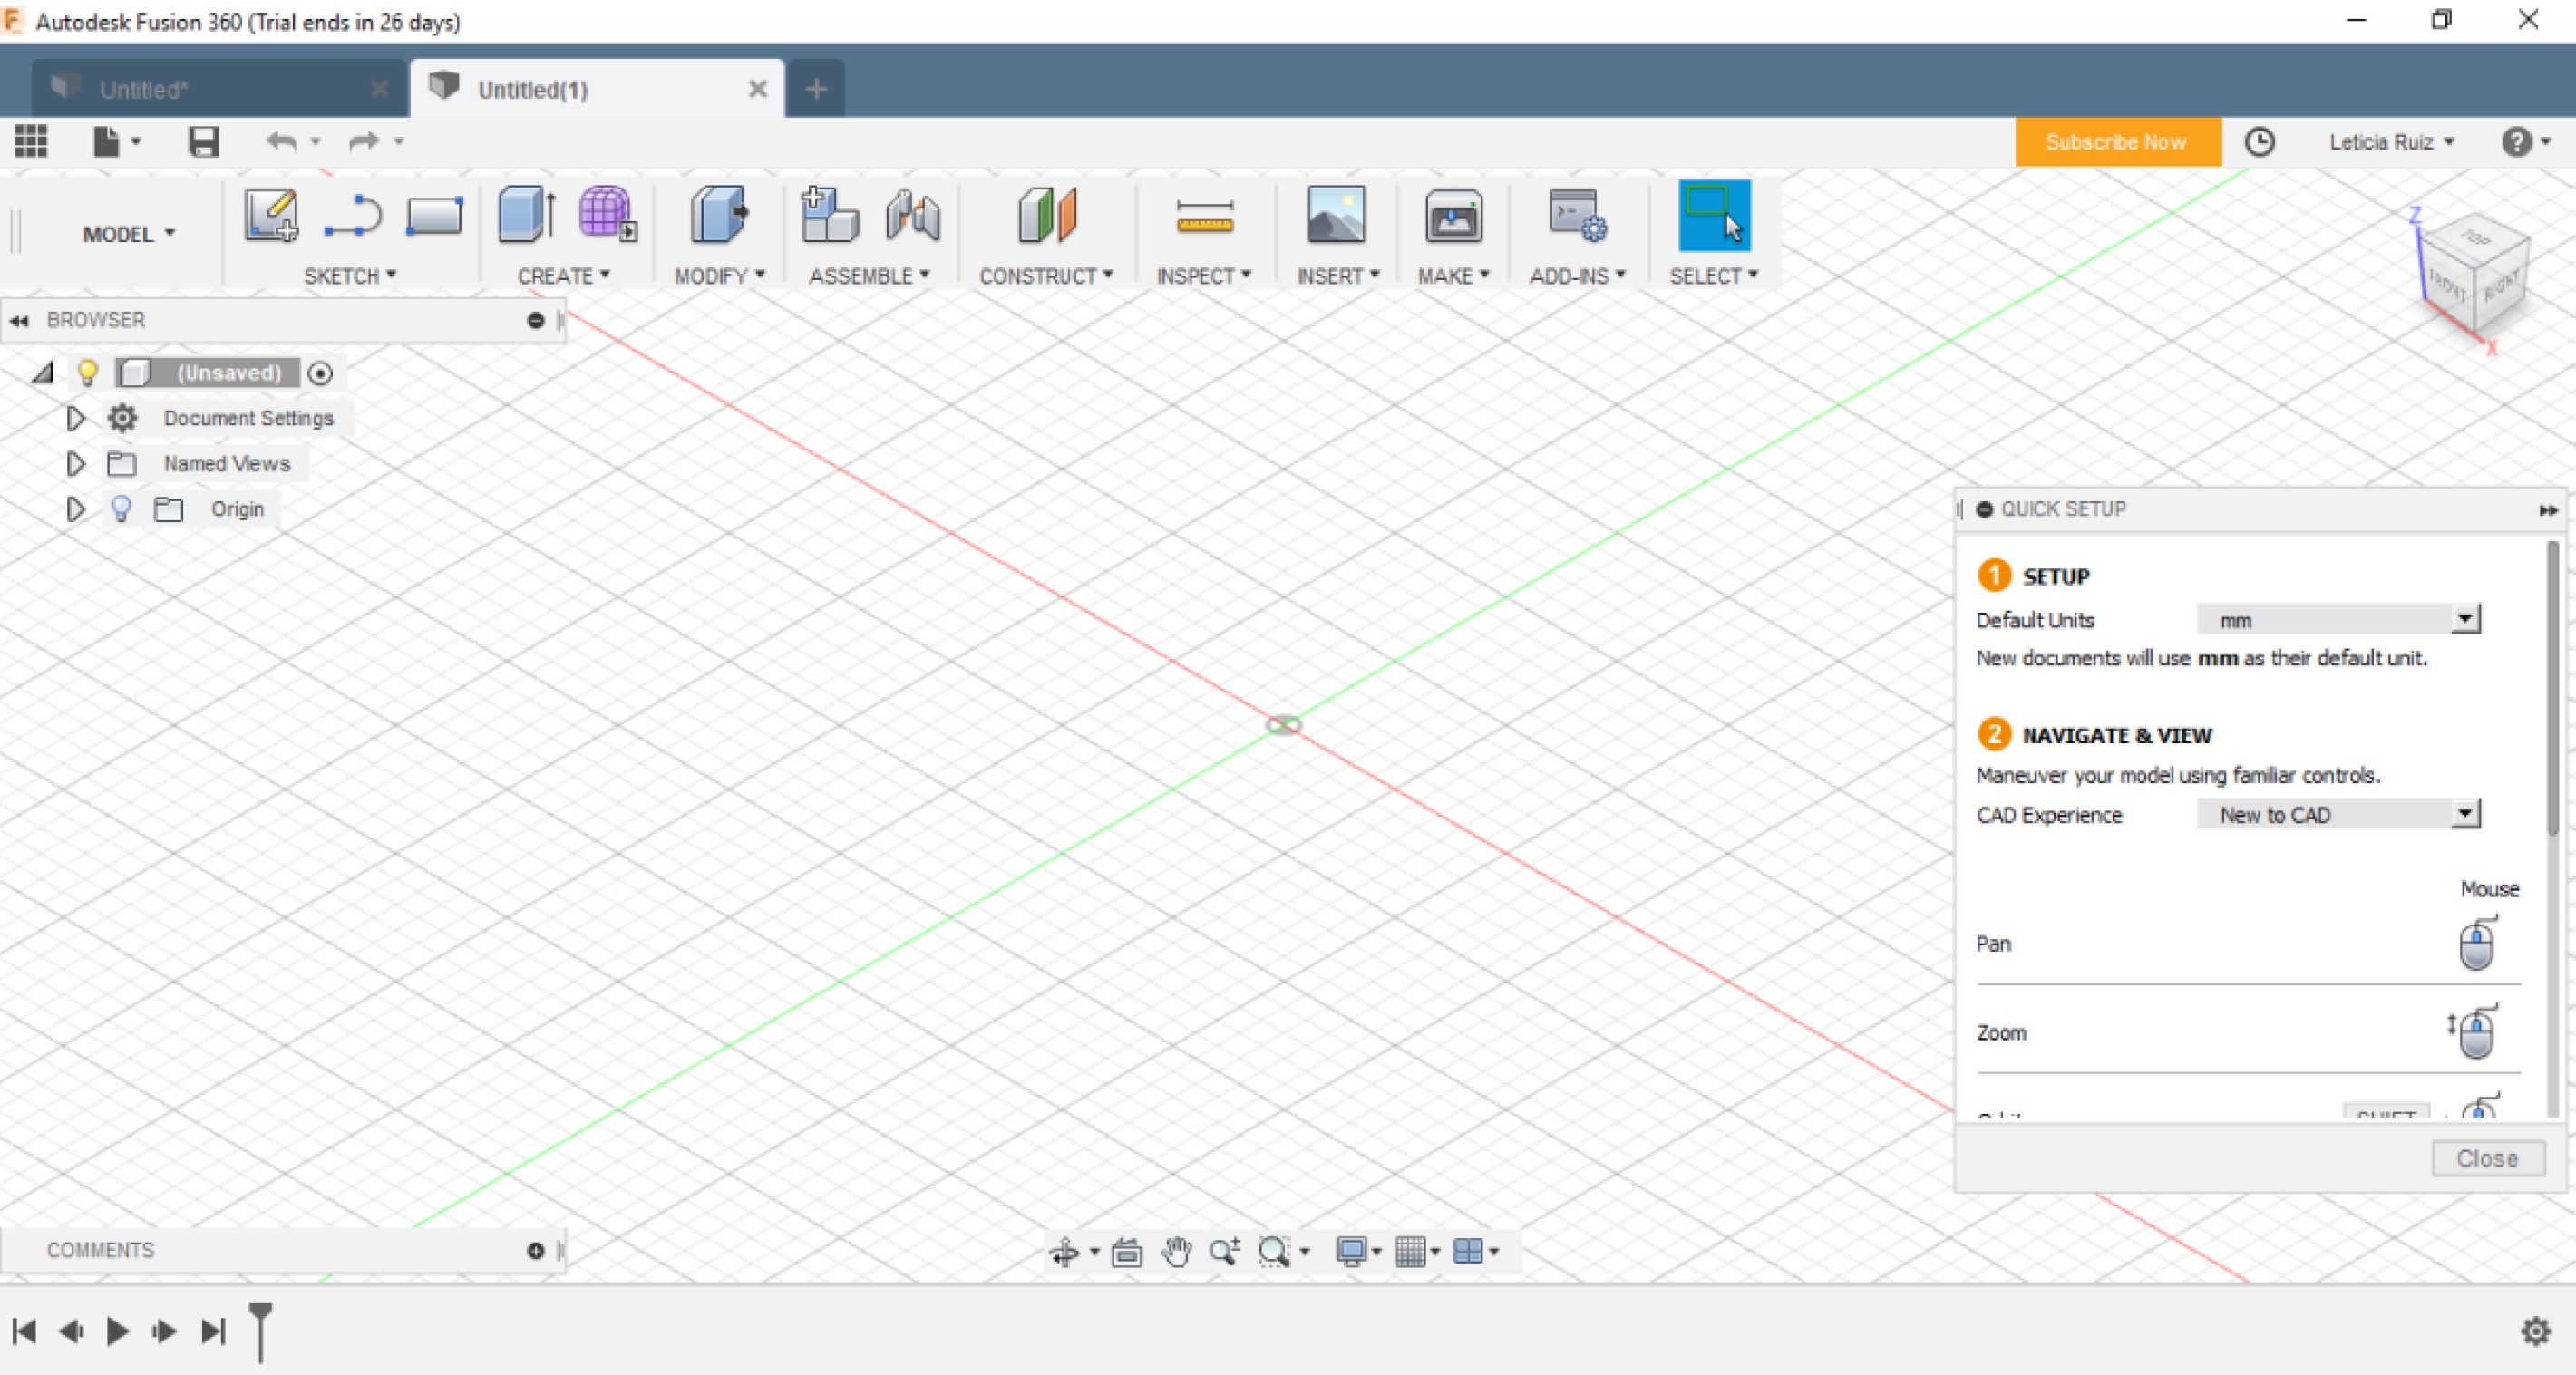
Start Designing
As soon as you go into the application the window to start designing appears providing several tools to choose from.
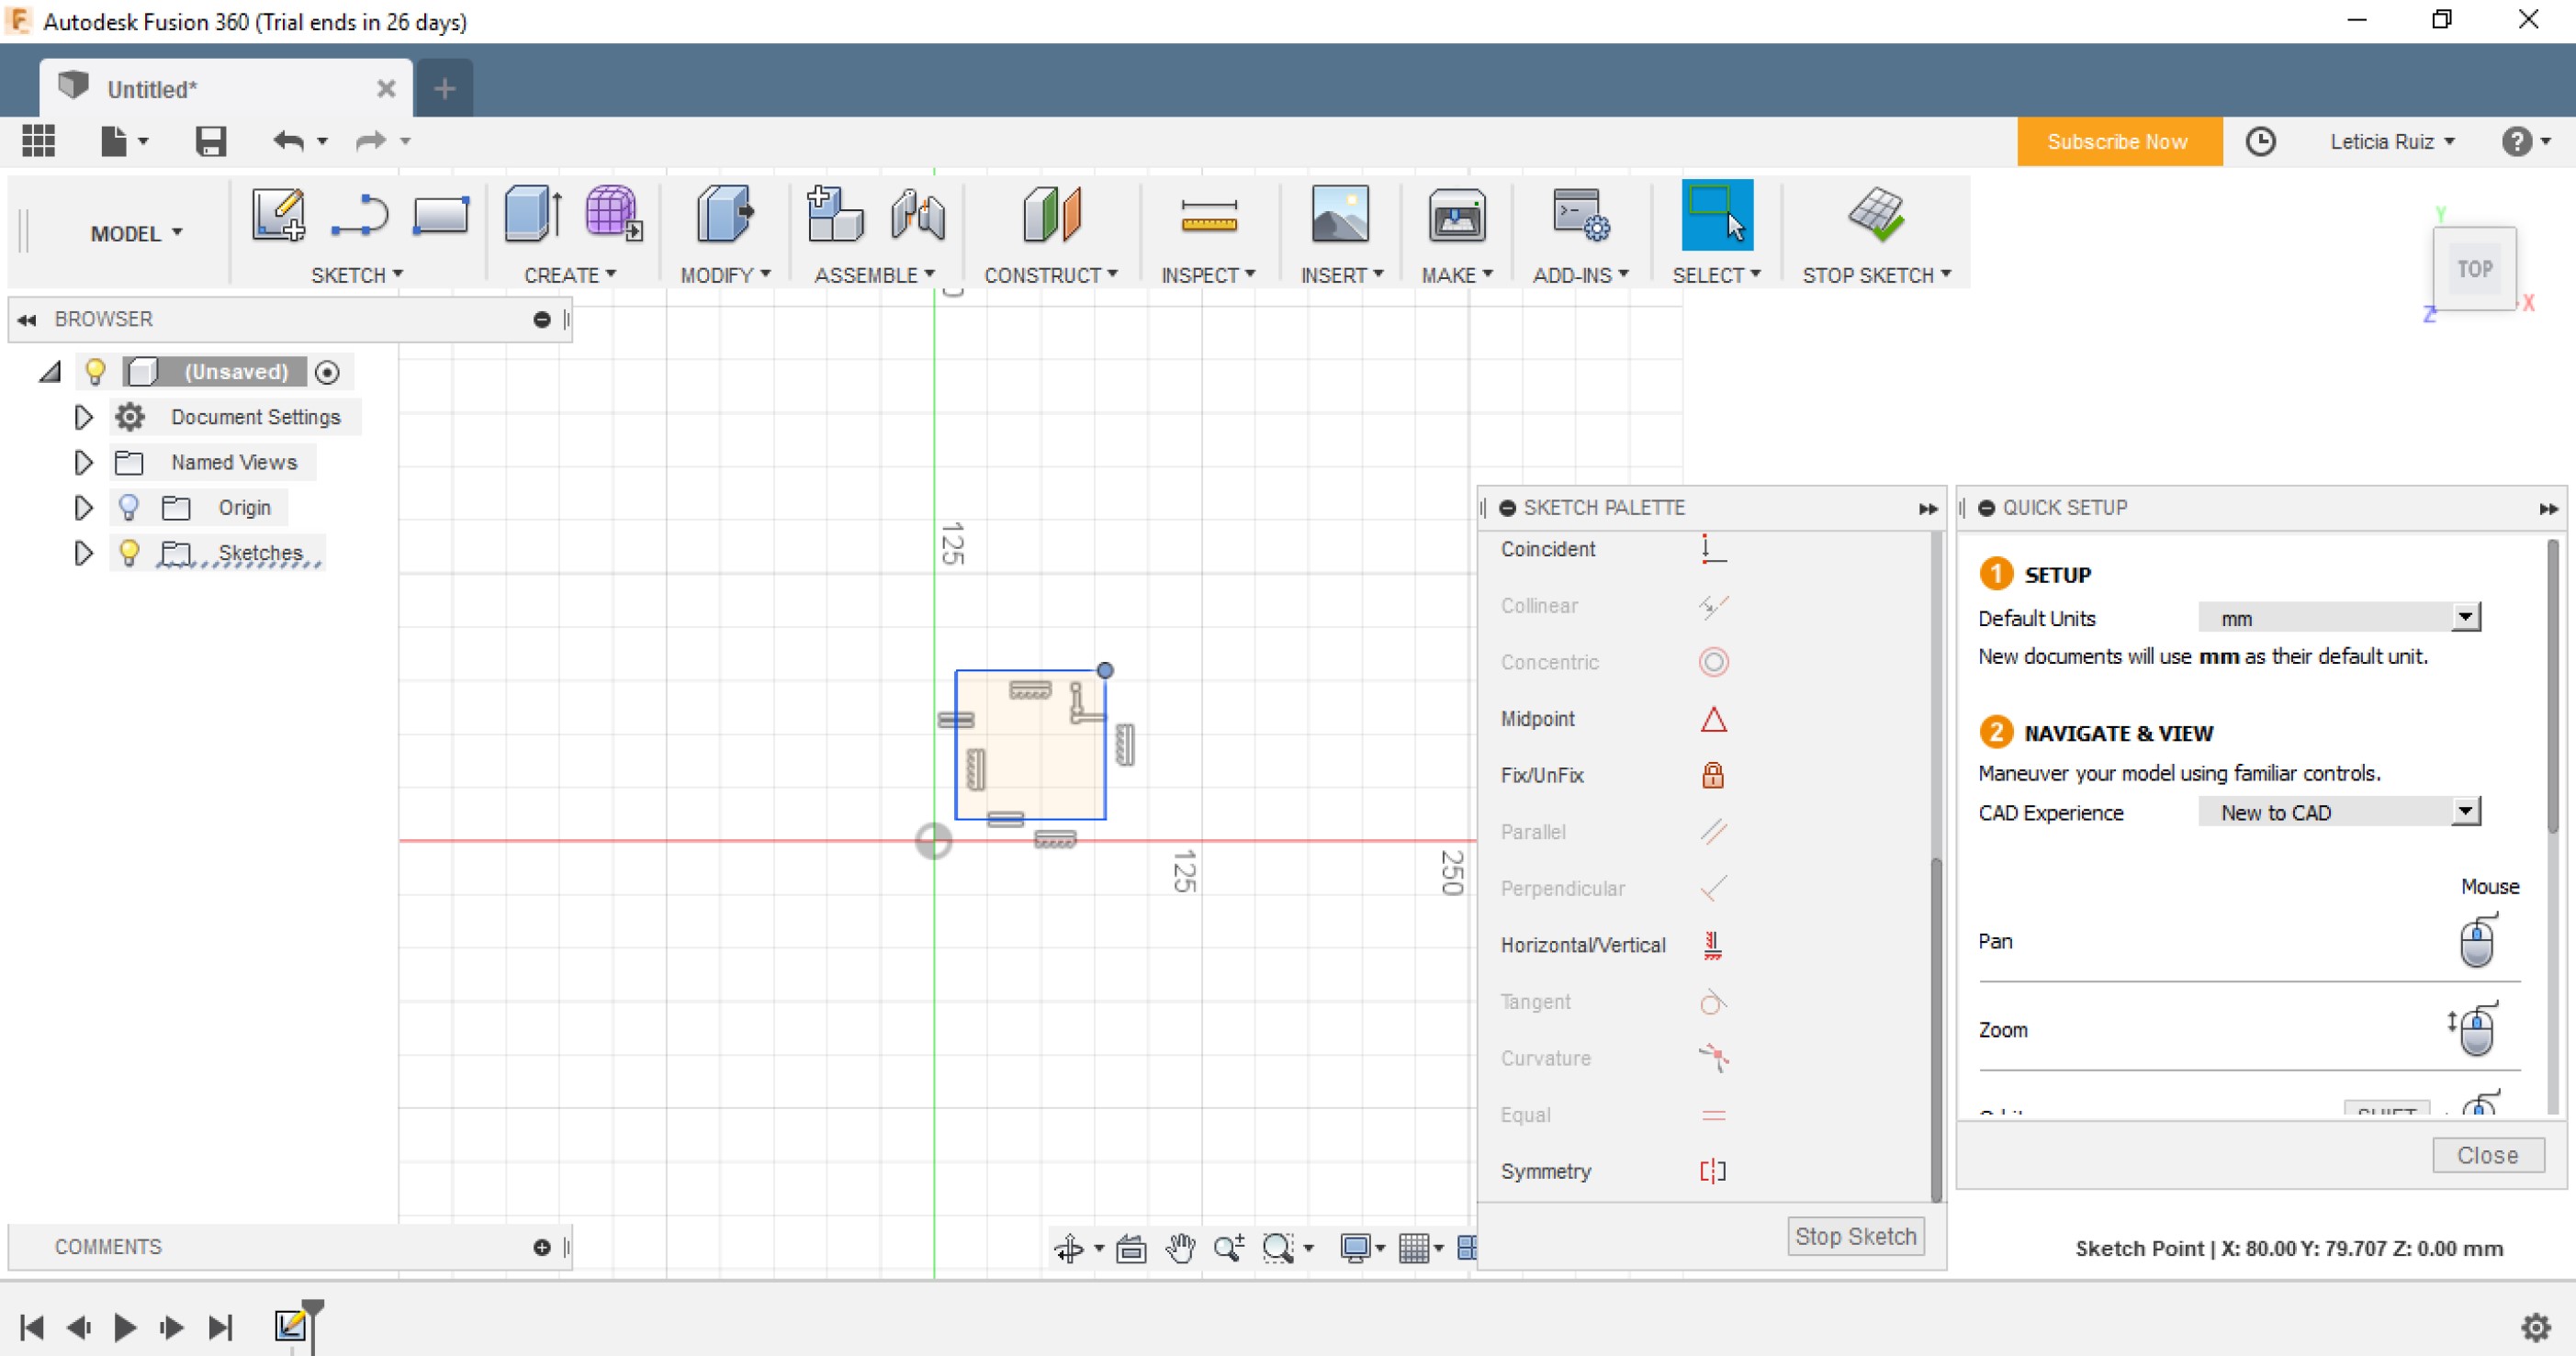
Basic Example
I created a basic rectangle to try out the different tools. I can safely say at this point I have not mastered any of them.
Instructions
- Run Autodesk Fusion360
- Jump into it and start designing with predefined polygons or start from one simple line
- Use the same constraints as in AutoCAD if your familiar with it
Adobe Illustrator
Software used to create logos, icons, sketches, typography and other vector art. Update from week 4.
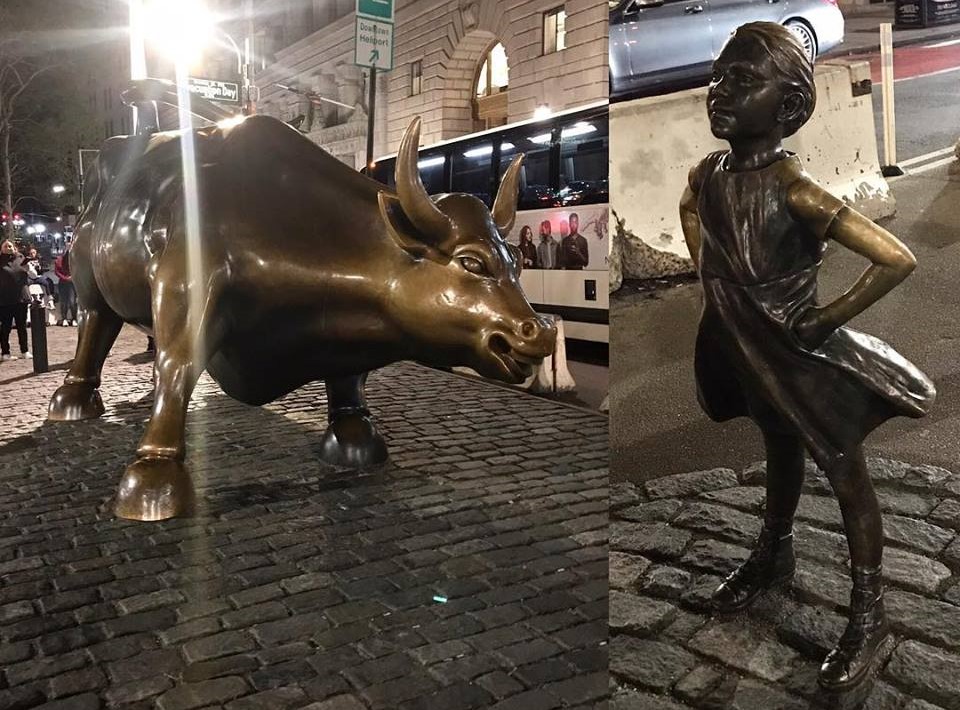
Original Image
I chose the raging bull and girl as a composed image because I think it represents pretty much our daily paradoxes in decision making.
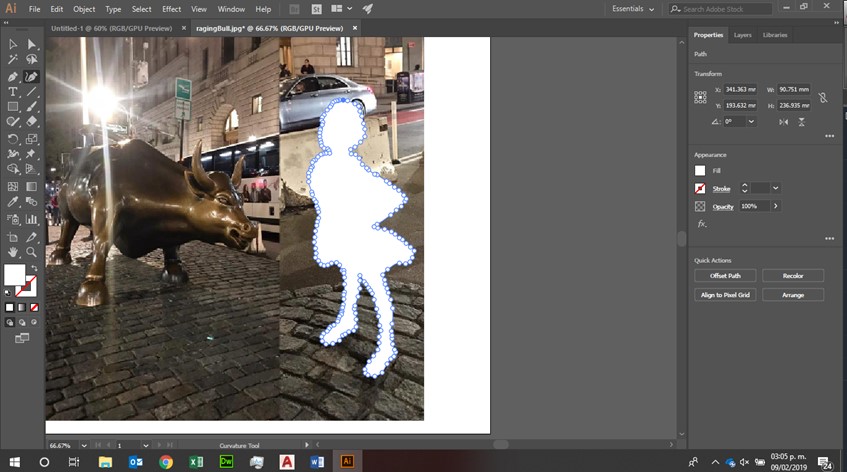
Selecting Girl
I used Adobe Illustrator to generate my vectors from a photograph. Some people use photoshop or other tools, define which one you like and feel comfortable with.
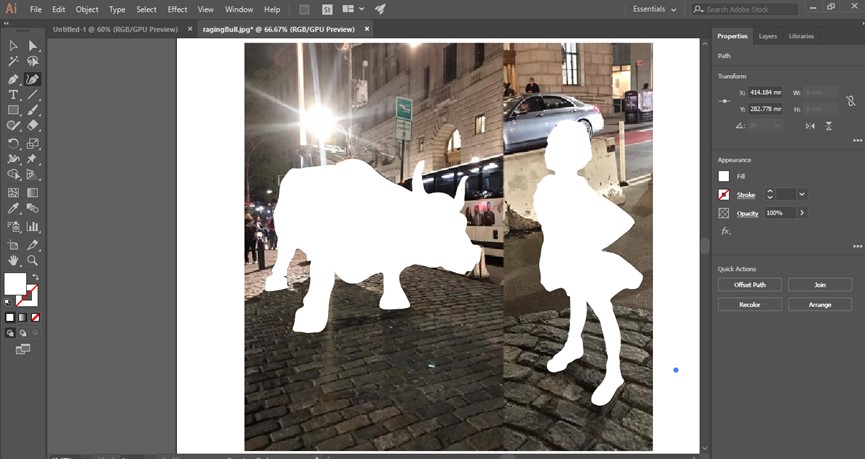
Selecting Bull
Outilne each figure until the siluette is recognizable, if you used the point by point tool in Illustrator you'll be able to modify the outline once you finish, if it doesn't correspond.
Change Siluette Color
Change the color of the siluette to black, this makes it easier to manipulate later.

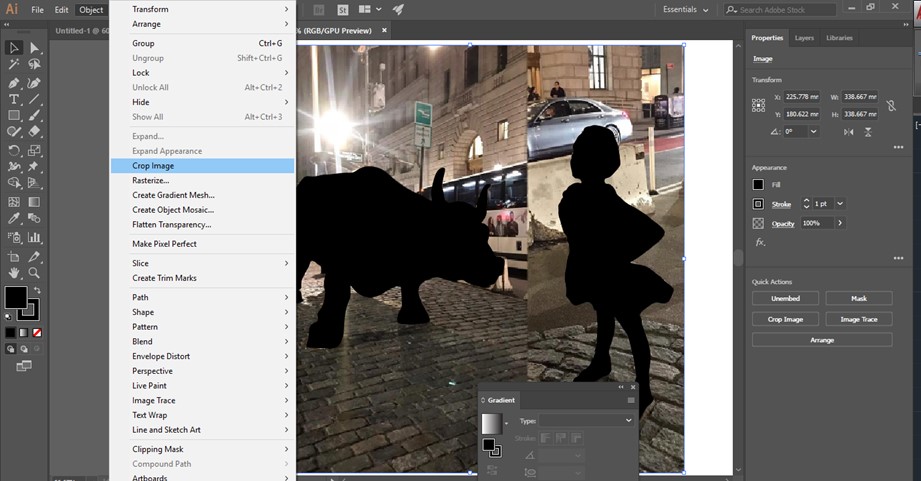
Eliminate Background
Select everything that is not siluette, the background, and use the crop image tool.
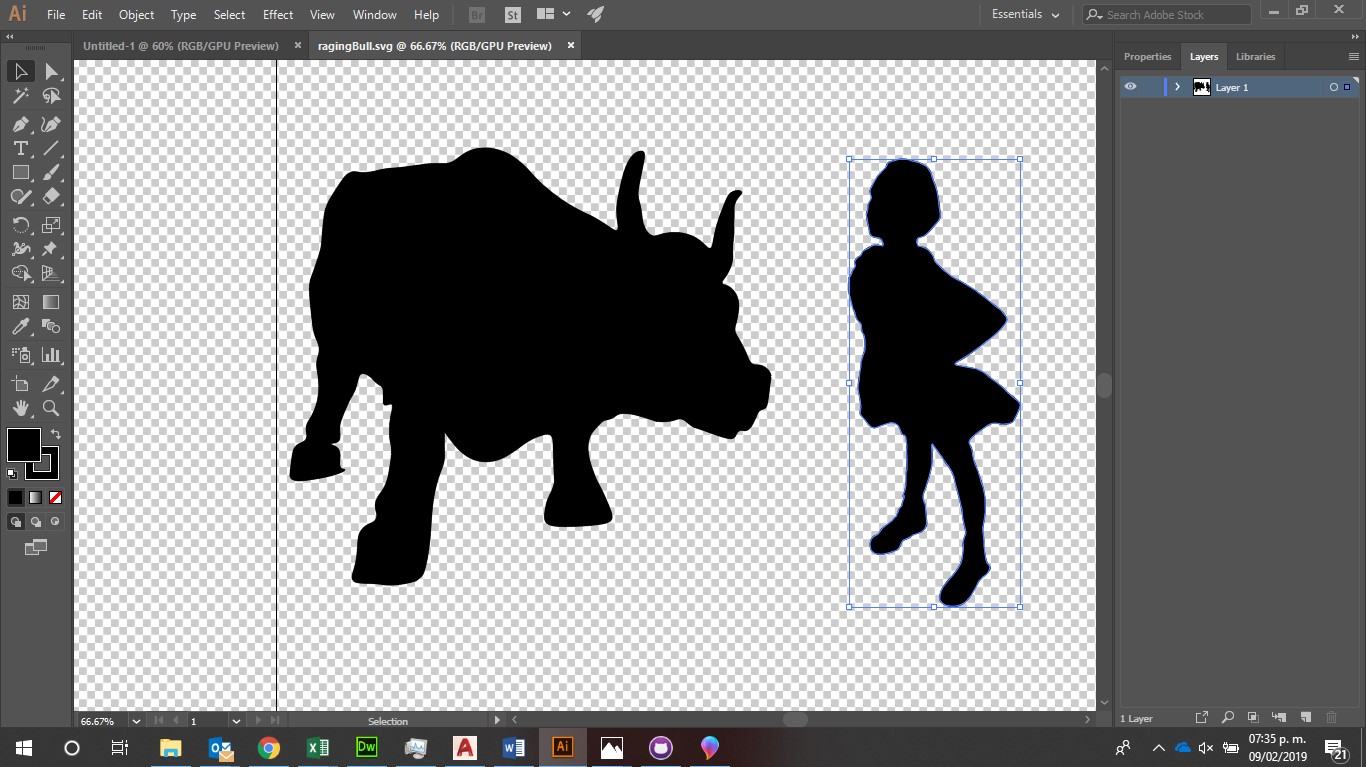
Final Vector
Eliminate the background, once you see the checkered background you've done it. Define the final size in milimiters and you're ready to take it to the vinyl cutter.
Instructions
- Define which image, logo or photograph you want to vectorize
- Select a tool to use, I chose Adobe Illustrator
- Outline figure with the curvature tool
- One of the advantages of using this tool is that it creates several points which can be moved to give a better definition to your siluette
- I decided to do two images, for the purpose of the instructions just repeat the previous step for the number of siluettes you'll want to use from the picture
- Change the color of the siluette, I decided black because it is easier for me to have a contrast once you eliminate the background
- Select everything that is not a siluette and use the crop image tool to eliminate background, you'll end up with the siluettes over a white background, you are NOT done yet.
- Go to properties onyour right side and select no background, it is a checkered square, very easy to recognize
- Once you have a checkerd background behind the silkuettes you have vectors, you van use the make pixel perfecto tool to smooth edges
- Save the file as an illustrator file and as a SVG file to be able to process it in the vinyl cutter equipment
- Try to maintain your file small, the more quality you specify for the vectors, the bigger the file and it can cause problemas with some vinyl cutters
Final Project Model
First draft for XOOK. Model for the scenarios and first sketches of the scenography to be included in the app.

First CAD model
I made the basic parts for the scenario needed for Xook, it still needs ensambling dents and instructiosn, and probably much more organic look and feel to it. I made it in AutoCAD and I'm still not ocmfotable with the results or with the program, hopefully by the end of the month I'll have a abetter control of computer-aided modeling.

Mood Board Scenographies
Before sitting and painting each scenogrpahy I need to defne which ones are relevant for the story and become critical and which ones are going to be secondary, not an easy task at this point. I still need to decide if I'll go old school and draw and paint manually and than digitize or start directly digital, either way I need to start soon.
Mood Board Characters
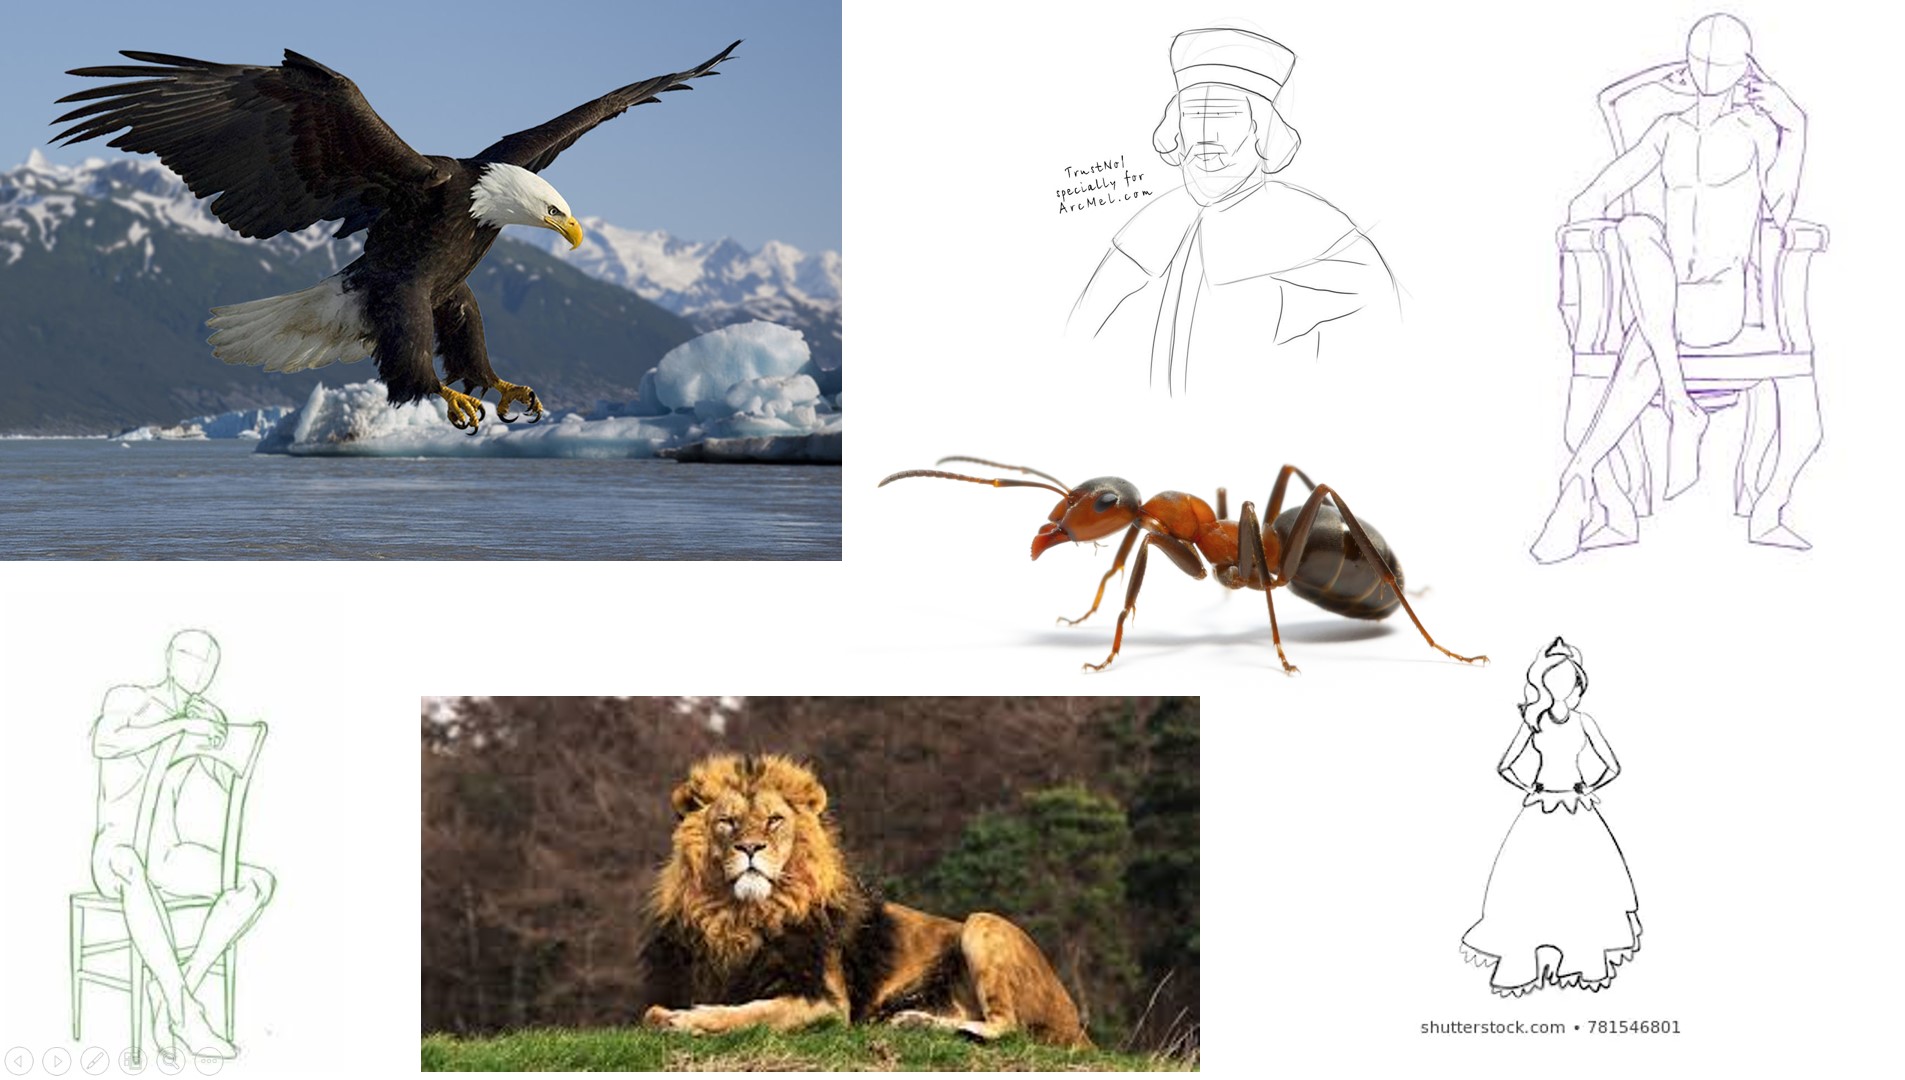
There are seven main characters, plus the children hearing the story (it's one of those break the foruth wall kind of stories), a princess, a peasant, the king, a lion, an ant and an eagle and obviously there is always a villain or it wouldn't be fun. I need to defeine if it's going to be the whole story (a bit long for a demo) or I'll shorten it to make feassible, I'll keep you in the loop either way.
Instructions
Instructions for CAD Model
- Start AutoCAD
- Create a square with constraints for parallel sides to be equal, this will be your top
- Define constraints for two sides's lengths
- Define constraints for union points
- Copy square for bottom
- Copy square for sides and make it smalle on one of the sides, about one third of side, creating a rectangle
- Make three more copies of the side rectangle
- On the top sqaure, define the ipad setting piece on the second layer
- On the top square, define a grid with rectangles on the third layer
- Copy square for scenario
- Define an angle based center
- Define something to make the top different and theatre like, it's still a work in progress
Instructions for MoodBoards
- Define the story you want to tell
- In that story, which scenarios pop to mind? A forest? a castle? the throne room? a cottage?
- Go on-line and find inspiration for the final paintings
- I pasted some of the images in a power point and saved as a jpg file to show, but you can create a pinterest board or print them and have them close when you paint
- In the story there are main characters, so choose which ones they are
- Go on-line and find inspiration for the final models (they will probably end up being 3D printing or casting and molding)
- I pasted some of the images in a power point and saved as a jpg file to show, but you can create a pinterest board or print them and have them close when you paint and/or model
Updated Comparison:
- Comparison for 2D Software
- I used AutoCAD and Illustrator.
- AutoCAD is better for exact measurements.
- Illustrator is much better to vectorize images.
- From this point on I started to use AutoCAD for most of my work, it seemed easier (for me at least) to think 3D but design 2D.
- Comparison 3D Software
- I used Fusion 360 and SolidWorks.
- Fusion is similar to AutoCAD so if you are familiar with it this should be fairly easy to use.
- SolidWorks is best used for mechanics and engineering.
- I did not felt comfortable with any of them, maybe a little more with Fusion but not enough to keep using it long term.
- Since I did not have any of these software installed in my computer I had to use a lab computer instead of my own for both tests.
- After this assignment I experimented a bit with Rhino and found it was nice to use, but it was only a trial version and it expired, I hadn't budgeted personal software this year so I did not buy it when the trial period ended.
- Comments
- The software you choose has to have two things: be useful for the task at hand and your level of Comfort with them.
- Having the same exercise in different softwares helps for comparison purposes but it's not really helpful to actually learn the best way to use them.
- I used a different example for each software because it was a better way for me to explore the capabilities for each of them.
- Since I lost my work in SolidWorks and for Fusion (lab computer and did not have the presence of mind to save it in a usb) I'll link to some work with the software created after the fact and not the exact examples.
- It's always easier to work with a fotware you have constant access to it, in my case it was AutoCAD, Mesh Mixer and Illustrator.
Documents