The files //
Below you can find the download links of the original files created for this week.
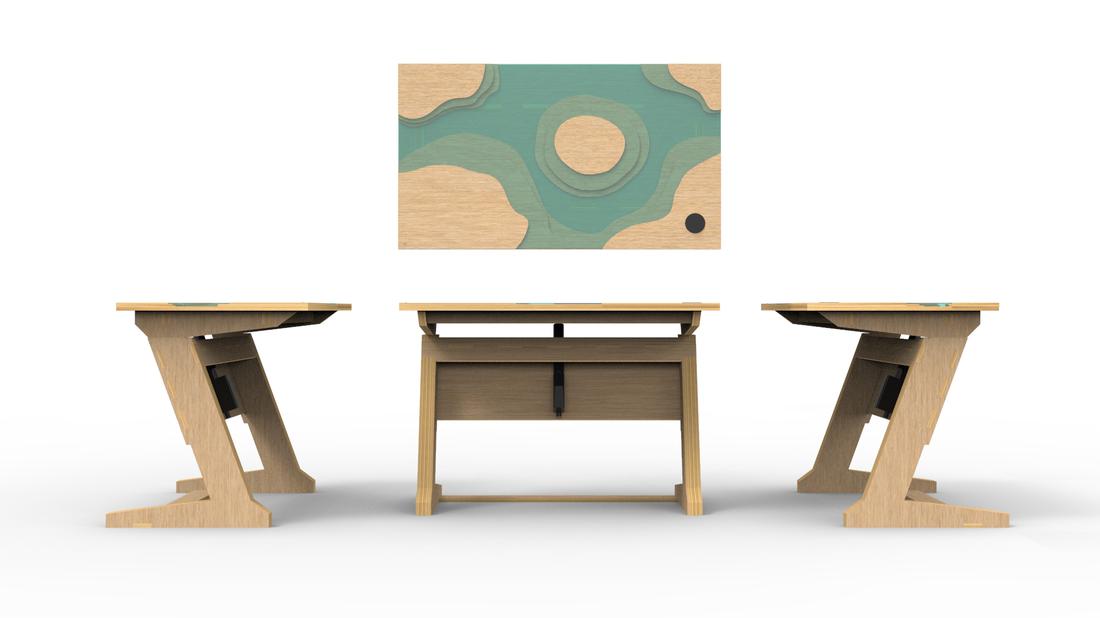
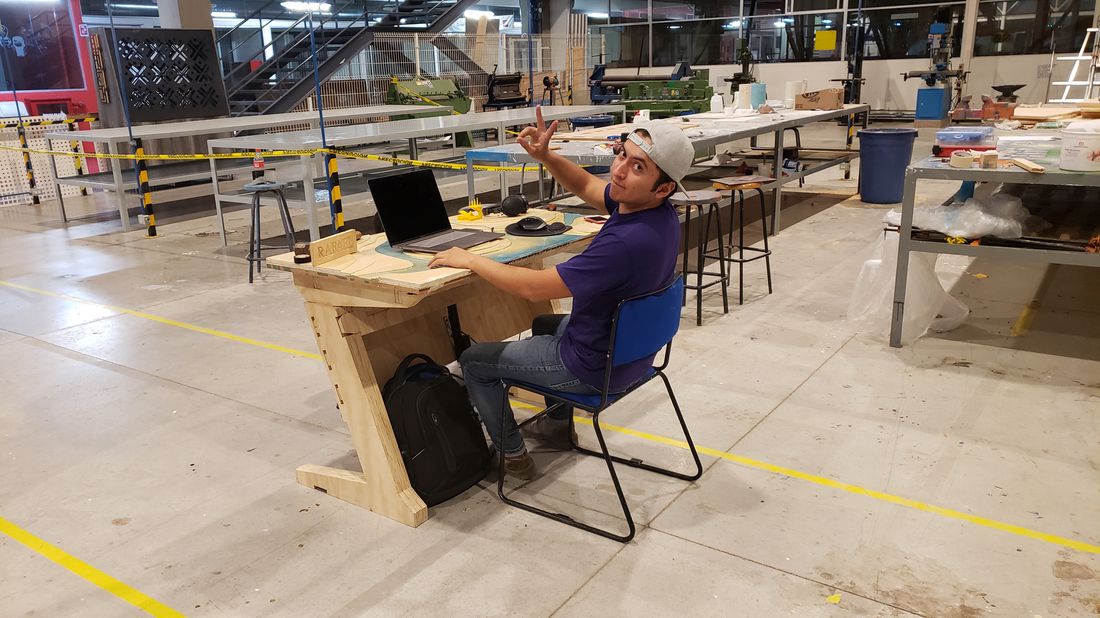
Flow Desk is a desk with adjustable height, which detects how long you have been sitting and invites you to get up to avoid back pain caused by long hours of work in the same position.
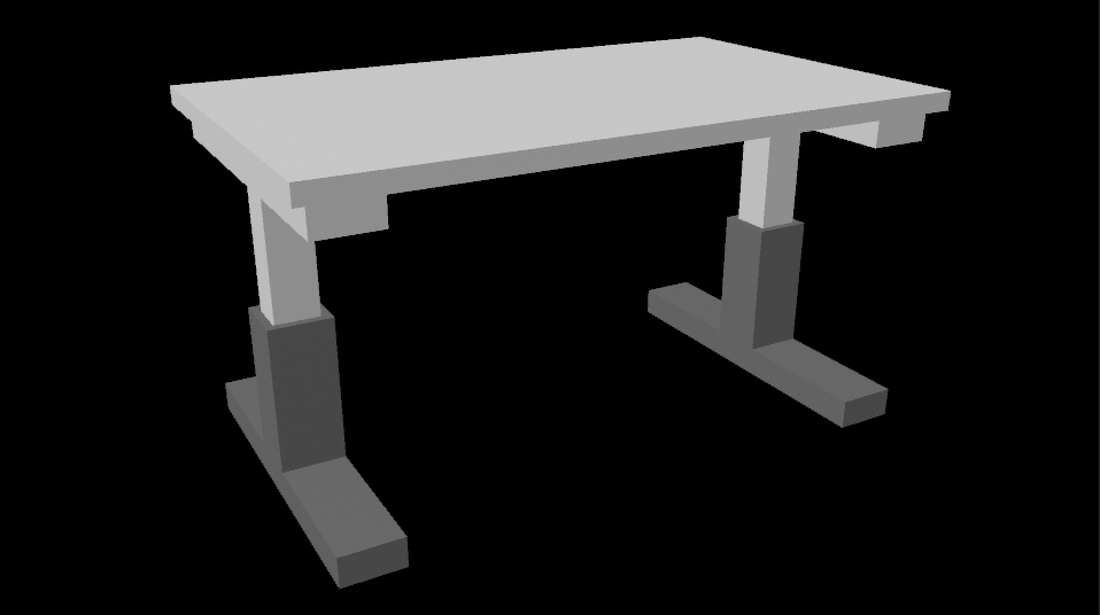
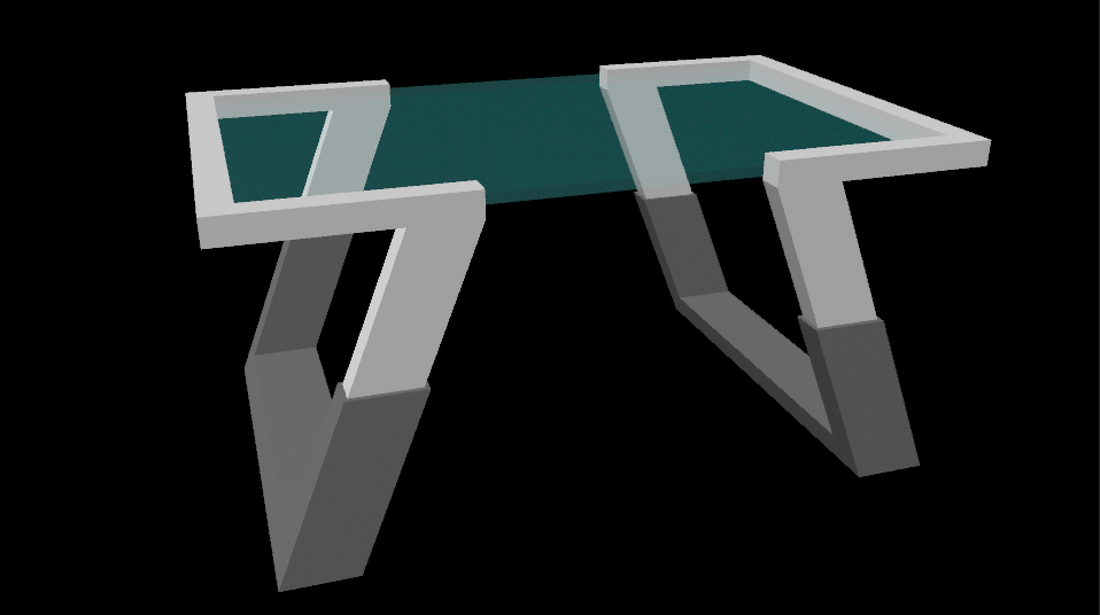
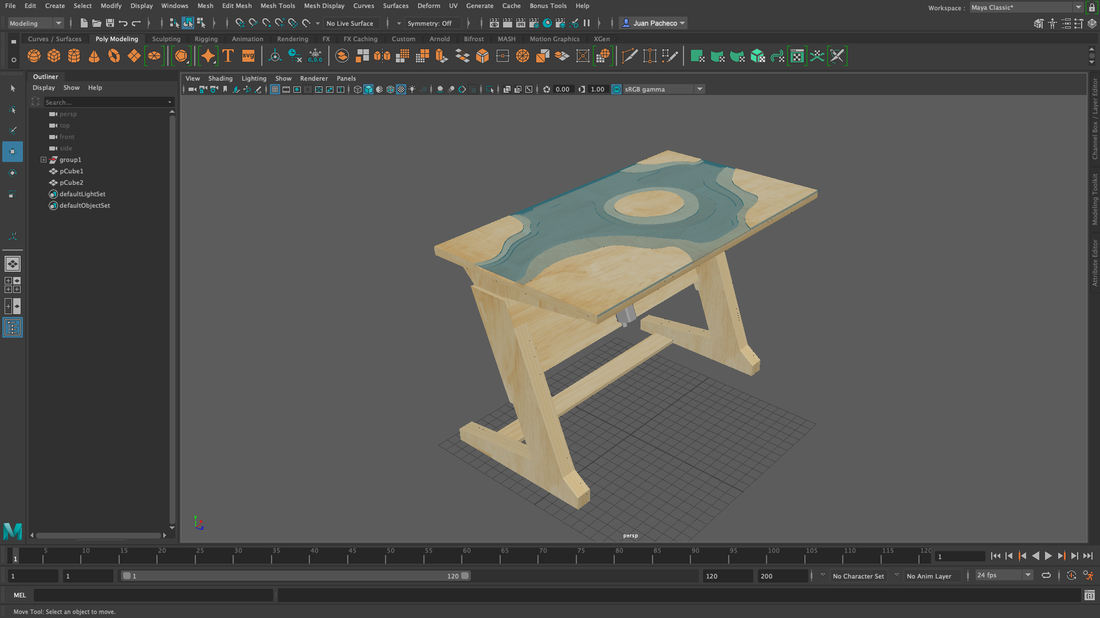
Initially I had modeled 2 desktop prototypes, however, the prototype 01 had a simple, simple design, it could be functional but it did not finish pleasing me. The prototype 02 had an avant-garde and elegant design but its design would complicate the mechanism of height adjustment.
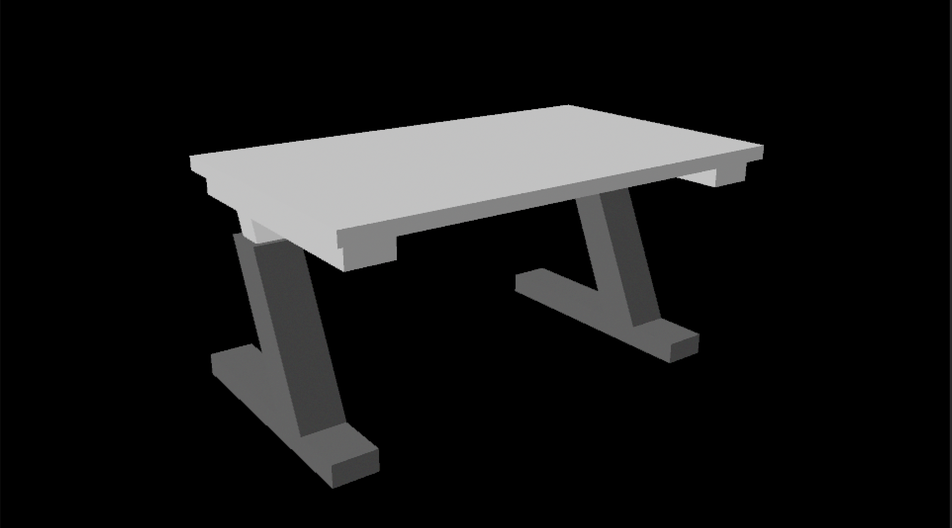
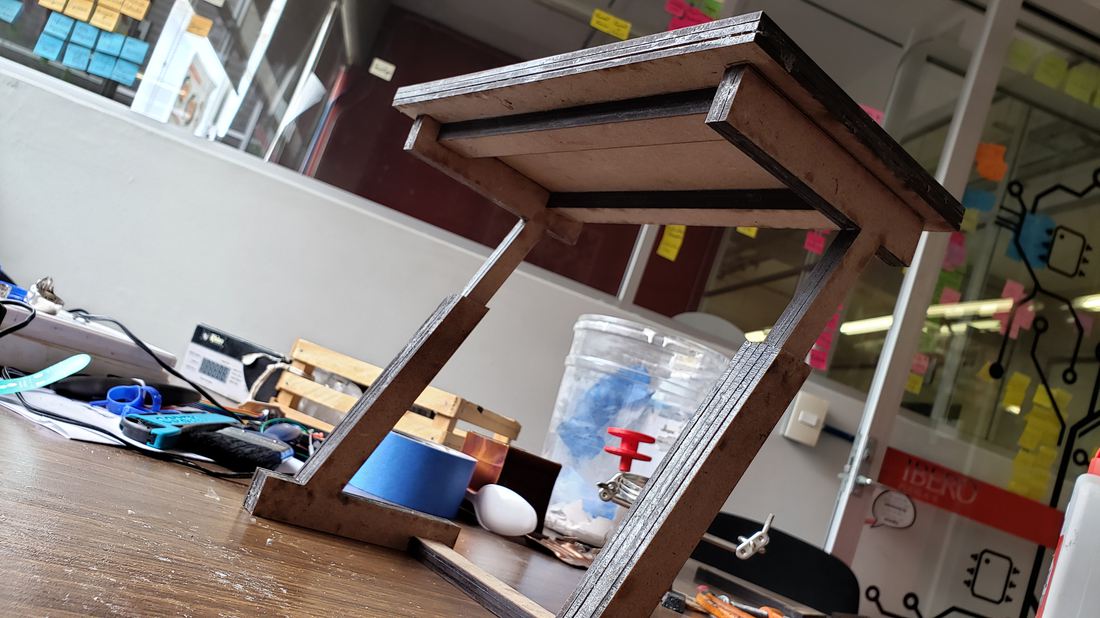
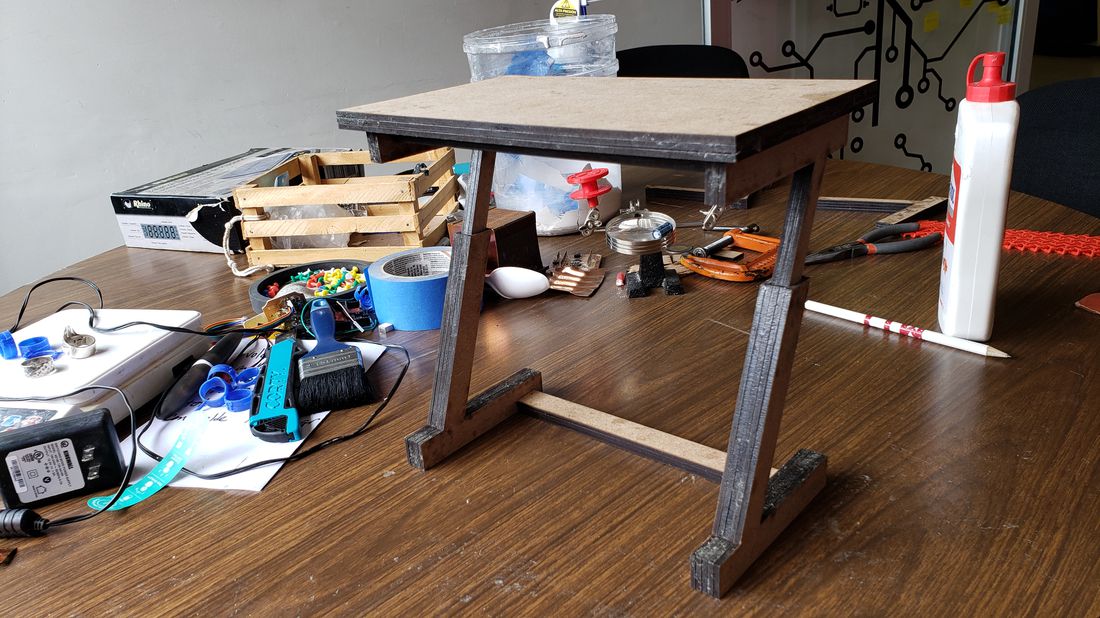
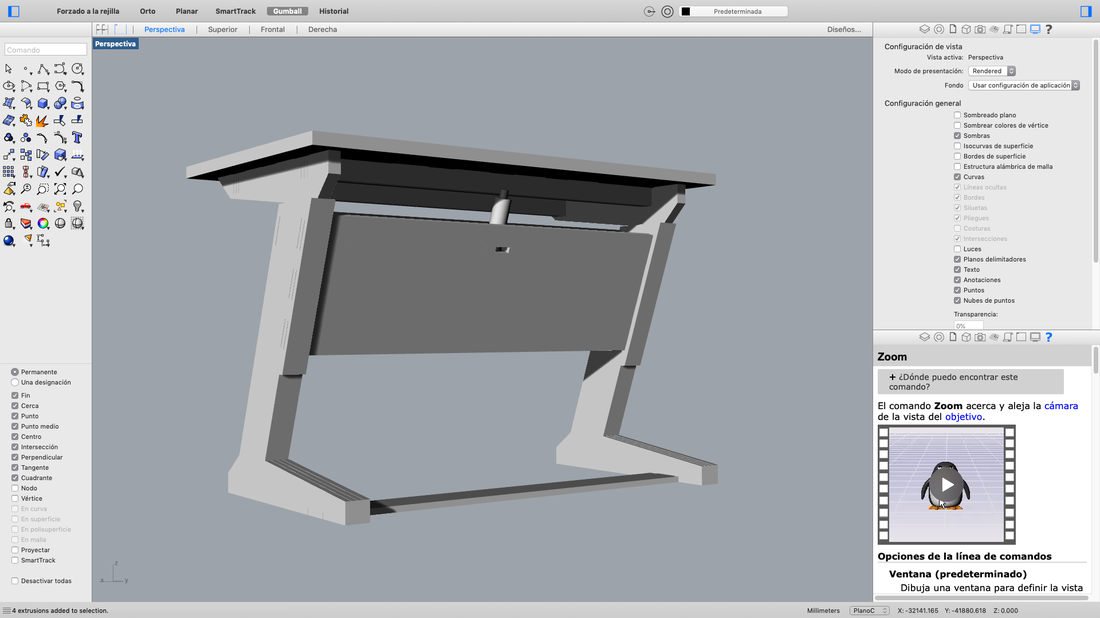
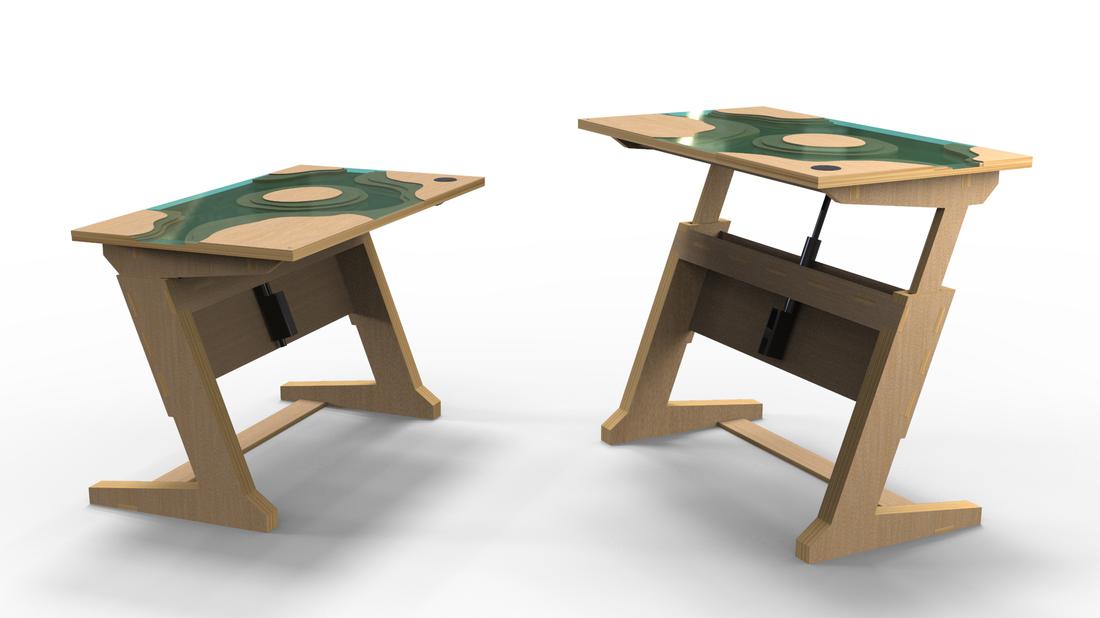
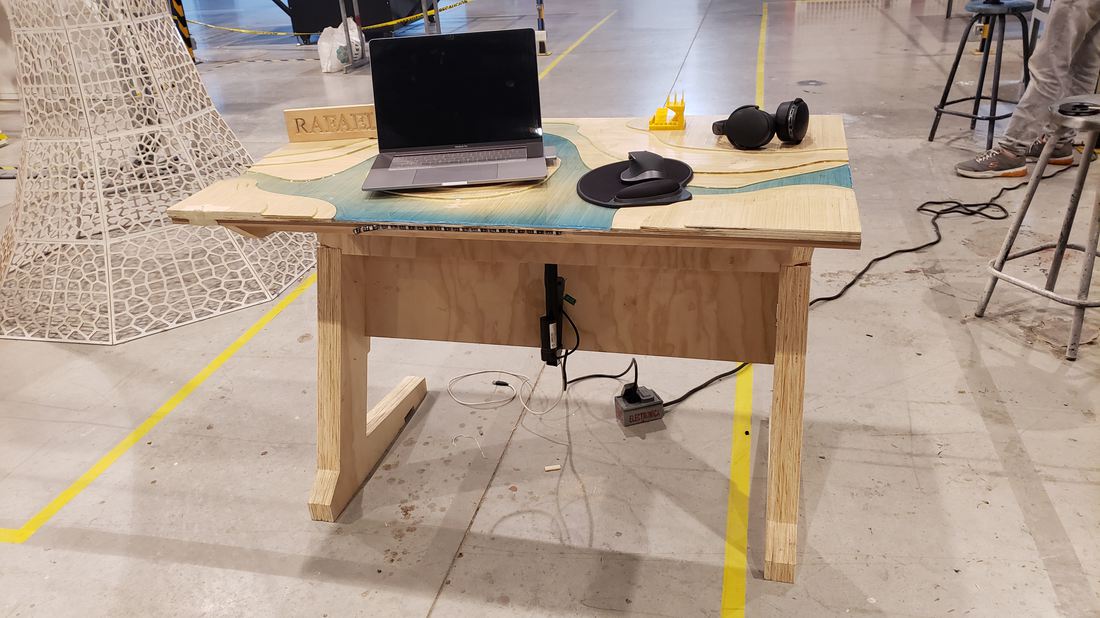
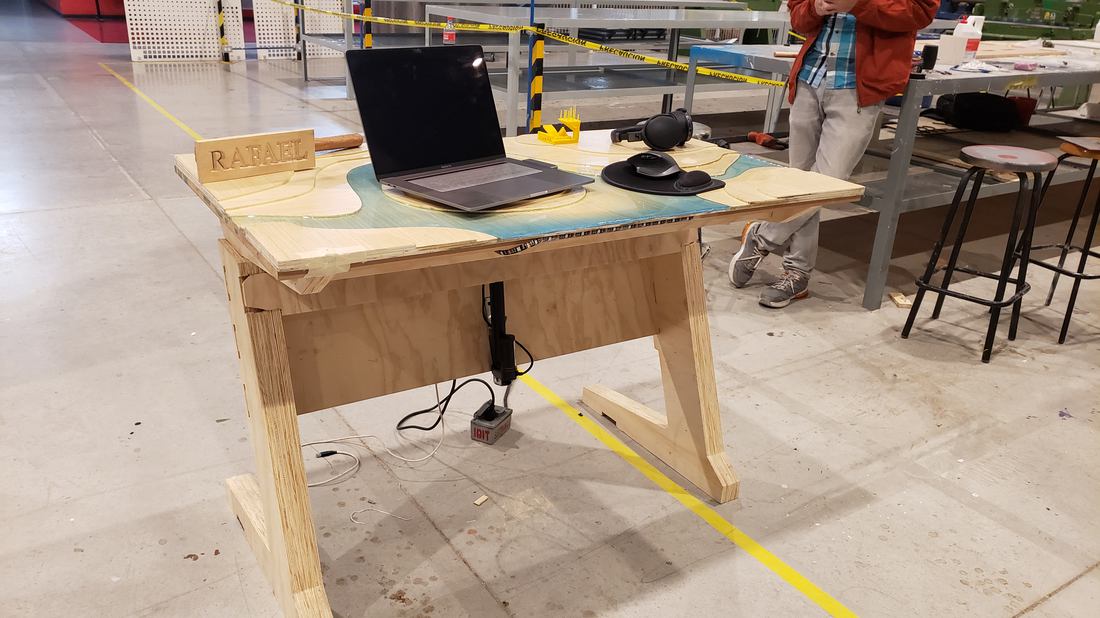
For this reason, I decided to design a third version of the desktop, idea that arose when merging the previous prototypes, the idea of the legs of the desk is based on a "Z" with the purpose of making the upward movement of the table this forward, in this way the user would only have to get up without removing the chair.
It is version 3 of my original design, trying to adapt everything learned in this course with a nice design.
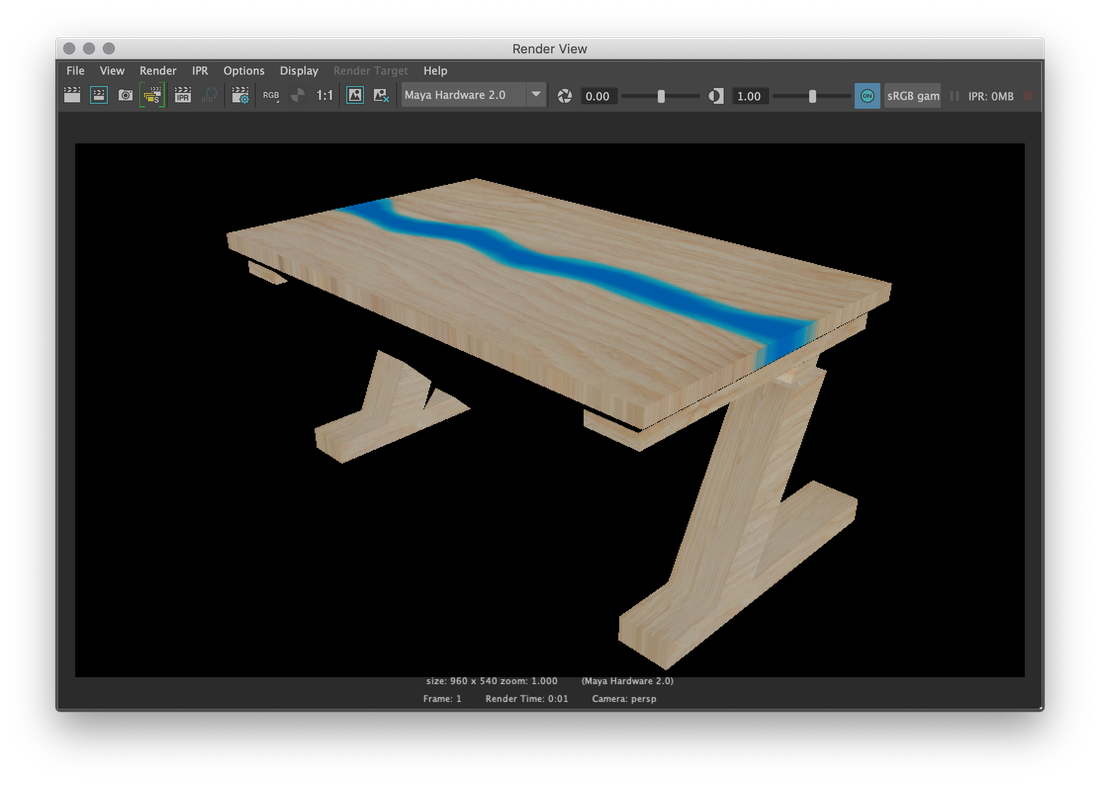
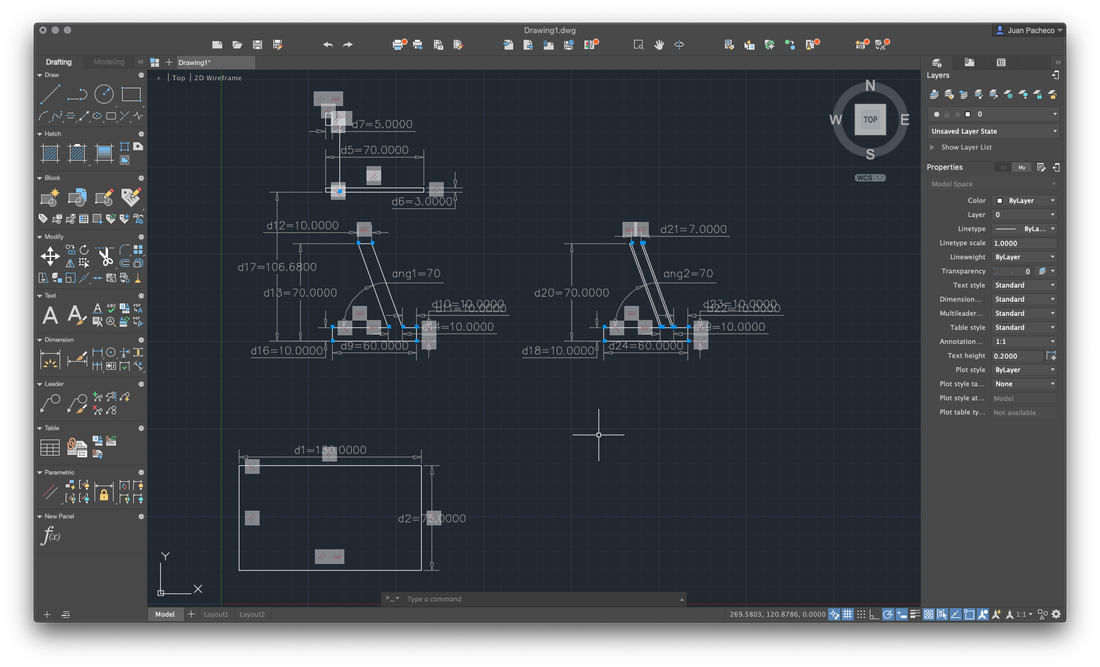
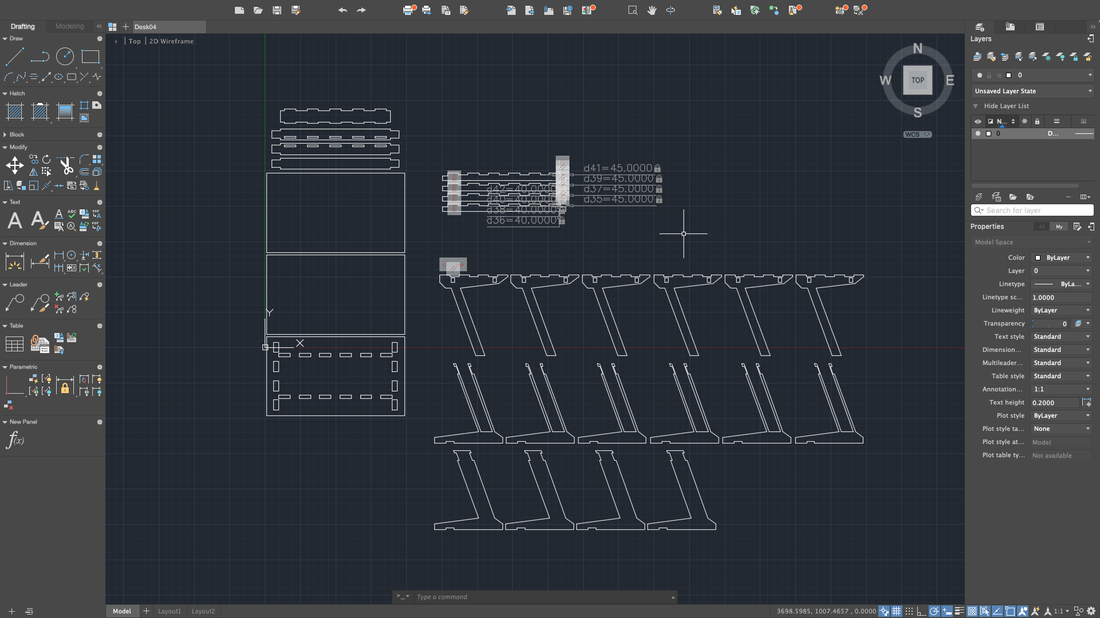
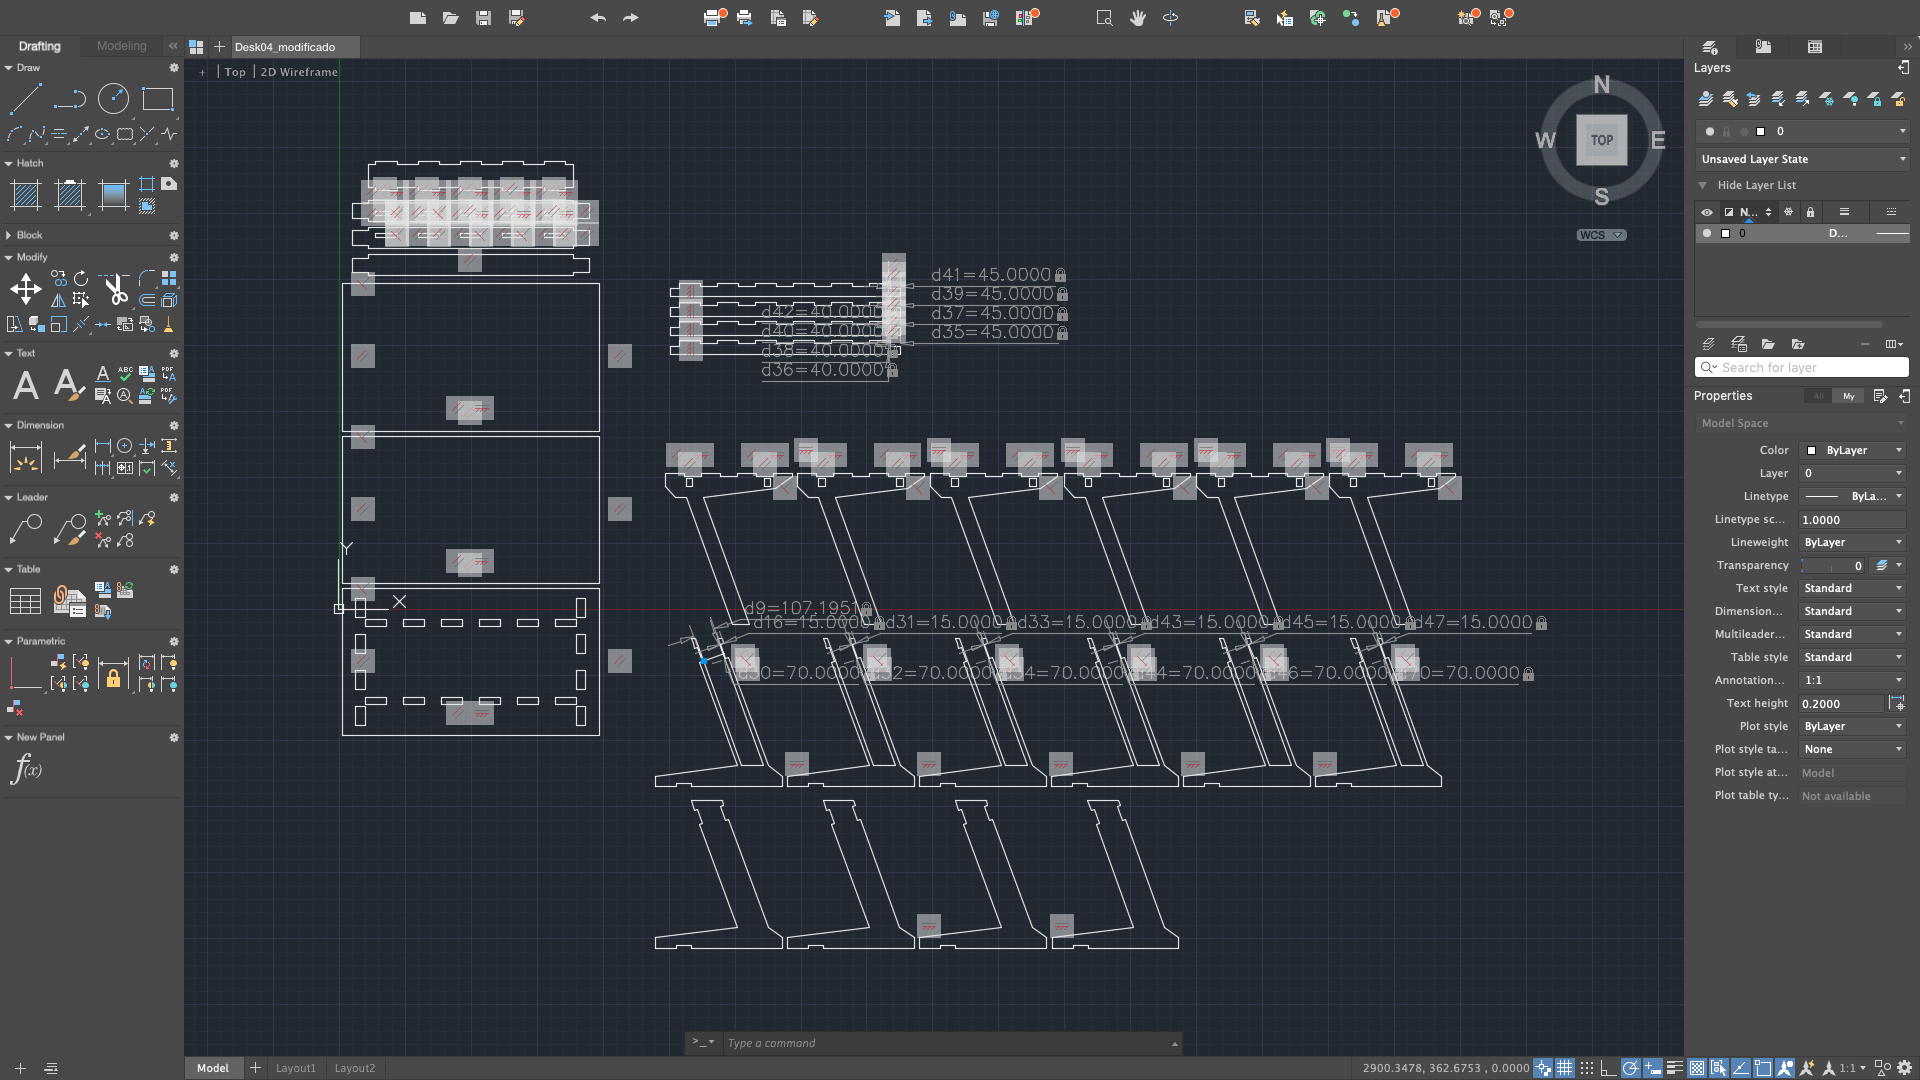
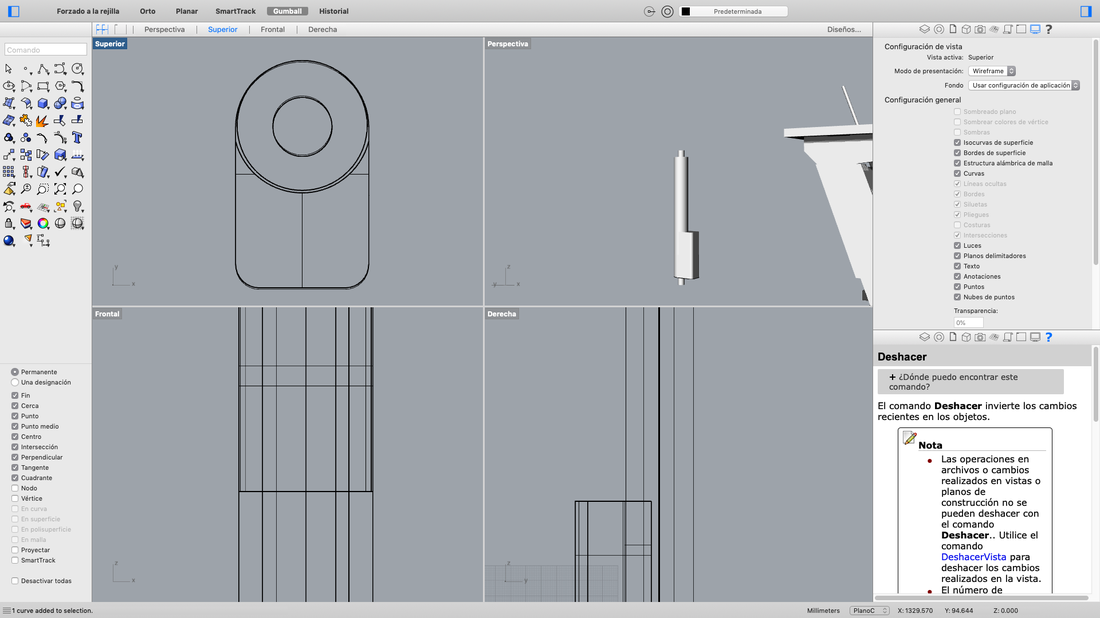
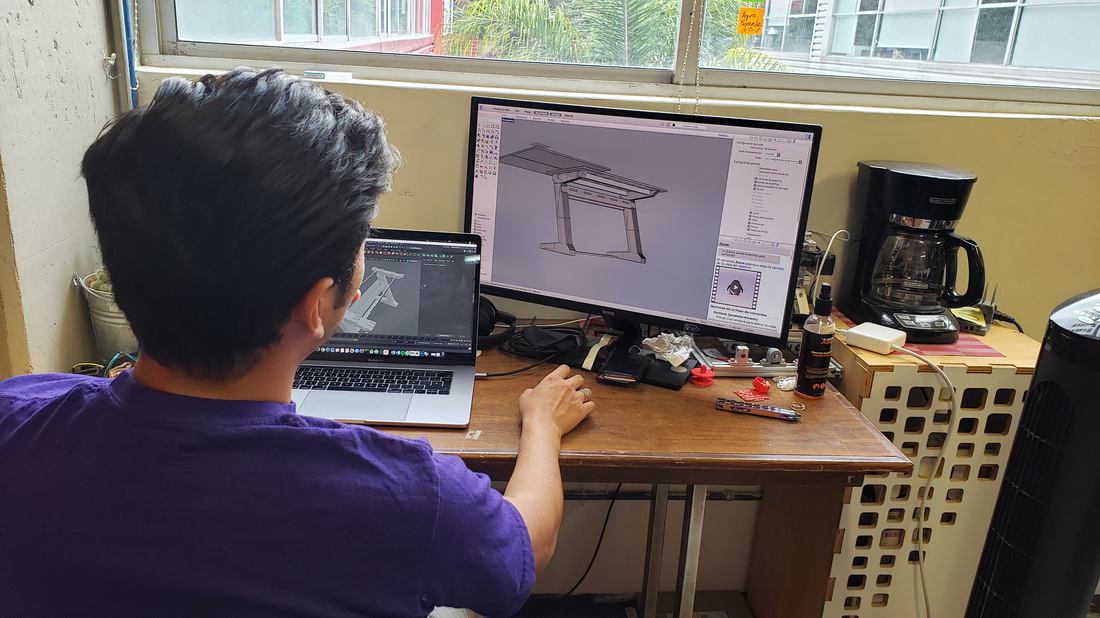
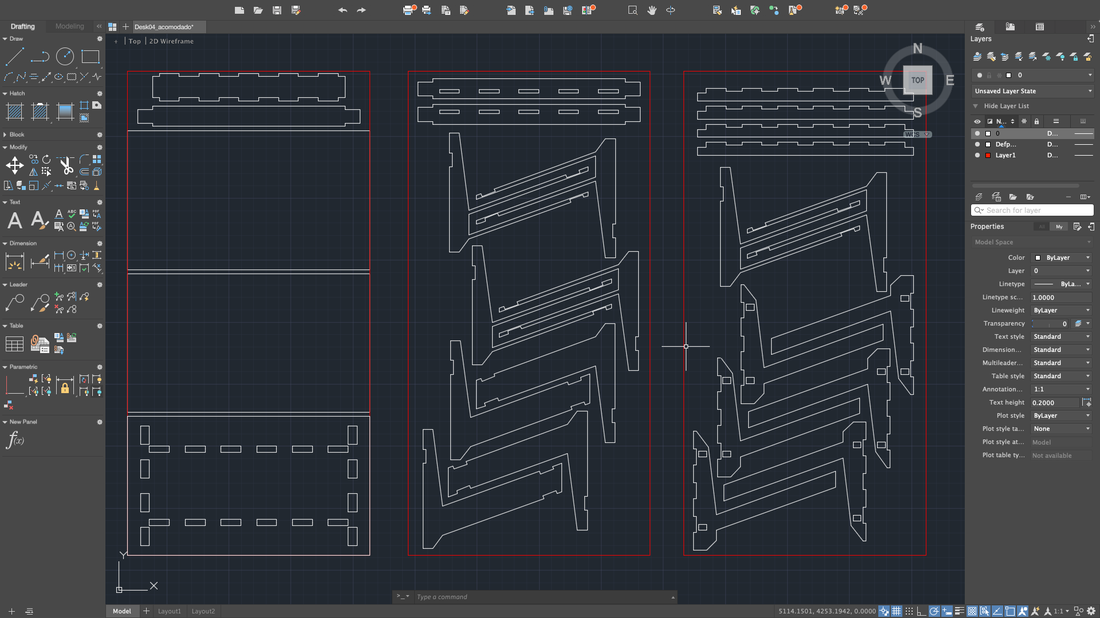
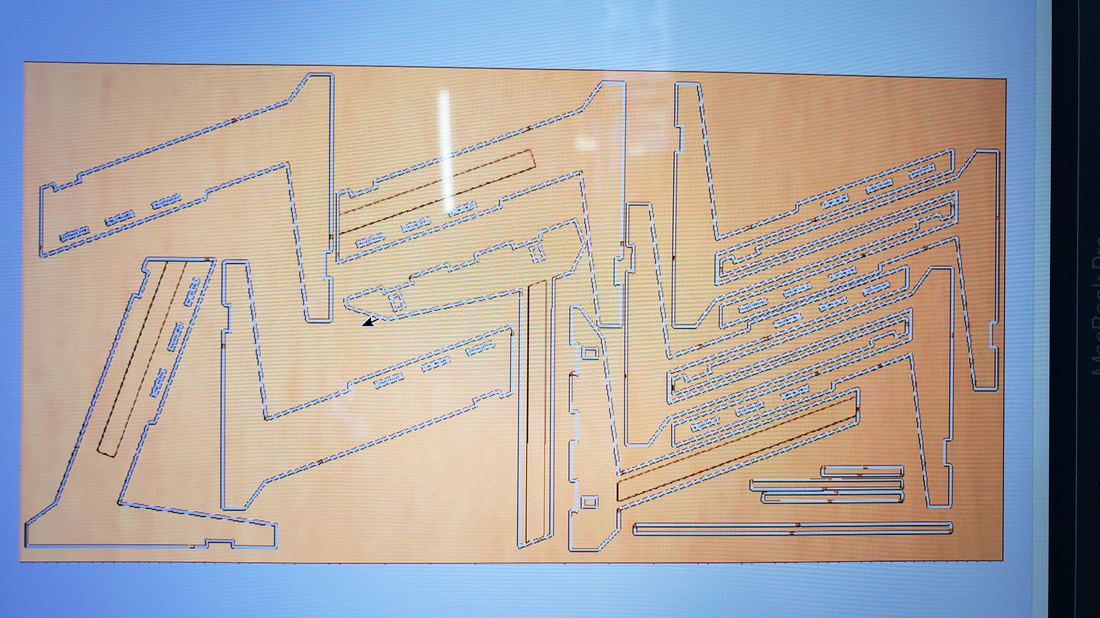
For the CAD design of the initial prototypes, use Maya 3D software to give me an idea and be able to render it, then use AutoCAD to create the plans of the desktop, adjusting everything so that it fits on the plywood plates.
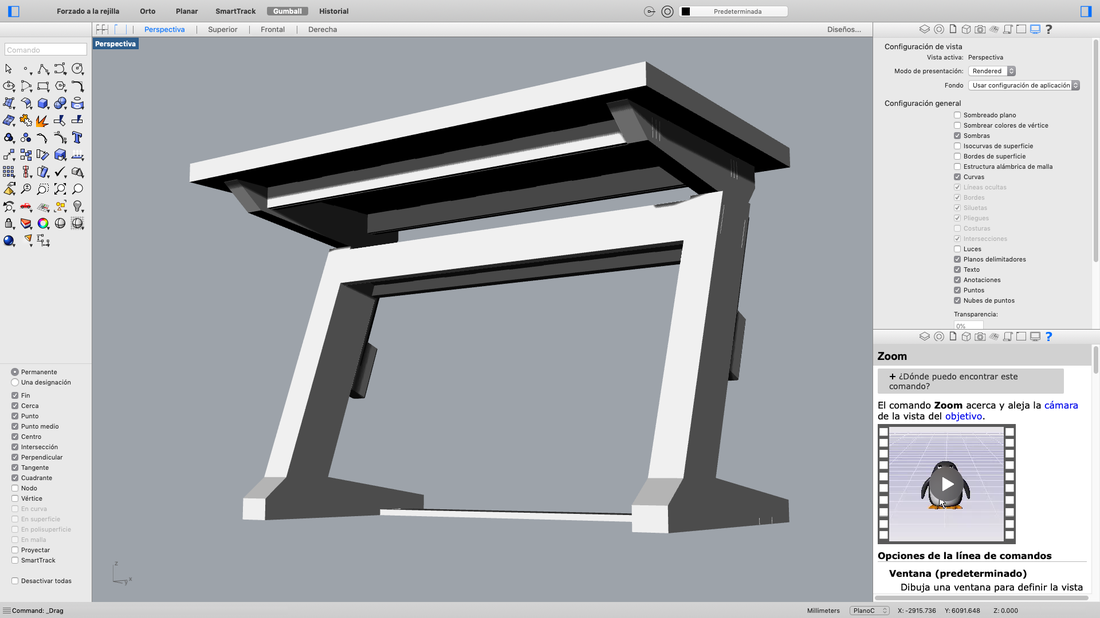
And I uploaded my 3D model to the sketchfab platform so I could embed it in my page in a viewer.
Before starting with the real project, I decided to create a scaled version, thanks to my parametric design I could change material from 15mm to 3mm, which cut in the laser cutter.
This was very helpful to verify the mechanism of the desk, as well as provide some design details.
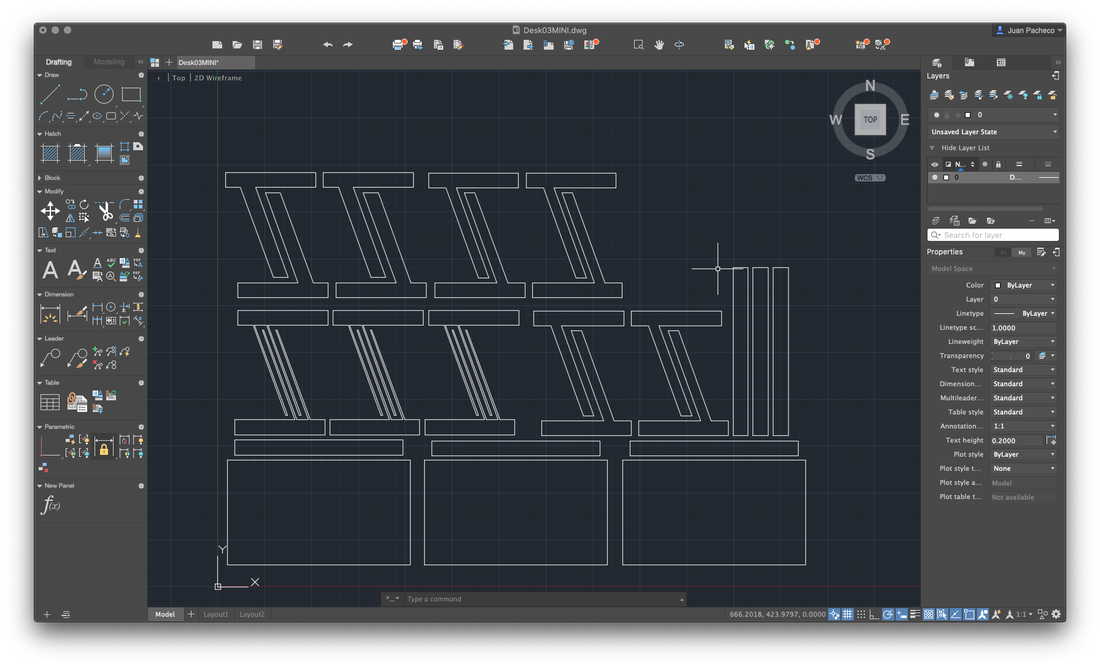
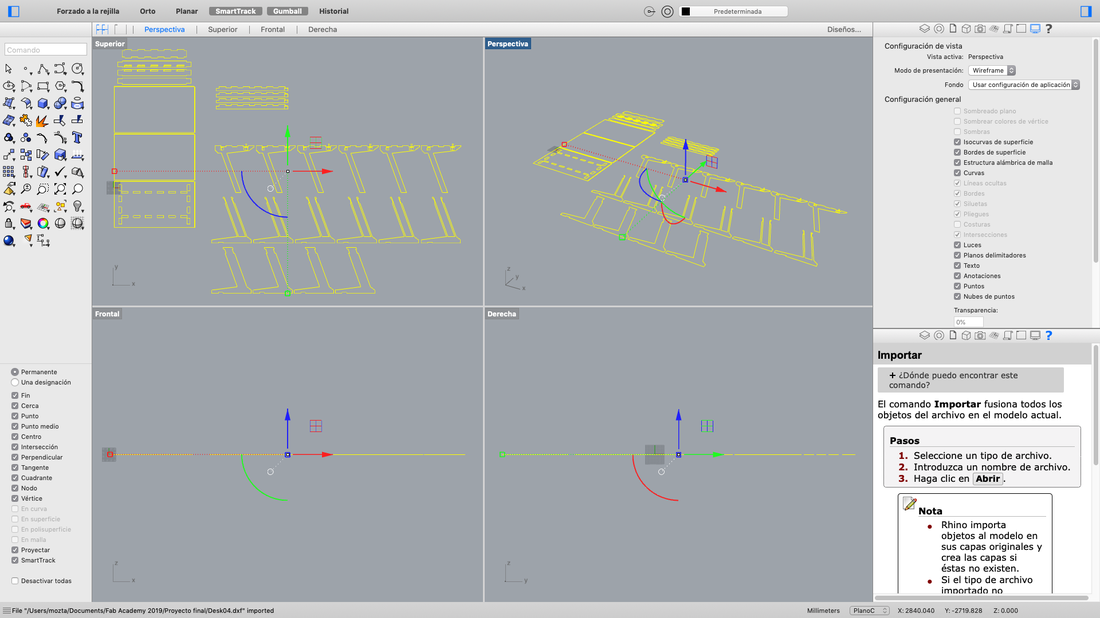
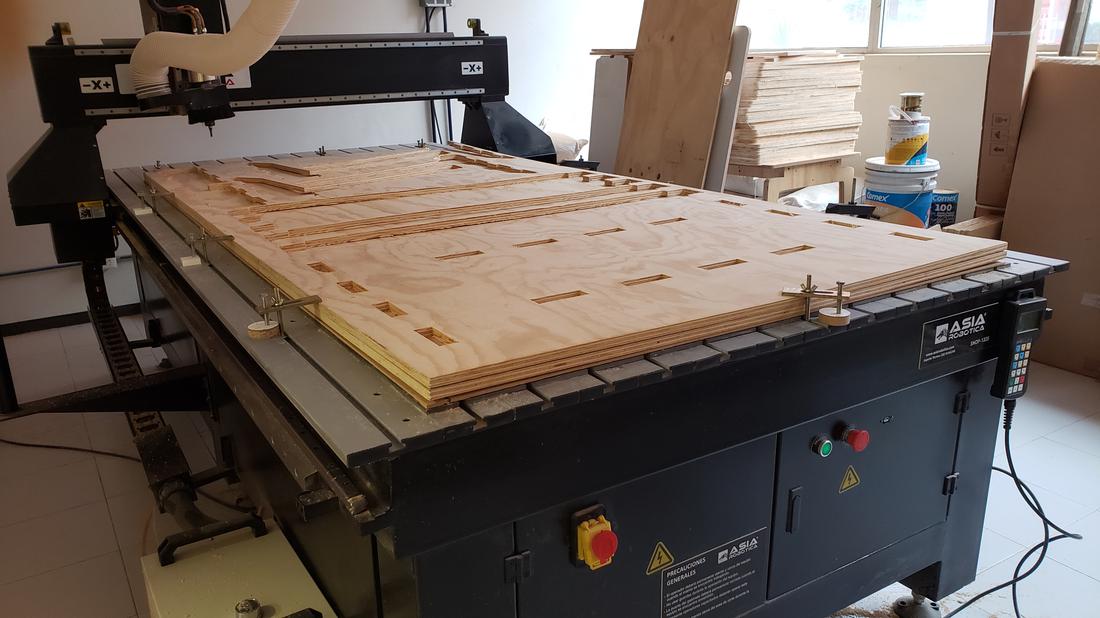
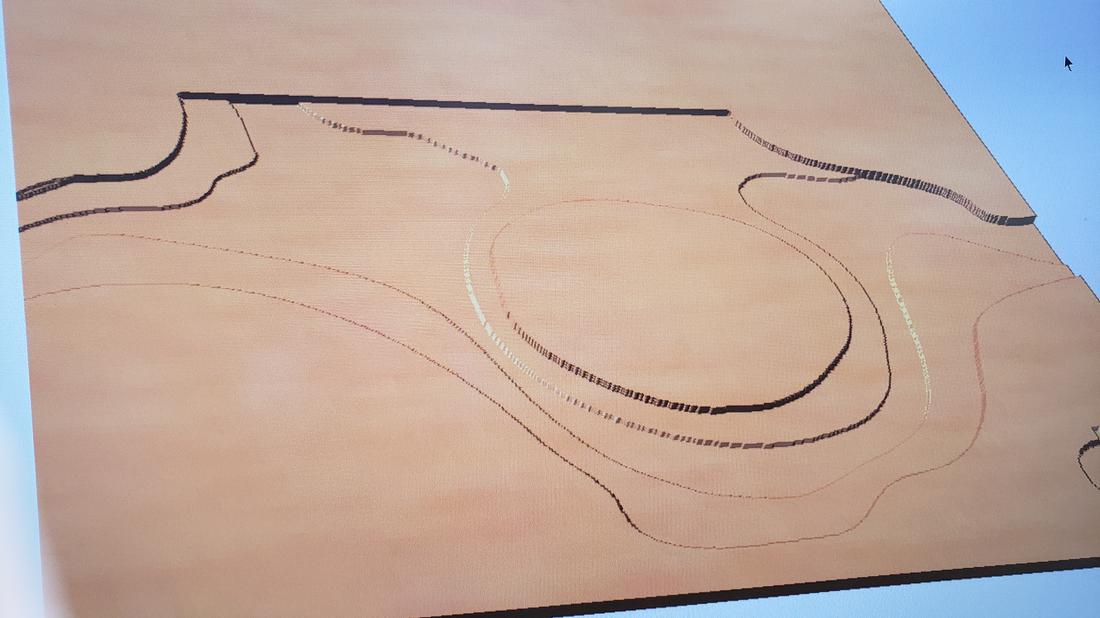
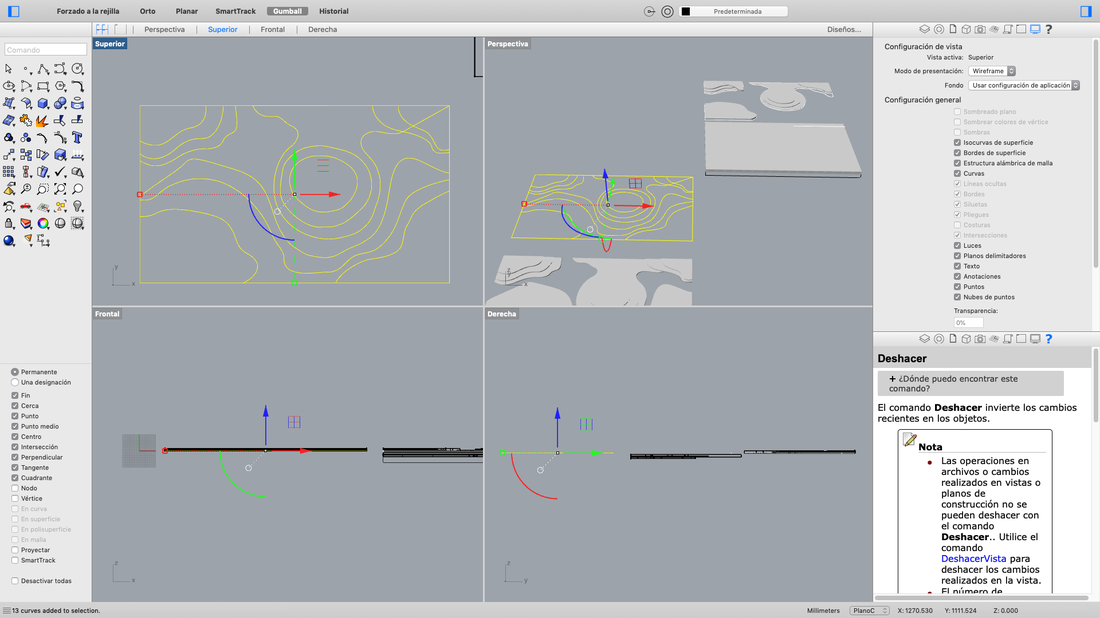
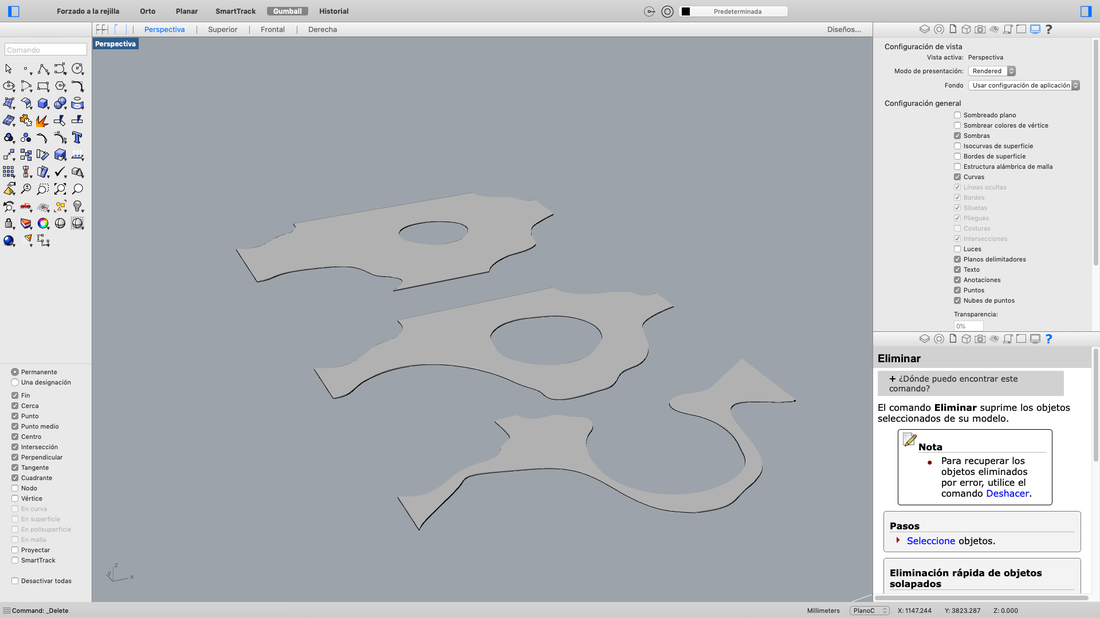
The first was the correct design of the pieces of the desktop, which I did in AutoCAD and then export to the Rhinoceros software to make an assembly of all my pieces, finally export to the Aspire software to be able to generate the file to be cut.
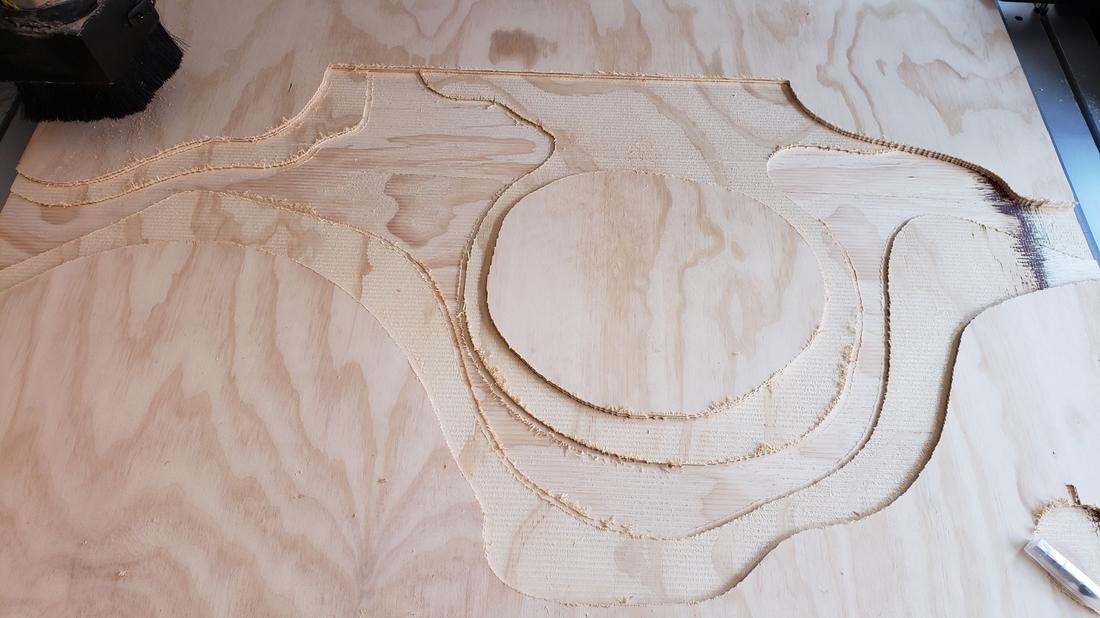
With the correct design cut the pieces in the cnc router, however, I had problems because the wood was somewhat crooked, so I had to try to straighten them.
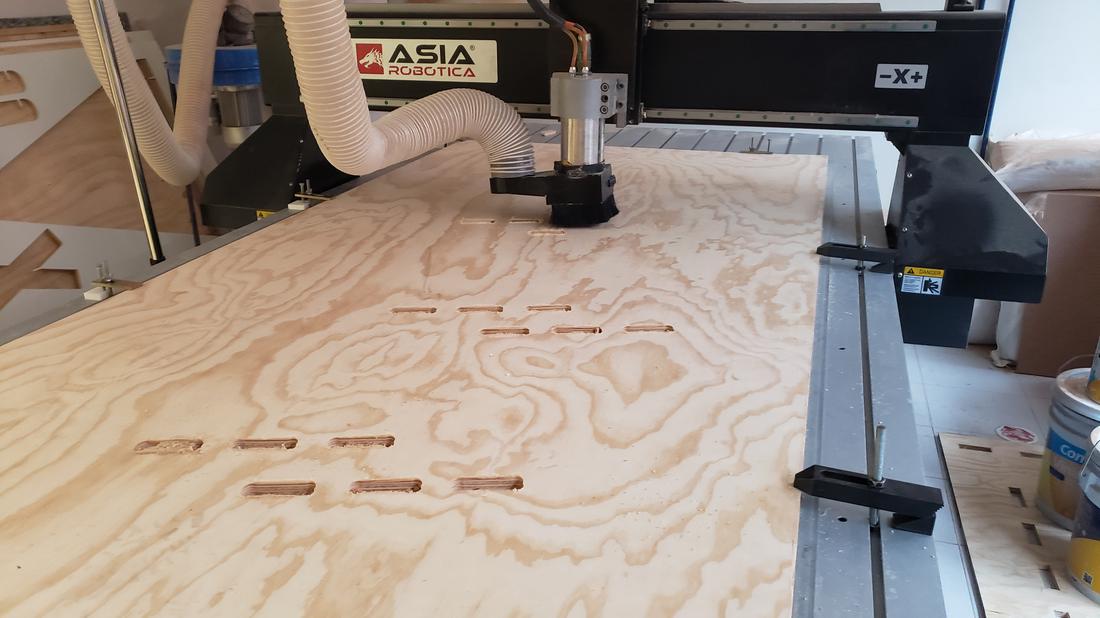
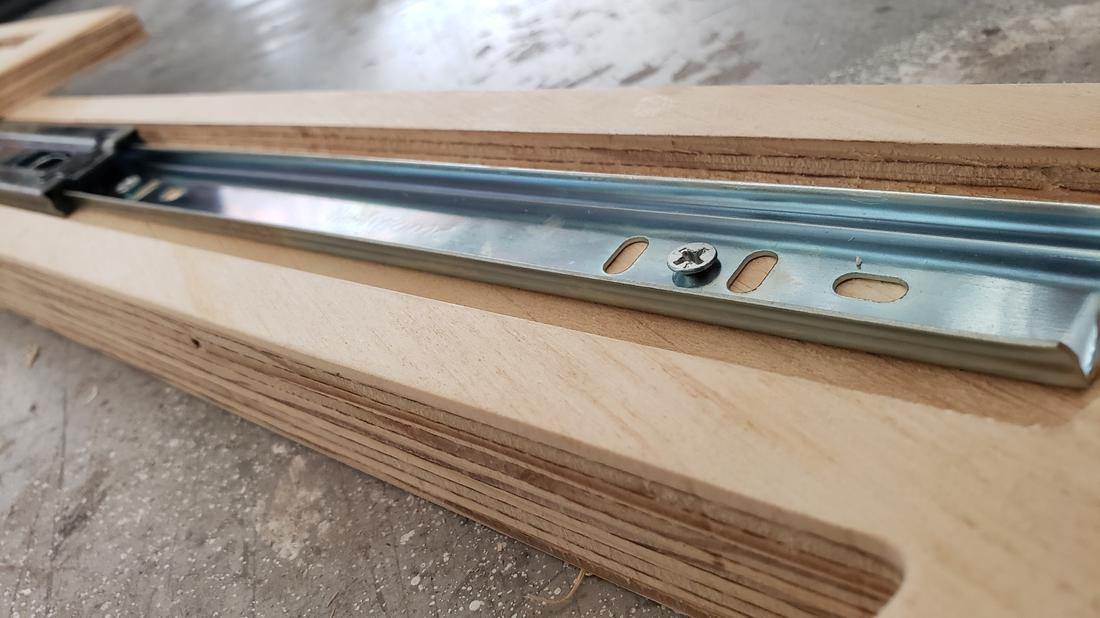
There was an error when I reduced the dimensions of the legs, so I had to redesign some adjustments, this allowed me to improve the elevation system, since internally they have telescopic slides and the initial model that used 2 engines, for economic reasons I reduced it to a single motor, so alter the design to be able to raise the upper table with a single centered motor.


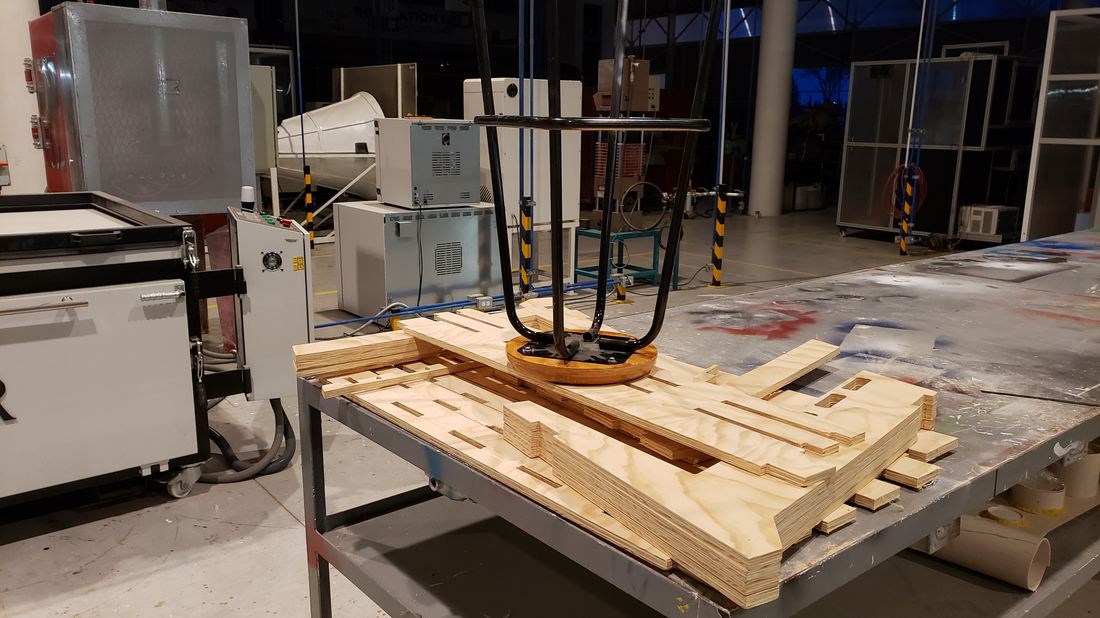
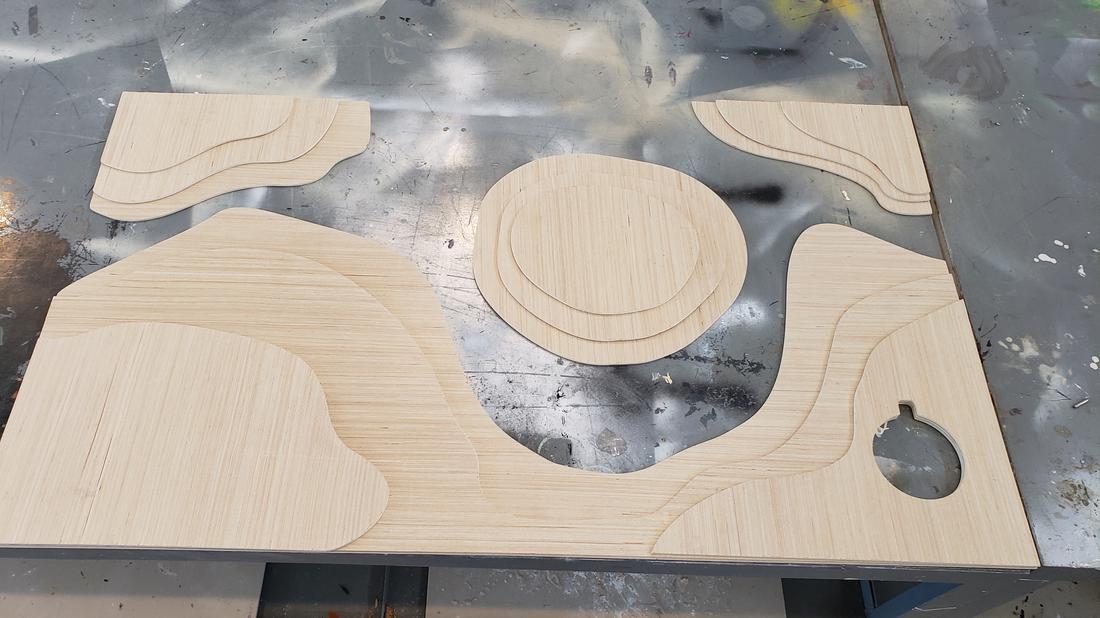
After sanding to remove roughness, stick all the parts and screw the slides to have a uniform movement as this would serve as guides for the desk lifting mechanism.
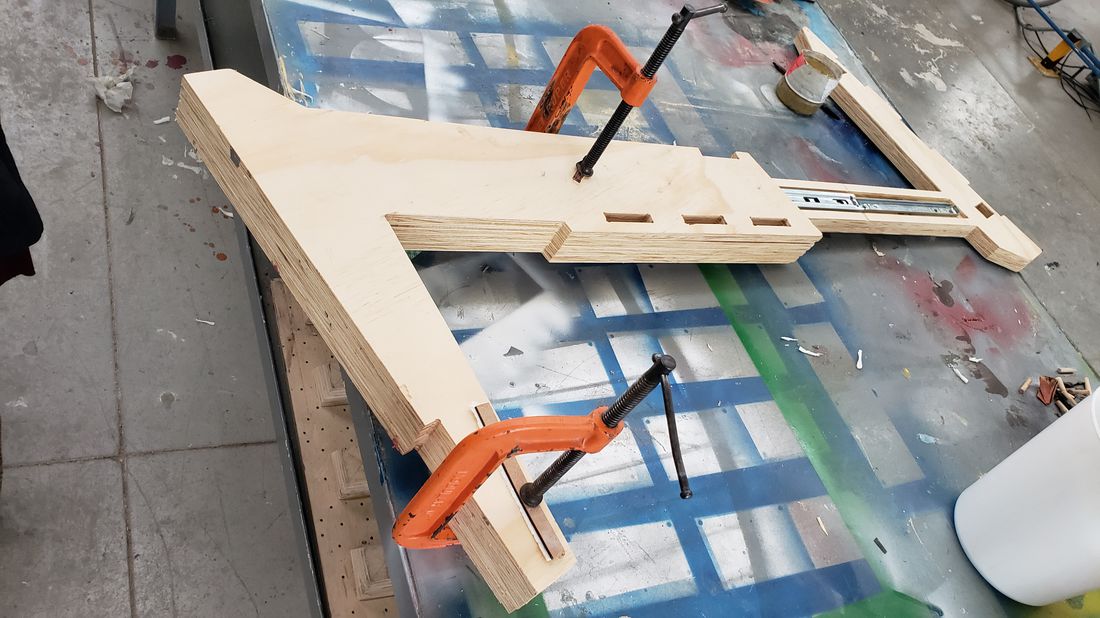
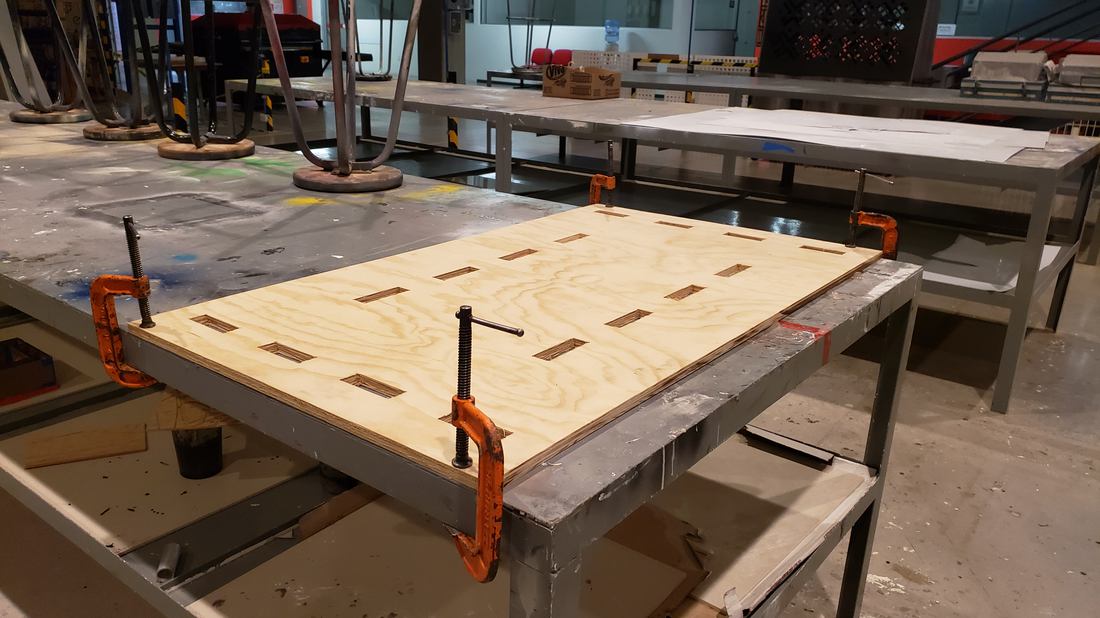
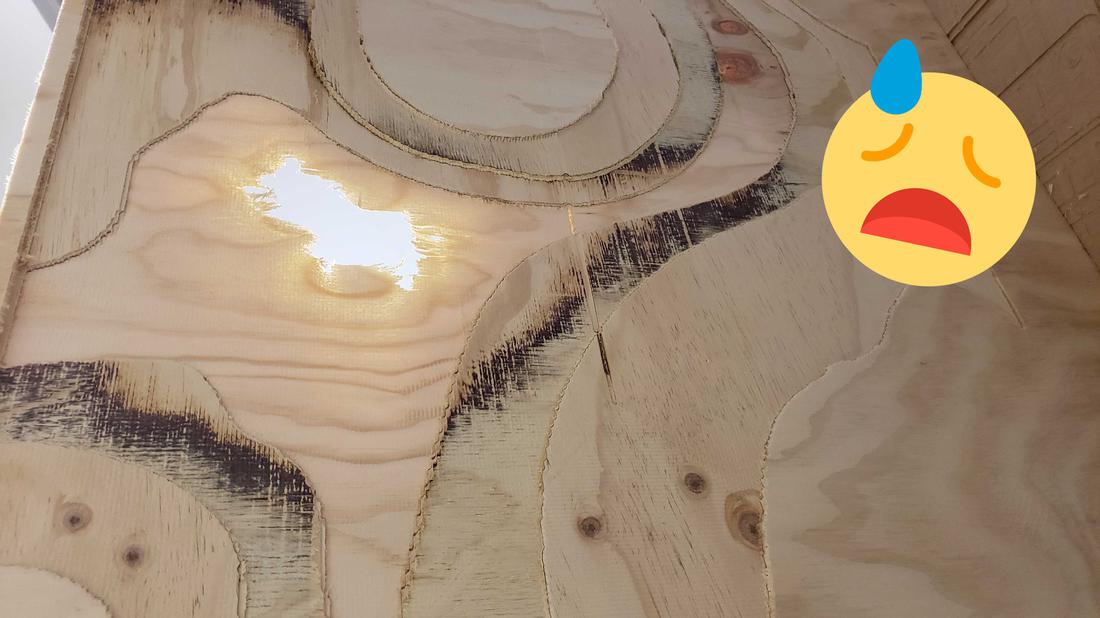
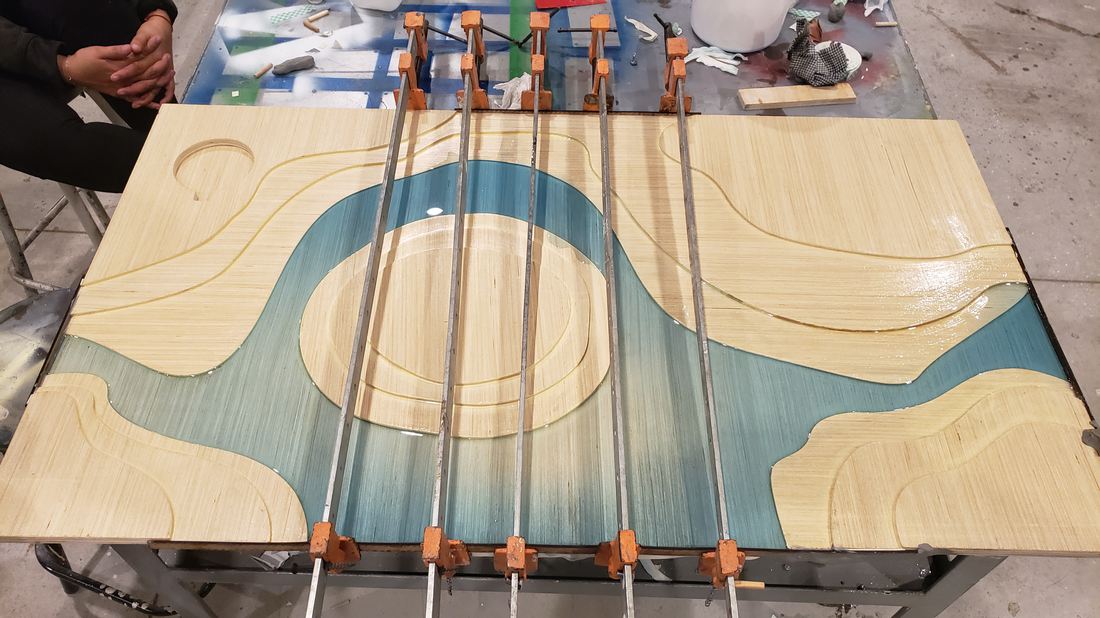
For the top table, try to do it in one piece, cutting it in the cnc router, but as the board was crooked it made a hole, so then I decided to cut pieces apart and then join them with glue and sealant. In the end it was a very good idea since the final finish was more beautiful.
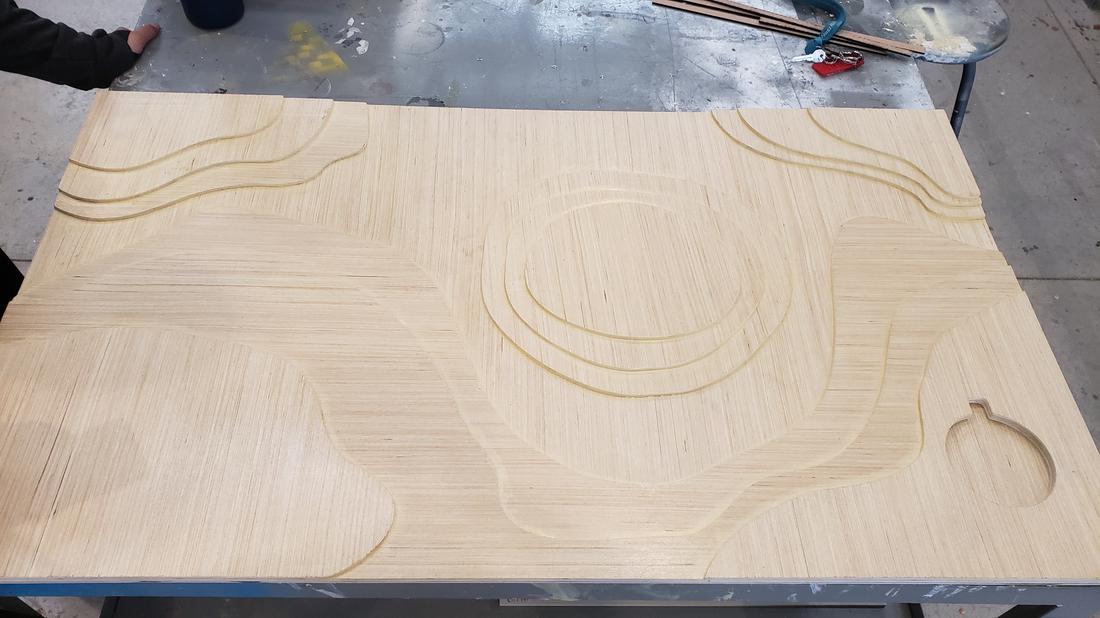
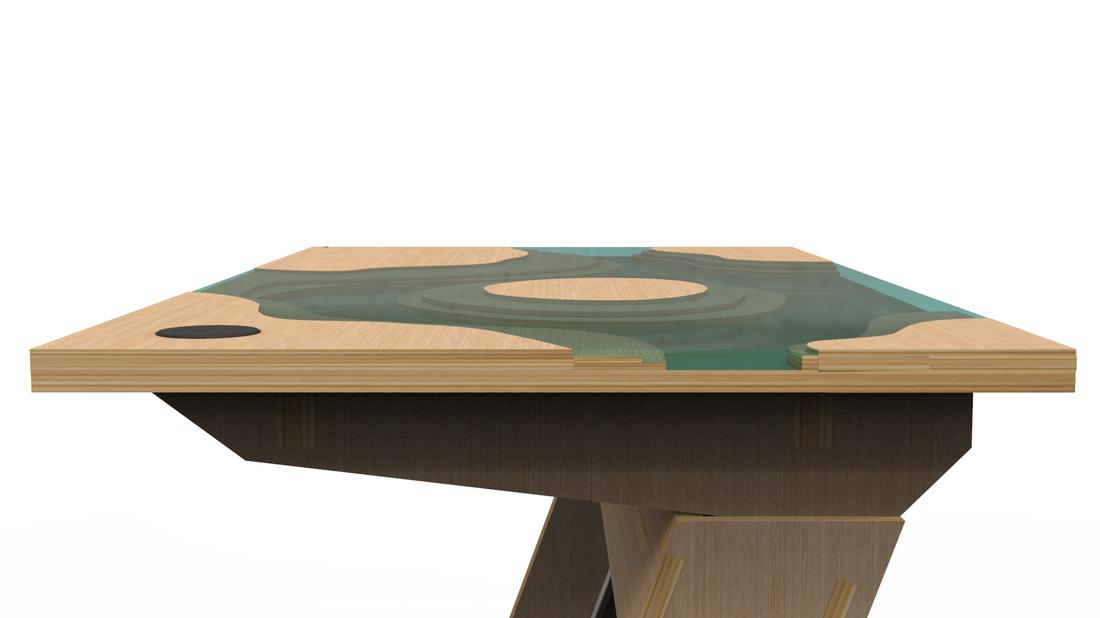
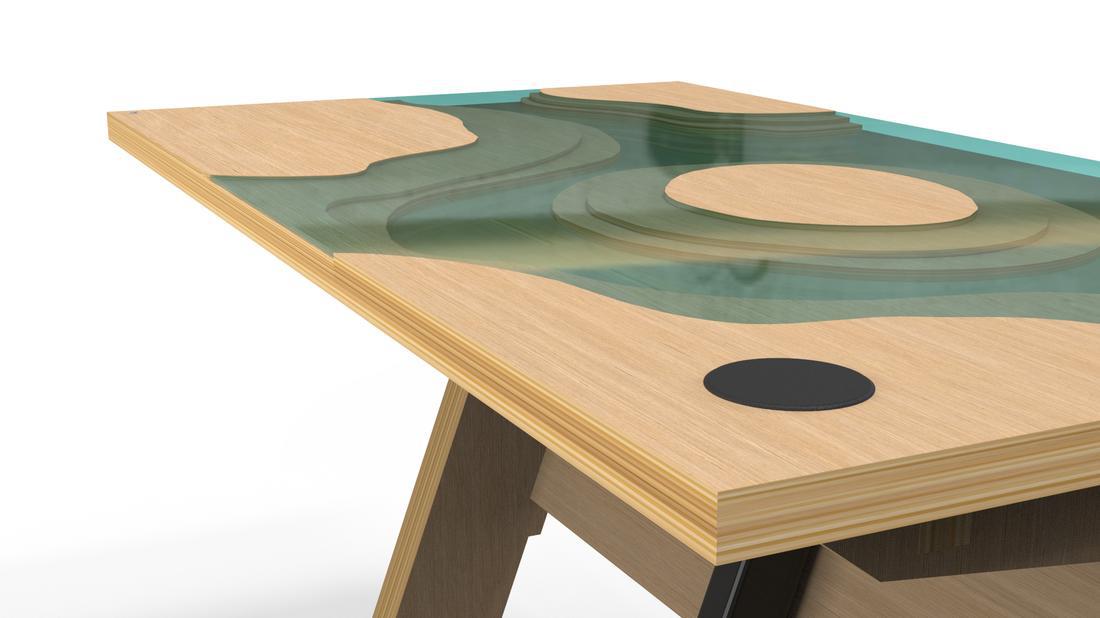
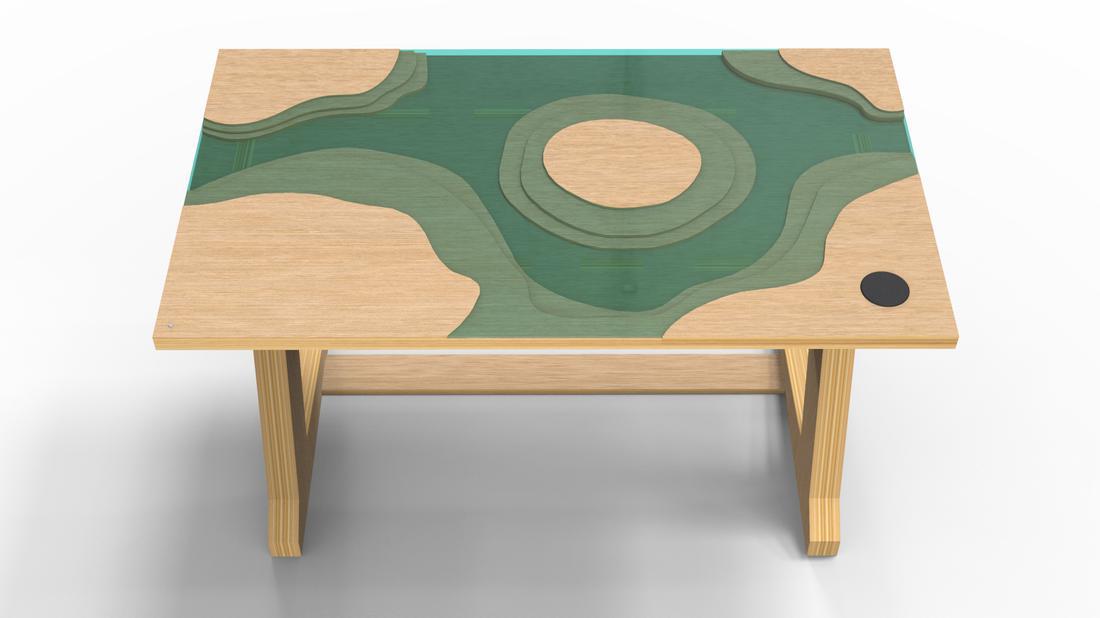
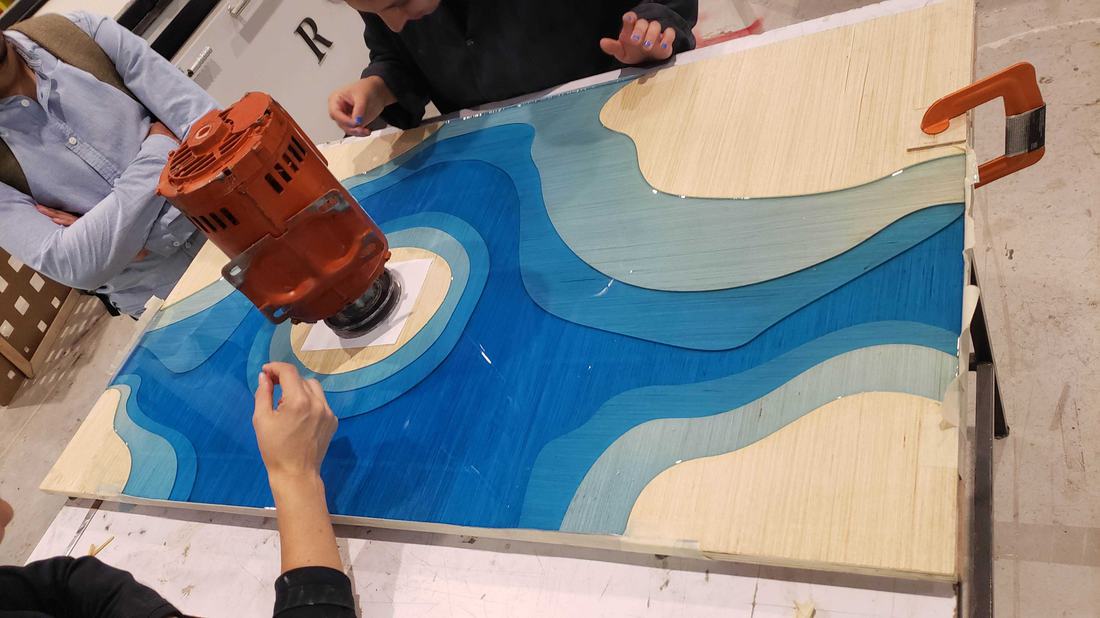
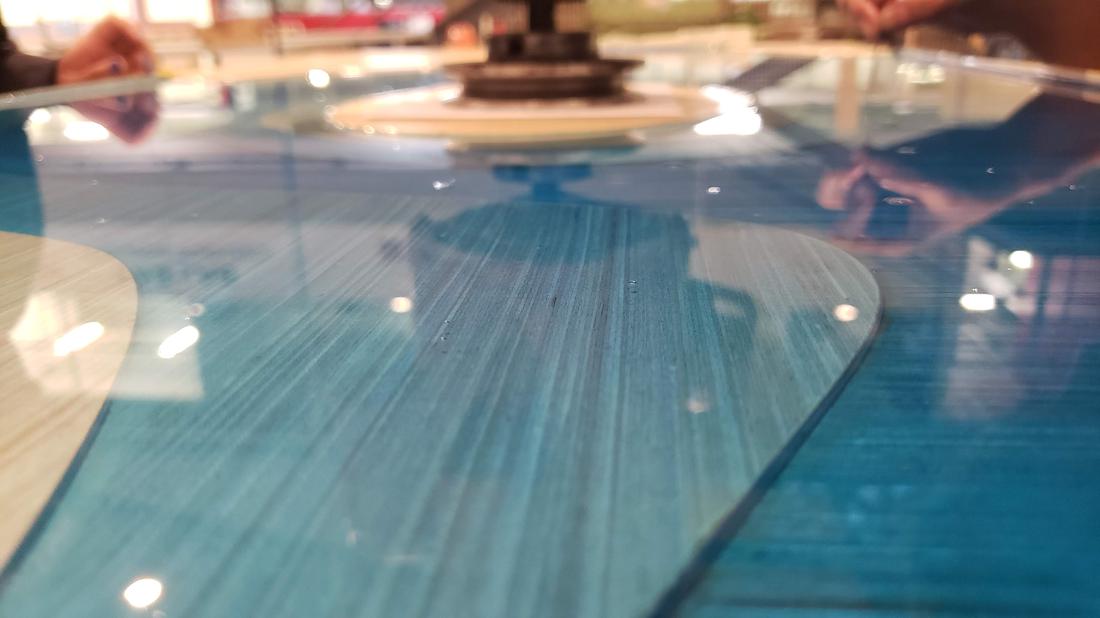
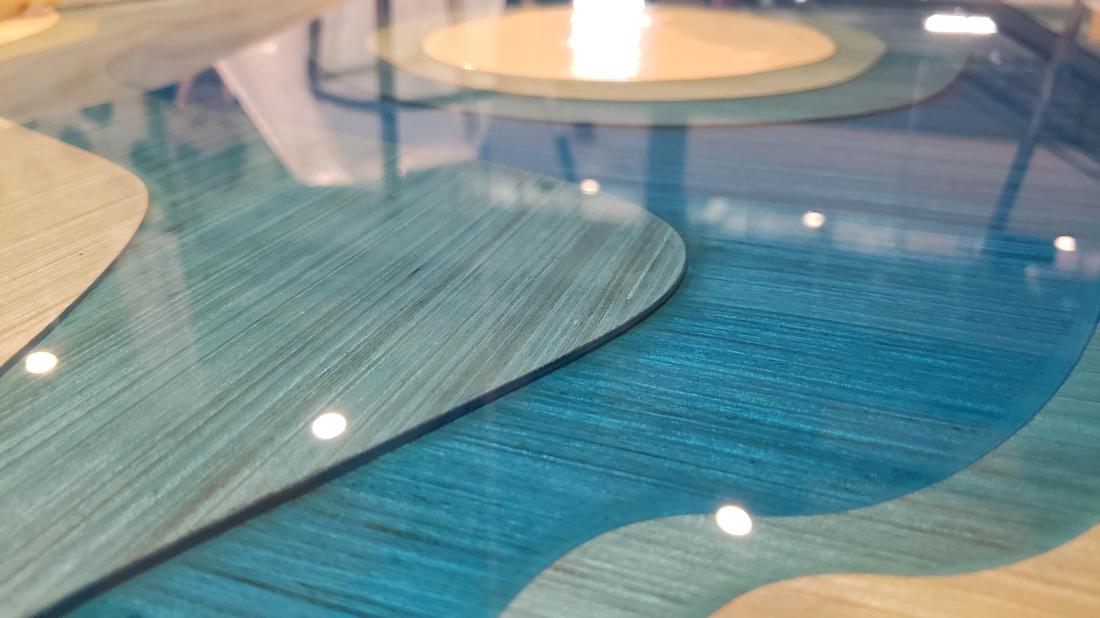
For the top part of the desk I decided to create a finish in epoxy resin, trying to simulate an ocean of several depth levels, to know how much resin I would need I had to remove the volume by layers, at the end of the calculation gave 5 liters.
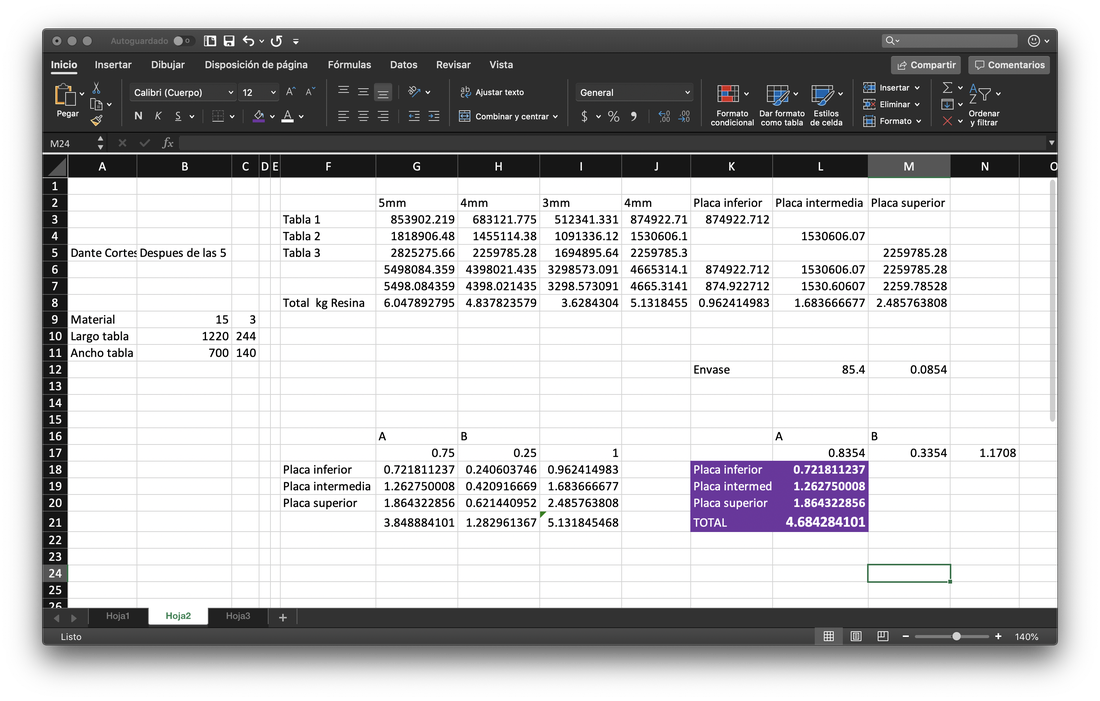
My design consists of 3 levels, which have the following volume:
It is worth mentioning that I added the factor of this resin of 1.1. In the following link you can find a resin calculator.
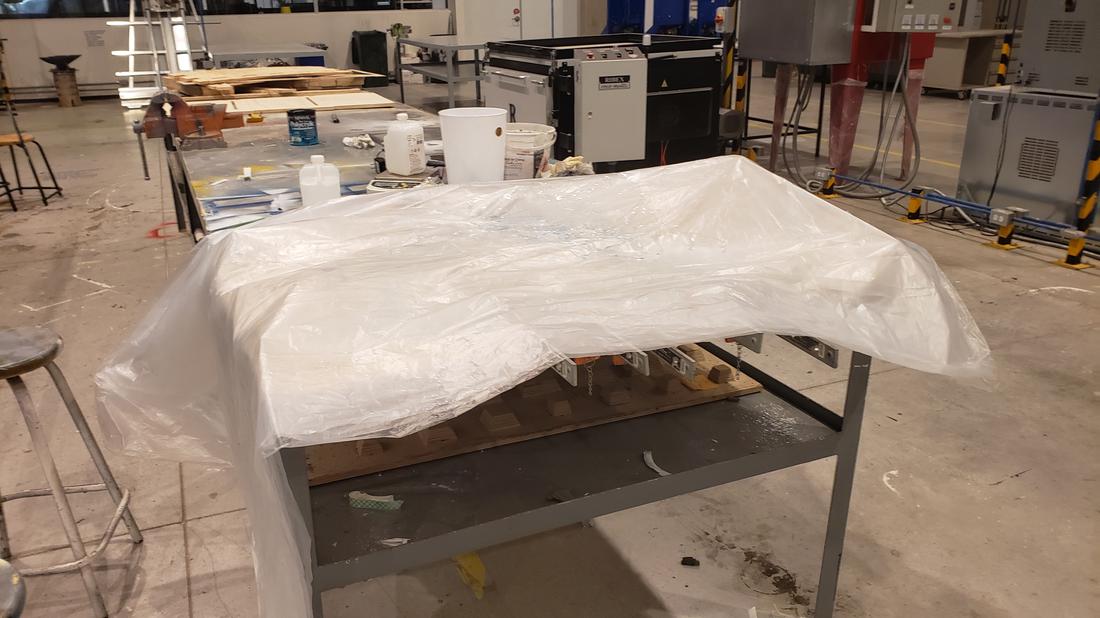
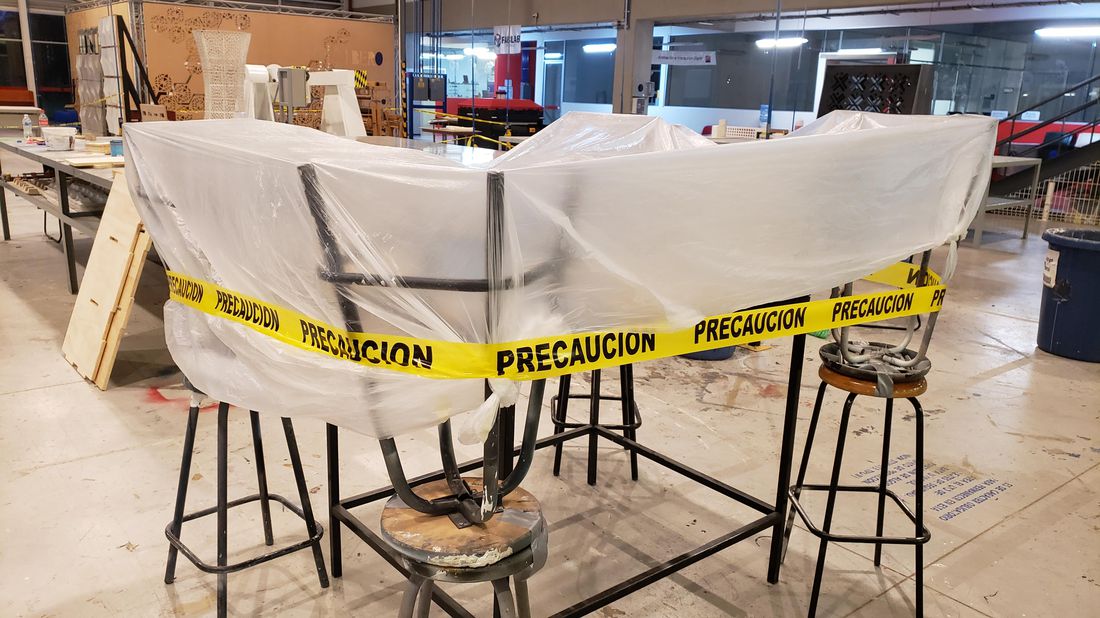
This resin I applied blue dye to the effect of ocean, said resin takes 24 hours to dry to apply the next layer, unfortunately due to the weather conditions in my city I was delayed in carrying out this process, so it only gave me time to apply a layer.
[Time later continue with the process, which is seen below]
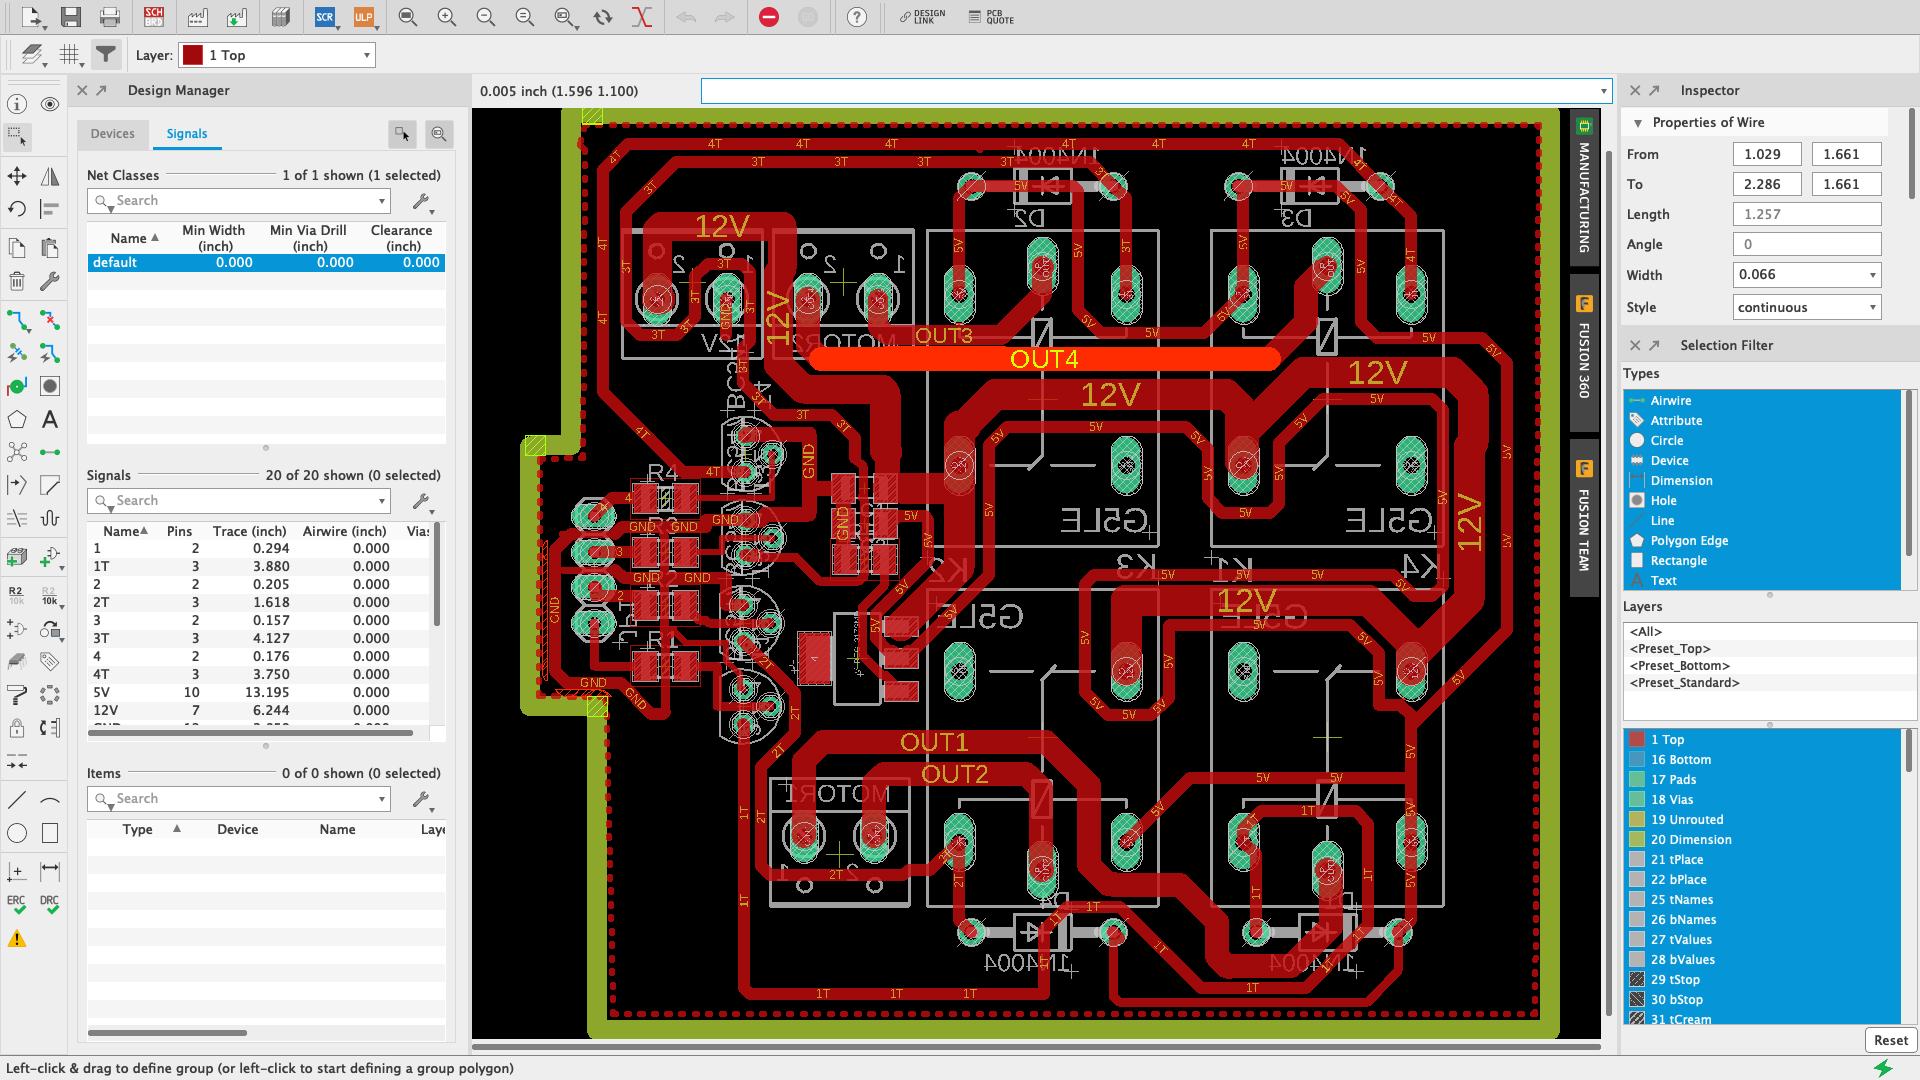
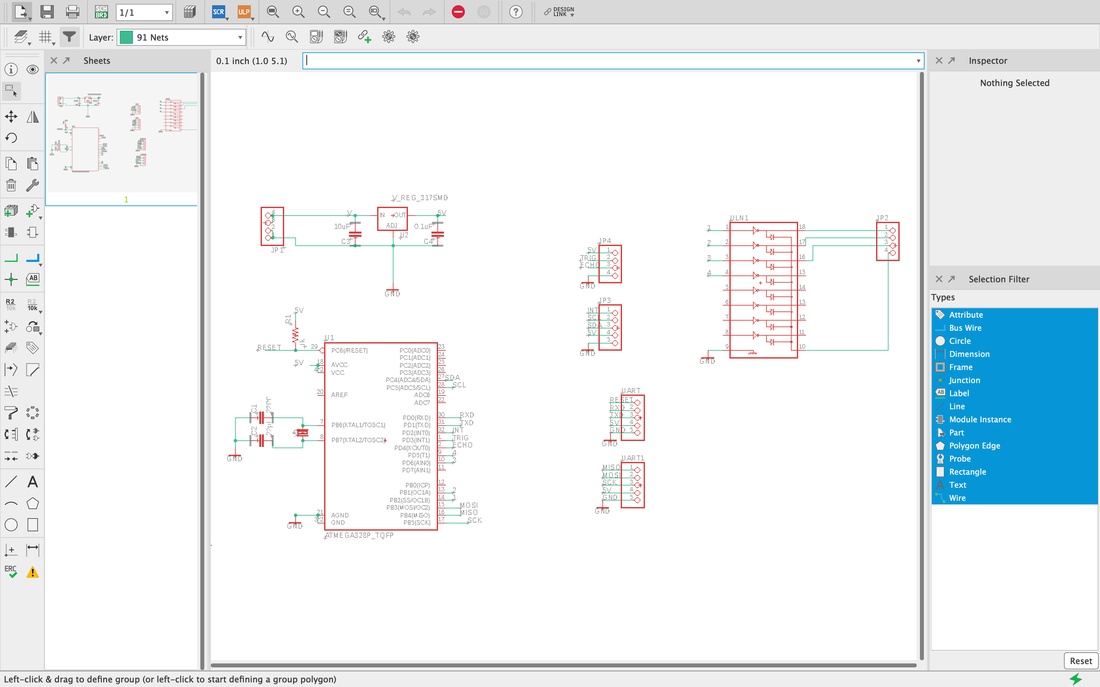
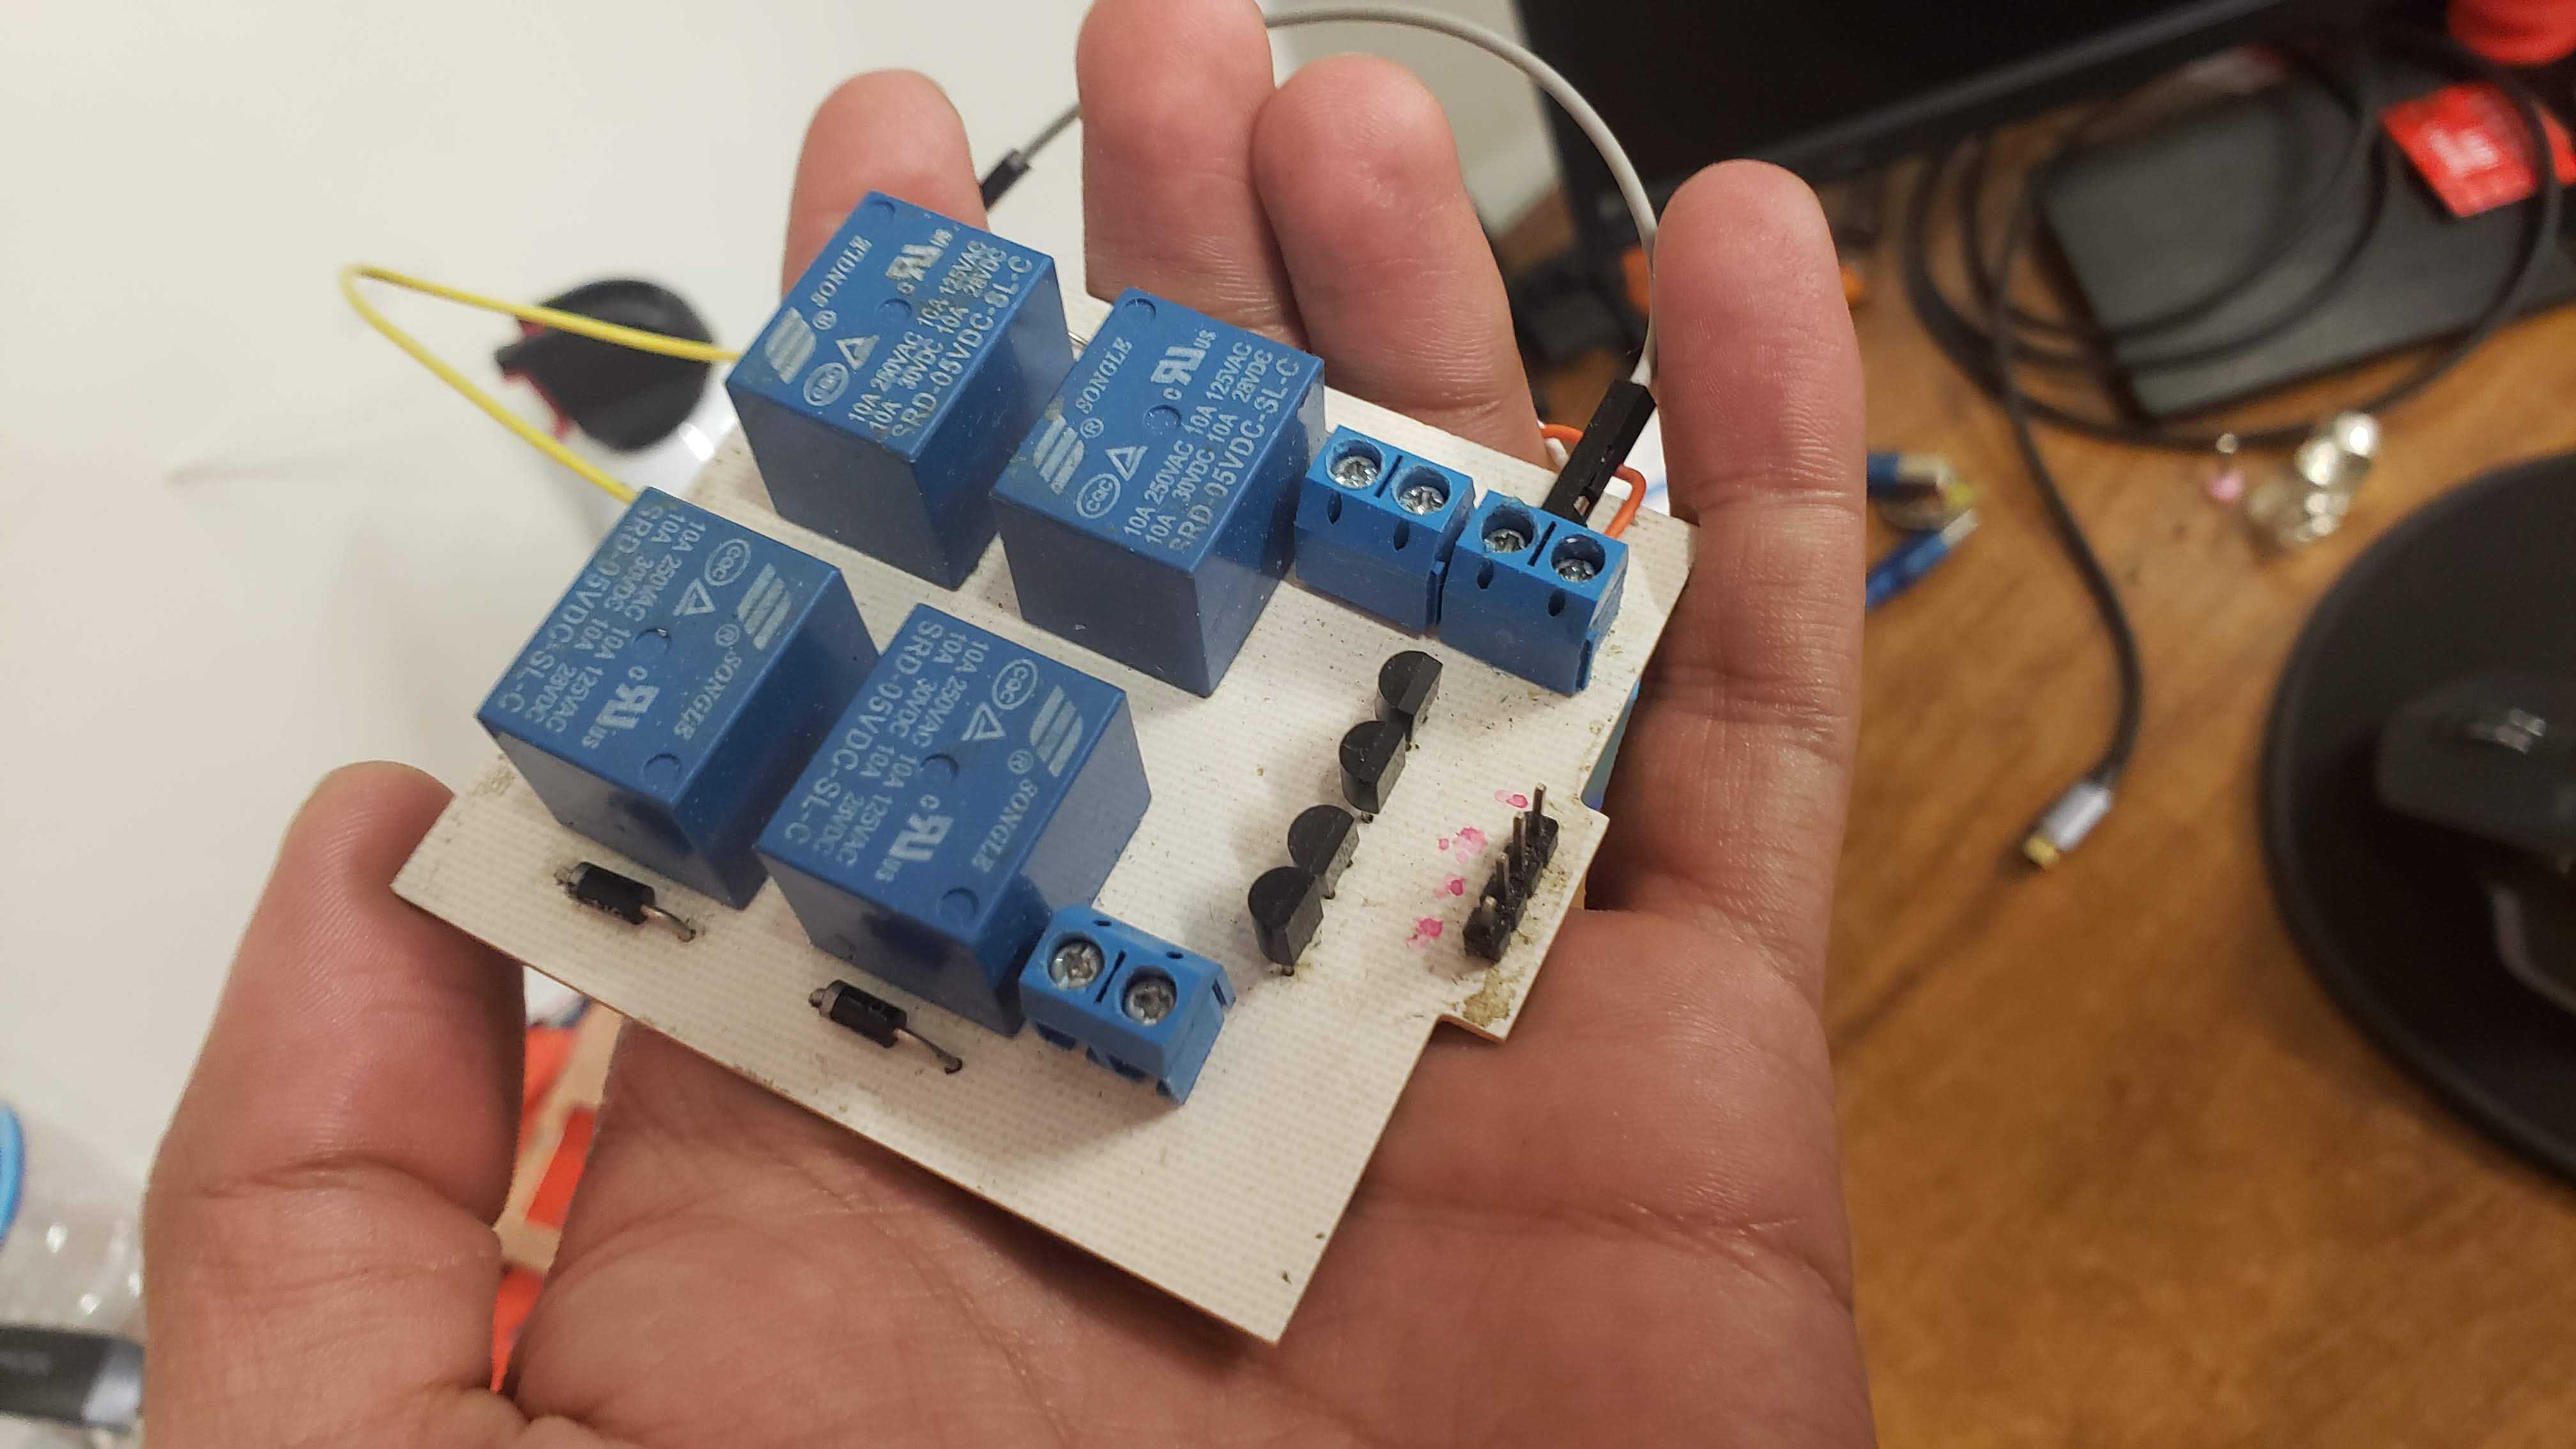
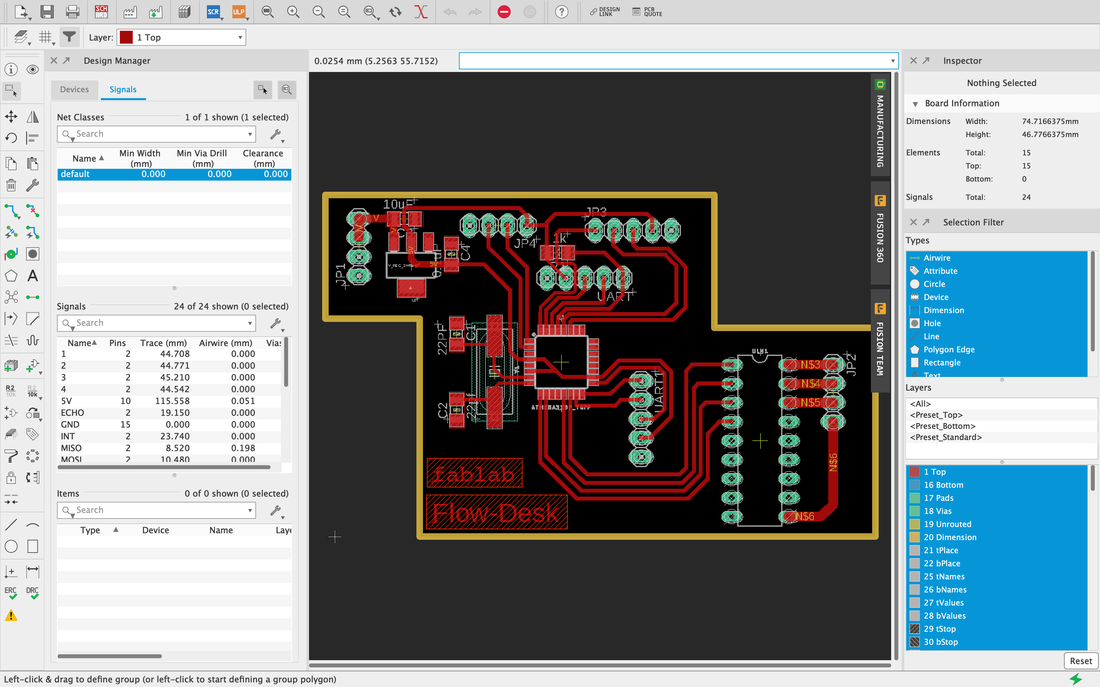
For electronics use the atmega 328p, a hand gesture detector, a linear actuator, an engine controller, a strip of LEDs and a wireless charger.
Fortunately, I used the electronics that I had previously done throughout this course.
The idea is that when you feel like wearing a timer, which at a certain time will turn on the LEDs in red to indicate that you have to get up, so with the gesture sensor you can make an upward gesture and it rises or Retract the desk if the gesture is down, it's like magic.
You can also turn on the LEDs in blue indicating that you must drink water and with the same gesture sensor deactivate the notification.
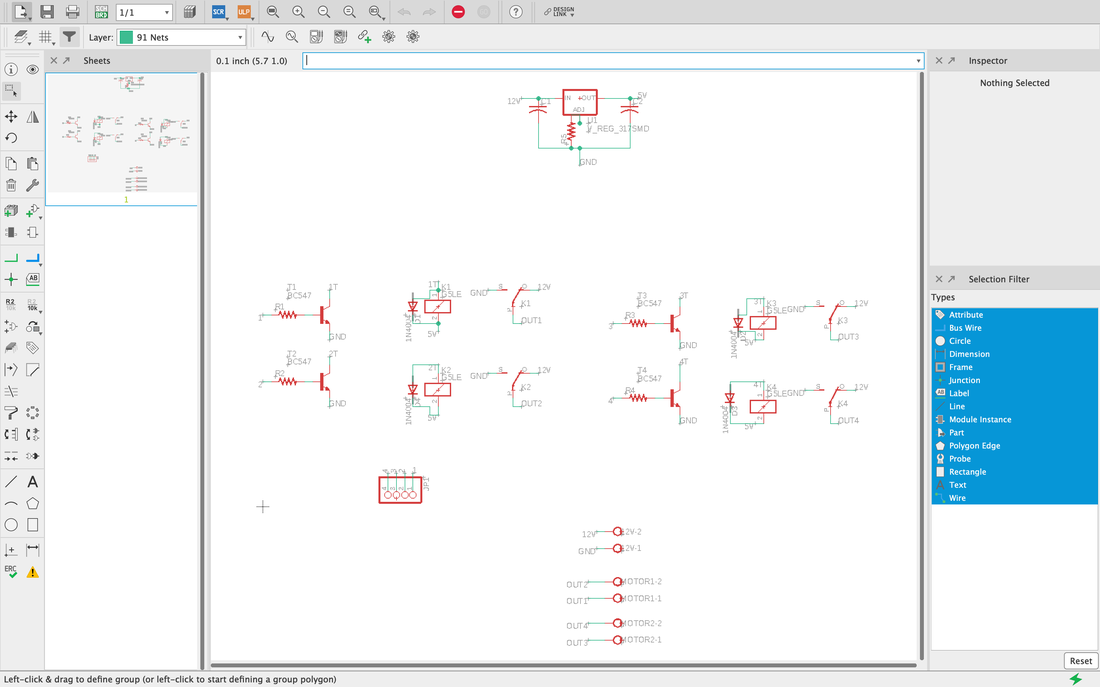
For the programming I did small tests separately, the driver of the strip of leds, the motor controller and the controller of the sensor of gestures.
 2.48.05.png)
 2.46.57.png)
 2.47.47.png)
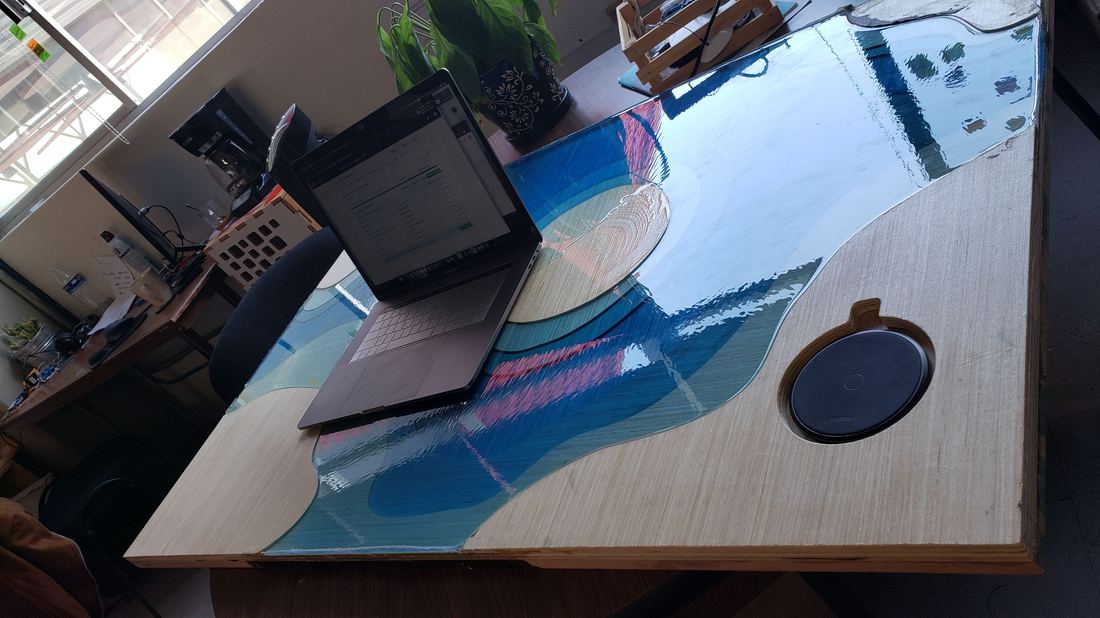
And as an extra gadget it incorporates a wireless charger at desk level to be able to place my phone is a natural position and it is loaded.
I also made some renders on the desktop.
I joined the whole mechanism, put the electronics, execute and not serve. At the time of installing the electronics in the gutter of the table, a voltage was disconnected, after half an hour of finding the problem, everything worked.


Then continue with the resin process to give the finish you wanted.
Thank you very much to the people who advised me in the realization of this project and you for visiting my page of my Fab Academy 2019.
Below you can find the download links of the original files created for this week.