- February 20 -
Back
3D printer //

3D printing has the following principle: a digital model is turned into a physical three-dimensional object by adding material a layer by layer.

This way of creating objects is different way of producing parts compared to traditional subtractive (CNC machining) or formative (Injection molding) manufacturing technologies.

In contrast to the other forms of producing pieces, in 3D printing no extra tools are required to cut or mold, in this case, the piece is manufactured directly on the platform built layer by layer, this allows us to create complex parts.

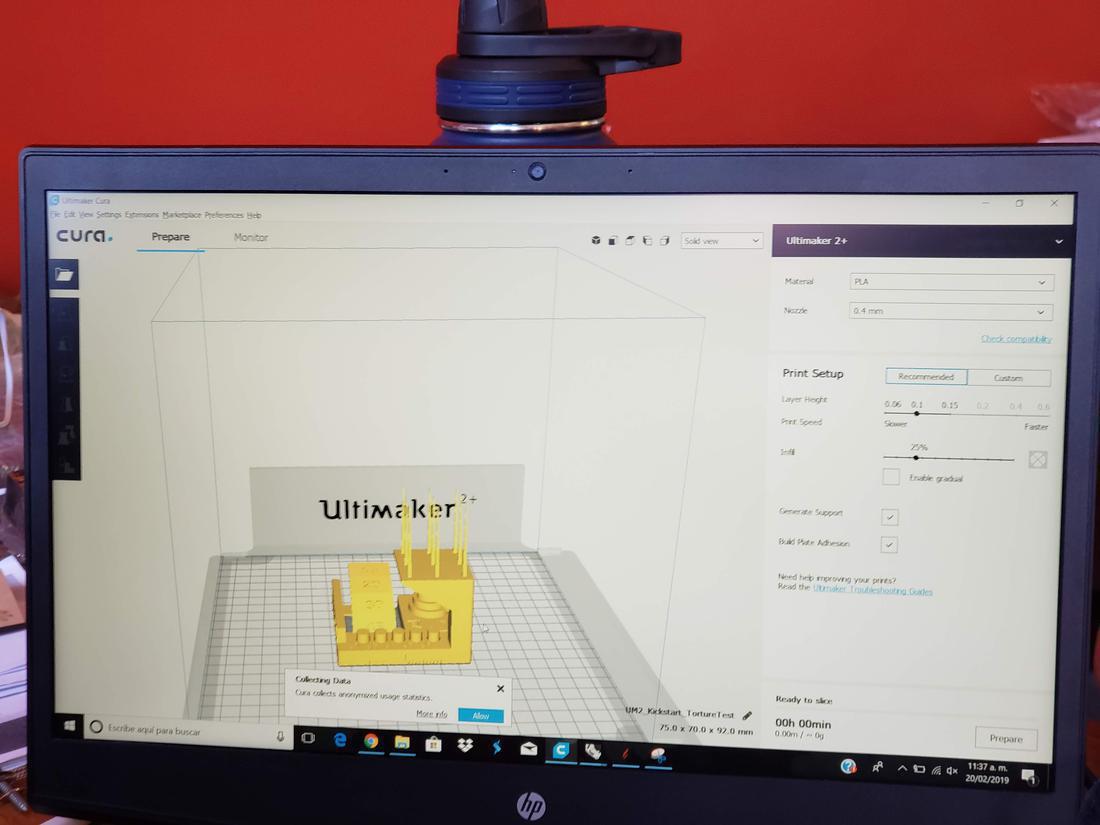
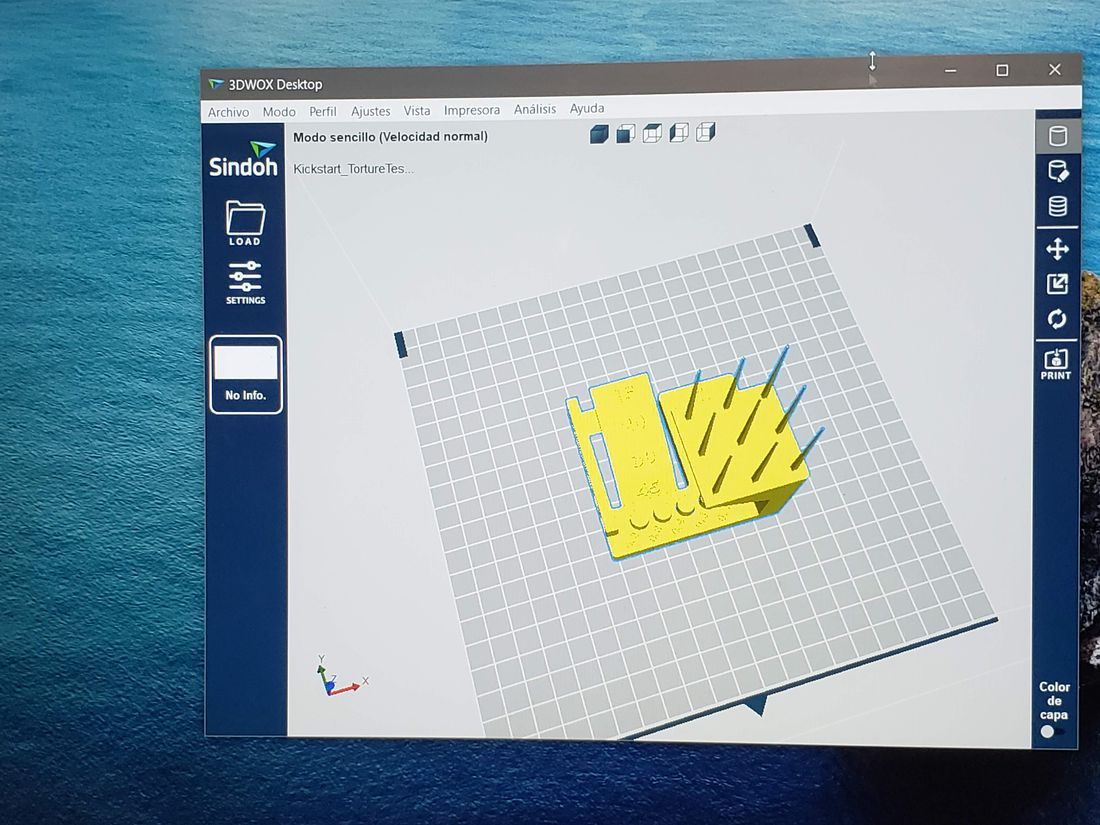
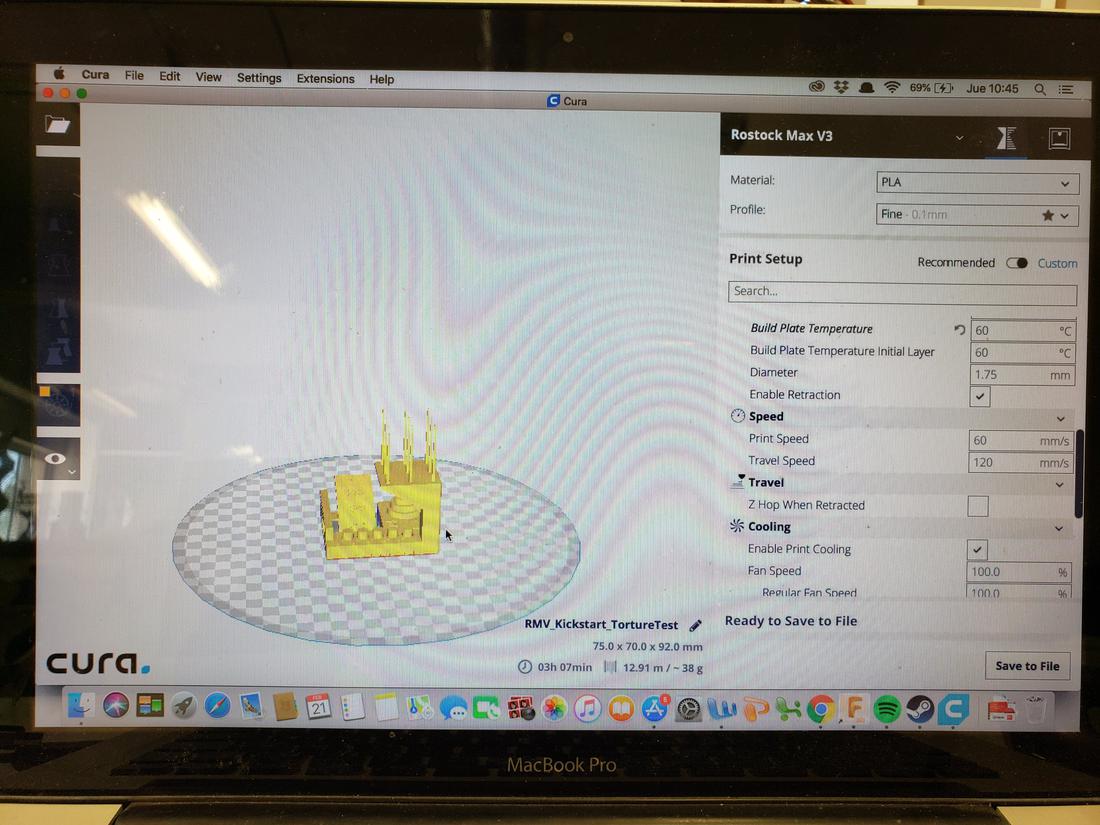
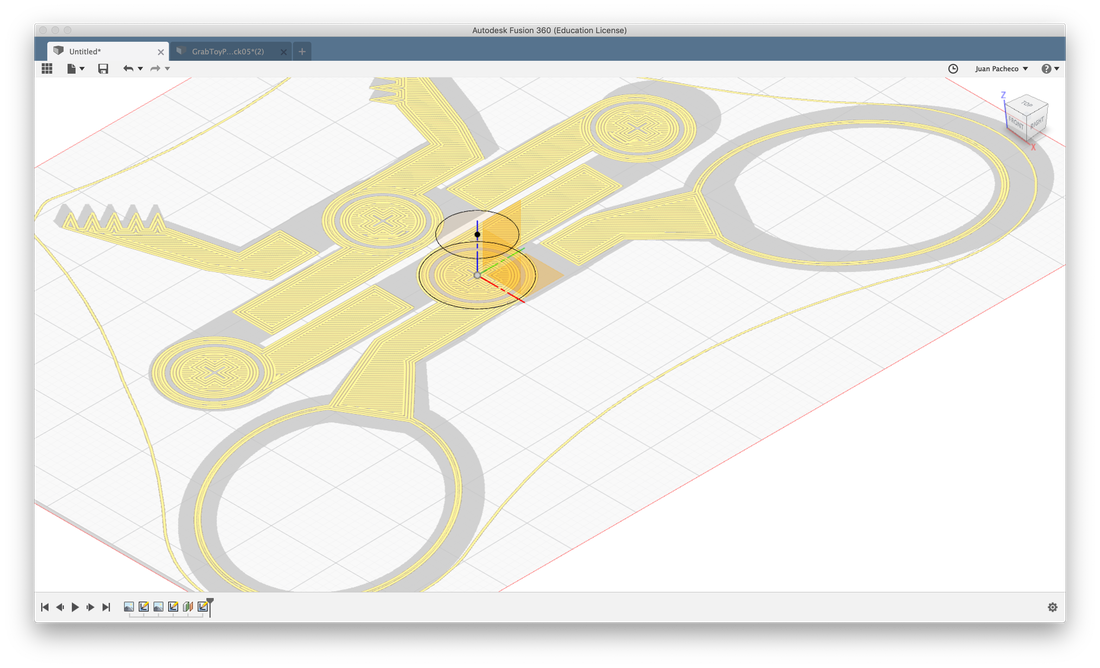
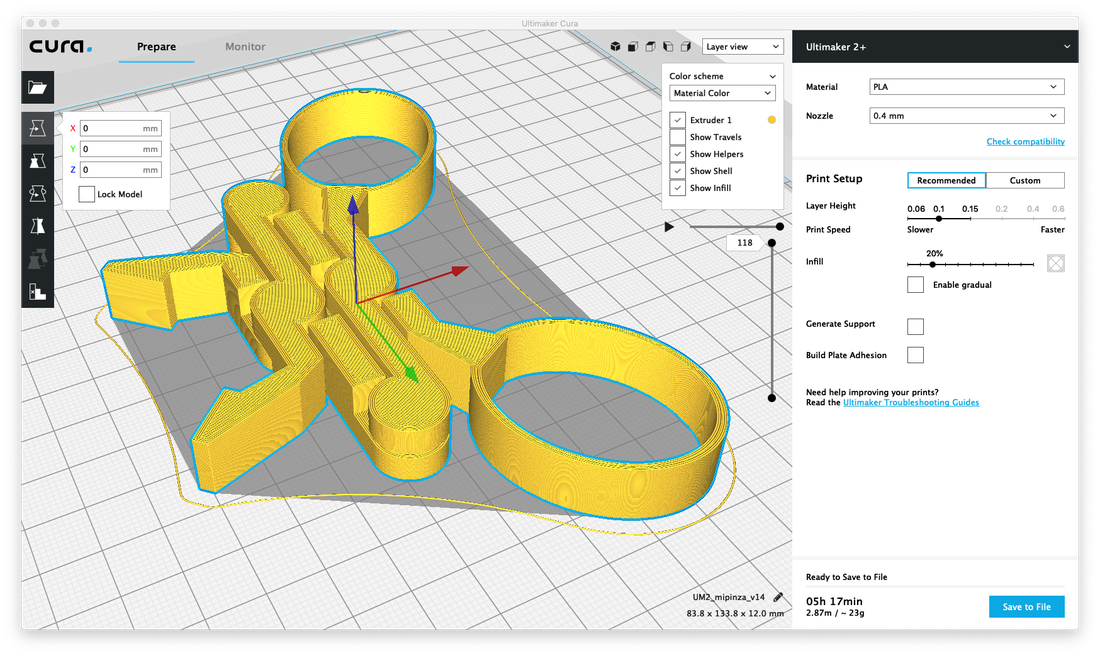
To be able to print a piece in 3D, it is necessary to have the 3D model created in some CAD software and then upload the file to the printer software, which divides the model into thin and two-dimensional layers and then converts it into a set of instructions in machine language (G code) for the printer to execute.

There are different types of 3D printing:

  • Material Extrusion (FDM):

    Material is selectively dispensed through a nozzle or orifice
  • Vat Polymerization (SLA & DLP):

    Liquid photopolymer in a vat is selectively cured by UV light
  • Powder Bed Fusion (SLS, DMLS & SLM):

    A high-energy source selectively fuses powder particles
  • Material Jetting (MJ):

    Droplets of material are selectively deposited and cured
  • Binder Jetting (BJ):

    Liquid bonding agent selectively binds regions of a powder bed
  • Direct Energy Deposition (LENS, LBMD):

    A high-energy source fuses material as it is deposited
  • Sheet Lamination (LOM, UAM):

    Sheets of material are bonded and formed layer-by-layer

The available materials also vary by process. Plastics are by far the most common, but metals can also be 3D printed.

Next, I list some pros and cons

PROS CONS
Geometric complexity at no extra cost Lower strength & anisotropic material properties
Very low start-up costs Less cost-competitive at higher volumes
Customization of each and every part Limited accuracy & tolerances
Low-cost prototyping with very quick turnaround Post-processing & support removal
Large range of (speciality) materials -

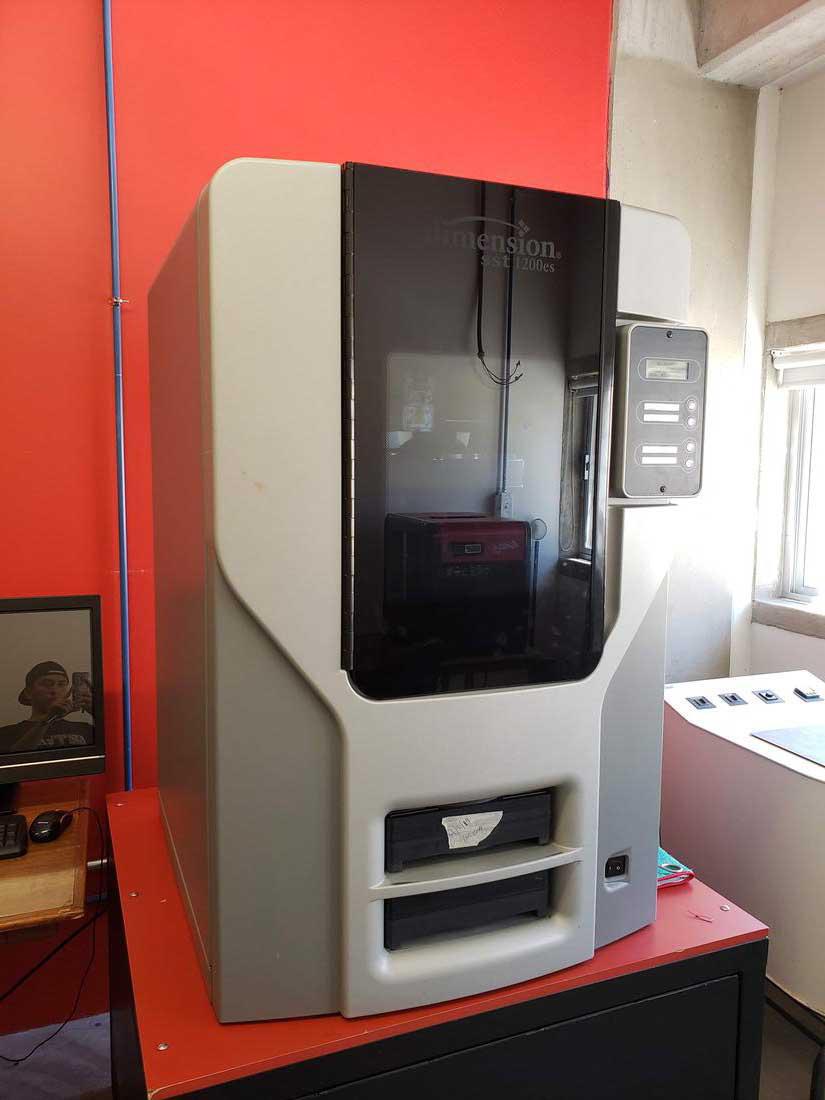
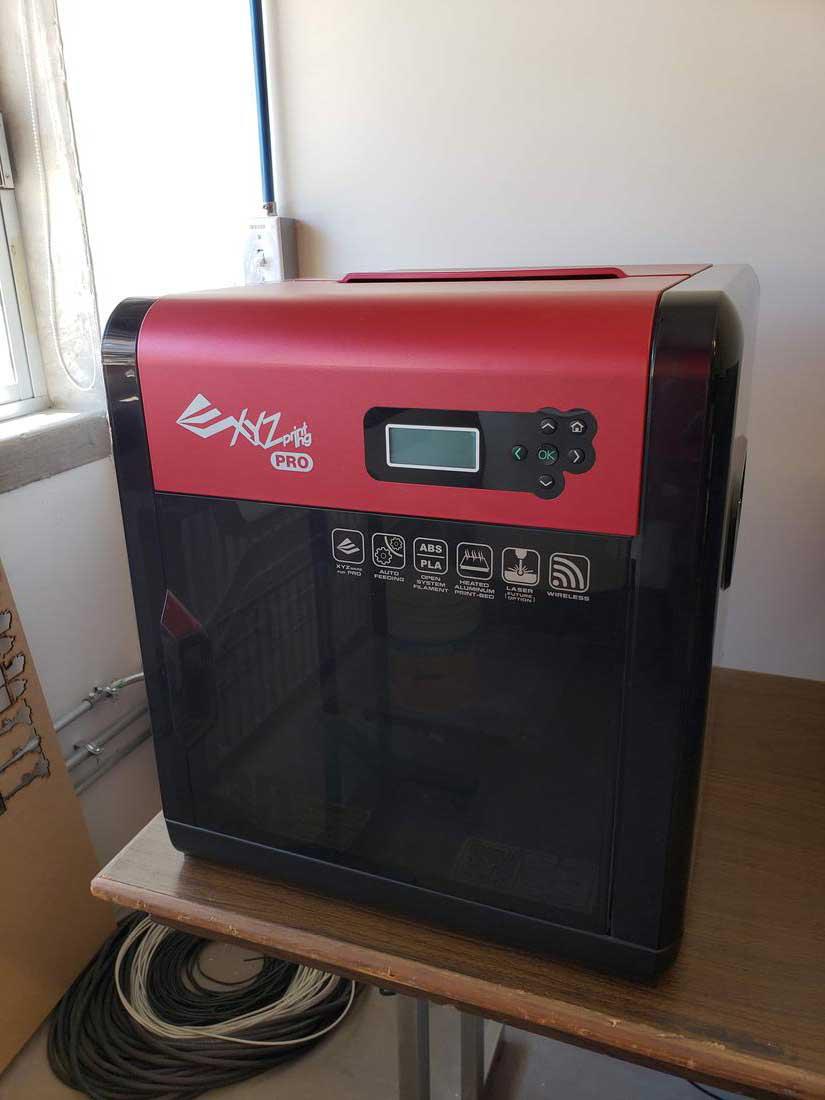
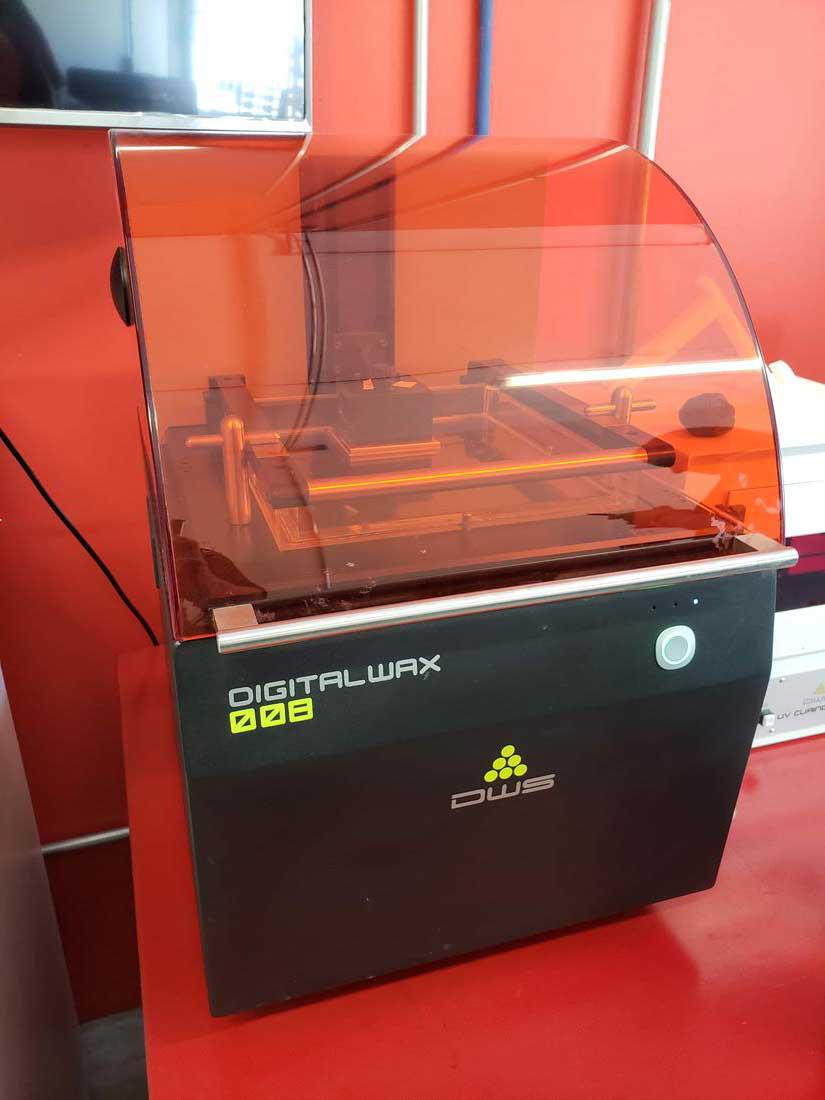
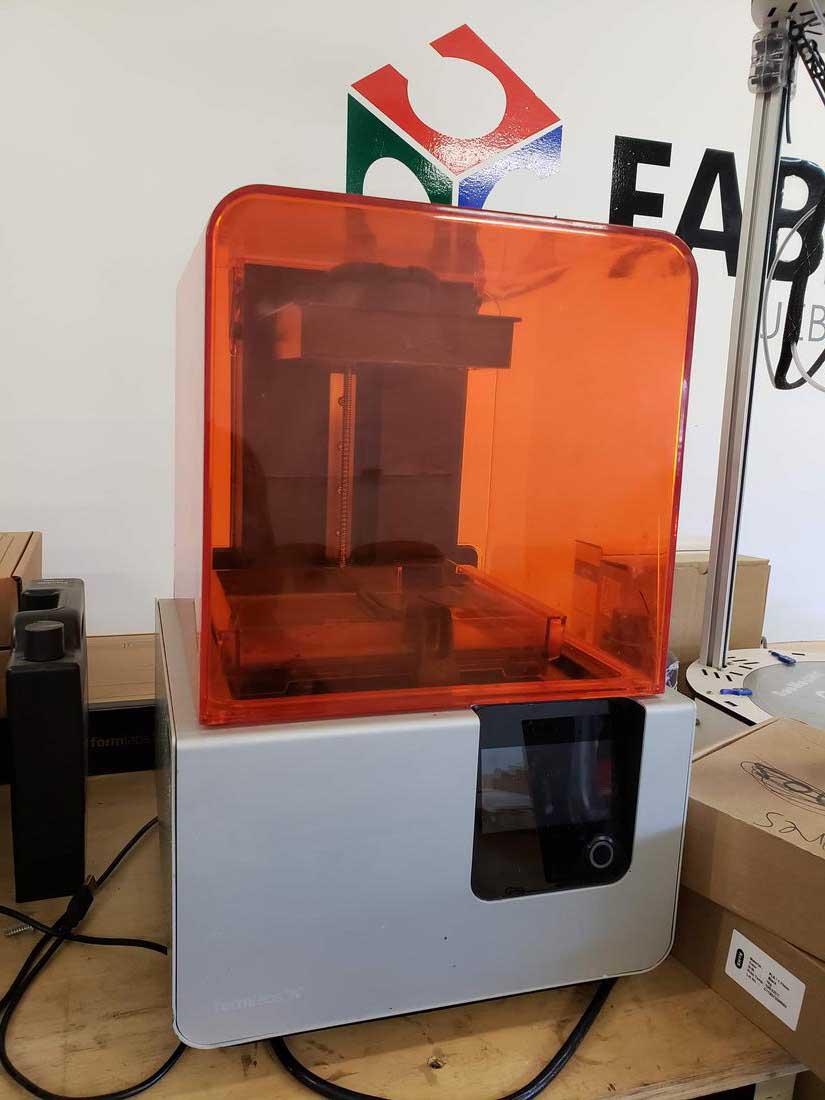
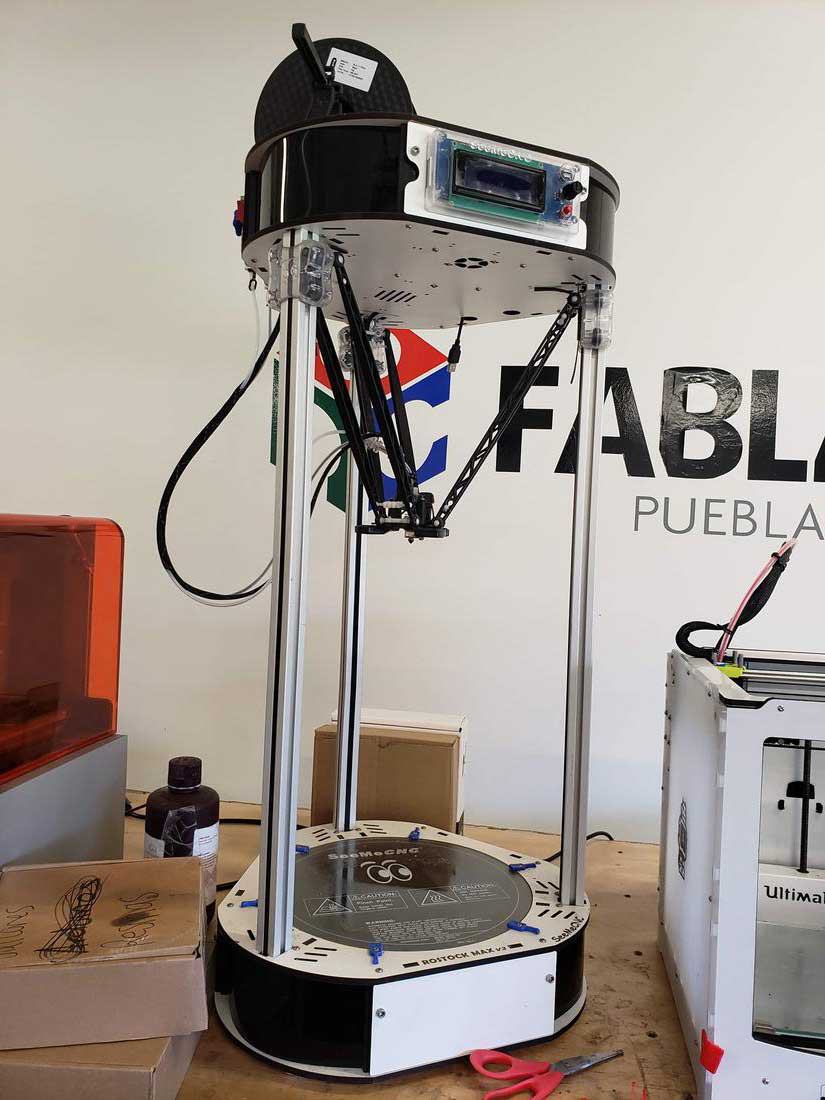
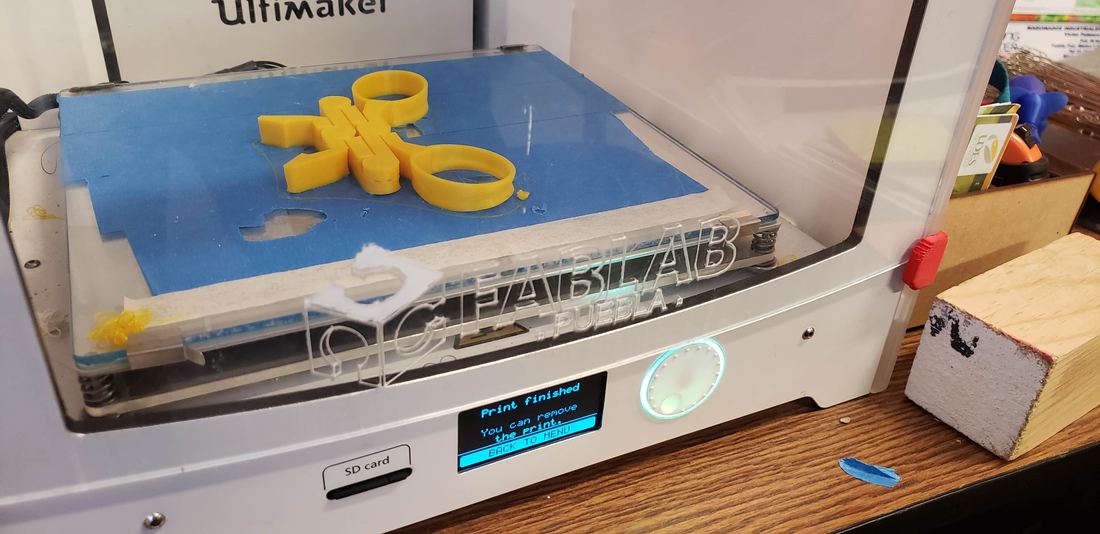
In the facilities of the IDIT, where the FabLab Puebla is located, we have the following 3D printers.

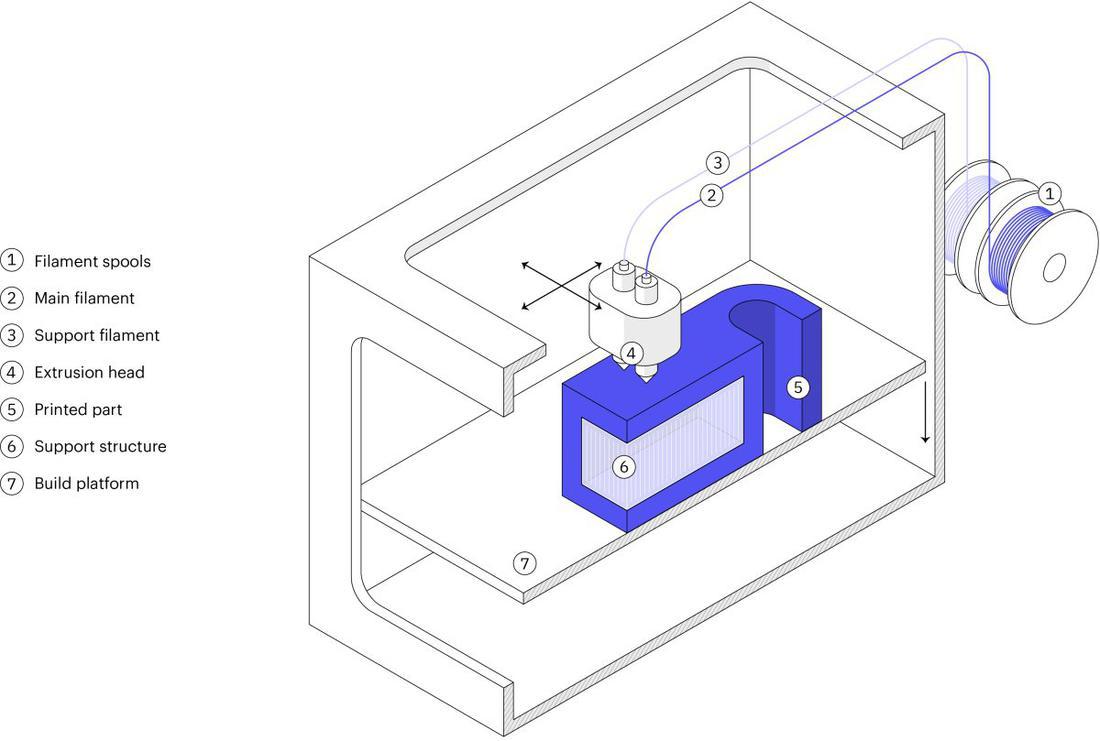
For this practice I decided to go deeper into Fused Deposition Modelling (FDM).

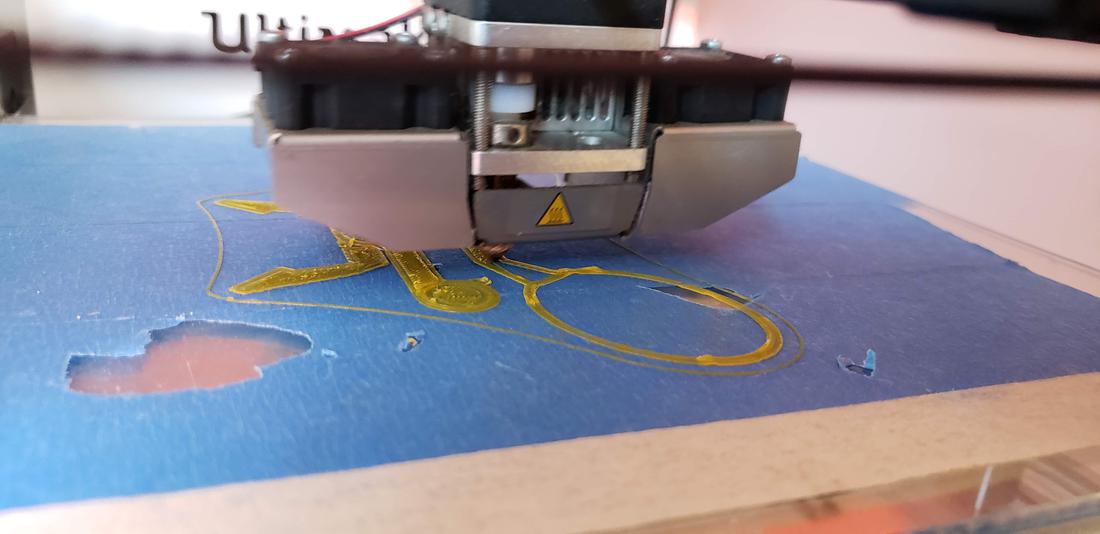
It works in the following way, a spool of filament is loaded into the printer and then fed to the extrusion head, which is equipped with a heated nozzle. Once the nozzle reaches the desired temperature, a motor drives the filament through it, melting it.

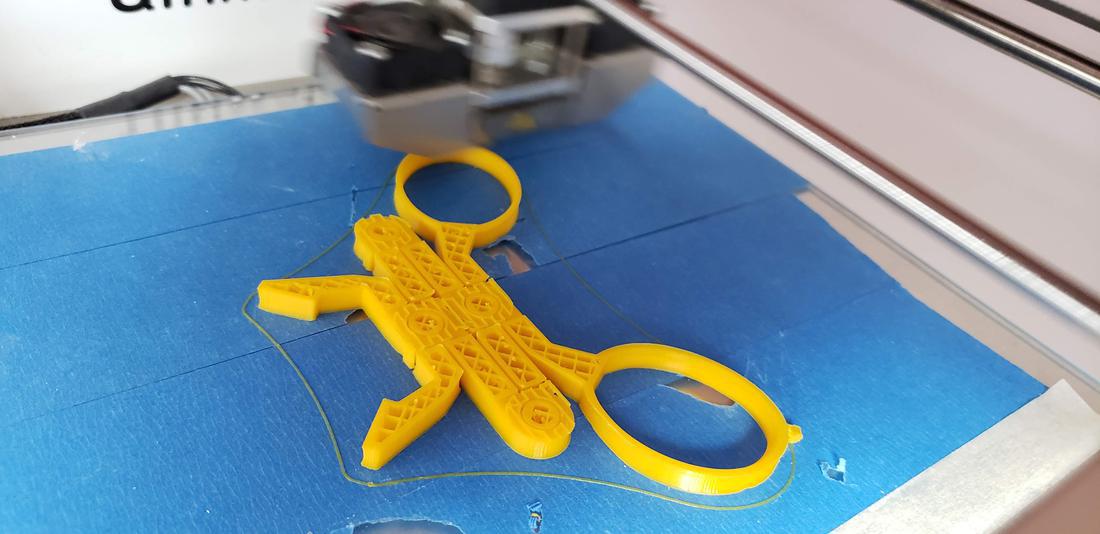
The printer moves the extrusion head, laying down melted material at precise locations, where it cools and solidifies (like a very precise hot-glue gun). When a layer is finished, the build platform moves down and the process repeats until the part is complete.

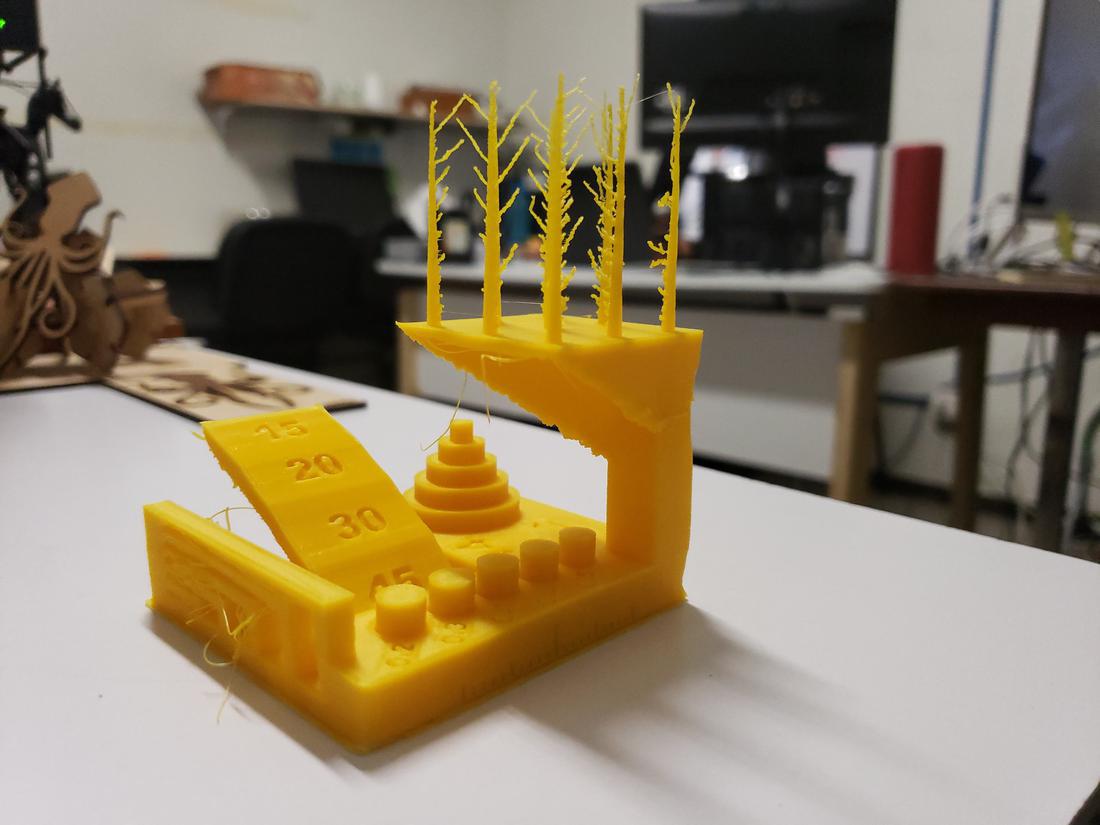
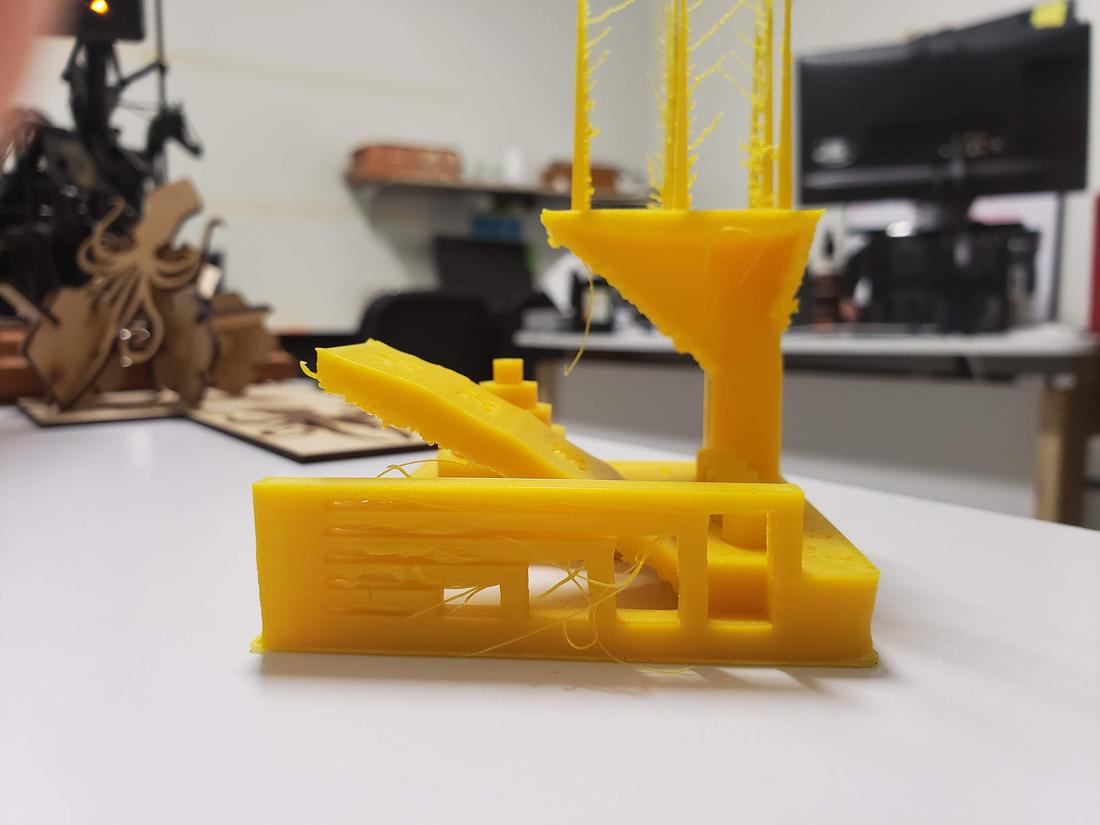
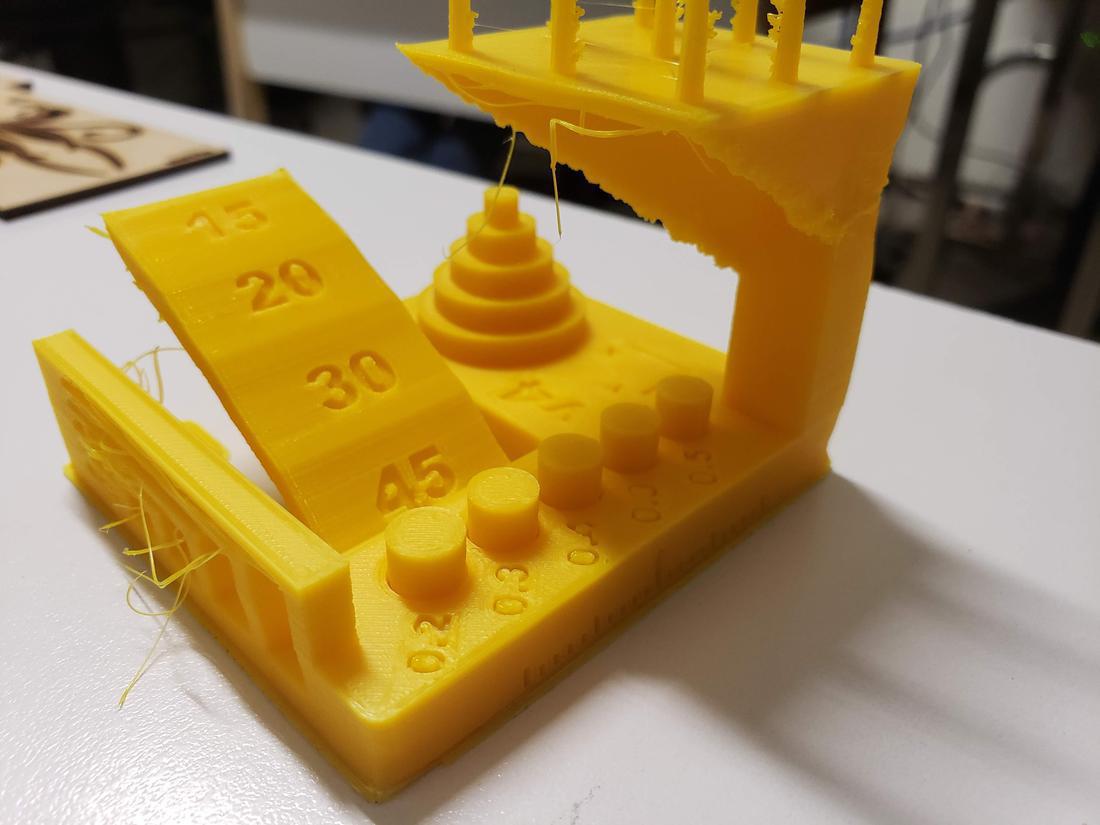
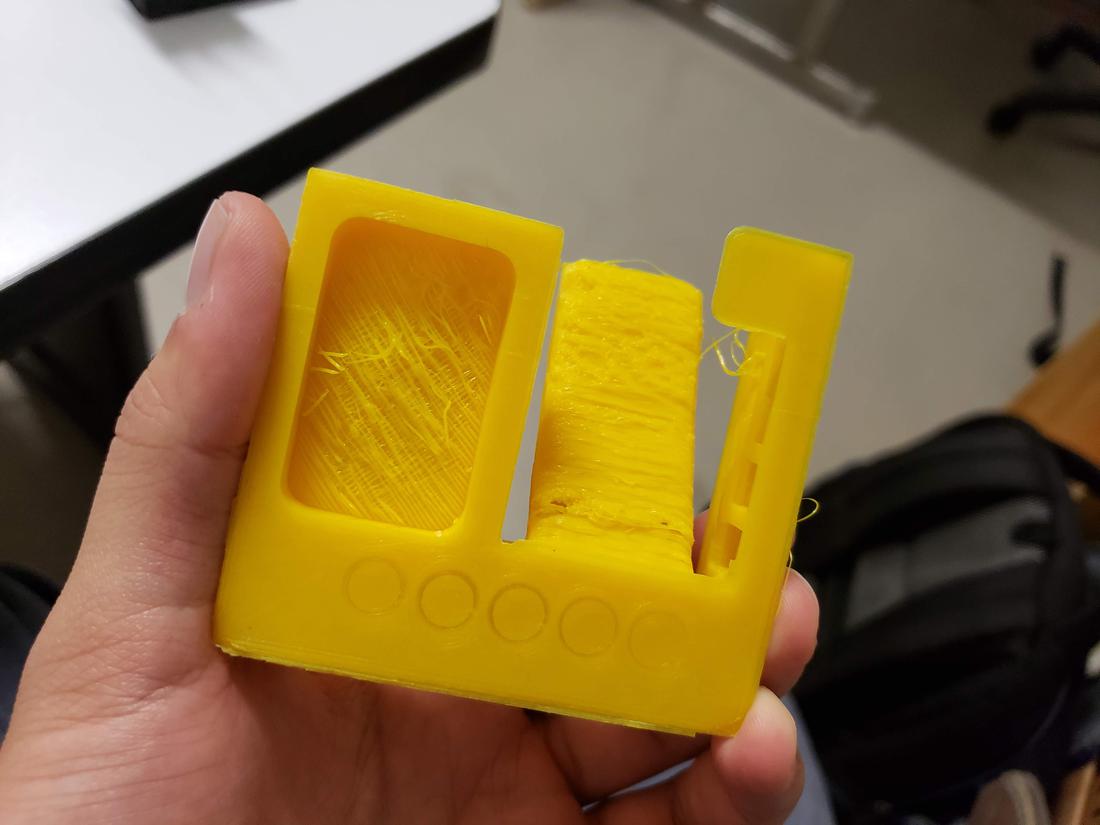
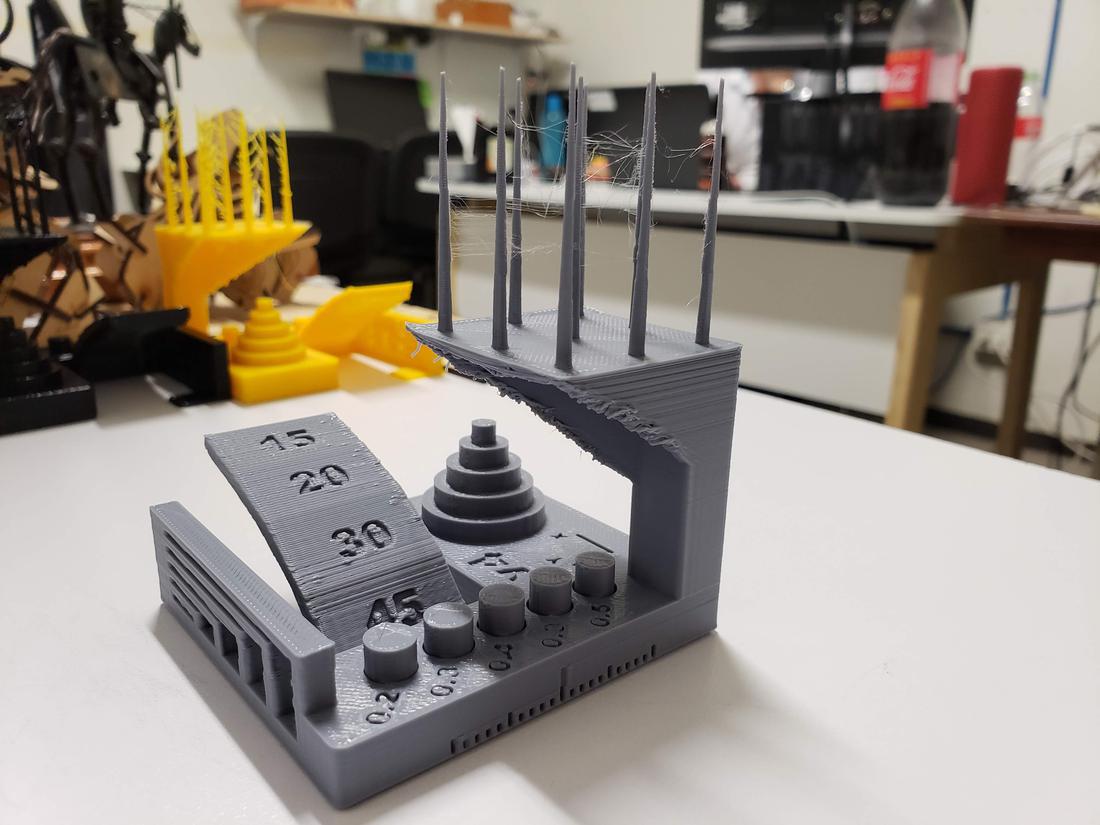
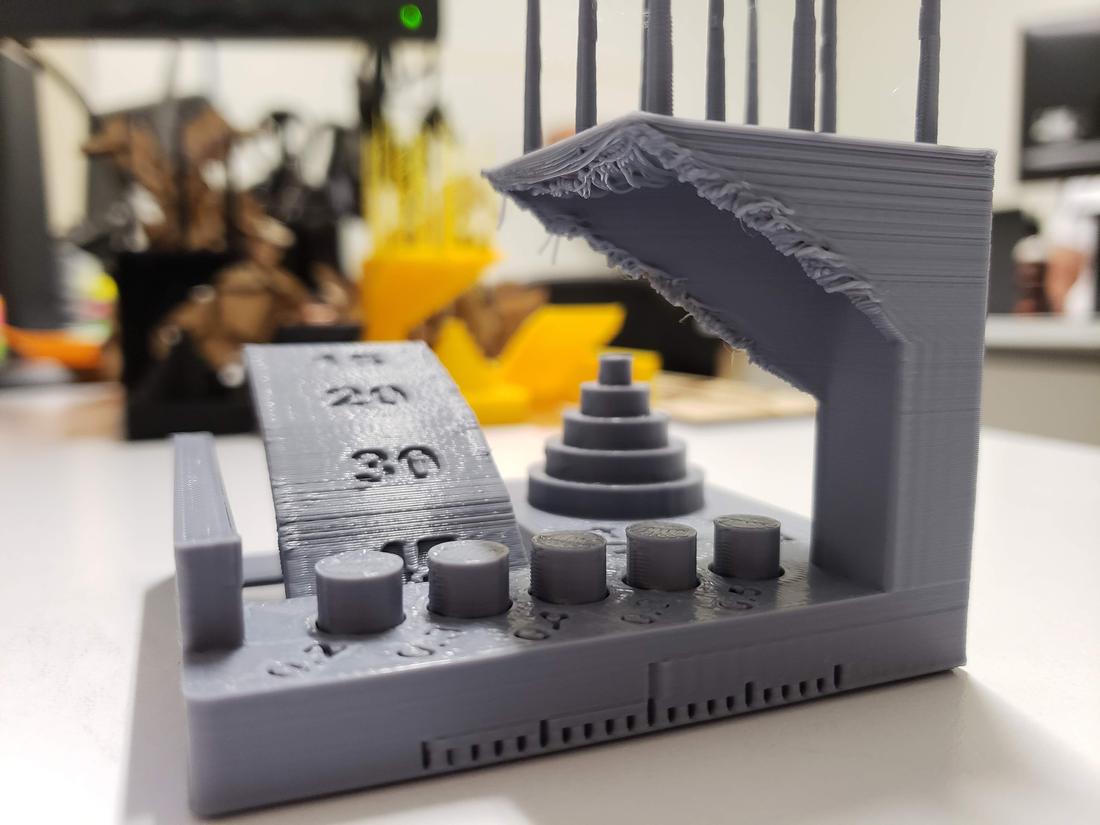
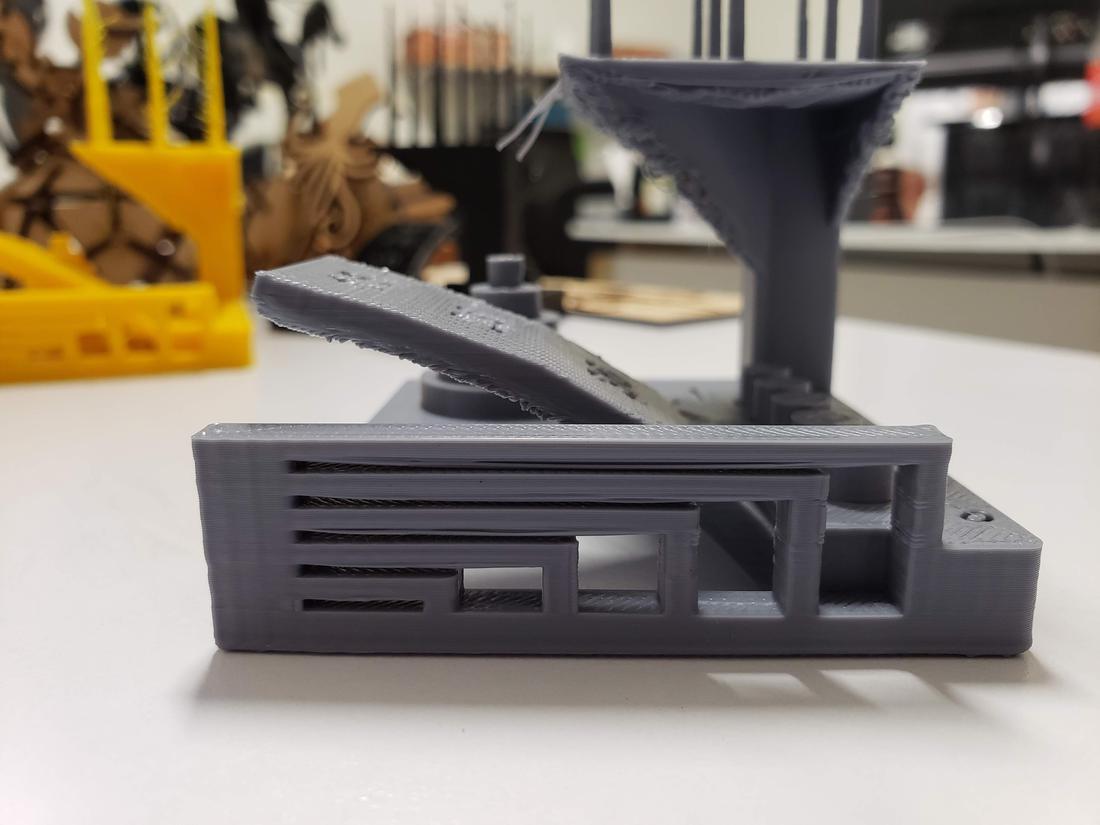
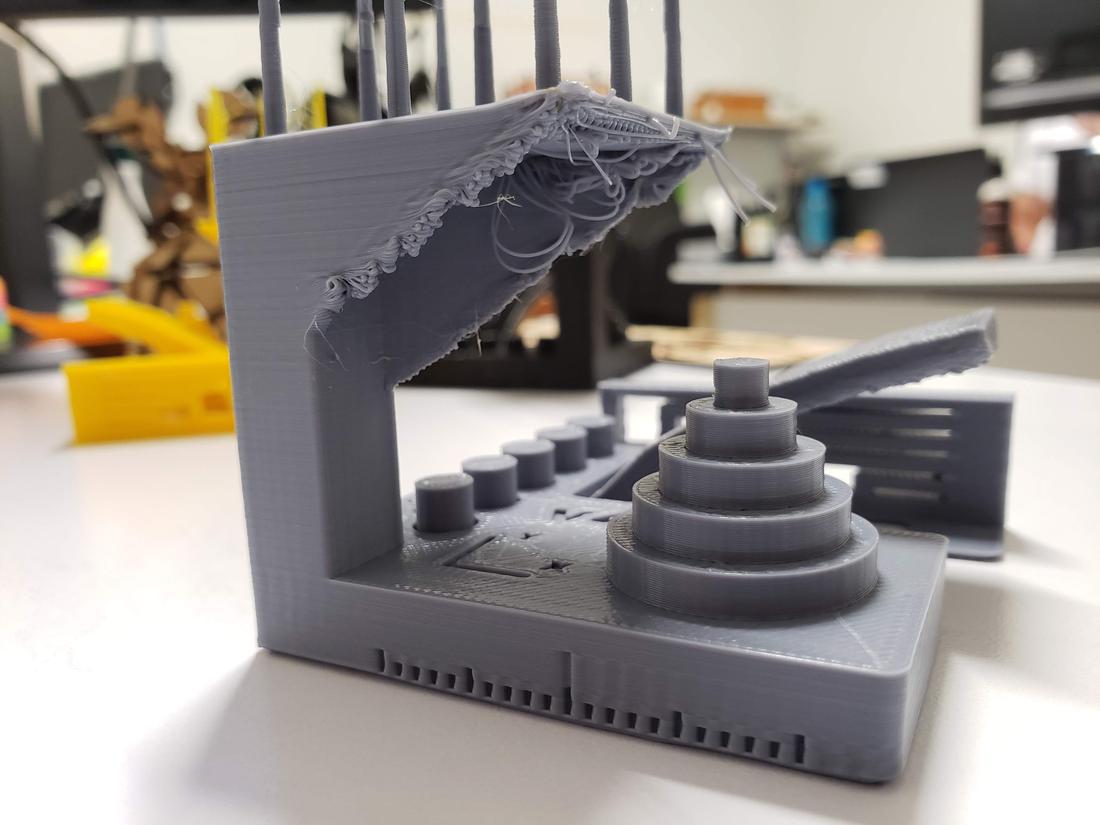
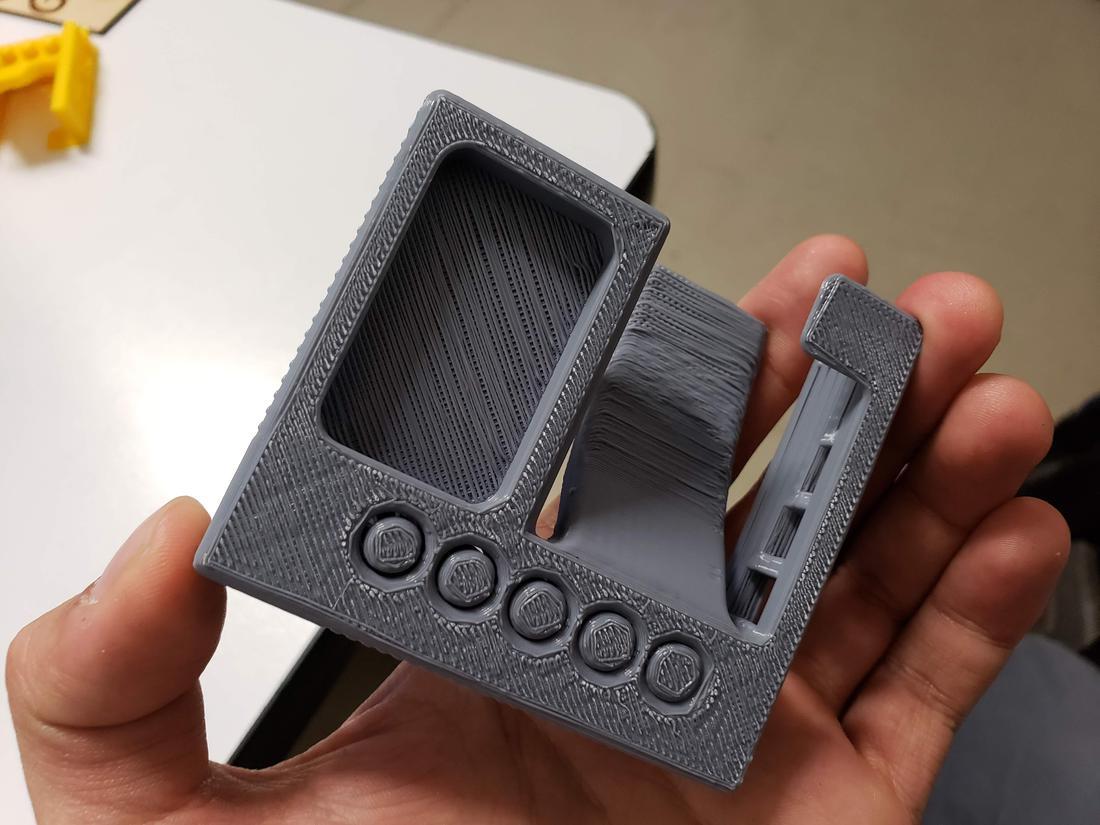
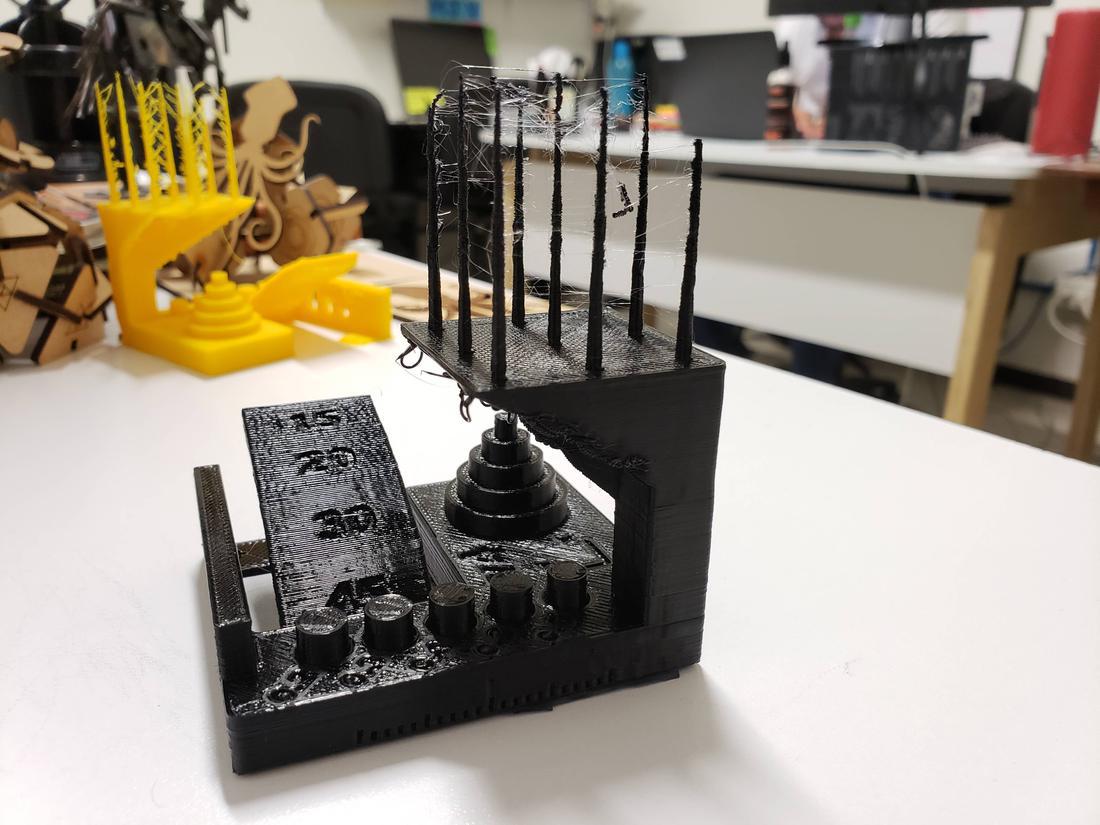
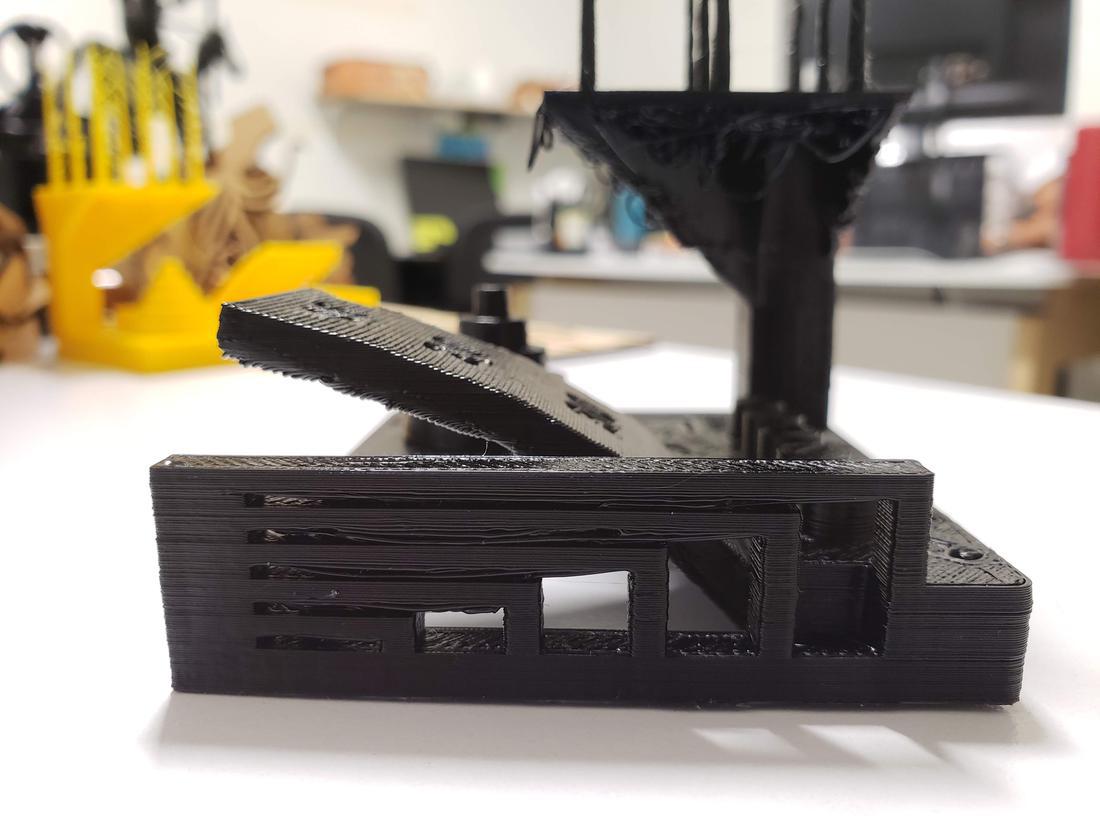
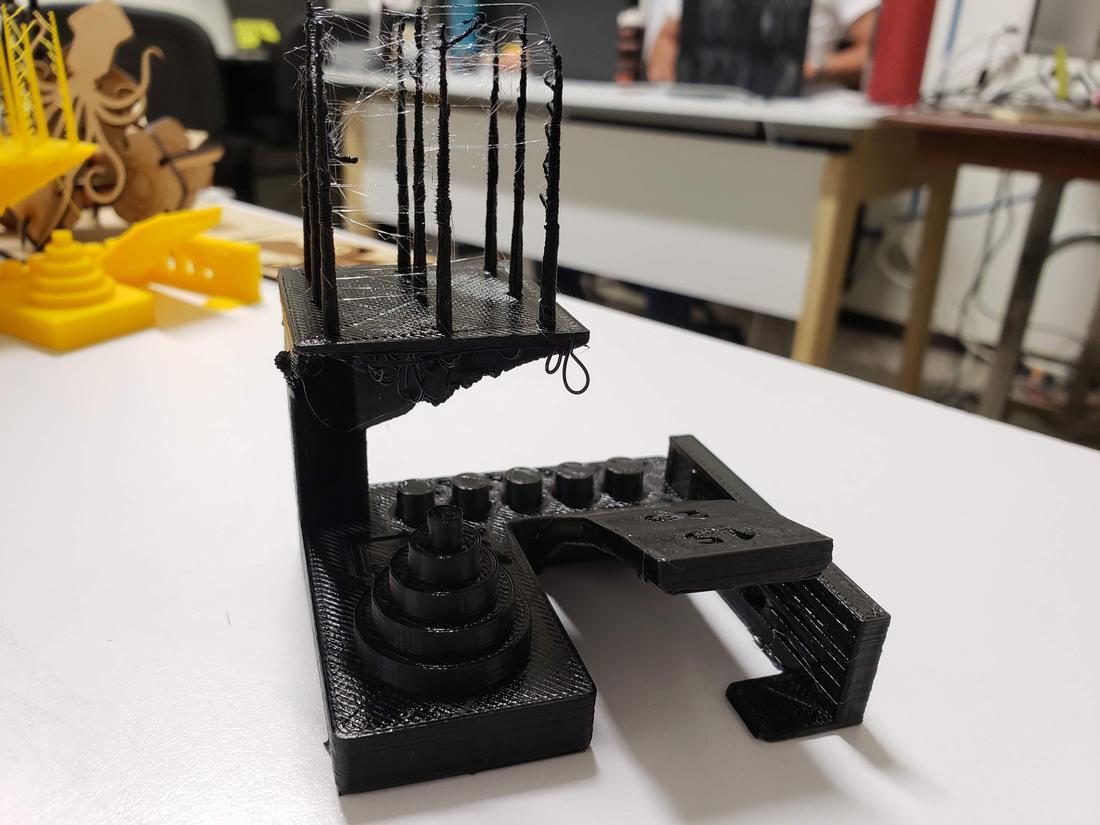
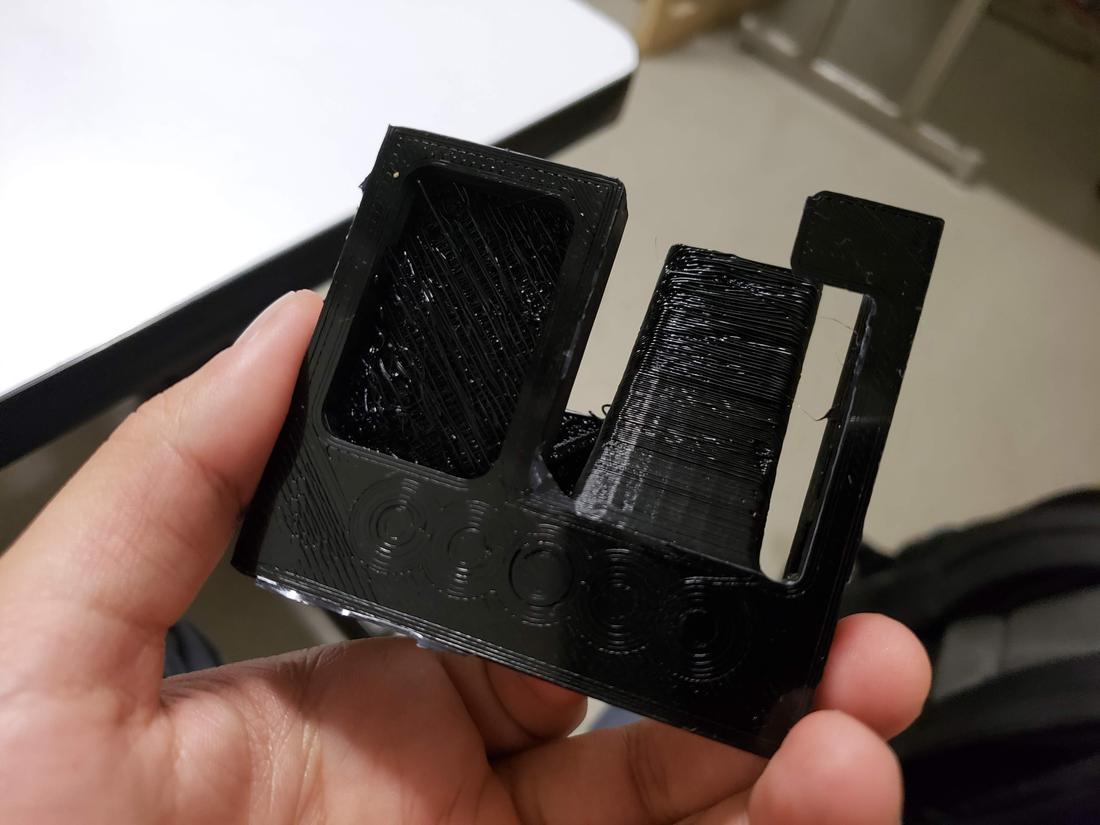
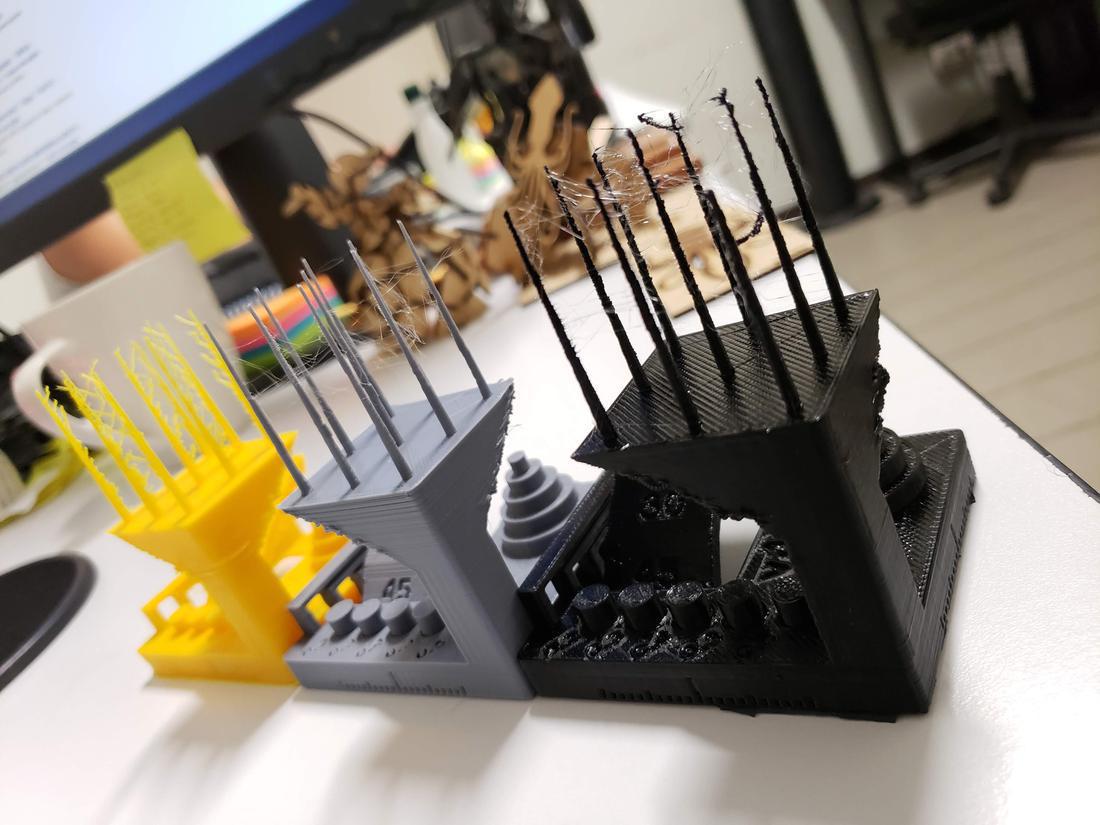
After printing, the part is usually ready to use but it might require some post-processing, such as removal of the support strucures or surface smoothing.

3D printing plastics are lightweight materials with a wide range of physical properties, suitable for both prototyping purposes and some functional applications. Next, I list some materials.

  • PLA:

    High stiffness, good detail, affordable. PLA is a biodegradable thermoplastic for low-cost, non-functional prototyping. Greater detail than ABS, but more brittle. Unsuitable for high temperatures.
  • ABS:

    Commodity plastic, improved mechanical and thermal properties compared to PLA. ABS is a common thermoplastic with good mechanical properties and excellent impact strength, superior to PLA but with less defined details.
  • Resin:

    High detail and smooth surface, injection mold-like prototyping. Resins are thermoset photopolymers that solidify when exposed to light, producing high detail parts with a smooth, injection mold-like surface finish.
  • Nylon:

    Used to substitute functional injection moulded parts, good chemical resistance. Nylon or polyamide (PA) is a thermoplastic with excellent mechanical properties, high chemical and abrasion resistance. Perfect for functional applications.
  • PETG:

    Good for mechanical parts with high impact resistance and flexibility. Sterilizable. PETG is a thermoplastic with improved properties over PLA, with high impact resistance and excellent chemical and moisture resistance. PETG can be sterilized.
  • TPU:

    Rubber-like material, suitable for tubes, grips, seals and gaskets. TPU is a thermoplastic elastomer with low Shore Hardness and a rubber-like feel that can be easily flexed and compressed.
  • ASA:

    UV stability and high chemical resistance, preferred material for outdoor applications. ASA is a thermoplastic with properties similar to ABS but with improved thermal, chemical and weather resistance. Perfect for outdoor applications.
  • PEI:

    Engineering plastic, high performance applications, flame retardant. PEI is an engineering thermoplastic with good mechanical properties and exceptional heat, chemical and flame resistance.
It is worth mentioning that to start 3D printing is a model in the STL file format.
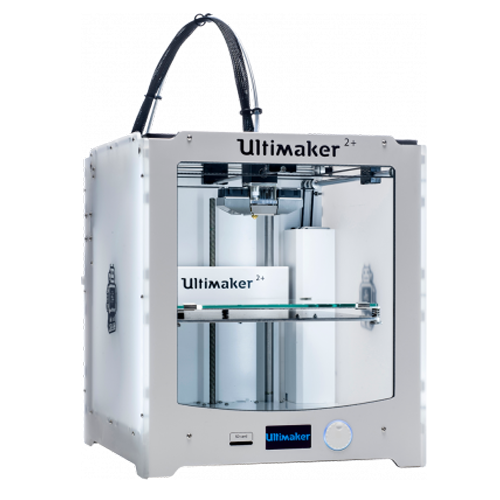
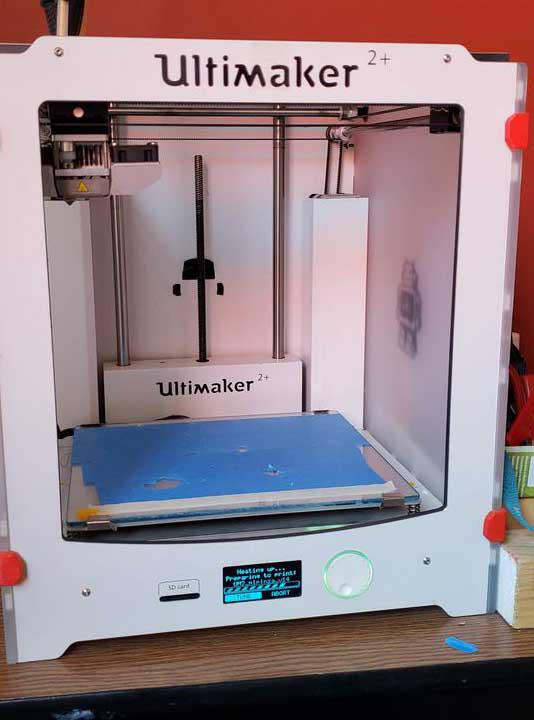
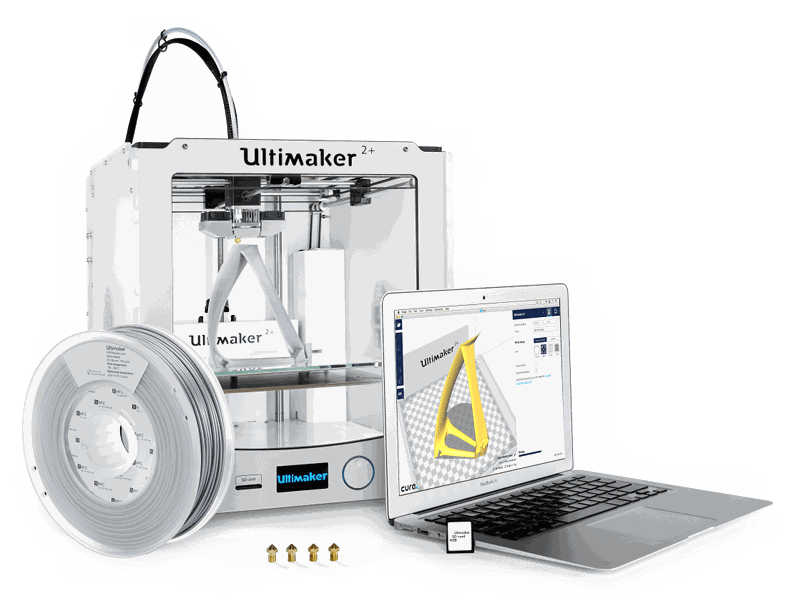
>

Ultimaker 2+

Engineered to perform, the Ultimaker 2+ is reliable, efficient, and user-friendly. Thanks to its support of a wide range of materials, it’s suitable for a huge variety of applications, from prototypes to customized tools. It’s a great all-around 3D printer that delivers consistent results.

Specifications

  • Build volume: 223 x 223 x 205 mm
  • Filament system: Open filament system
  • Optimized for: PLA, ABS, CPE, CPE+, PC, Nylon, TPU 95A
  • Layer resolution: From 600 micron, Up to: 20 micron
  • Build speed: Up to 24 mm³/s
  • Travel speed: Up to 300 mm/s
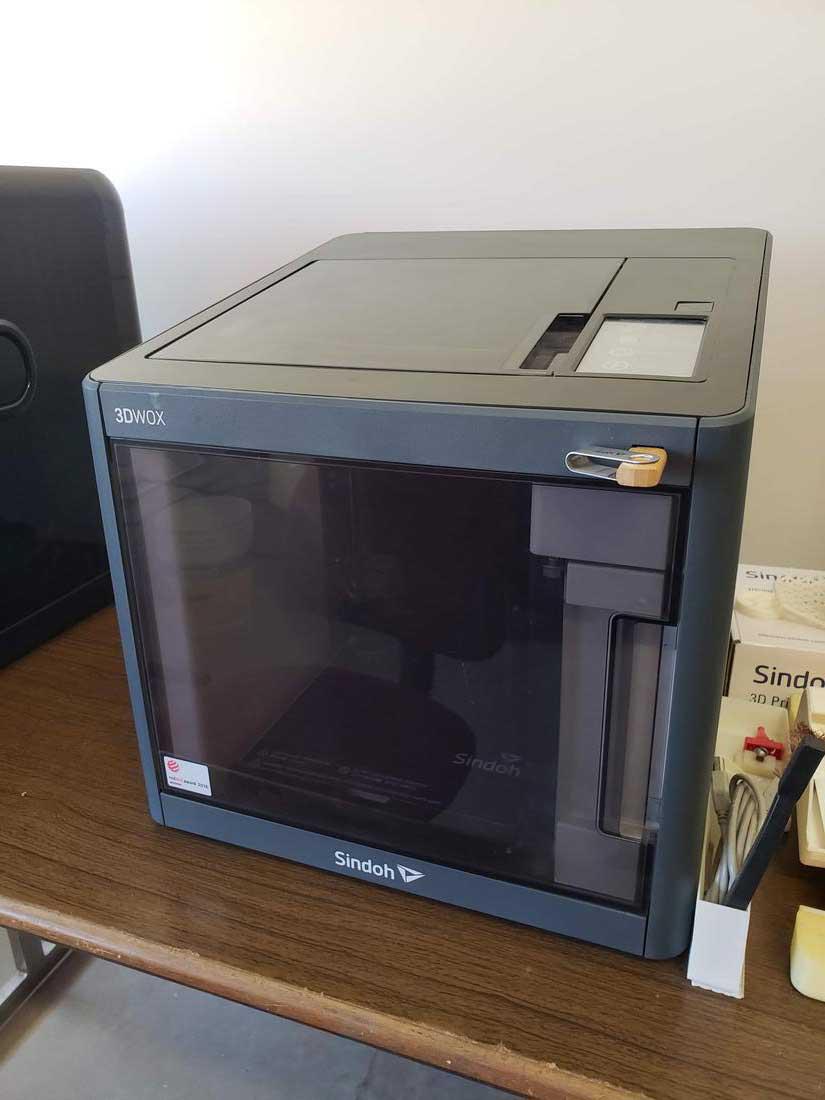
>

Sindoh 3DWOX DP200

3DWOX DP200 can check the operating status on the PC and mobile devices in real time and it's possible Remote control in case of problems. With Ethernet, you can manage multiple printers with a single PC.

Specifications

  • Print Technology: FFF
  • Print head: Single Nozzle
  • Nozzle Diameter: 0.4mm
  • Max Build size (WxDxH): 200 x 200 x 185mm (7.9”x7.9”x7.3”)
  • Material: PLA, ABS
  • Connectivity: USB Flash Drive, Ethernet, WiFi, USB Cable
  • Layer Thickness: 0.05 ~ 0.4 mm
  • Filament Diameter: 1.75mm
  • Size (W×D×H): 421 × 433 × 439mm (16.5”x17”x17”)
General Design Consideration //

>

Overhangs

Overhangs are areas of a model that are either partially supported by the layer below or not supported at all. There is a limit on the angle every printer can produce without the need of support material. For example, for FDM and SLA this angle is approximately 45o degrees.

>

Wall thickness

The second thing to keep in mind when designing a part to be 3D printed is wall thickness. Every 3D printing process can produce accurately features that are thin up to a certain point.

As a good practice, always add thickness to your models. Walls with thickness greater than 0.8 mm can be printed successfully with all processes.

>

Warping

The heating and cooling of material can cause the parts to warp while printing.

A good practice is to avoid large flat surfaces and add rounded corners to your 3D models.

>

Level of detail

The minimum level of detail is connected to the capabilities and mechanics of each 3D printing process and to the selected layer height.

The process and materials used will have an impact on the speed and cost of your print, so determining whether smaller details are critical to your model is an important design decision.

Printing tests //

In order to verify the limitations of the printer, I got a 3D model to print a piece of torture. In addition, I decided to print it on 3 different printers in order to observe the level of finish of each one.

The first impression was on the Ultimaker 2+ printer.

The second impression was on the Sindoh 3dwox.

And the last impression was on the Rostock Max v3.

Doing this practice helped me detect the strengths and weaknesses of each printer, since each can be very good for a certain object. For example, the Ultimaker is very good for small objects, has detail but very thin objects generates many alterations. The Sindoh is the best finished generates, but at angles of 45 that are tip generates a lot of garbage. With the Rostock has the problem of plugging the holes and the quality is lower, however for large objects it is very good because the dimensions of the printer can generate tall objects.

The piece //

For this activity, I had to print a piece in 3D that was not subtractive.

Looking for inspiration and complicating my life, I decided to make retractable tweezers, which had a mechanism that would allow the supports to rotate. Here the main challenge, design that mechanism in one piece. As I was very lost, I looked for inspiration on the internet and found a 3D model of what I wanted to do, upload it to the Cura software which allowed me to see it layer by layer and in this way I understood the mechanism. Take a capture in the Z plane to place it as a reference image. Use the Fusion 360 software to model it.

After about 5 hours, my design was printed.

It is worth mentioning that to print my design, with the software cure added supports so that they do not collapse certain parts, which was very good for certain layers, however, in the slot of the hinges added an extra layer which caused these slots to be they could not turn. I will try to open them with a cutter.

However, taking into account this drawback and following the nature of this type of 3D printing, I plan to reprint the piece with some adjustments and place the model backwards, that is, 180º on the Y axis, in this way these hinges are not they will not clog or collapse by the weight of the other layers.

The third is the expired one, I made bigger the space of the biasagras and increase the quality of impression, the result was amazing.

Scan 3D //

To scan a real-world object and make it digital in a 3D model there are different ways of doing it, for example you can scan a object with a laser or photogrammetry.

In this practice we were taught to use laser scanning and photogrammetry.

>

Photogrammetry

Initially we decided to use photogrammetry using a mobile application, to do this there are several applications in the app store, either for the Android or iOS system, then I list some.

Application Country Price Operating System Extra hardware needed
3DSizeMECanadaFreeiOSYes ($379)
3D CreatorSwedenFreeAndroidNo
CanvasUnited StatesFreeiOS (iPads only)Yes ($379)
Capture: 3D Scan AnythingUnited StatesFreeiOS (iPhone X)No
ItSeez3DRussiaFreeiOS (iPads only)Yes ($379)
QloneIsraelFreeiOS/AndroidNo
Scandy ProUnited StatesFreeiOS (iPhone X)No
Scann3DHungaryFreeAndroidNo

The one I decided to use was Qlone, which is available for both platforms, is free to use, except for export, which charge $ 0.99 per piece. So I only get to scan a piece.

To use Qlone, you need to print a special black and white paper mat. The mat looks like a QR code and is used by the app as a marker.

Qlone offers a useful guiding system. A grey dome surrounds the object you’re scanning and lets you know which angle you need to capture next. The app generates the results locally (without going through a cloud platform) and almost in real time.

>

Laser scanner

To scan an object with laser we use the portable measuring arm with RS4 ROMER Absolute Arm laser scanner, fully certified and incorporated, designed for 3D data acquisition faster than ever in a wide variety of surfaces and applications. It has a built-in scanner is a portable measuring arm multipurpose system designed to meet the needs of almost any application, either by scanning or by contact sensors. It does not require calibrations, warm-up time or cables or additional controllers. It is fully incorporated. With an ultra-wide laser beam of up to 150 mm, the RS4 can capture 752,000 points per second, which reduces the number of steps required to completely scan a part and reduce measurement time.

My second object was a keychain of the Eiffel Tower.

Taking into account the different methods of 3D scanning, my conclusions are: if you need something quick but of low quality you can use mobile applications for it, however only for objects that do not have much detail. Using a laser scanner like the one you use is very good for capturing details and pieces of different sizes, the disadvantage is its software, since it seems to be disconnected every time so you end up with too many laser sweeps in the same area.

The files //

Below you can find the download links of the original files created for this week.