The signal //
For the input devices we use the Serial library in the Arduino IDE, which will be able to transmit through the serial port TX and RX with a serial communication speed of 9600 bits per second (baud), established by us, and that we can establish other speeds.
With the analogRead () instruction we can obtain the analog reading, which converts the voltage into bits.
To get analog conversion:
- 5V - 1023
- 2.5V -512
With all this in mind, we made a small program
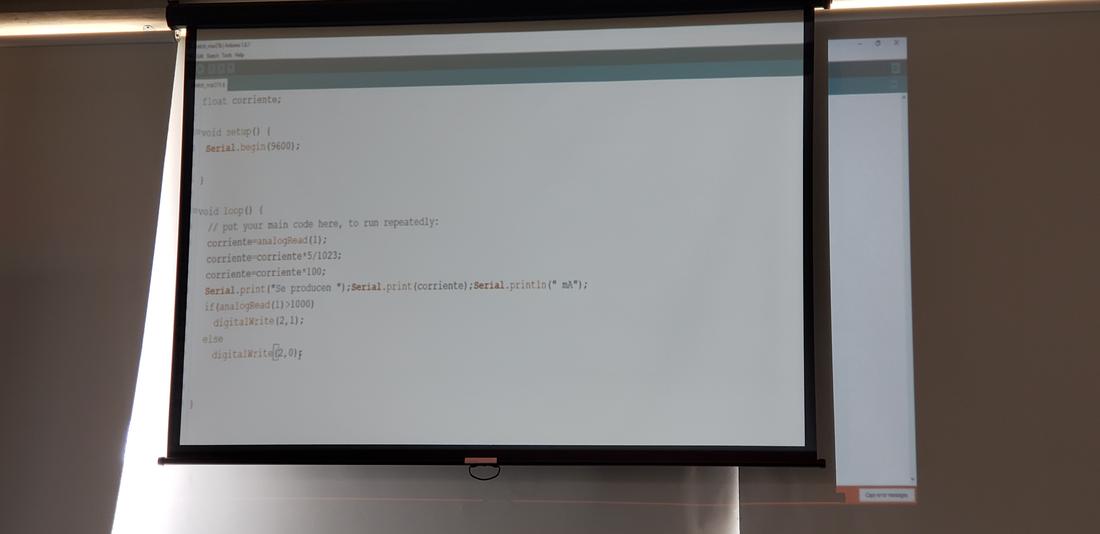
Since my board has attiny45, use the SoftwareSerial library, which emulates serial communication through software. The idea was to use the keyboard of my macbook as an input device, by pressing the A key to turn on a led. The code of this is shown below.
#include

#define RX    1   // *** PB1, MISO
#define TX    0   // *** PB0, MOSI

const int ledPin2 =  2;

char c;

SoftwareSerial mSerial(RX, TX);

void setup() {
  // ***
  // *** Initialize the Serial port
  // ***
  mSerial.begin(9600);
  mSerial.println("Initializing...");

  pinMode(ledPin2, OUTPUT);
}

void loop() {
  // put your main code here, to run repeatedly:
  //mSerial.println("Que tranza");
  //delay(1000);
  if (mSerial.available())
    c = mSerial.read();
  if (c == 'a'){
    digitalWrite(ledPin2, HIGH);
    delay(1000);
  }
  else
    digitalWrite(ledPin2, LOW);
}
 13.00.57.png)
The magic //
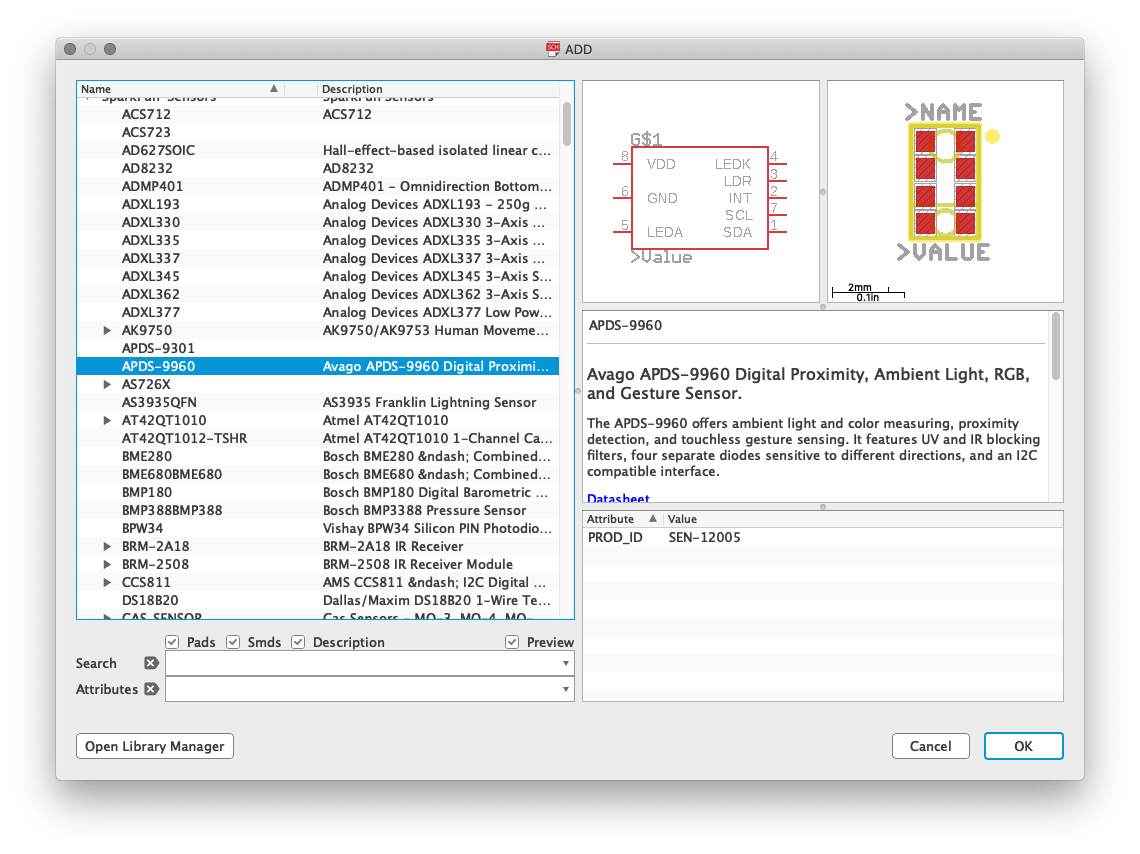
The keyboard already counts as an input device, but it is not a sensor. Thinking about in my final project, the desktop elevation control does not want to be a simple switch or button, so researching and thinking a bit, remember a sensor that made fashionable the Samsumg S5 phone, which incorporated a gesture sensor hand, this is the APDS-9960, developed by Avago technologies, which is a sensor of Digital Proximity, Ambient Light, RGB and Gesture Sensor.
The APDS-9960 is a little piece of hardware with built in UV and IR blocking filters, four separate diodes sensitive to different directions, and an I2C compatible interface.
Gesture detection utilizes four directional photodiodes to sense reflected IR energy (sourced by the integrated LED) to convert physical motion information (i.e. velocity, direction and distance) to a digital information. The architecture of the gesture engine features automatic activation (based on Proximity engine results), ambient light subtraction, cross-talk cancelation, dual 8-bit data converters, power saving inter-conversion delay, 32-dataset FIFO, and interrupt driven I2C communication. The gesture engine accommodates a wide range of mobile device gesturing requirements: simple UP-DOWN-RIGHT-LEFT gestures or more complex gestures can be accurately sensed. Power consumption and noise are minimized with adjustable IR LED timing.
Be careful, this sensor only operates with 3.3V
As this sensor is too small, much smaller than the electronic components that until now had sold with dimensions 1206, I decided to buy 2 sensors, just in case something went wrong when soldering it to the pcb.
Navigating on the Sparkfun page, I found the sensor, the datasheet, an example and the schematic.
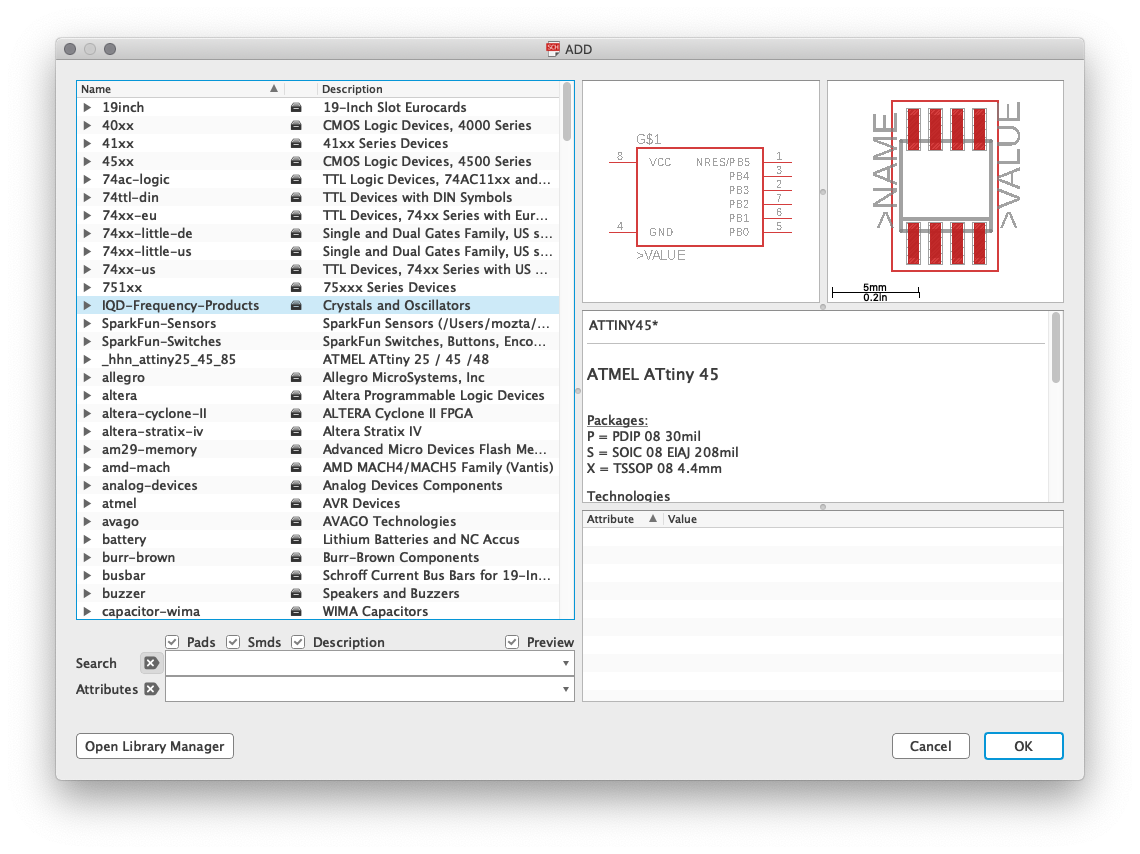
Download the schematic to see the insides of the sensor and so try to replicate it with my components. Design in Eagle and try to incorporate this sensor with the attiny controller, fot this have all in a only pcb.
The components that I added to my schematic were the following.

 15.40.38.png)
 2.27.57.png)
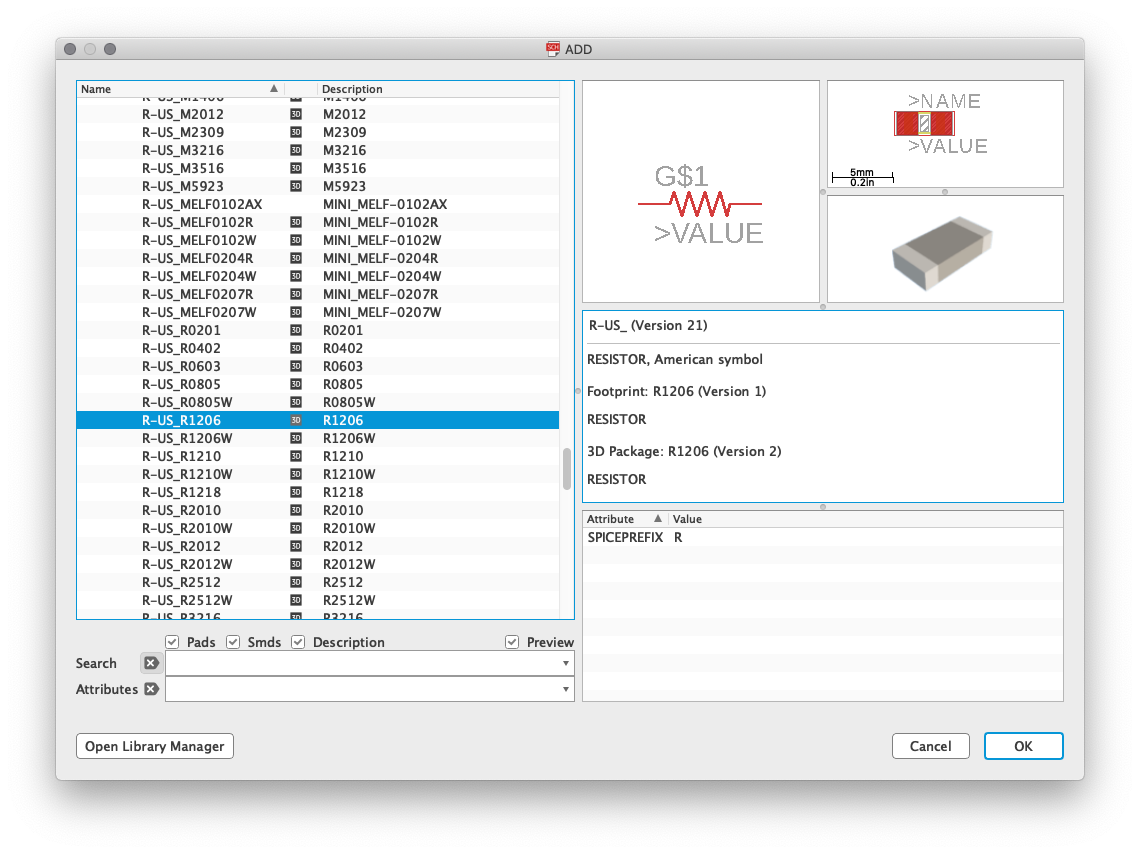
I had many problems to be able to accommodate all the components, since I go wiring, many times I was stuck in dead ends, so I had to design many attempts. At the end I used some resistors with a value of 0 Ohms, which allowed me to bridge in a discreet way.
 23.12.06.png)
 23.12.21.png)
 23.12.38.png)
 2.28.39.png)
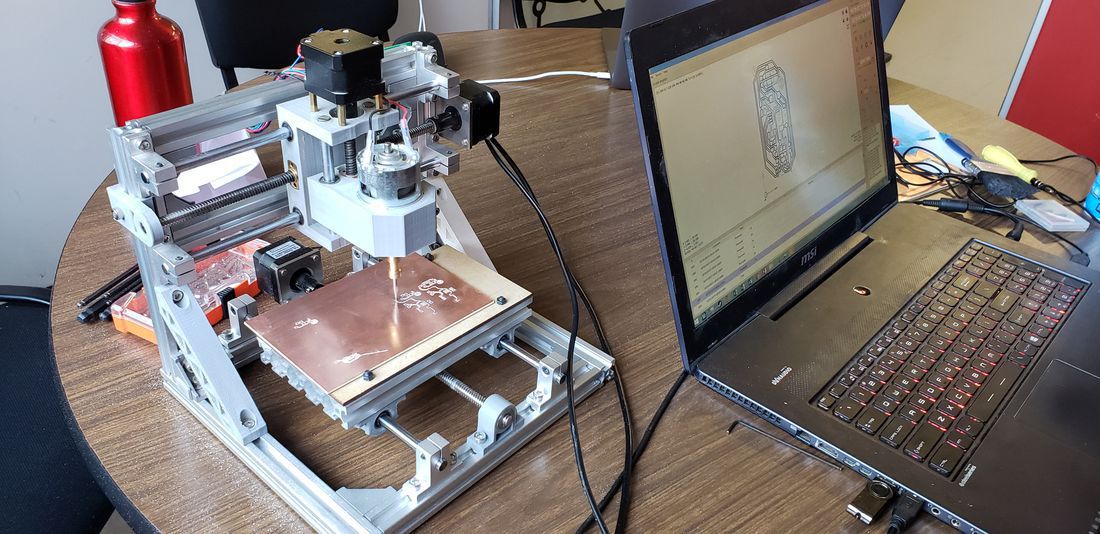
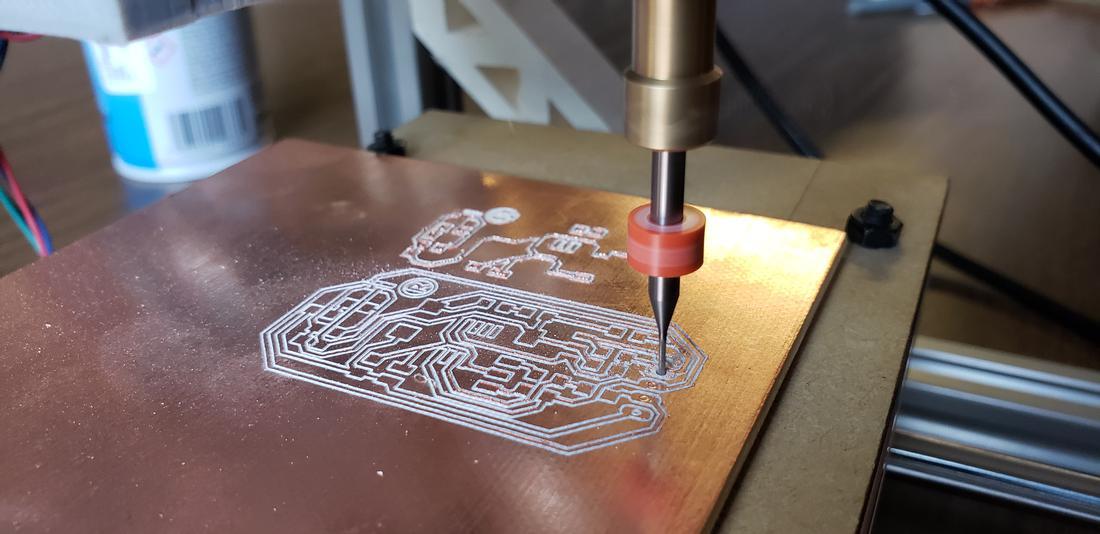
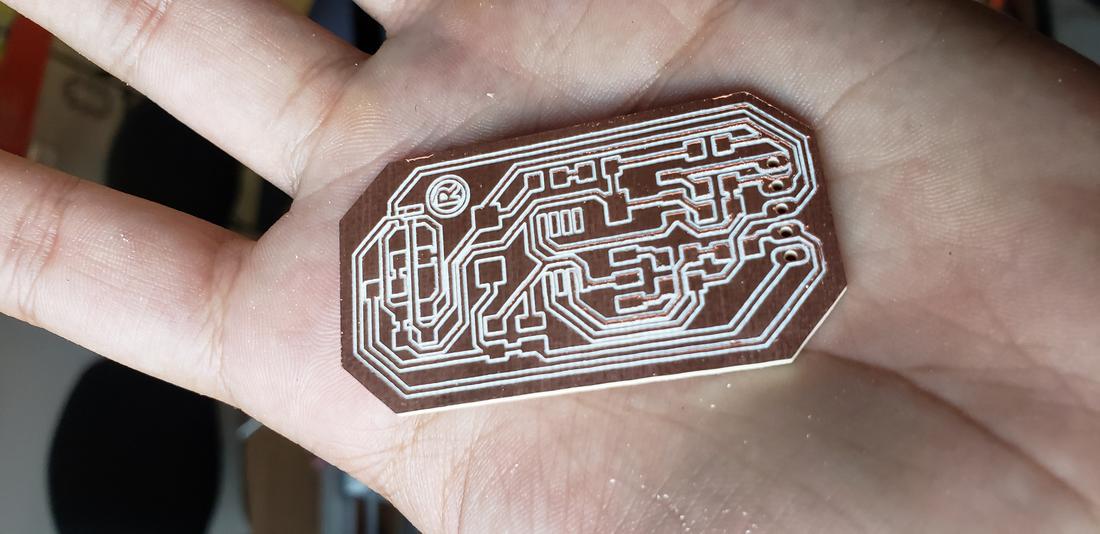
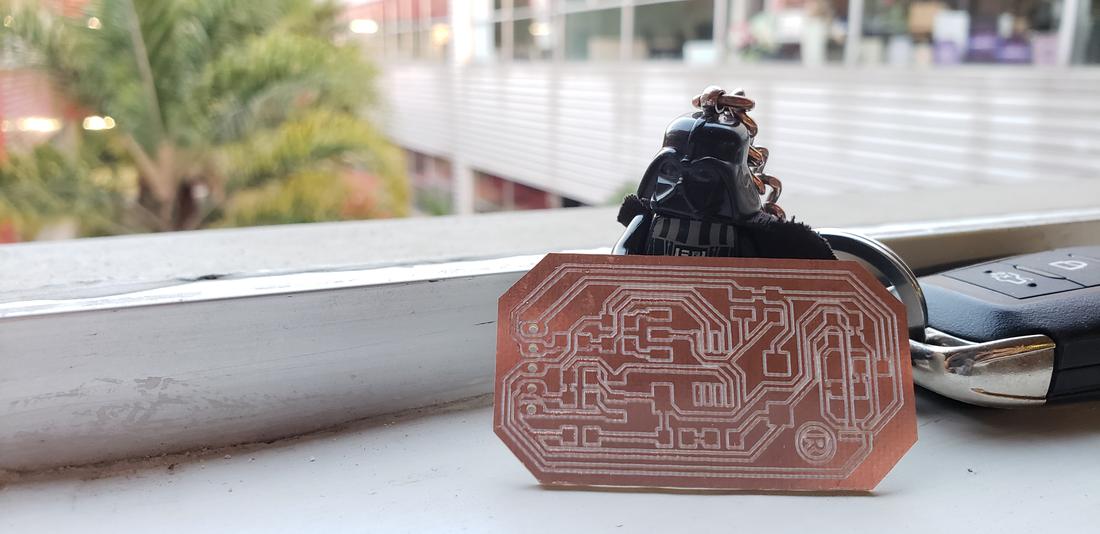
After generating the file, load it in fabmodules to generate the cutting and engraving files to later weld the components.

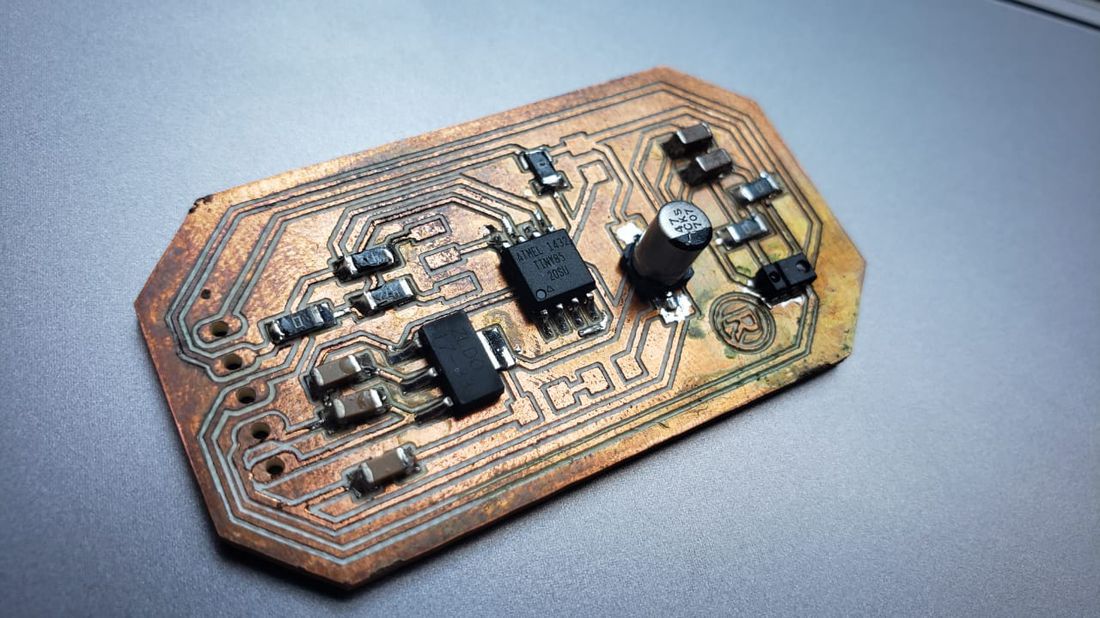
At the time of welding, I realized that my design had a fatal error, I lacked pins to be able to program it. Sadly I thought that it would only be a nice copper plate, however it was still possible to rescue it, I removed the microcontroller and placed on a breadboard so that through pins I could program it, then I soldered the attiny to the small PCB board.
Finally, it was necessary to program it, to do so, download and install the library provided by Sparkfun. Load the examples that this library had and it worked very well, but the only example I needed was the one of gestures of the hand, that is, to be able to detect the movements of right, left, up, down, near and far.
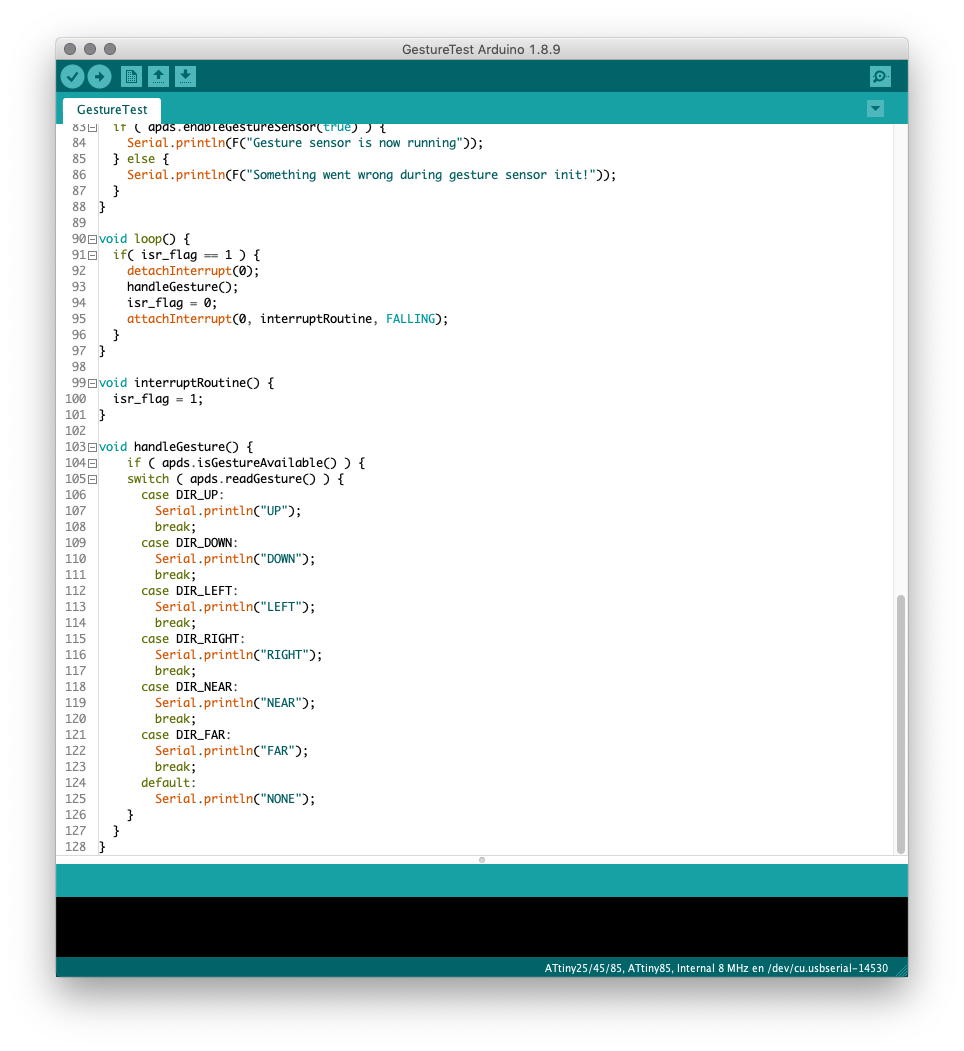
This code works in the following way, first includes the SparkFun_ADPS9960.h library, we define the pin necessary for the interruption, we enable the pins with PinMode as input and we initialize the serial port. The interrupt service routine is initialized and also the initial configurations for I2C communication. In the loop function it is asked if the flag is active or not, if it is 1, the detach is used Interrupt and we call the function of hand gestures, then return the value of the flag to 0.
The function of hand gestures, is a function without input parameters, which must first ask if the sensor is available to work, then through the structure of a switch case, the gesture that the sensor is detecting is read, in case that is up, down, left, right, near and far.
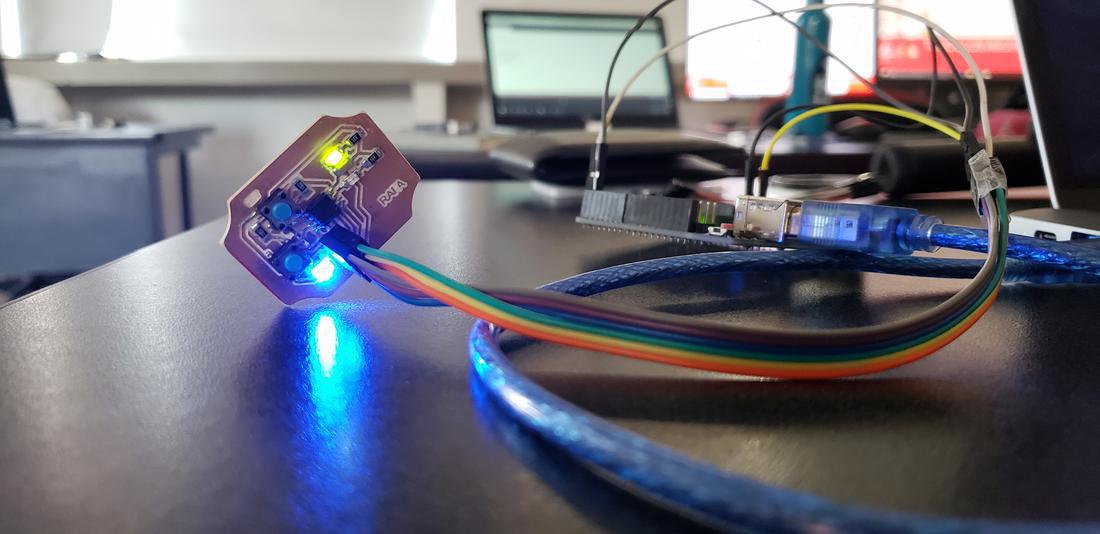
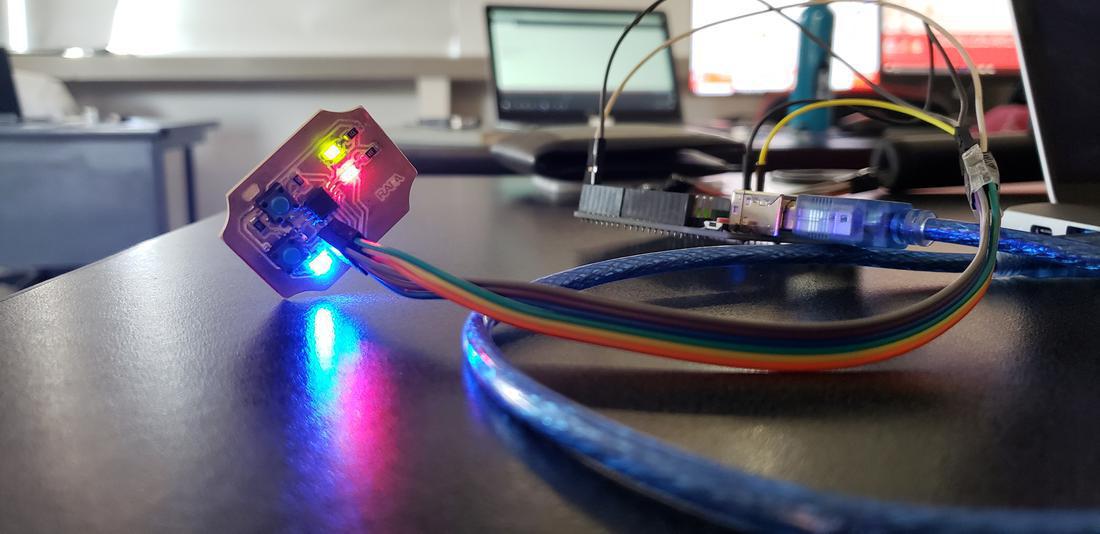
Below you can see the result obtained.
The files //
Below you can find the download links of the original files created for this week.