The jewelry //
It was a free week, where we had to design and produce something using digital manufacturing processes, some examples could be compositions, textiles, biotechnology, robotics, folfding and kitchen.
In our fab, we decided to create some jewelry, so in class we were taught a process that involves digital fabrication with casting techniques.
So the first step was to determine what piece of jewelry to make, in my case I decided to create a pair of rings.
The first step was to take the measure of ring that my finger needed, fortunately I already had rings with my measurement, so with the vernier I took the measurements of height, width and depth. However, there are certain special rules that jewelers use to get the exact measurement.
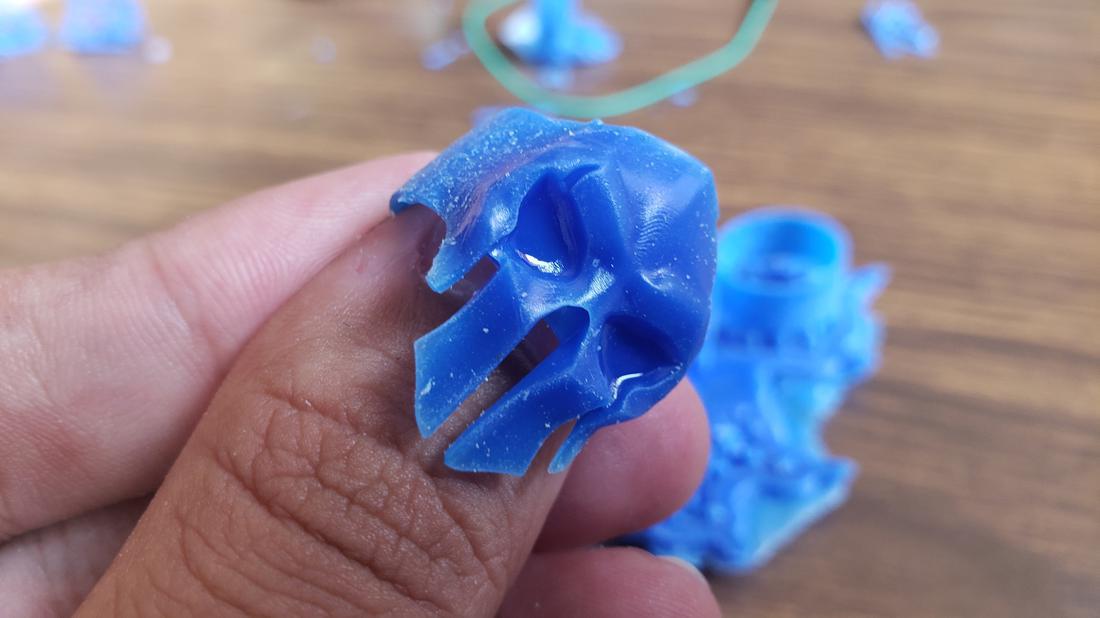
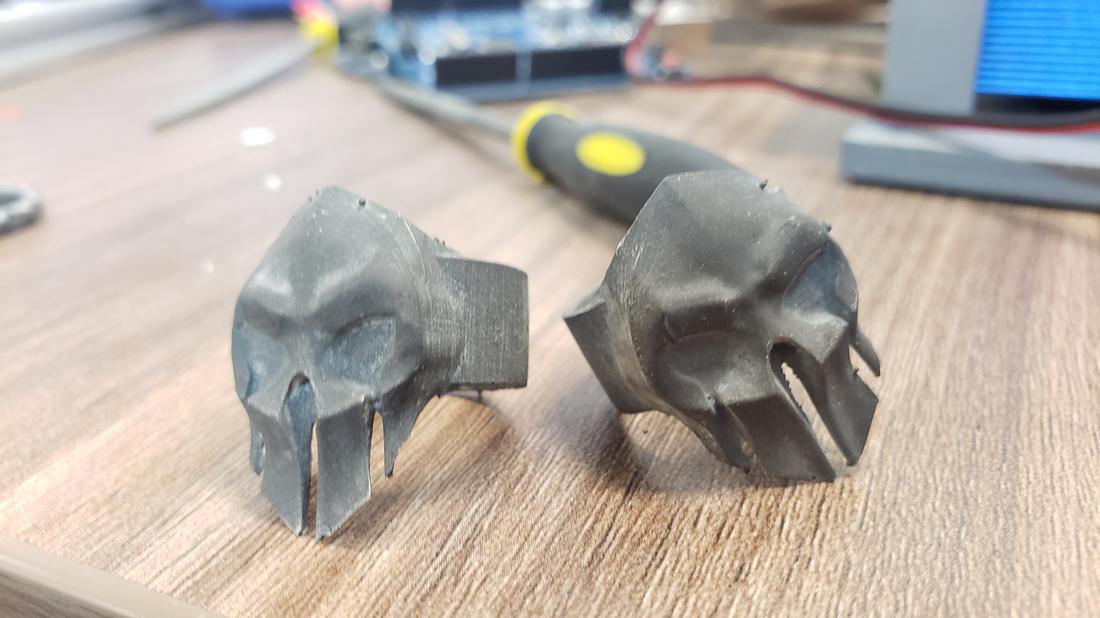
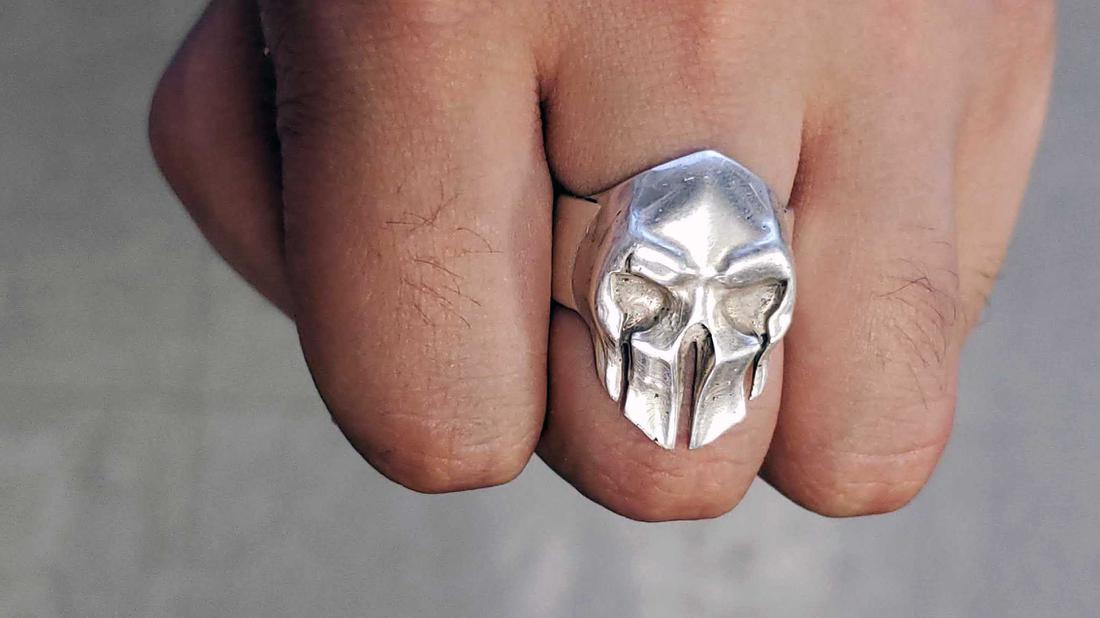
Then I designed my first ring, which I wanted to make in the shape of a skull / helmet. Looking for images on Pinterest I found a ring that I liked a lot so I downloaded the image to try to reproduce it.
The CAD software I used was Maya 3D, at this stage of the fab, I have learned many CAD softwares but thanks to this I have been able to find the advantages that each one has for the different types of design that you can imagine. In this case, being a more organic model, I was able to design it in Maya.
To make this design, place the reference image in a plane to try to trace the main vertices and then modify my initial object, a cube.
Since it is based on a skull, and we take into account that it is symmetrically vertical, I concentrated on only designing one half for when it was finished, only mirroring and joining symmetrically.
 11.11.37.png)
In the end it was only to adjust certain vertices to be able to give a final finish.
 11.20.23.png)
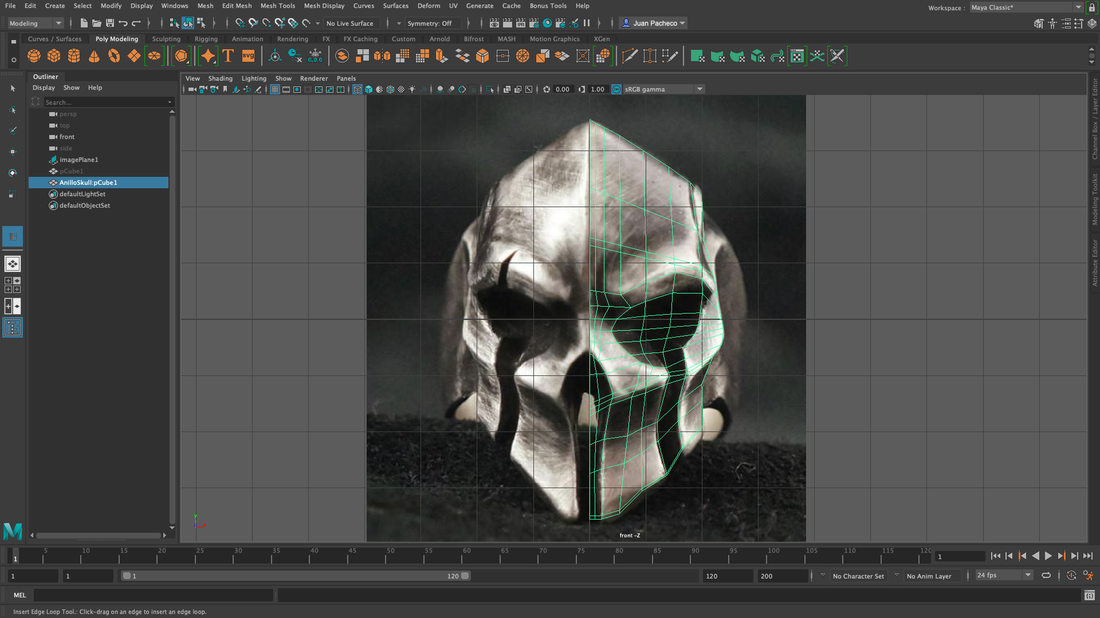
One problem I had was that the design was pretty good but on a single axis, that is, the skull was flat, as if it had been crushed. So I had to change the vertices to achieve a curvature, adapted to the reality of a skull and the circumference of the ring.
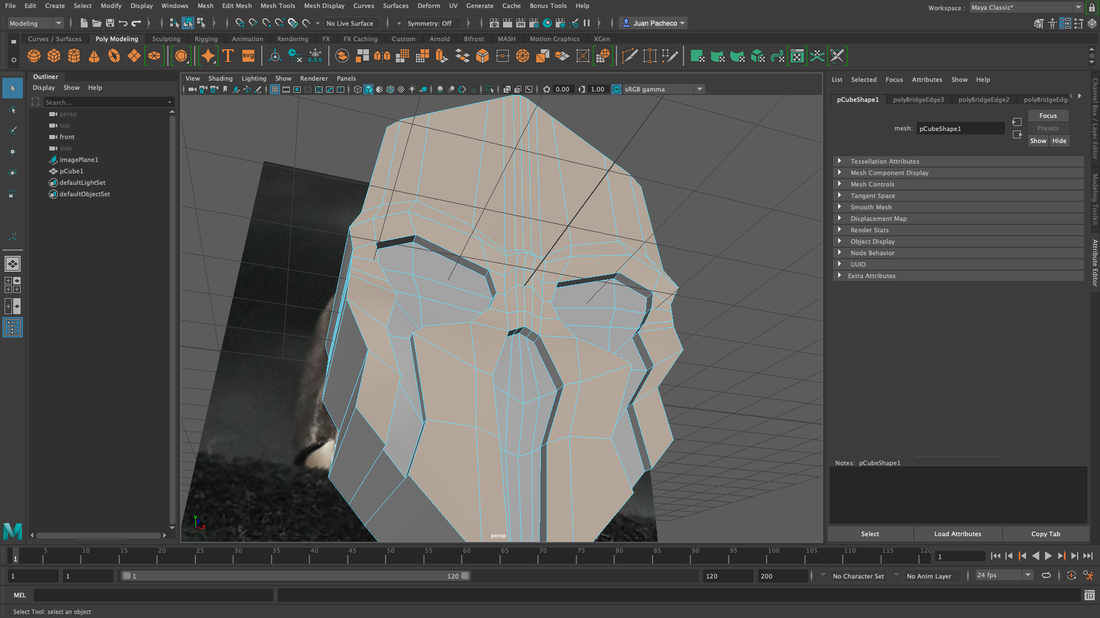
After better adapting the curvature, soften the design so that it does not remain so "lowpoly".
The detail of the eyebrow was created also from a cube that I was deforming and softening, in the end I adjusted it where I had to go and using a Boolean I managed to create that detail.
The ring placed so far was simulation, that is, it did not have the real measurements but it facilitated the creation.

Finally, export the model in .OBJ format, which is a fairly compatible extension between several CADs.
One point to consider is that when designing in Maya you do not have real measurements, only units.
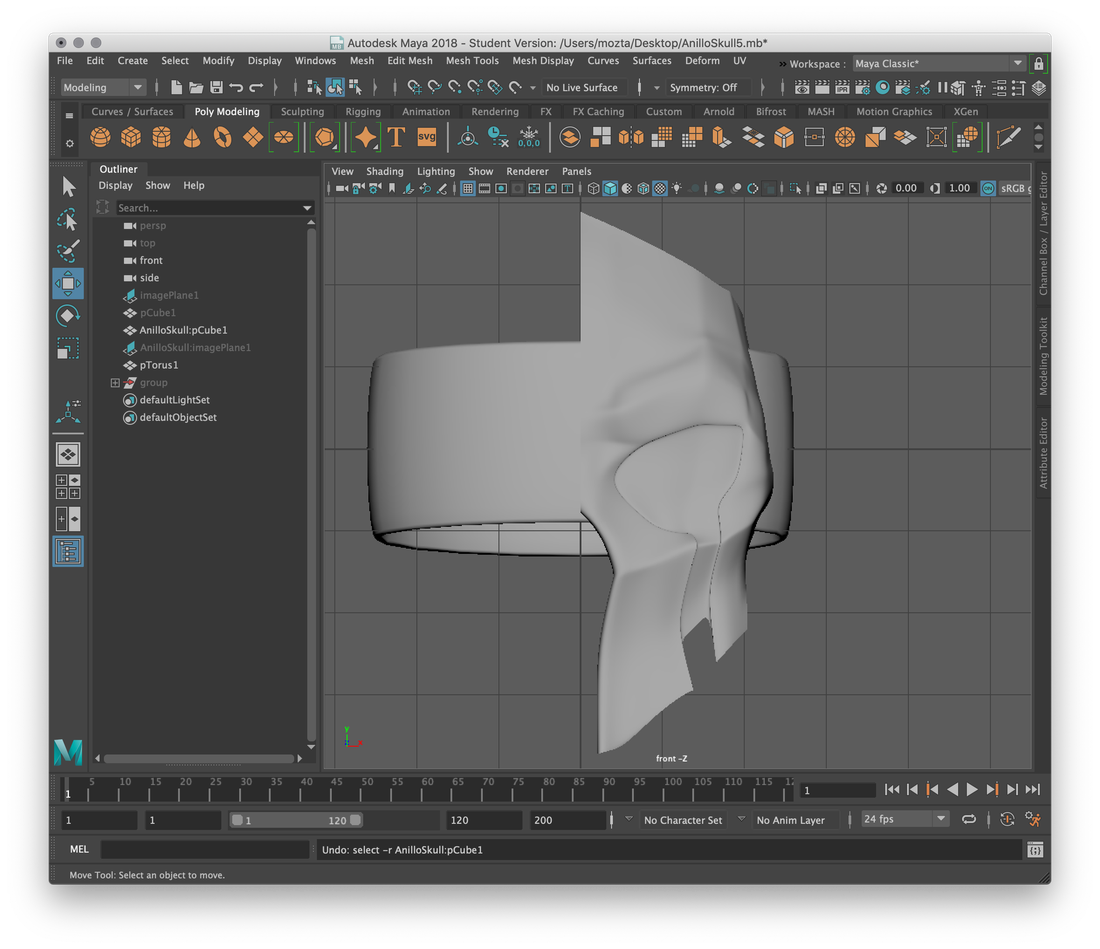
So then I use Rhinoceros CAD software where I design 2 circumferences with the measurements of my ring that I previously obtained. Extruded and then mesh my ring.
Import the model of my skull and adjust the dimensions to tie the measurements with the ring created in Rhinoceros since this one does have the real measurements.
Finally, remove the fake ring created in Maya and adjust the skull to the real ring. Export the model in .STL format to be able to print it.
 16.48.44.png)
 16.53.12.png)
 13.24.48.png)
In addition to this ring, I made another slightly simpler, a simple ring with the initial letter of my name. Design the letter R in Adobe Illustrator and export to rhino and extrude the details to create a highlight effect on the surface of the ring.
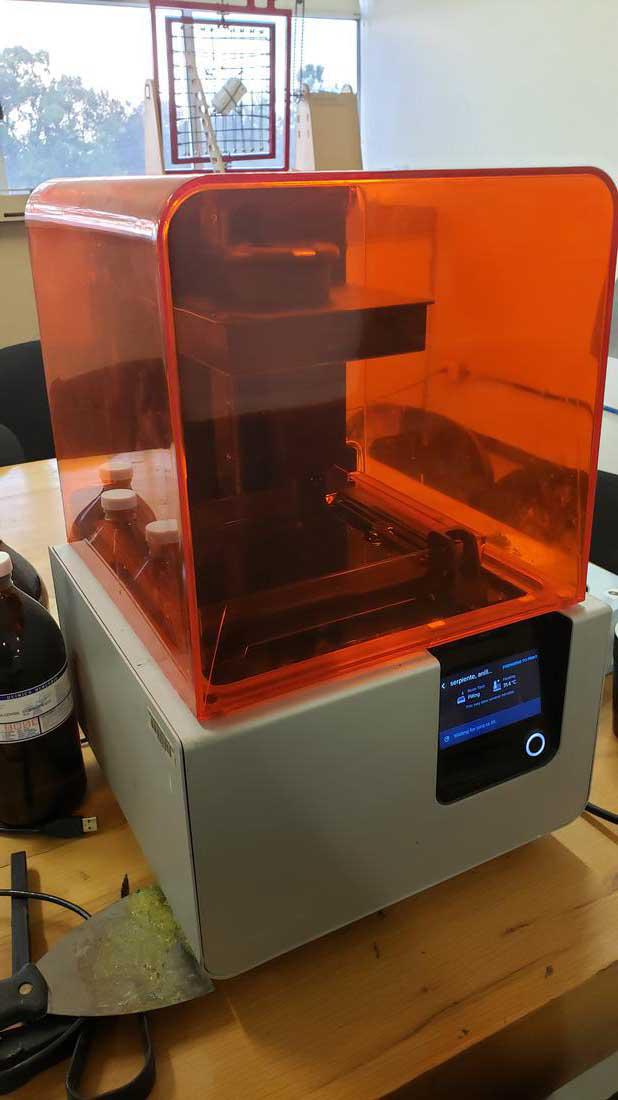
To make the impression we use a 3D printer different from the ones I normally used in the fab. We are talking about a castable resin printer.
Next, a little information about it.
The castable resin was designed to capture precise details and smooth surfaces. It burns cleanly and without waste, allowing jewelers to move directly from digital design to 3D printing suitable for casting.
Using the traditional method, a model or "pattern" is made in wax, a plaster mold is created around the wax model, and then that mold is baked in an oven. The wax is burned or "lost" to allow the metal pieces to be molded into the resulting mold. This same technique is now used with complex parts printed in 3D.
In the case of 3D printers, they use a resin similar to wax as a printing material. After completing the pattern assembly, the entire assembly is dipped several times into the suspension. The coating is allowed to dry and solidifies forming an outer layer on the pattern.
It is placed inside an oven and the original resin structure melts. Then, the final casting material is poured into the mold and allowed to cool and solidify. Finally, the exterior mold is eliminated and the castings go through traditional jewelry finishing techniques.
Next, I show the series of steps to make jewelry with this technique.

1.
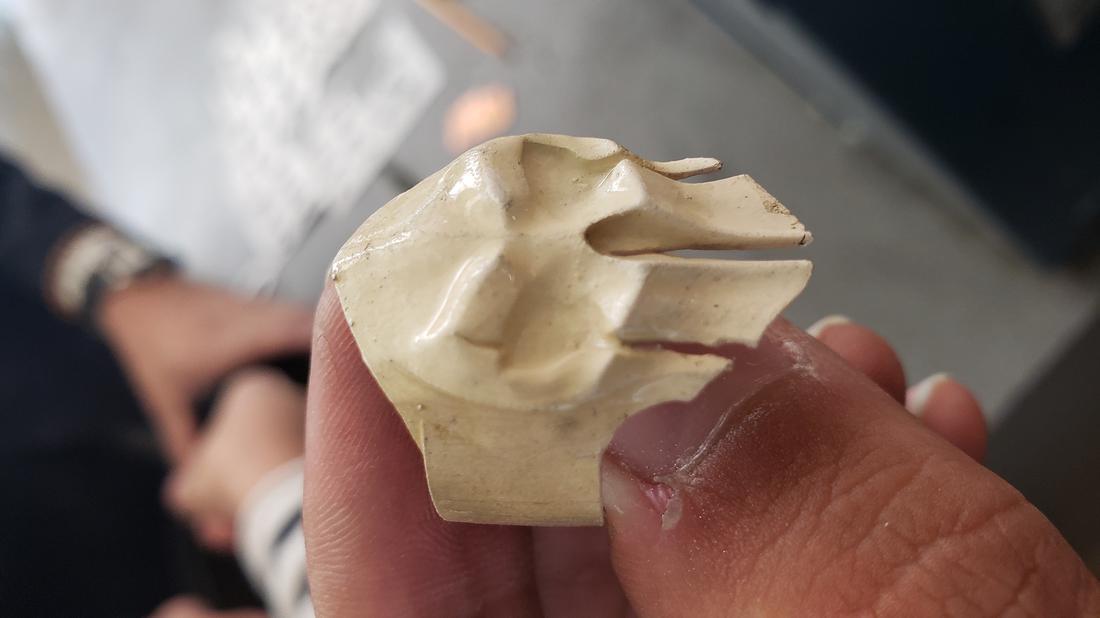
Formation of the moldTraditionally, this was done by pouring a special cast wax into a metal mold. 3D printing now allows the model to be printed directly from wax or castable resin.
2.
Assembly of the general moldThe initial or printed mold is then assembled in a "casting tree". This allows several parts to be generated at the same time. Some 3D printing methods skip this step by printing the models directly by forming the tree.
3.
Mold constructionAfter completing the assembly of the tree, the whole assembly is submerged several times in the suspension. The coating is allowed to dry and solidifies forming an outer ceramic layer on the pattern.
4.
BurnedThe structure is placed inside an oven and the original wax / resin structure is melted / burned, resulting in a negative hollow mold (cavity).
5.
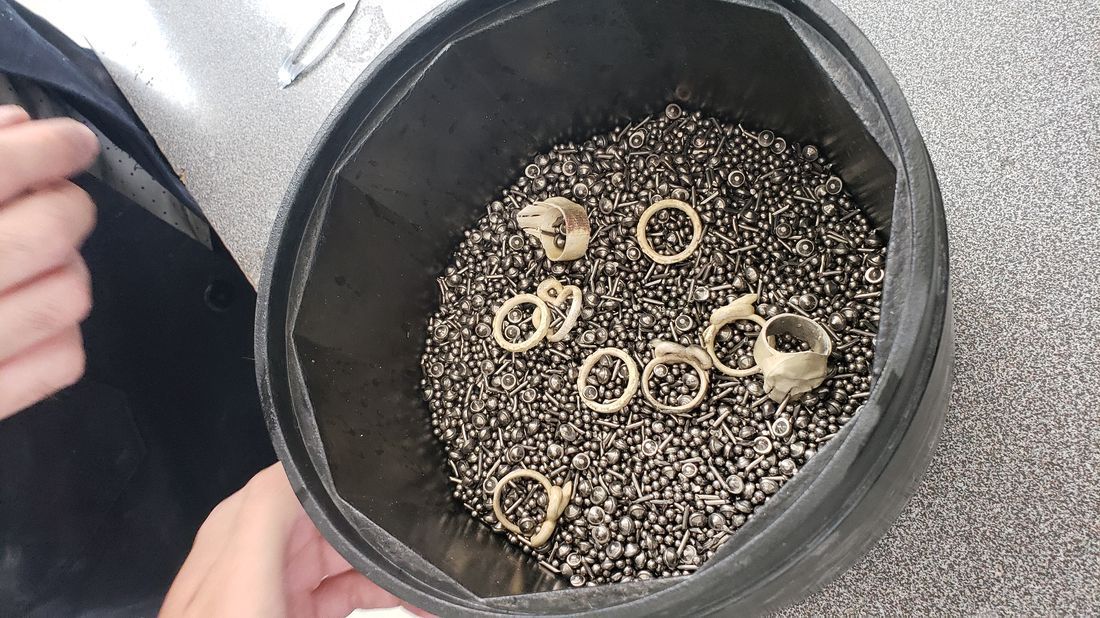
PouringOnce all the material of the original ceramic negative pattern has been removed, the final casting material is poured into the mold and allowed to cool and solidify. The pieces are often molded in brass and then electro-deposited in precious metals during the finishing stage.

6.
Mold breakageThe external ceramic mold must be removed. This is typically done by vibrating the mold to remove the outer covering.
7.
CutAfter the ceramic layer is completely removed, the individual cast elements are cut from the mold tree.
8.
FinishingThen, the castings go through traditional jewelry finishing techniques.
Printing the rings in castable resin.
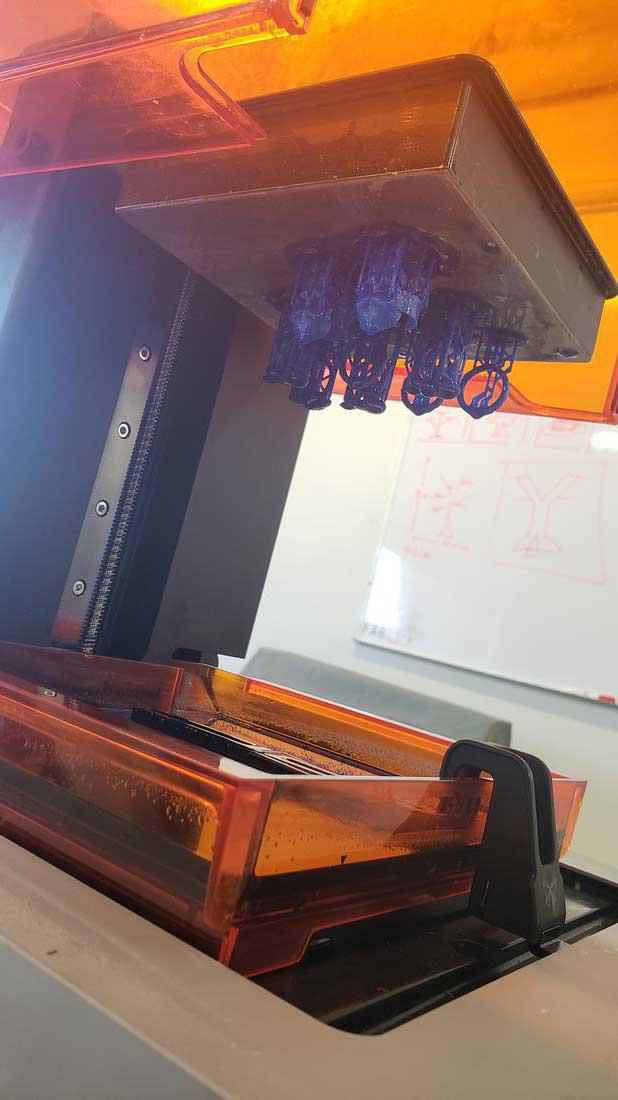
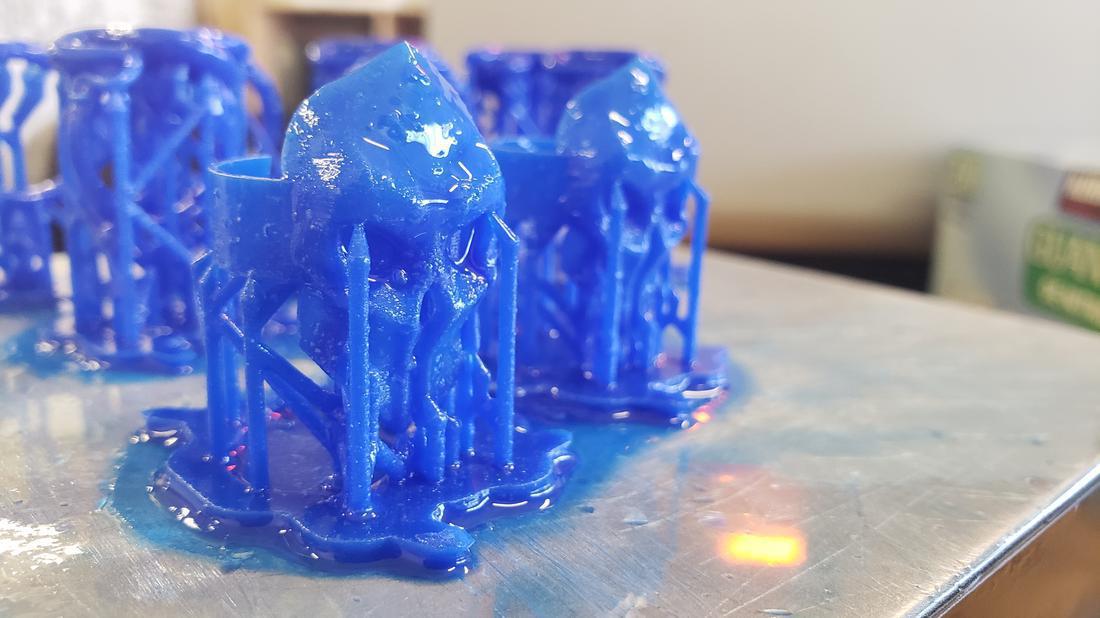
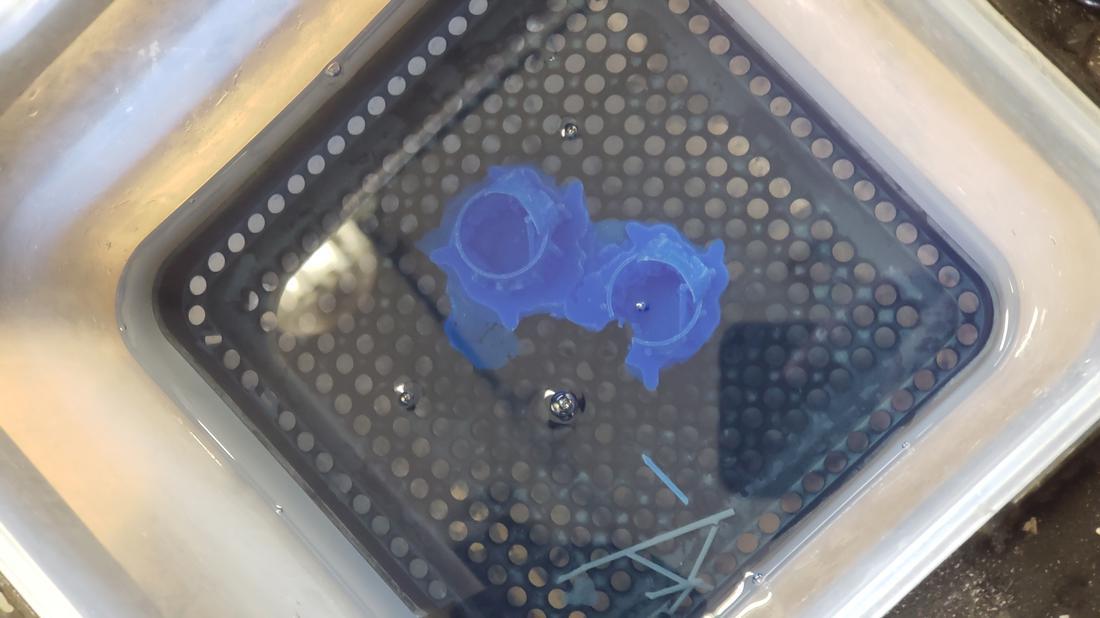
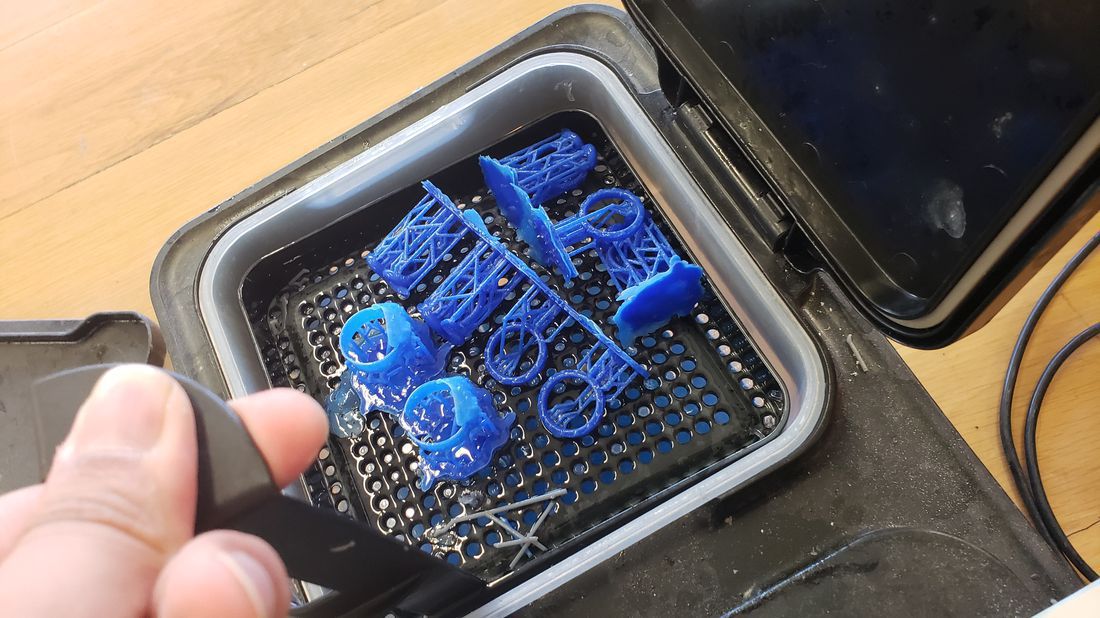
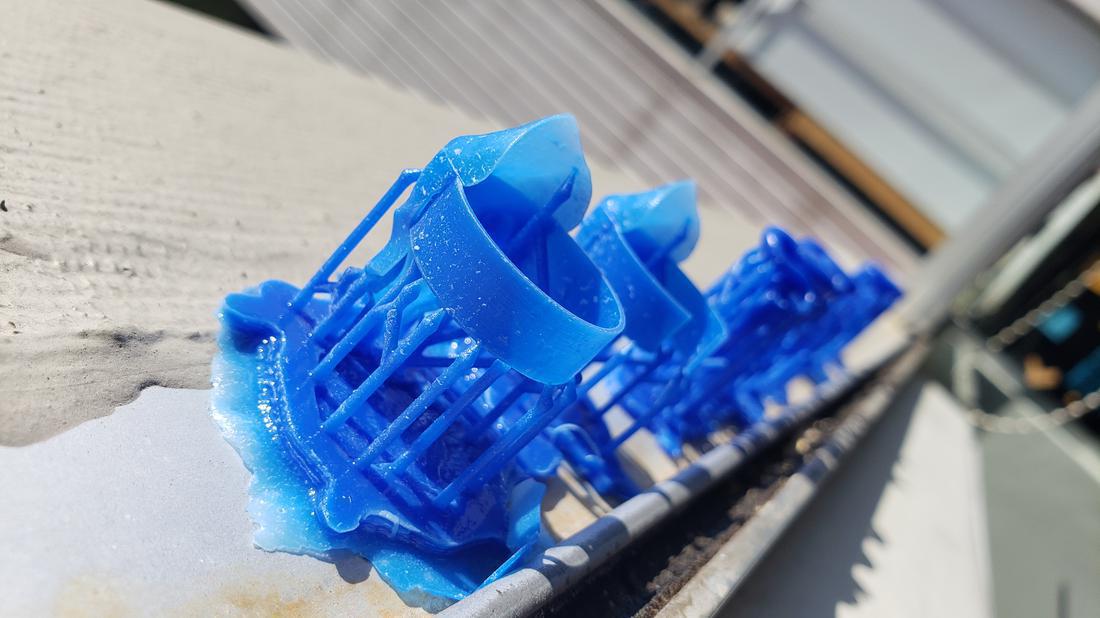
Then I removed the rings from the base and put them in isopropyl alcohol for 15 minutes to remove surplus. Then let it dry with sunlight.
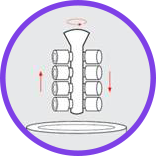
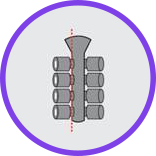
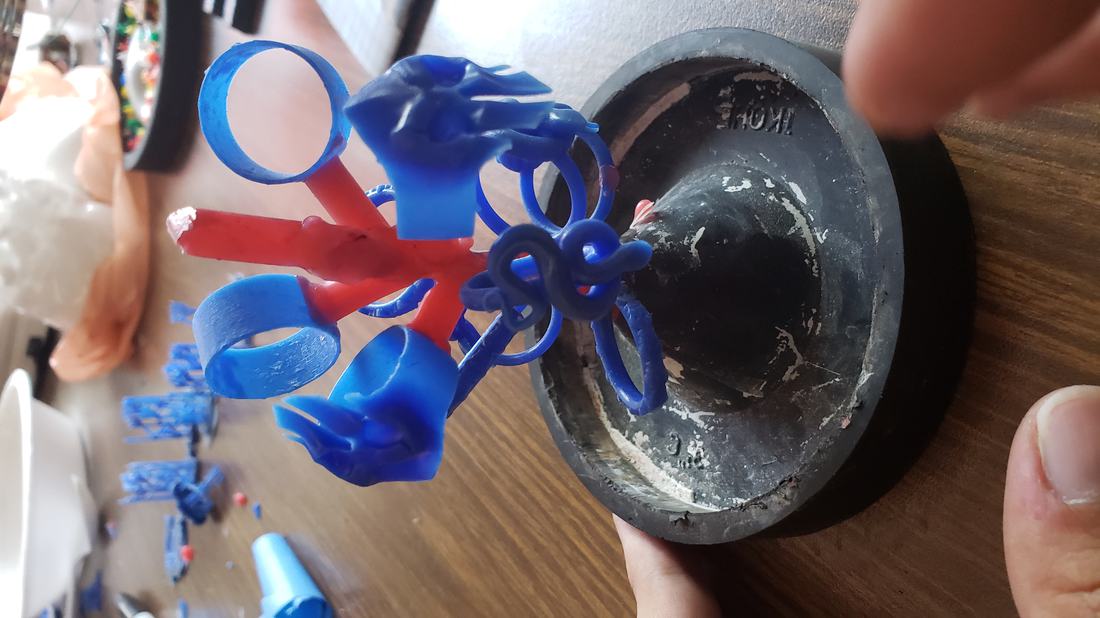
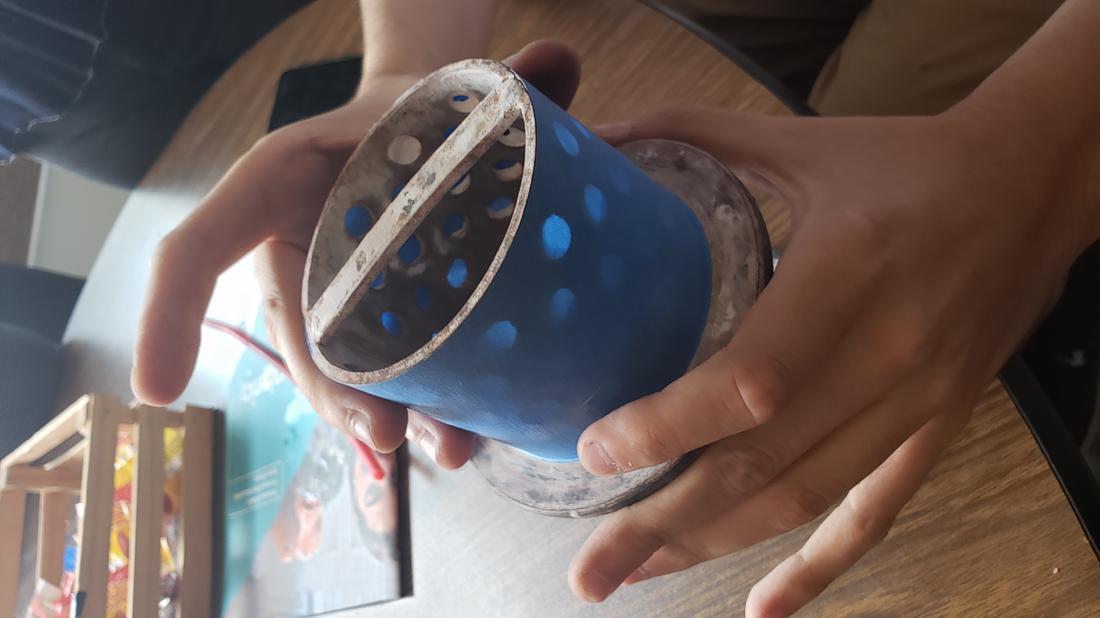
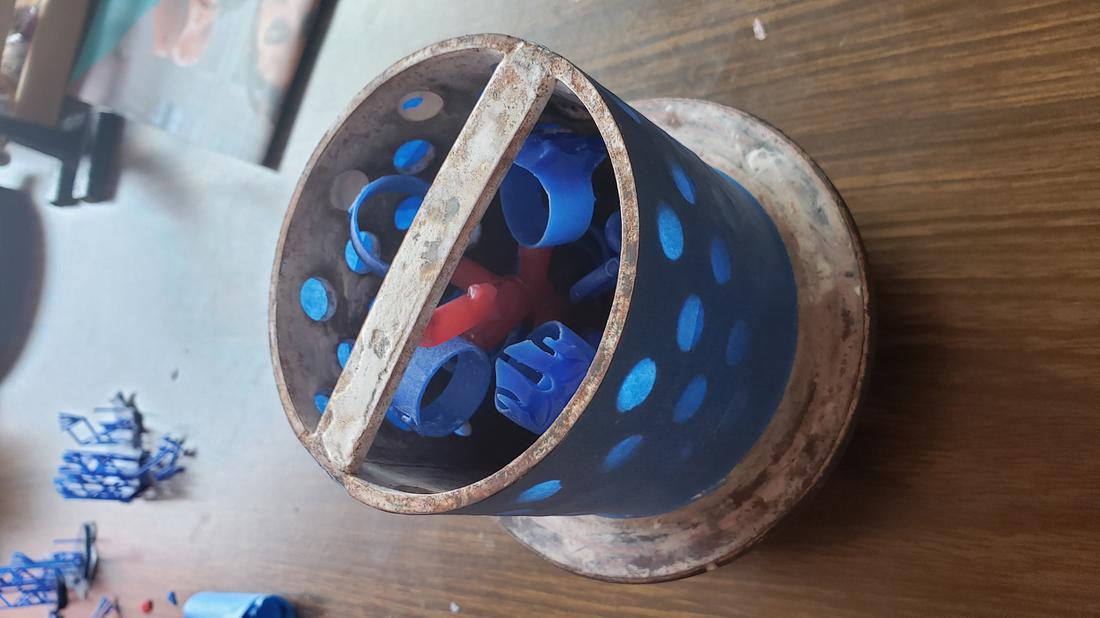
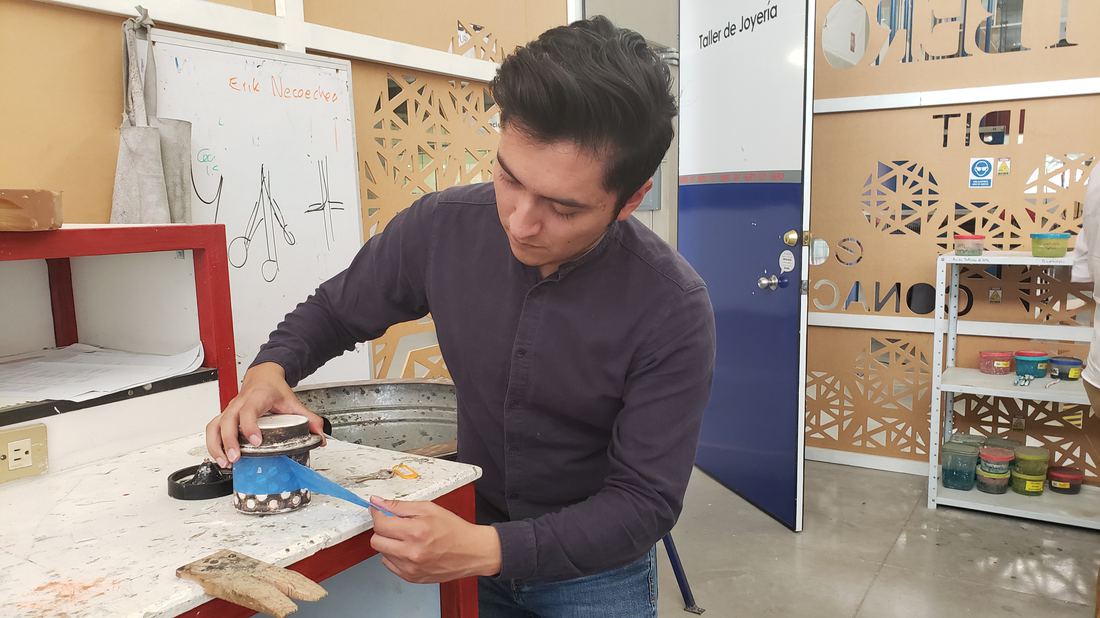
The next step was to build the foundry tree, where we glued all the rings with wax, and then put it inside the metal cylinder, which we covered with tape so that the mixture would not come out.
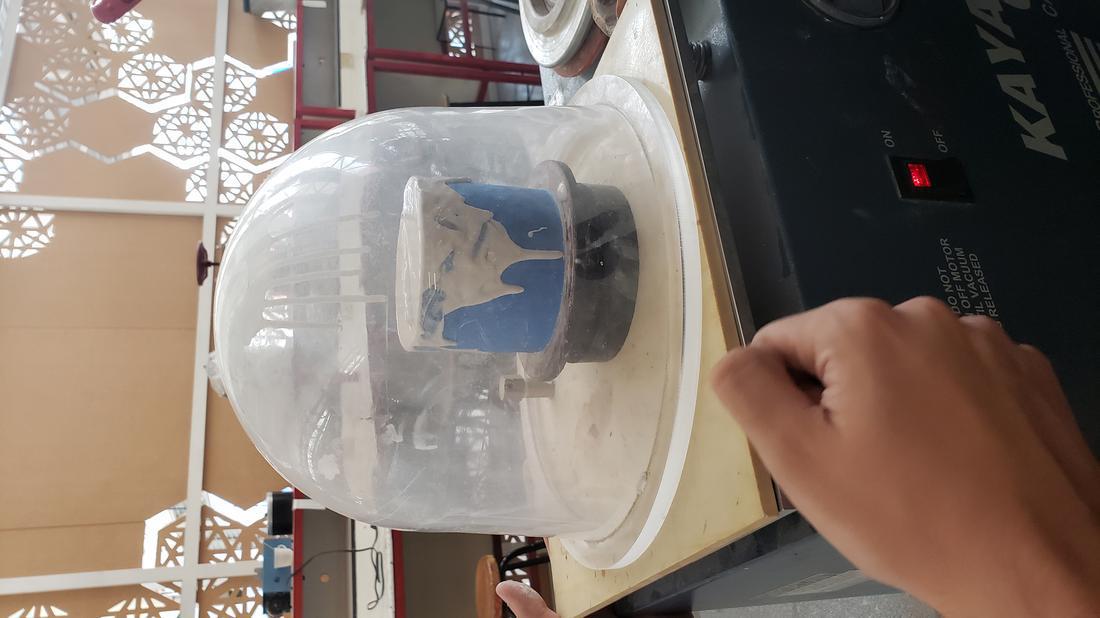
We pour the investment and place the mold in the vacuum machine to extract the possible bubbles that could be generated.
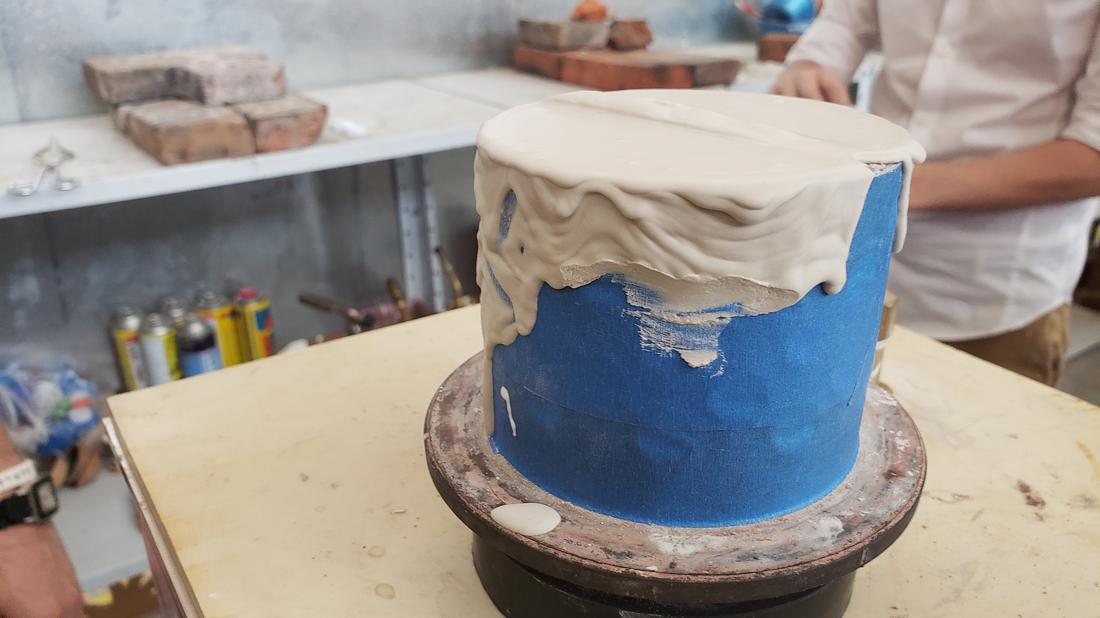
After waiting 4 hours for the mold to solidify, remove the tape and place it in the oven.
The rings we made were silver. In order to calculate how much silver will be required for the production of jewelry, it is necessary to weigh the resin rings together with the tree and then multiply it by the factor of the material.
| Ring | Castable resin | Quantity | Silver | Quantity | Skull helmet | 1.2 | 2.4 | 12.588 | 25.176 |
|---|---|---|---|---|
| baby skulls | 0.7 | 2.1 | 7.343 | 22.029 |
| R | 0.4 | 0.8 | 4.196 | 8.392 |
| Snake | 0.9 | 3.6 | 9.441 | 37.764 |
| Trunk | 2.2 | 2.2 | 23.078 | 23.078 |
| Supports | 1.2 | 1.2 | 12.588 | 12.588 |
| Total resin | 12.3g | Total silver | 129.027g |
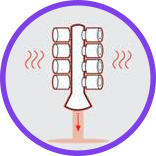
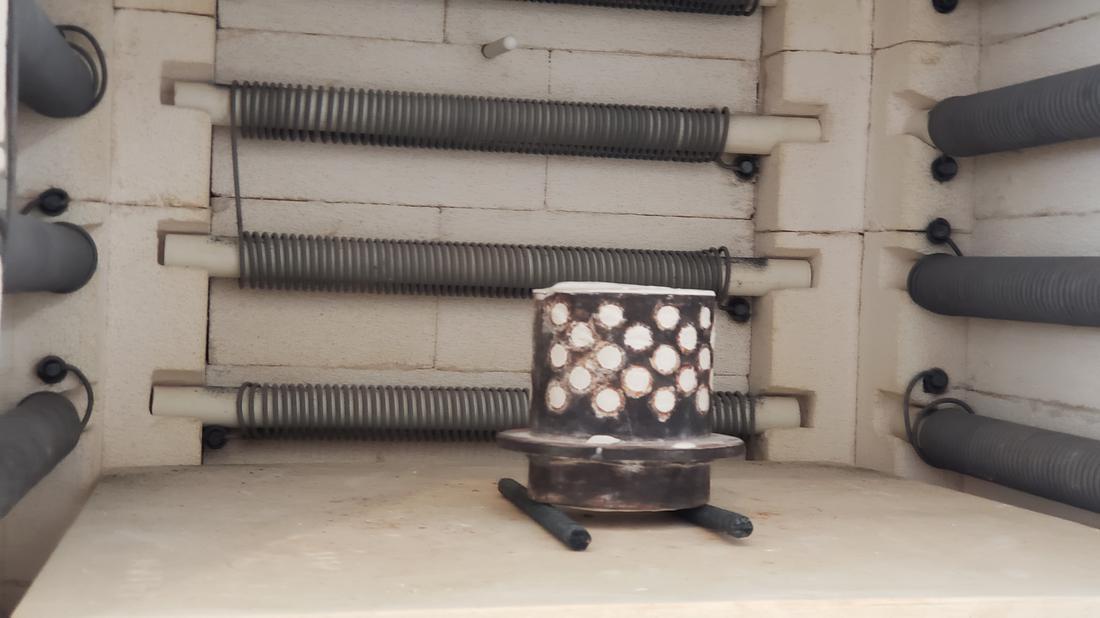
The baking of the mold we did it all night, gradually raising the temperature.
Do not forget that a correct burn is a critical step to guarantee a good quality casting in any casting process. Excessive burning can cause the resin to expand and burn the surface of the mold. Or a burn that does not reach sufficiently high temperatures can leave resin or ash inside the mold. Information on the recommended burn procedure for 3D printed model materials should be obtained from the supplier to increase the likelihood of a successful casting process.

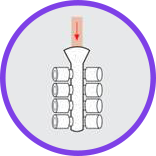
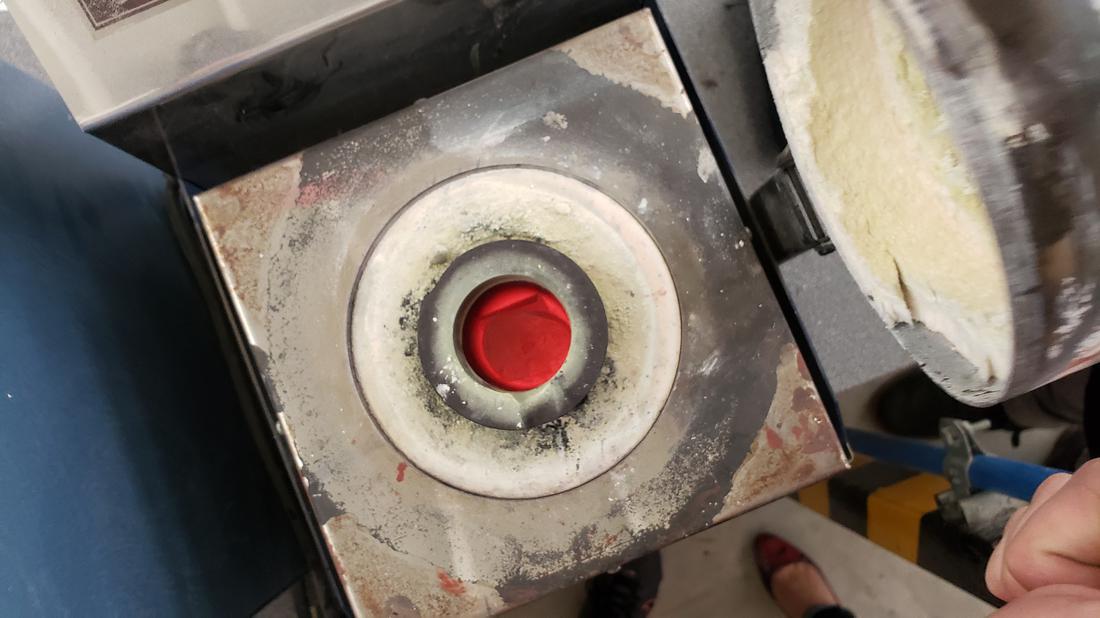
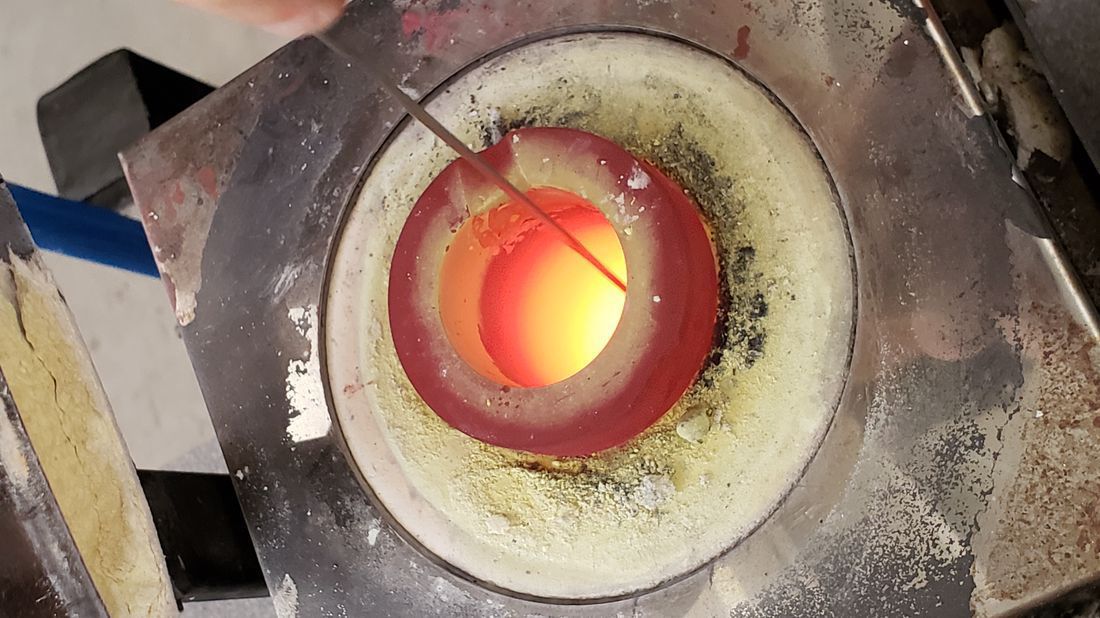
The next day we heat the cresol together with the material to melt up to 1100º to melt the silver and copper; we add 5% copper for the alloy.
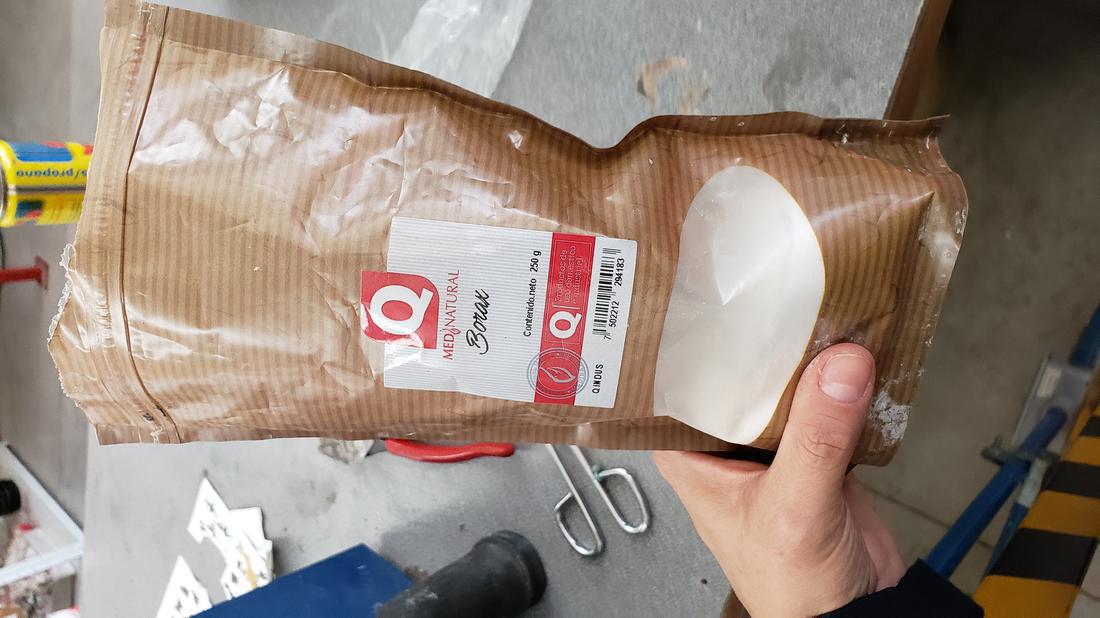
We also add a bit of borax as it allows the molten metal to flow evenly over the mold.

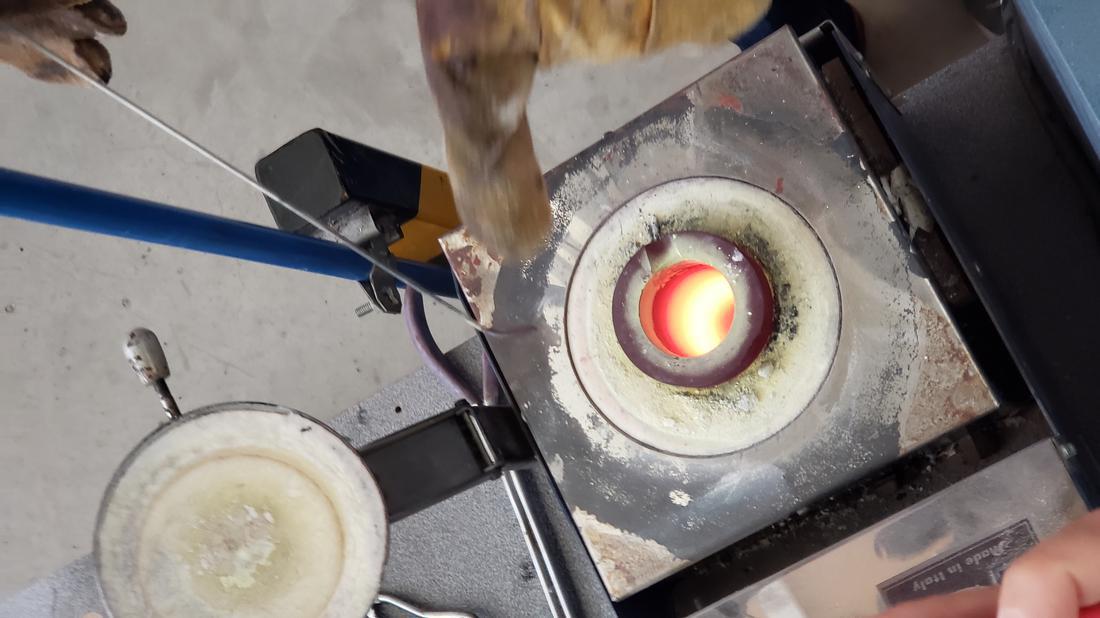
Next, teacher a video of the casting process.
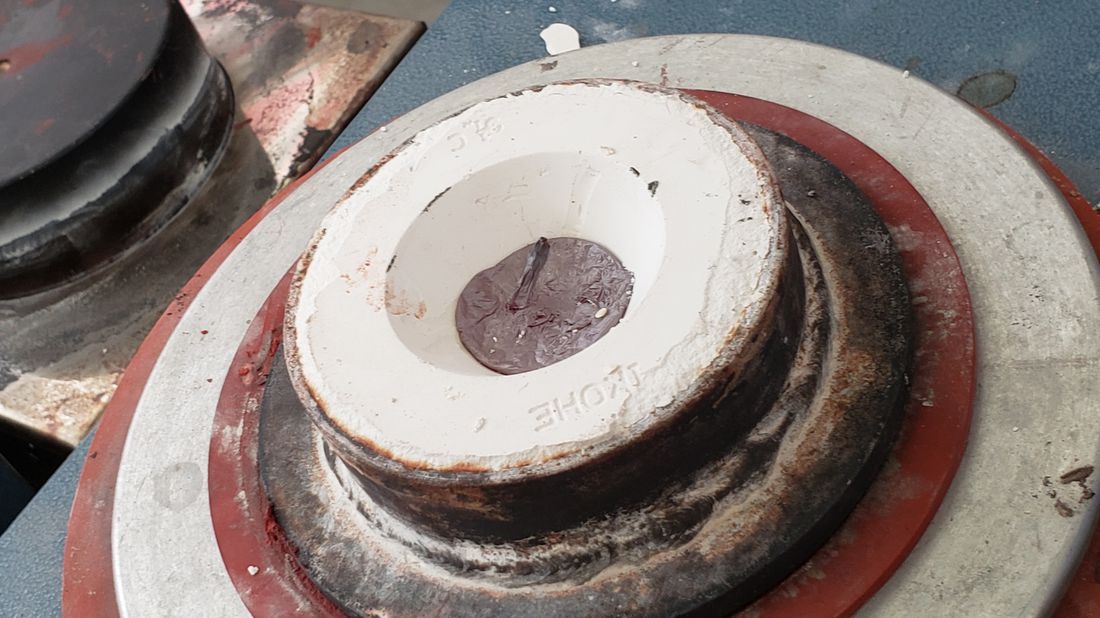
The result of the rings is seen in the following images.

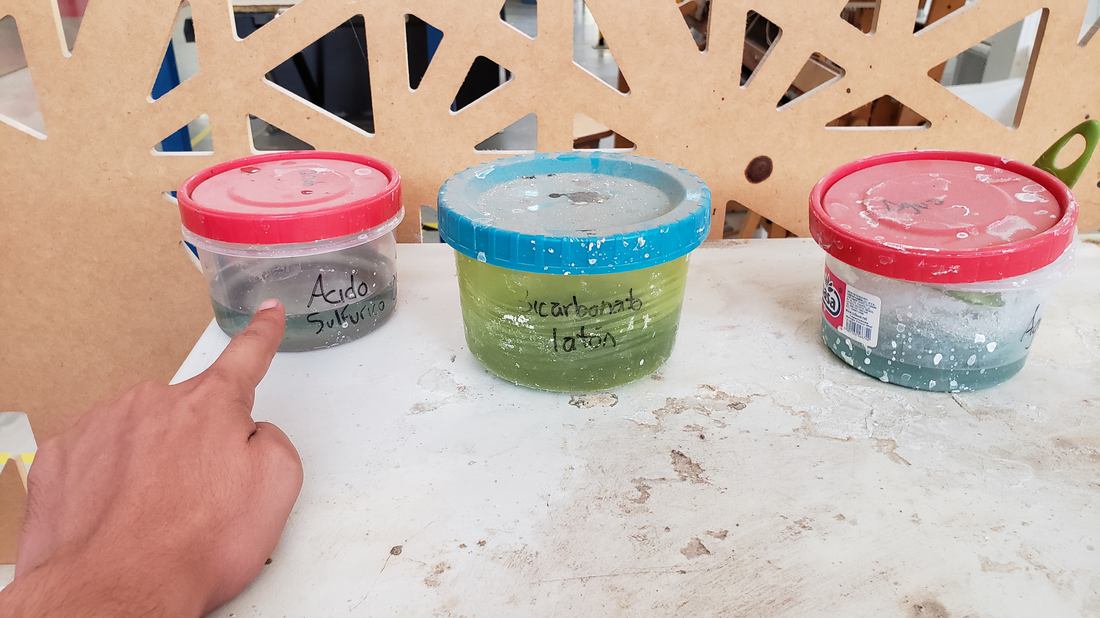
Then, the rings are placed in an acid solution for a few seconds and then in water.
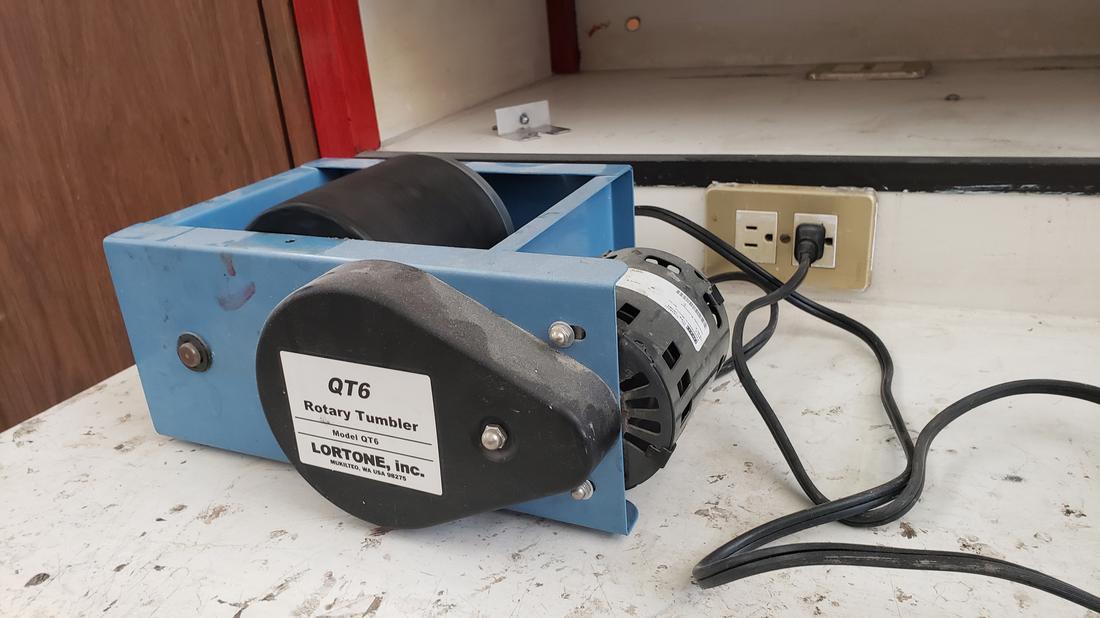
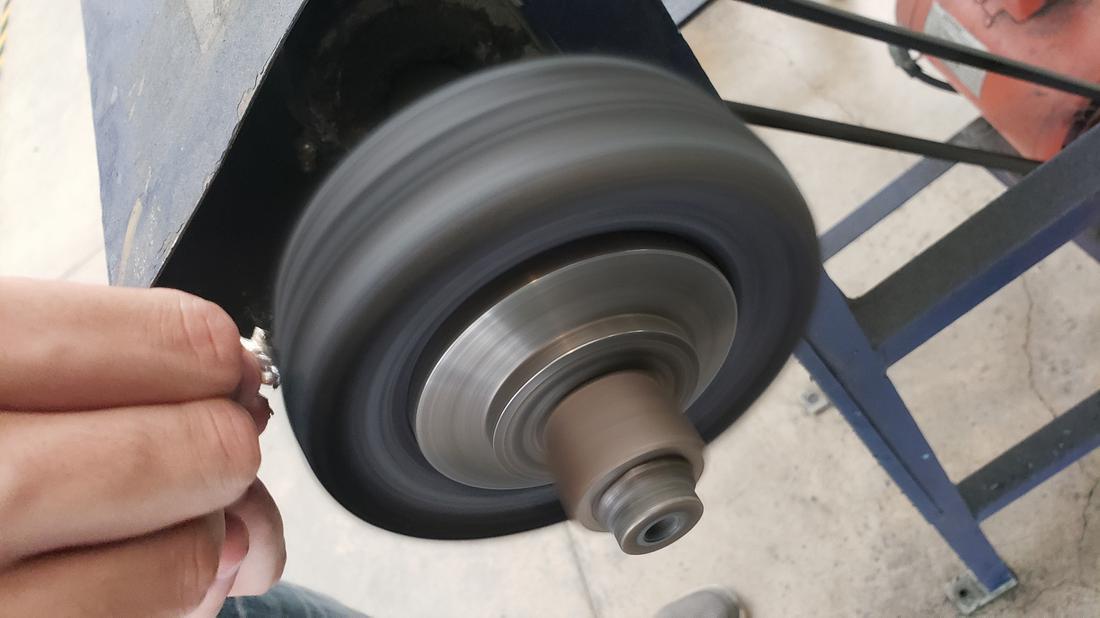
The next step is to polish the rings, for this we use a small machine that rotated them for 1 hour.
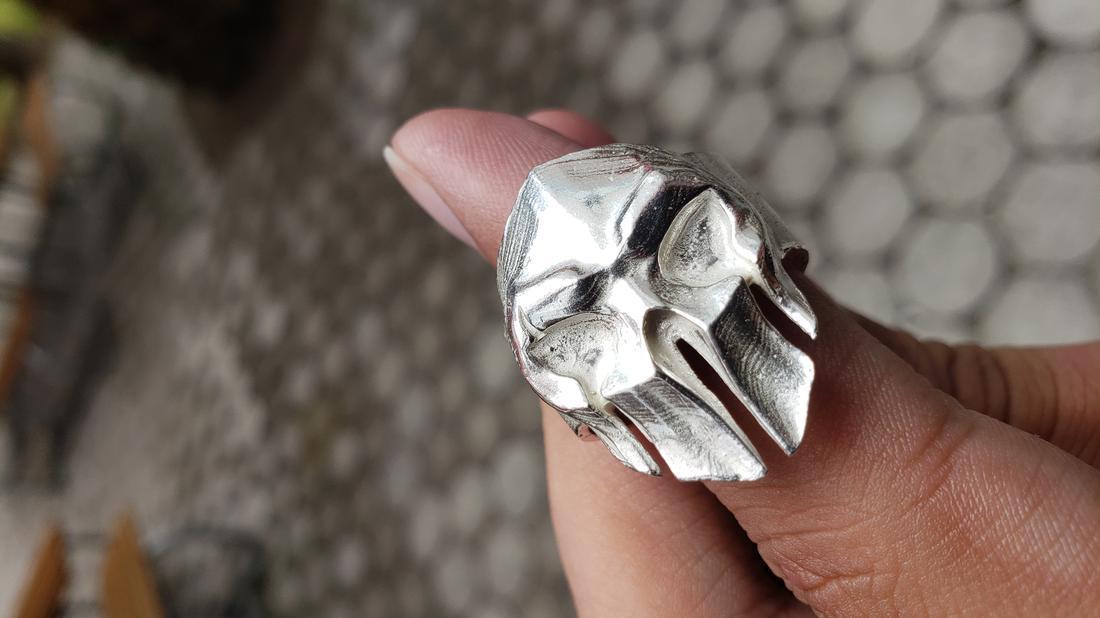
Finally, it is only necessary to give it the final finish, this is a very traditional process and it ends until you feel satisfied with the result.

The files //
Below you can find the download links of the original files created for this week.