Week 15: Interface and application programming
Assignment
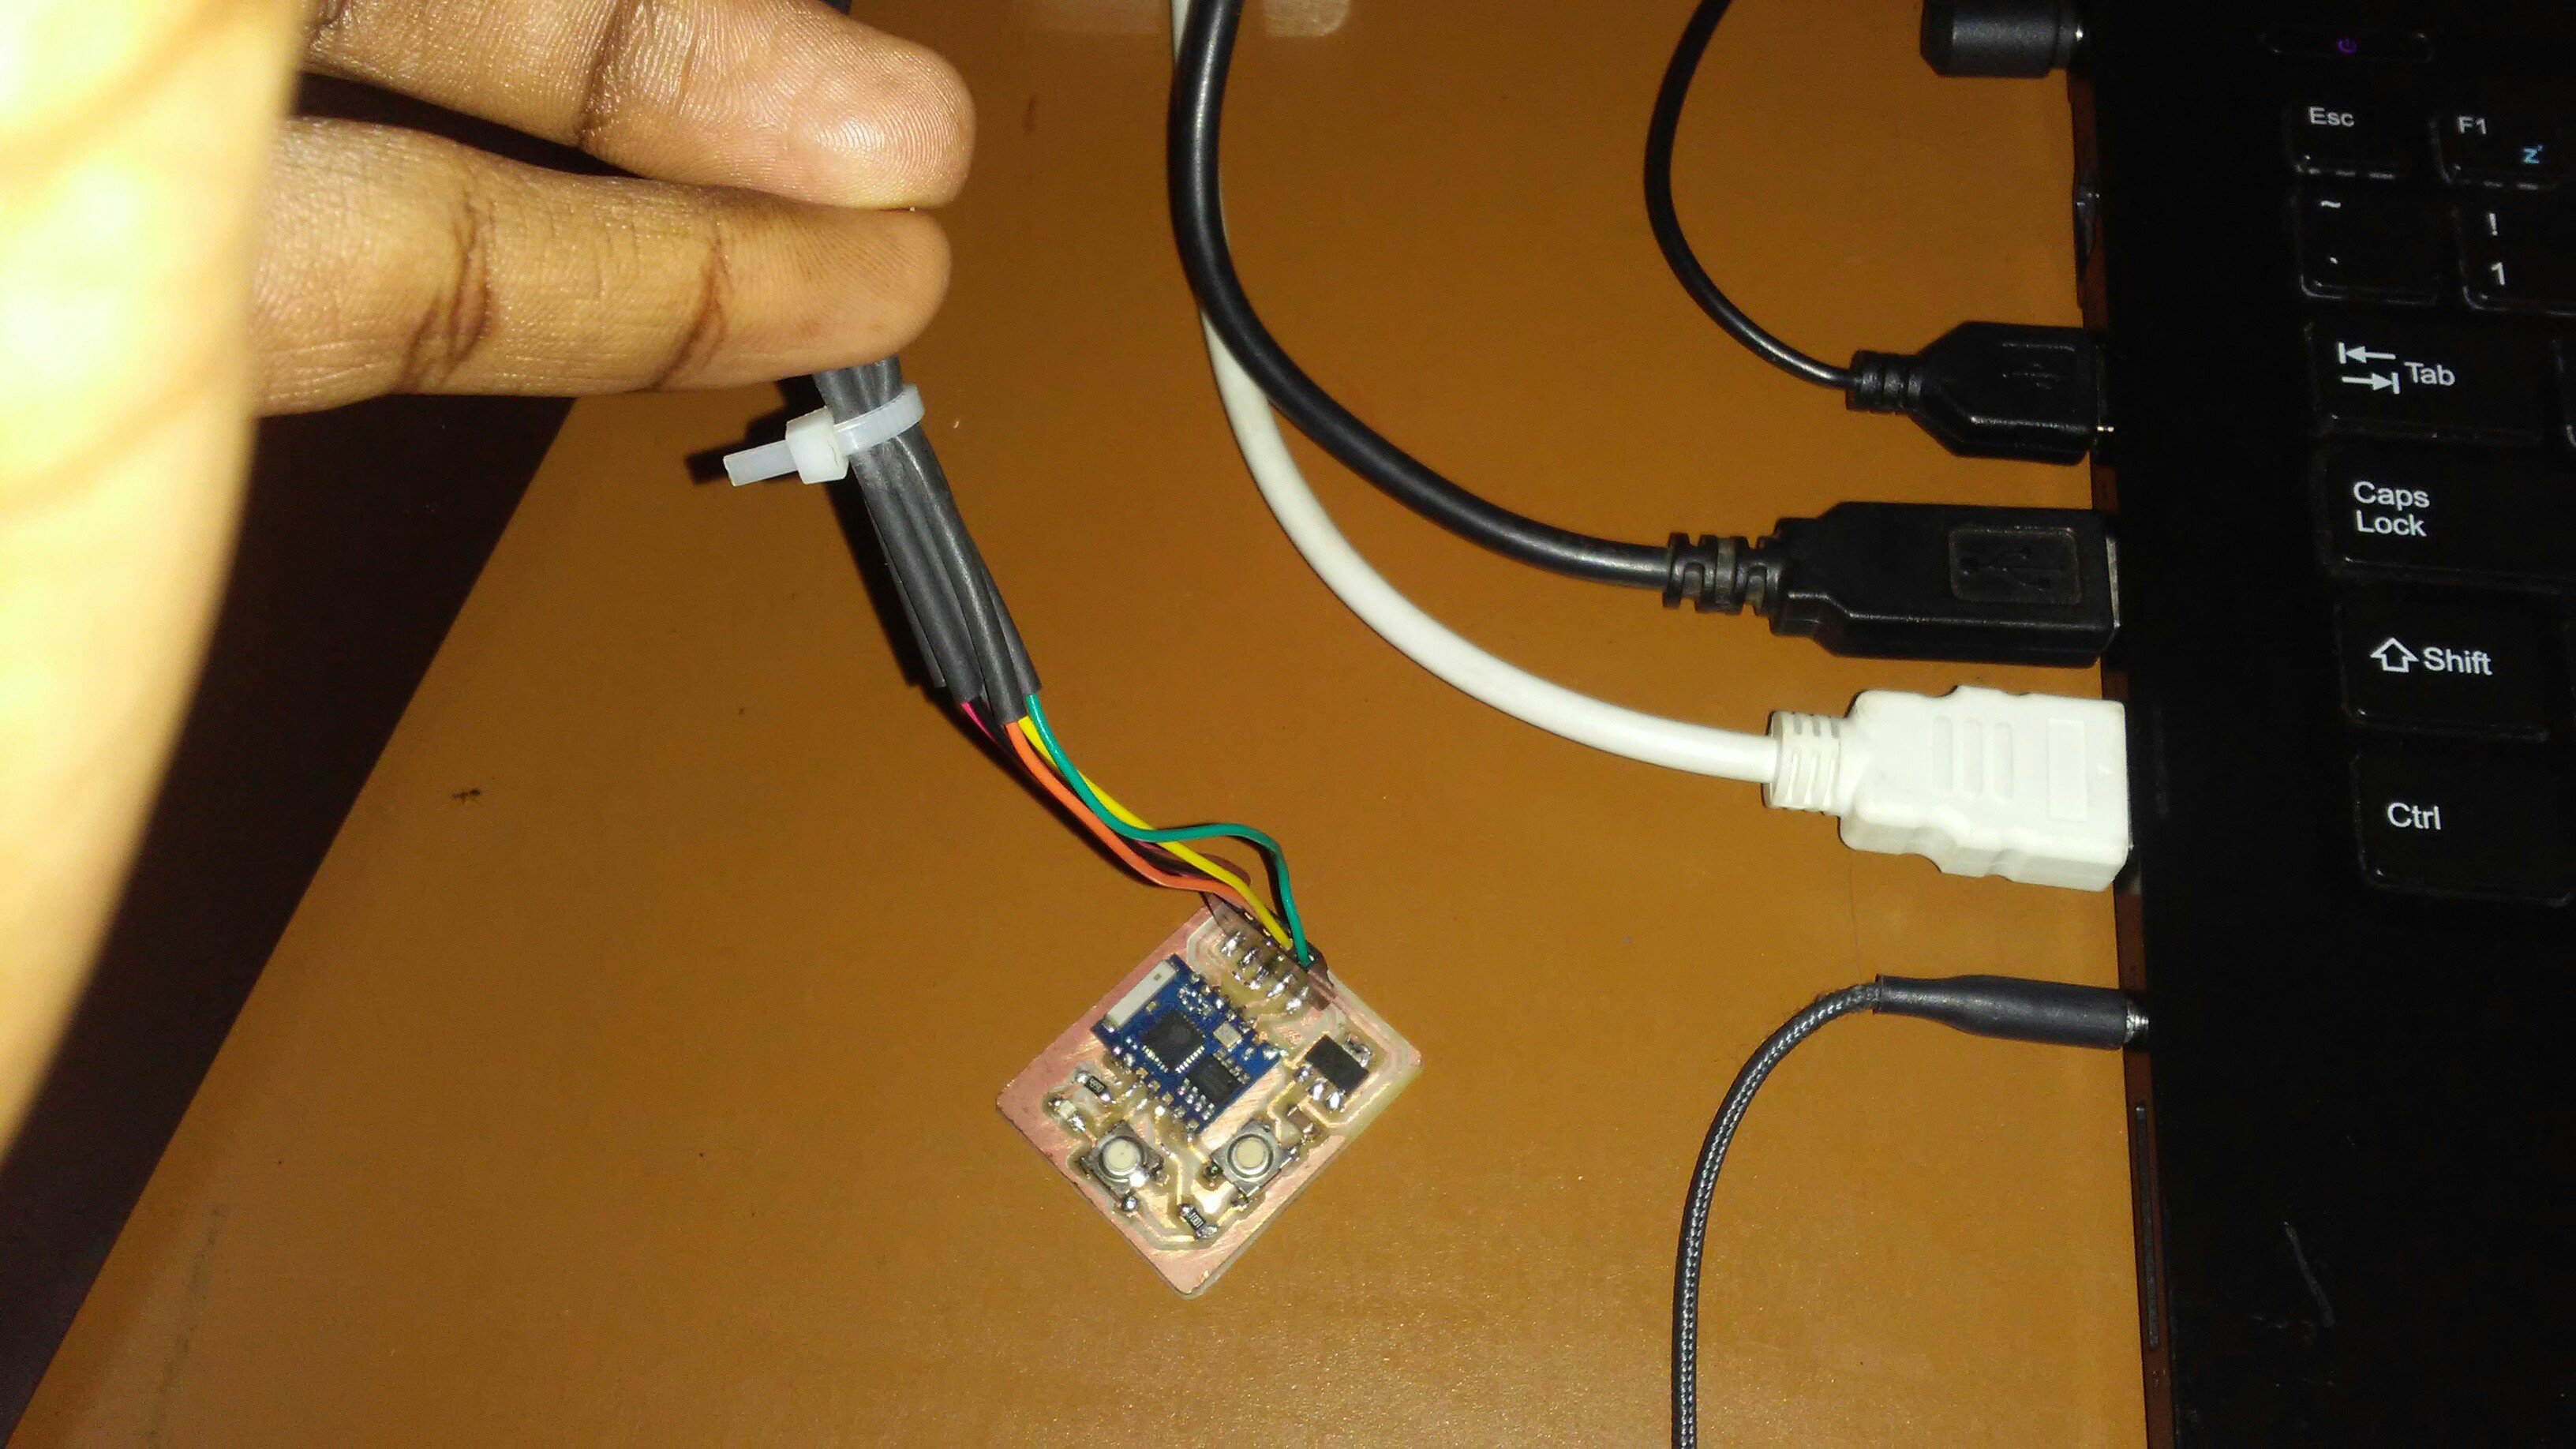
For this work I used the board I developed in week 13 to make an interface to control components attached to the board.

I used one of the above board.
I designed the interface as a web platform and uploaded it in the board to control componets(LED and Button) on the board.
To program this board I used the arduino IDE and I had to add the board in the IDE. I did it using this guide. The library I used were include when I installed the board in the IDE.
Here is the source code for the web.
<!DOCTYPE html>
<html>
<head>
    <meta content="text/html; charset=iso-8859-2" http-equiv="Content-Type">
    <meta name="viewport" content="width=device-width, initial-scale=1">
    <style type="text/css">
      body {
        font-size:15px;
        font-family: gabriola;
        padding-left:30px;
        padding-bottom: 15px;
        padding-right:15px;
        padding-top:15px;
        background-color: #e6f2ff;
       }
     h1{
       text-align: center;
       font-size:35px;
       color:steelblue;
     }
    button {
        display: table-cell;
        height: 200px;
     /*change this and the width for the size of your initial circle*/
        width: 200px;
        text-align: center;
        vertical-align: middle;
        border-radius: 50%;
      /*make it pretty*/
        background: red;
        color:white;
        font: 18px ;
      /*change this for font-size and font-family*/
    }
    .circle-green {
        display: table-cell;
        height: 200px;
     /*change this and the width for the size of your initial circle*/
        width: 200px;
        text-align: center;
        vertical-align: middle;
        border-radius: 50%;
      /*make it pretty*/
        background: green;
        color:white;
        font: 18px;
      /*change this for font-size and font-family*/
    }
    </style>
<title>FabAcademy | Interface and Application Programming</title>
</head>
<body>
    <h1>Interface and Application Programming</h1>

    <div>
        <button type="button">BUTTON!</button>
    </div>

    <br><br>

    <div class="circle-green">
        <p>Switch Pressed on Board!</p>
    </div>
</body>
</html>
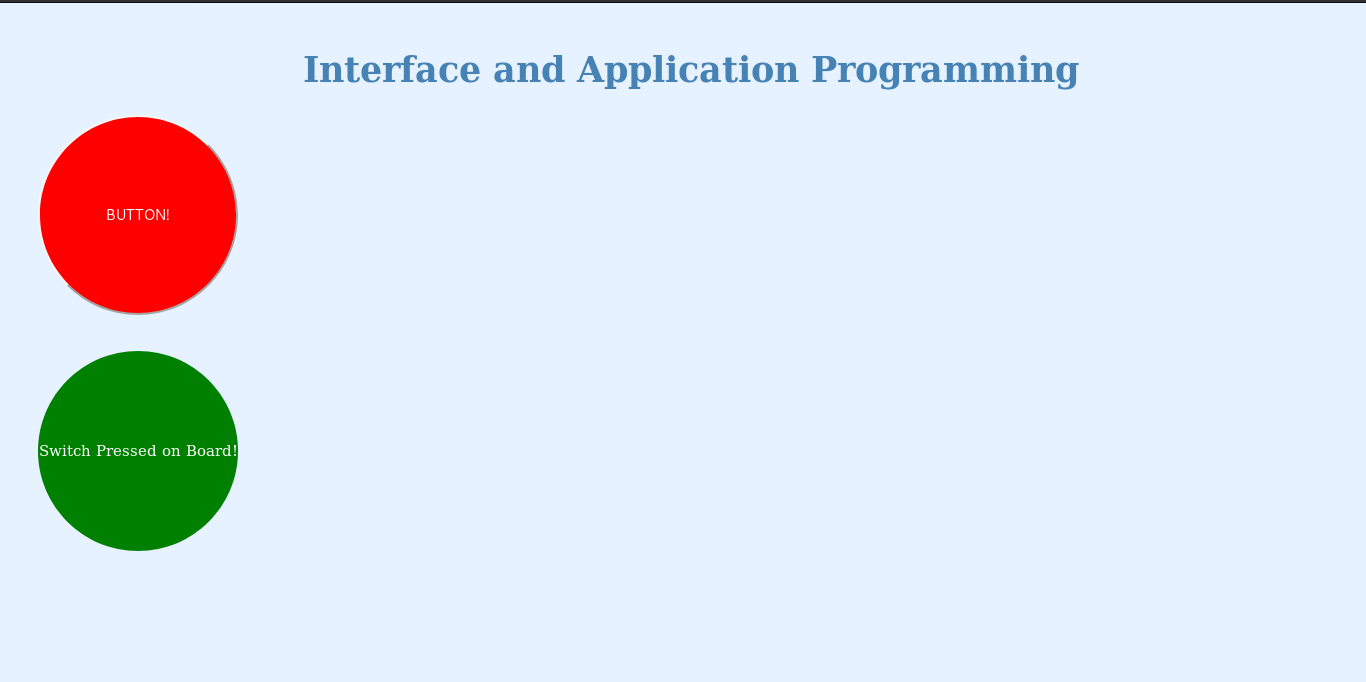
This is how the web looks like.
Now I include the source code above in arduino ESP8266 server.
This is the final source code.
#include <ESP8266WiFi.h>

const char* ssid = "******";
const char* password = "*******";

WiFiServer server(80);

int led = D1;
int btn = D2;

void setup() {
  Serial.begin(115200);
  Serial.println();
  // Connect to WiFi network
  while (WiFi.status() != WL_CONNECTED) {
    delay(500);
    Serial.print(".");
  }
  Serial.println("");
  Serial.println("WiFi connected");

  // Start the server
  server.begin();
  Serial.println("Server started");

  // Print the IP address
  Serial.print("Use this URL to connect: ");
  Serial.print("http://");
  Serial.print(WiFi.localIP());
  Serial.println("/");

  pinMode(led, OUTPUT);
  pinMode(btn, INPUT);
}

void loop() {
  // Check if a client has connected
  WiFiClient client = server.available();
  if (!client) {  // No client is connected
    return;
  }

  // Wait until the client sends some data
  Serial.println("new client");
  while (!client.available()) { // No data from client
    delay(1);
  }

  // Read the first line of the request
  String request = client.readStringUntil('\r');
  Serial.println(request);
  client.flush();

  // Return the response
  client.println("HTTP/1.1 200 OK");
  client.println("Content-Type: text/html");
  client.println(""); //  do not forget this one
  client.println("<!DOCTYPE HTML>");
  client.println("<html>");
  client.println("<head>");
  client.println("<meta content='text/html; charset=iso-8859-2' http-equiv='Content-Type'>");
  client.println("<meta name='viewport' content='width=device-width, initial-scale=1'>");
  client.println("<style type=\"text/css\"> body { font-size:15px; font-family: gabriola;");
  client.println("padding-left:30px; padding-bottom: 15px; padding-right:15px; padding-top:15px;");
  client.println("background-color: #e6f2ff; } h1{ text-align: center; font-size:35px; color:steelblue; }");
  client.println("button { display: table-cell; height: 200px;");
  client.println("width: 200px; text-align: center; vertical-align: middle; border-radius: 50%;");
  client.println("background: red; color:white; font: 18px; }");
  client.println(".circle-green { display: table-cell; height: 200px;");
  client.println("width: 200px; text-align: center; vertical-align: middle; border-radius: 50%;");
  client.println("background: green; color:white; font: 18px; } </style>");
  client.println("<title>FabAcademy</title> </head>");
  client.println("<body> <h1>Interface and Application Programming</h1>");

  client.println("<div> <a href=\"/ledON\"><button type=\"button\">BUTTON / LED ON!</button></a>");
  client.println("<div> <a href=\"/ledOFF\"><button type=\"button\">BUTTON / LED OFF!</button></a>");
  client.println(" </div> <br><br>");
  if (digitalRead(btn) == HIGH) {
    client.println("<div class=\"circle-green\"> <p>Switch Pressed on Board!</p> </div>");
  }
  else {
    client.println("<div class=\"circle-green\"> <p>Switch Not Pressed</p> </div>");
  }
  client.println("</body> </html>");

  Serial.println("client disconnected\n");
}
Here I teste the board with the above code.
below it is the video of the project working
Files used for this assignment can be found here.