Goal of week 2
- work through a git tutorial
- build a personal site in the class archive describing you and your final project
Main Topics :
- Version Control
- Web Development
- Project management principles
Version Control
Version Control System (VCS) is a software that helps software developers to work together and maintain a complete record of the modifications of their work.
Although I am studying Engeneering, I haven't never studied or having a lecture regarding the version Control and Git. Infact, I have learned it watching tutorials which explained its applications to this course and the main commands which I am going to use.
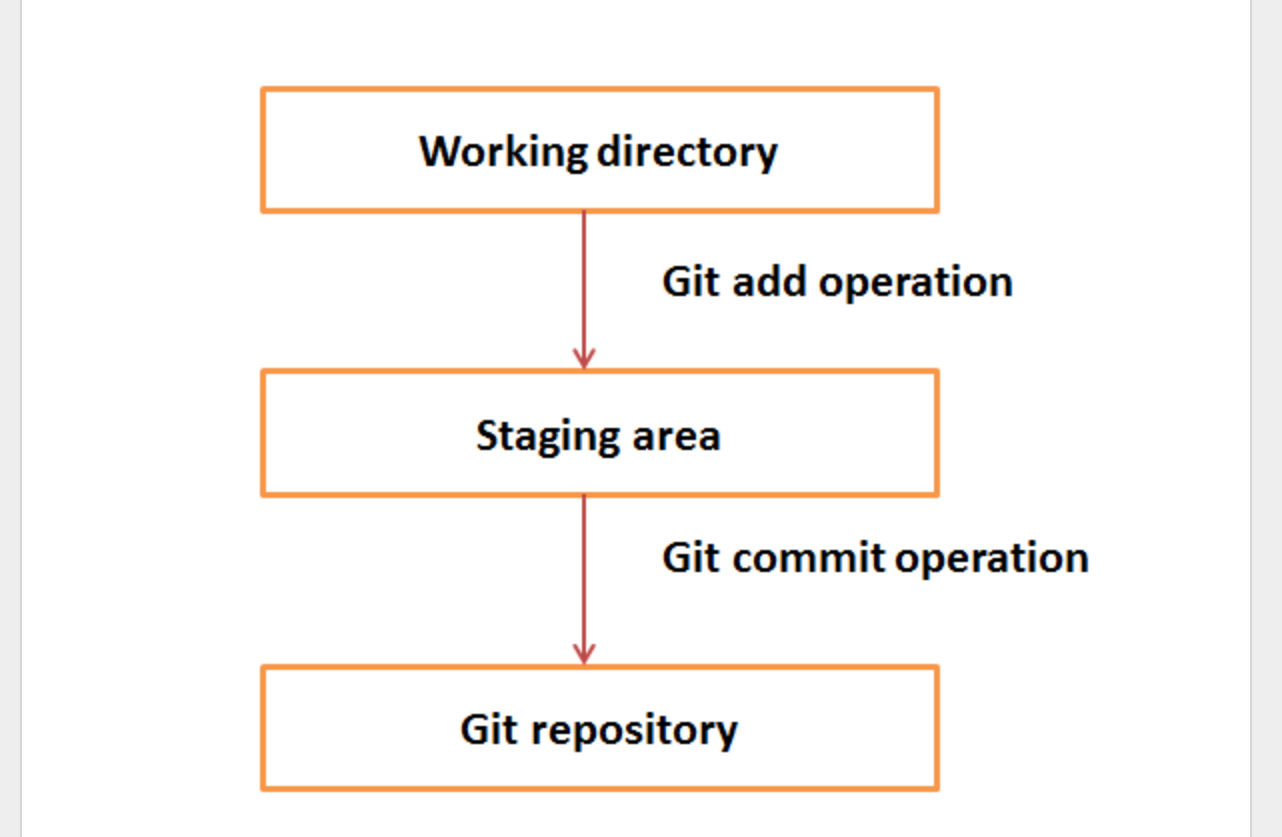
Git Working
In other CVCS, when you make some changes and commit them, you change directly the repository. In Git, when you edit a file from the working directory, you have to add edited file in a stage area, then you commit the operations and, at the end, you push the modifications which change permanently the Git repository. These steps can be summarized in the following diagram:
An example of an adding and commit of a file with git:
 //First commit//
 [bash]$ git add namefile1
 //adds file to the staging area//
 [bash]$ git commit –m “Added file1 operation”
 //Second commit//
 [bash]$ git add namefile2
 //adds file to the staging area//
 [bash]$ git commit –m “Added file2 operation”
  //push file to repository
  [bash]$ git origin master
Main Git Operations:
Clone:
Clone operation creates the instance of the repository.
Pull:
Pull operation copies the changes from a remote repository instance to a local one.
Push:
Push operation copies changes from a local repository instance to a remote one.
Commits
Commit holds the current state of the repository.
GitLab:
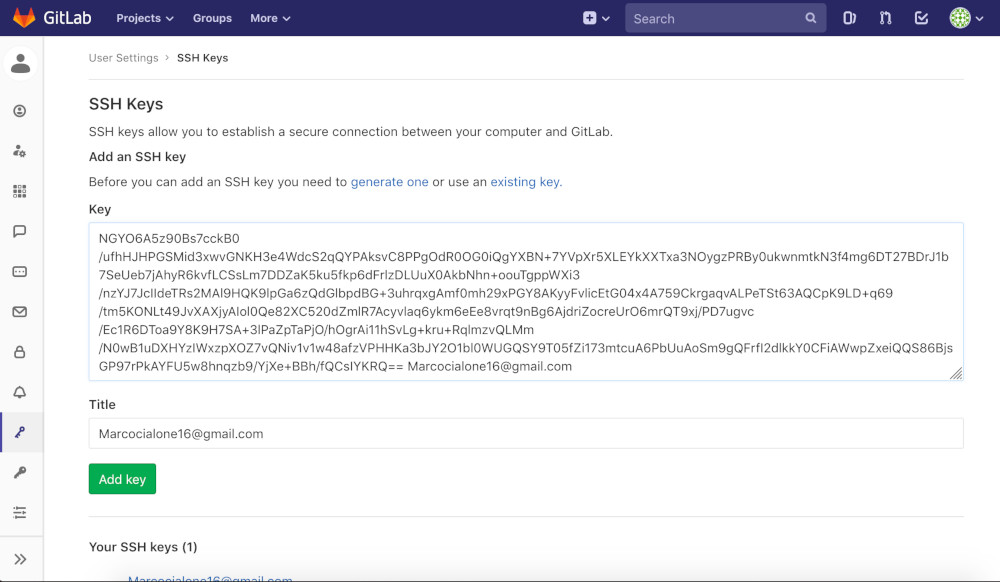
-Generation of SSH Key
-Command to generate a new SSH Kew pair:
First Input and its output:
     MBP-di-Marco-2:~ marco$   ssh-keygen -t rsa -C "Marcocialone16@gmail.com" -b 4096
     Generating public/private rsa key pair.
     Enter file in which to save the key (/Users/marco/.ssh/id_rsa):
     /Users/marco/.ssh/id_rsa already exists.
     Overwrite (y/n)? y
     Enter passphrase (empty for no passphrase):
     Enter same passphrase again:
     Your identification has been saved in /Users/marco/.ssh/id_rsa.
     Your public key has been saved in /Users/marco/.ssh/id_rsa.pub.
     The key fingerprint is:
     SHA256:GibX4ACHm4FQfpkSMzfaVWOsNBVrPxiw53CPXzlcHBU Marcocialone16@gmail.com
-
My output is different then another because I have already had a key so my output ask my if I want replace my old key with the new one. But if I haven't had any key,terminal didn' t ask me nothing.
The key's randomart image is:
+---[RSA 4096]----+ |oo.+ o+. .Eo| |..oX =o+.o . . | | ++.+o o | | oo o.O * . o | | . = S + = | | + o . o . | | . . | | | | | +----[SHA256]-----+
MBP-di-Marco-2
second command :
MBP-di-Marco-2:.ssh marco$ pbcopy < ~/.ssh/id_rsa.pub
output:
       ssh marco$ ssh-rsa AAAAB3NzaC1yc2EAAAADAQABAAA
       CAQC4vRQMAddYn0rhUgFrQd6O051FpYD9fi15GnzRTsmj4/pWP0FpBZv6wB
       SroLgHnq5ieu286MiTXWWVINGYO6A5z90Bs7cckB0/ufhHJHPGSMid3xwvG
       NKH3e4WdcS2qQYPAksvC8PPgOdR0OG0iQgYXBN+7YVpXr5XLEYkXXTxa3NO
       ygzPRBy0ukwnmtkN3f4mg6DT27BDrJ1b7SeUeb7jAhyR6kvfLCSsLm7DDZa
       K5ku5fkp6dFrlzDLUuX0AkbNhn+oouTgppWXi3/nzYJ7JcIIdeTRs2MAl9H
       QK9lpGa6zQdGlbpdBG+3uhrqxgAmf0mh29xPGY8AKyyFvlicEtG04x4A759
       CkrgaqvALPeTSt63AQCpK9LD+q69/tm5KONLt49JvXAXjyAIol0Qe82XC52
       0dZmlR7Acyvlaq6ykm6eEe8vrqt9nBg6AjdriZocreUrO6mrQT9xj/PD7ugvc/Ec1R6DToa9Y8K9H7SA+3lPaZpTaPjO/hOgrAi11hSvLg+kru+RqlmzvQLMm/N0
       wB1uDXHYzIWxzpXOZ7vQNiv1v1w48afzVPHHKa3bJY2O1bl0WUGQSY9T05fZi1
       73mtcuA6PbUuAoSm9gQFrfI2dlkkY0CFiAWwpZxeiQQS86BjsGP97rPkAYFU5w
       8hnqzb9/YjXe+BBh/fQCsIYKRQ== Marcocialone16@gmail.com.
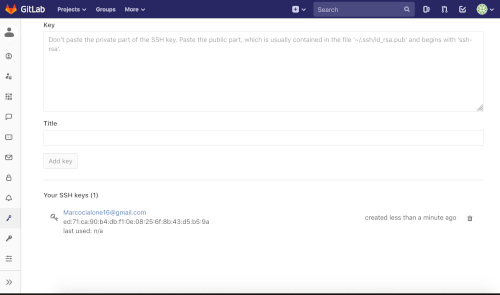
Finally, we paste the last output in the Key section on the setting menu of gitlab account and have generated our key pair.
We have our generation key
Web Development
Until now, I have never had knowledge about the building of websites but with fab academy I am learning a lot of programming languages used to create them.(Html,Css,Markdown,JavaScript etc..) For my web site , I decide to use Markdown languages with the site generator Mk docs .
At the beginning, I have to install a new version of Phython (and pip) to install mk docs because I had an old version in my pc so I have prefered delete it. After, I have installated and launched pip doing the upgrade with this command:
pip install --upgrade pip.
Finally, I have installated mkdocs package using pip with this command:
pip install mkdocs
About Mkdocs and YAML
MkDocs is a fast, simple and downright gorgeous static site generator that's geared towards building project documentation. Documentation source files are written in Markdown, and configured with a single YAML configuration file. YAML is human-readable data serialization language used for configuration files or in many applications where data is being stored or transmitted
I also choose Mkdocs because It is default programma used in fab academy but I have wanted to personalize my file beacuse I liked a particulary theme of Mkdocs(cinder) different than the recommended one.
About Static site Generator
A Static Site Generator is a programm able to generate an HTML website as an output. It is served through your web server using template languaged and code that separates out the layout from is content and styles. The advantages of the use of static site generator are listed in this tutorial
Project Building
With these commands I created a project with mkdocs:
mkdocs new my-project
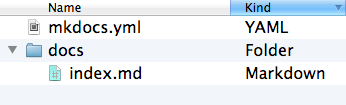
After this, I go with terminal in directory my-project with the classical command:
cd my-project
and I have these files in my directory
with this command I can see my actual project in local view and the modified file .yml and .md of my project
 $ mkdocs serve
 INFO    -  Building documentation...
 INFO    -  Cleaning site directory
[I 160402 15:50:43 server:271] Serving on http://127.0.0.1:8000[I 160402 15:50:43 handlers:58] Start watching changes[I 160402 15:50:43 handlers:60] Start detecting changes
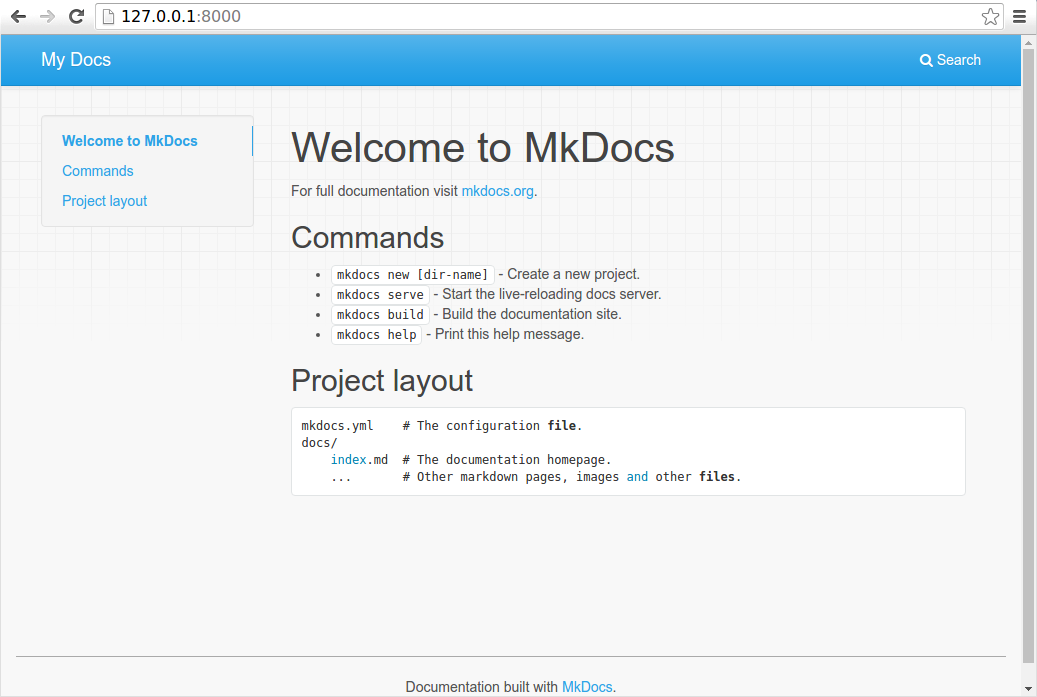
The default page is this :
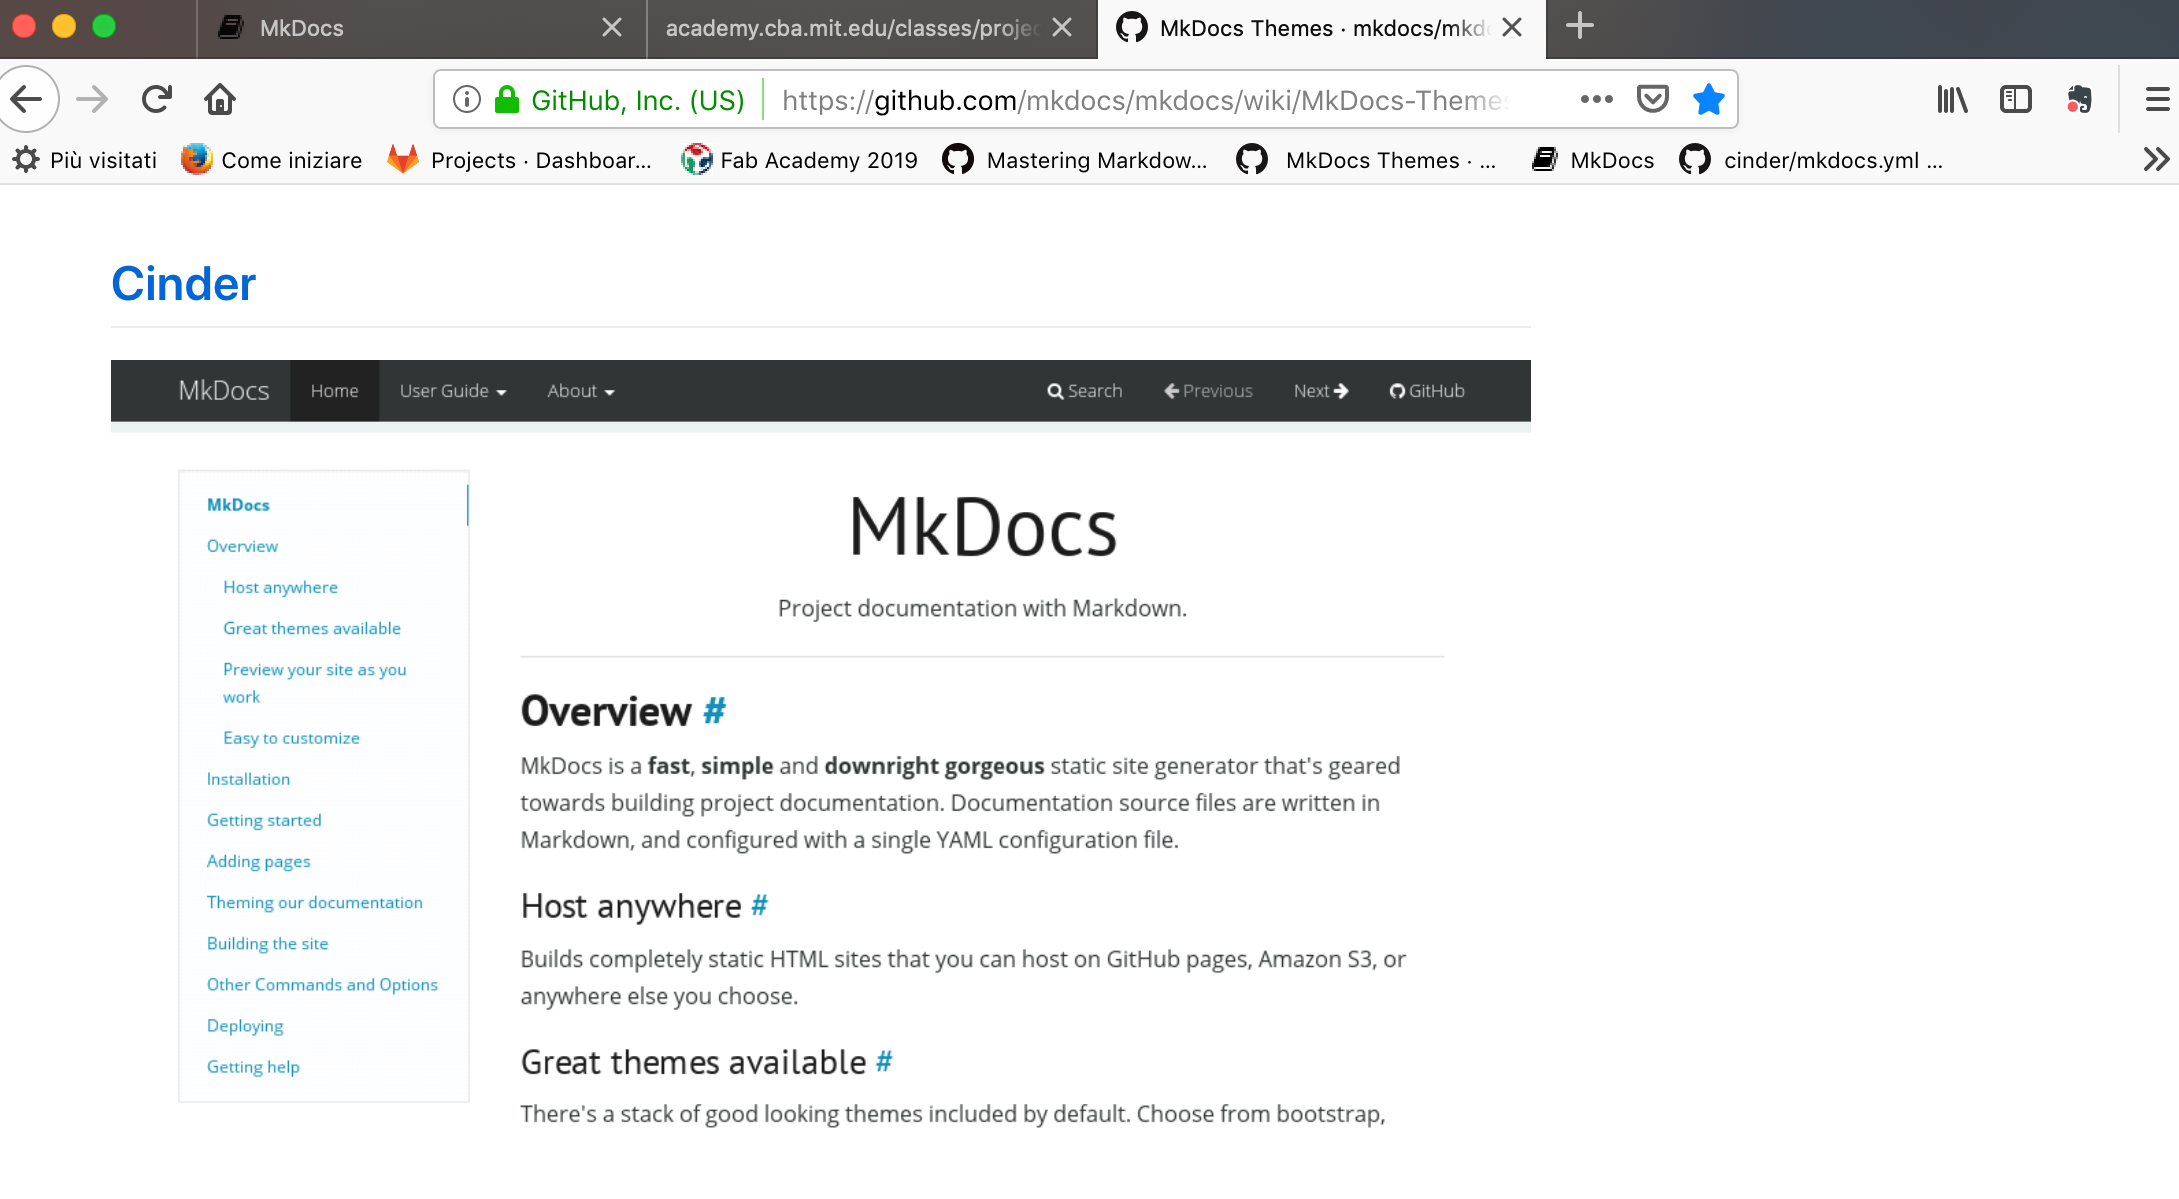
Since I don't like the default theme site I have replaced it with the theme Cinder
 .
.
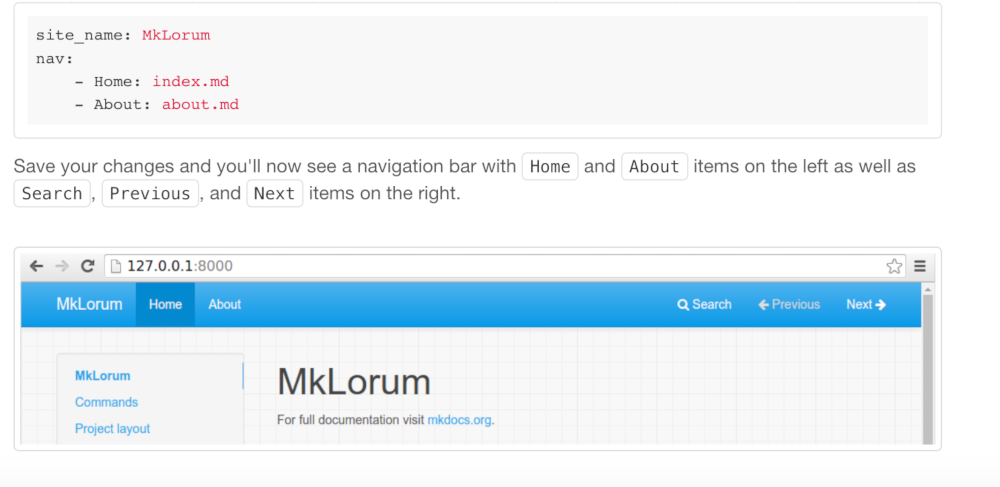
In this moment I have a similar file .yml with a page about and page
 .
.
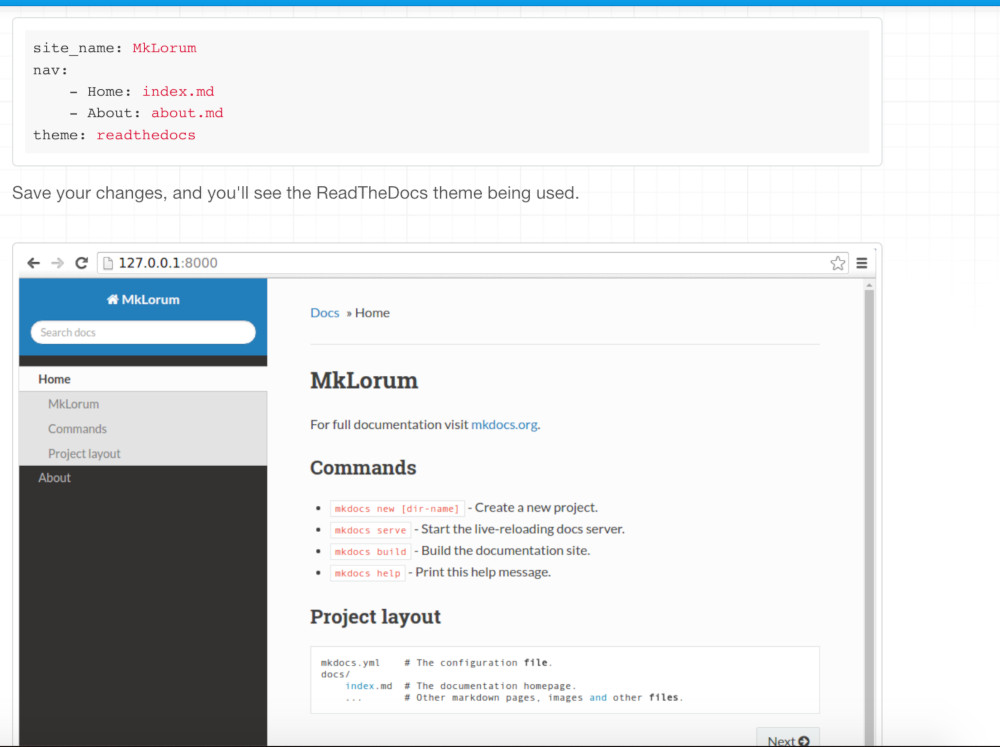
In .yml file I have to add the theme which I've chosen ,the cinder. I downloaded this theme on the page git Hub page and I've put the file cinder in my repository marco-cialone. This is the tutorial example similiar to my .yml file:
I have had a problem with the adding of dropdown in the section "week assignemnet".
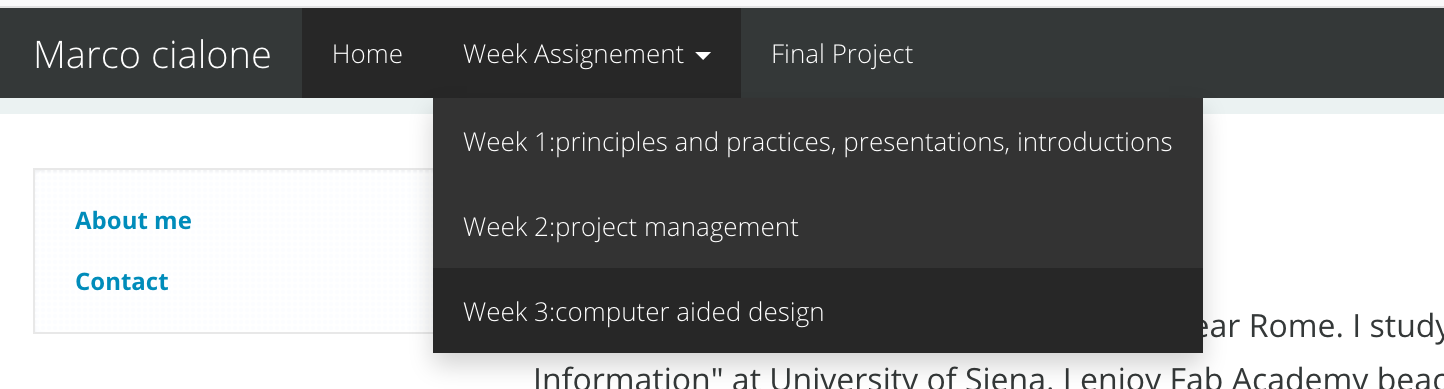
Fortunately, I search information on this tutorial carefully and I find the file .yml with the same modification that I had to do.
  nav:
     - Home: 'index.md'
     - User Guide:
          - 'Writing your docs': 'writing-your-docs.md'
          - 'Styling your docs': 'styling-youur-docs.md'
     - About:
          - 'License': 'license.md'
          - 'Release Notes': 'release-notes.md'
So with the help of this file I manage to do the dropdown in the page on the bar.
A particularity of my theme is the next and previous pages,which allow to move from a page of the bar to the next one(or previous).

Markdown Language
Markdown is a markup language with a simple sintax designed so that It can be converted in Html.
My use of Markdown
Until this moment I needed basic structures and not parlicular ones, of markdown because I would like my web site to be very a easy-to-use one and to make information easy to find.
For the planning of my web site, I search the Markdown sintax in a tutorial and I find information specialy about the building of header , paragraphs (and how separate them),list,link,images...
Building of git repository
When I terminated my building of the site with markdown my final file .yml is this:
  site_name: Marco cialone
   site_dir: _site

  nav:
    - Home: index.md
    - Week Assignement:
      - Week 1:principles and practices, presentations, introductions: week1.md
      - Week 2:project management: week2.md
      - Week 3:computer aided design: week3.md1
      - Final Project: finalproject.md

      theme: cinder
I have to use git to save (push)my modification in my git lab remote repository. Before of this I have to create the file Site(file which contains html and css file) with this command terminal:
mkdocs build
The main command with terminal to push in git repository are this in order:
git status:
<!---it controls the state of repository -->

git add .:
<!---it adds untracked files in the stage area-->
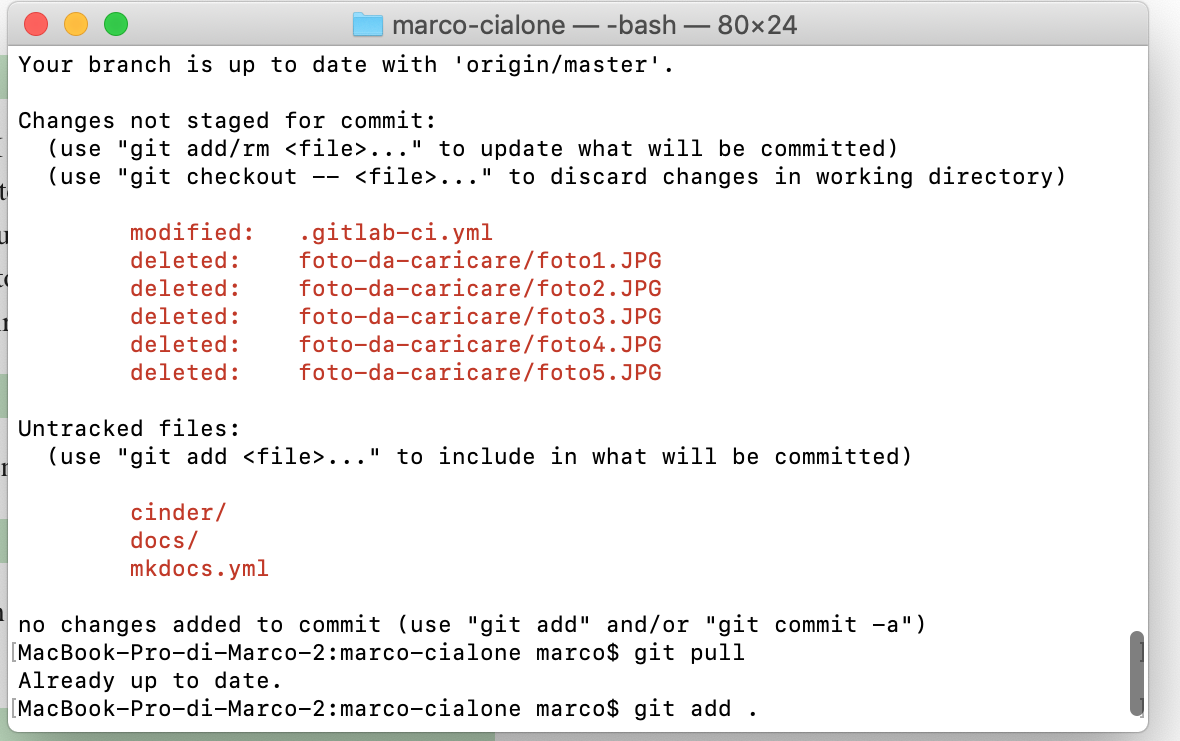
git commit -m "text of commit"
git push origin master
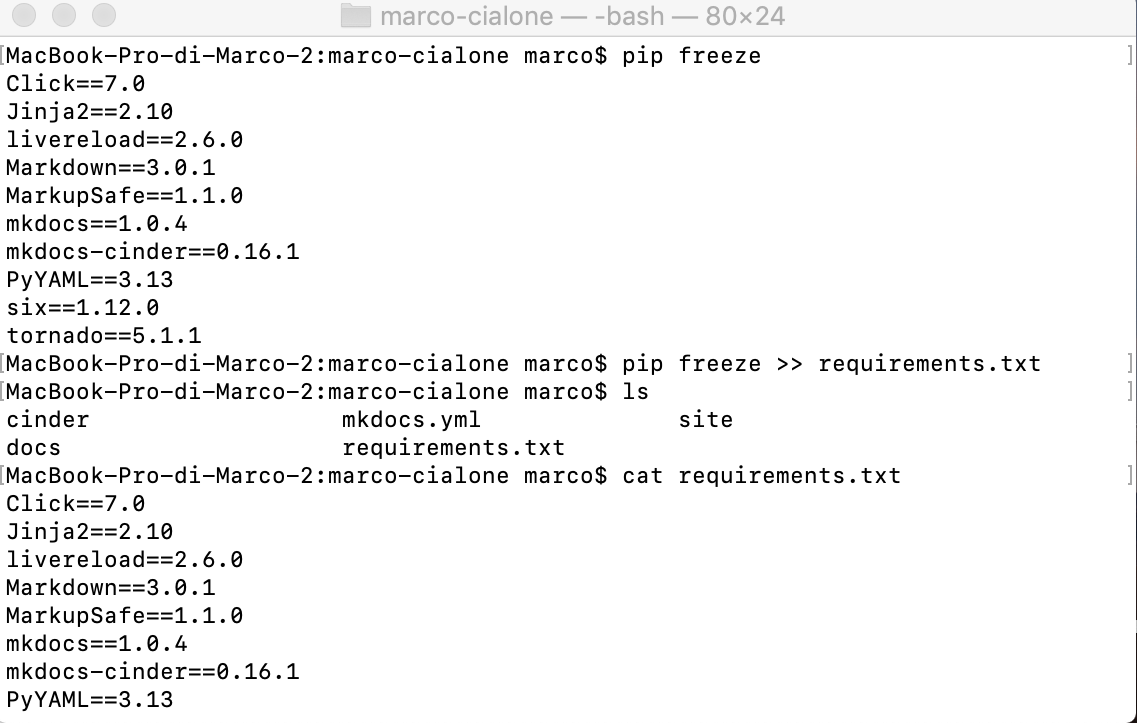
In my case, I have had a problem with push operation because I didn't put in my repository the file requirement .txt.
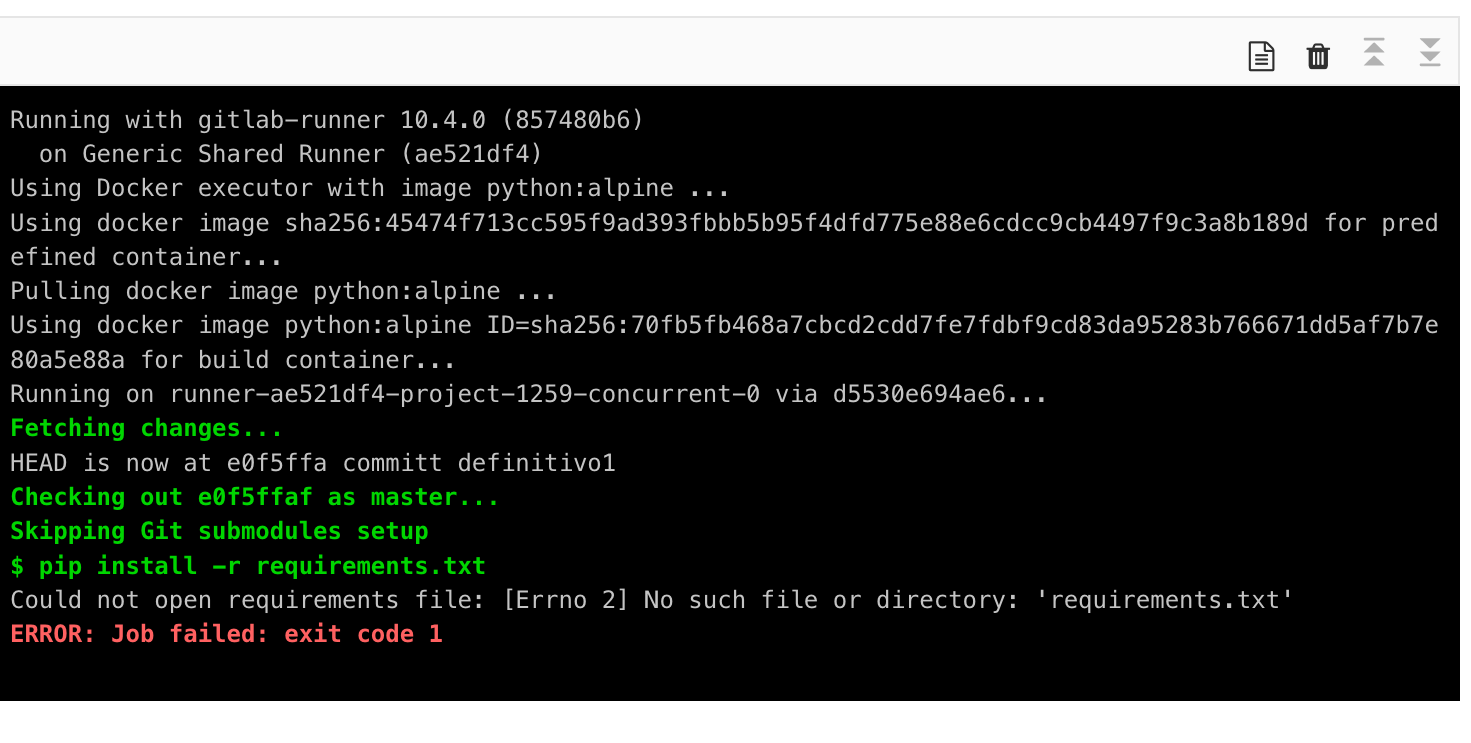
To solve this problema I use this the command terminal:
  pip freeze >> requirements.txt
   <!---   this command put in the file requirements.txt the output of command  pip freeze-->
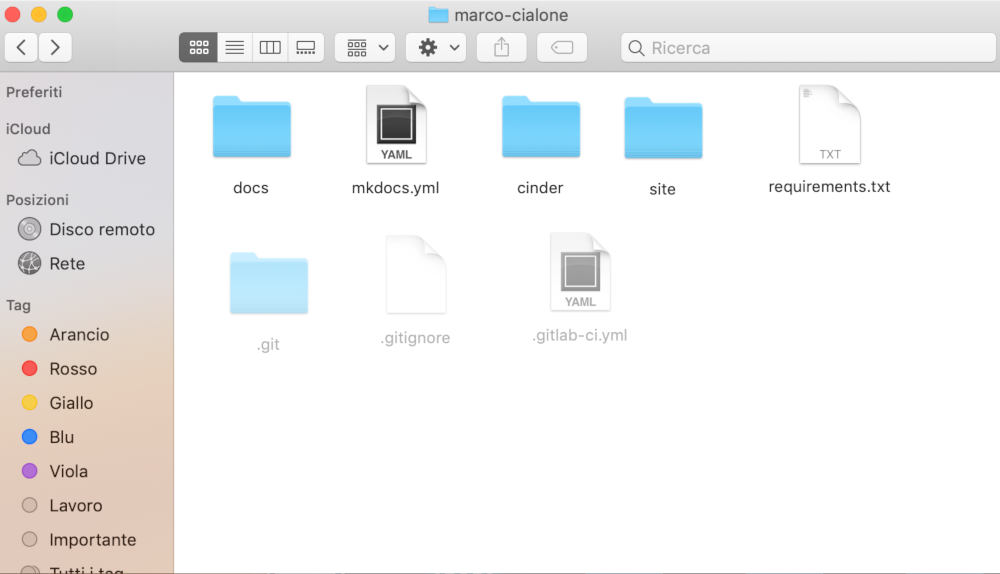
Finally in my repository marco-cialone I have four directory and three hidden ones.I manage to show these files(hidden files) or directory with these easy terminal command:
1)Open Terminal found in Finder > Applications > Utilities
2)In Terminal, paste the following: defaults write com.apple.finderAppleShowAllFiles YES
3)Press return
4)Hold the ‘Option/alt’ key, then right click on the Finder icon in the dock and click Relaunch.
Continous Integration
Continuous integretion is a process which I used to run my site in fab academy. With this development practice, developers integrate code into a shared repository(in our case fab academy repository) frequently, preferably several times a day. Each integration can be verified (if is going correctly in the repository)by an automated build and automated tests. One of the benefits of this practice is that you can detect and locate errors quickly so we can correct them very easly.
Update web-site 24/april/2019
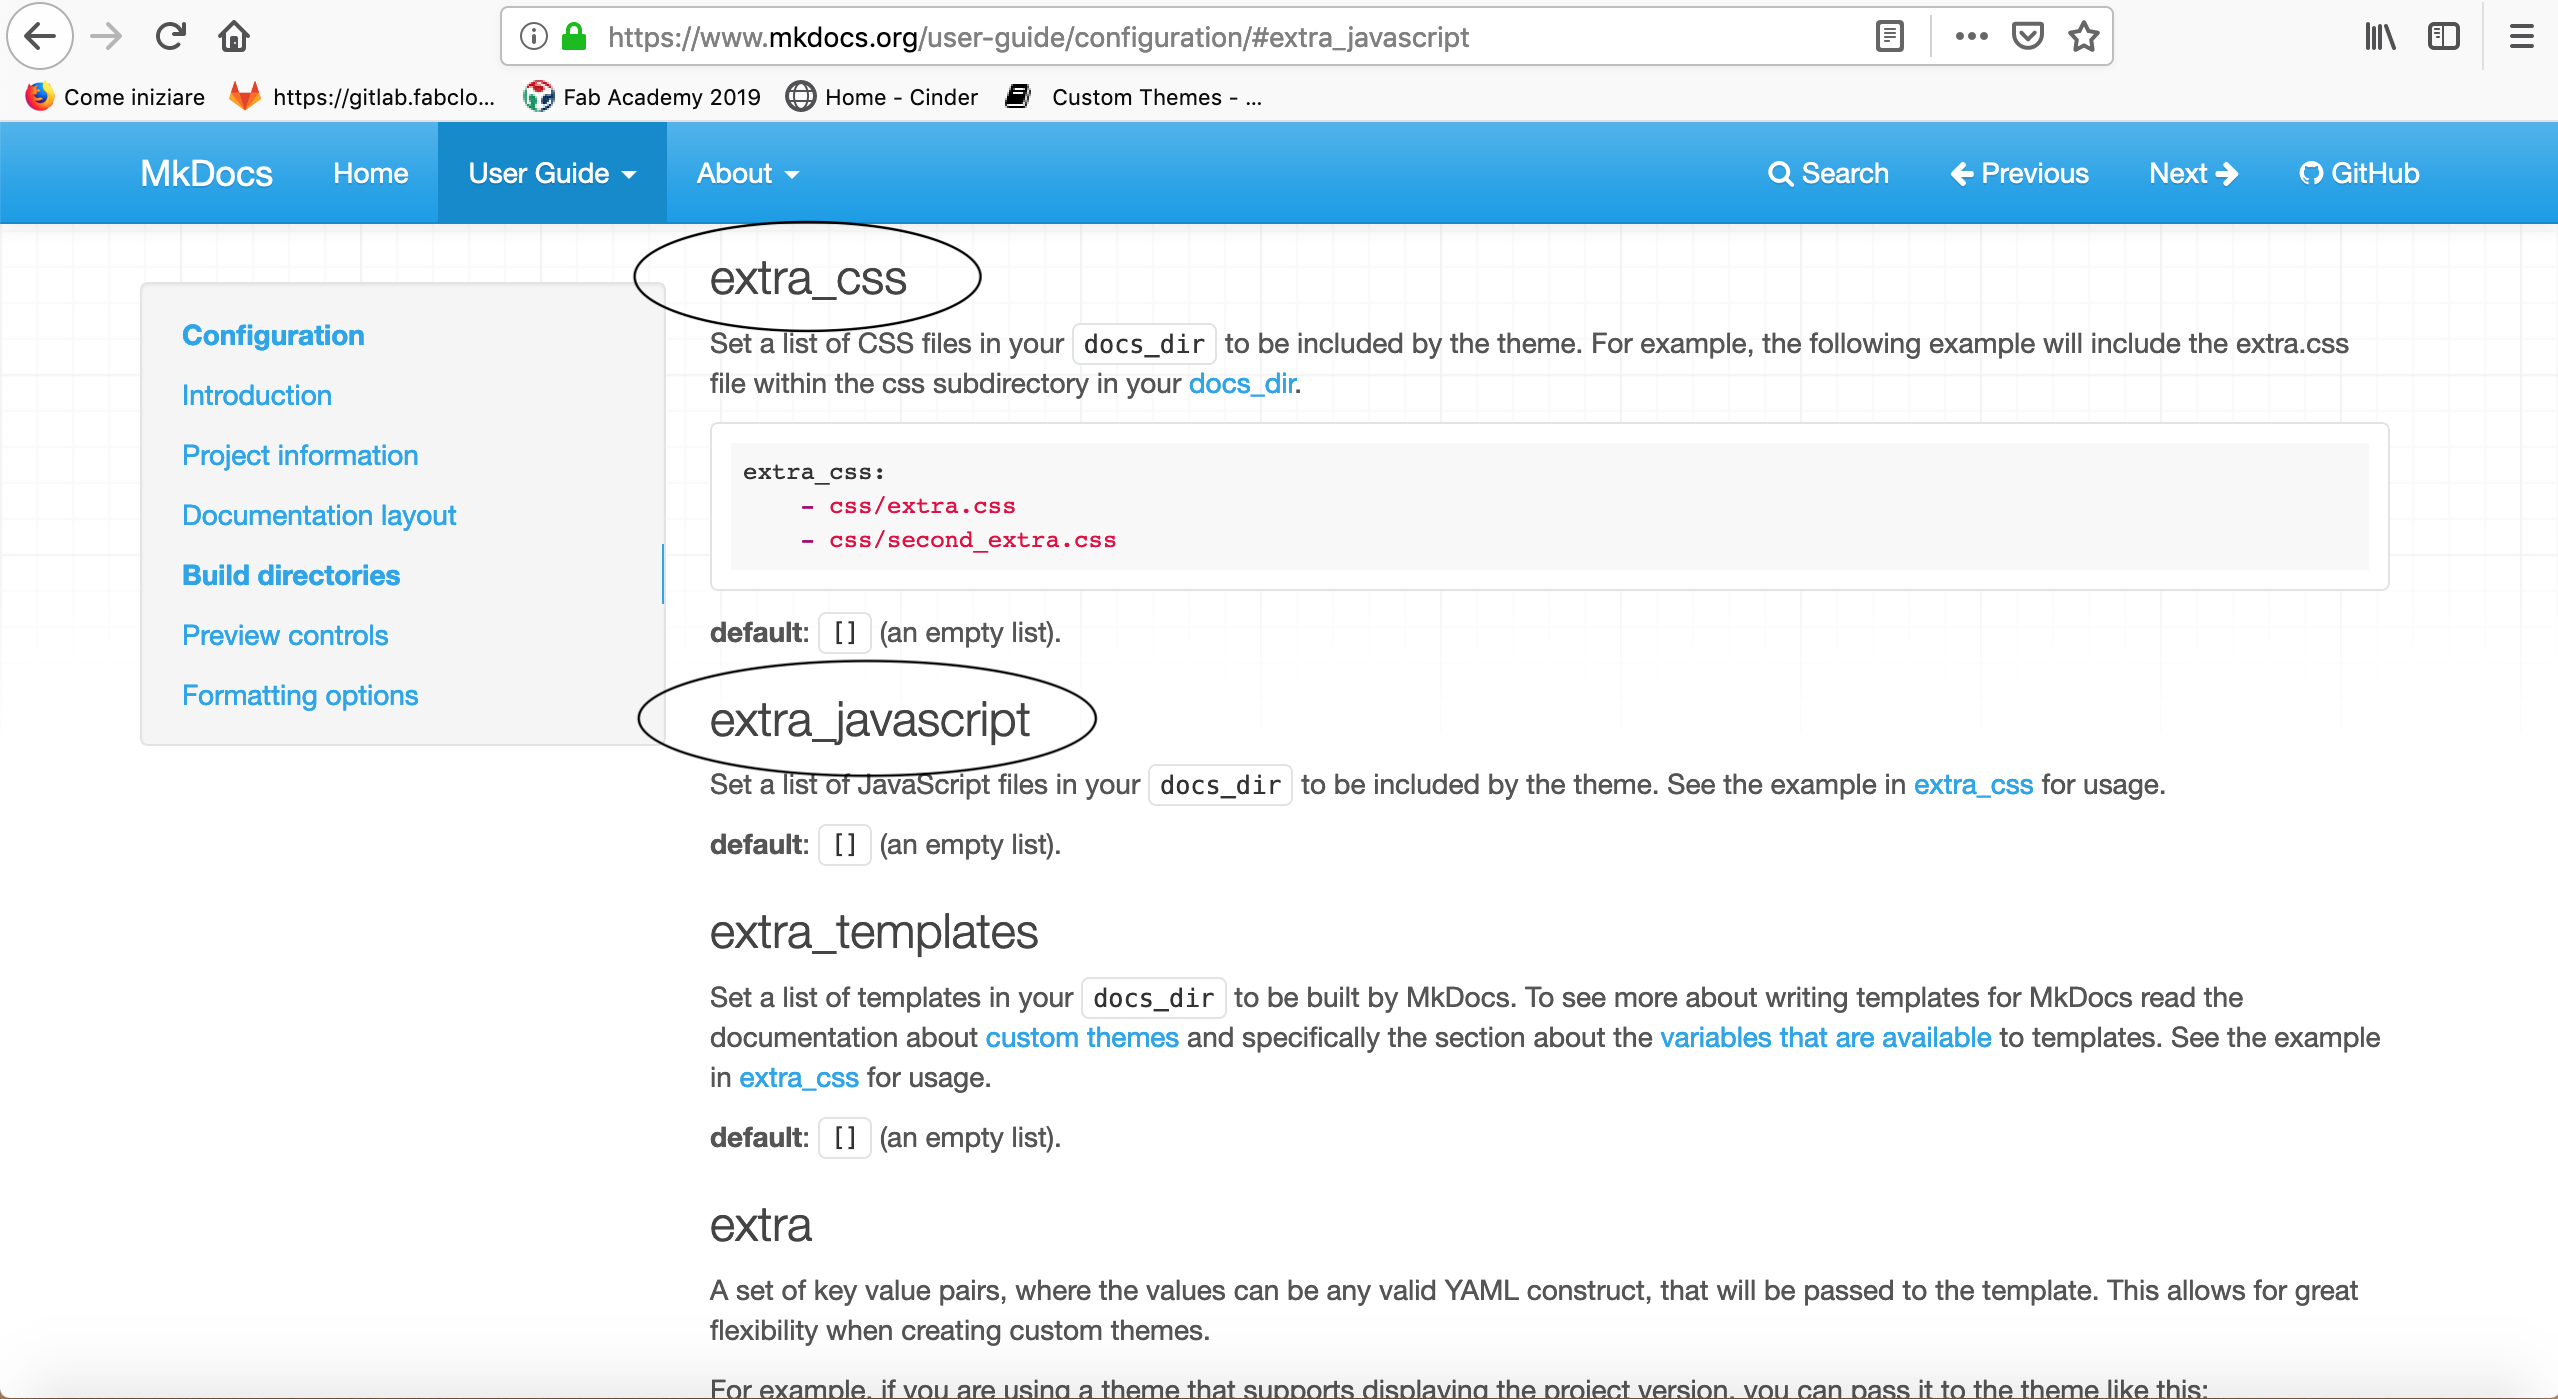
To improve the design of my web-site I have done some adding in my file .yml like :
   extra_css:
     - "css/style.css"
  extra_javascript:
     - "js/app.js"
I have seen this method in the tuturial of mkdocs:
fjk
I've done a script with Javascript (app.js) and an other one in html(nav-sub.html) in order to create a week-box and in it have add different class of each week; in that way I can create with css different background in each week.
/* App JS */
$( document ).ready(function() {
$( ".dropdown-menu.container .week-box" ).each(function(i) {
$( this ).addClass("week-" + (i + 1));
});
this the html script:
<div class="week-box"></div>
   <div class="week-title">
        <span>{{ nav_item.title }}</span>
    </div>
this is the css script:
.week-1 { background-image: url("/img/week1.jpg"); }
.week-2 { background-image: url("/img/week2.jpg"); }
.week-3 { background-image: url("/img/week3.jpg"); }
.week-4 { background-image: url("/img/week4.jpg"); }
.week-5 { background-image: url("/img/week5.jpg"); }
.week-6 { background-image: url("/img/week6.jpg"); }
.week-7 { background-image: url("/img/week7.jpg"); }
.week-8 { background-image: url("/img/week8.jpg"); }
.week-9 { background-image: url("/img/week9.jpg"); }
.week-10 { background-image: url("/img/week10.jpg"); }
.week-11 { background-image: url("/img/week11.jpg"); }
.week-12 { background-image: url("/img/week12.jpg"); }
.week-13 { background-image: url("/img/week13.jpg"); }
.week-14 { background-image: url("/img/week14.jpg"); }