18. Wildcard week
This week , we had to explore a digital fabrication technique not seen in the previous weeks. I plan to do vacuum forming then I switch to Digital embroidery.
Digital embroidery.
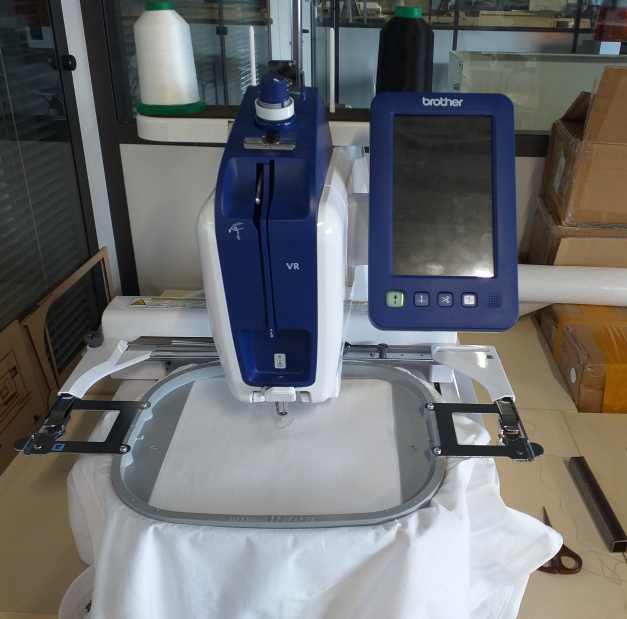
At AgriLab we have a Brother VR , a Digital embroidery machine.
Here a link to the manual of the device : http://agrilab.unilasalle.fr/projets/attachments/download/682/brodeuse-mode_emploi.pdf
Fabric
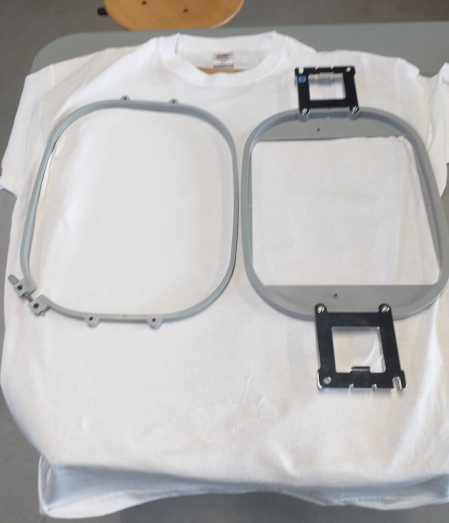
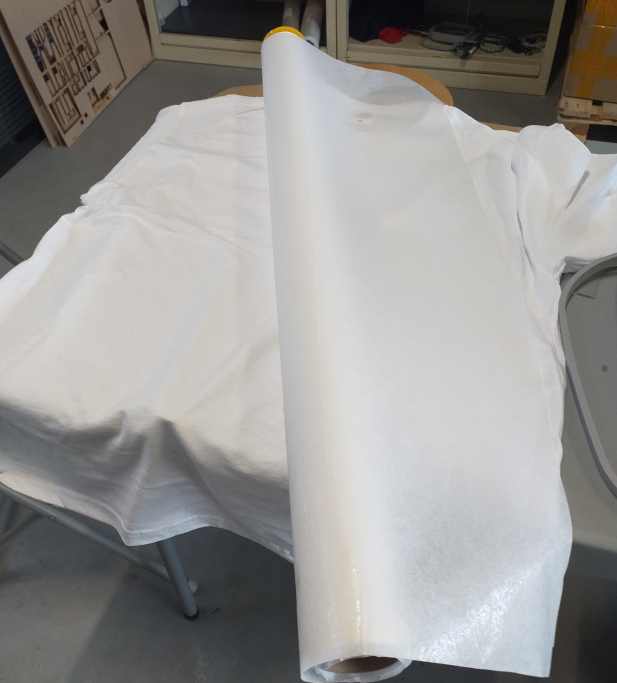
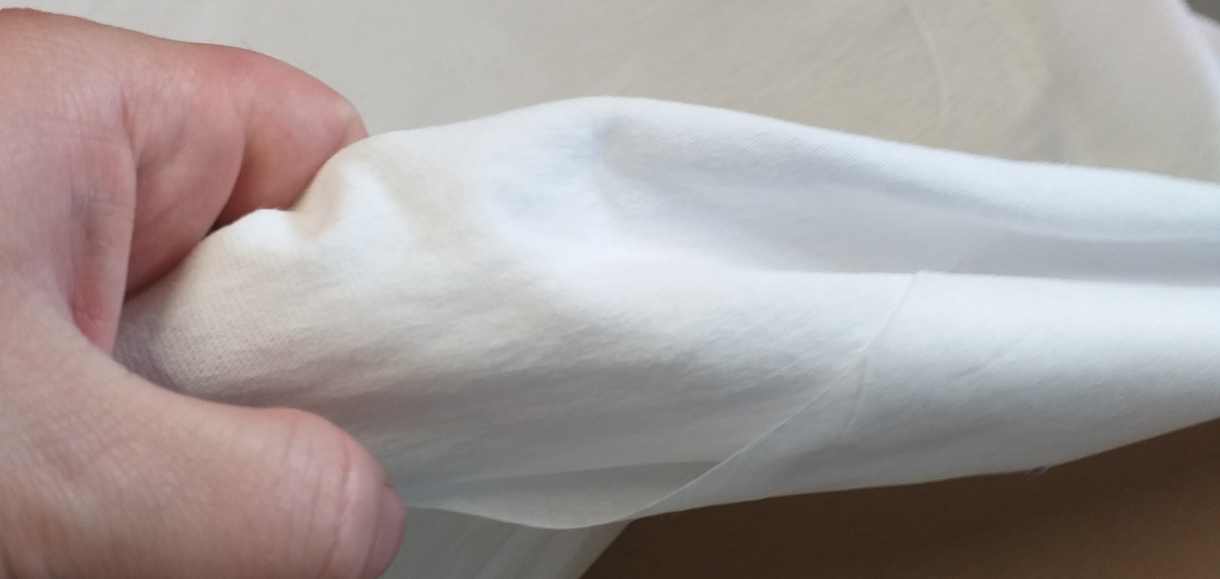
They are many differents kind of fabrics. I select a classical white Tshirt in cotton.
To embroider, the fabric has to be stiff and stretch. I had to select the correct frame to stretch the fabric, here a 200 * 200mm
To be more stiff, I hadd a special paper that flue to the fabric on the inside.
The shinny part will glue to the fabric with an iron.
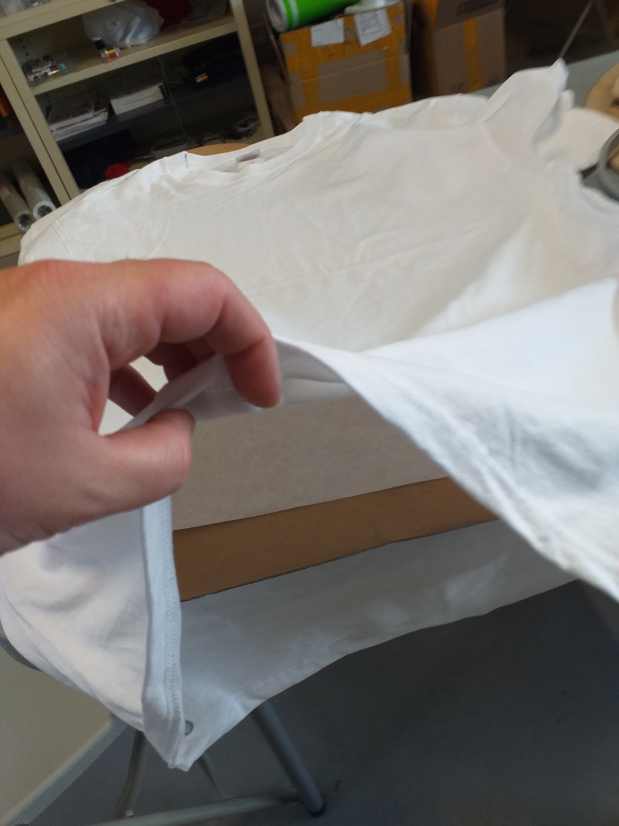
I put the special paper inside the Tshirt with the shinny part oriented in the correct direction and I place a cardboard to avoid the heat transfer to the downside.
After the heating with the iron, the paper should be blue to the fabric.
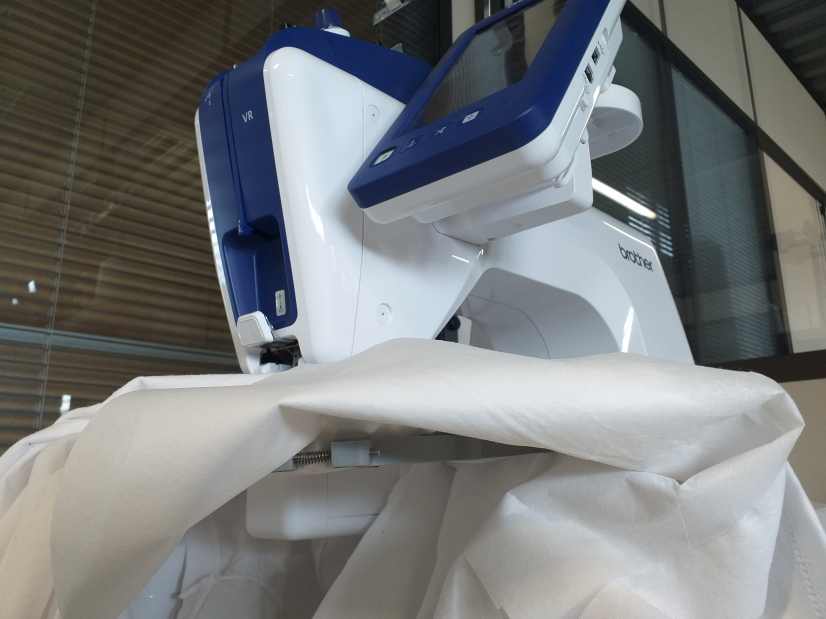
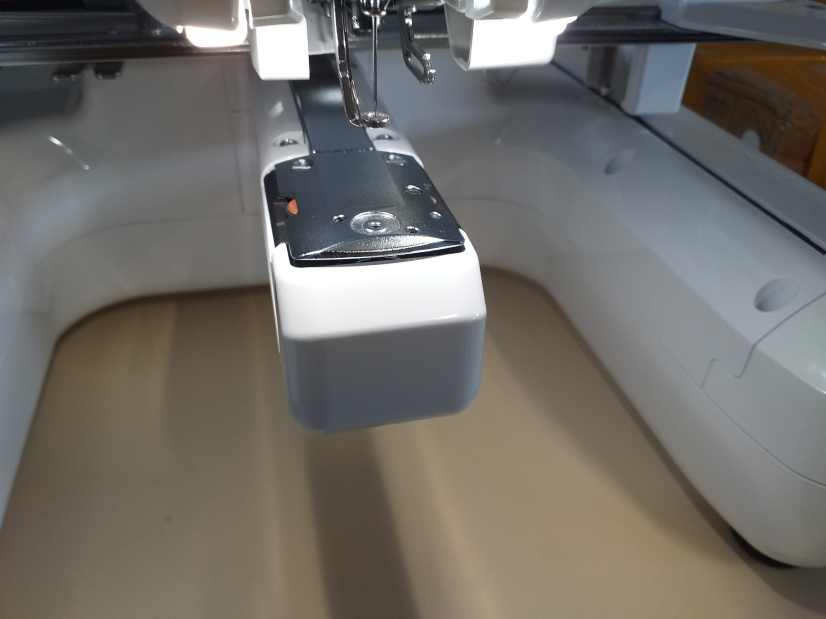
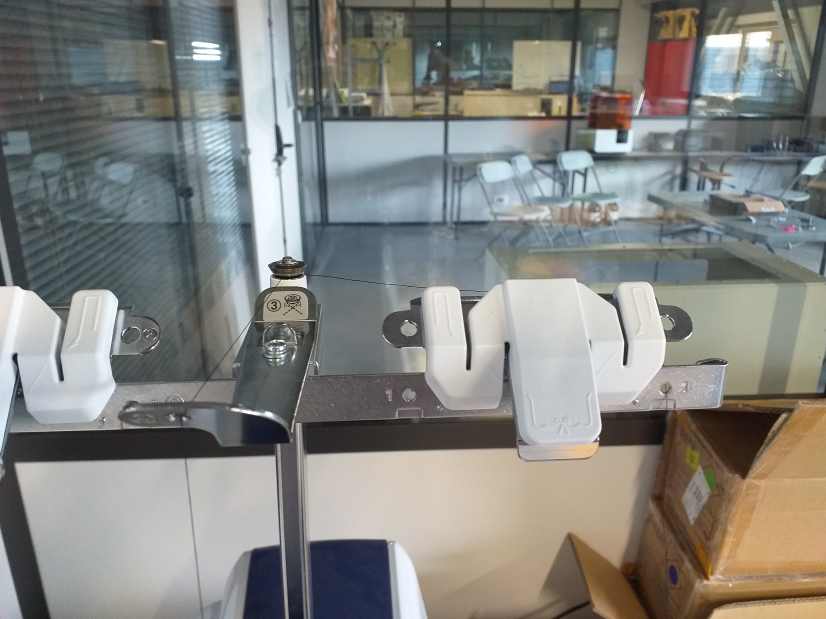
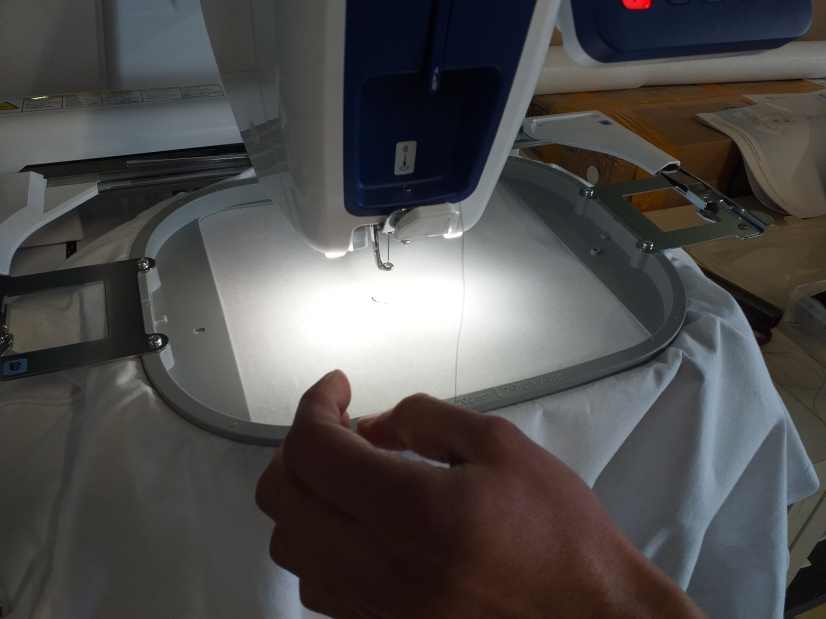
Installation
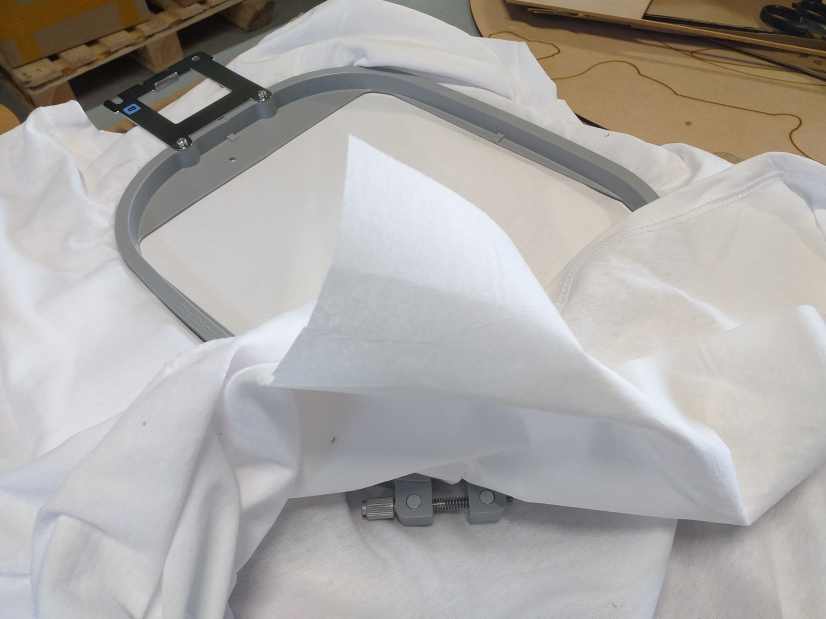
Then I install the frame.
The wider part is beneath the fabric and has to be screwed to attach strongly to the upper part of the frame. You have to strech the fabric to have a good tension and no fold.
When inserting the frame, depending on the geometry of the fabric you have to insert it in a certain way. Here I insert a part thought the sleeve of the tshirt.
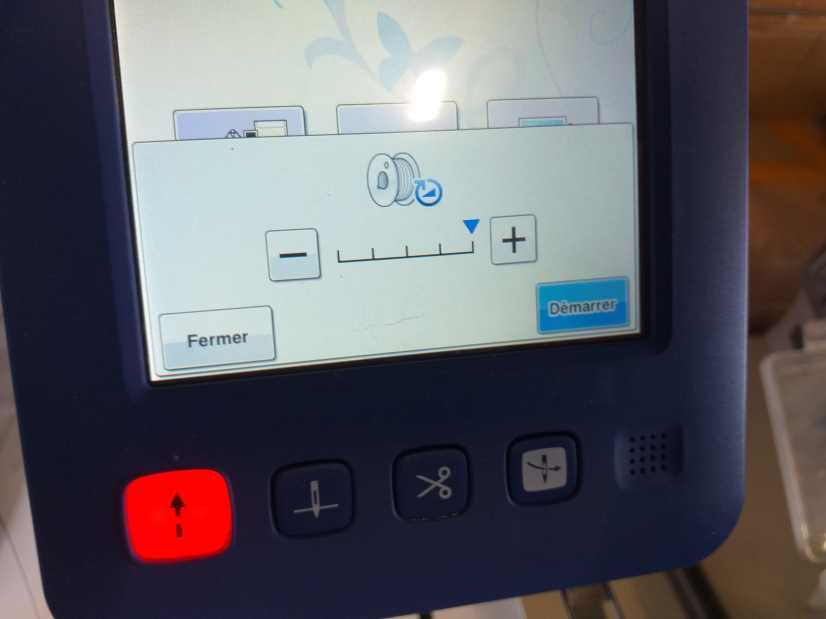
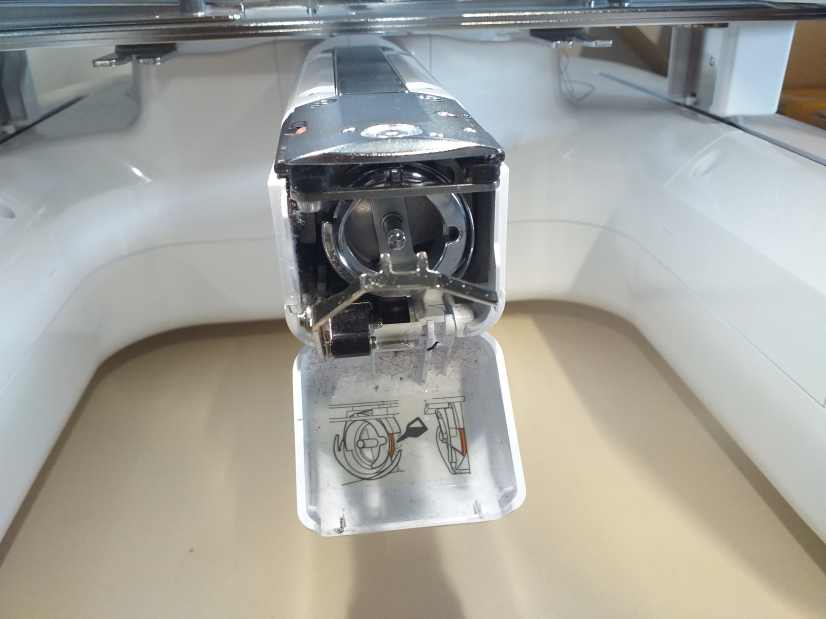
The device has a lower bobbin. It has to sew from both sides.
I have to fill the lower bobbin with a black bobbin thread.
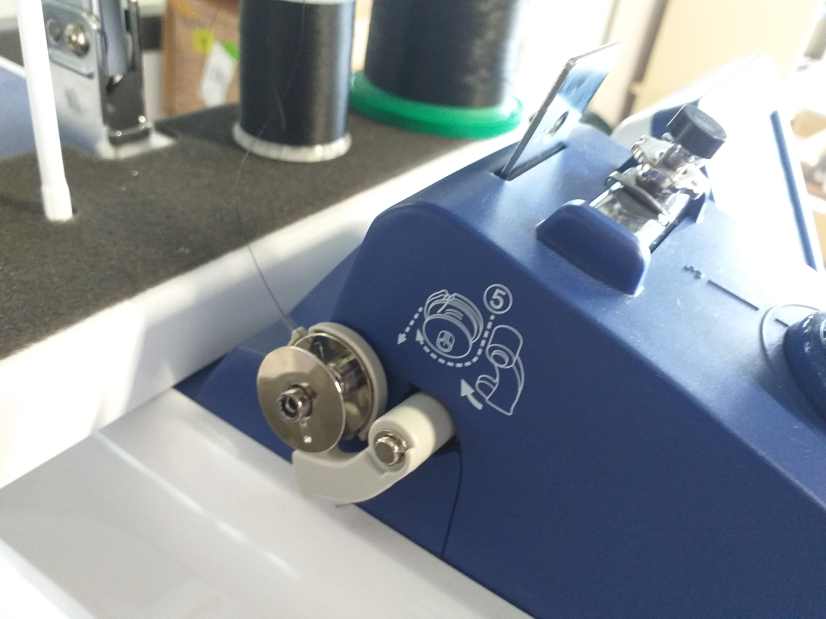
The device detect when you use the bobbin thread refiller and a menu appear on the screen. You can select differents speeds.
Then you insert it in a special part and pay attention to the thread and the orientation.
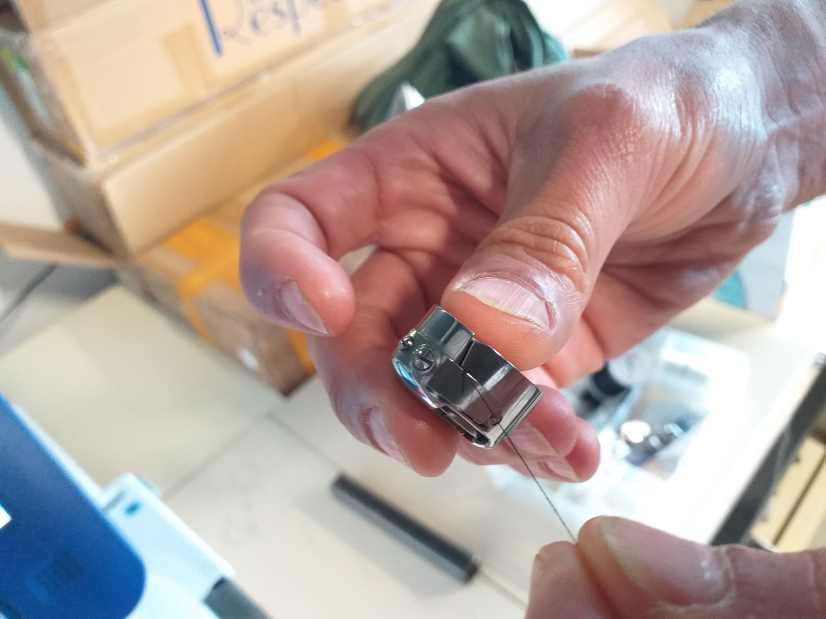
Then you install that part in the lower part of the device.
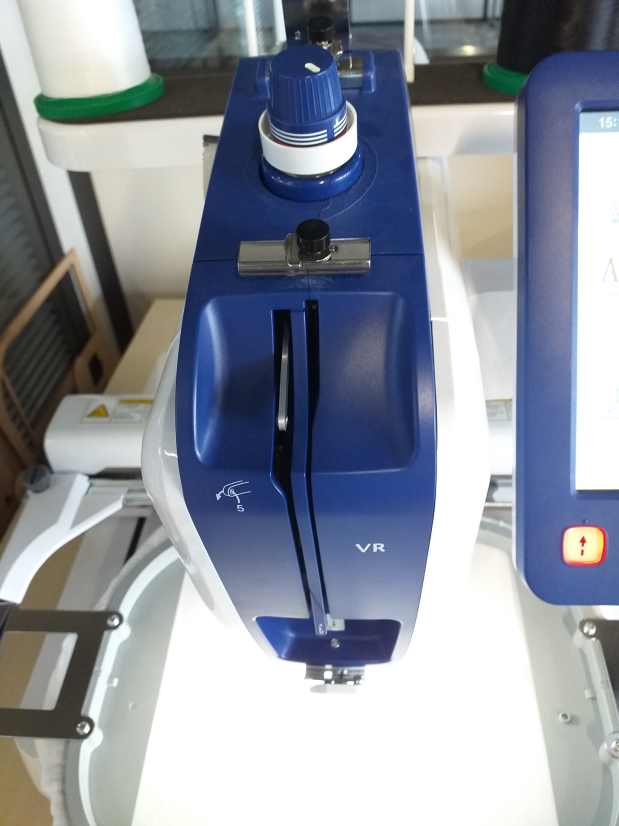
The wire path
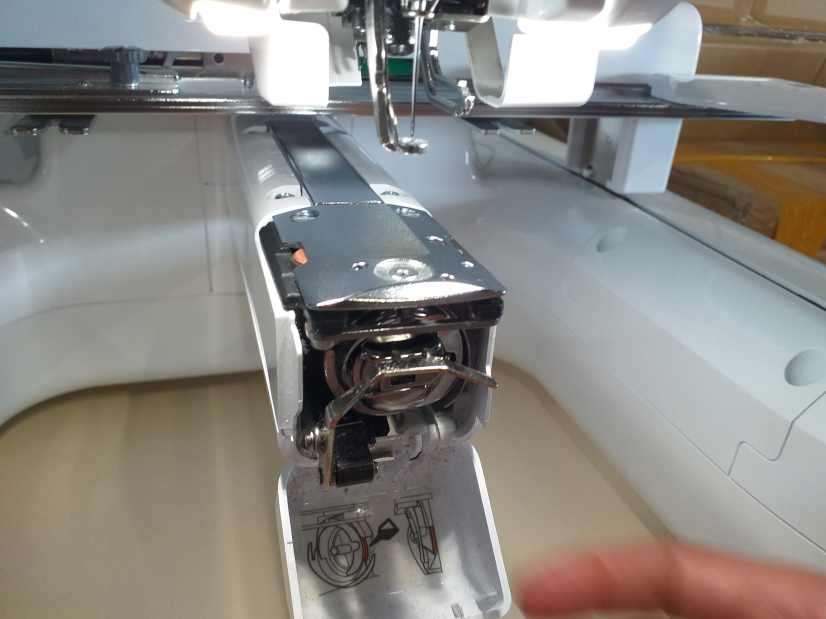
You have to follow a precise path with the sewing thread. The machine has several number that you have to follow.
On tha low part of the picutre you can see the black the sewing thread going to the hole number 1
Then it rotate around a spindle and goes down throught another hole
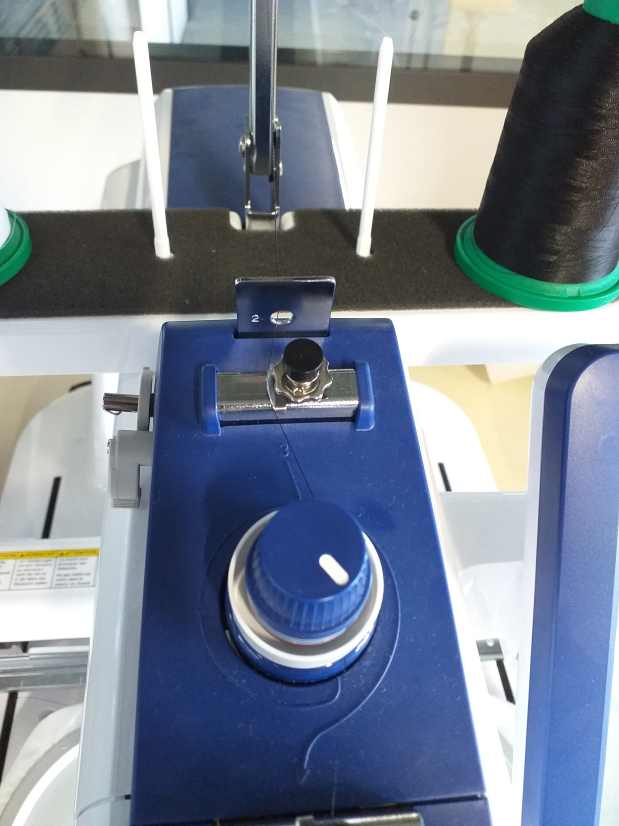
It is guided throught other holes. The big blue knob is a manual way to tense the sewing thread.
Then it goes down and up.
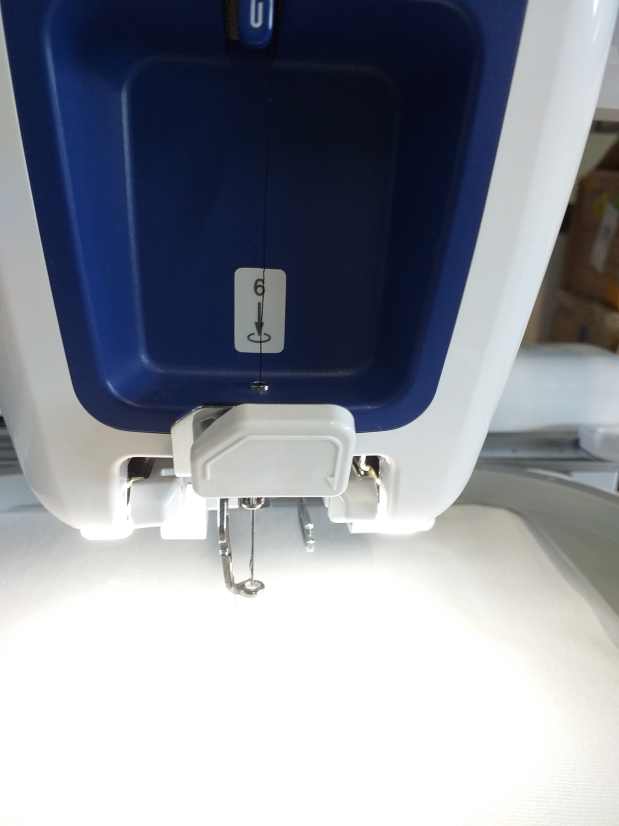
To finally arrive in the needle. The device insert in a special menu the thread into the needle.
Then you have to cut at a precise lenght.
Menu
The device has a touchscreen menu. The icon are helpfull and do not need any explanation.
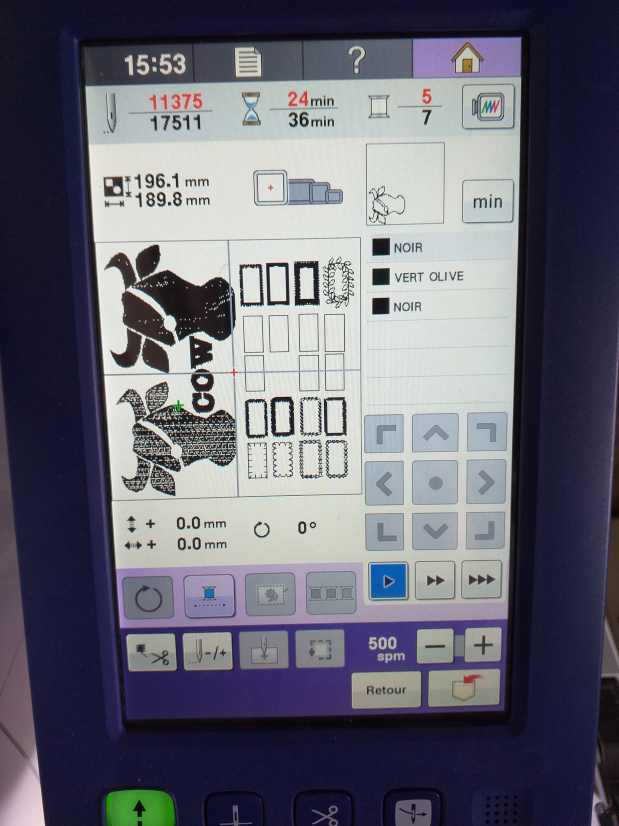
You can design or edit directly from the menu but only for simple things.
The real power of this tool is with the dedicated software, here Pe-Design 10
PE-Design 10
The dedicated software Pe-Design 10 , is a proprietary software working with an usb dongle .
A demo version is available : http://www.brother.com/common/hsm/ped10/ped10trial.html
Outside the scope of the FabAcademy, AgriLab is trying to find a good opensource solution. But we are not really successfull for this moment.
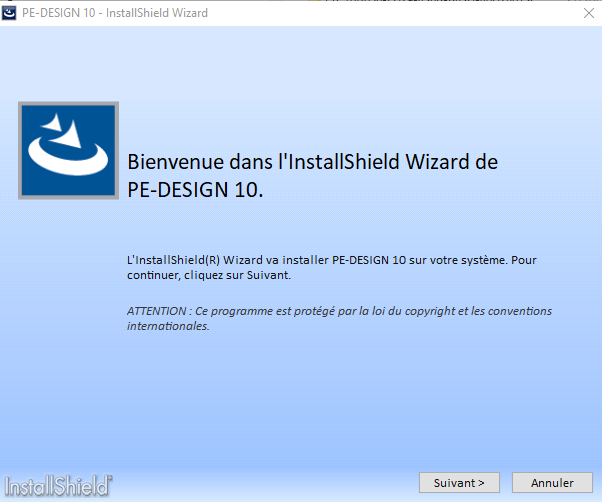
Installation
Installation of the software. The setup is easy and forward.
The software detect the system operating language, the following screen are in french. It should be displayed in your own language. Do not worry the icons are easy to understand.
When you open the software, the first screen ask if you cant to work with a predifined model, from a bitmap or if you want to start from an empty media.
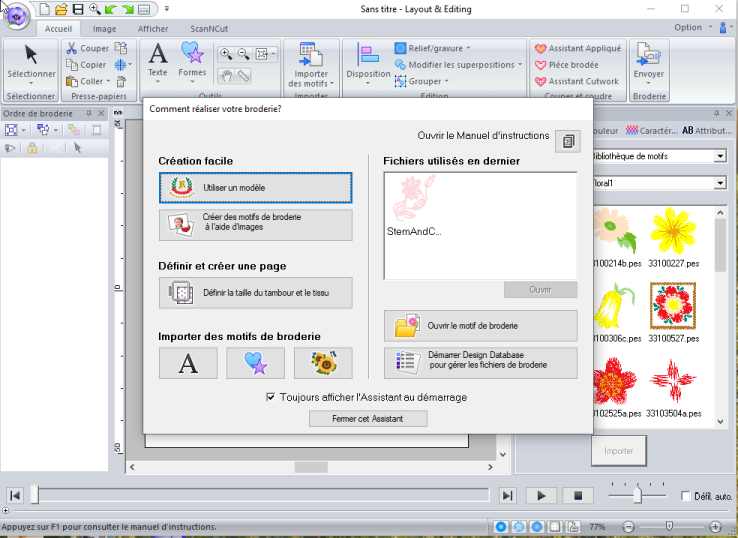
I select empty media.
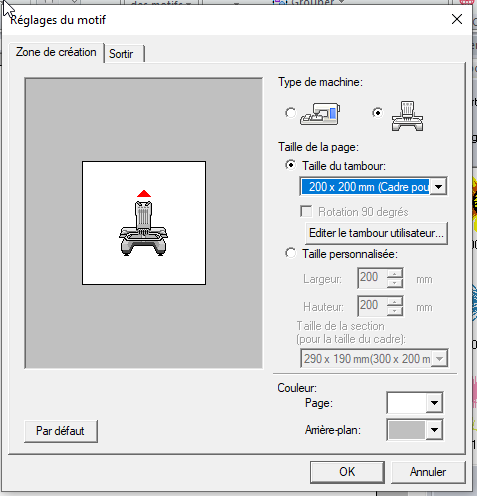
Then I select the correct frame, 200 * 200 mm , it depends on the physical size of your frame. We have a bunch of differents size in the lab.
You also select the kind of embroidery machine and the background color.
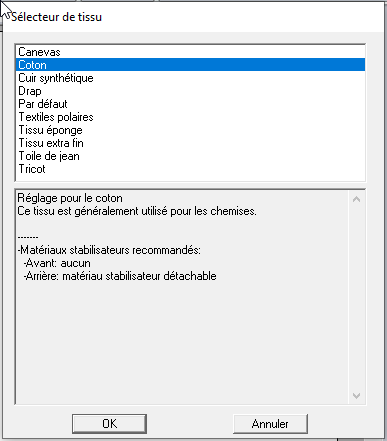
I select then the material fabric : Coton . In the bottom of the screen, it shows some hints, like to add a stiff material on the bottom of the fabric.
Software philosophy
The clichee of embroidery is that it is made for old ladies , or peopel who were not “digital native”.
I think that the software was made with that kind of clichee. The clichee is to assemble some predifined design then add some text and that’s it! Like by hand you buy a lot of magazine with predefined embroidery patterns and you repeat them .
Everything is made for you to use a predifined design, or at most to import bitmap.
Vector file
As I am a student of the FabAcademy, I want to design and play with the parameter in depth.
To import vector file, you have to find the right place.
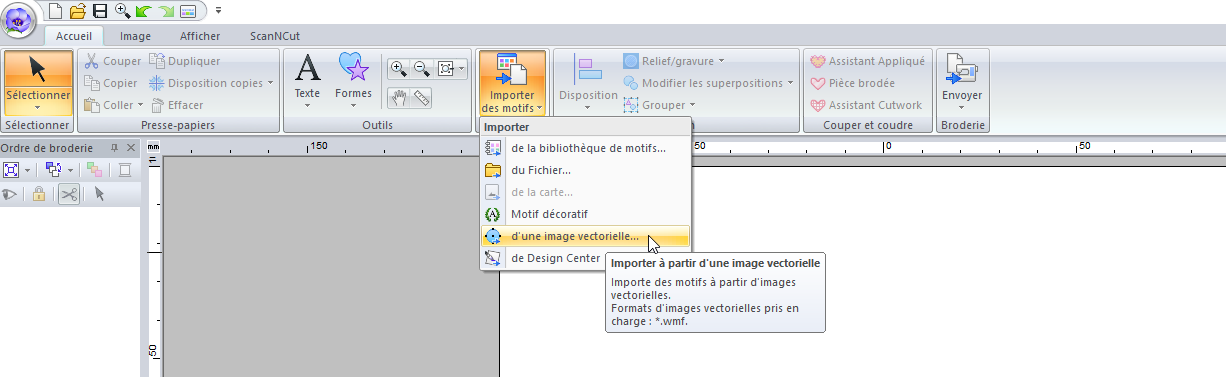
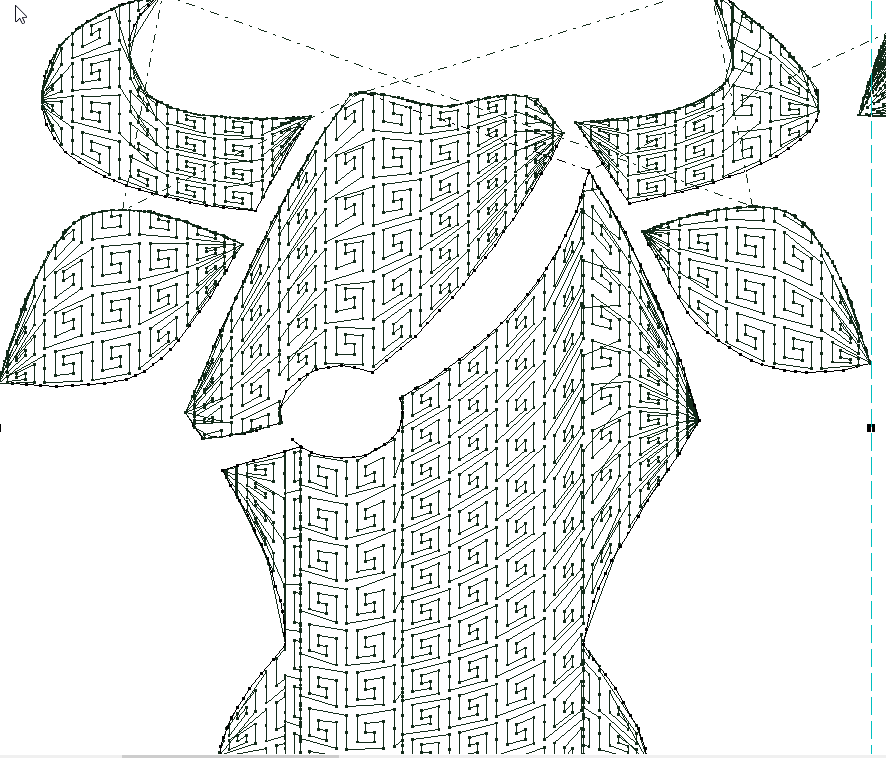
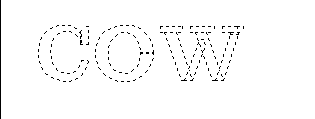
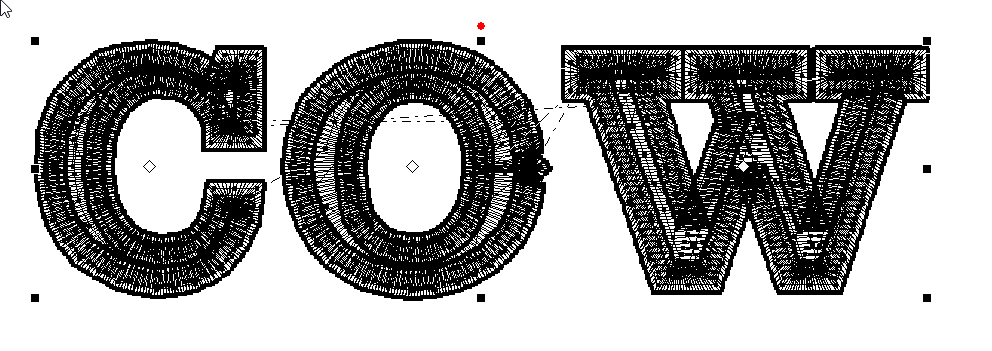
Hopefully I can import SVG file ! I select my usual vector, created in week 3 .
By default, the vector is drawn with “piqué” with predifined parameters and the surface is empty.
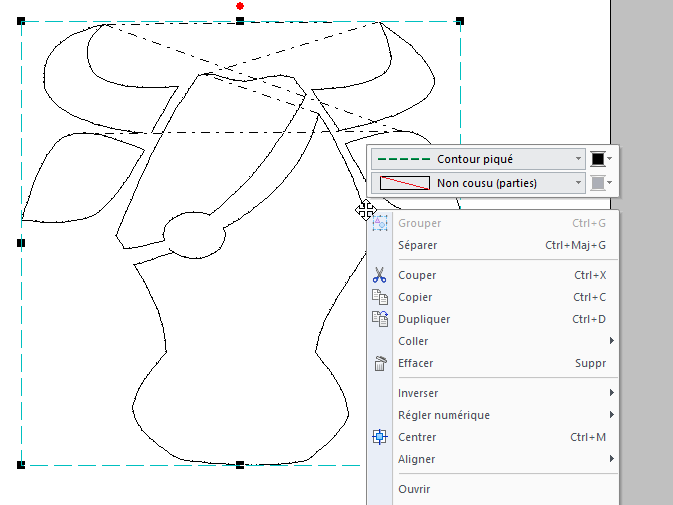
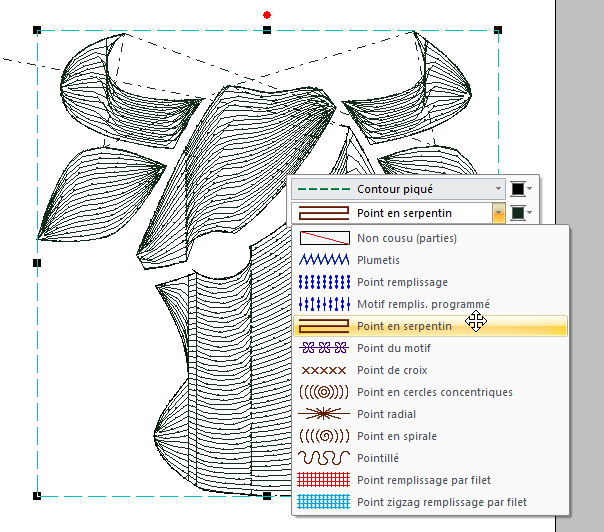
You can select differents kind of surface filling.
This close-up show the path and the point that will be made by the machine .
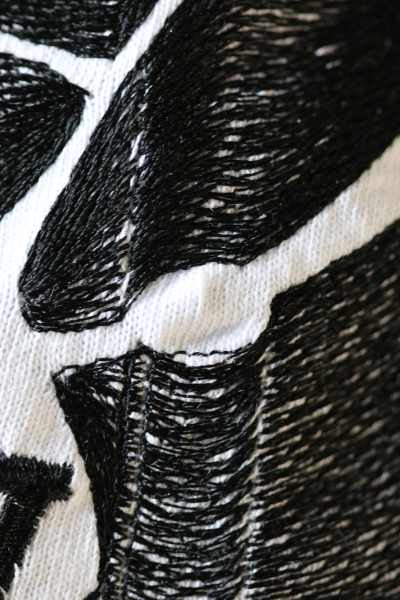
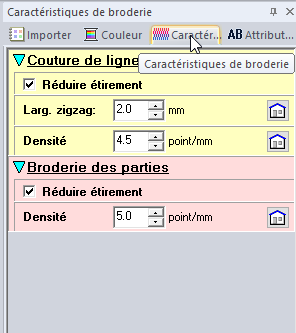
On the right side of the window, if you click on the “expert mode” you have access to many parameters that will influence the embroidery.
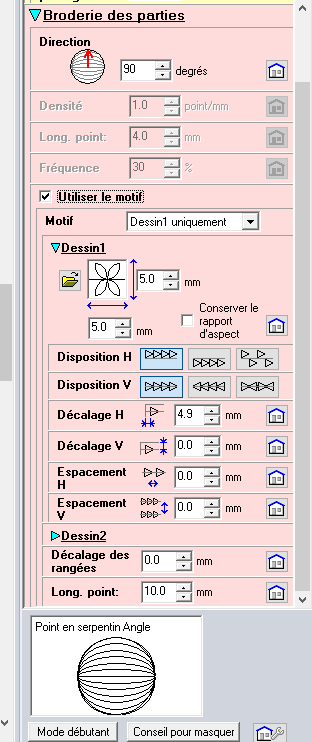
The most common are the density of the sewing point (sometime the spacing between each points) , the orientation angle , the number of path (if it embroider the same pattern at the same place ) and depending on the filling algorithm, you will have other parameters.
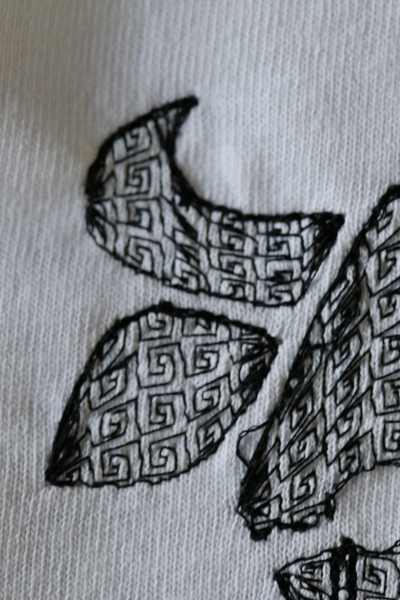
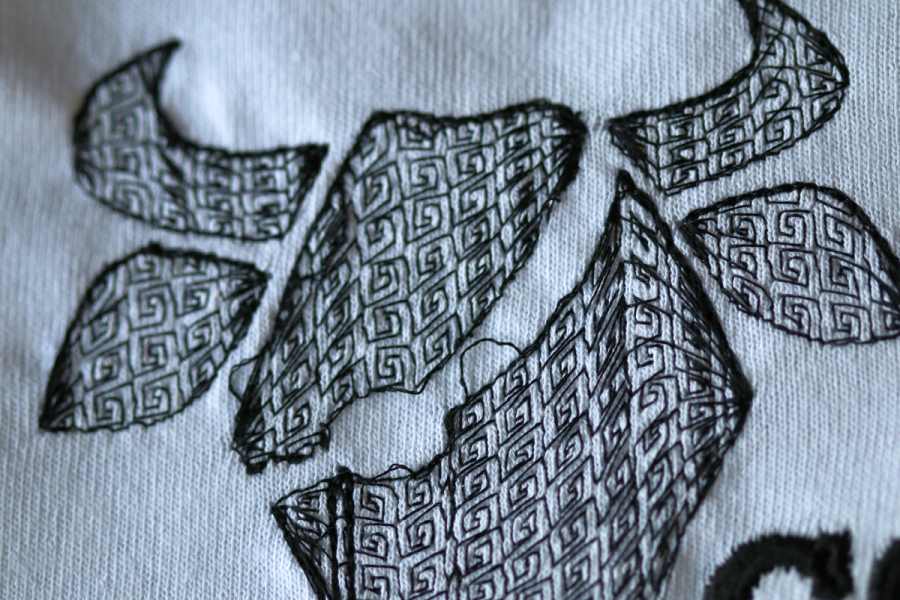
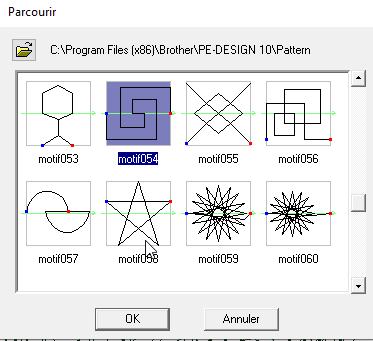
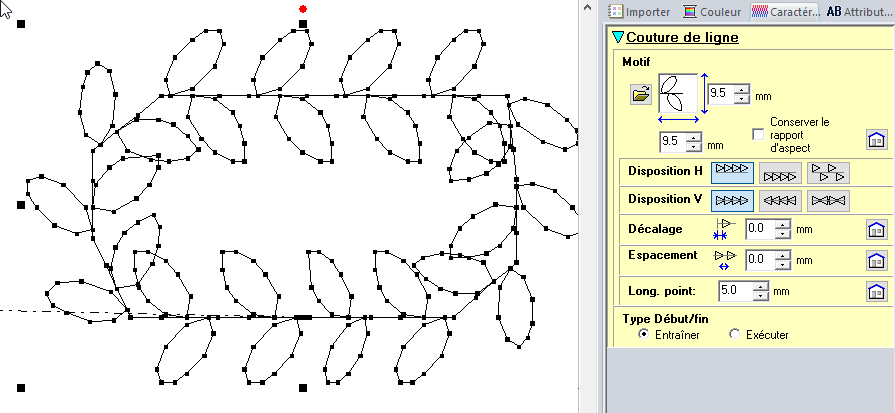
You can also fill surfaces with predefined pattern.
And play with a lot of parameters.
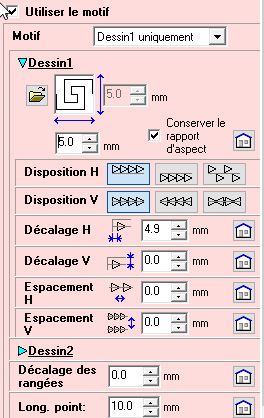
Like the size of a pattern, if you want to resize or stretch it. Then the repetition of the pattern, with mirroring, alternance along a path and spacing between repetitions.
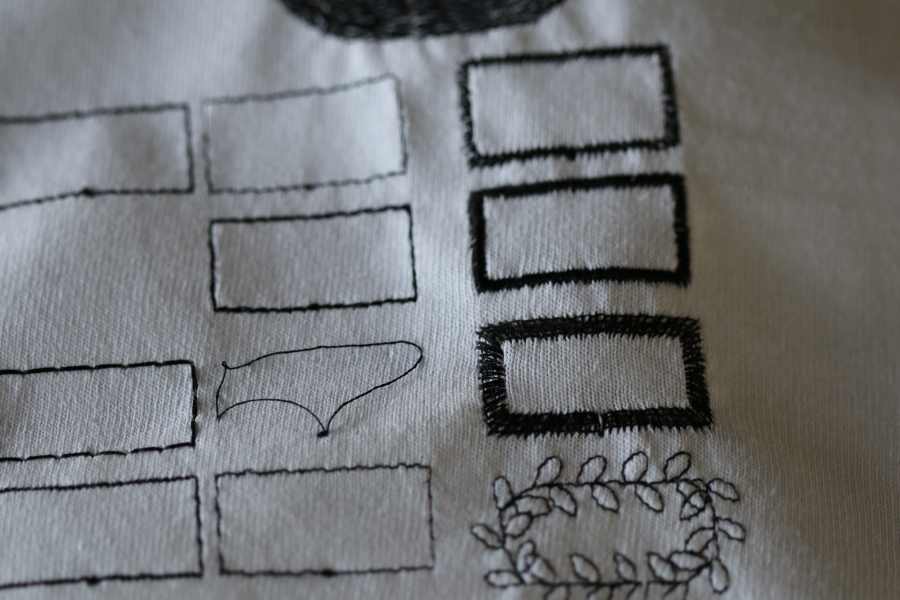
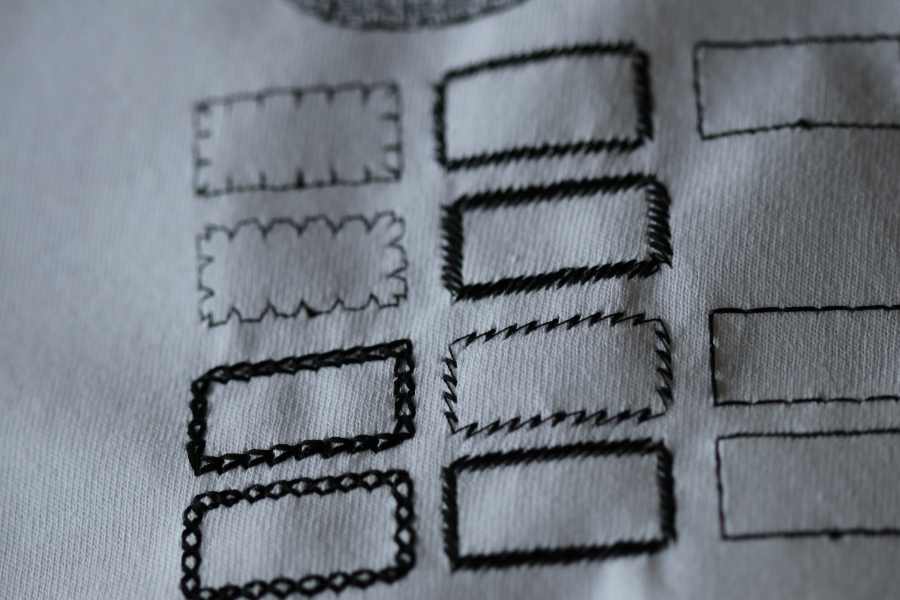
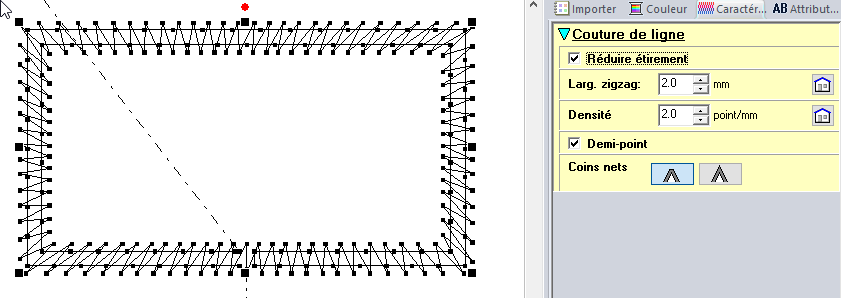
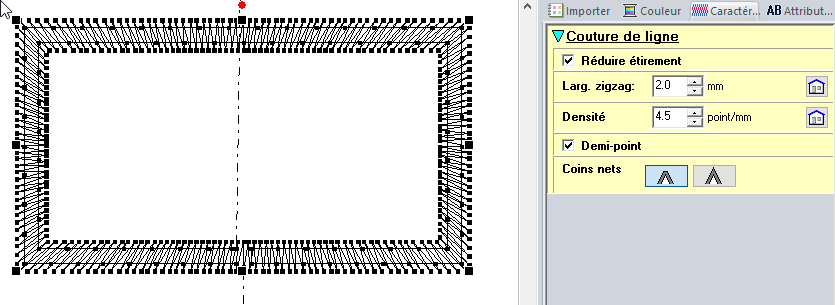
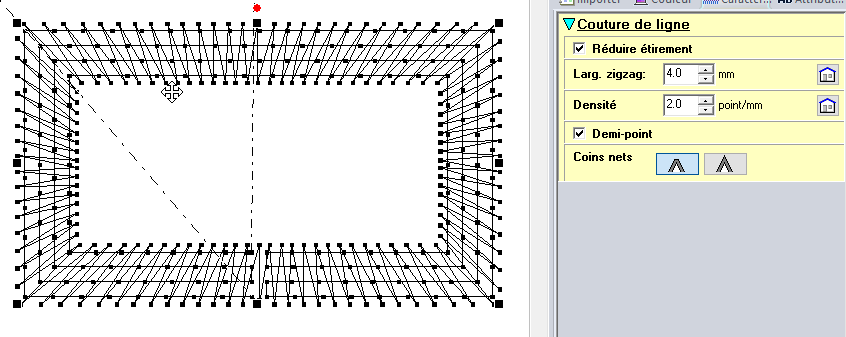
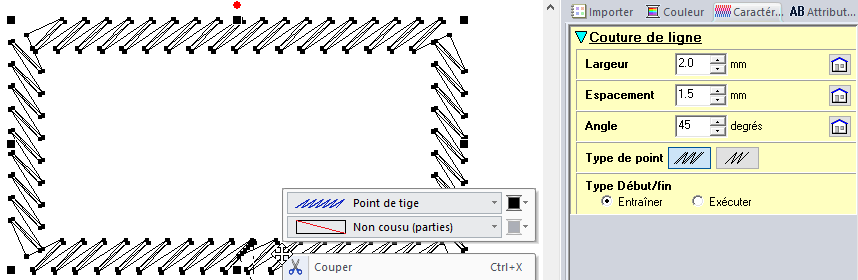
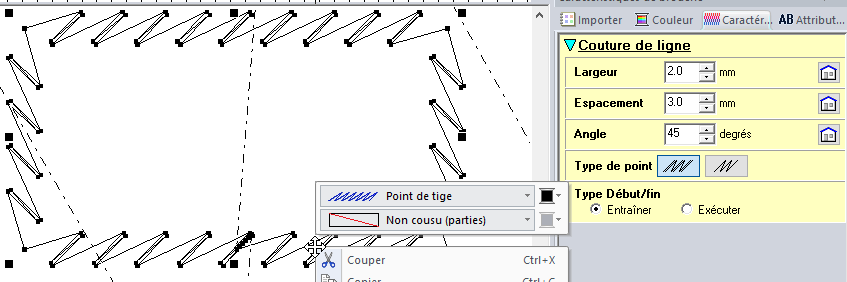
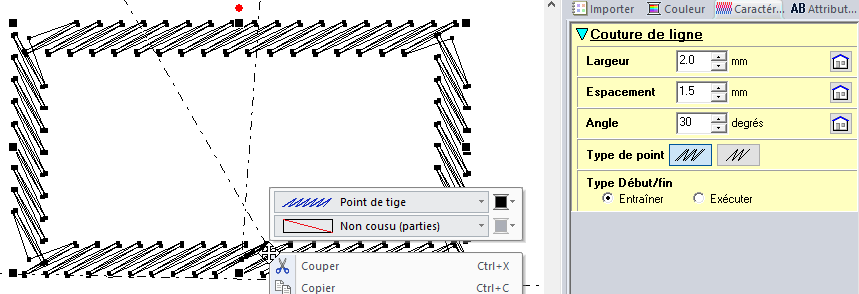
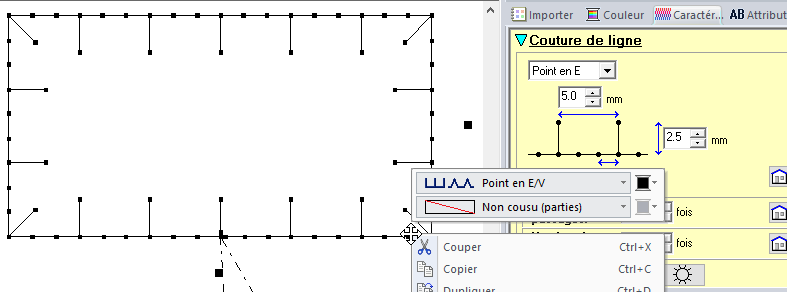
For the line, you can select differents technics, I will detail some with some rectangles example.
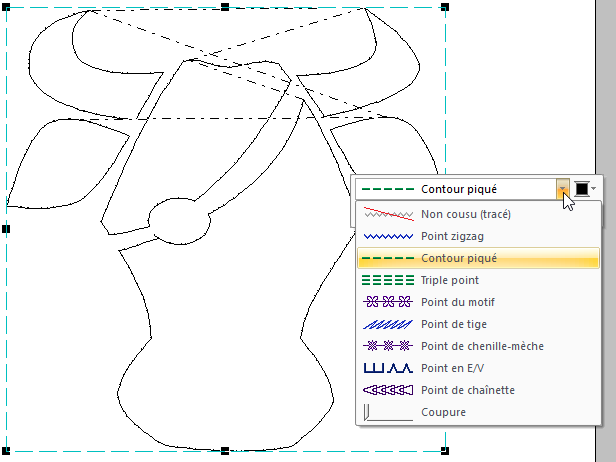
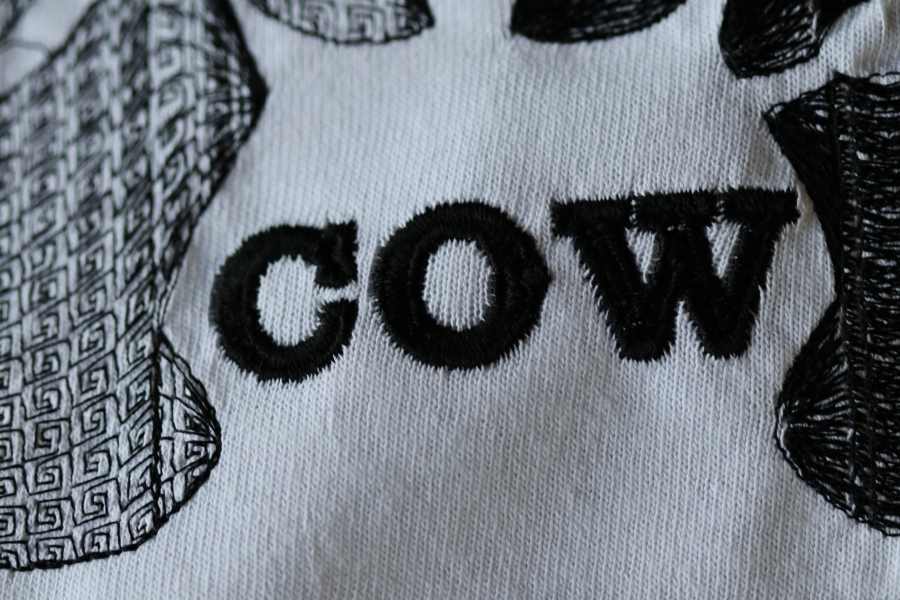
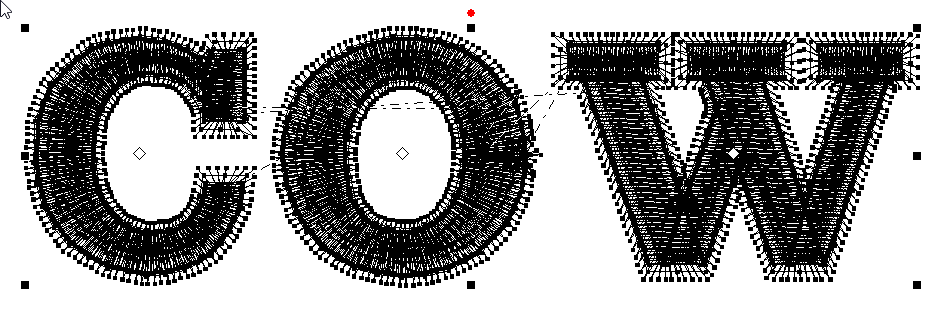
Colours, you can use differents colours. But for this exercice, I choose only black. On the Brother VR , you have to manually change the sewing thread for each colours. More expensive model can automate this task.

Text
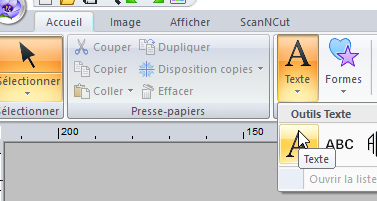
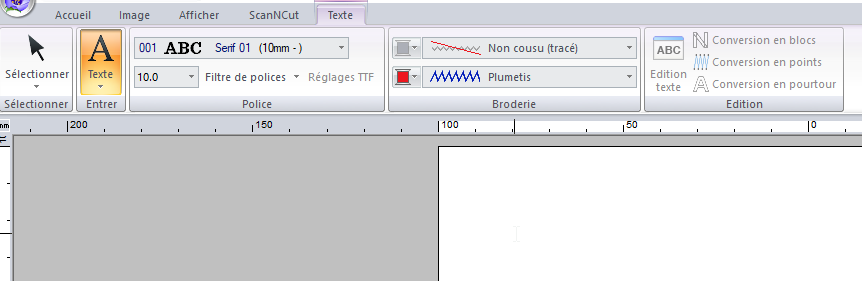
The text tool is usefull. It is better to select this tool than to have a vector text.
The minimal font for text is critical (often 10 mm) and embroidery follow differents rule for readability.
The software comes with dedicated fonts (the minimum size is written next)
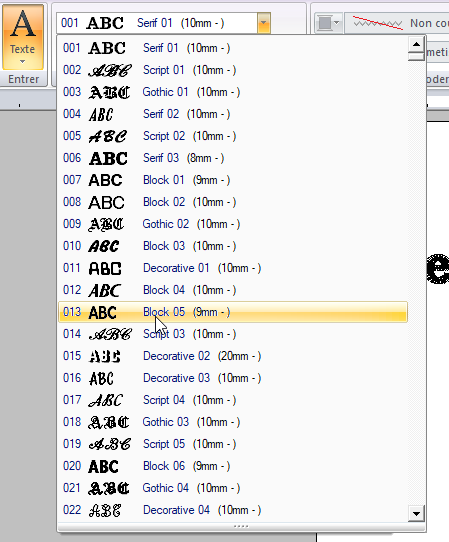
You can also use classical truetype font, but make some test to be sure of readability.
Same thing, by default the surface is empty with a “piqué” line.
Some surface filling is necessary.

And you can play with parameters.
By variying the density :
Parameters
I repeate a rectangle with differents line techniques and parameters to see the actual result . The parameters and techniques are in each screenshot.
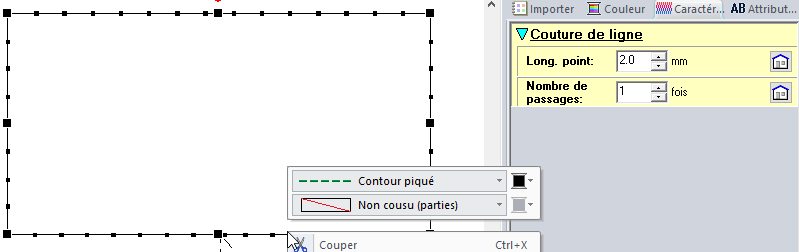
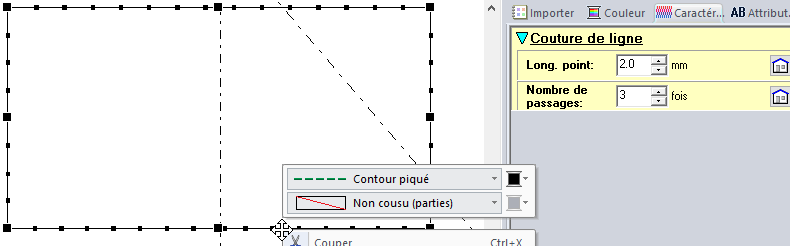

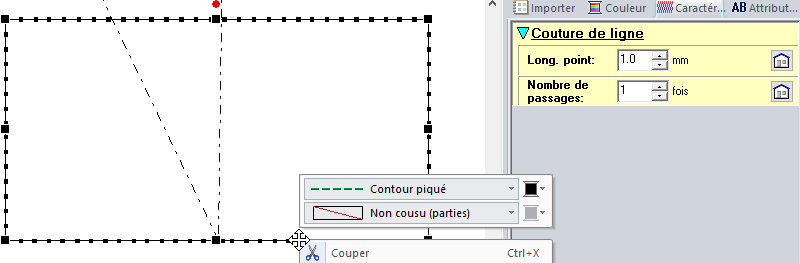

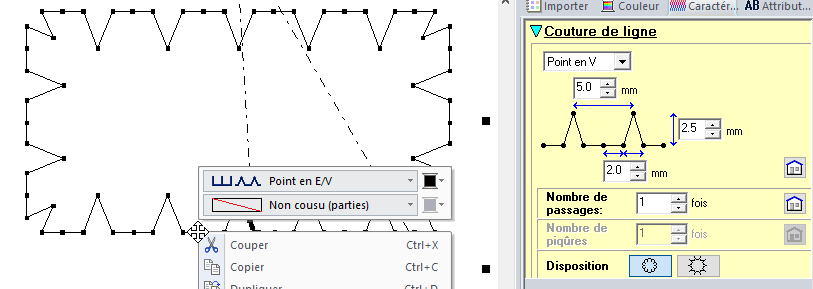
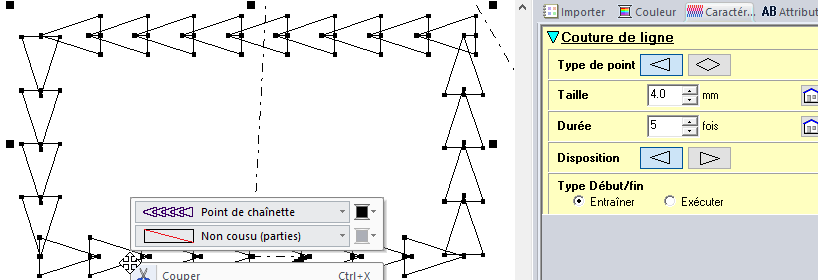
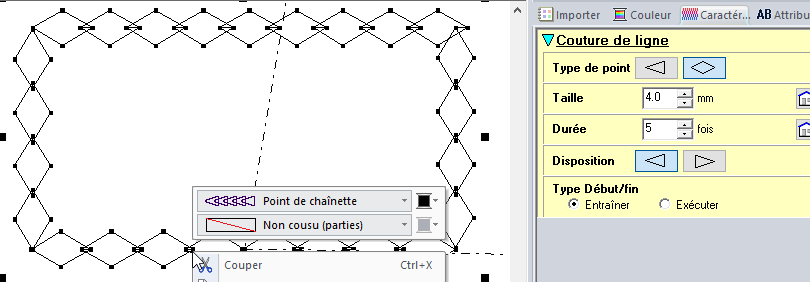
The actual result :