
Lingyu Yue @ FAB LAB Szoil · 2019
© 2019 Lingyu Yue · Template by Bootstrapious

This work is licensed under a Creative Commons Attribution-NonCommercial-ShareAlike 4.0 International License.
Wildcard Week- 3D print & cement pen holder
Work for this week
For wildcard week ,first I made a jwerry like RGB light resin for my final project. But I misunderstood the task, I need to produce something with a digital fabrication process, so I redesign a 3D print cement pen holder. And I kept the first manual process in this page.
Meterials
3D print ABS material
cement
sand
Design the model
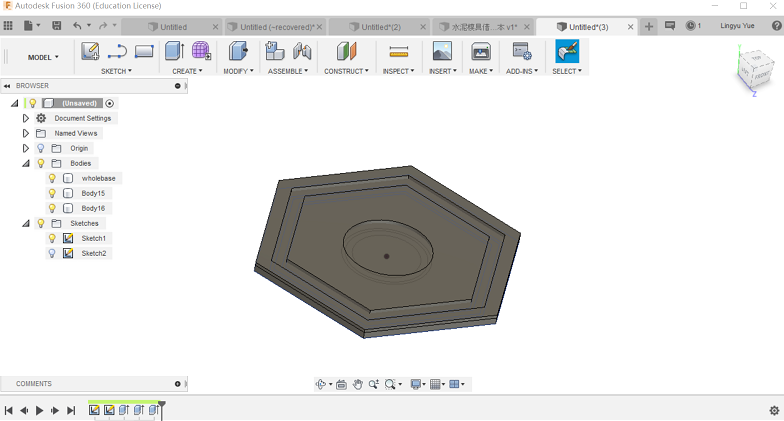
First , I drew a hexagon planter. During the sketch , I drew 3 hexagons and a circle and extrude each shape in the proper height.
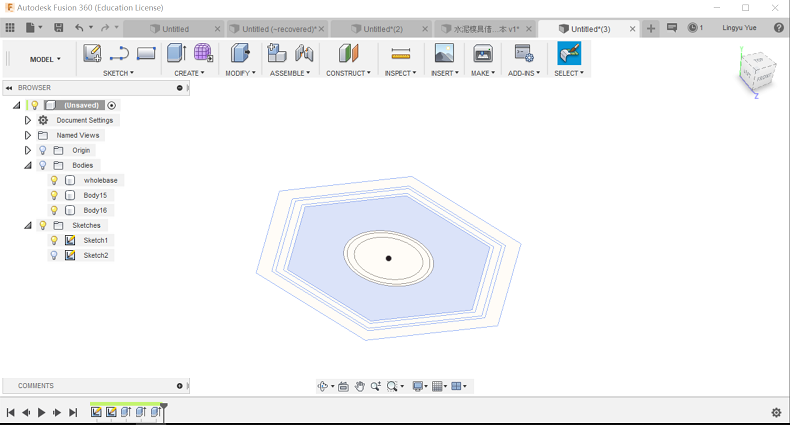
Base part
Middle part
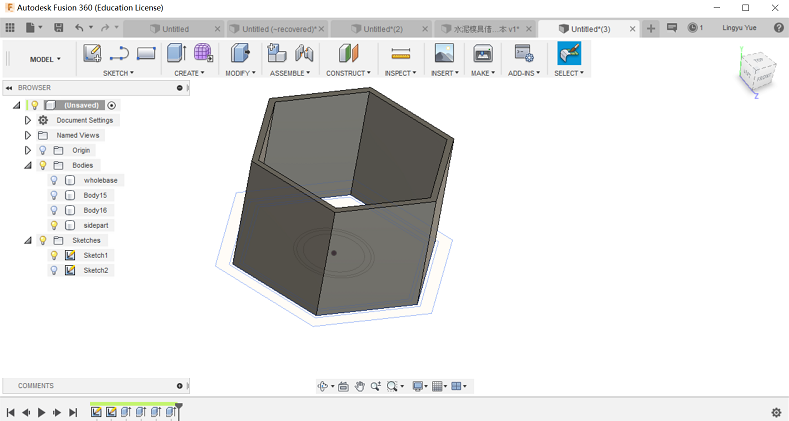
Side part
3D Print and Cement Forming
I printed the base , side and middle part and polished them.
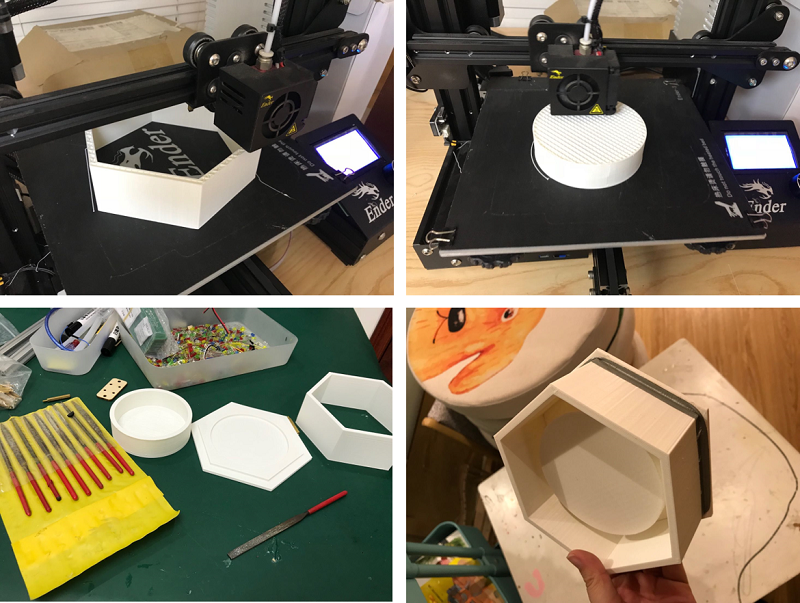
Mixed and poured cement in the model. I bought the cement and sand from online Taobao shop I chose the high standard cement and yellow sand.

Waited for the cement to dry, but I didn't think of that I can't take the cement part out. It sticked tightly in the 3D printing model.
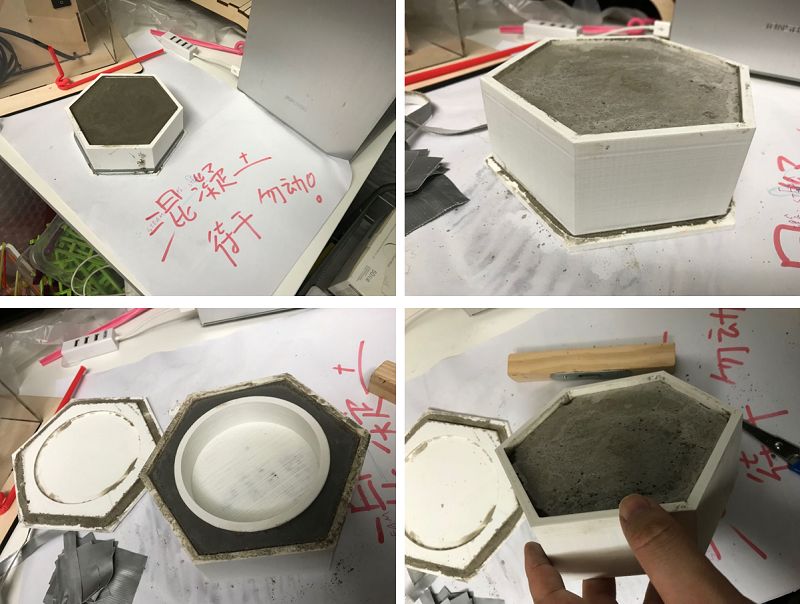
So I started to do my second design , I devided the side part into two parts and adjust the base part to let the side part to insert easily.
The new basepart
The new sidepart
The new middle part
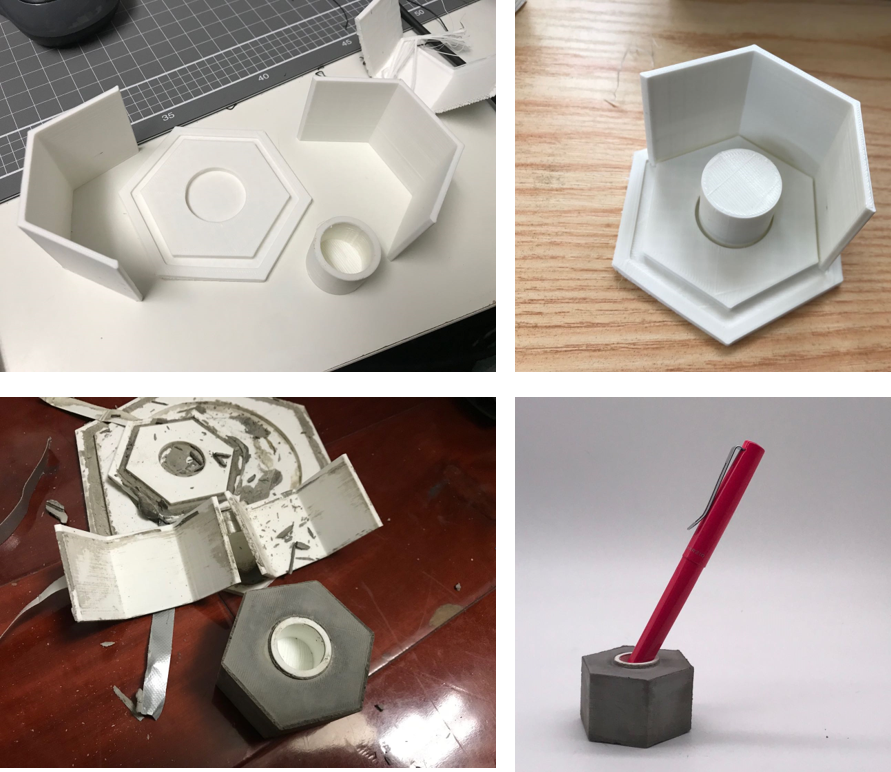
Here's the final pen holder.
But during the 3D printing process, I failed the first time, cause I didn't put the model flat on the Cura flat.
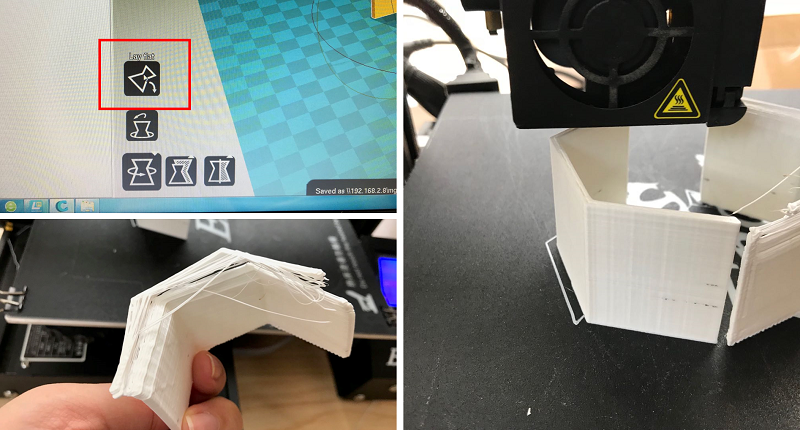
Do remembet to check the if the object is laid flat.
Files
Here is the RAR-package containing the design and scanning files of the week:
I kept my first try of my RGB resin record below.
Meterials
wood chip collected from the wook-working space
epoxy resin (AB glue)
RGB light
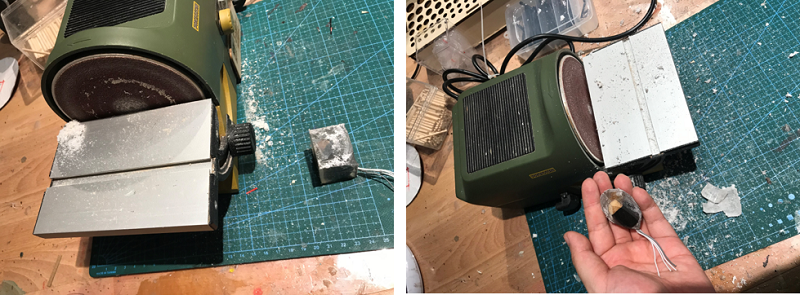
Cut and polish wood blocks
I cut off a piece of wood and use grinding machine to shape it.
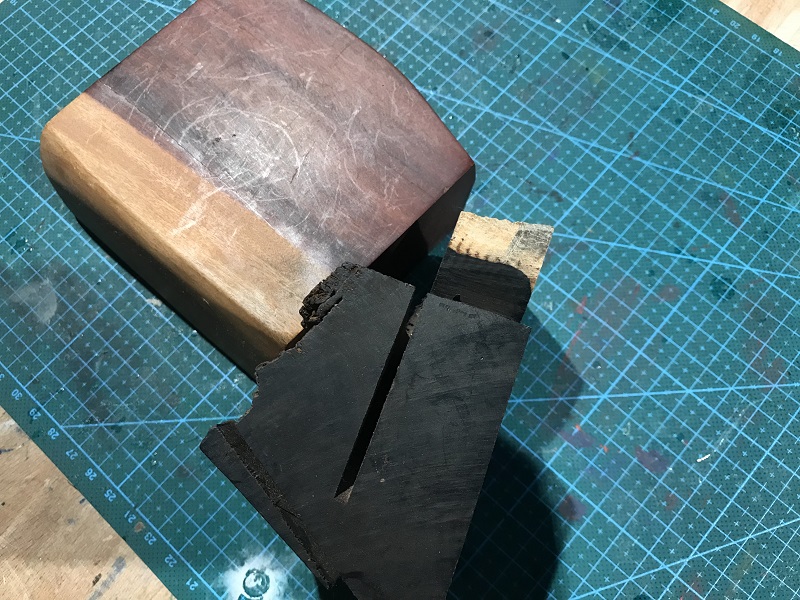
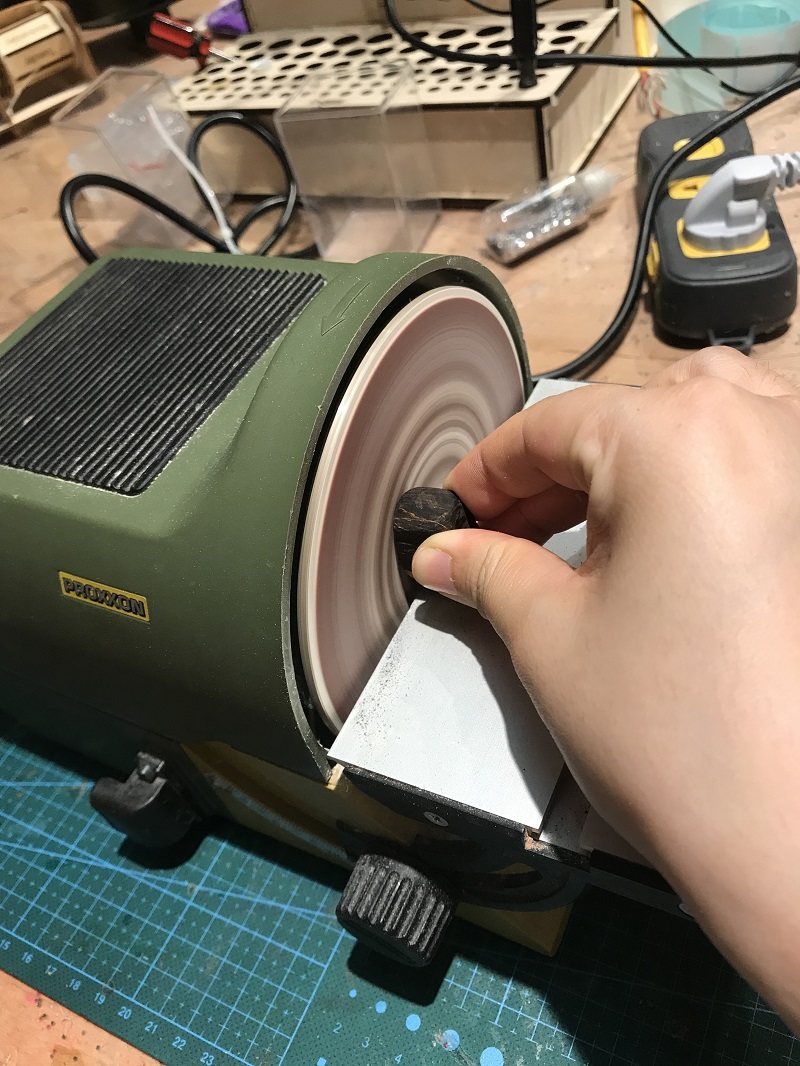
During the polishing period, you could put some water to prevent it become too hot.
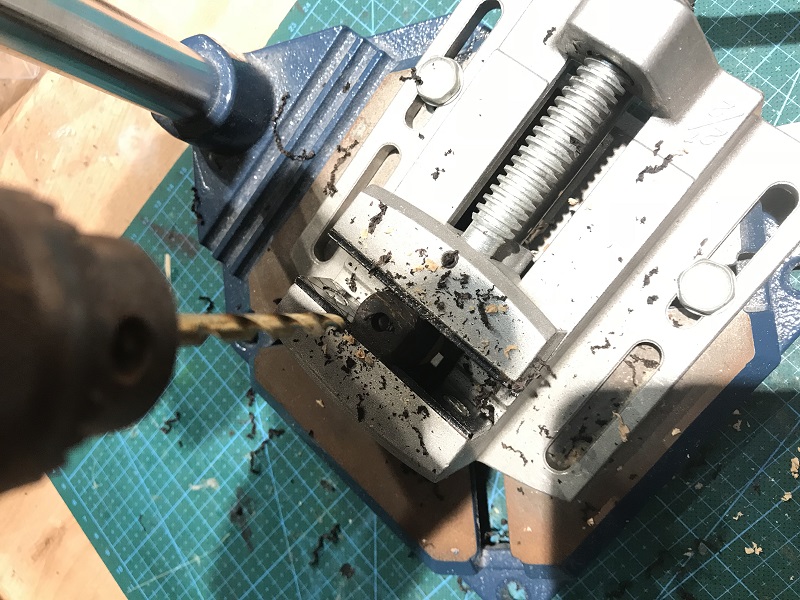
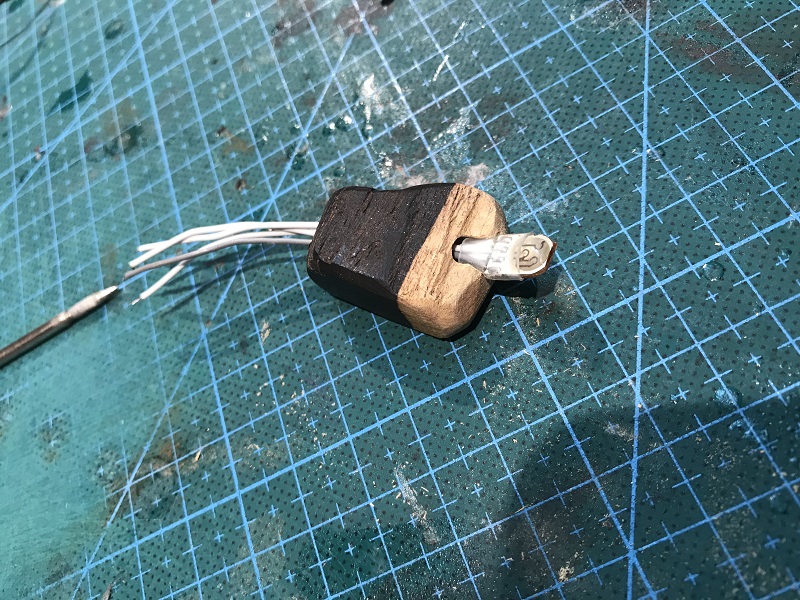
Drill a hole
After get the shape I need , I drill a hole in the wood piece to put the RGB LED inside.
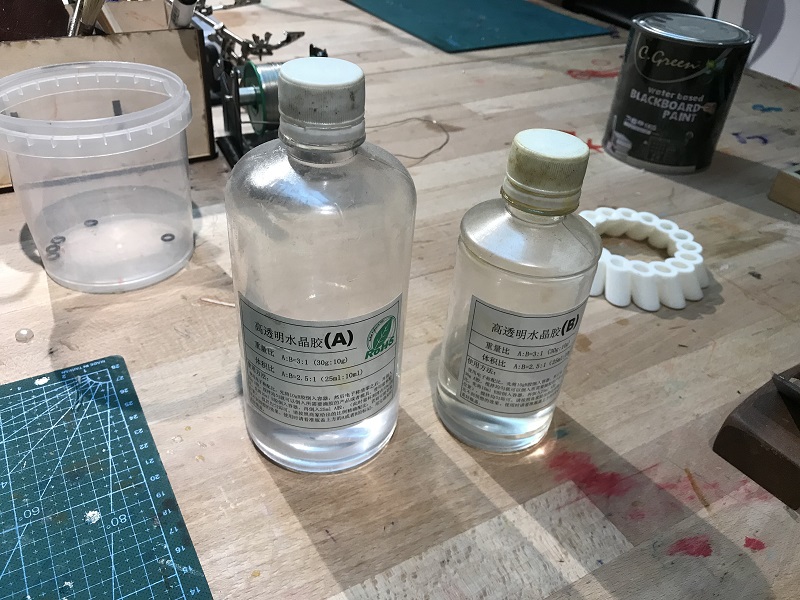
Resin
I use polyester resin to cover the wood and LED. I mix them via the scale instruction. And stired well.
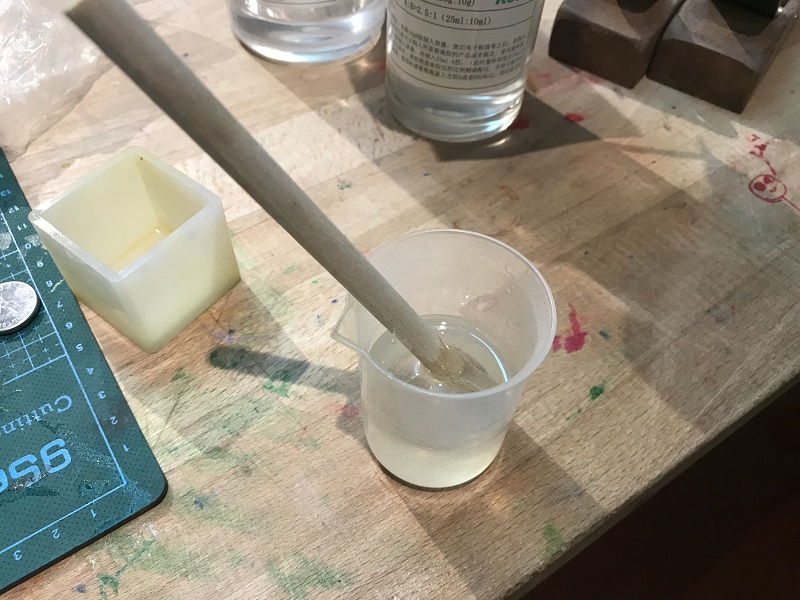
I put them in the room for a whole night.
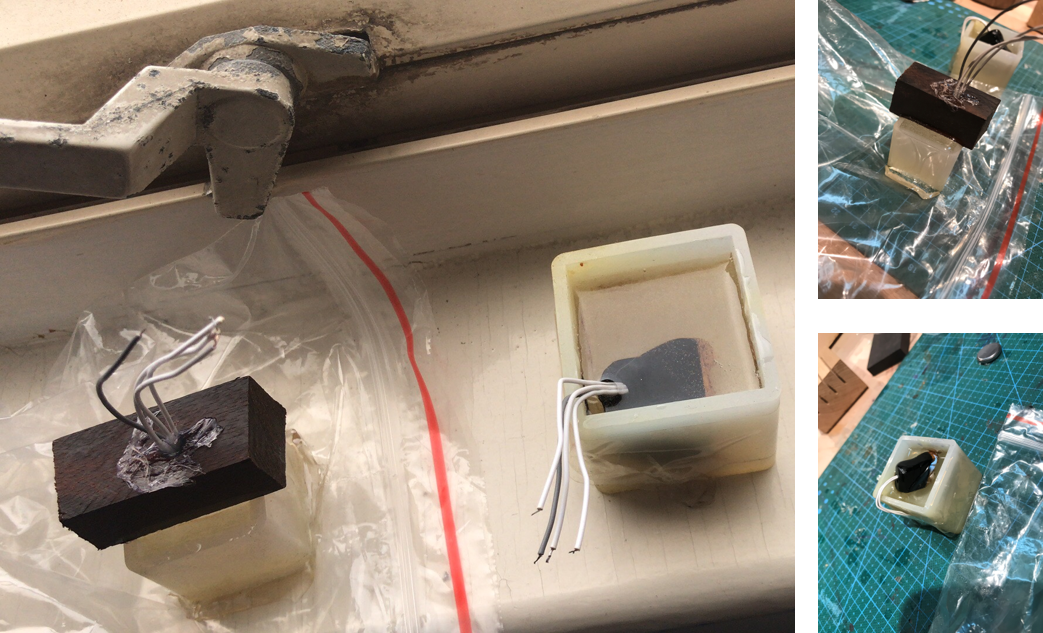
When I checked them in the morning , I found that the wood one on top didn't sucess, too soft to hold. So I used the one in the middle.
I polished the resin again.
Upload code to it with Arduino
At last, I connect it to Arduino and test to programm it.