Week 7
-
ELECTRONICS DESIGN
Group Assignment
Use the test equipment in your lab to observe the operation of a microcontroller circuit board.
Individual Assignment
Redraw the echo hello-world board, add (at least) a button and LED (with current-limiting resistor). Check the design rules, make it, and test it.
Extra credit: simulate its operation.
Extra credit: render it.
Testing the operation of a microcontroller circuit board (GROUP ASSIGNMENT)
...
Redrawing the hello-world board (INDIVIDUAL ASSIGNMENT)
At this week, we receive from Roberto Delgado a master class of electronics. That was very useful to understand the workflow and the use of Eagle to design electronic boards.
The first part was setting up my Eagle environment, with the Fab library. The path is like the next images:
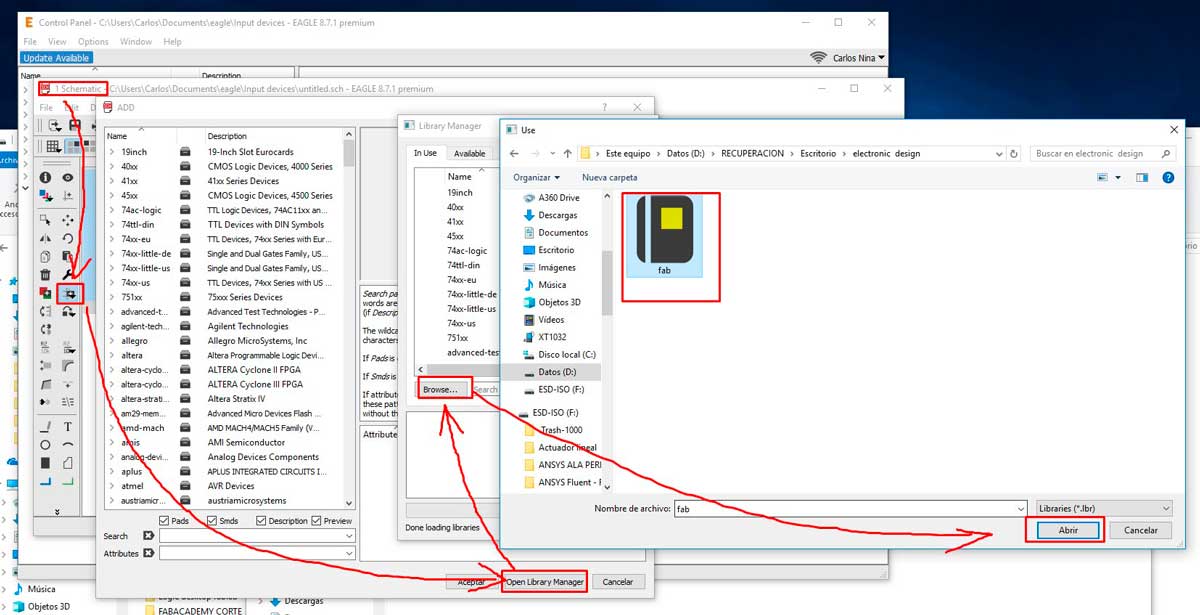
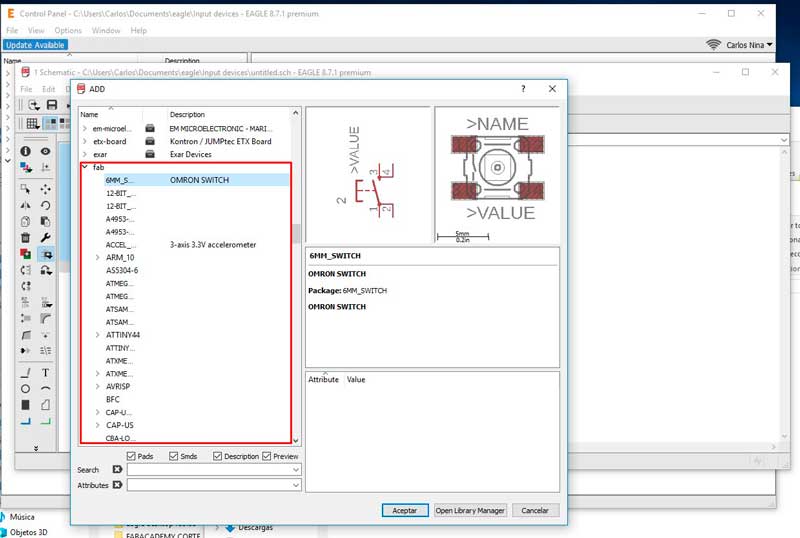
When you finish to add the library, you can add items from it.
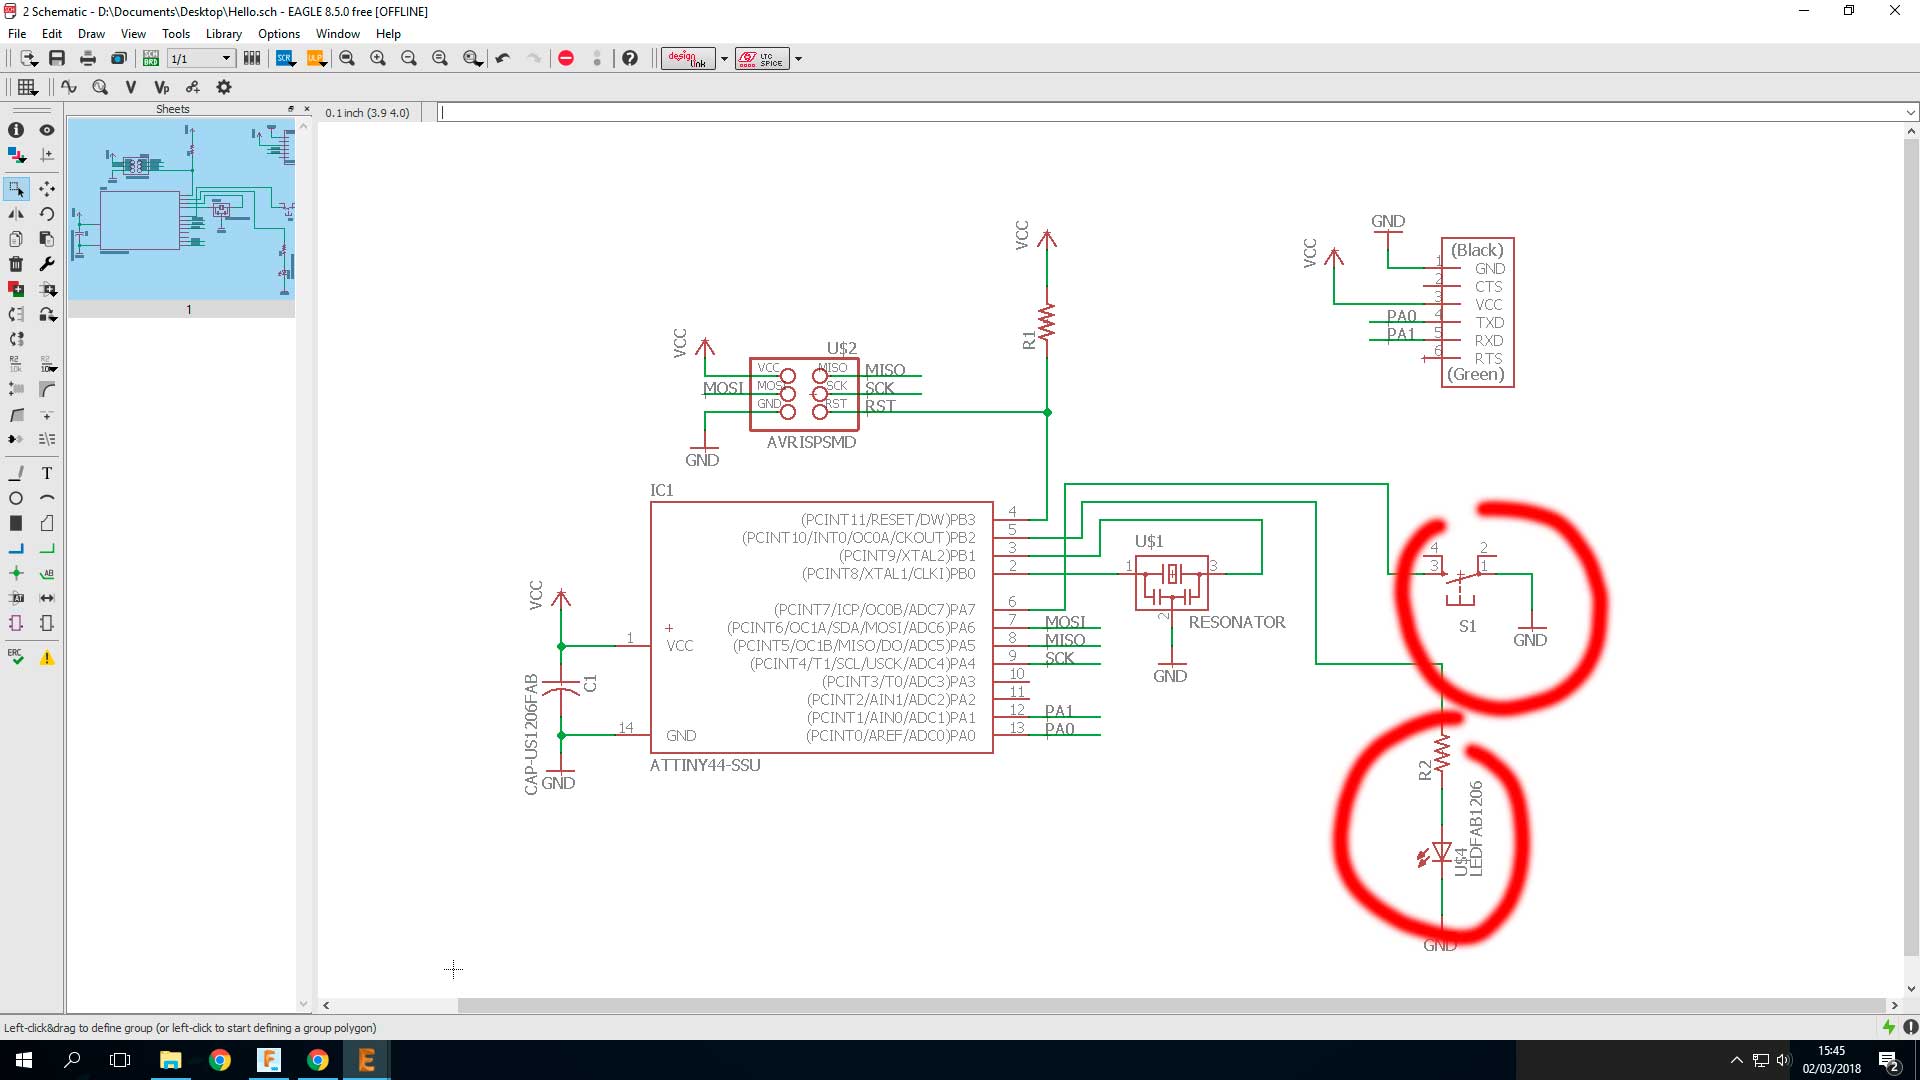
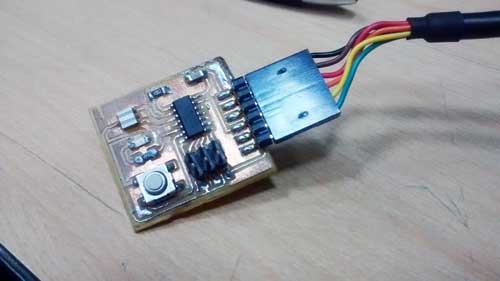
Now, all you need to do is design it. Well, for my first time in electronics I actually receive many helpful advice and instructions. Finally, my first schematics was done, with a modification of the Neil's board: the led and button.
The next step was make the board.
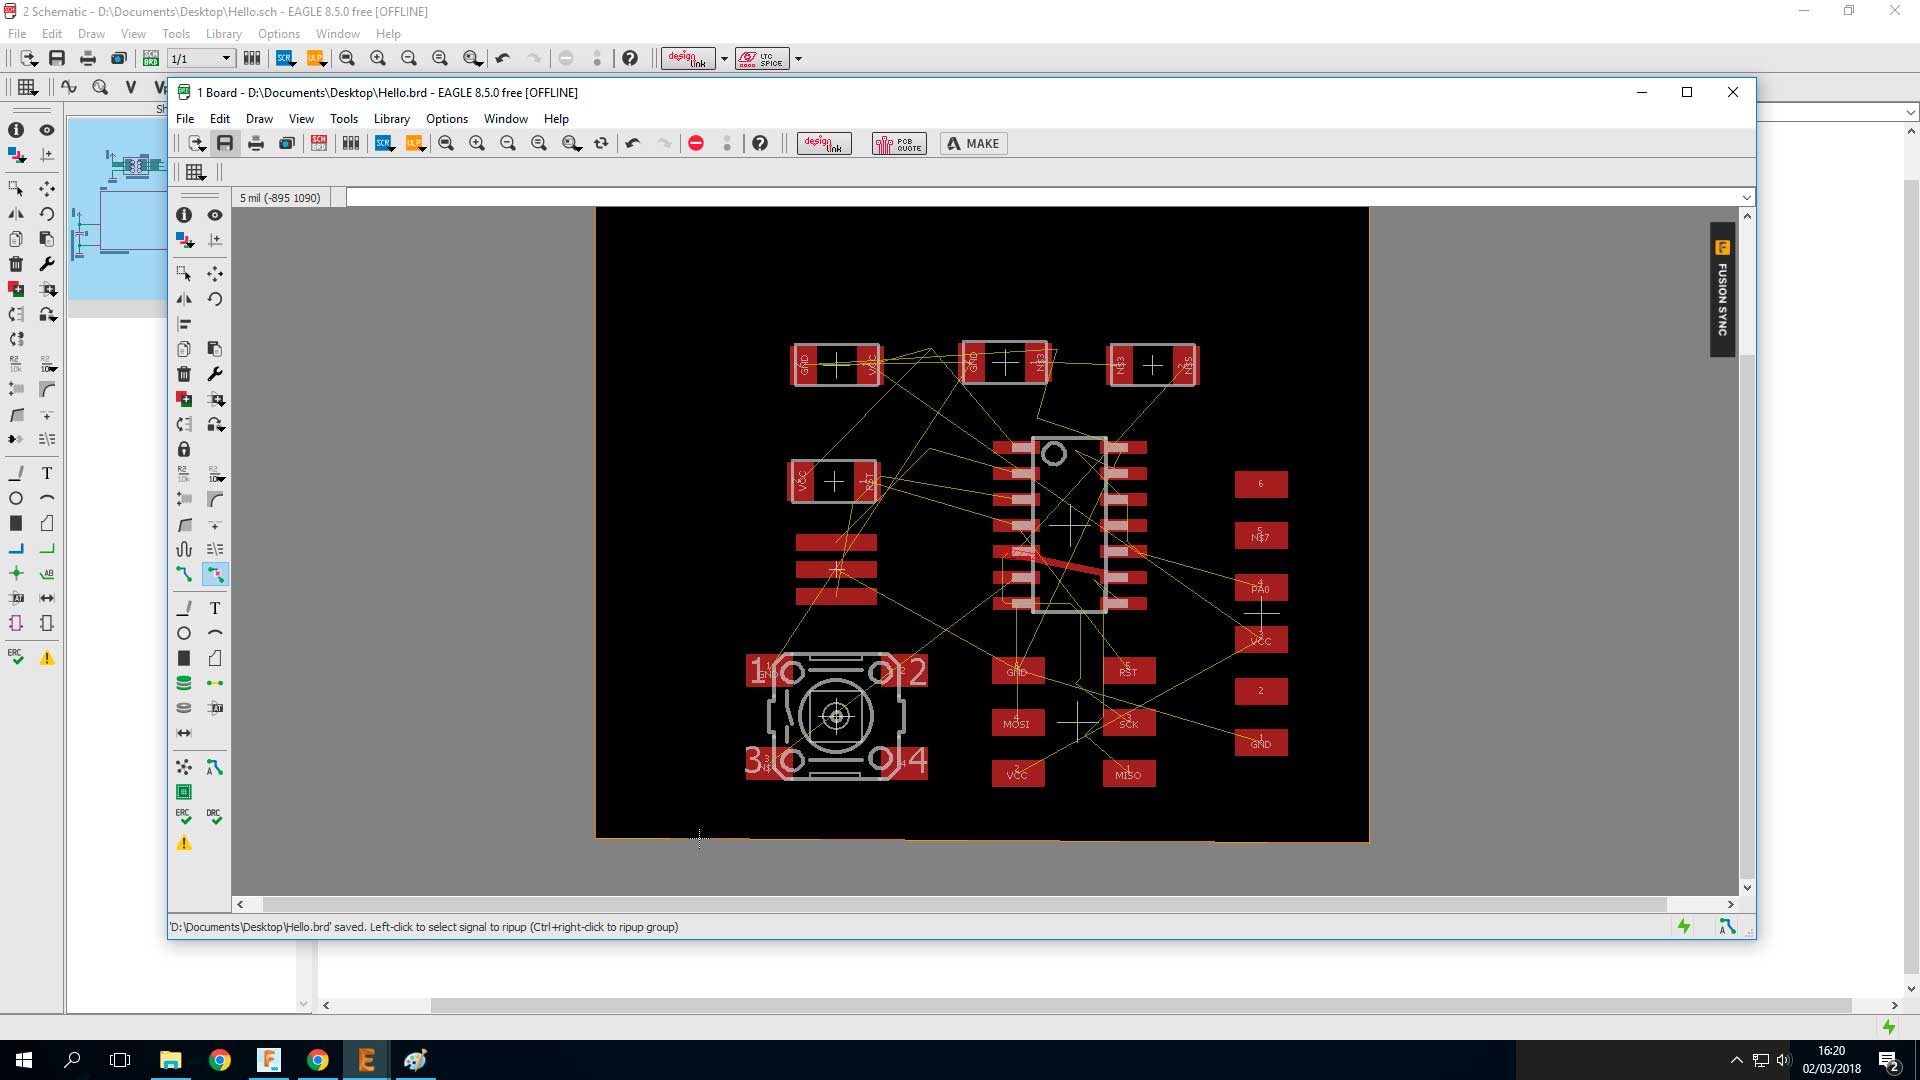
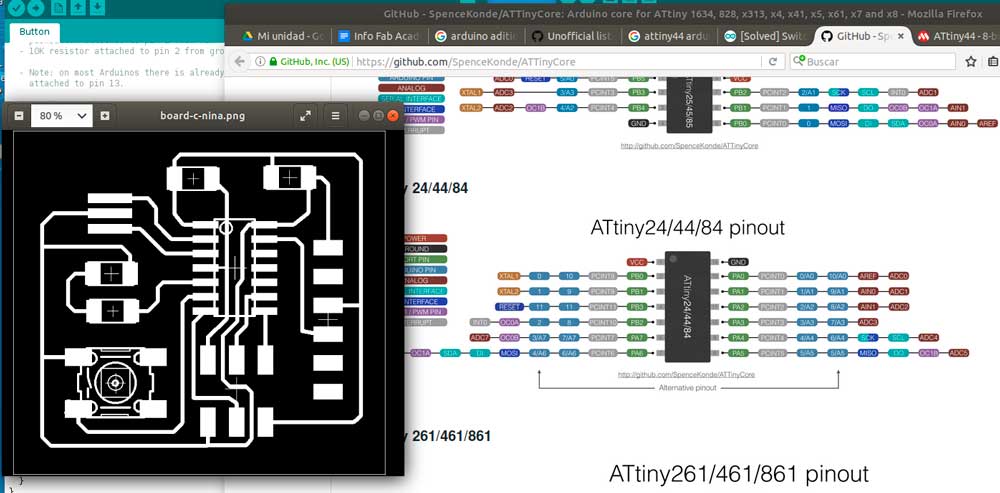
After a couple hours (it's my first board design) that was my routes. I try to do from scratch, but after so many attempts I was to resign and take a route similar to the Neil's board. Obviously with my led and button.
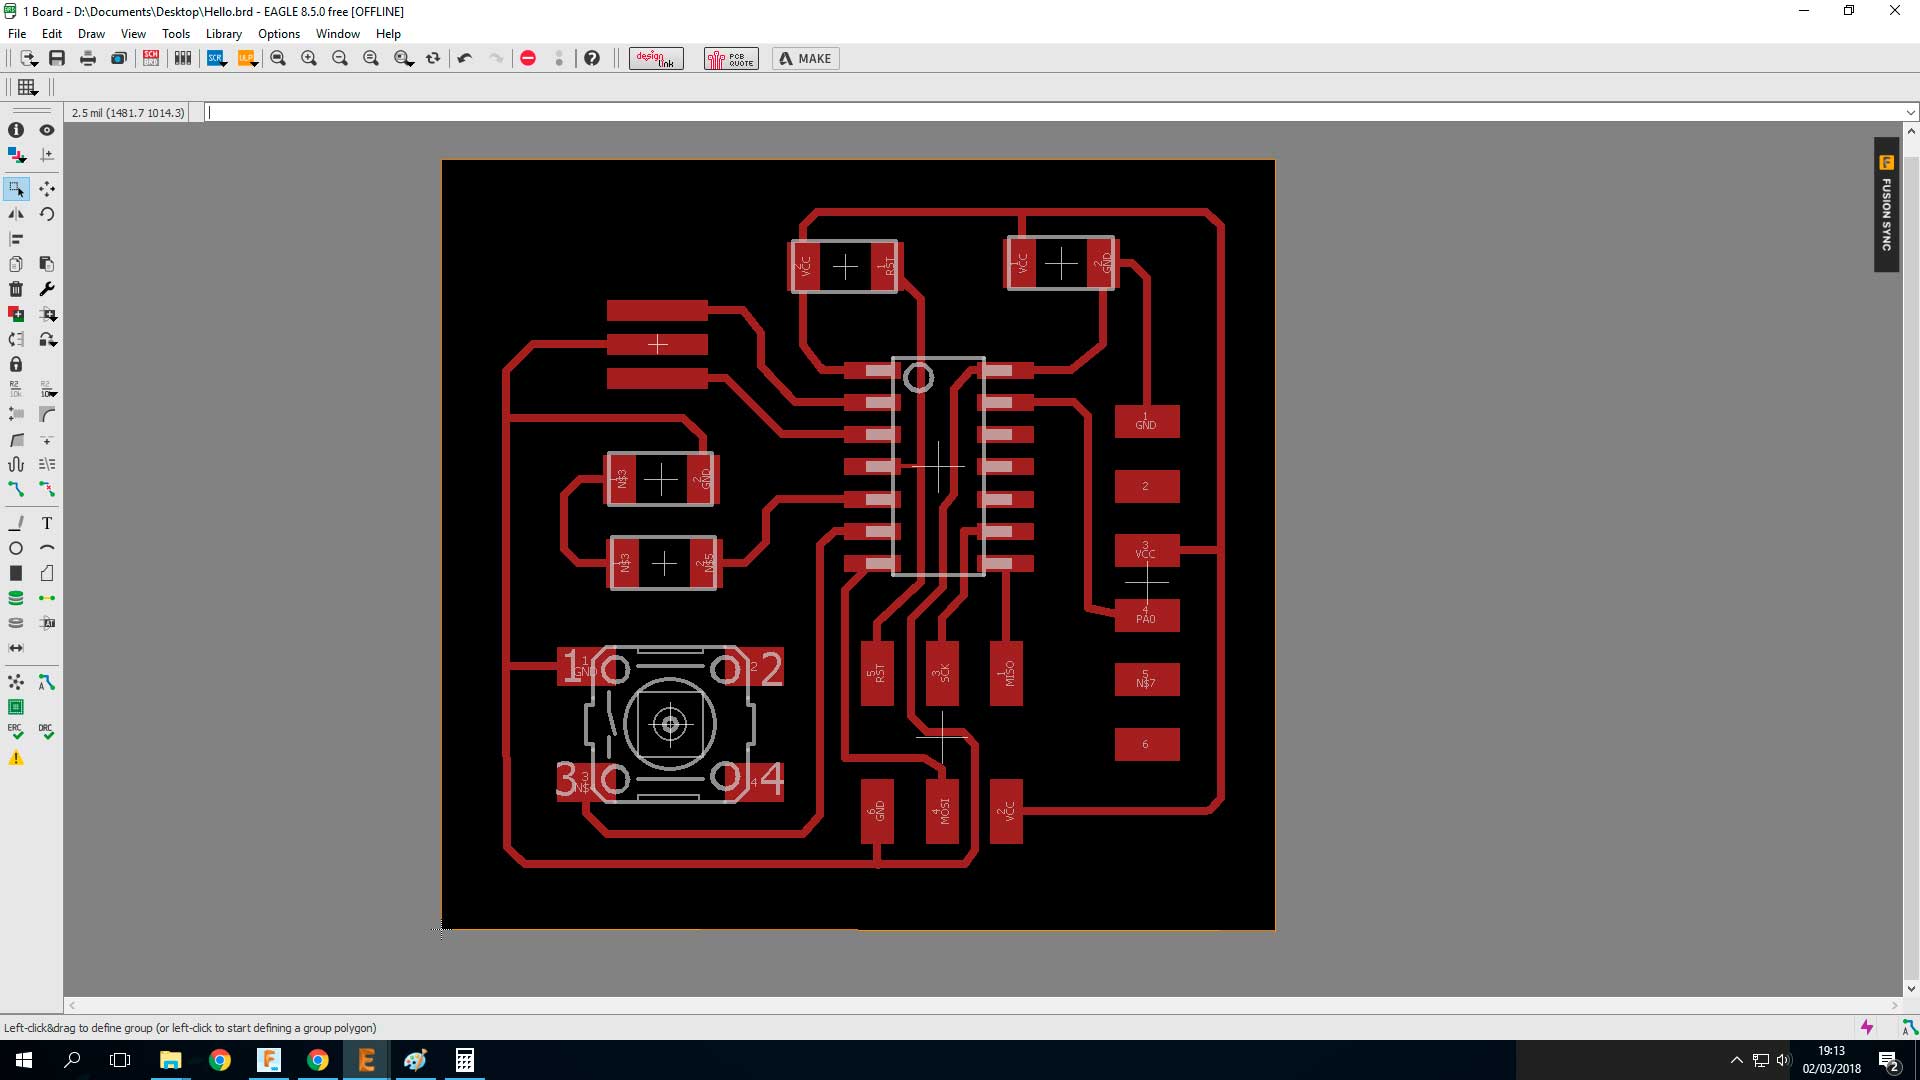
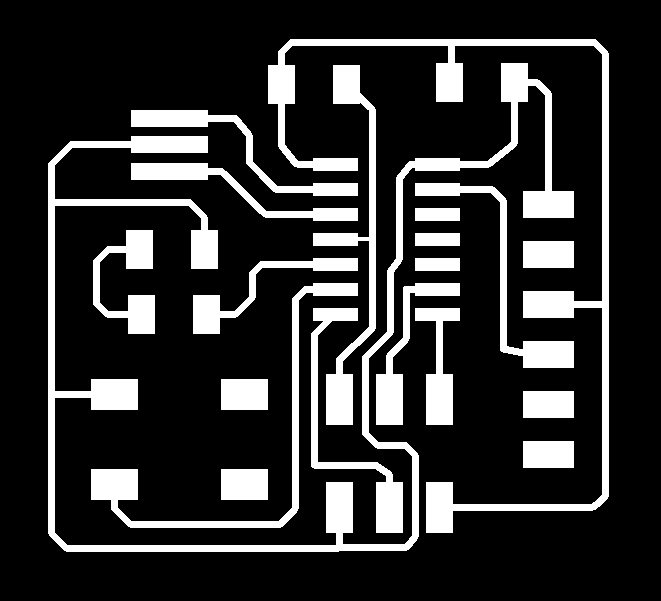
The next step is export the board, hiding the right layer on each case.
That was the result:

Now following the process of the week 5, I make the board.

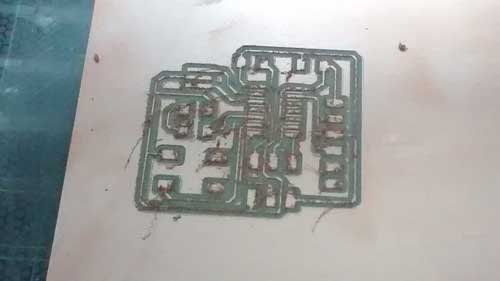
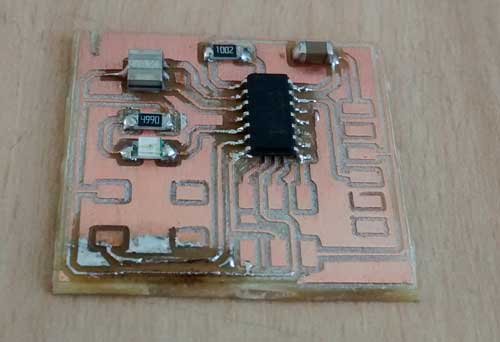
At this point I learned something important from my mistakes. The routes that I draw was so thin. On the Eagle file the thickness of the line was 16, after that I decide use thickness 20 on the next boards.
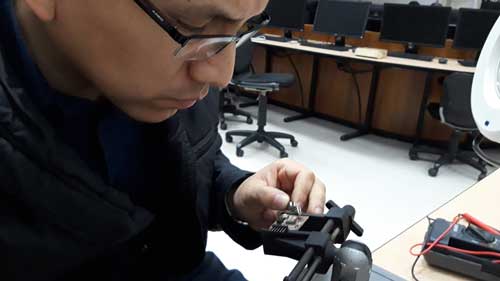
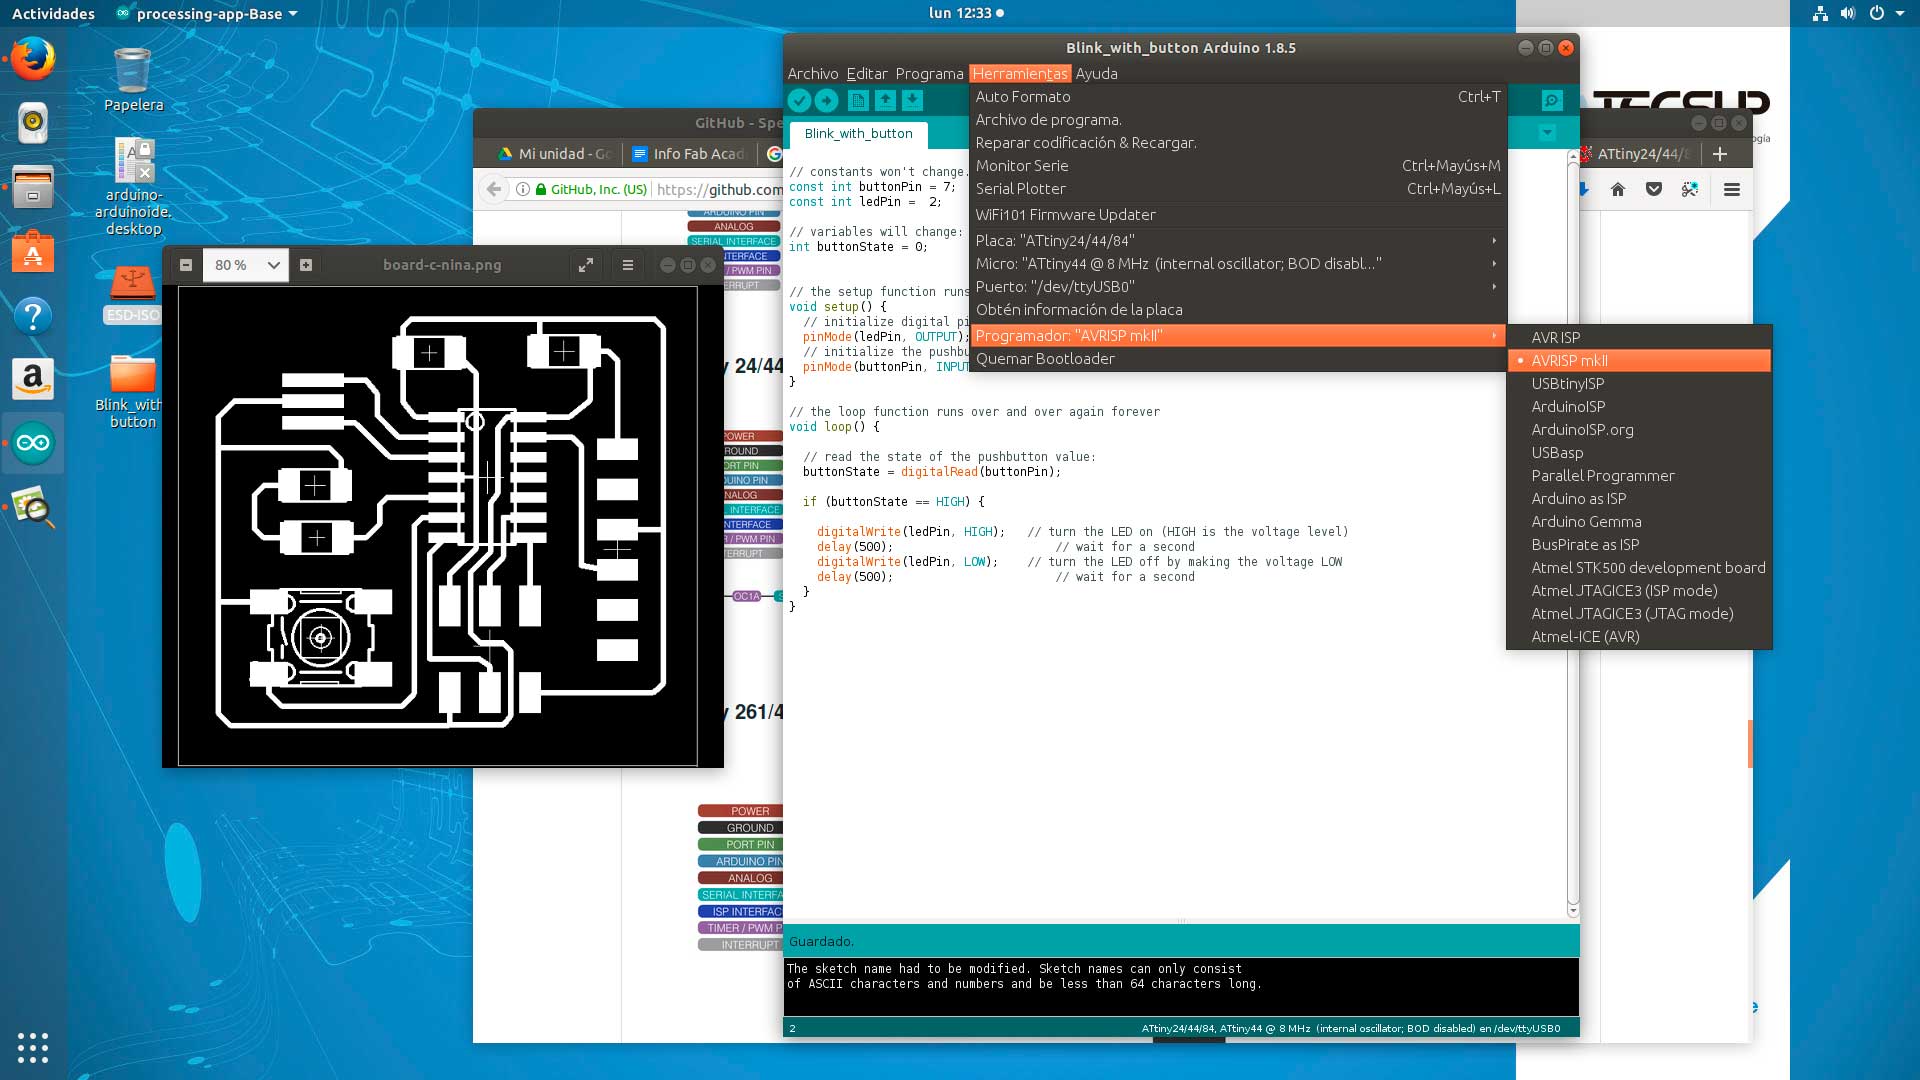
Programing the board
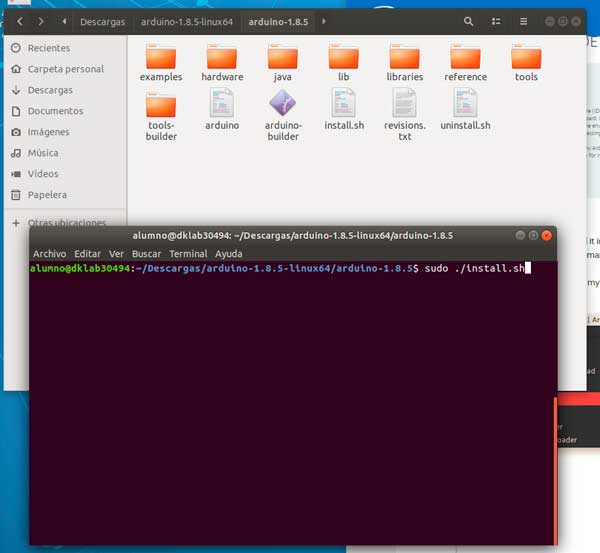
Due to its my first time - and later than spend 2 hours trying to route my board - i decide program it with a simple workflow. So, I install Arduino IDE on Ubuntu. to do this i just download the files from the Arduino website and unzipp it. Then on a terminal (on this folder) execute the command:
$ sudo ./install.sh
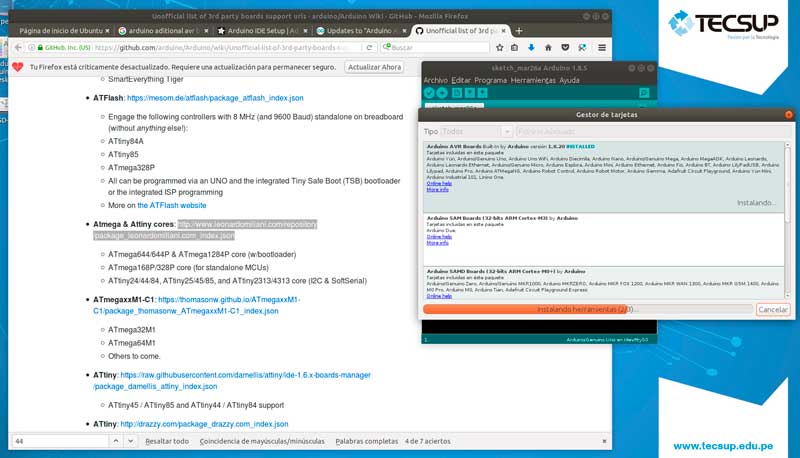
Once Arduino IDE was installed, I need to install ATTiny cores, to program any AVR boards with the Arduino IDE. To do this, we need to add this url "http://www.leonardomiliani.com/repository/package_leonardomiliani.com_index.json" on File/Preferences/Additional Board URL. Later, open Tools/Board/Board Manager and install "ATTiny Extra Boards by Leonardo Miliani".This proceed was taken from this site.

One important thing about Arduino, is that the pins are numbered on different way. So you need to take care to choose the right one.In mi case, the button is on the pin 7 and the led is on the pin number 2.
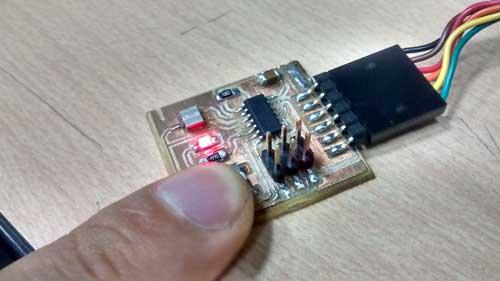
Fianlly, using the right programmer you can load the code with "Program/Load using programmer"
The final test, push the button to turn on the led.
Files of this assignment: