 FabAcademy 2019
FINAL PROJECT - CHEAP ARTRHOSCOPY SIMULATOR
1.First sketch of the final project idea
1.1 What is?
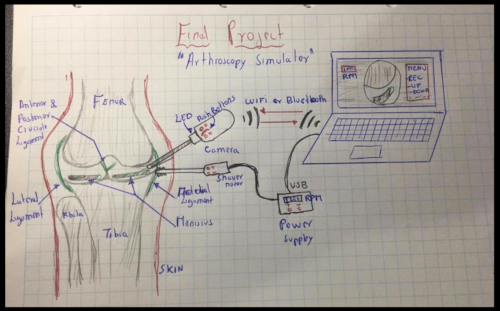
Arthroscopy simulators are very sophisticated devices that help the surgeon to train. In addition these devices are not available to most surgeons, especially those who are just beginning.
1.2 What it will do?
The arthroscopy simulator is a device that helps traumatology residents. This allows training to perform arthroscopic knee surgery. This basically consists of a lower limb model that includes the knee and its internal structures (bones, meniscus). And the camera that will allow to observe the interior of the articulation.
1.3 Who will use it?
This is the use of traumatic doctors, such as training for attroscopic surgeries and joint pathologies of the knee.
2.Development of the final project
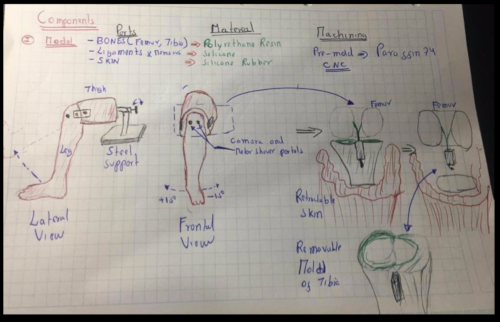
My project consists of two main structures:
- Case of the camera (that allows the inner visualization of the knee)
- The model of the lower limb (thigh and leg) that contains the knee joint.
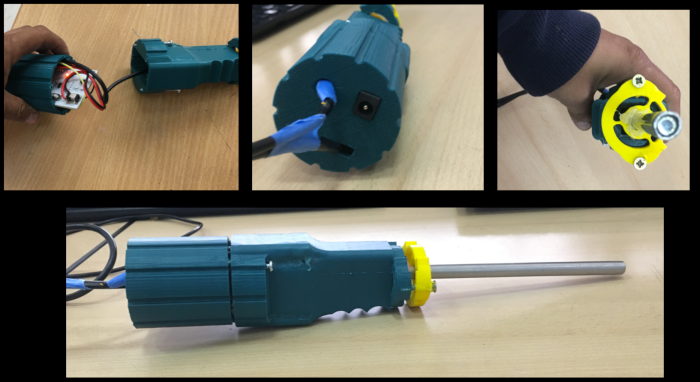
2.1 3D design of camera
Arthroscopy cameras are devices that the surgeon uses to explore the inside of the knee during surgery.
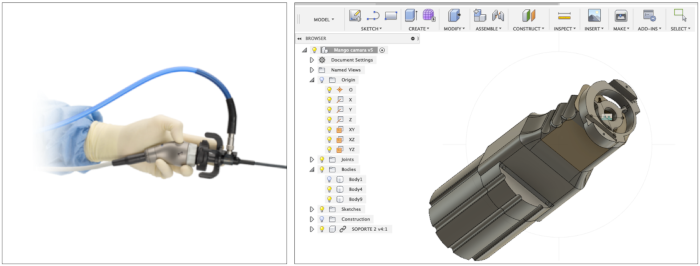
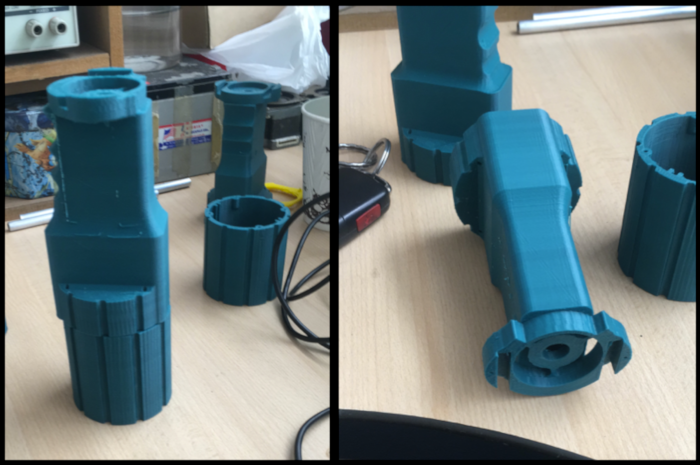
In the end we obtained the 3D printing, where to contain the electronic card and the camera.
2.2 3D design and Making of Lower limb
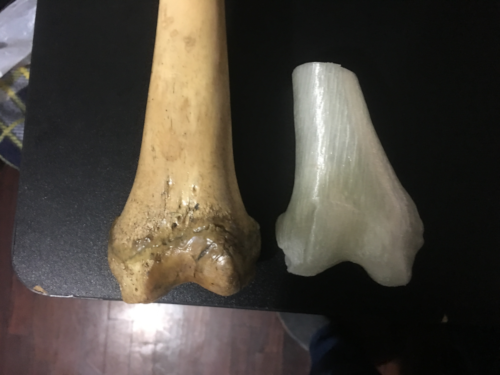
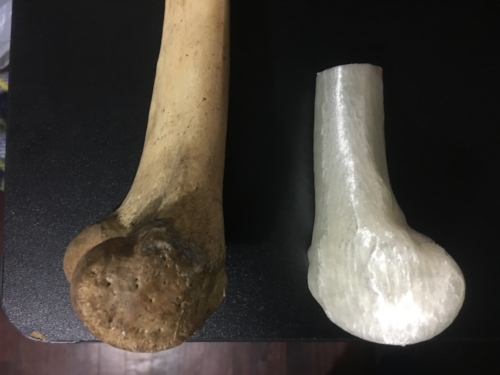
2.2.1 3D design Bone
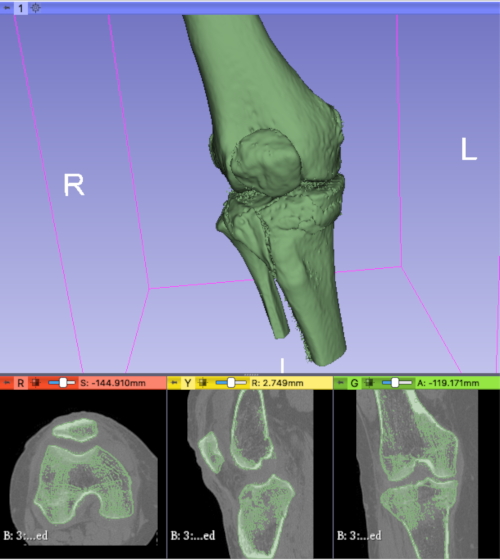
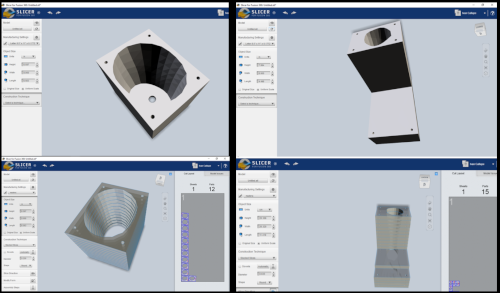
I decided to make a 3D impression from the images of the tomography. For this it was necessary to obtain the DICOM files. DICOM (Digital Imaging and Communications in Medicine) is the international standard to transmit, store, retrieve, print, process, and display medical imaging information (
3D Slicer is an open source software. This program allows editing and rendering of DICOM files (
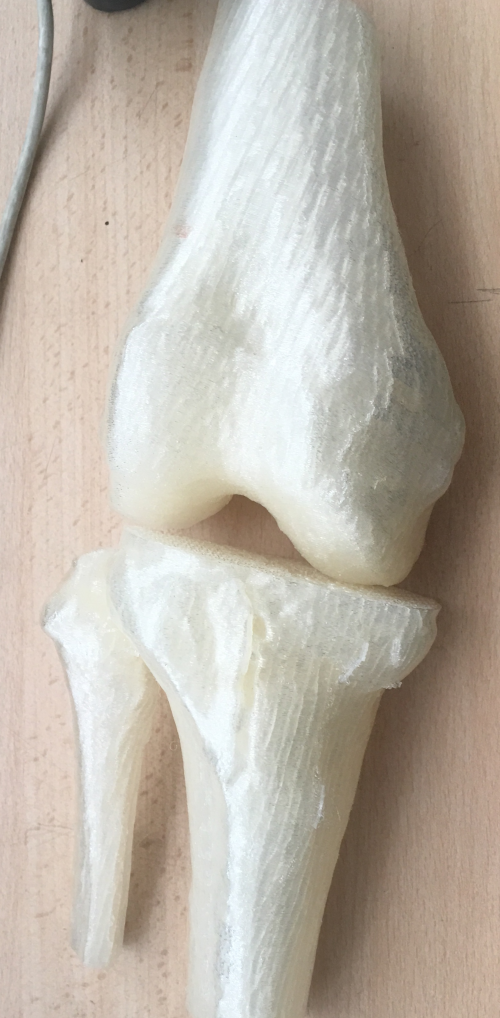
Having the bones printed in 3D, I made a comparison with real bones. And there was not much difference between them.
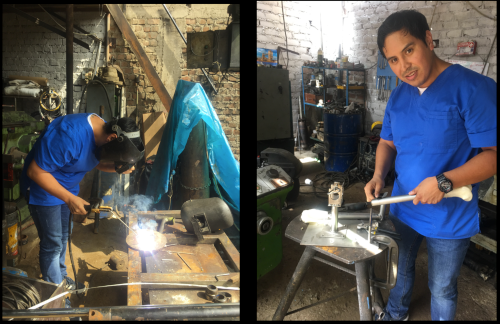
2.2.2 Design of the metal support
I decided to make a metal support that supports the leg mold. This allows greater stability and I will be able to make many movements.
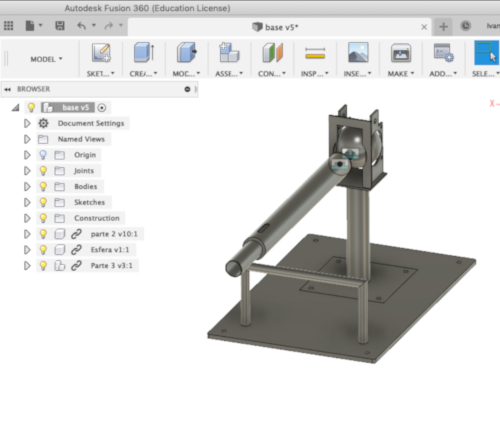

To make the design, he had to make it in stainless steel and weld each piece.

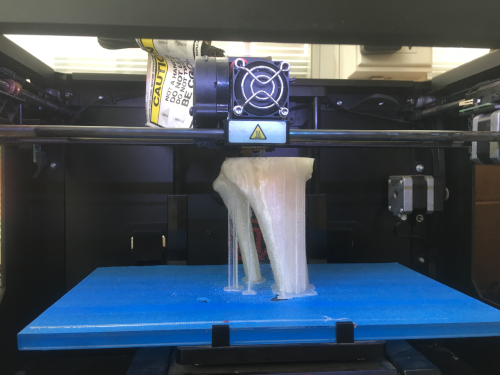
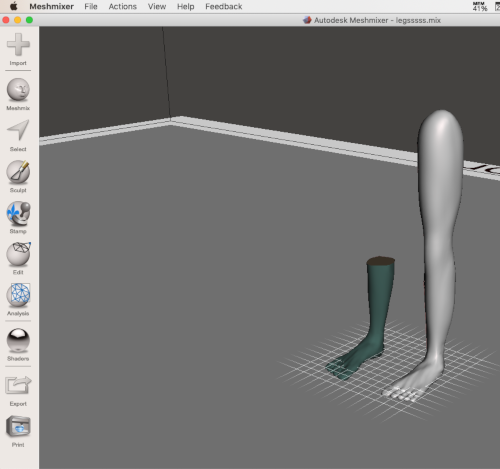
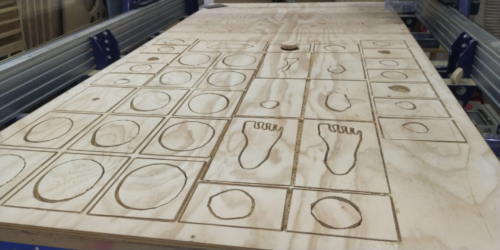
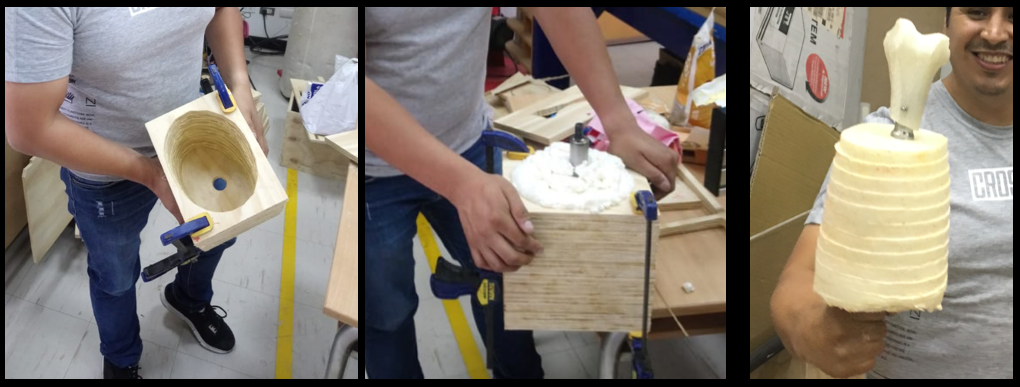
2.2.3 Making of Lower limb
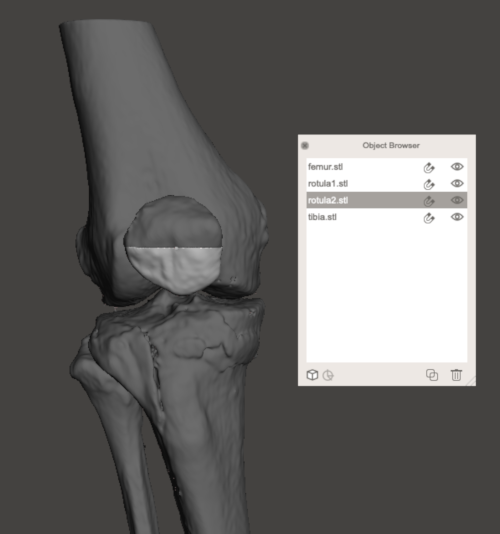
For the 3D design of the lower limb, I downloaded a model of one leg and made the cuts I needed (leg and thigh) and modeled them in FUSION 360. (
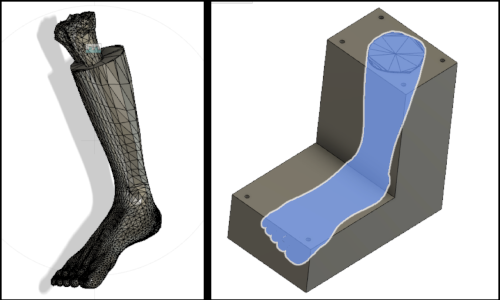
With the leg and thigh molds, export them FUSION 360 to
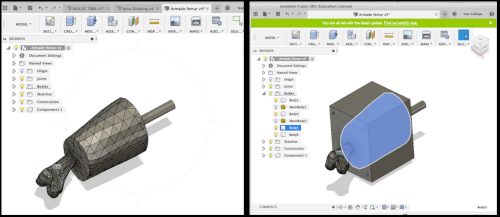
To make the meniscus make a 3D design, which I then modeled in silicone.
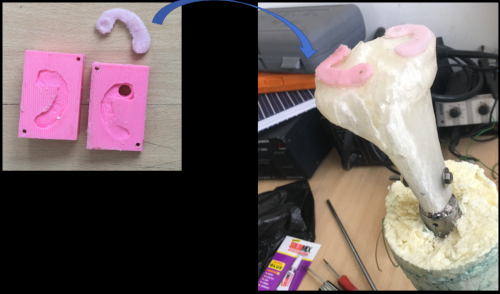
"File: Meniscusd.stl", "File: Meniscus mold part1A.stl", "File: Meniscus mold part1B.stl"
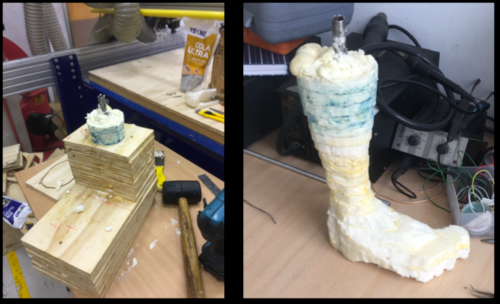
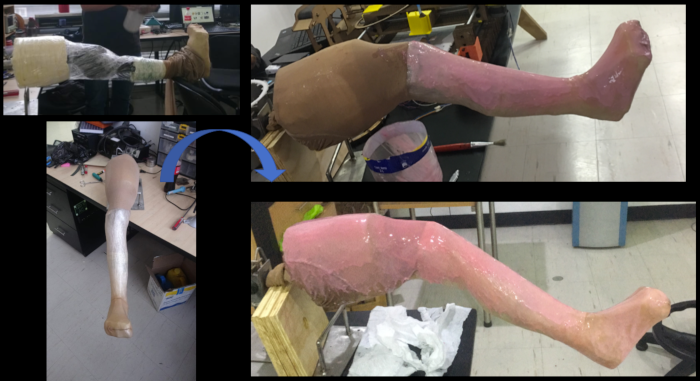
To create the knee joint, need rubber. This material allowed me the stability and the elasticity to be able to mobilize the knee.
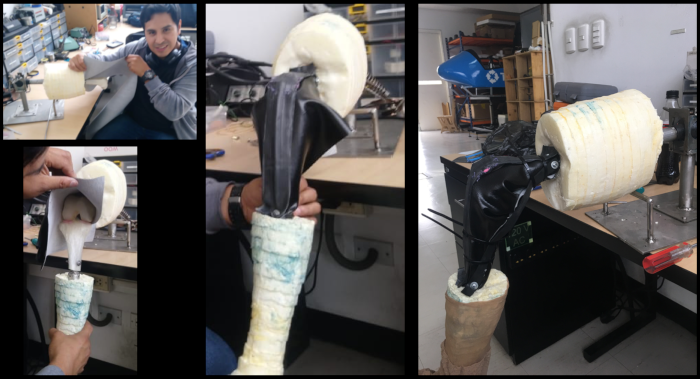
To create the outer covering that simulates the skin. I covered the model of the lower limb with pantyhose. Later I placed silicone on the pantyhose. This would give me the appearance of the skin (providing elasticity).
2.3 Electronics design of Final Project
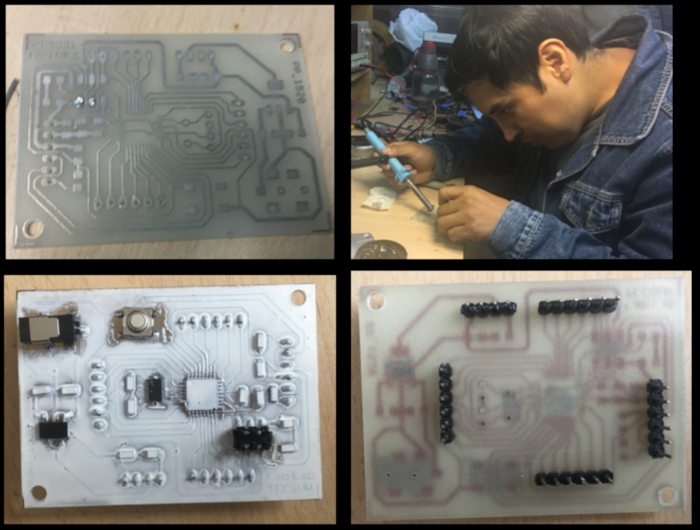
2.3.1 Fabduino Desing
Using an
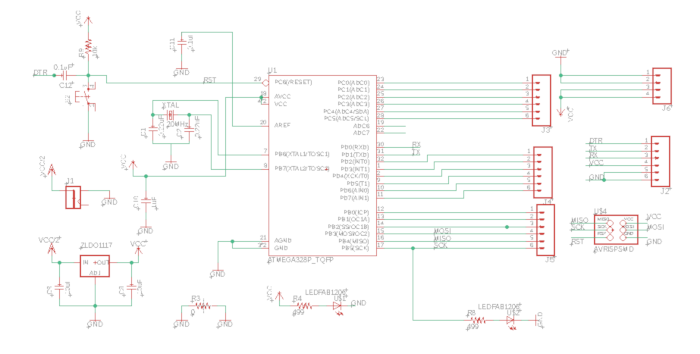
Schematic of the FabDuino

Board of the FabDuino
2.3.2 FTDI Cable
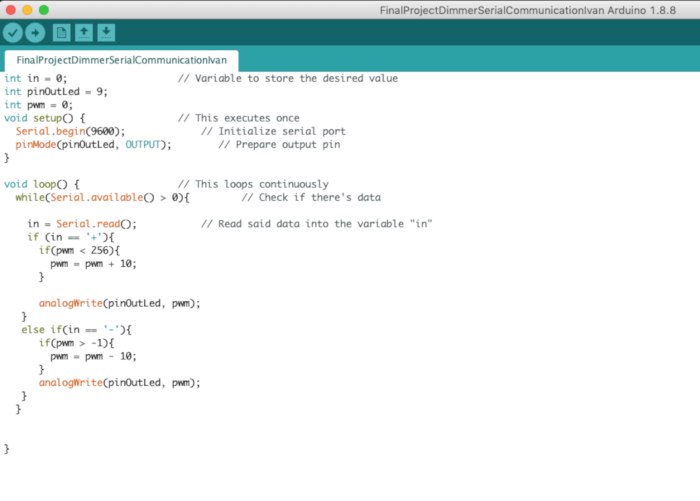
2.3.3 Arduino code
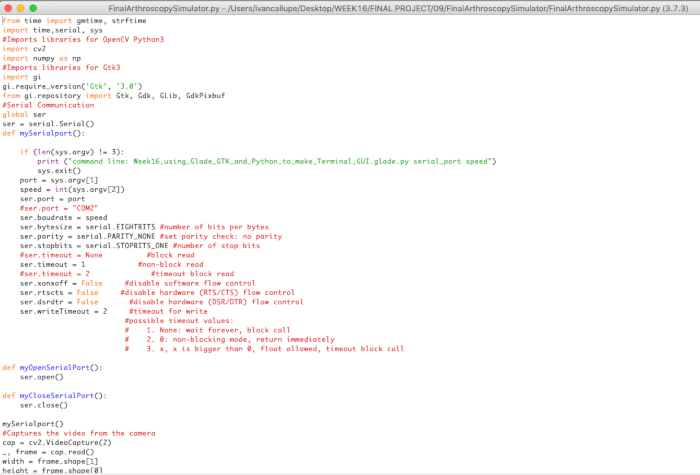
2.3.4 FILES OF THE PYTHON, GTK + 3, GLADE AND PYSERIAL GUI
Using python the code is made for communication with the Fabduino, through an interface.
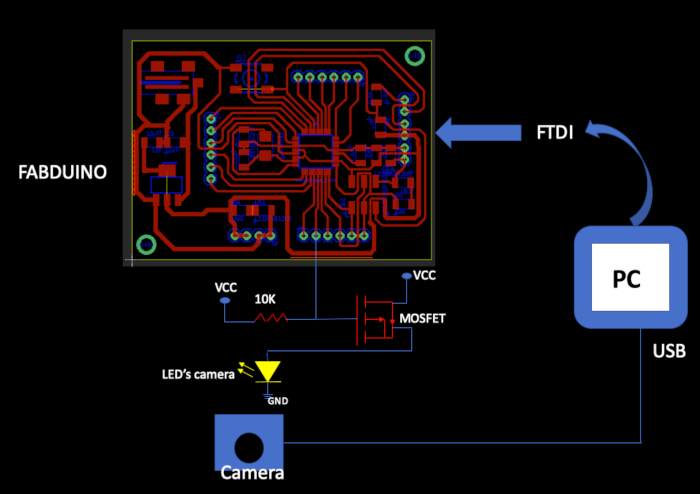
2.3.5 Electronics with the case of the camera
For the project, I used a micro camera that has a built-in LED.

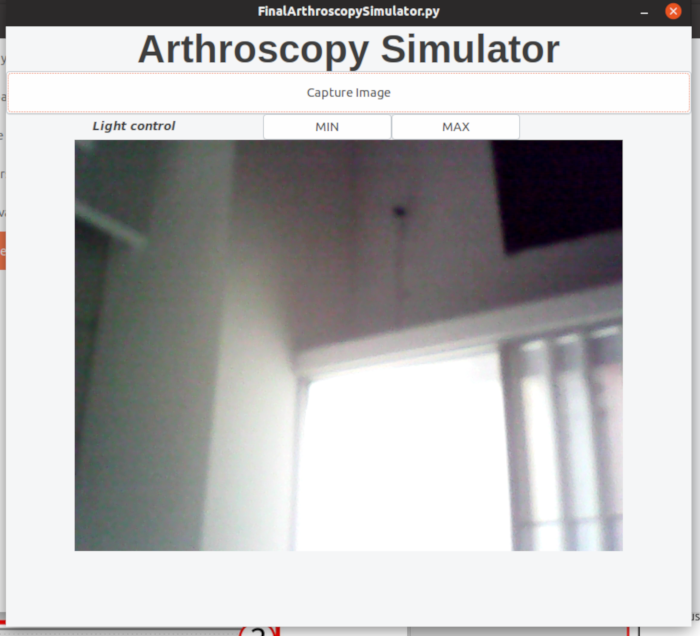
The electronic circuit allowed me to control the LED intensity through the interface (through serial communication via FTDI). And image processing was through Python (open CV)
At the end, when assembling the circuit and placing it in the case of the camera, we obtain the following result.
3.Tests and final results
The following video summarizes the process and the tests that were performed in the simulator.
Contact Me
Feel free to contact me via email or phone.