10. Molding and casting
This week was based on designing and casting So the basic thing that has to be done is design a mold around the stock and tooling that will be using as mill it (rough cut + (at least) three-axis finish cut), and use it to cast parts and the group project was to review the safety data sheets for each of your molding and casting materials,then make and compare test casts with each of them
So, my idea was to make a hollow extruder that for my final project.
The first thing I did was to make the estimate the design in fusion 360 .
While designing the mould there occurred many confusions regarding the positive and negative images that are to be casted
The major confusion was to create a hollow surface by casting and it was planned to make a hollow surface throughout the centre using a rod of 10mm thickness by providing a space in the design itself.
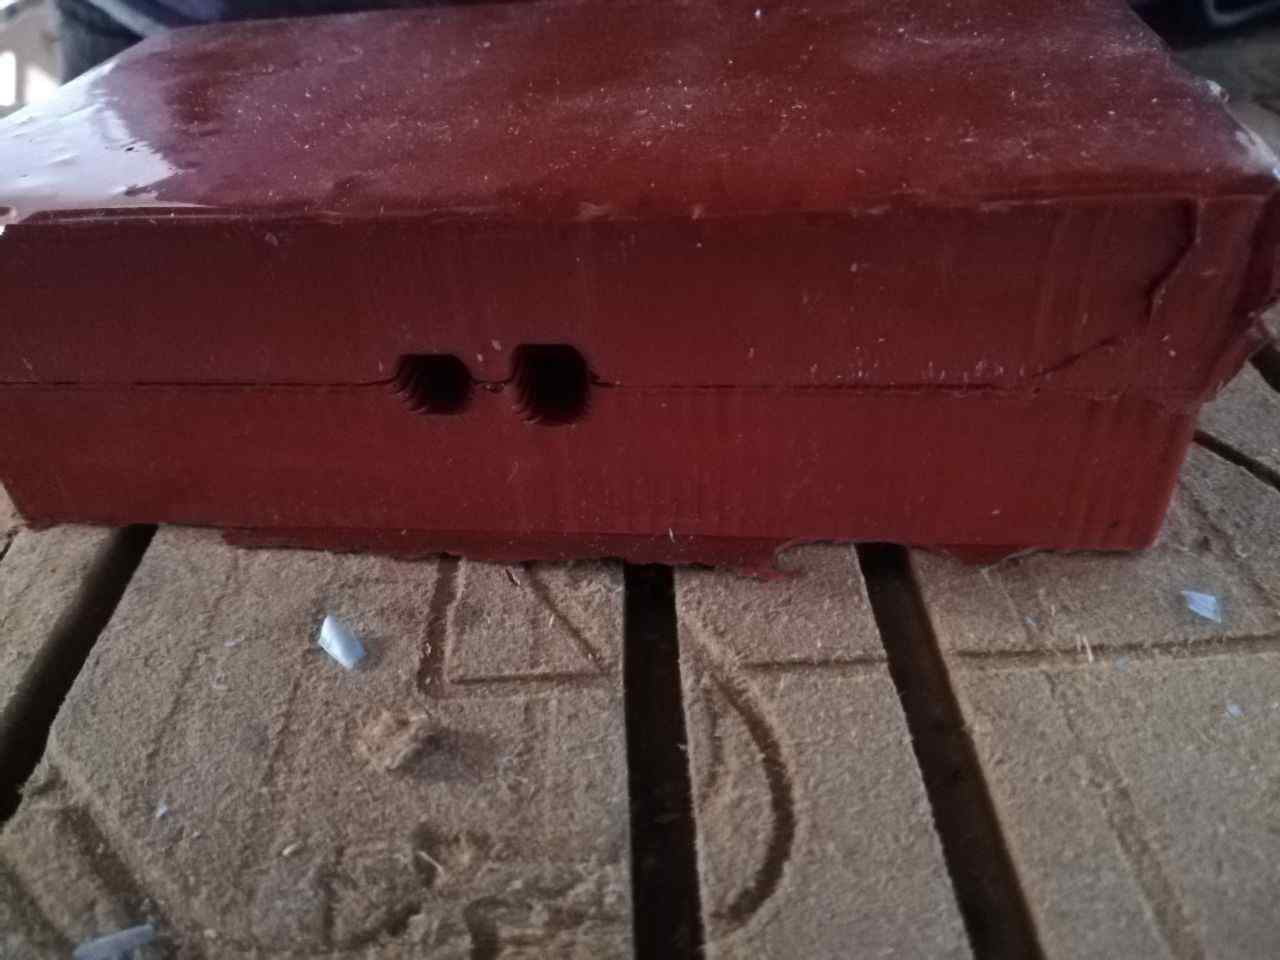
Then created the design and made 3 extra bumps in the design ie.1 hump is to make a hole in the mould so as to pur the cast and the other is to release the air while pouring the cast.
Then the other hole is to put the rod in order to make the centre hollow.
Then the file was saved in stl format
After that I planned to MAKE CAMM in fusion 360 itself by studying the tutorial
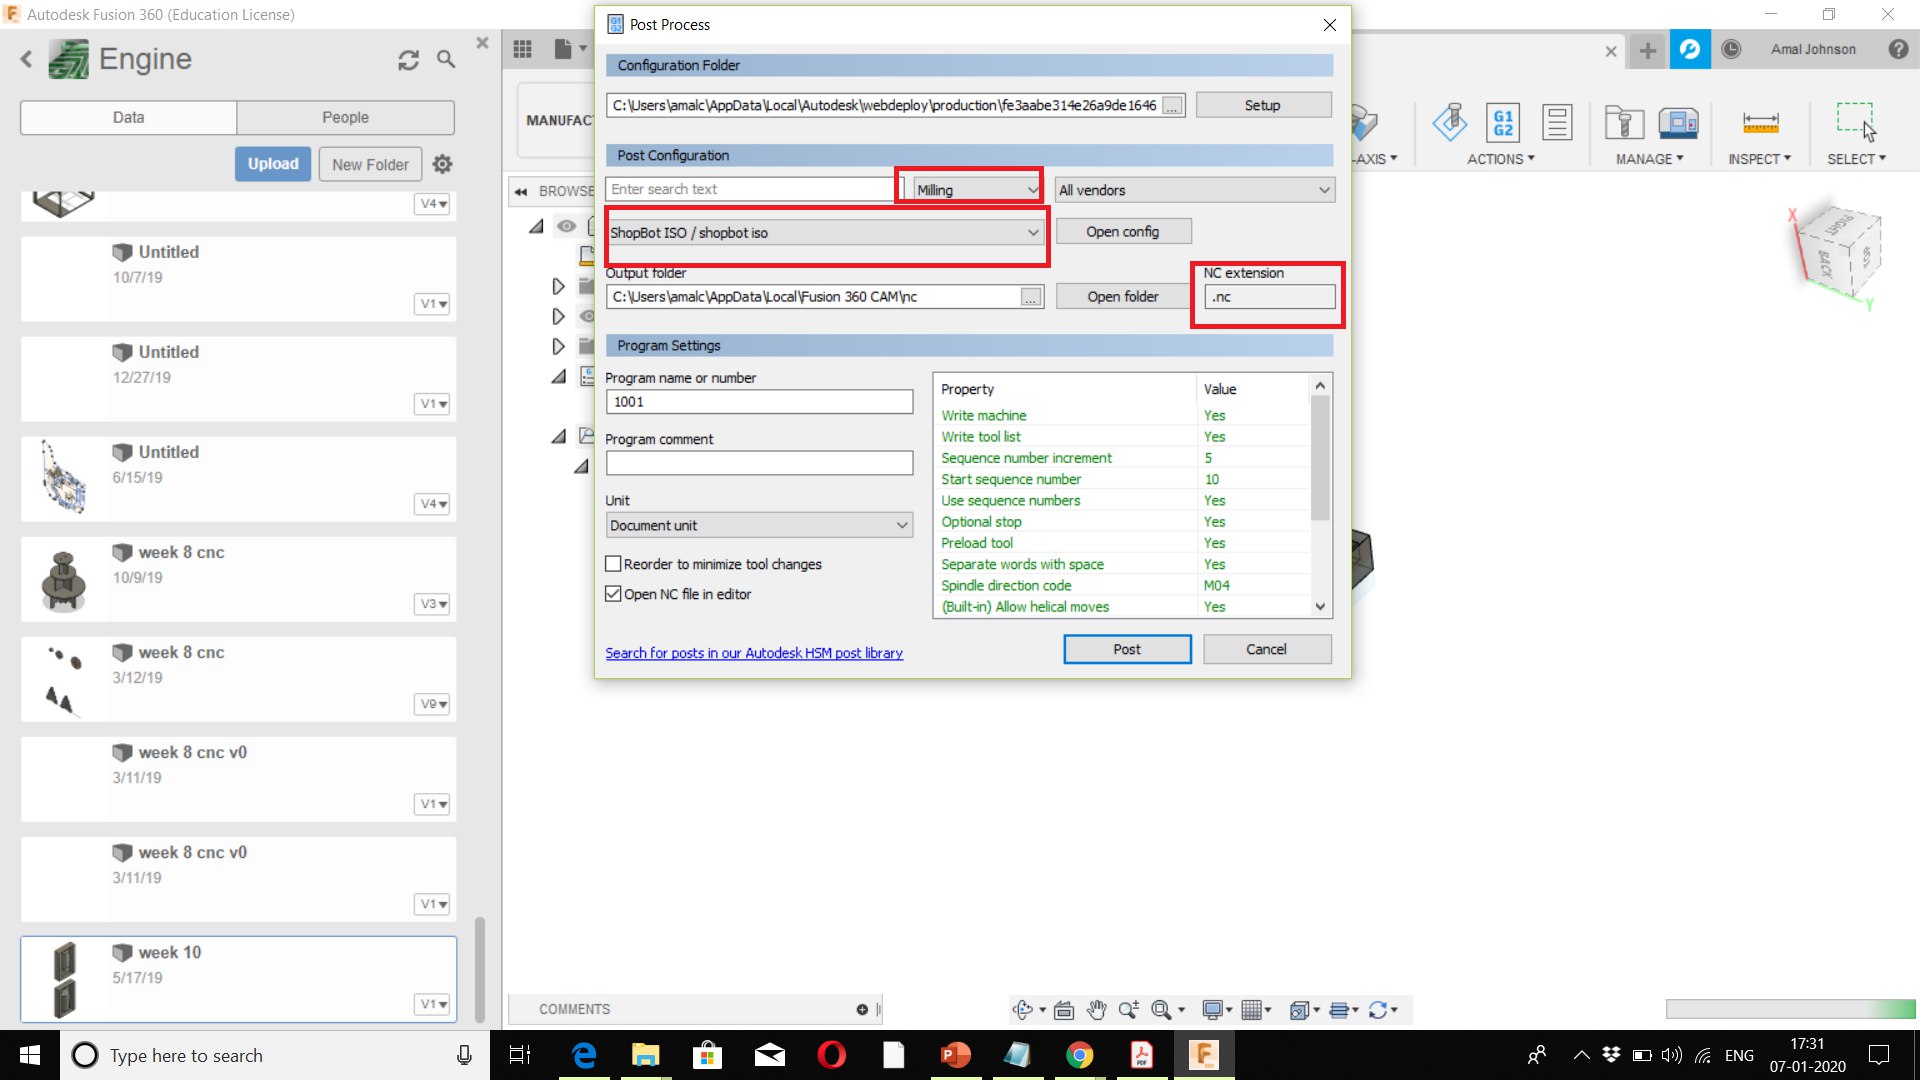
GCODE GENERATION IN FUSION 360 (SPB FILE)
Then I selected the SHOPBOT Tools and SHOPBOT ISO as the vendor to geneate the GCodes which is compatable for the SHOPBOT to use.
Afetr completeing the setup the tool selection and Collect selection was done
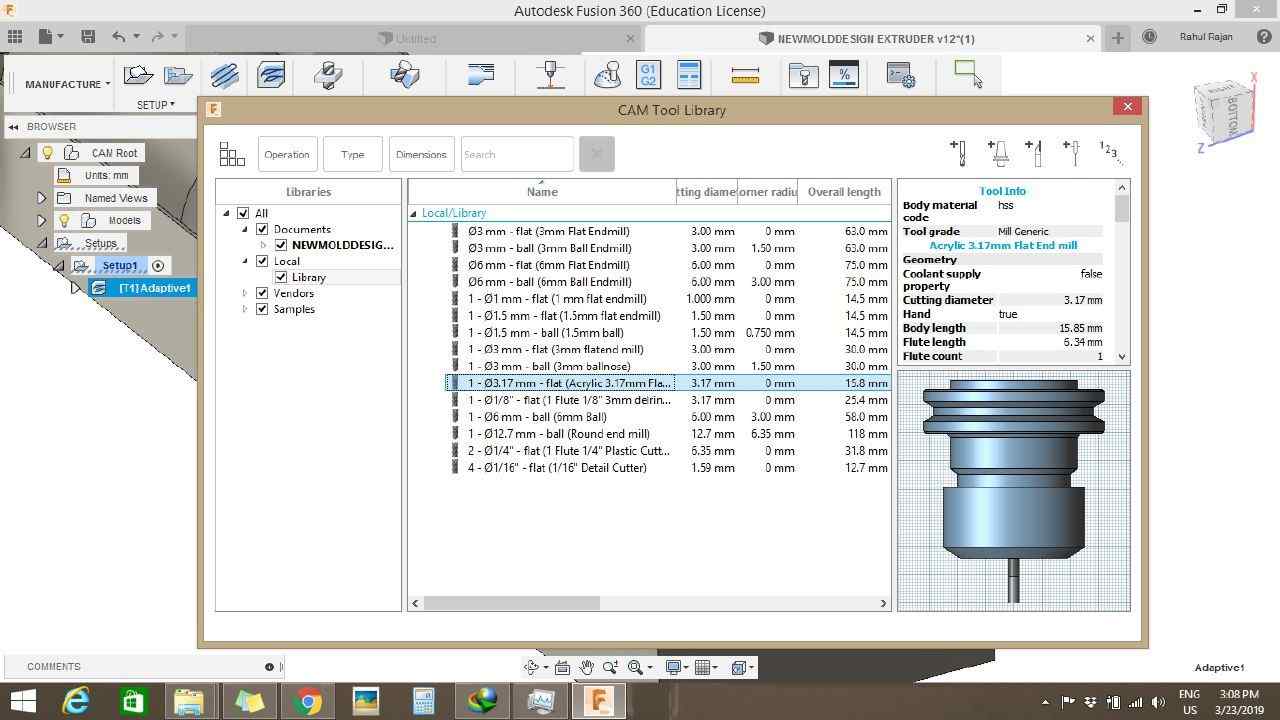
For that I selected the tool diameter as 3.17,flute length as 15 and settled all the other parametres with the reference before we studied in the cnc week.
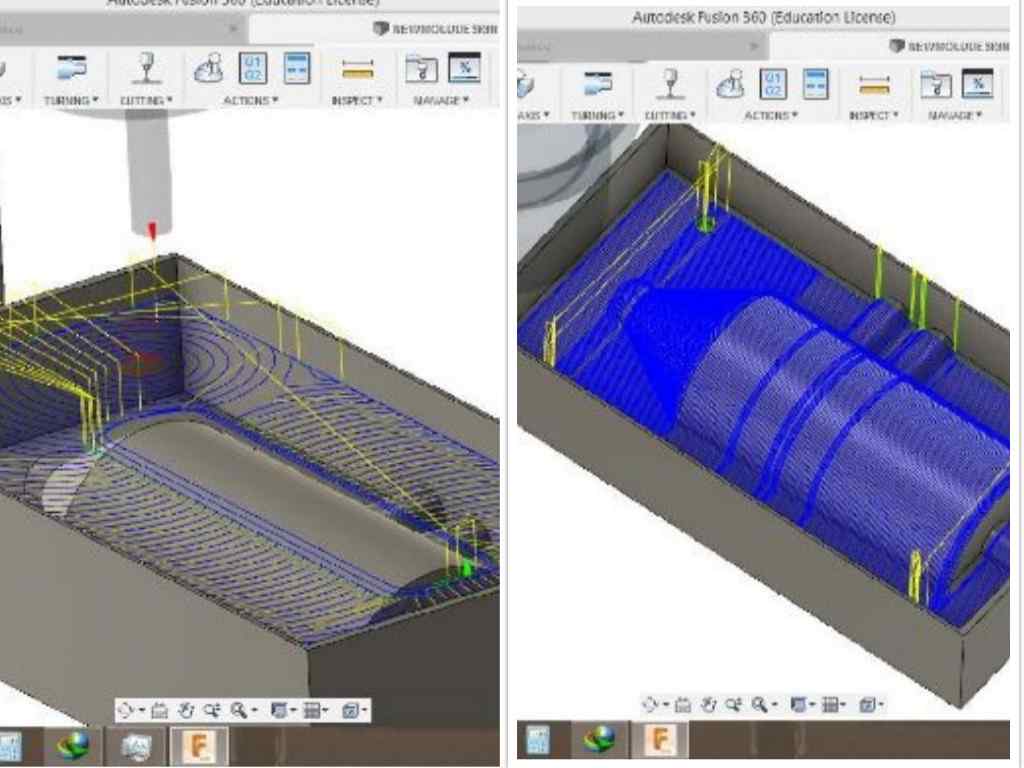
And for that I have selected the rough cut with 6mm upcut single flute bit and made the G codes.
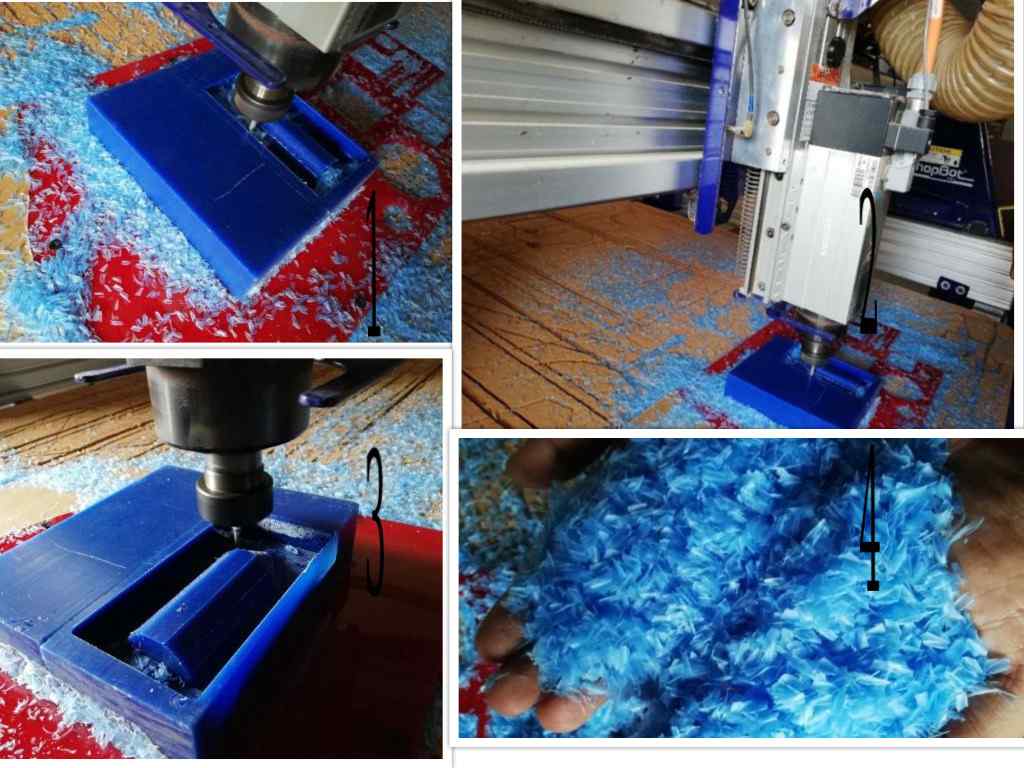
The wax was setup by nailing an acrylic sheet and then the wax was stickers by using a double sided tape
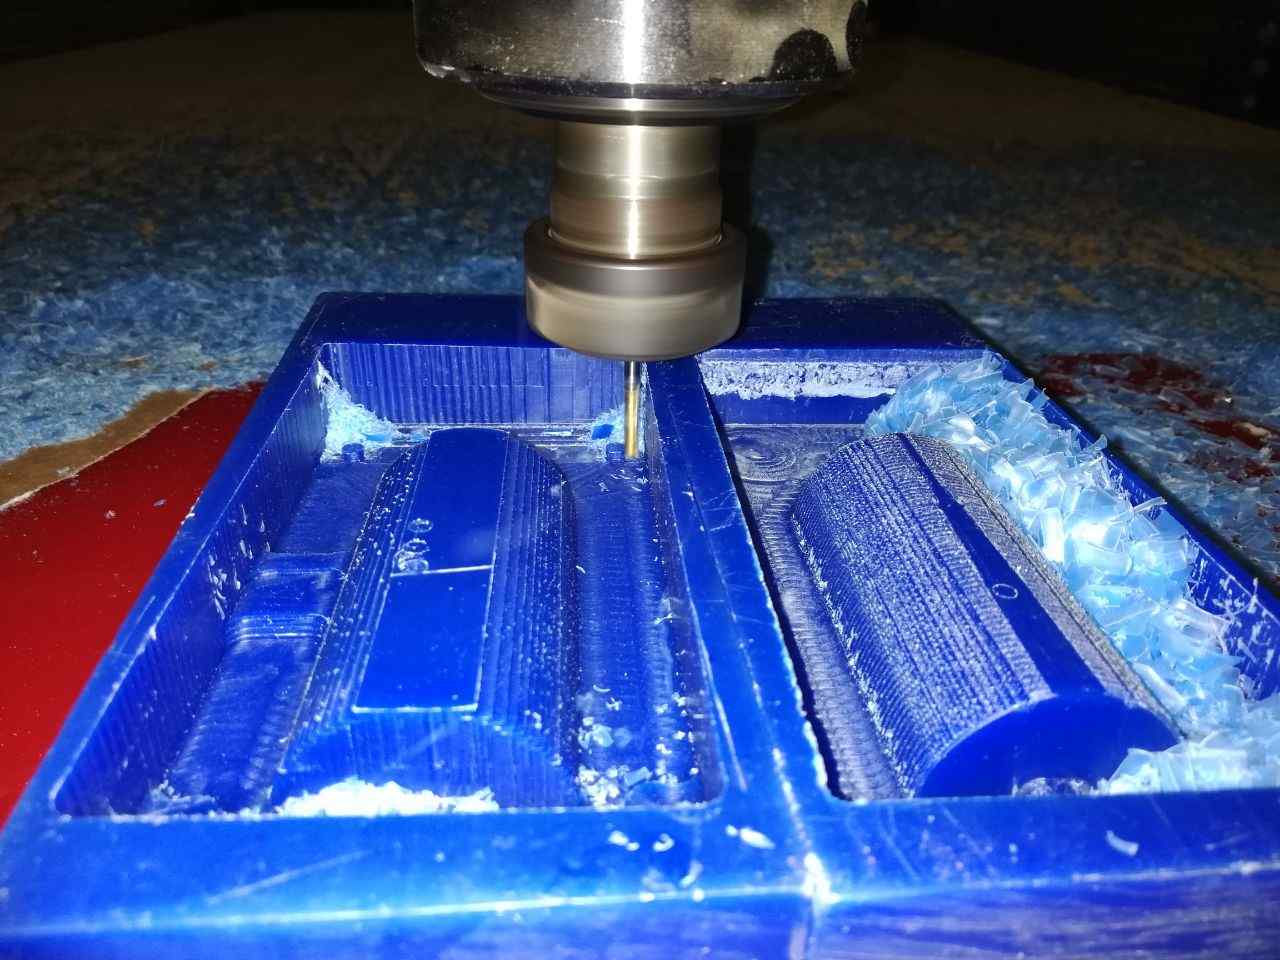
Then I planned to make the mould by cutting the wax and for that i used the shopboat and milled the rough
and smoothcut and for that i padded the surface with an acrylic for making it smooth and milled
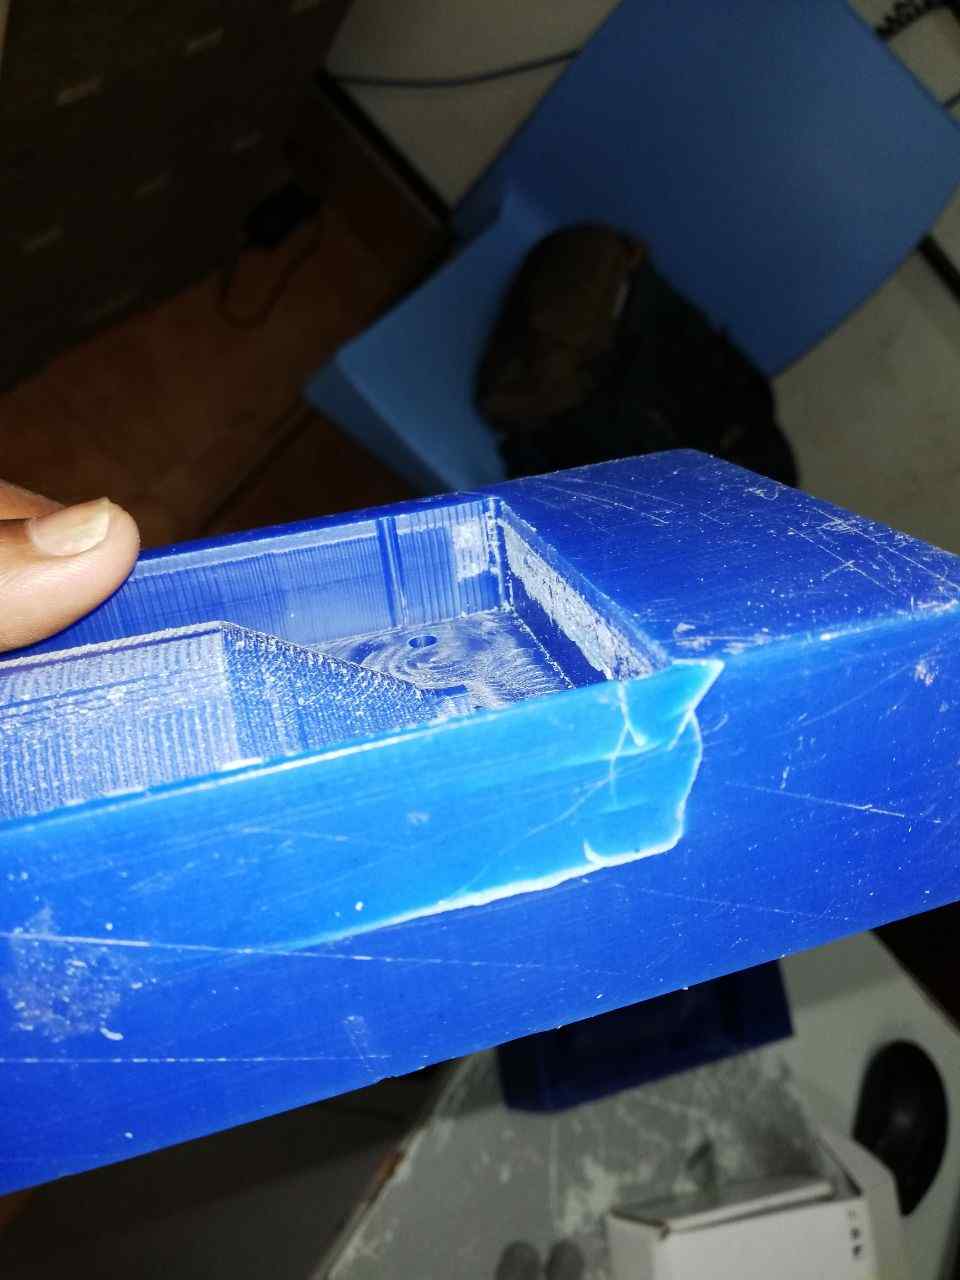
After finishing the milling operation it was noticed that one of the walls got ruptured because the wax block was placed slightly tilted and I managed to stick it with waste acrylic otherwise the cast may get leaked
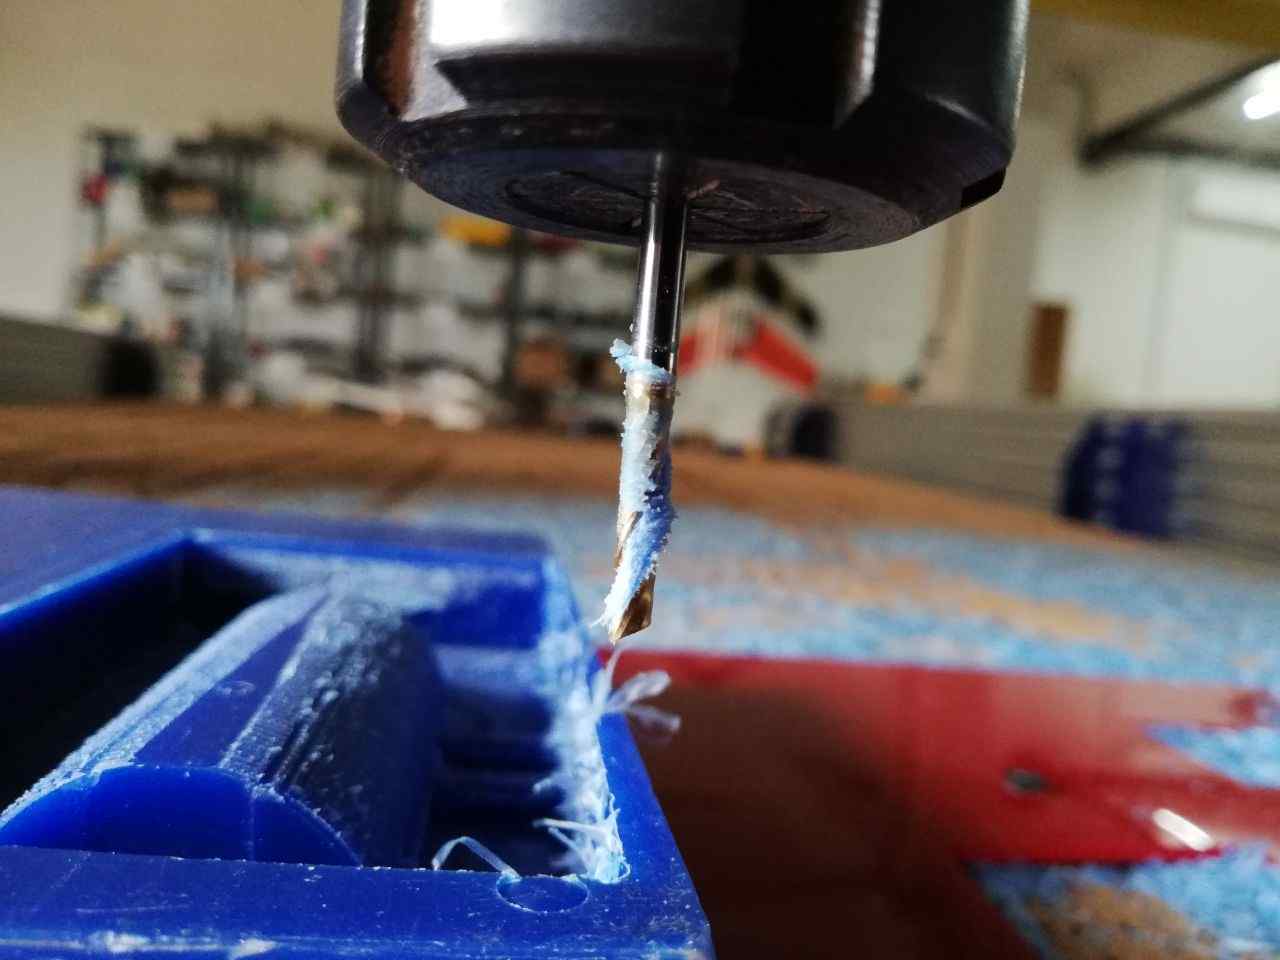
It was noticed that the got clogged in between the cutting thread
Then I made a rough estimate for making the mould by calculating the volume by taking water as the reference and it was 266gram
Then I weighed the glass and made it as the reference value .
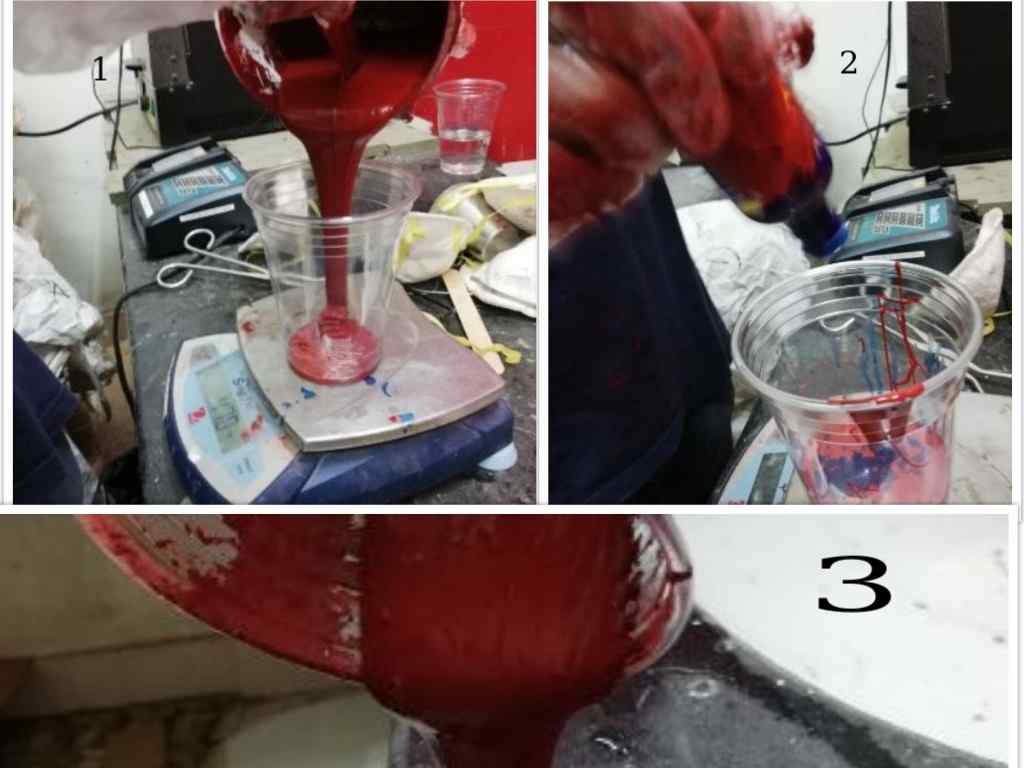
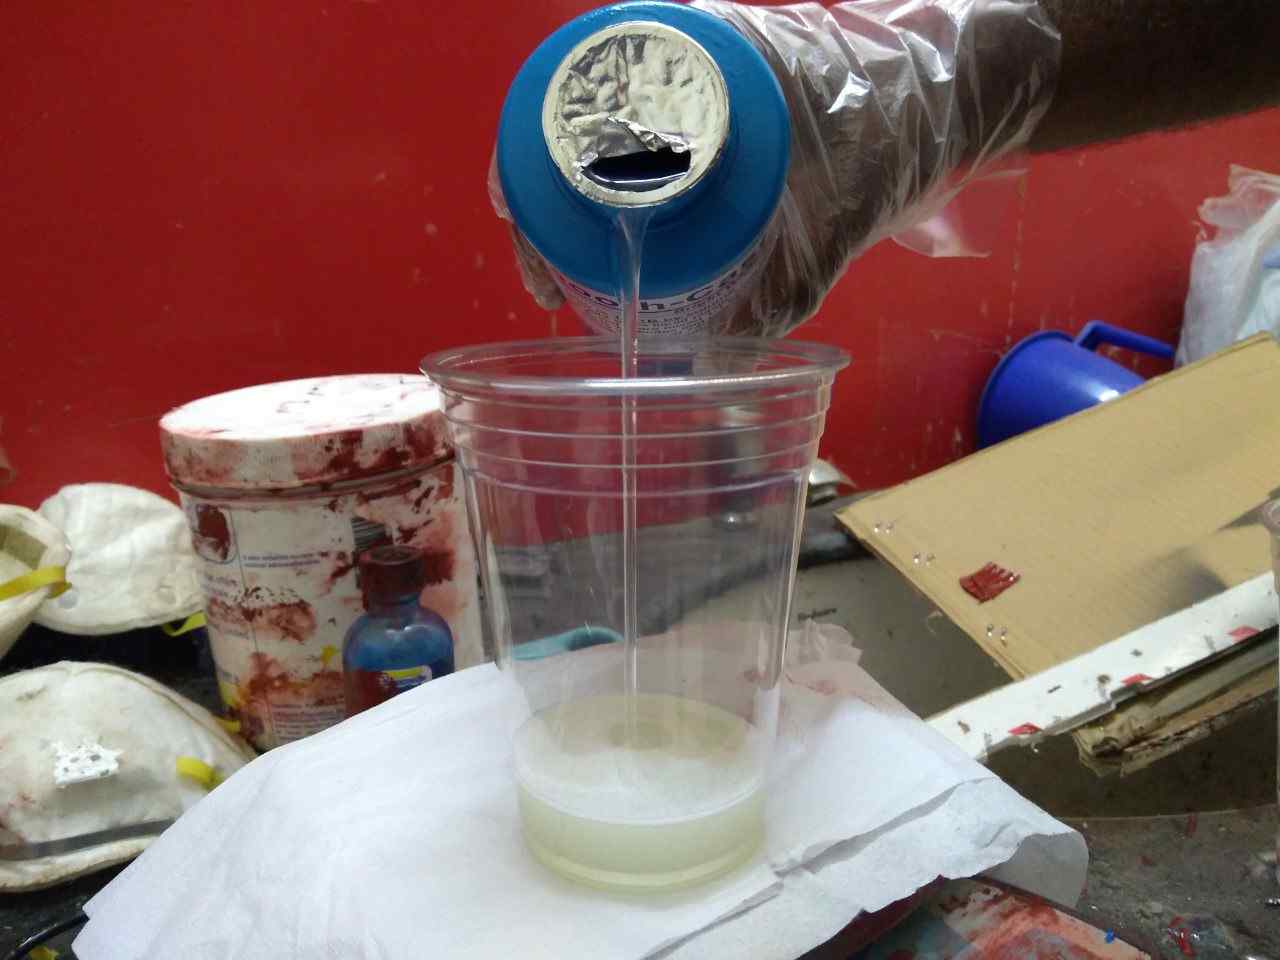
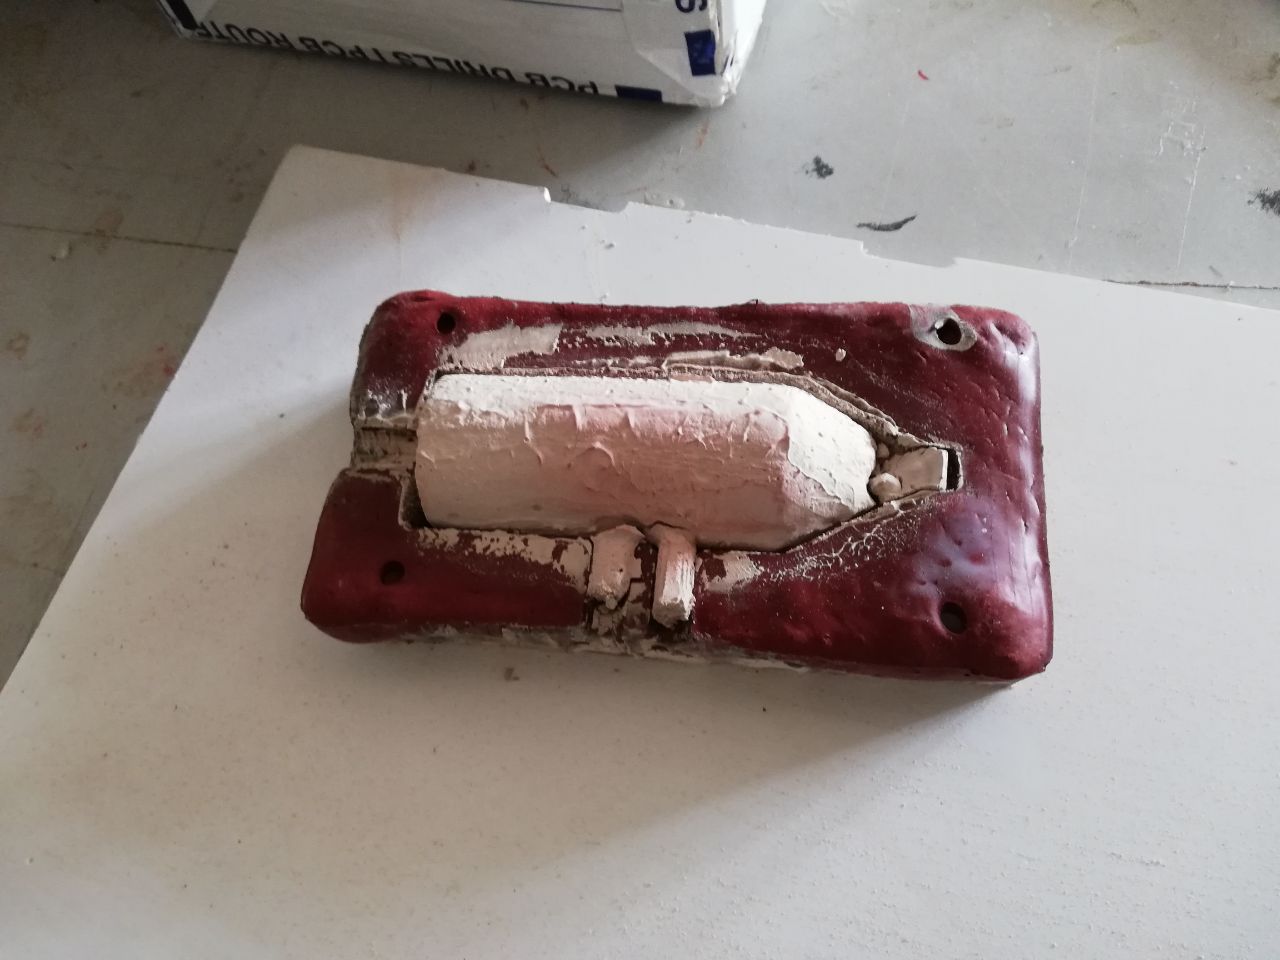
Then I made the Rubber mould by using the mold max 60 which is A part of the solution by taking 270 gram and then I added the 3% of 270 smooth on as the B part.
Then I mixed approximately for 6 minst and then poured it into the first mould and the first mix was almost finished and it was insufficient for making the second mould and then i make 150 gms of mixture again and then poured it
Then I left it for 1 day even though the settling time was 8 hrs as estimated in the data sheet.
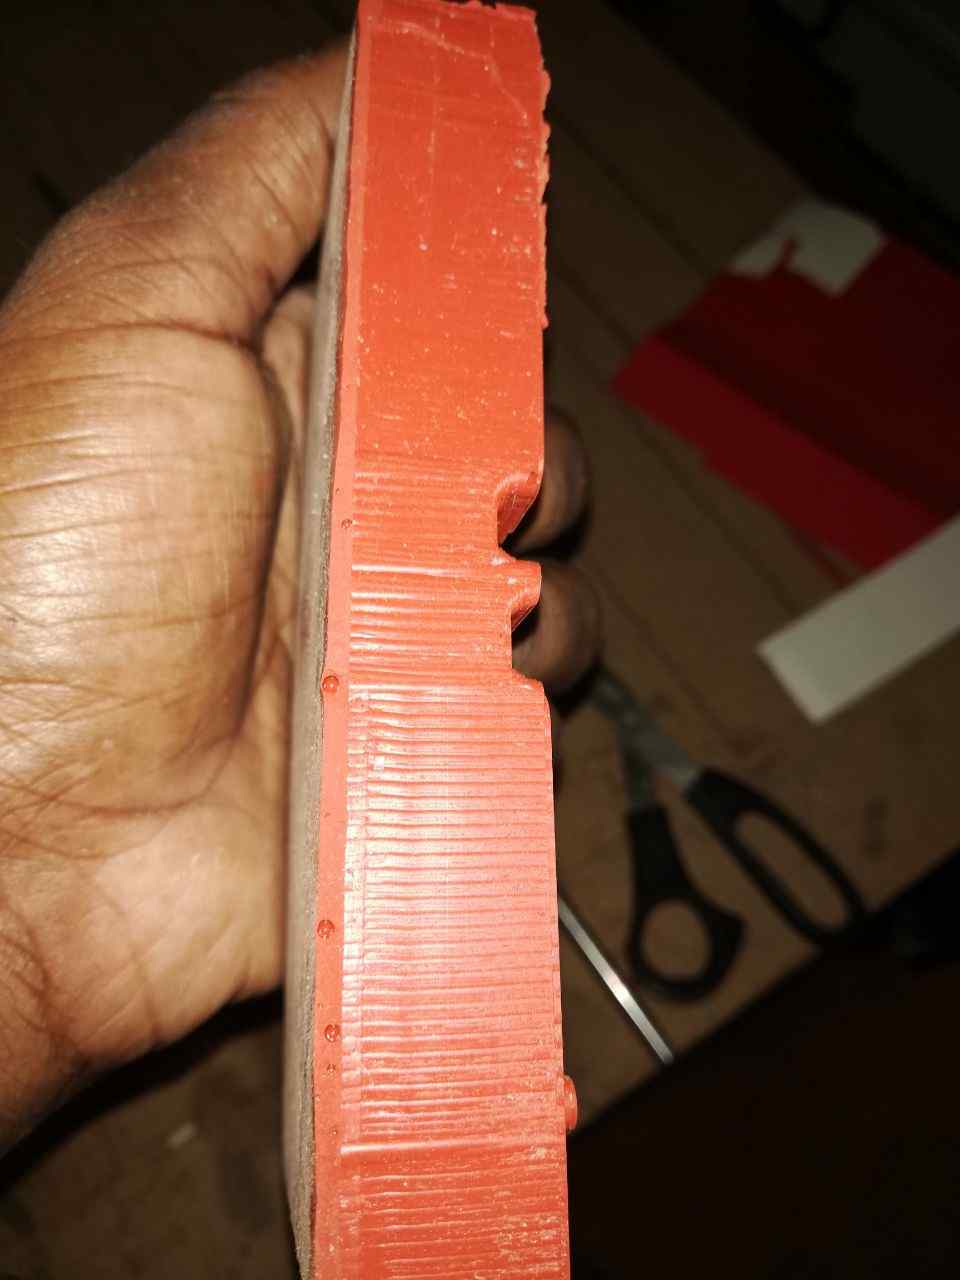
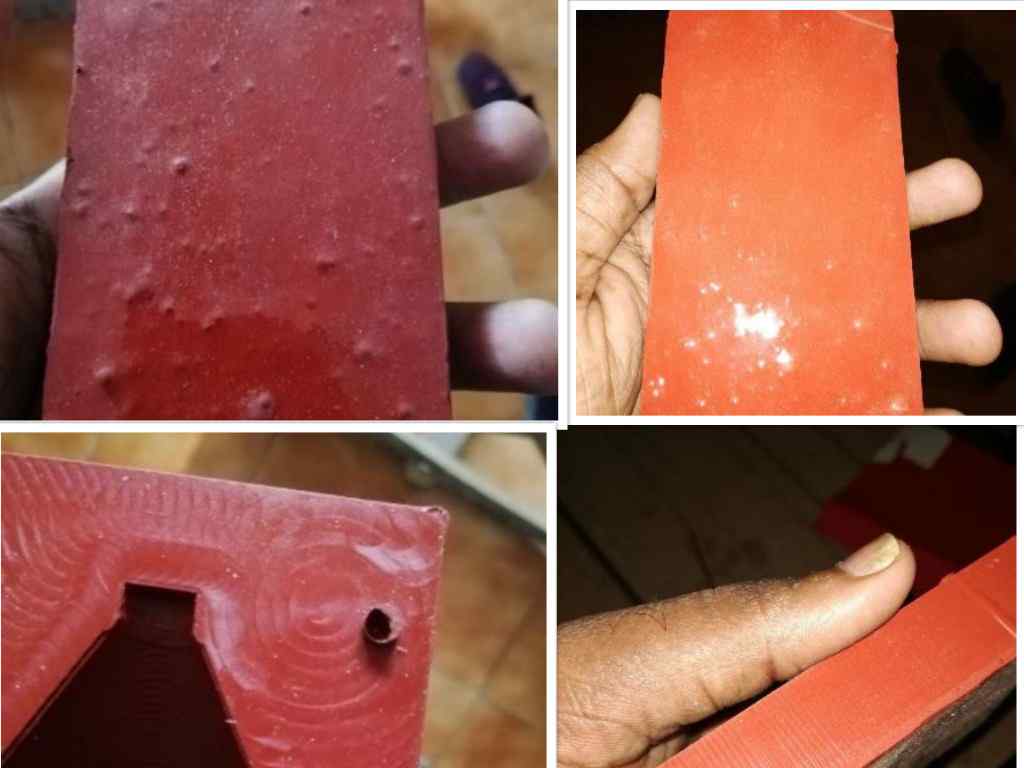
On the very next day I planned to pull out and I find that the end of the mould was torn and then I planned to break the walls of the wax mould using dremel and then I easily pulled out the mould.
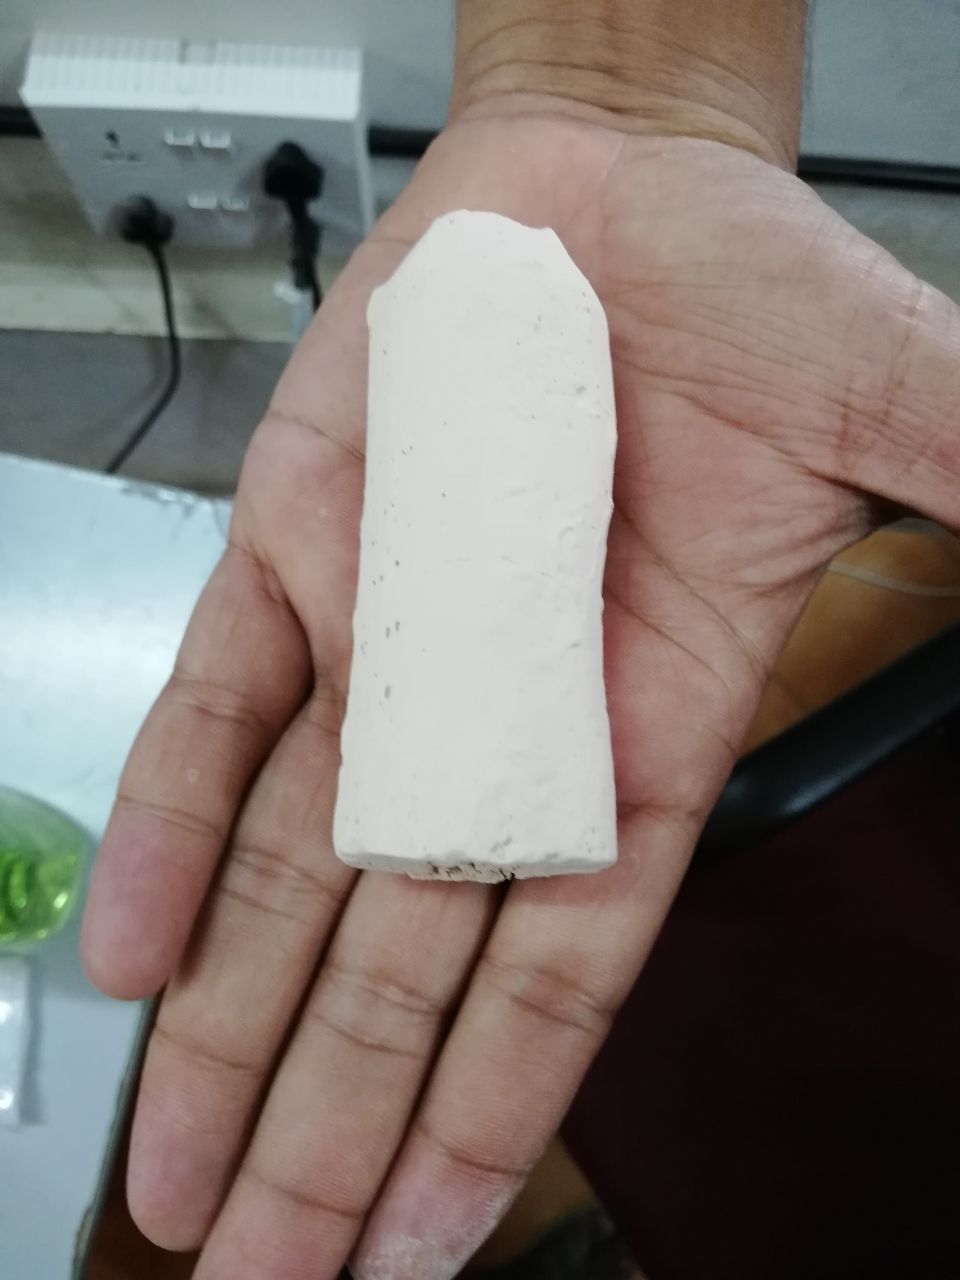
Then I planned to make a test extruder using oomu plastic resin and I made almost 100 grams by adding both A and B part.

I found that the plastic settles very fast so made it rapidly after placing the rod in the center.
But the mould was leaking so the instructor guided to make pads while casting and then to avoid leakage i placed it angularly.
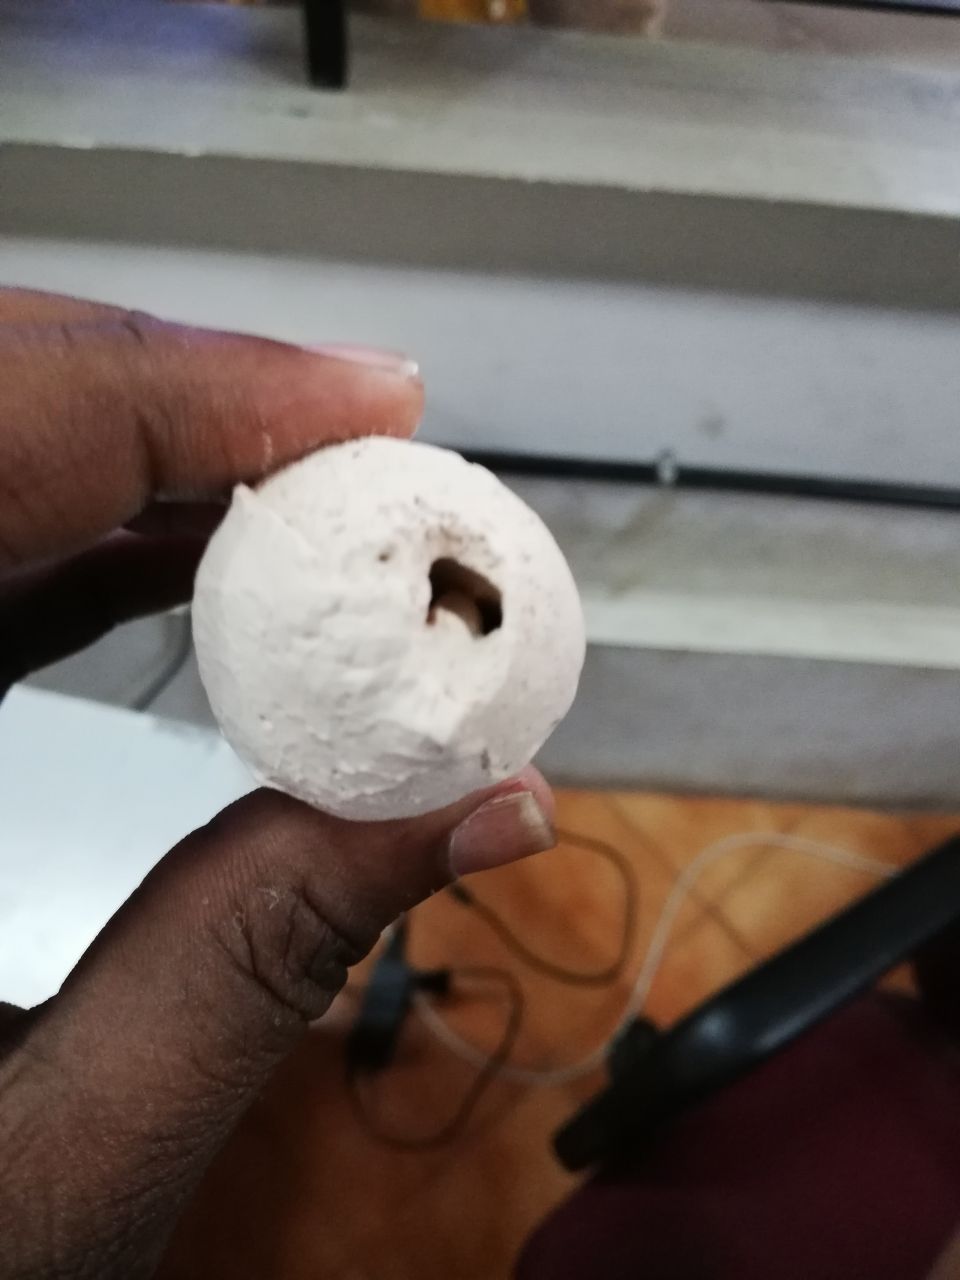
And then allowed to get settled in 20 mins and after that I removed the mould but it finds ruptured at one end because of the angular placing and then the rod in which I placed to make the hollow surface got stuck with plastic even though small amount of

Oil was poured at the beginning and the instructor guided to coat the rod with carbon so that it will not get stuck.
It was even difficult to remove the rod from the plastic cast.
Then I tried to do it with ceramic and for that I mixed the ceramic in the proportion of 4:1
Then I poured the mixture into the mould through the holes proposed for that
Then I kept it for one day to get settled.
Unfortunately it was not settled
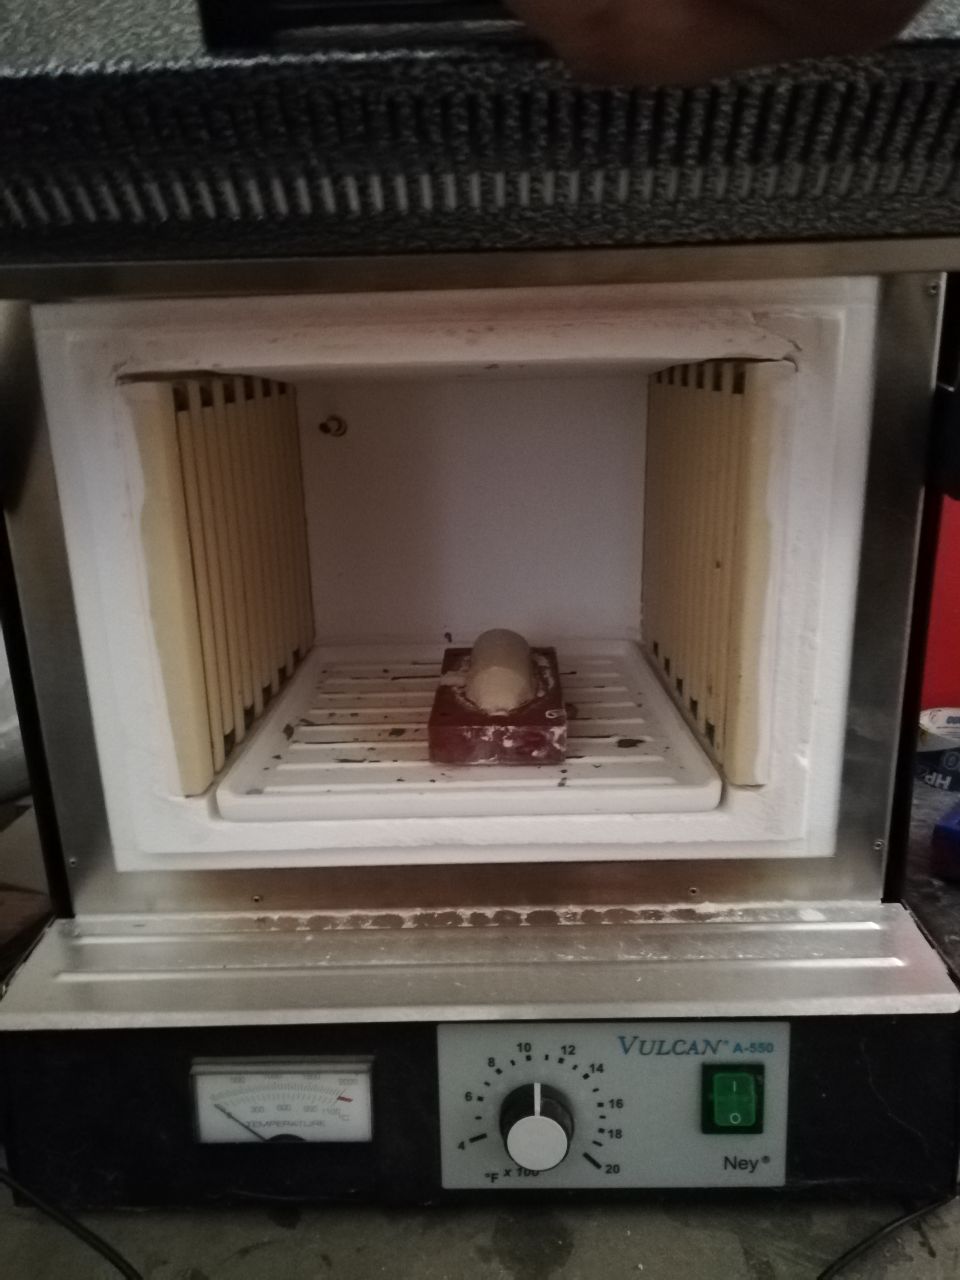
Without noticing the withhold temperature of the mould I Kept it in the Furnace and allowed it to raise the temperature up to 600 degrees.
After that I recognized the smell of burning rubber and realized that the temperature is not suitable but got the cast ceramic in good condition.
with that my casting and moulding week was completed