

it took me I while to figure out the best way to do a 3d design and save as STL file so I can open it with CURA , as shown in the screen shots I used several tools to draw my object such as :
1- draw a sketch 2D
2- extrude
3- make a hole
4- move
5- combine
6- circular pattern and etc..
you will find the files on the bottom of the page . 

so to save it into STL file you should press make in the tool bar the 3D print , then it will show a small window and it will ask you to select the object you want to save , after selection , it depend on which software you want to use , I used CURA , so I choose cure on the print utility .


final step in CURA before going to the printer , I should choose the parameters that I need , which I know a bout it when I experience it with the group assignment , I set the profile and the layer height , however I did not change the wall thickness I believe it is enough , for the infill density , it depend how strong you want your object , so because it was a first test , I just put 20 % , however for the temperature I believe it depend on the material that you will use , for me I choose two material in my printing , so in my extruder 1 I choose PLA for the main objects which are the race and the balls , and the second extruder I choose PVA for the support , I choose for the support because it is water soluble,


for the 3D scanning . we did it as a group , so we scan some of the object and foods by using sense scanning . it is easy to use , when you open the software you have to choose if you want to scan an object or a person and the you will choose the size of it .


So I choose the object and medium size , and I used my cap for scanning I putted my cap on a moving chair so I can move my object easily in a circular motion, how ever in the picture below you can see the green rectangular shape and it’s mean the object is detected, so after seeing this shape I pressed start scanning , then I started to rotate my object slowly, to get scanned properly


I was not on the lab when they did the group assignment on week 1 , but I tried to catch up with EIDHA and Zubair , we tried the ULTIMAKER 2+ instead of ultimaker 3 extended that they used , so we put the same options but with different printer , to see the deference between the printed objects , you will find out more about it in our Group Page.
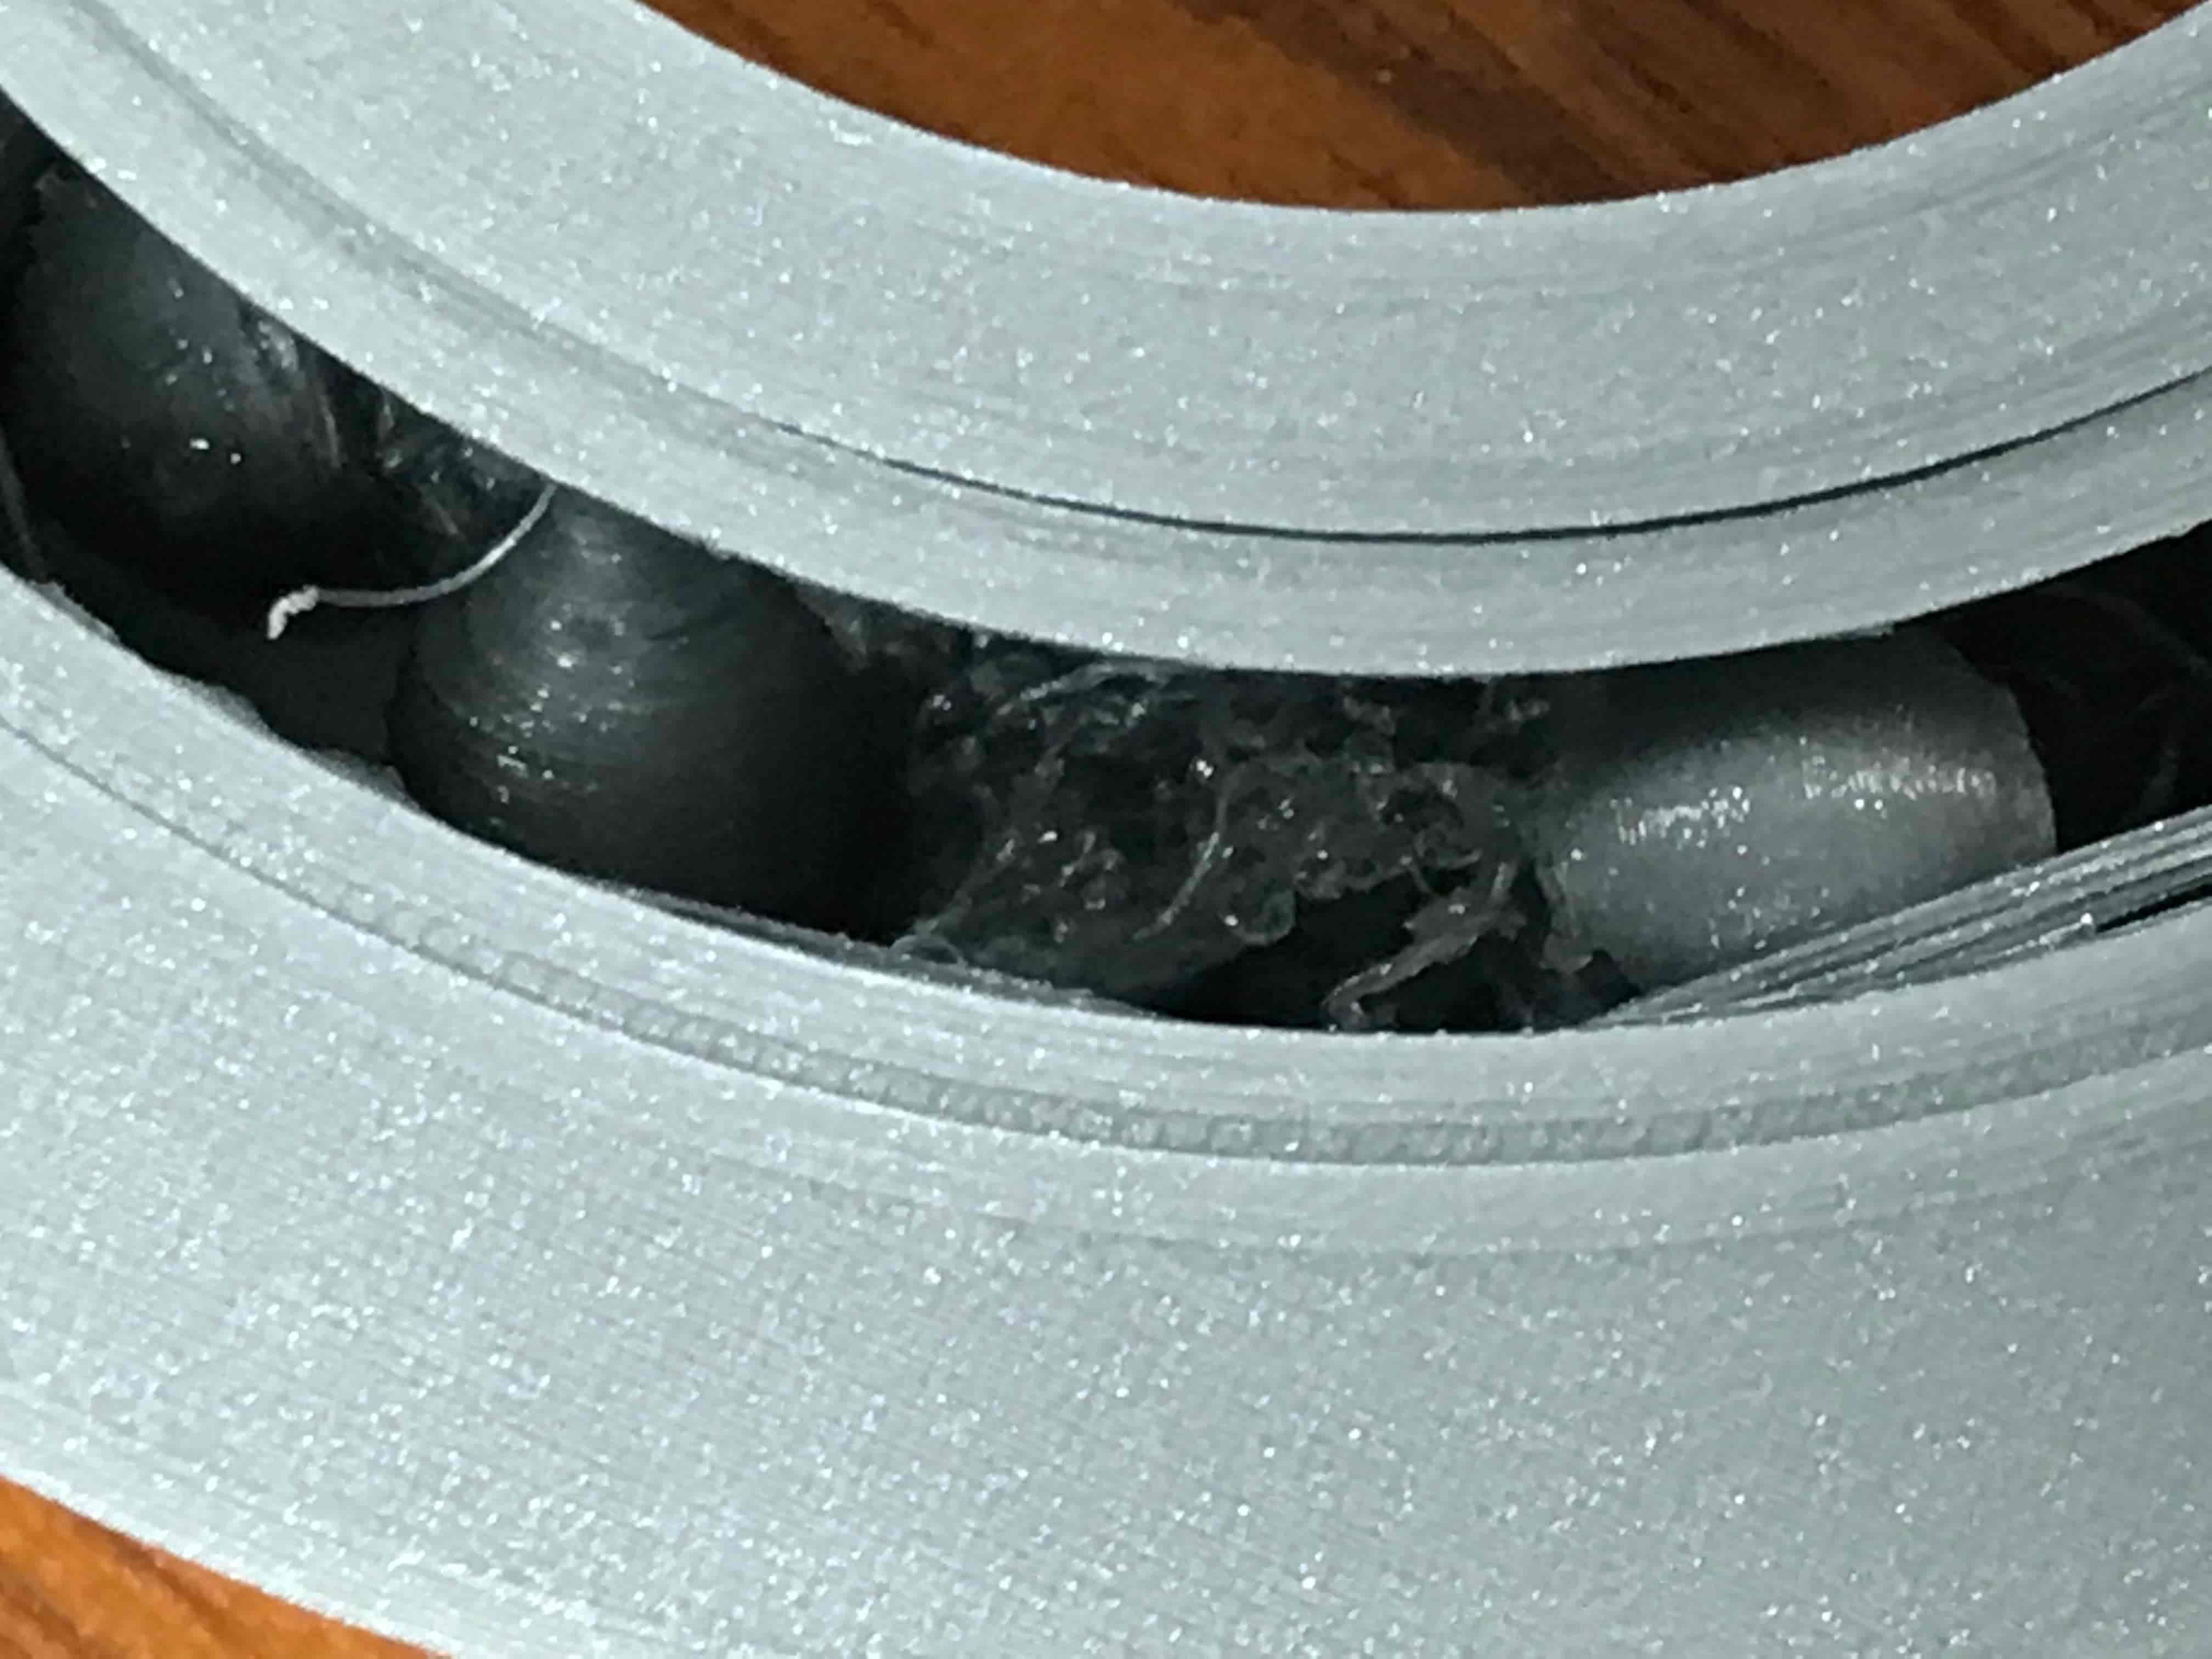
from my side I did some extra testing by using form labs 2, so I used the medal design that I used in week10, and printed with form 2 printer with clear resin , however I did like the finishing and how accurate it was .


