Task required:
We assigned to design a 3D mold inside a stock and prepare tool path simulation. Then mill it and use it for casting an object that has been designed in the stock. Furthermore, we should review the data sheet for each molding and casting materials as well as make test casts with each of them.
what I did ?
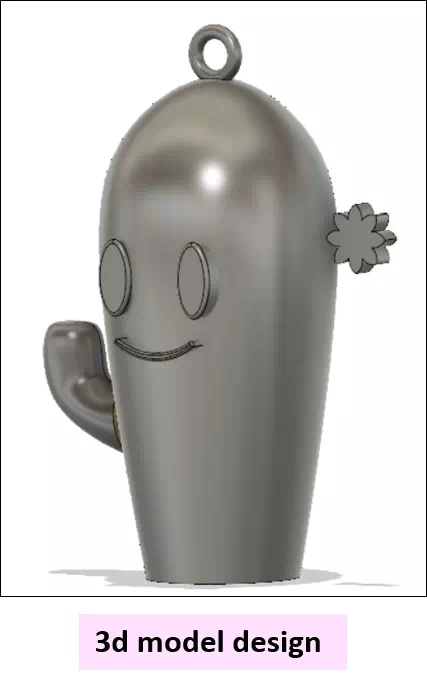
- Design a 3D object in Fusion.
- Design a proper size stock around my object according to the available one in the lab.
- Select the suitable tools for the milling and generate a tool path for them.
- Mill the mold.
- Do casting process
Task Procedure
This is one if my favorite weeks. I studies manufacturing process course as part of my undergraduate requirements and there was a chapter about casting technique so I have a theoretical background about casting. What the exciting that one I will apply what I learned practically from zero.
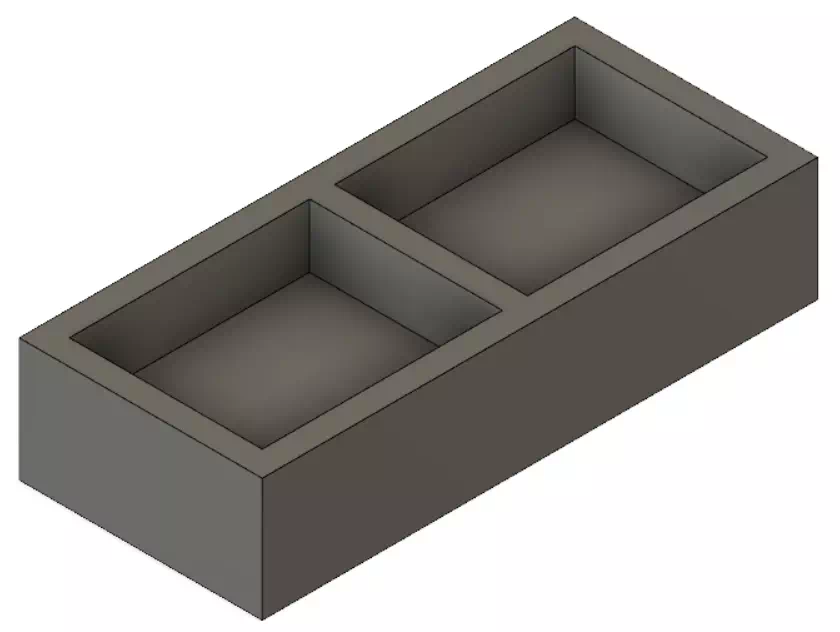
3D design for the object
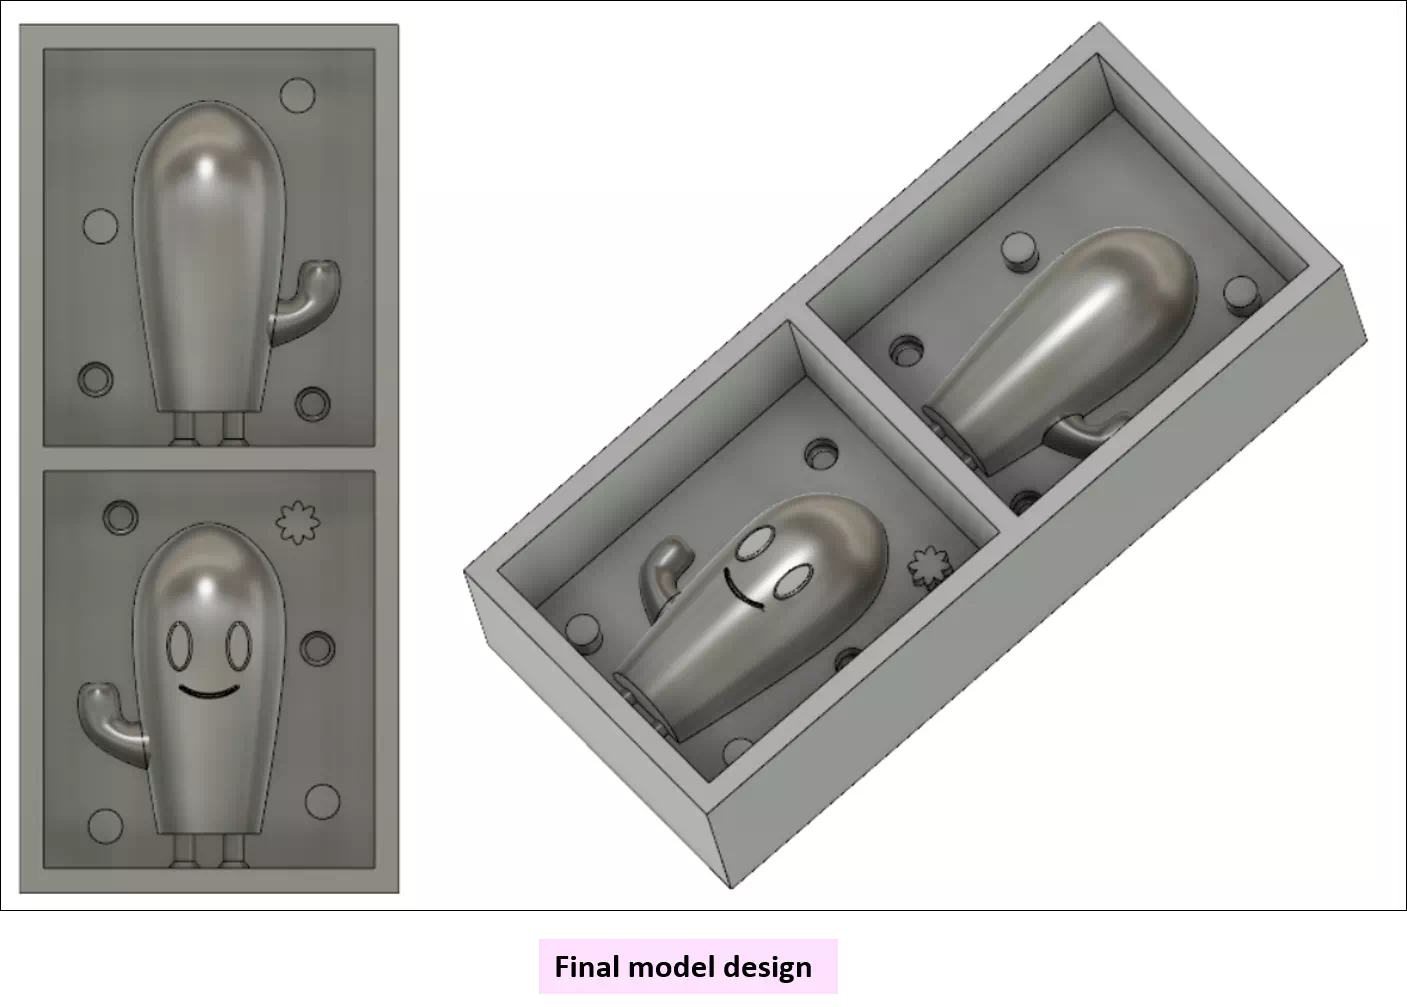
Stock design around the object
Generating tool path
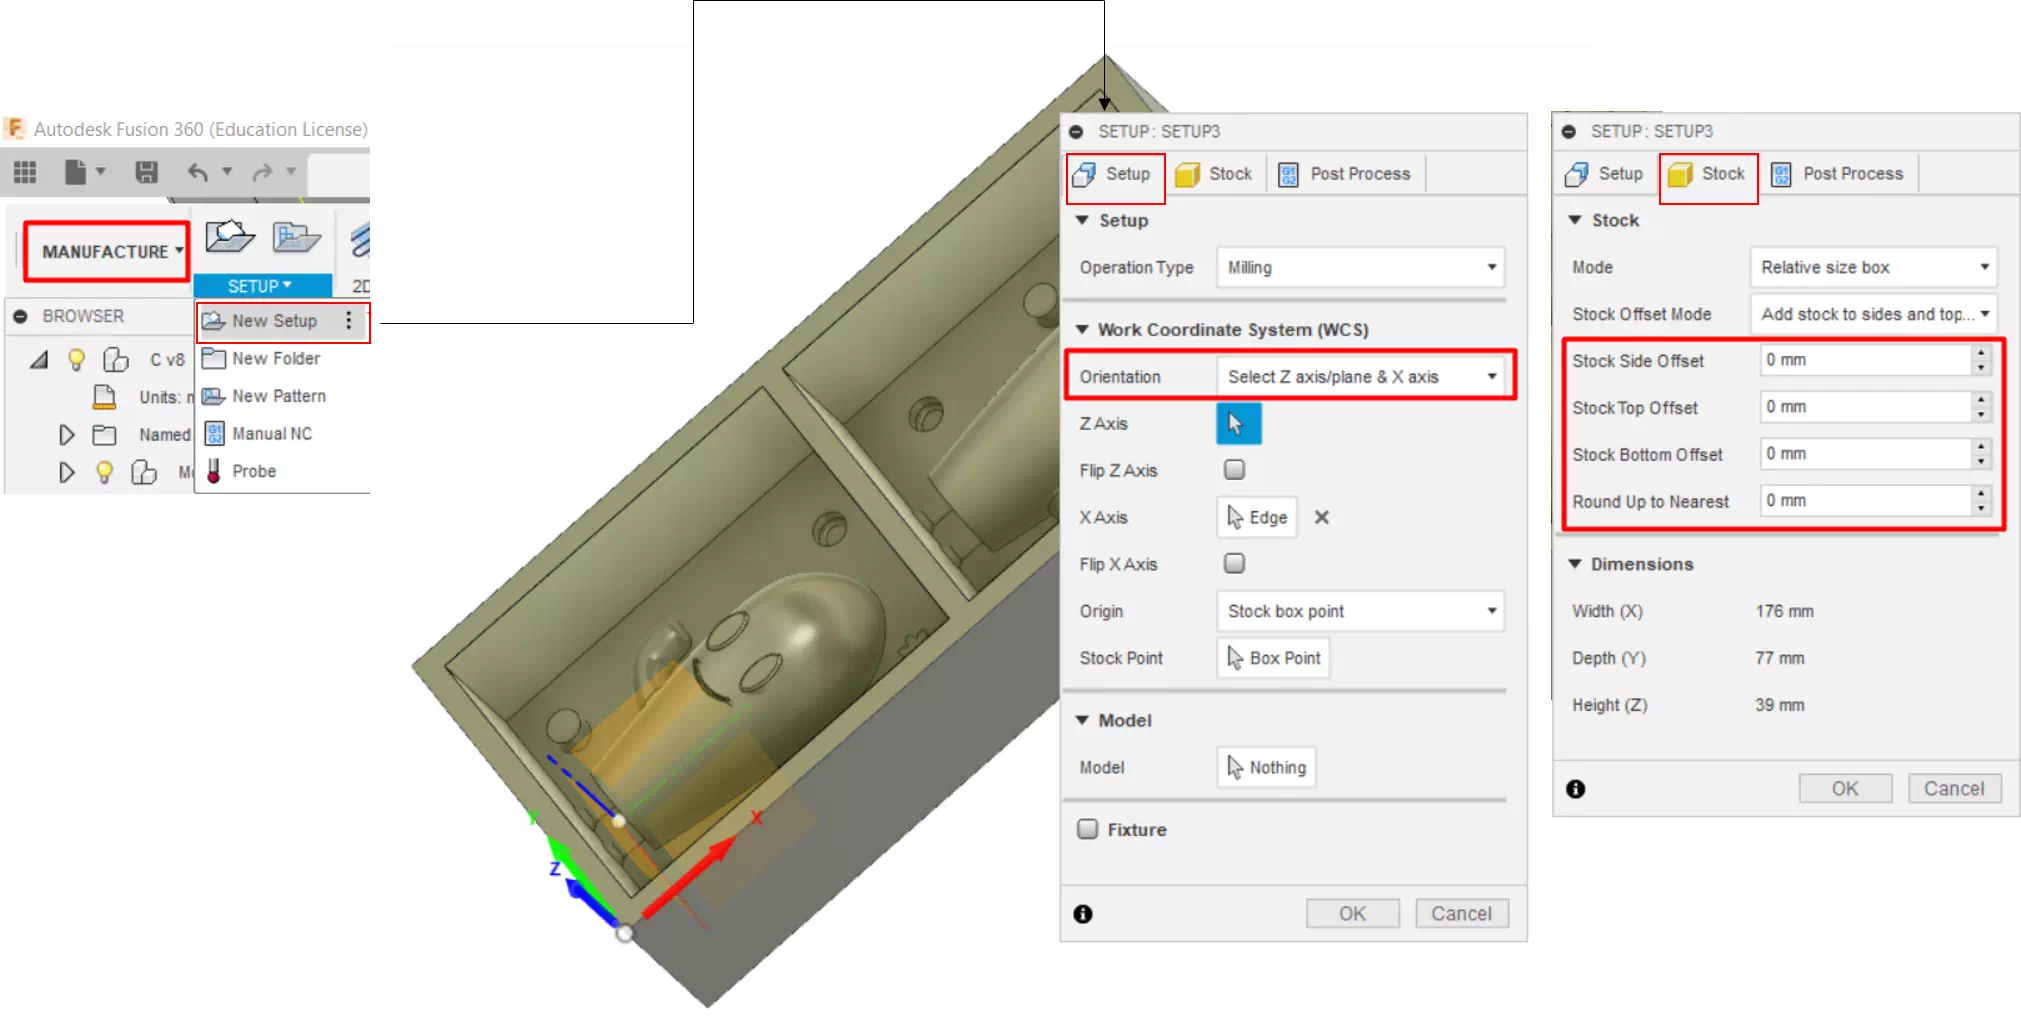

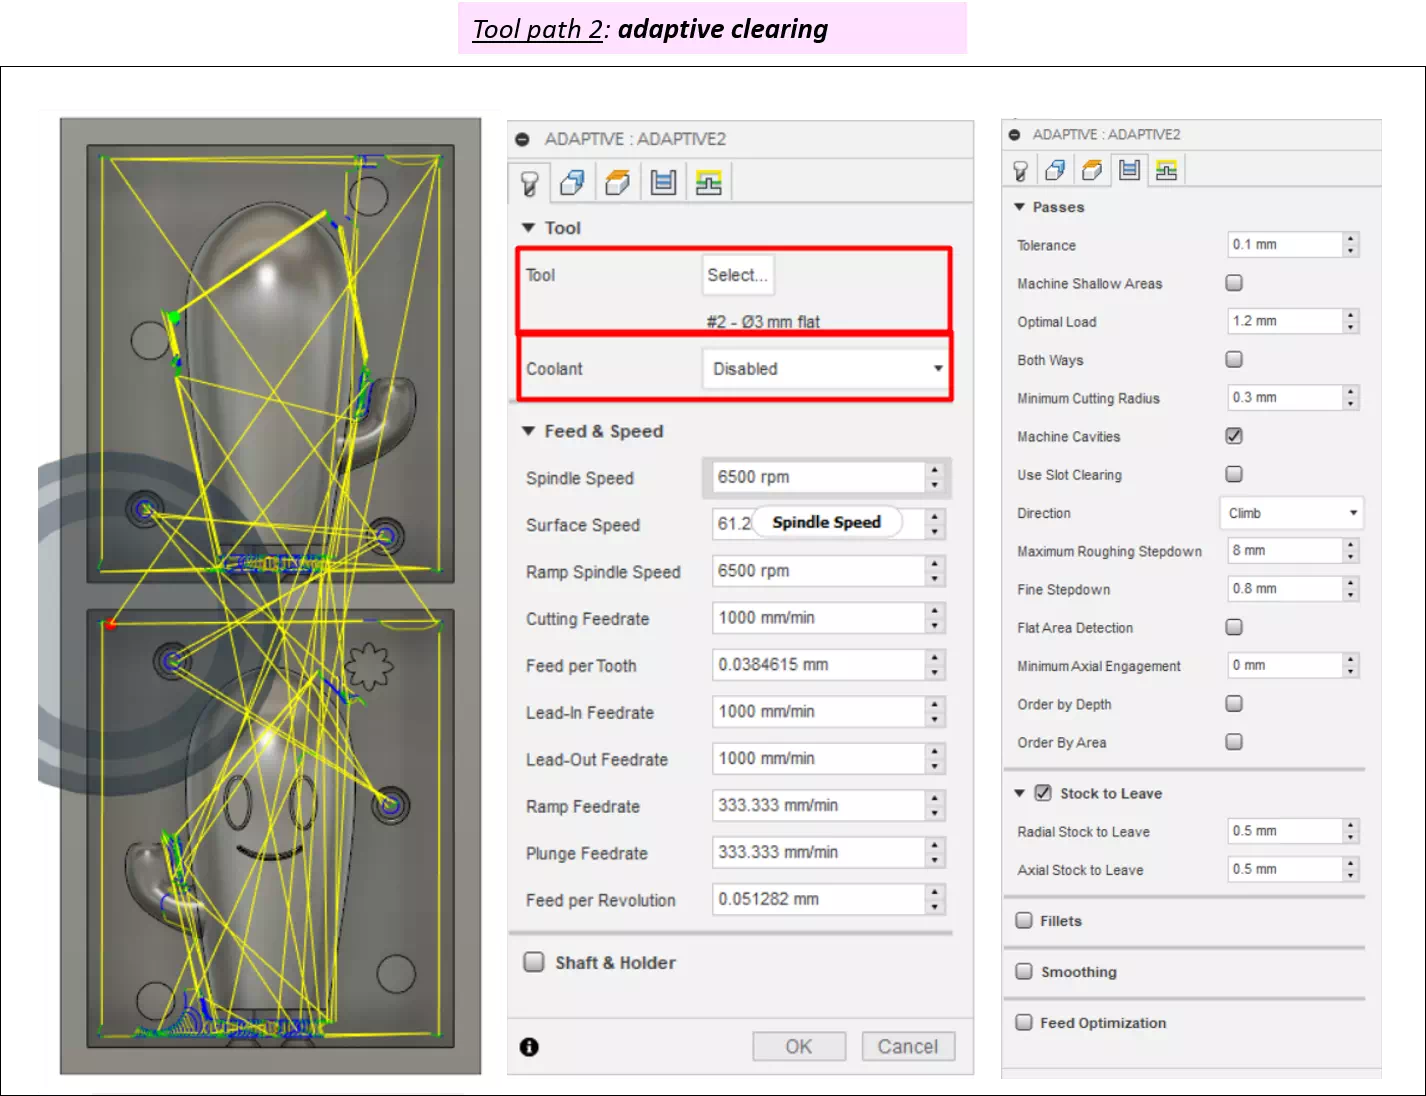
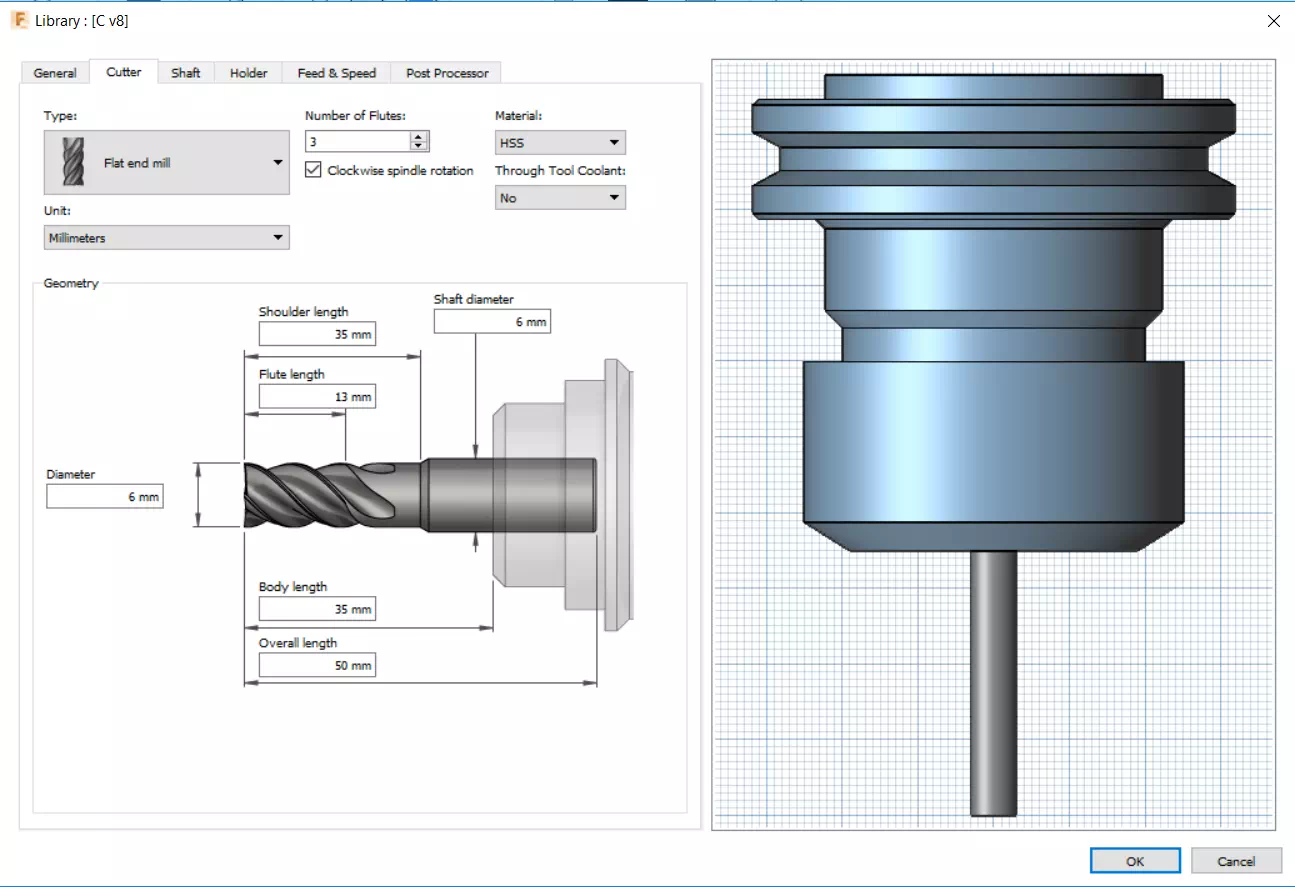
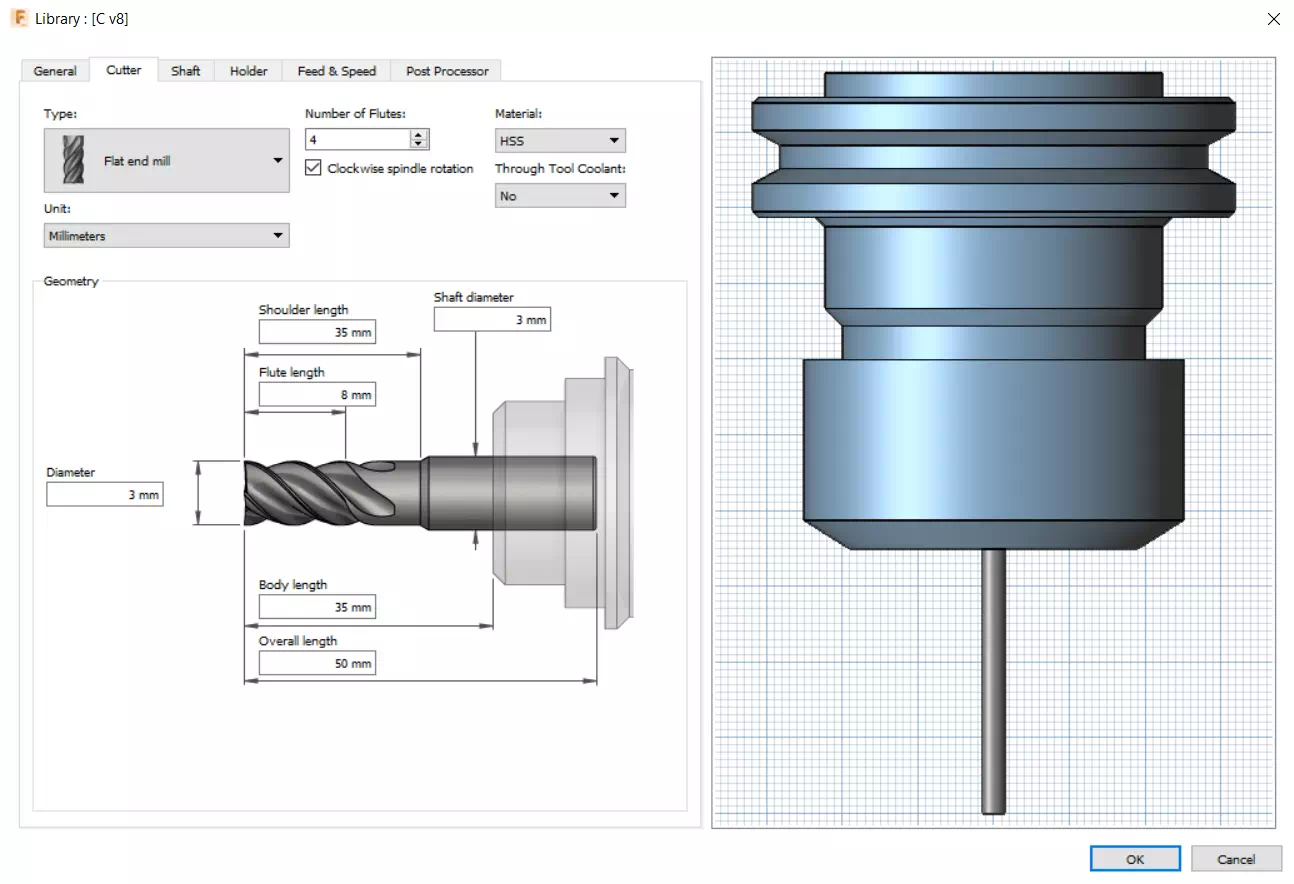
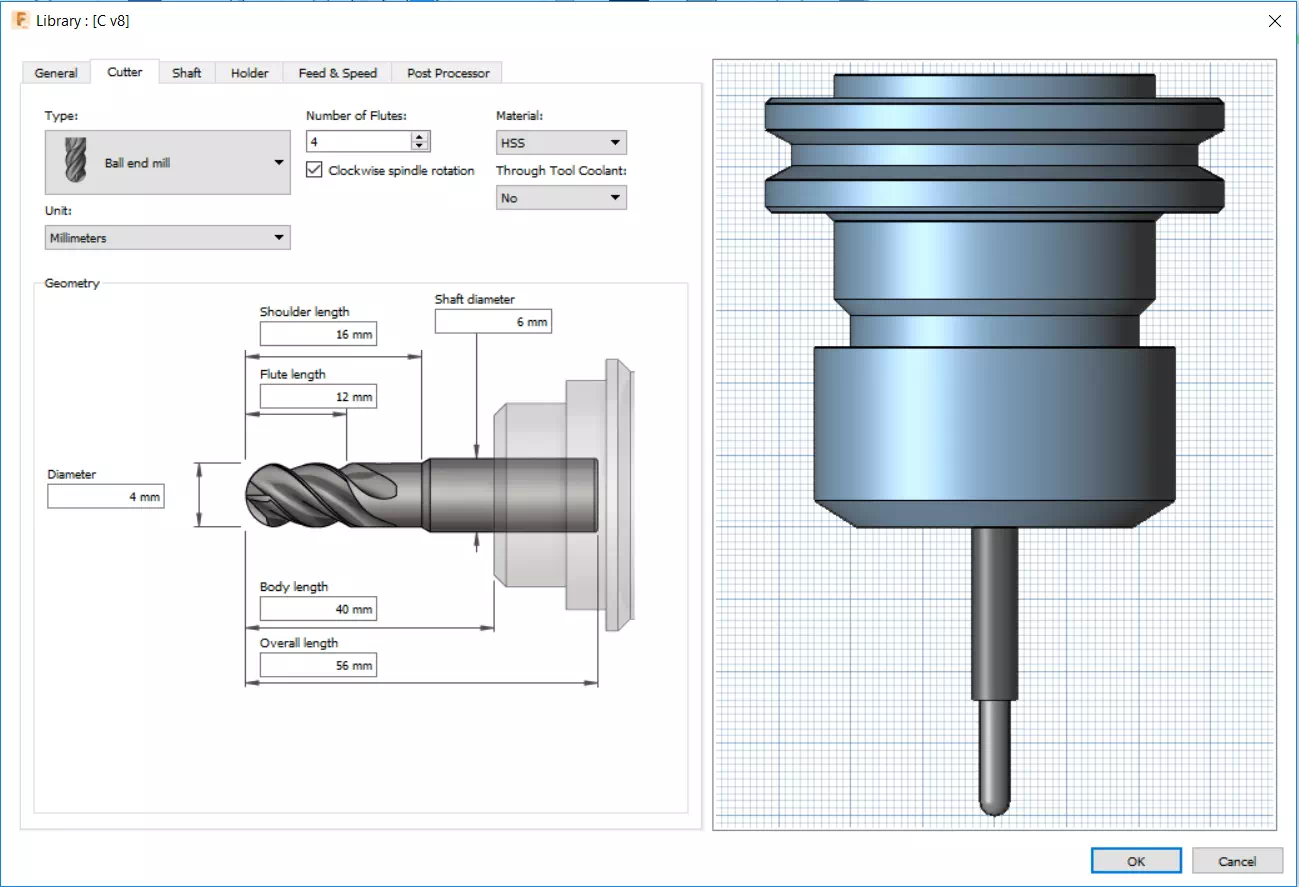
As shown above in adaptive cleaning path1. As a beginning, a tool of 6mm was used to make roughing out most of the layers. Next, in adaptive cleaning path2 a tool of 3mm was used. The benefit of path2 is to reach the places where the 6mm cannot pass. Finally, parallel cleaning was made using Ball and mill (3mm) tool for getting a smooth surface.
tools size
Milling process
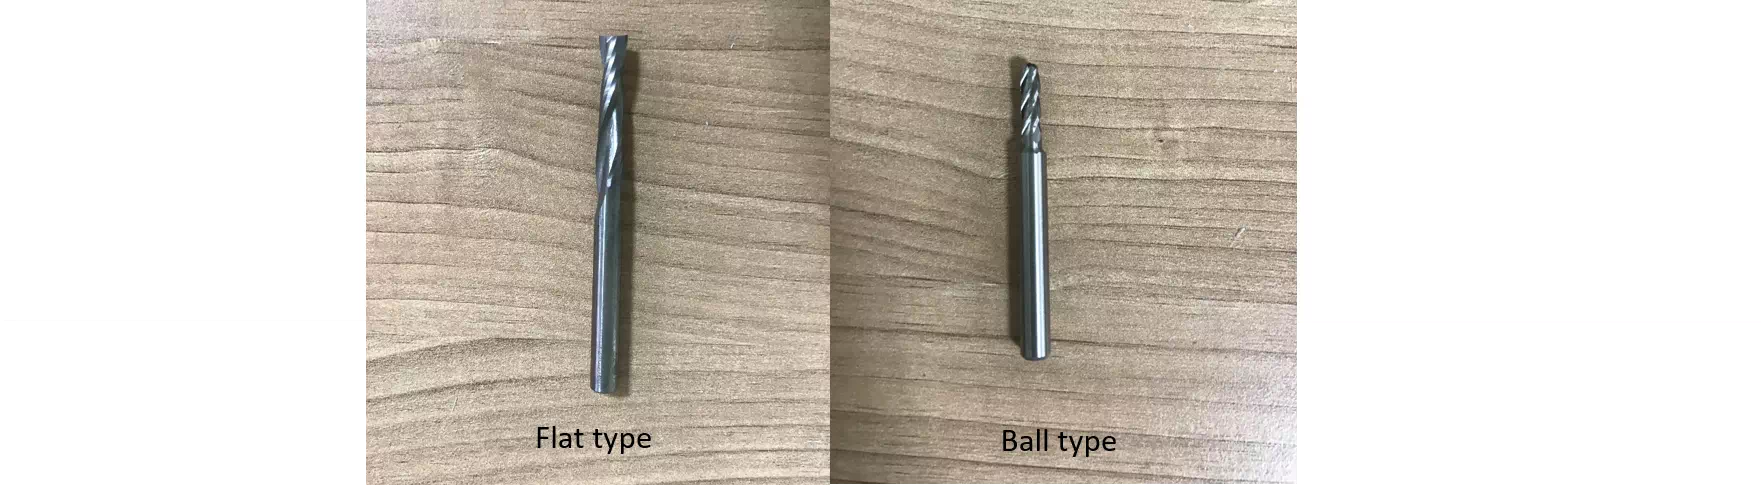
In this stage, a mold made from was block material called stock. Two types of tools were used as shown below.
Roland machine was used for milling the mold out of the stock. The milling was in three steps by changing the tools respectively. Note, in each milling step the zero for the tool has been taken while x and y-axis remain the same and must not move.
Casting process
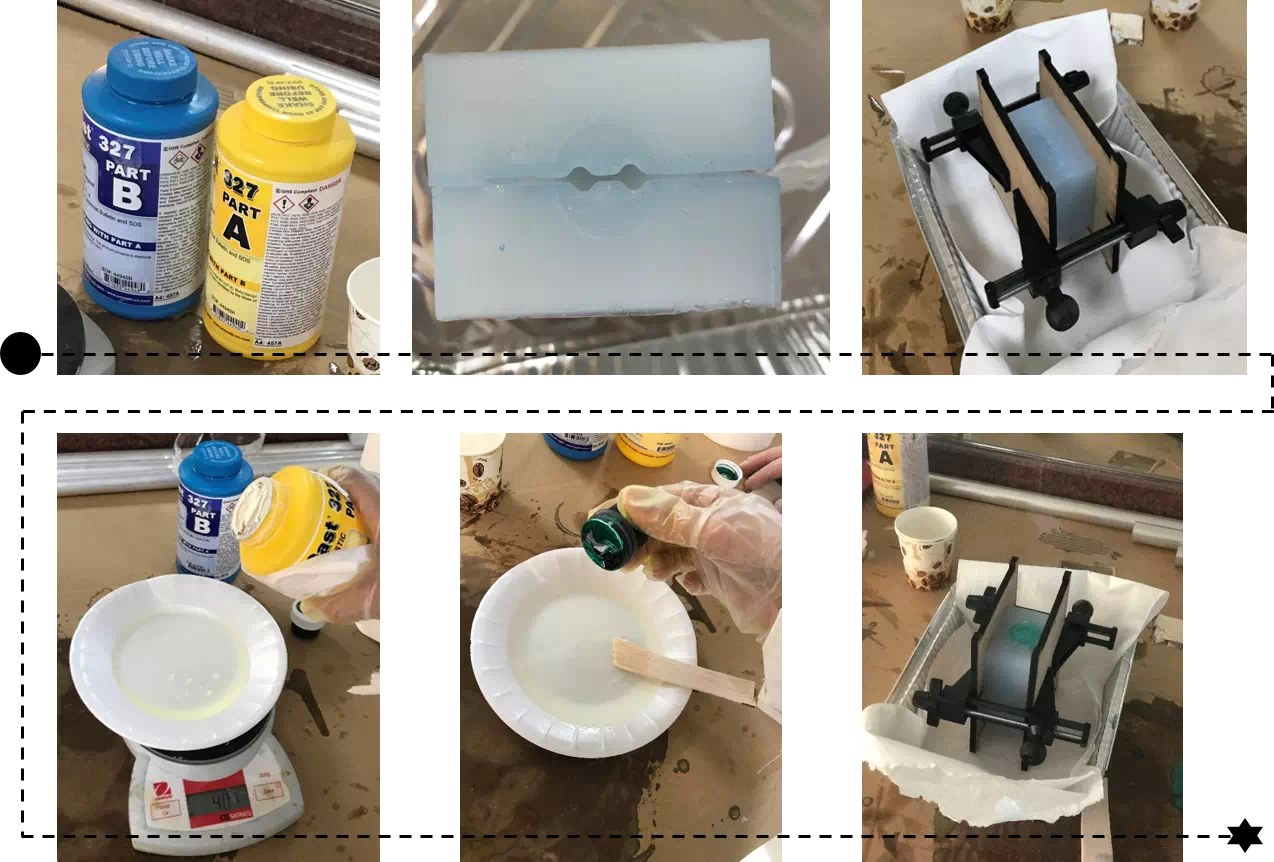
SORTA-Clear 37 is the material used to cast the mold. It is made from Silicone mold rubber (semi-flexible material). According to the manual, this material is food and skin safe. There are partA and partB. Then, the mix ratio is 115A:100B by weight.
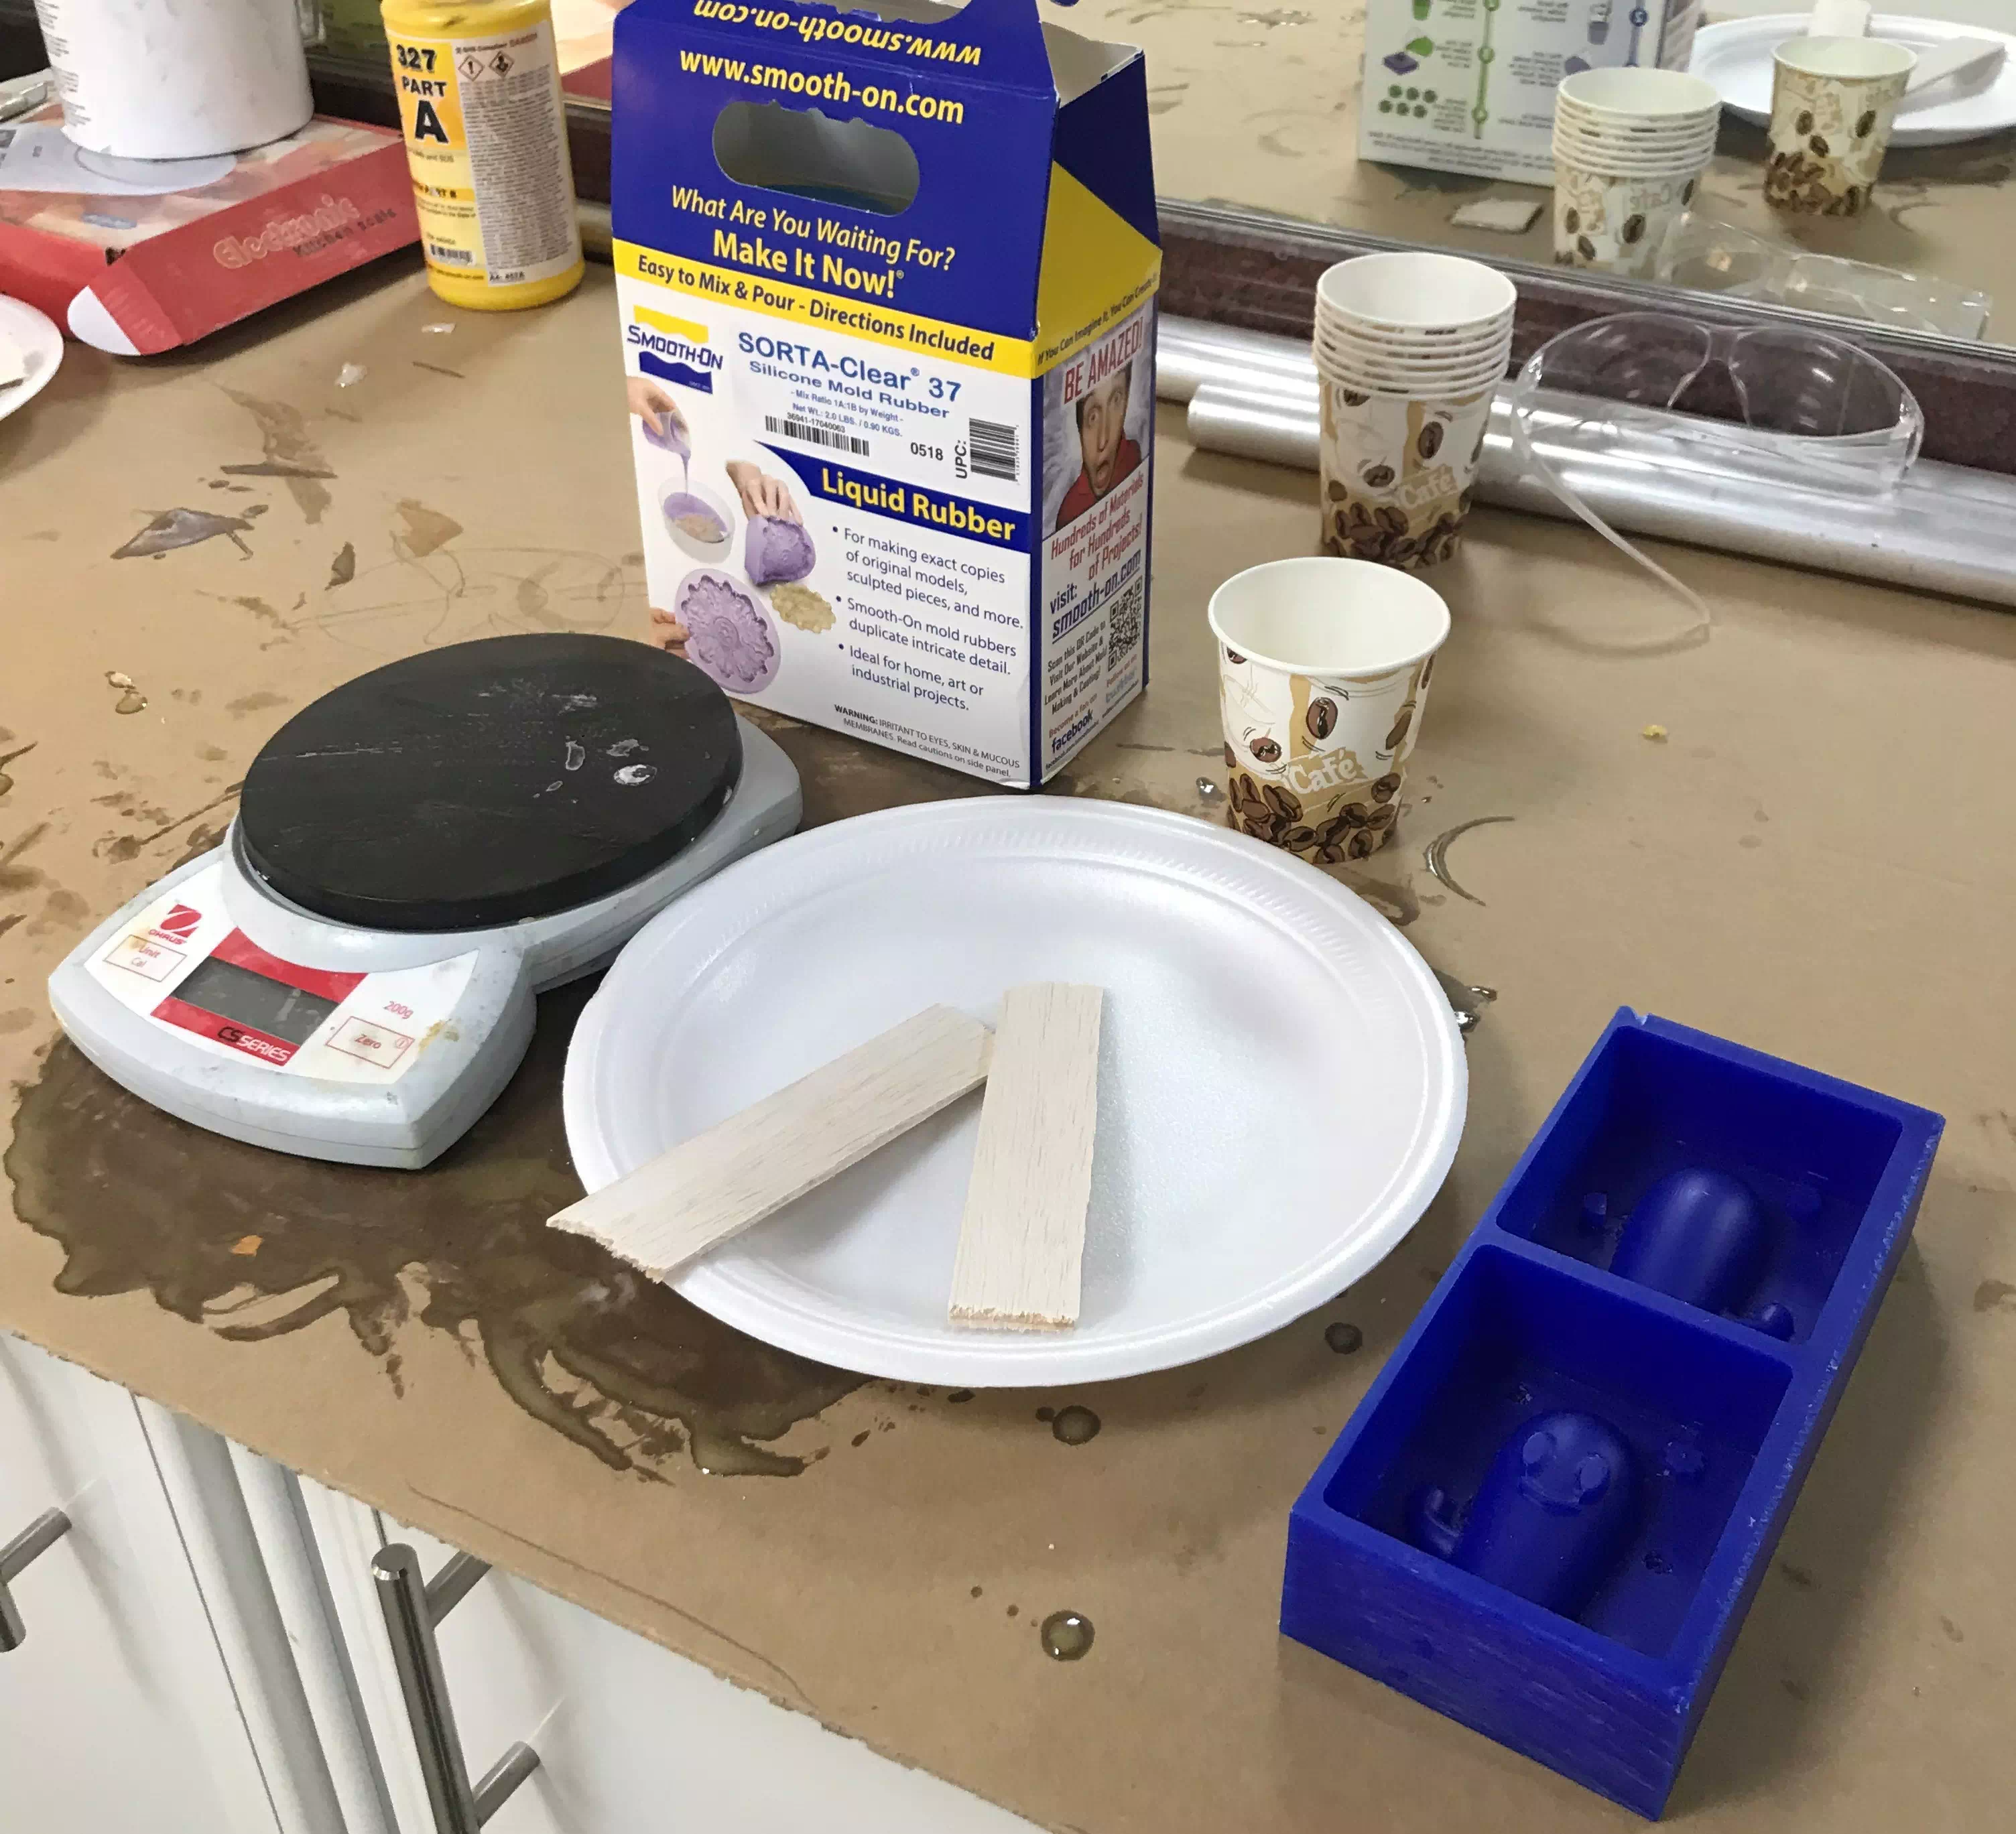
The curing time is 4 hours. For safety it is required to wear protection sleeve and rubber gloves. The figure below shows the equipment that are used in this step.
Mixing partA with partB
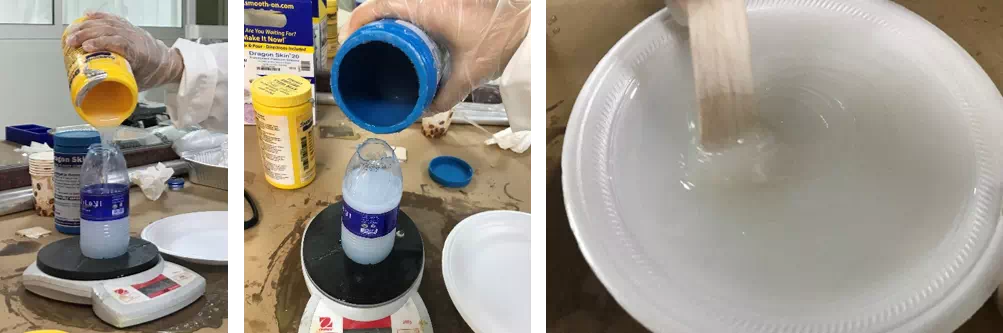
About 60 grams added for part A and 50 grams added for part B.
Pouring the mixture
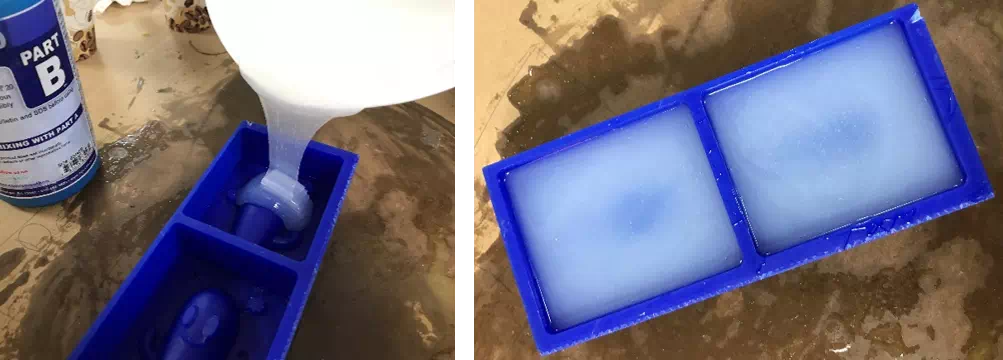
After well mixing. The mixture poured slowly and steady to avoid any chance for getting bubbles. It kept up to 4 hours.
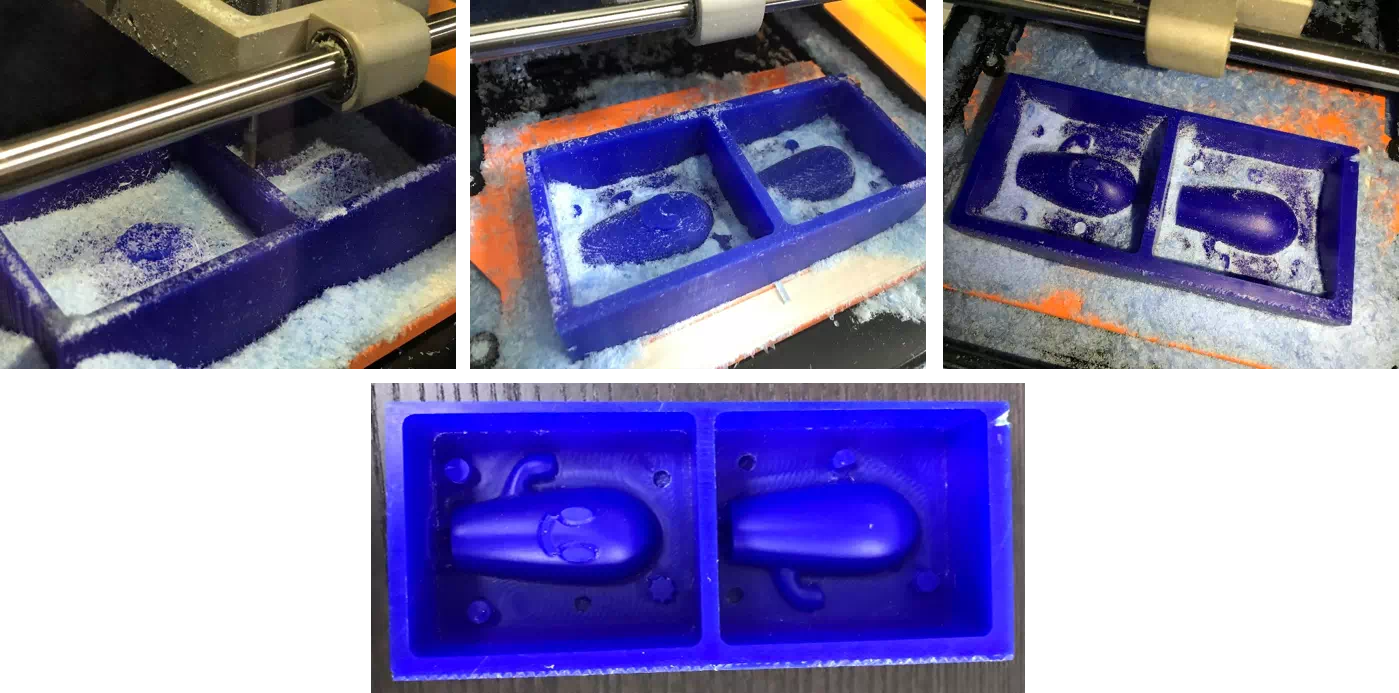
Casted mold
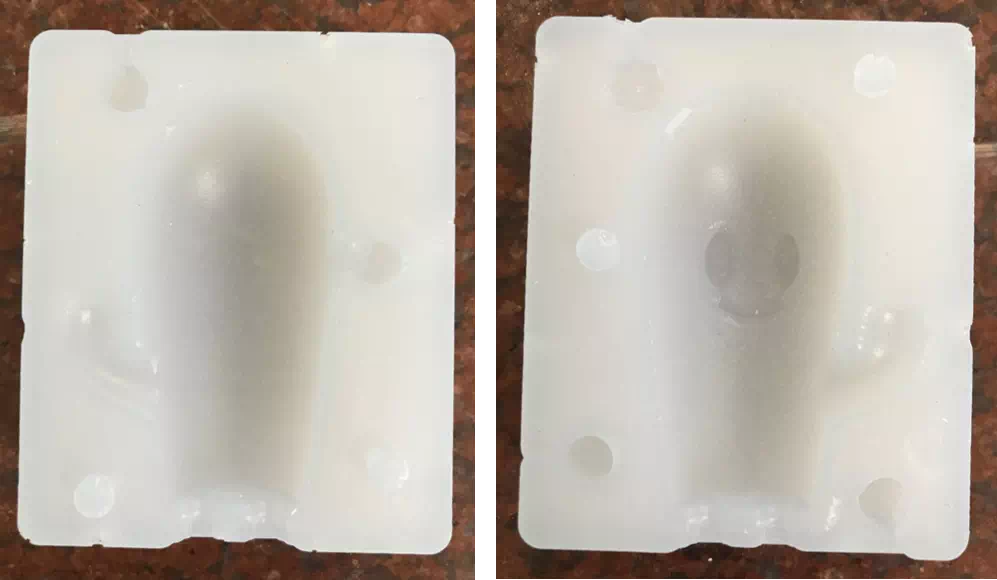
After almost 4 hours. The mold was ready to cast my design.
Casting in the mold
Now, to cast the cactus design. Plastic smooth-Cast® 327 is the material used to cast the target design. According to the manual, there are partA and partB as well. Then the mix ratio is 115A:100B by weight. The curing time is 2-4 hours. Those plastics are fast-cast resins that were prepared specifically for adding color pigment.
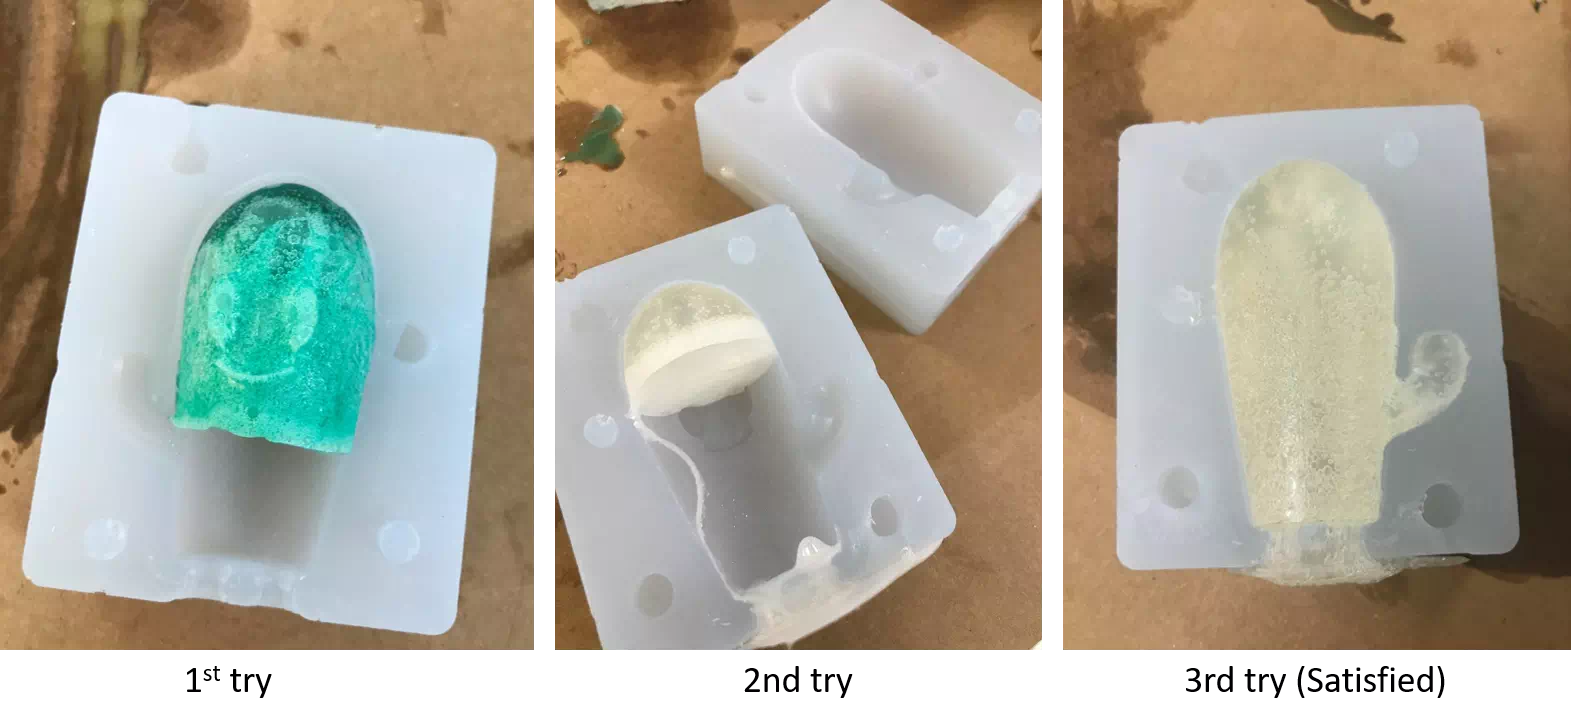
As shown the figure below, the two sides of the mold attached together and fixed well using two clamps. Then, a prepared mixture prepared as the previous one for the mold. Next, a green color is added and mix it well in the mixture. After that, it is poured inside the mold using one hole. Note, the other hole was made to allow the air going outer when the material enter inside.
After four hours waiting, the result was dissatisfied at all. The steps repeated for second time and the result was the same. The material does not enter fully. It is discovered that the way of passing the material by a cone shape of paper was useful. Finally, in the third try an injector was used to push the material inside the mold well.