Weekly Task
Group assignment:
test runout, alignment, speeds, feeds, and toolpaths for your machine
Individual assignment:
Make something big.
This assignment is focused on converting the CAD drawing into the real-life objects. it's time to make something big which can be used by me and others in my day to day activities. I was thinking about the things that I simply make which can be used. I was thinking to make a Study Table for kids.
In Vigyan Ashram we don't have a CNC machine.We are Lucky to Study and learned two machines.On Thursday,First we had to go to College of Engineering Pune to use the shopbot machine there.and second we had go to Muktangan.
Group Assignment
COEP - Shopbot Machine
Shopbot PRSAlpha can cut material in the same way you would with a saw. It can cut in the X or Y direction.
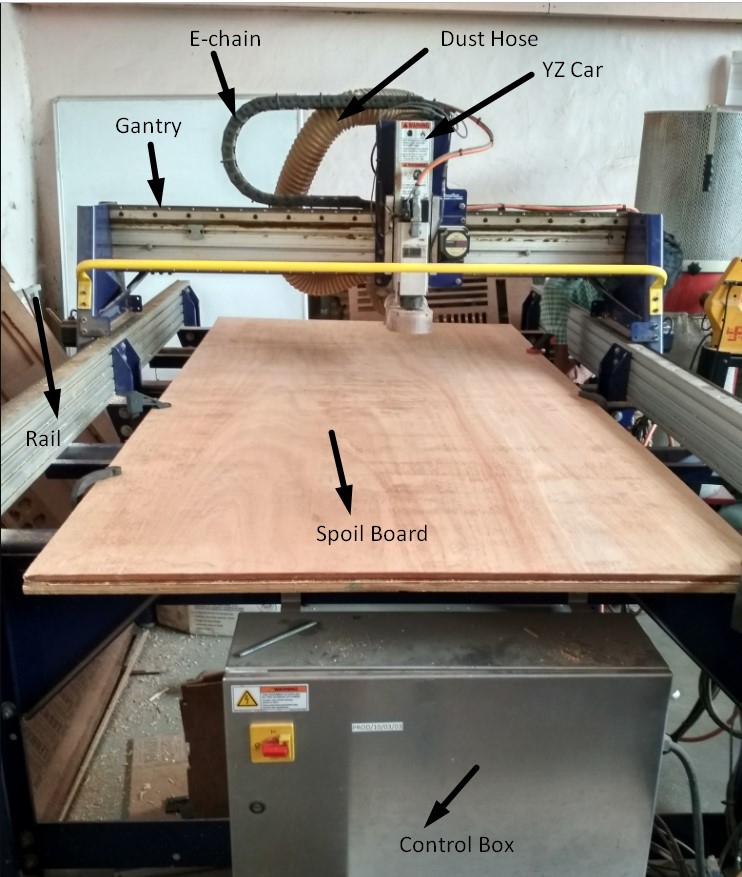
The shopbot machine has 8'*4' standard bed size and able to cut wood and plywood. It has guideways in X, Y axis and a router is at the z-axis which is capable to spin 12000 rpm. So RPM is 20000 but while keeping it, we can keep 12000.We are using end mill as a cutting tool for this machine.
Specification:
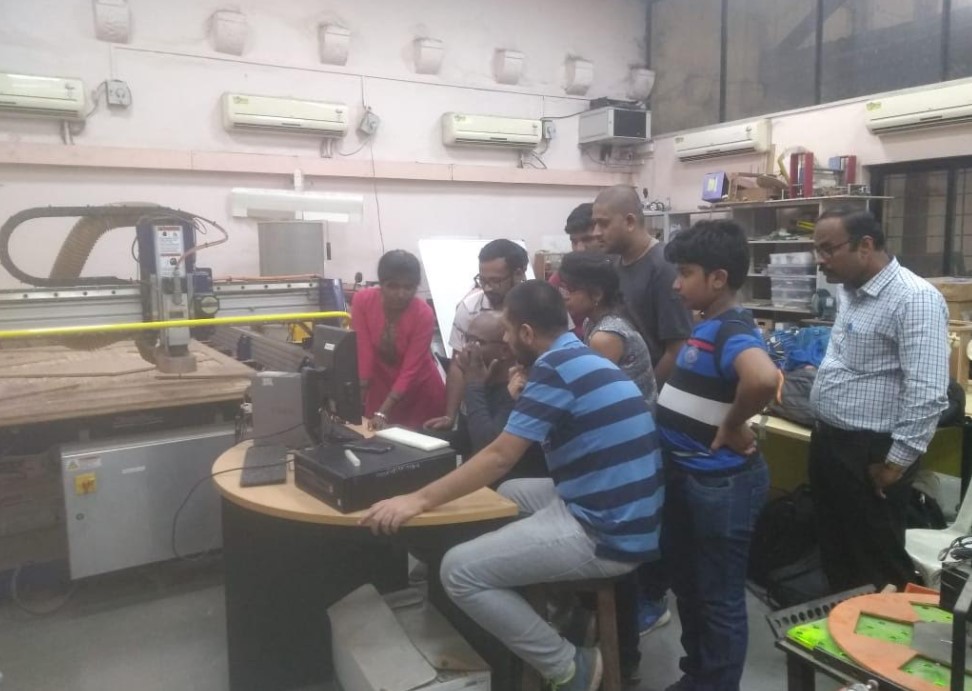
On First day we have done our Group Assignment in COEP.For study and use this machine we discussed with Mr. Anasane from COEP.we were given a lecture by Mr. Anasane of COEP.
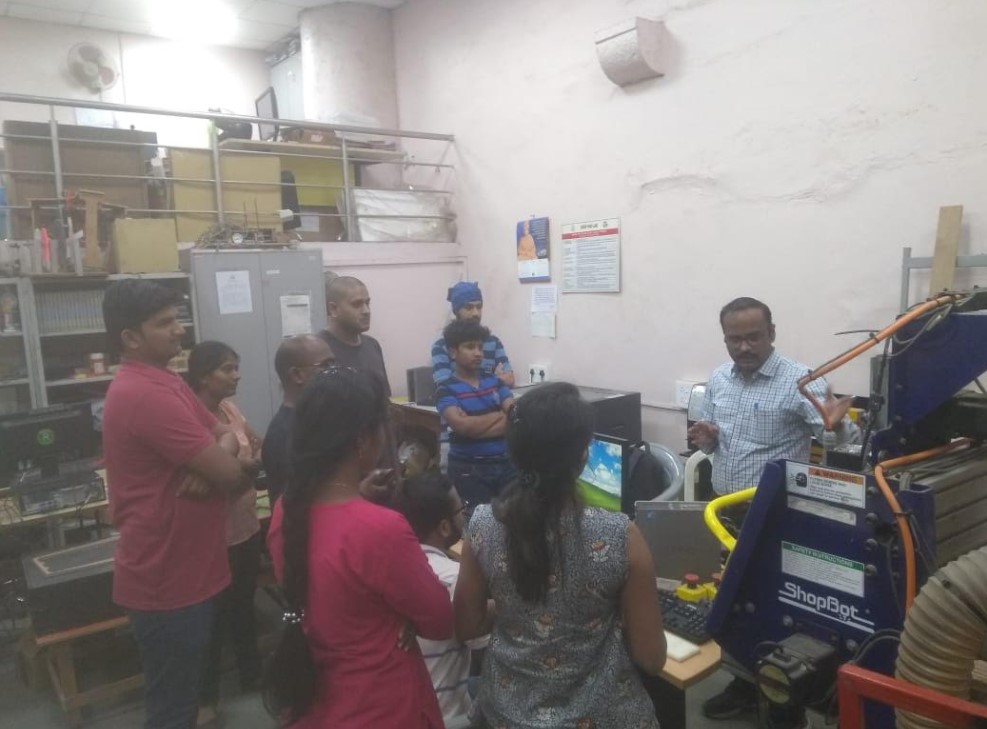
Shrihari is working in CEOP lab.he tell us about machine software works called PartWorks then we cut simple circle with differnt dimension.
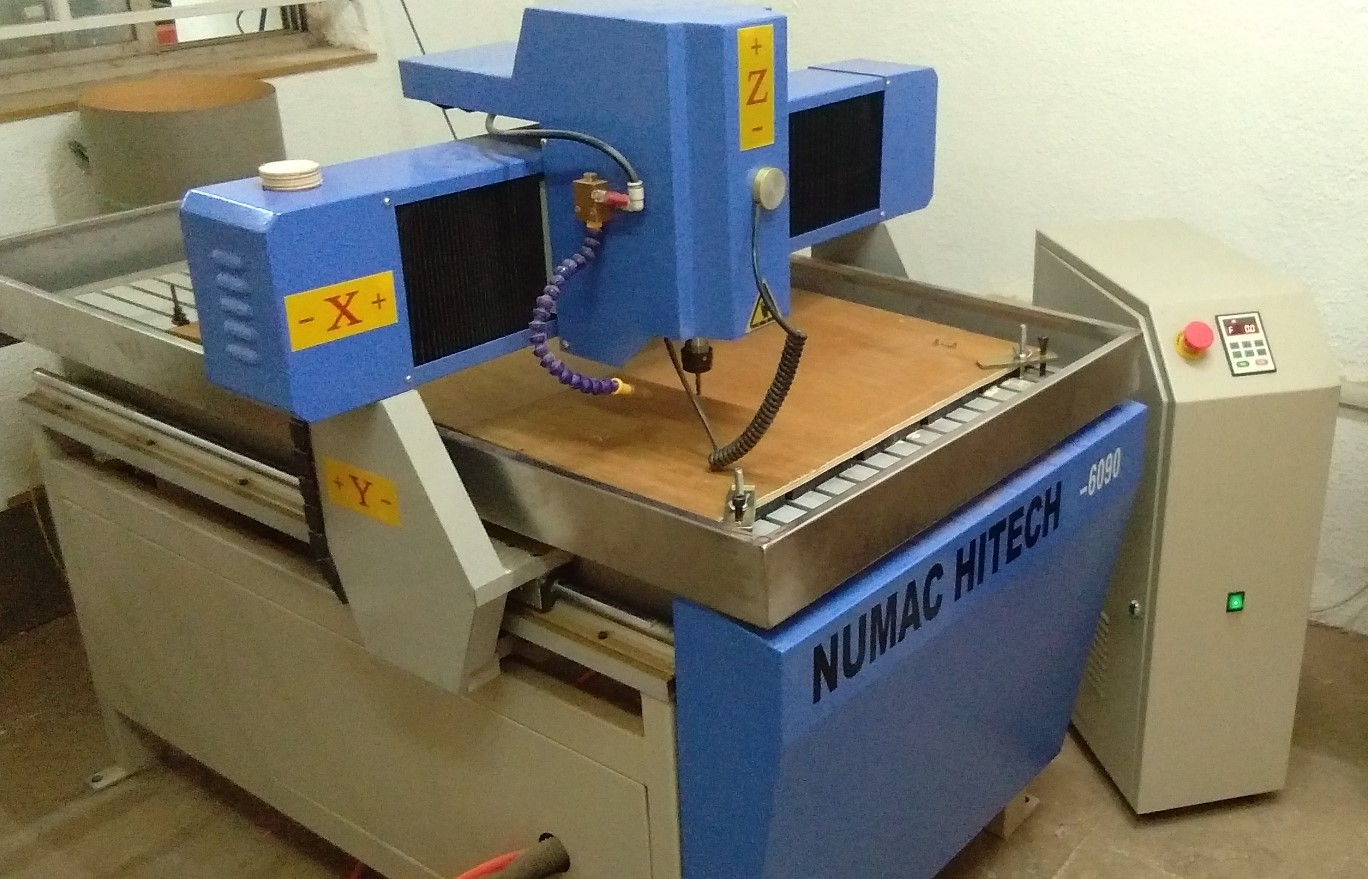
Muktangan - NUMAC HITECH
NUMAC HITECH as Leading Manufacturer of very high quality Engraving 2D, 3D Profiles , Cutting ,Drilling Products with our best quality of CNC Router and Laser CNC Machine.
It has 3'*2' standard bed size and able to cut wood and plywood. It has guideways in X, Y axis and a router is at the z-axis which is capable to spindle speed 24000 rpm. We are using end mill as a cutting tool for this machine.
When Install shopbot
Main things
Our Instructor Miss. Arundhati was taken session on Numac Hitech machine. We have also done our group assignment in Muktangan.
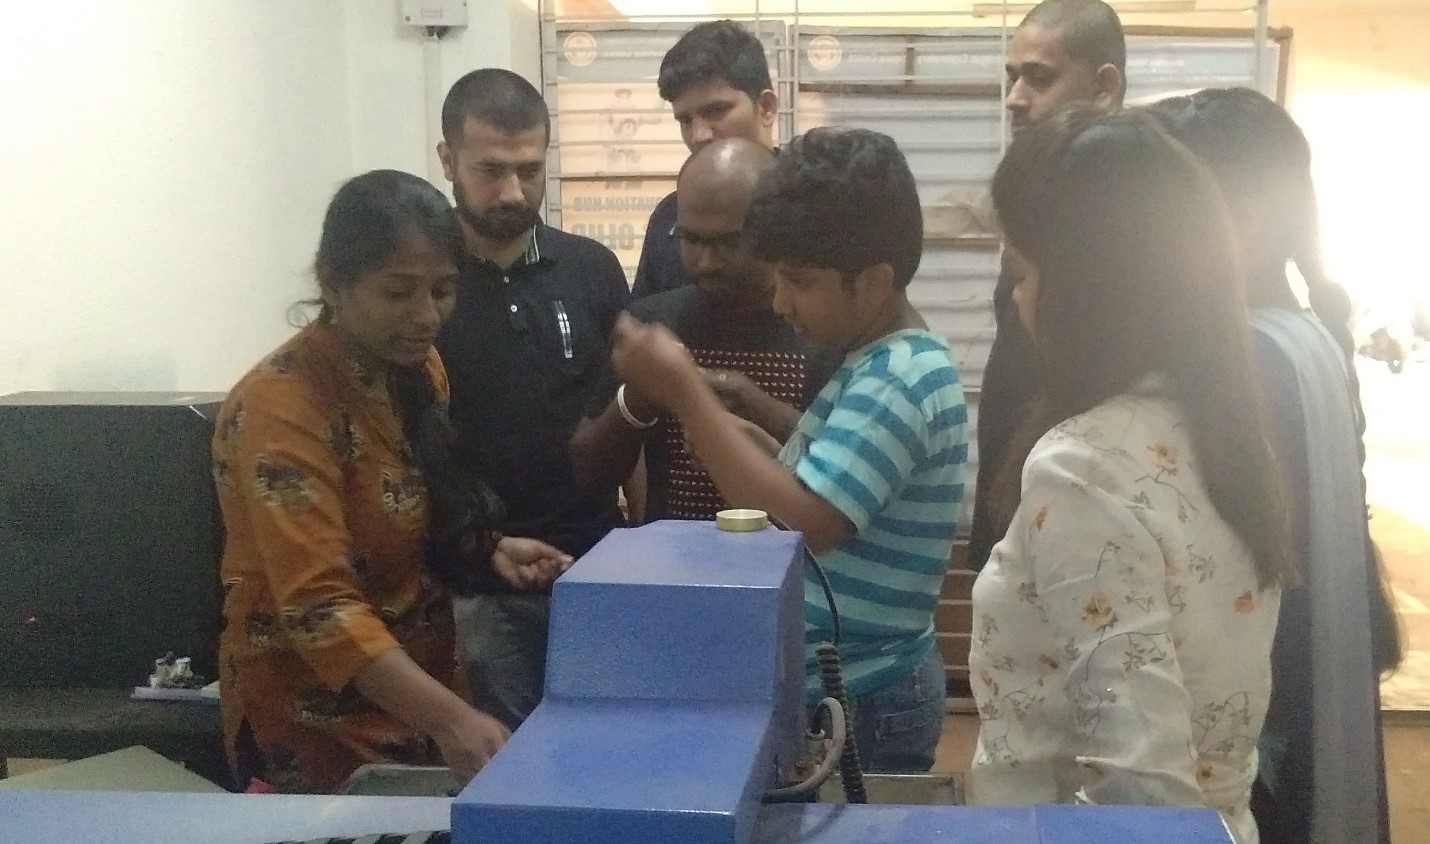
We cut different Objects. Then we varied the parameters of the cut for each of the parts.
this all parts cuts on same speed and feedrate.
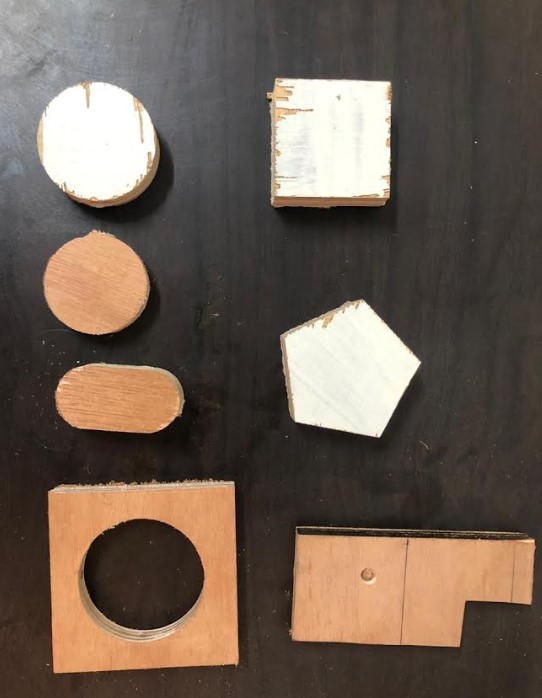
As you can see we have some kerf, I need to keep in mind while cutting our design We also learned how to change the milling bit.
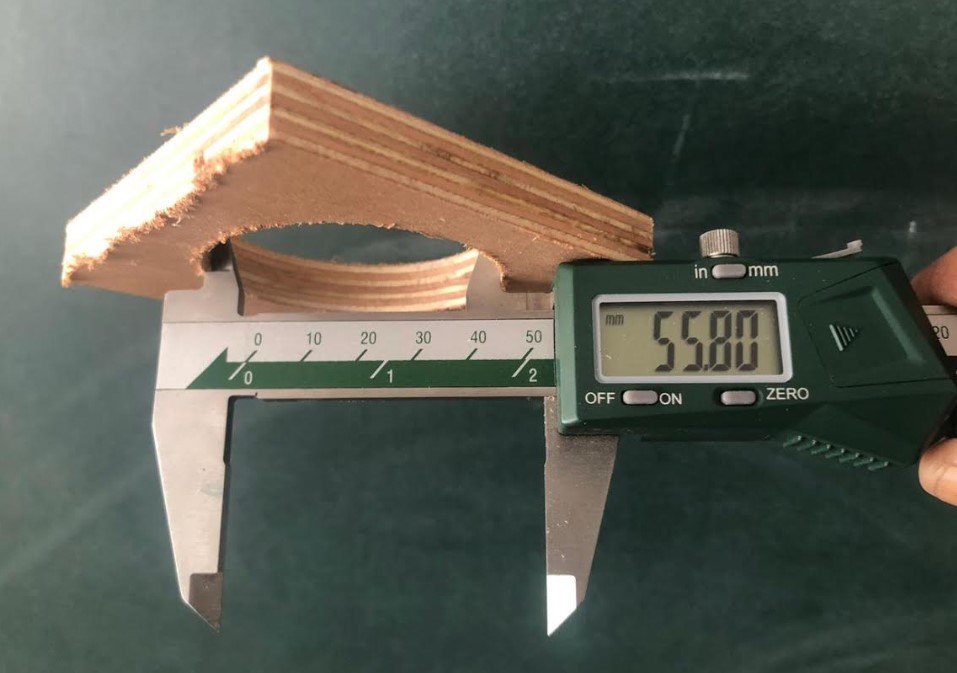
we take a rectangle with 80mm X 80mm.after cutting we got a kerf 0.25mm.we also cut circle in rectangular with 60mm diameter.we got kerf here is 4.2mmboth part cuts in inner diameter.but here we got a big difference in the kerf.
|
|
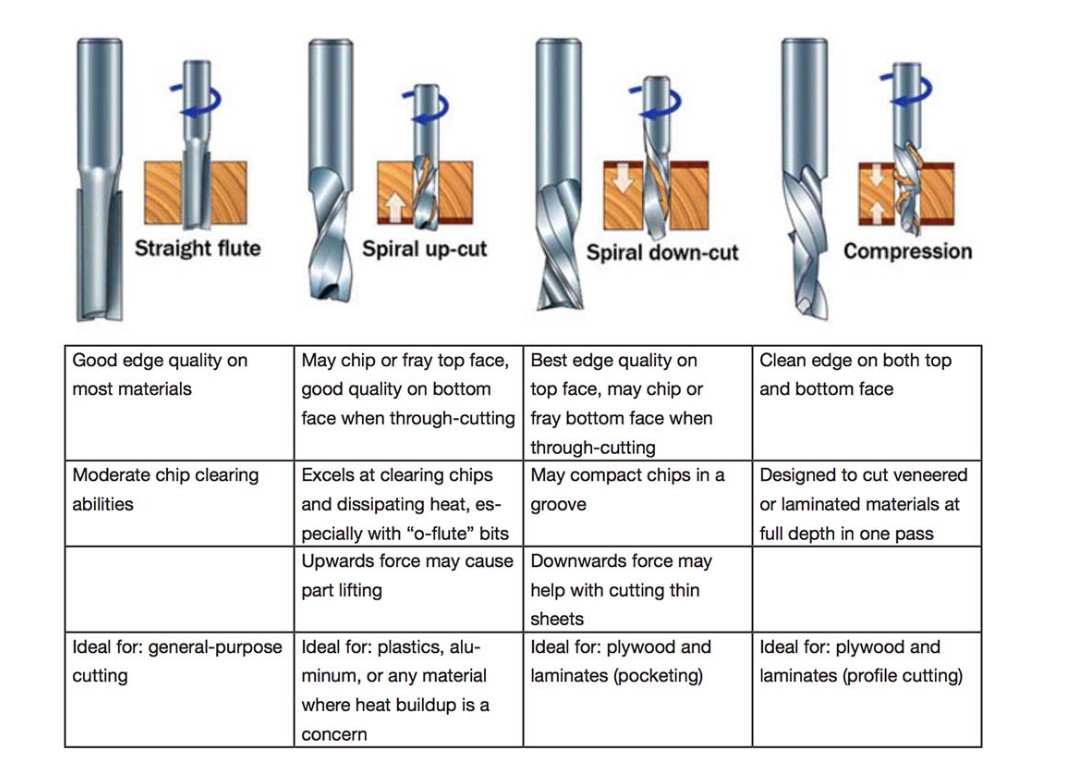
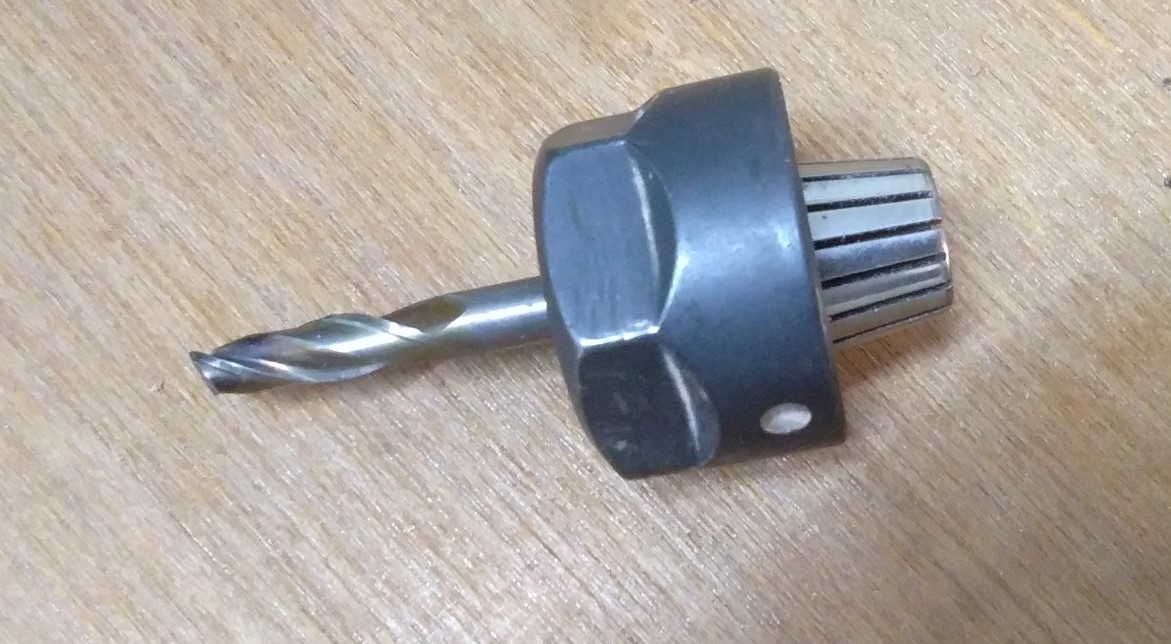
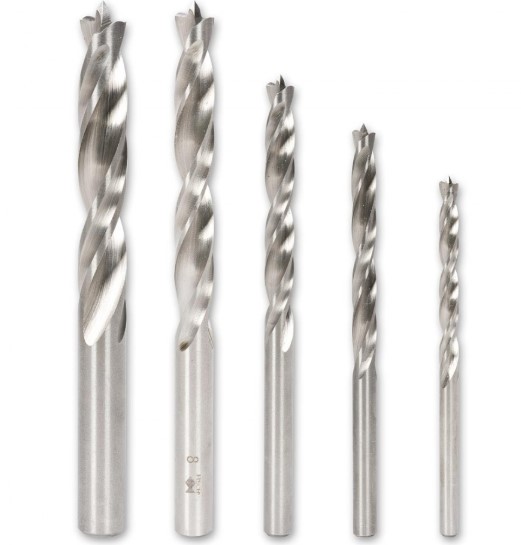
I am using a 6mm end mill.There are down-cut and up-cut bits, which will make different edge quality in the upper and the lower layer of the plywood when cutting through. Here is a table summarizing the different flute types
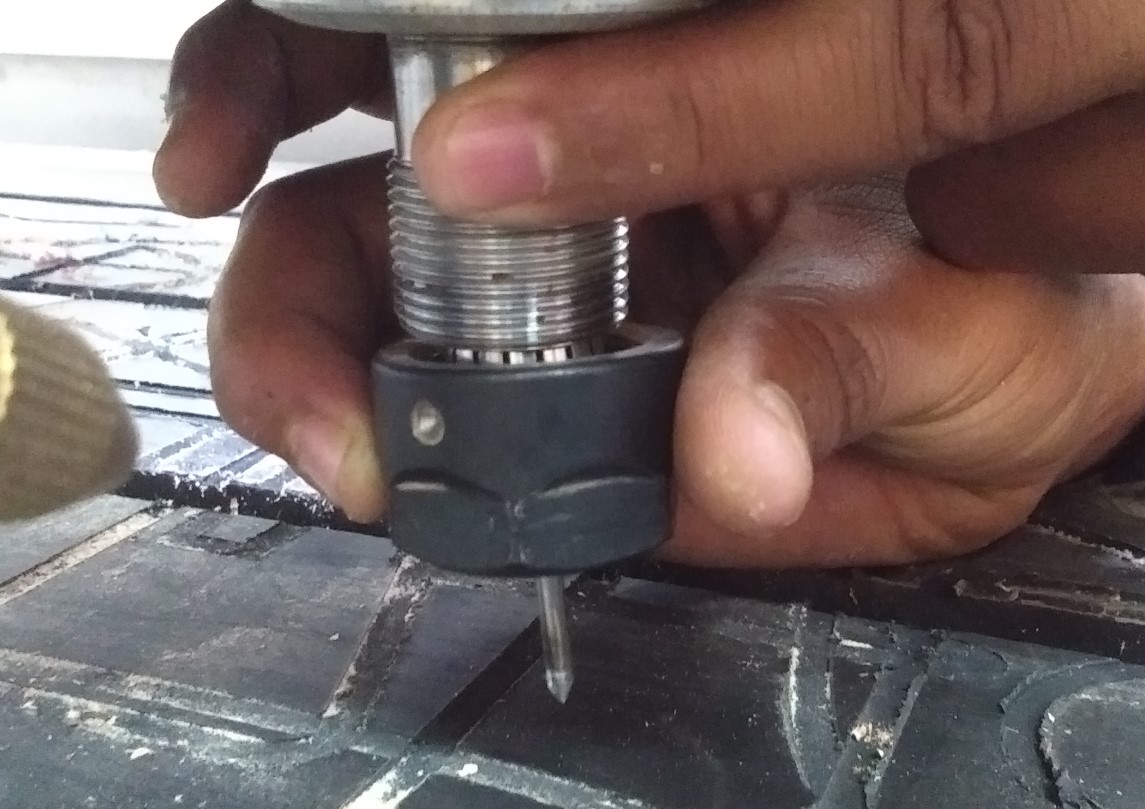
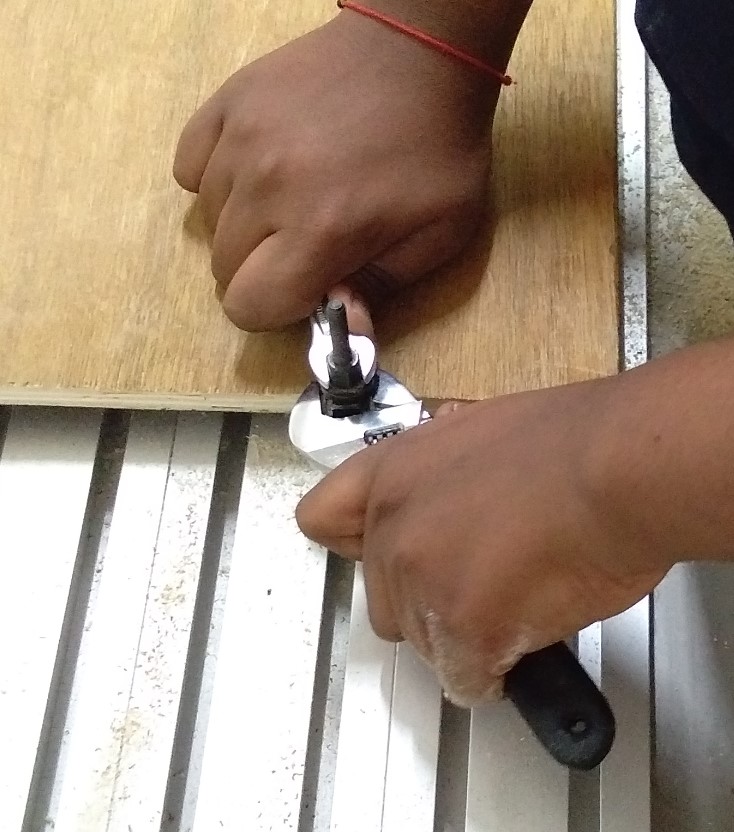
Tool Alignment There are two main parts in tool assembly:
This is our tool assembly...
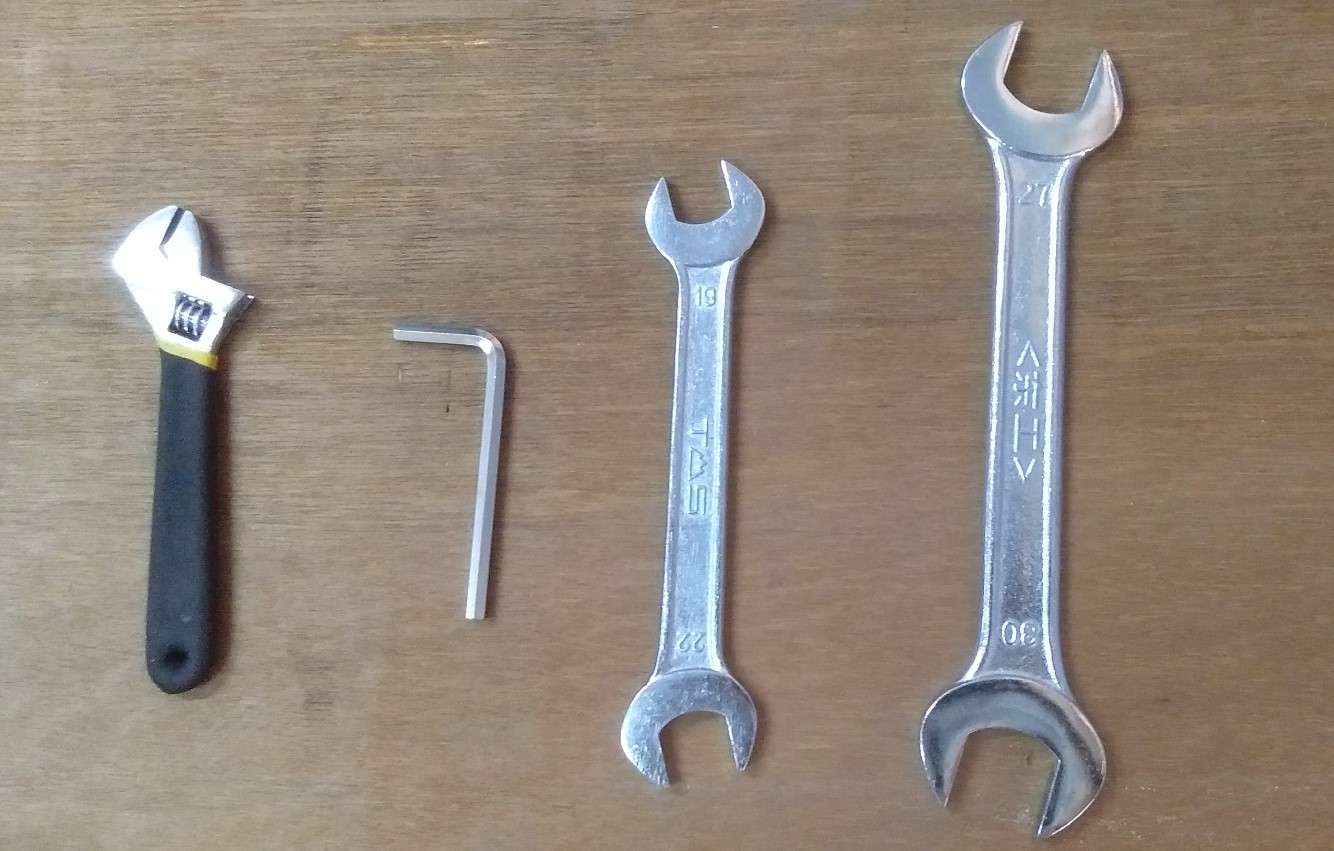
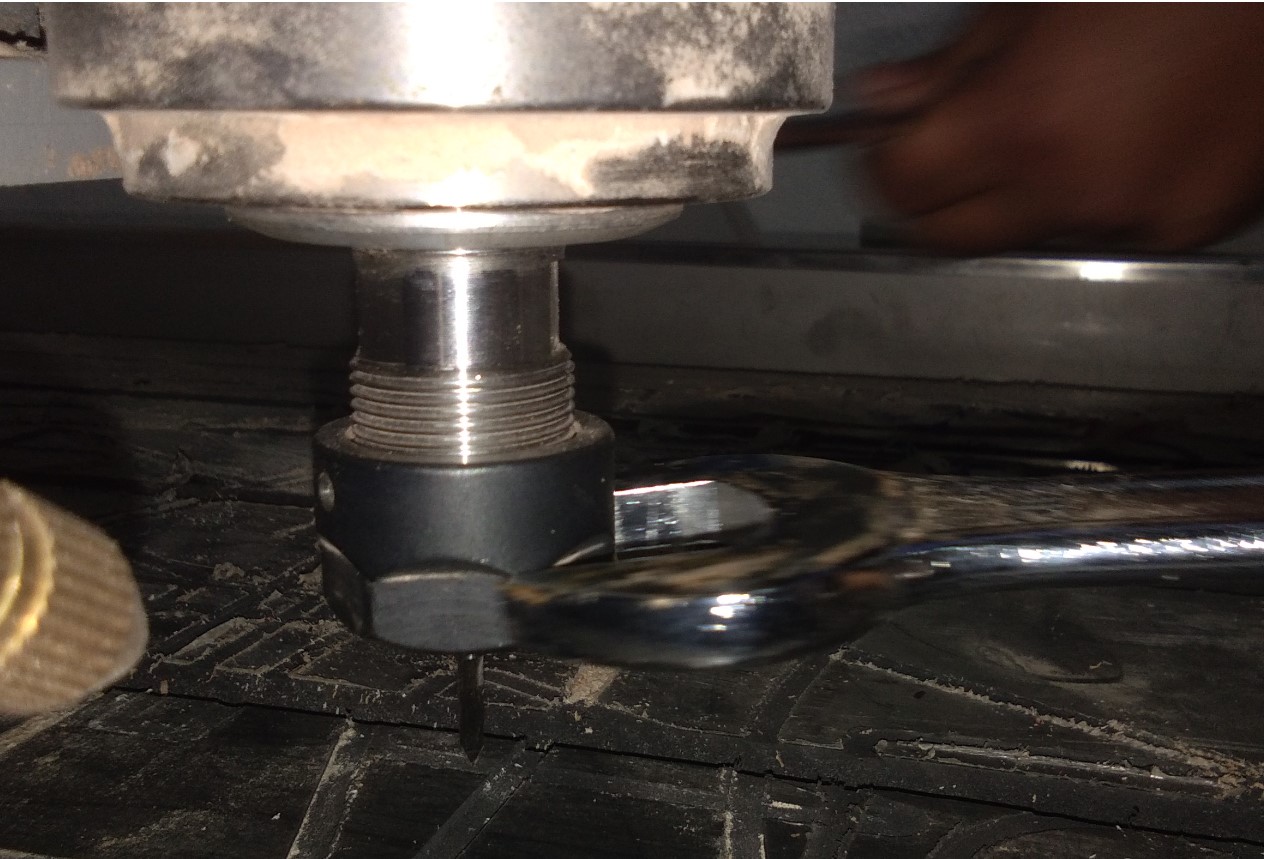
Initially we loosen the screw of vacuum dust, which is behind the z-axis. Then, with the help of a special groove spanner loosen the nut from the shank.
|
|
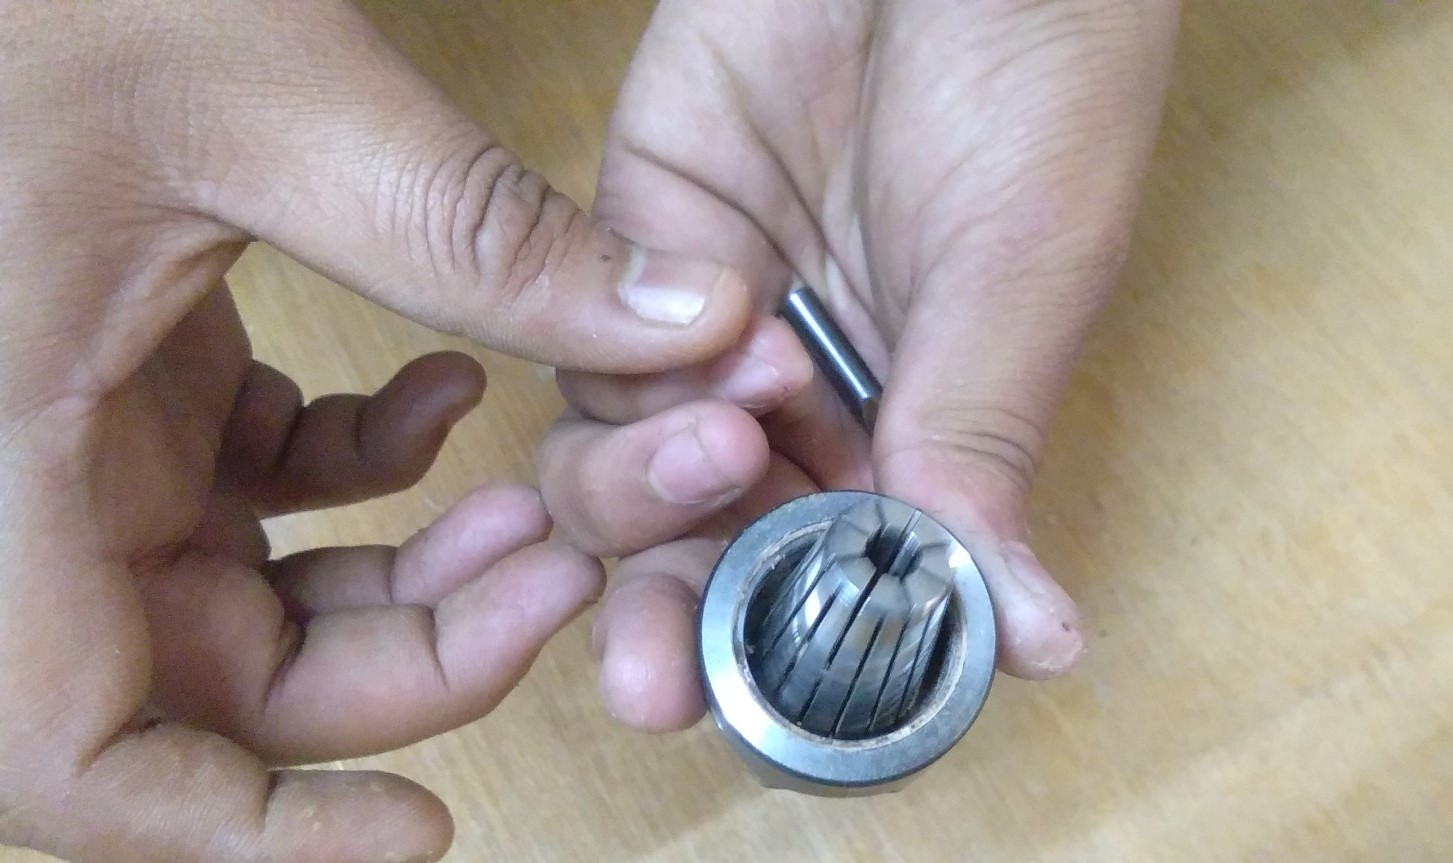
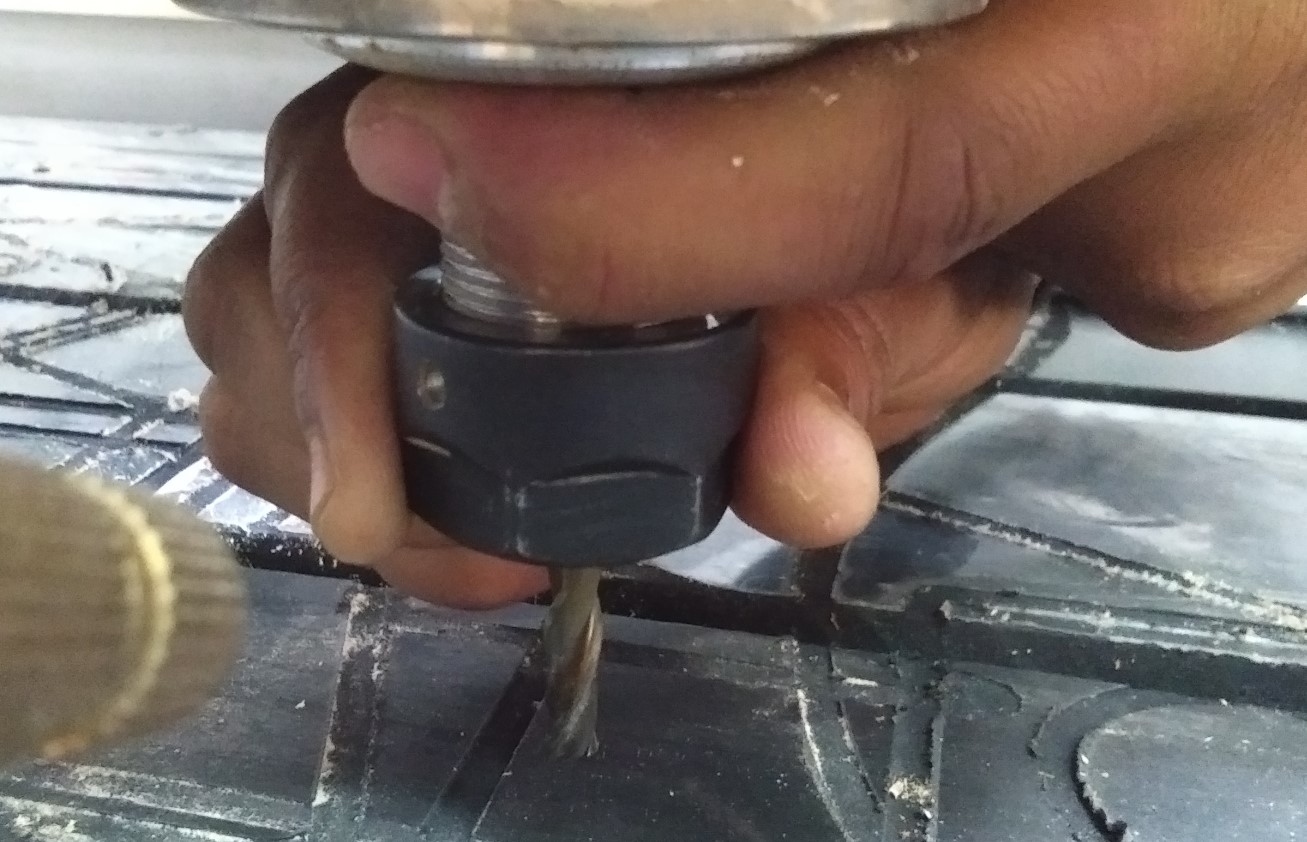
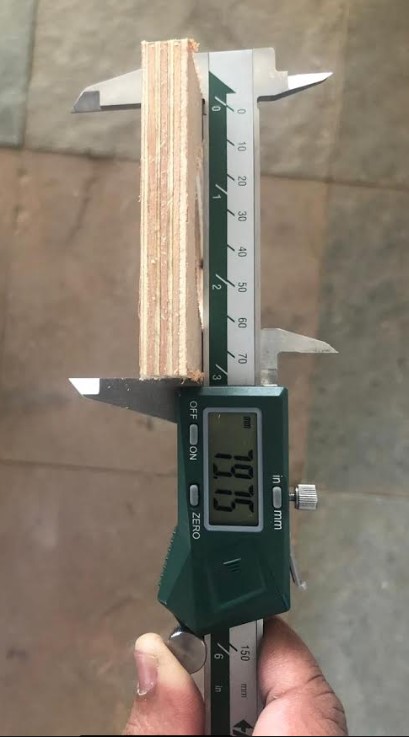
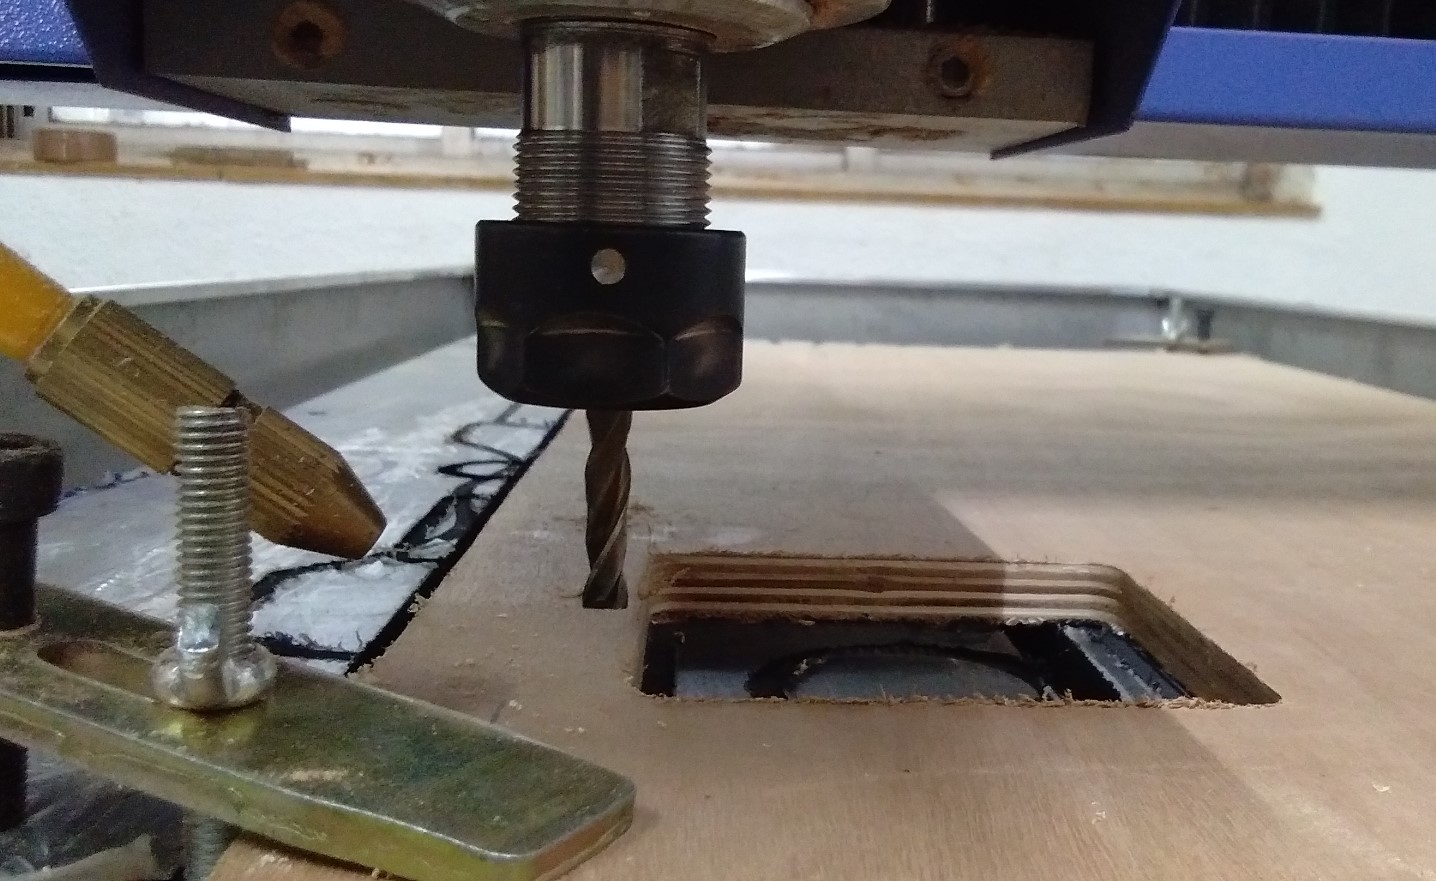
First I measure my board which I used to cut and then I check the alignment of the board. Then I fixed the Collet and bit with the spindle and check the thump knock to attach the dust panel. Then fix the board with the sacrificial layer with clamp.
|

|
Individual Assignment
DesigningTo make something big assignment, I don't make a big stuff, for this I make a small project like Study Table for kids. For making this I used the Solidworks software and follow the YouTube tutorials for making. Actually, I focus on the how much learning in using Shopbot, not in making any big things.
My object is around 3 X 2 feet.so,I decided my object cut on NUMAC HITECH in Mukatngan.
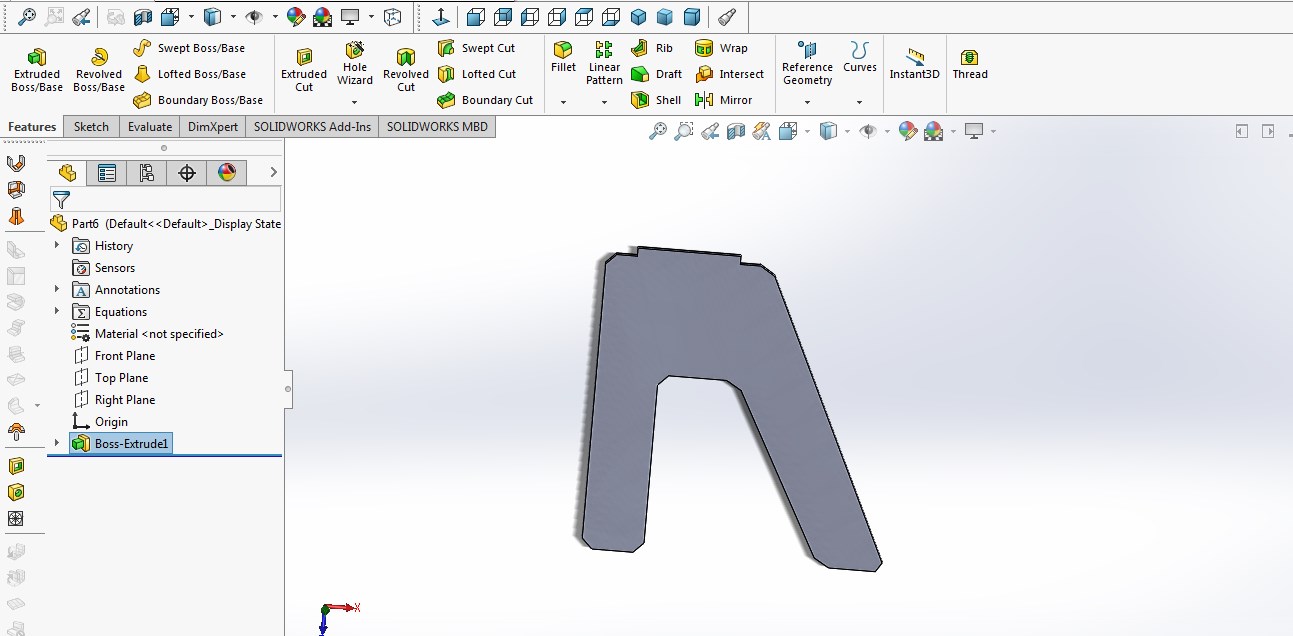
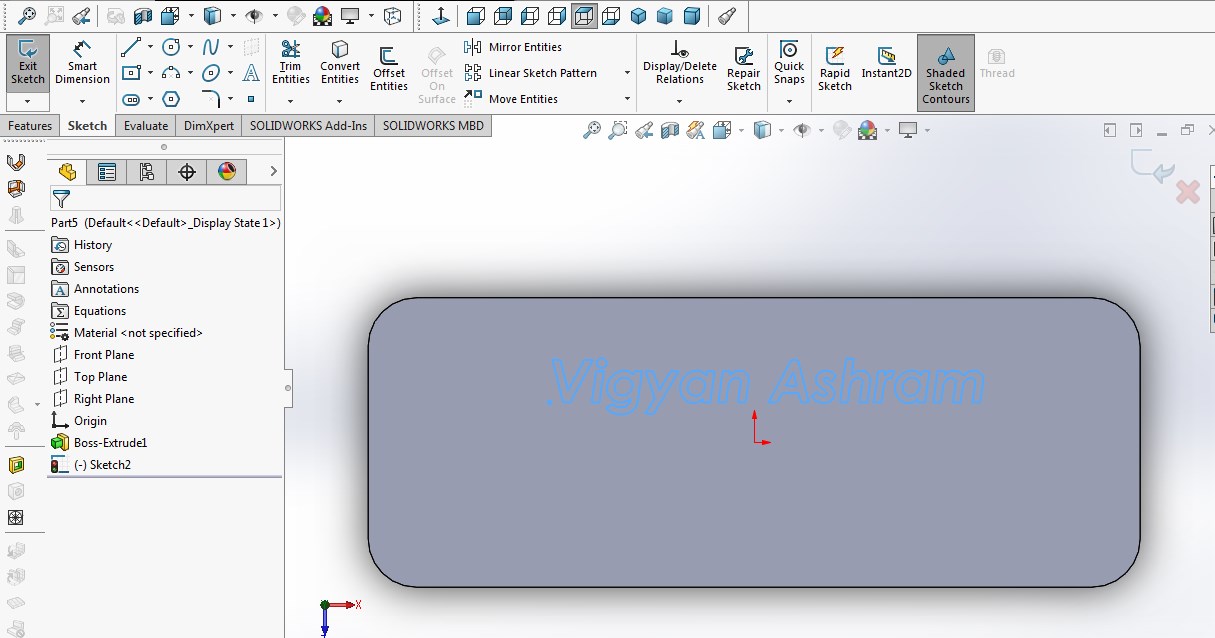
My Designing process are given below:1. First,I made the stand design and copy it as new to fix the length as parametric units.
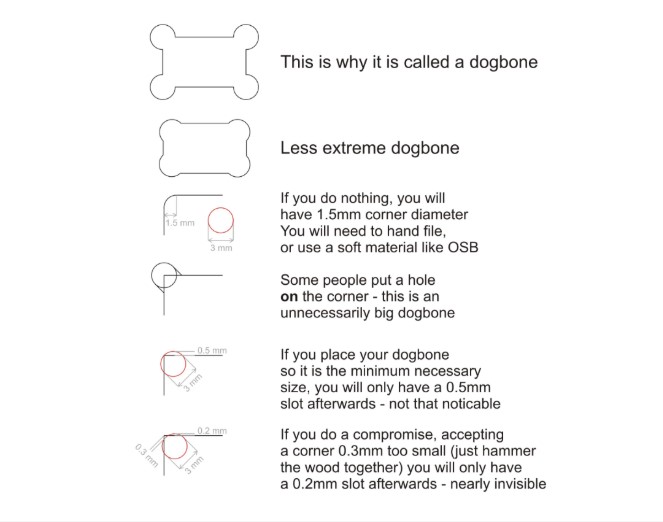
Our Instructor Miss.Komal send us this link Dogbone From here i learn so important information about dogbone. In my design add dogbone design and check the cutting process according to the design. I learn about dogbone and how i measure it and what is the appropriate dogbone for proper fixing the board.
Dogbone -Dogbones are additional interior corner cuts for connecting parts. Dogbones one has to define herself for interior corners of connecting parts. Since the tool of a milling machine is circular, it is not possible to create sharp interior corners otherwise.
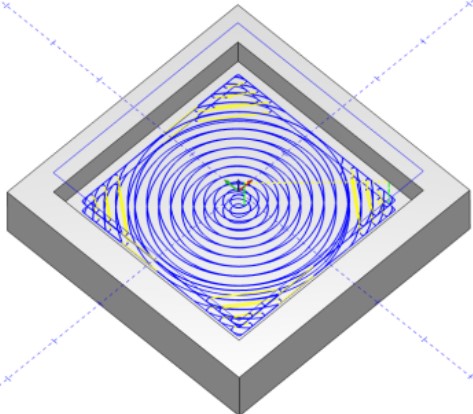
PocketingPocketing is for creating pockets, or pits in other words, into the material. One can create things like boxes or cups by using this strategy.
DrillDrill can be used to mark the skrew locations. Select the points which define the drilling locations.
NestingNesting refers to the process of laying out cutting patterns to minimize the raw material waste. Examples include manufacturing parts from flat raw material such as sheet metal.
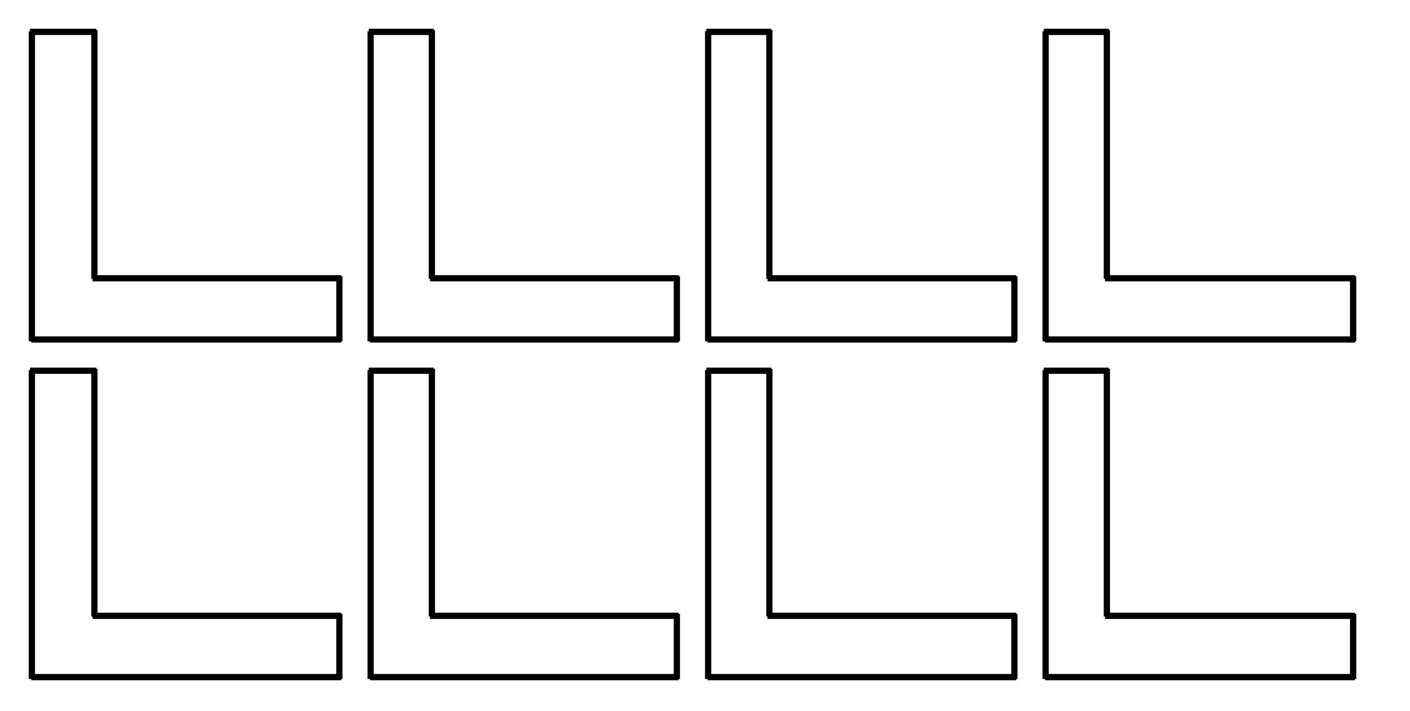
So,I add the dogbone in my design.
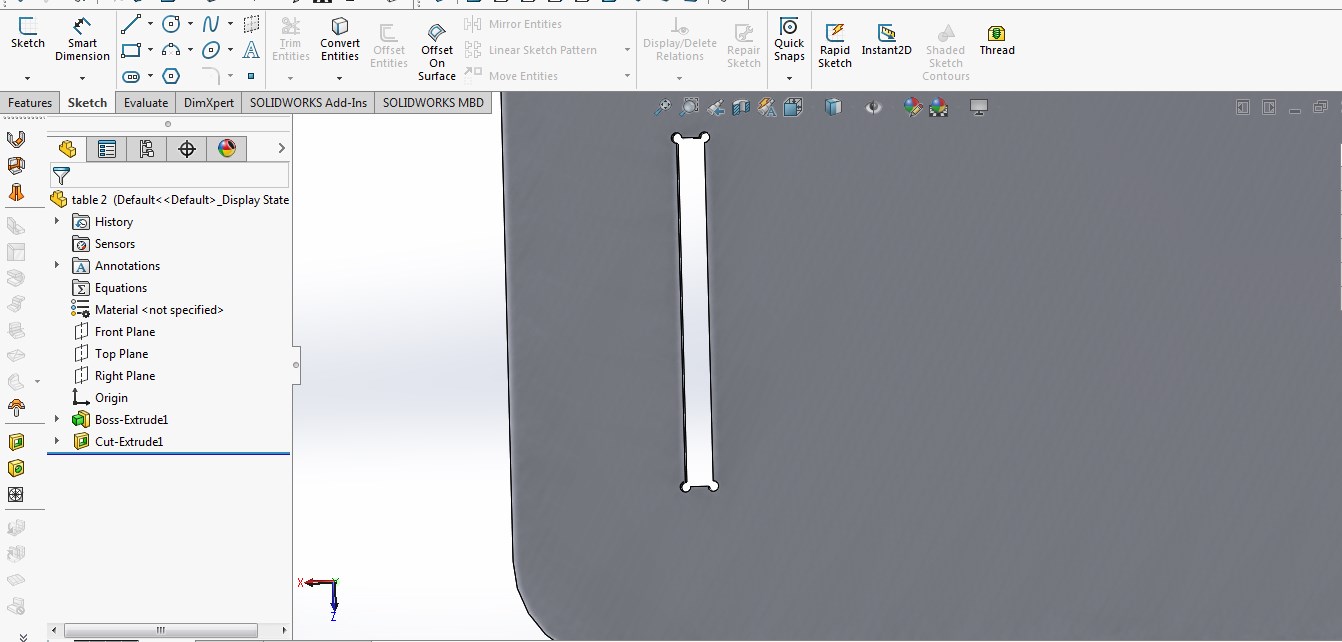
Then I designed top part of study table and then two supporting plates.
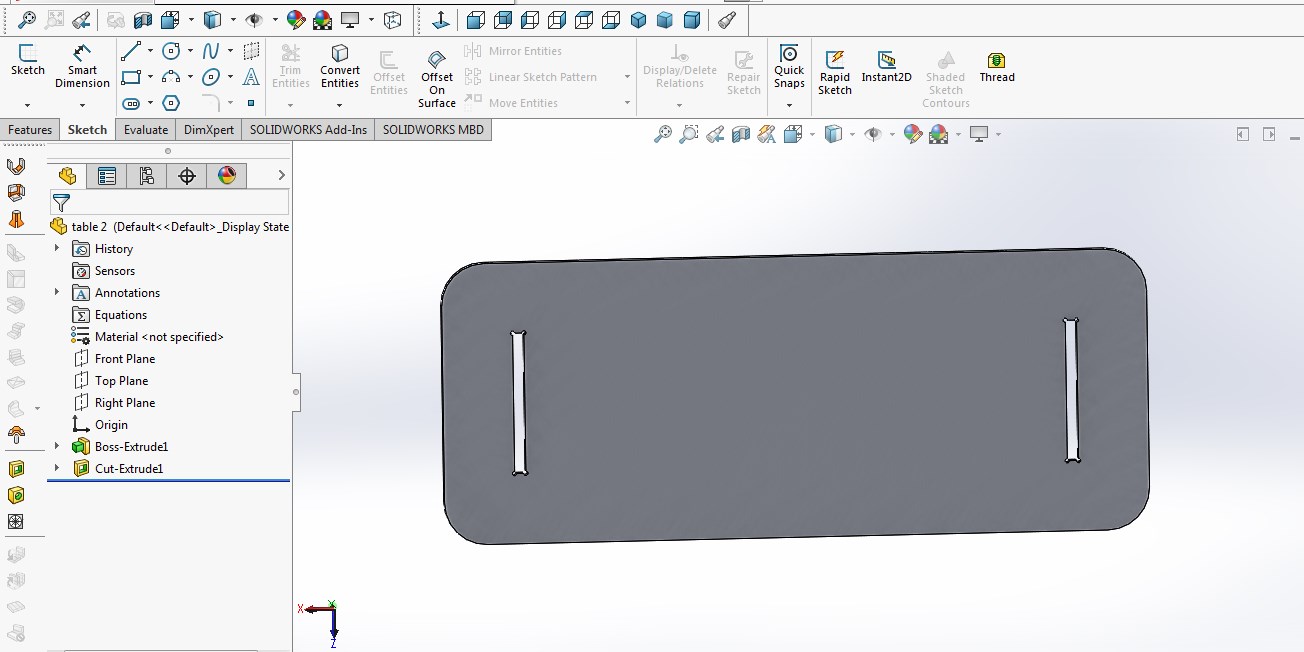
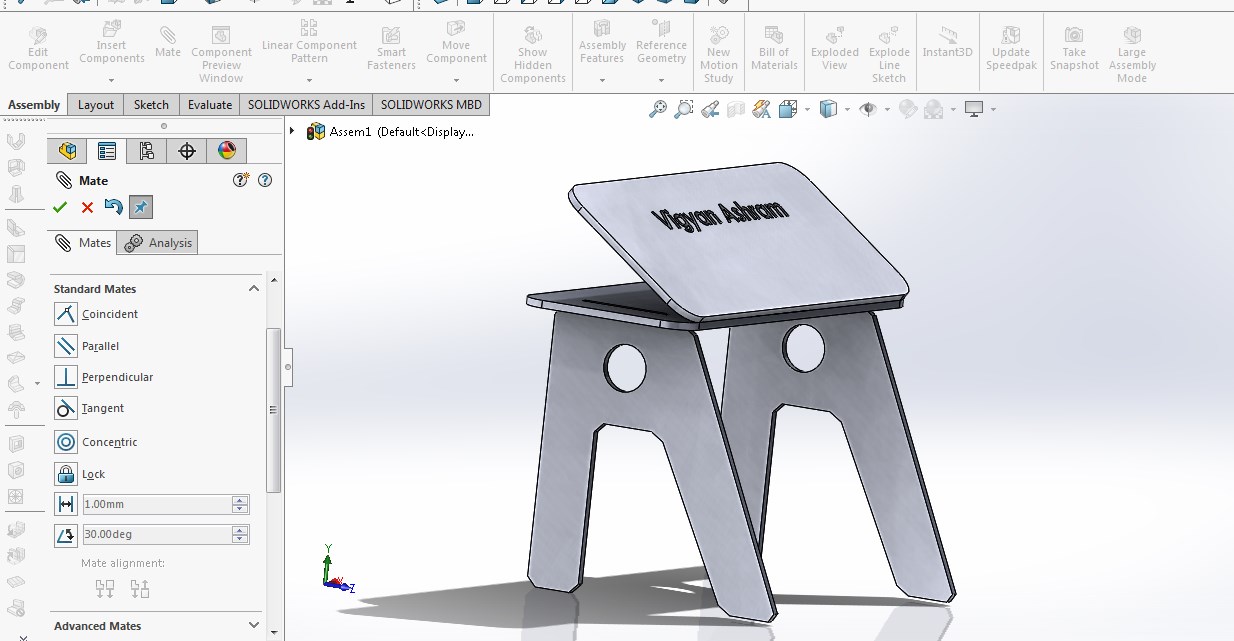
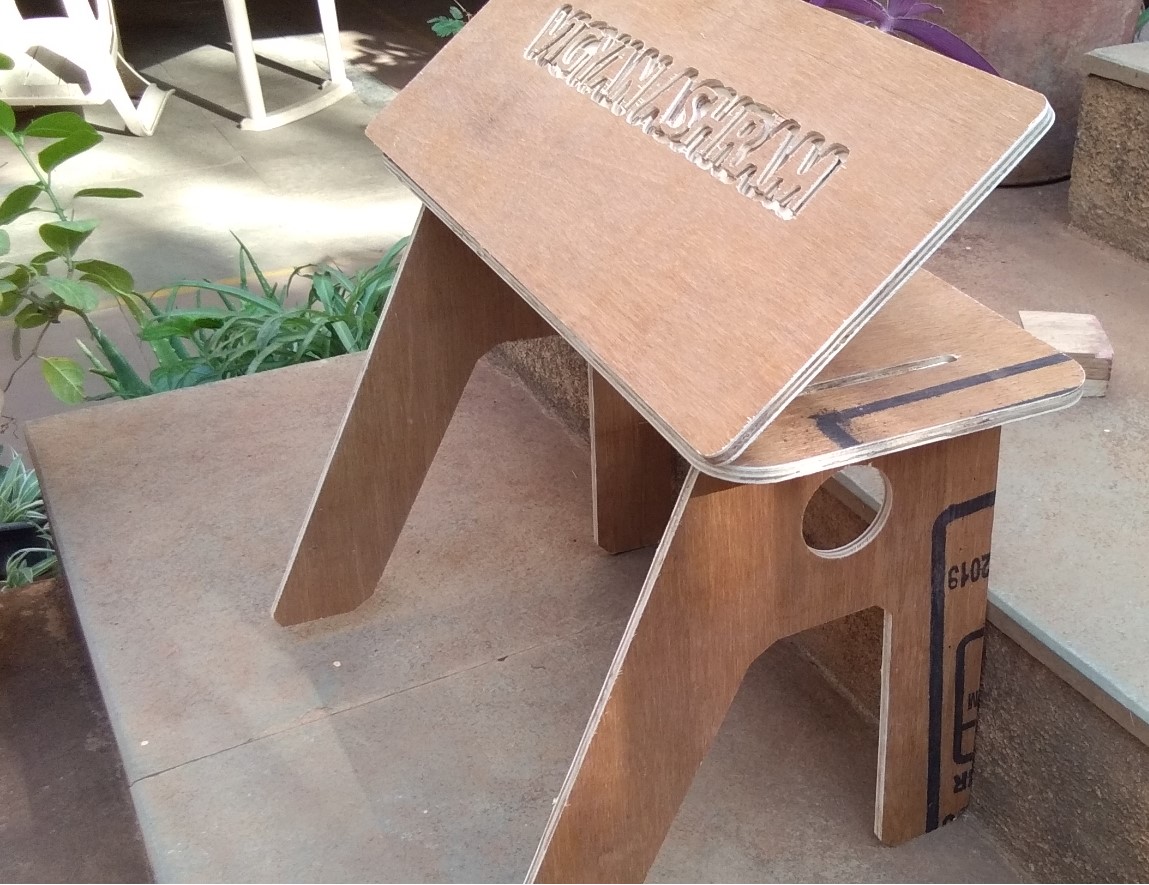
I have made that angled plate where the kids can write or read anything straight by sitting straight.This plate is rotational, if you do not want it anywhere you can rotate anywhere in 90 degrees, you can remove it,I have used mechanical hinge for it.
This is was study table Assembly...Then I save file in .dxf format.
Machine Software-Generating tool-path using ARTCAM
Shopbot usually works with a
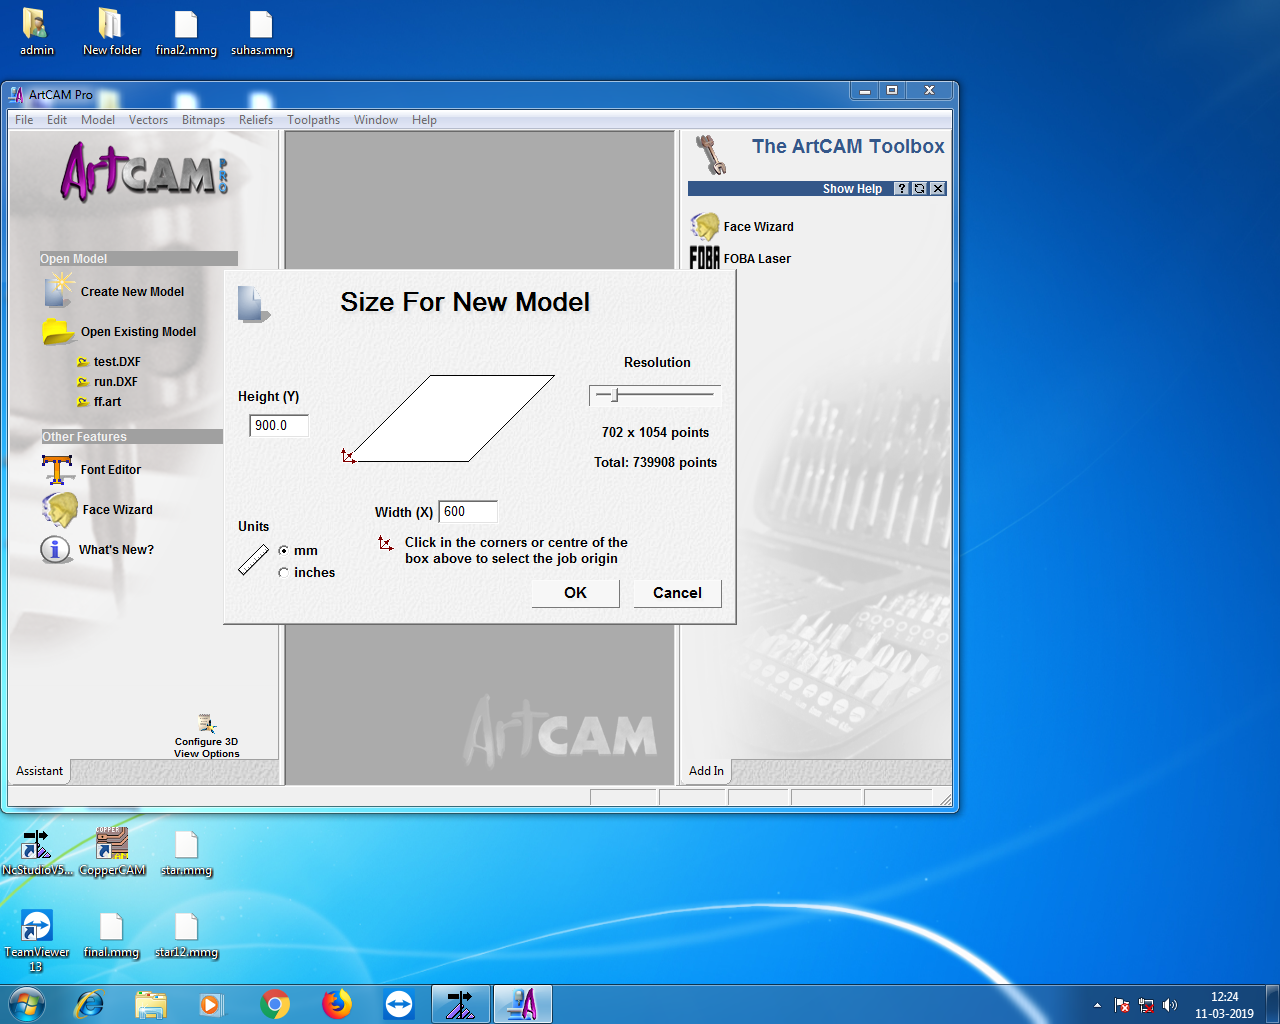
To make the gcode of path we used ARTCAM (2D).
To prepare gcode in ARTCAM,follow the stepsOpen ARTCAM and set a bed size.then open .dxf file in ARTCAM.
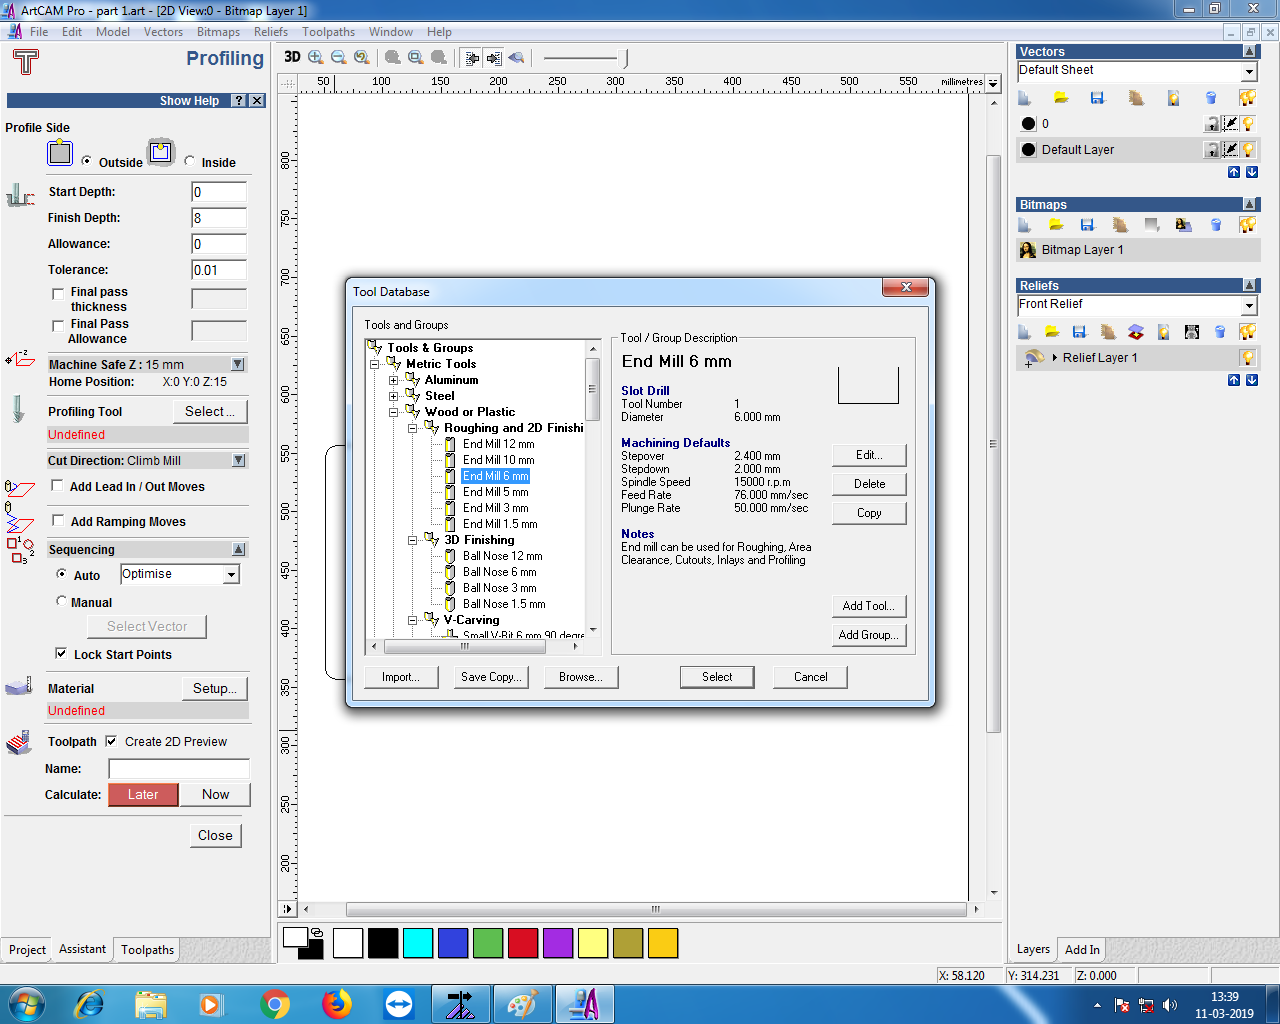
Selected 2D Profiling.
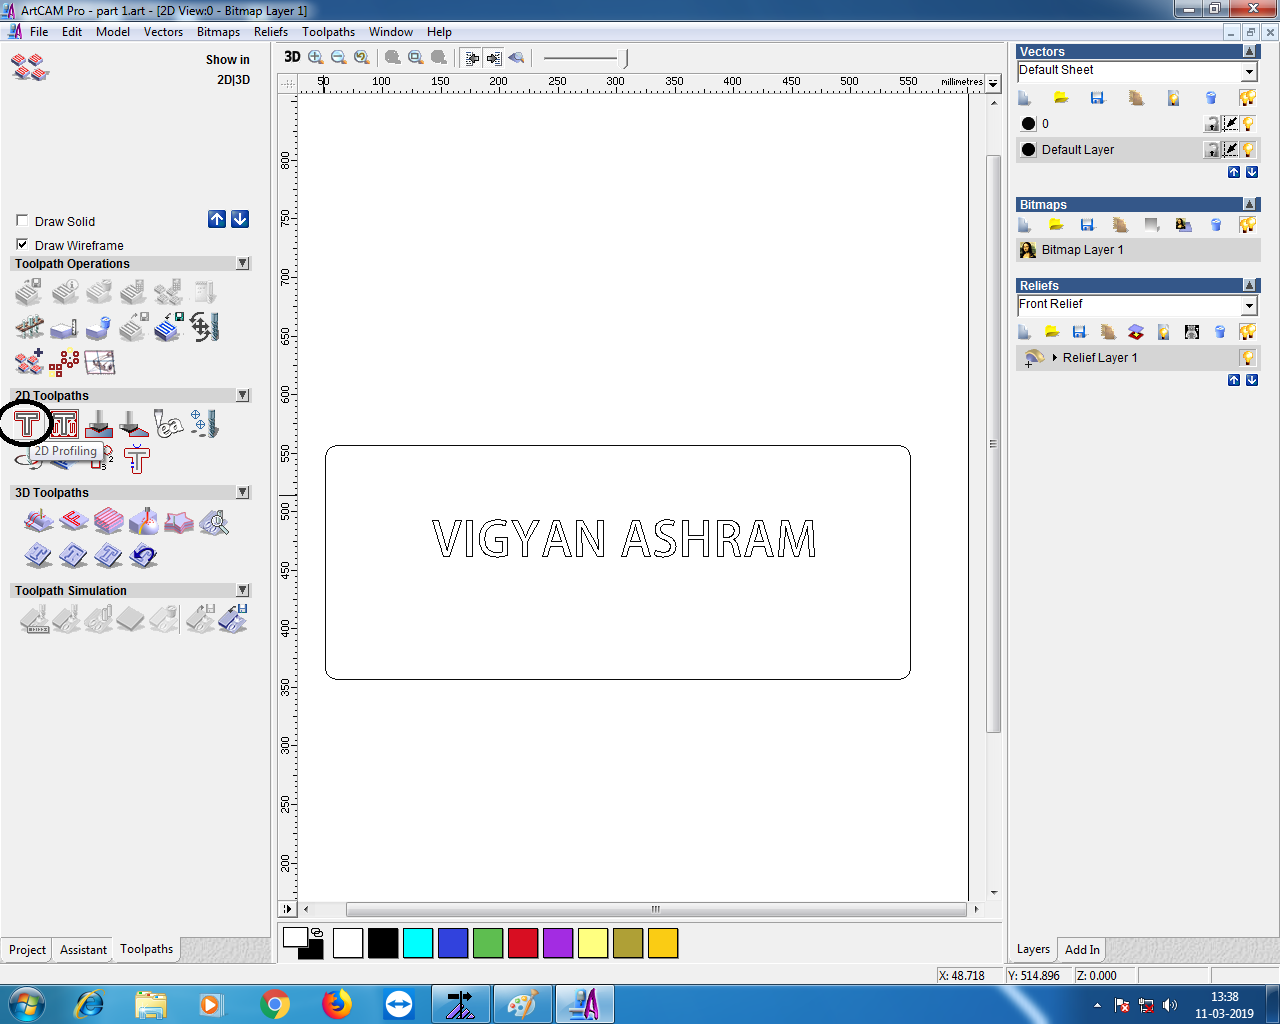
then selected Finish Depth with 8mm beacuse my plywood is 8mm.my End mill 6mm so, I selected this.
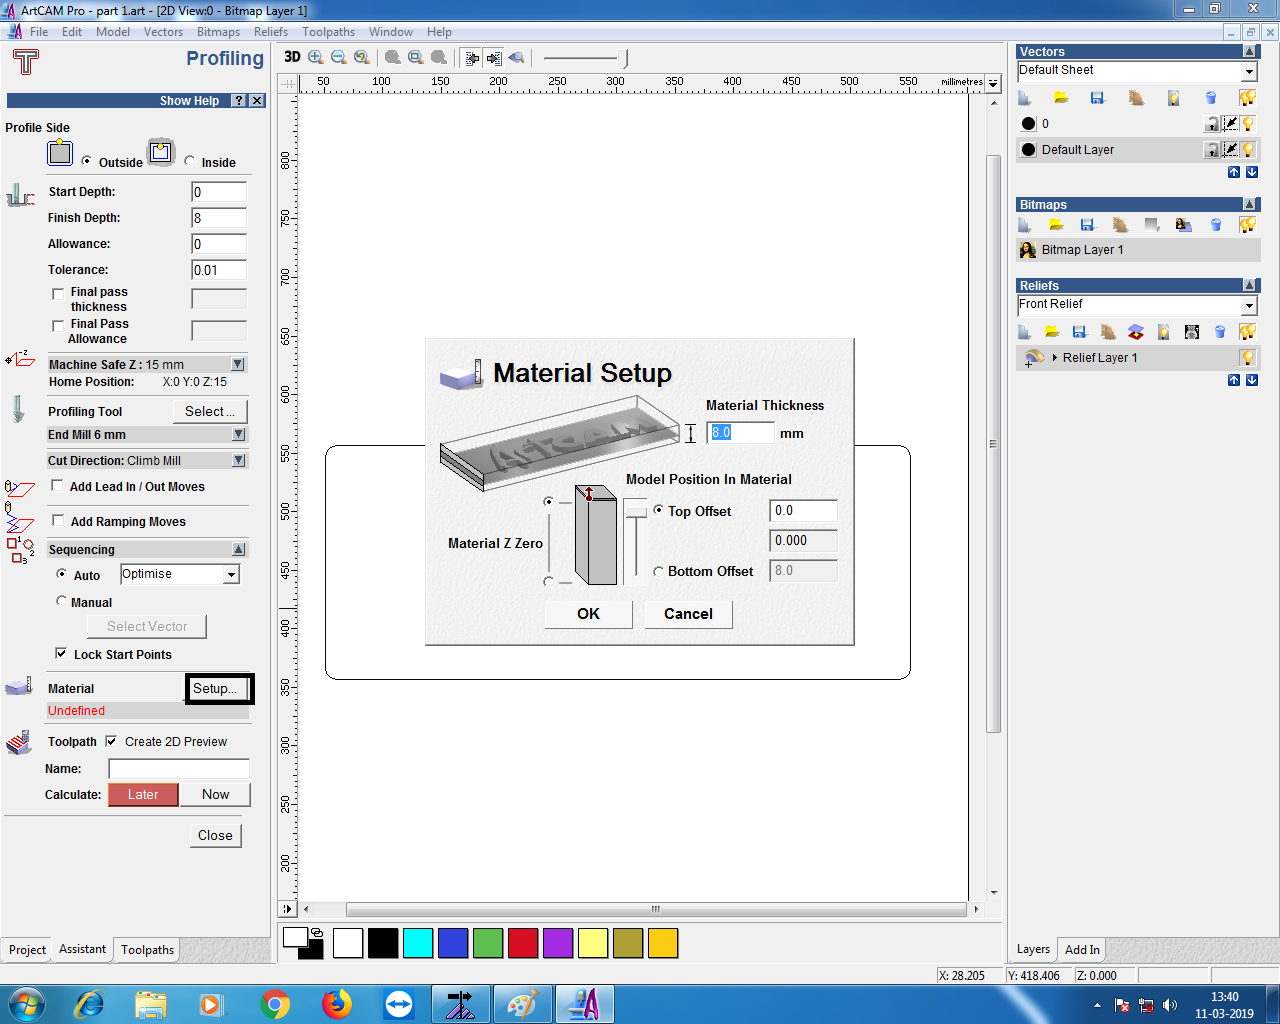
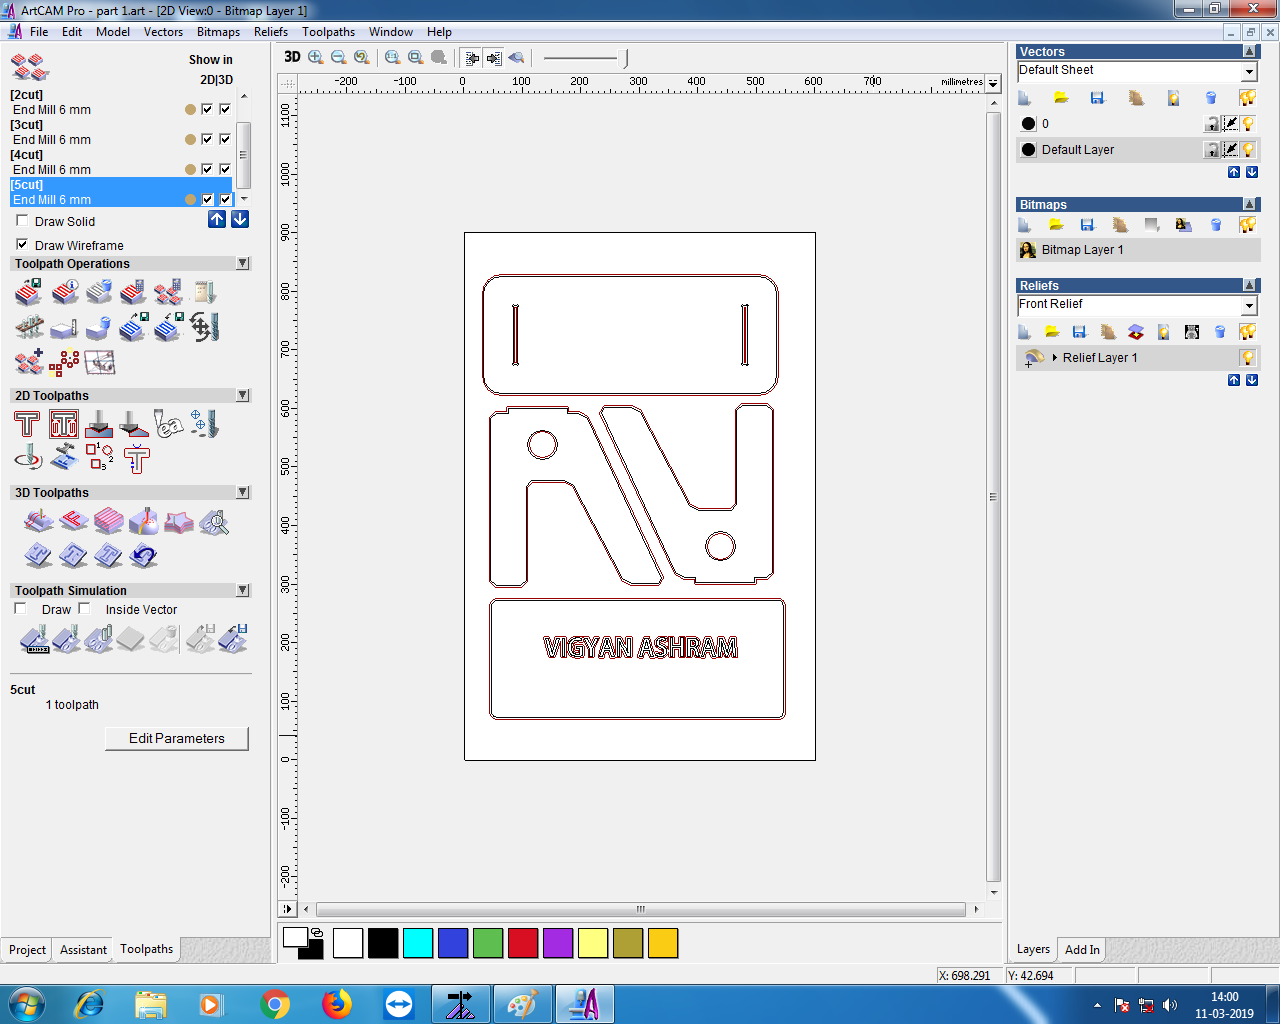
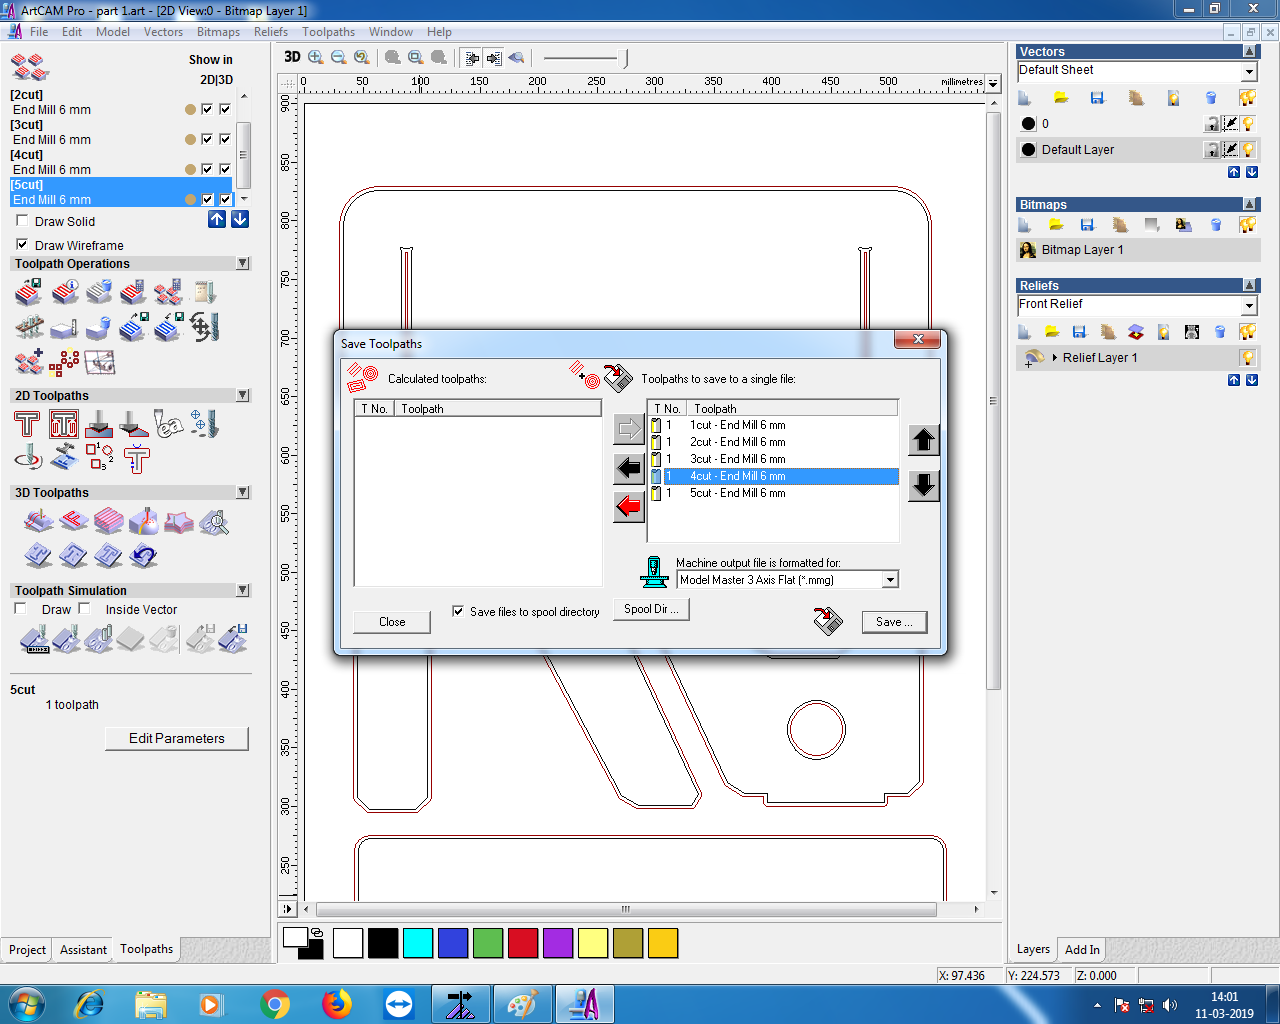
Generating tool path..
save file in .mmg format.
Open Numac Machine Software called NC Studio.AD.firstly Unloaded previous files.then set the Origin in zero position.then open the saved file.
Before stating drilling I test file in dryrun with change feed rate .also checked Spindle rate.
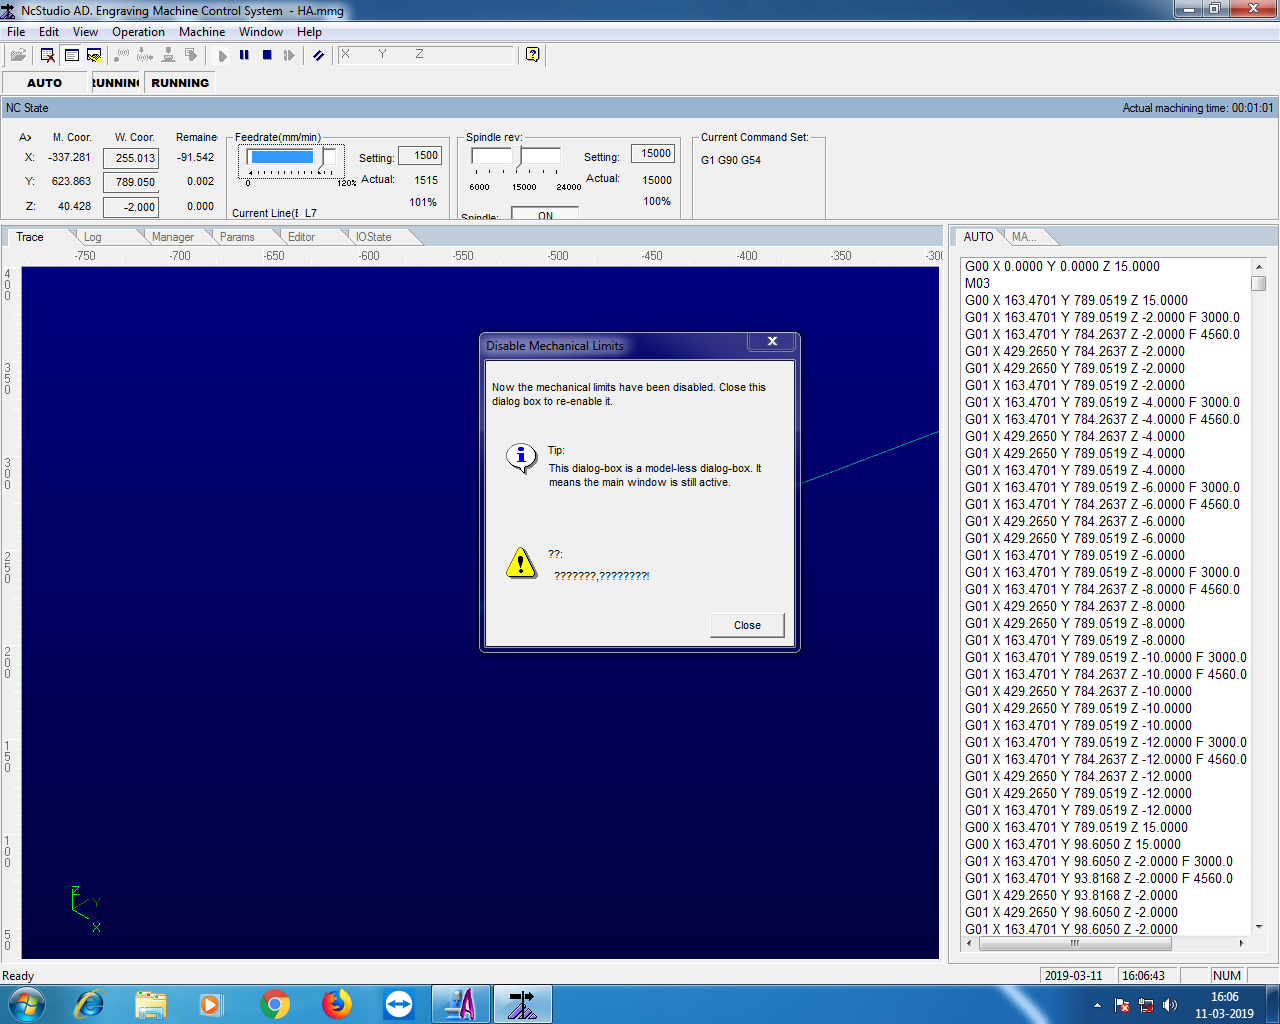
Then load the part file in the NUMAC HITECH. Cutting process...
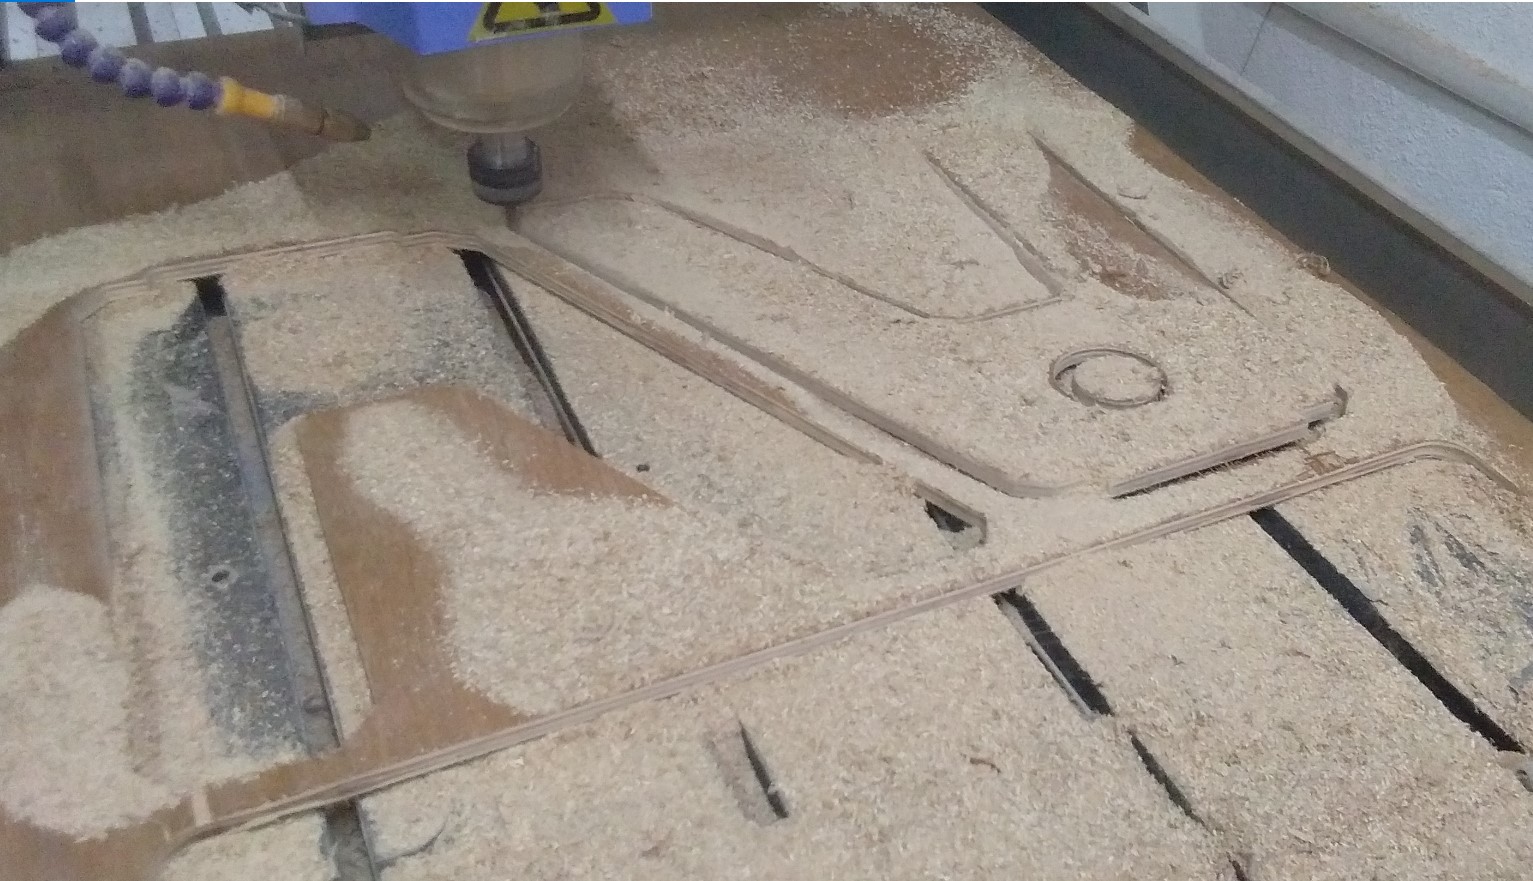
|
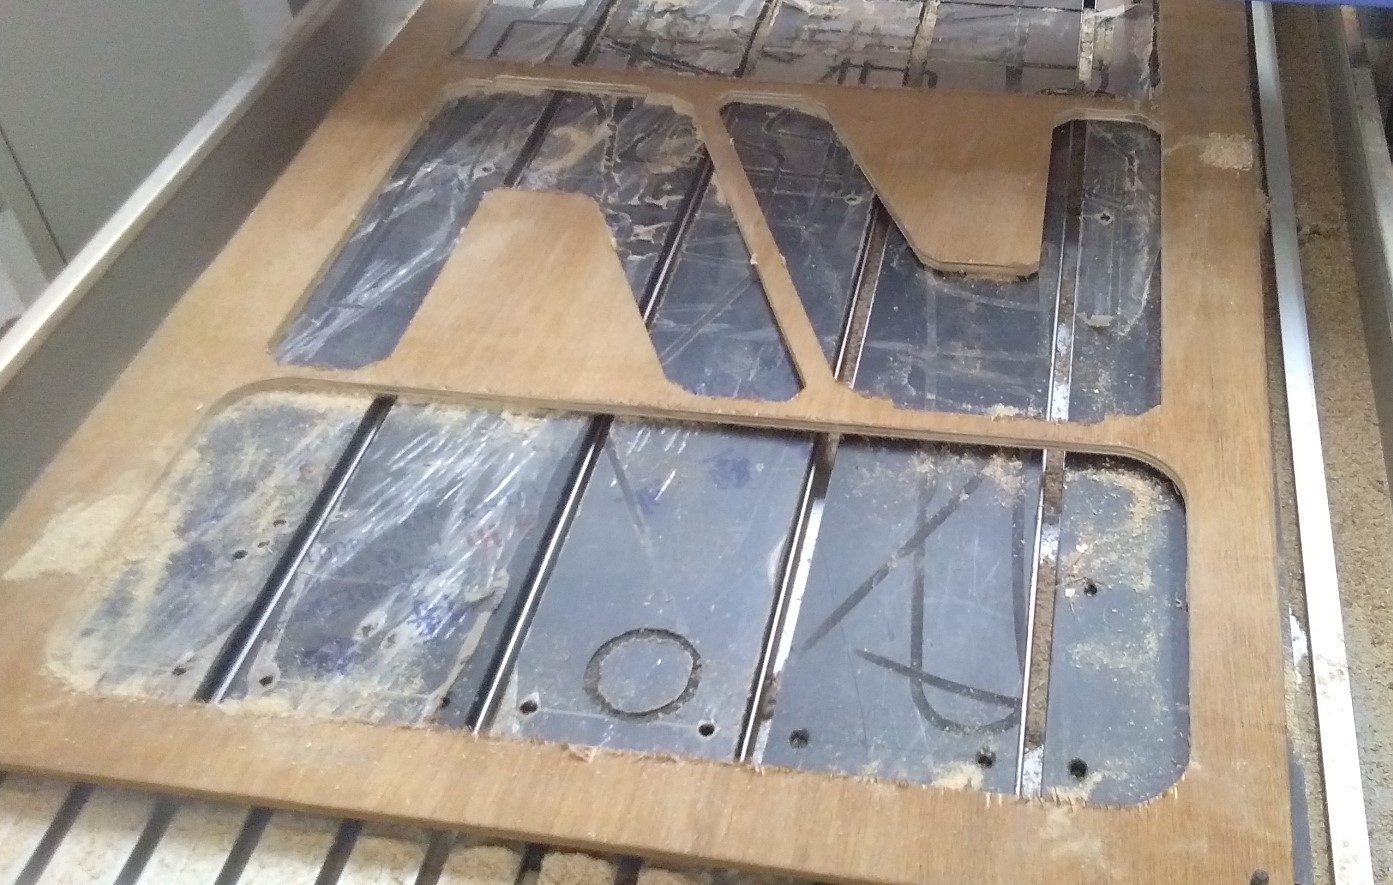
|
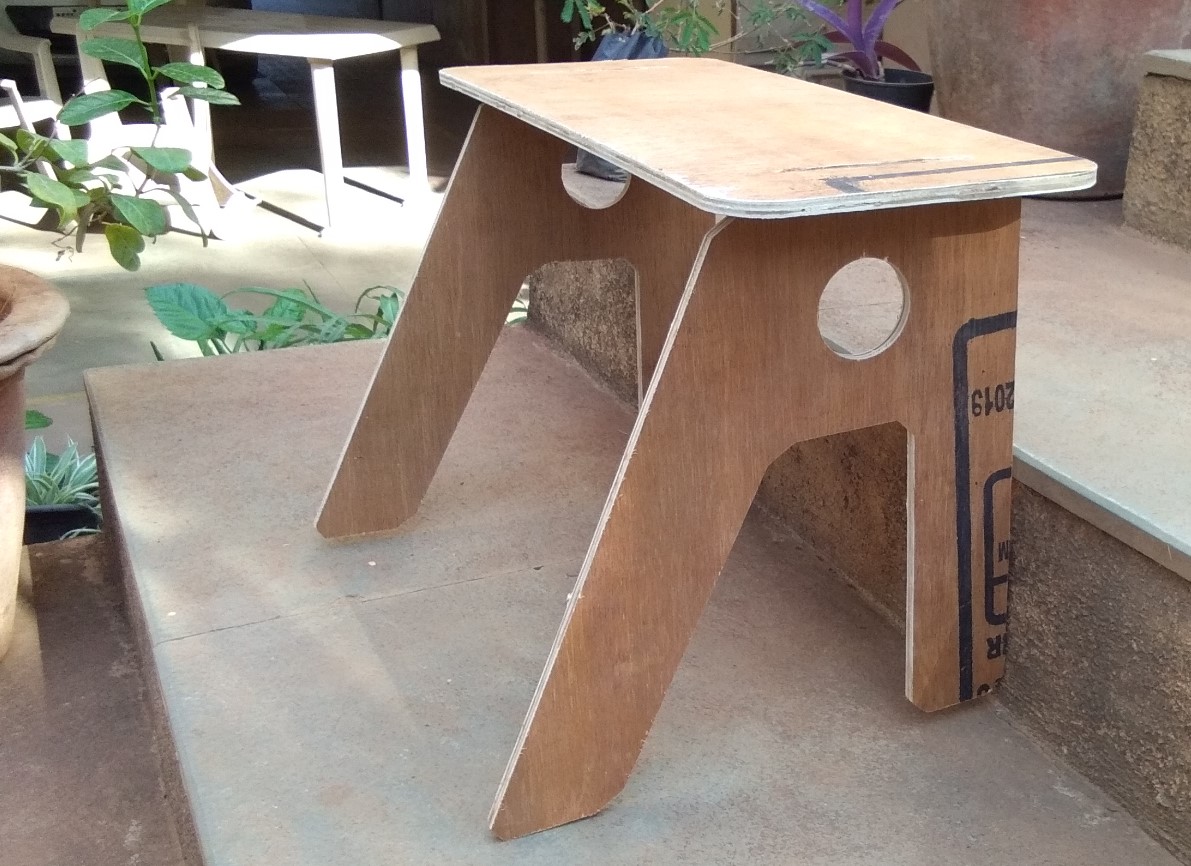
After cutting my design parts I used sand file for sanding the edge of plywood for pressfit,Then I assembly my design some parts.
My study table looks like this.Completed this assingnment get lots support from Arundhati and Jaydeep Muktangan fablab team.
|
|
You can Download Original Files HERE.
Learning Outcomes
In this assignment I learnt about CNC machining and designing. How you can make which is usefull and easy to make.