17 - Wildcard Week
Shaping Dragons
Tools & Assignment
 Updated for 2019 evaluation standards!
Tasks
- Design and produce something with a digital fabrication process (incorporating computer-aided design and manufacturing) not covered in another assignment, documenting the requirements that your assignment meets, and including everything necessary to reproduce it. Possibilities include (but are not limited to composites, textiles, biotechnology, robotics, folding, and cooking.
Learning outcomes
Demonstrate workflows used in the chosen process Select and apply suitable materials and processes to create your project.
Have you>
- Shown how you made your project
- [] Described problems and how you fixed them
- Included your design files and ‘hero shot’ photos of the project
(No 2016 documentation to copy here ):
Composites & Burlap
In 2016 my wild-card week, was called composites, we didn’t really have a choice of what we could do.
Most people did something like frisbees, or otherwise used epoxy to harden burlap into some mould we had milled from foam using the ShopBot.
I took a similar approach, I wanted to make some decoration I could hang on my wall.
The thing with burlap is, that to me, it has this “medieval tavern” appeal that I really enjoy; thus I was instantly reminded of the video game Skyrim, which I really love.
Skyrem Tavern Aesthetic
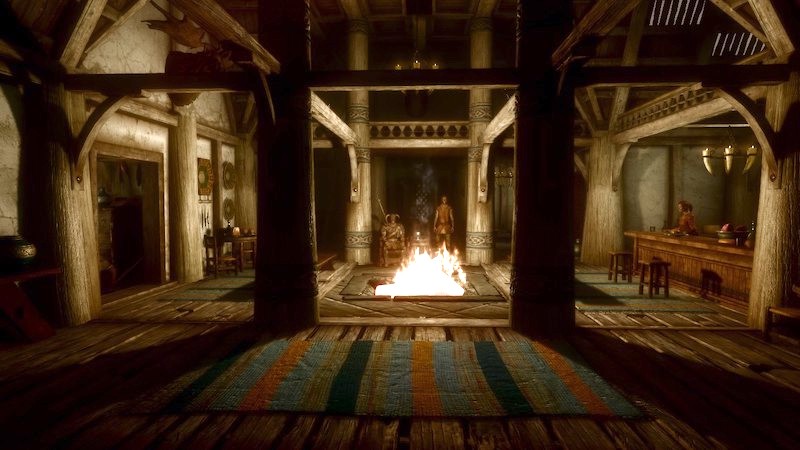 Image credits1
As I didn’t have much other use for burlap in my proposed final project, my choice was made.
I was going to make myself a burlap insignia, displaying the symbol of Skyrim.
For reference:
Skyrim Logo
![]() Image credits2
Image credits2
Workflow
Before starting it’s worth planning our or visualizing the steps we need to go through to get from start to finish.
1 Design 2D logo
2 Laser cut-logo from coloured paper
3 Design 3D mould
4 Mill mould from foam using ShopBot
5 Envelope mould in plastic film & coated with vaseline
6 Mix Epoxy A & B parts
7 Coat burlap with epoxy
8 Lay wet burlap onto positive mould
9 Lay cut-out logo unto burlap (align carefully)
10 Close with negative mould
11 Clamp closed
12 Leave to cure
2D Design
The basic strategy in this case, to create a laser-cuttable file, we need to create a .dxf file.
The easiest way would be to search for a vector file, like .svg, or maybe even directly .dxf.
In practice, this may not always be possible, since vector files are rarer than raster files,
so for universality-sake I will transform the .jpg file above into an vector outline, using Inkscape.
Thus we open Inkscape, & we import the image we want to transform:
- File -> Import... (ctrl + i)
Select the image we want to import, and then Open.
Once that’s that, we can select the image:
- Path -> Trace Bitmap... (shift + alt + b)
At this point you will have this screen:
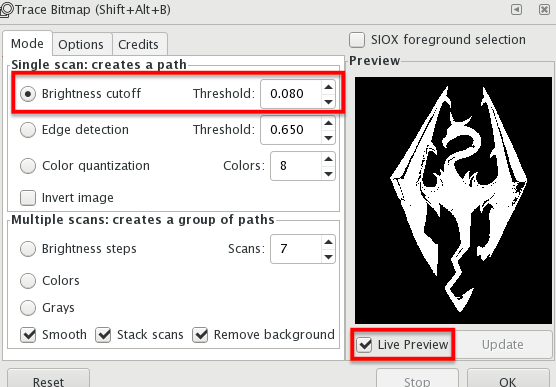
There are several options presented to you, in my case I want just the outline of the dragon.
Thus, we can use the first option Brightness cutoff.
I usually set this to 0 and increase it with the arrows until I strike a good balance between fuzziness around the edges and a small amounts of internal black areas. You can turn on live preview before confirming with OK to see roughly how it will look.
Once that’s done, we need to close the window. The vector image is below the original, you can move it out of the with your mouse.
At this point we can remove the infill of the lines, and instead add a stroke.
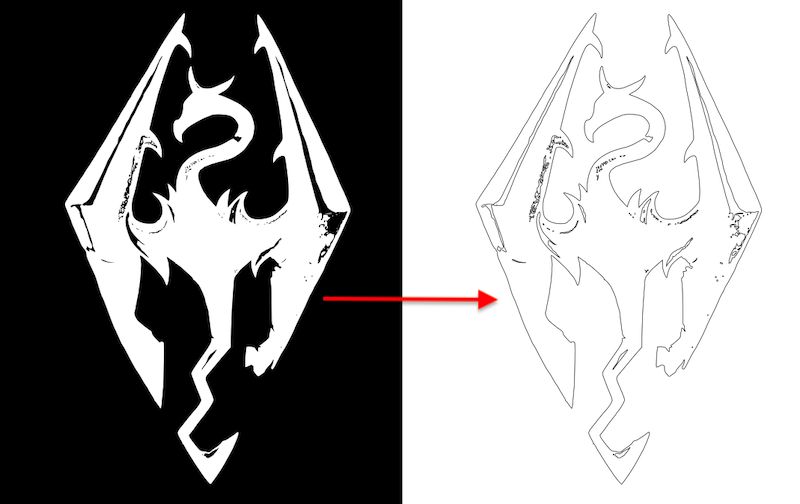
As a final step we can clean this image by removing all non-outline lines, as well as smooth out some of the edges to make it look nicer.
This is a lengthily and manual process, but is very rewarding.
The Final Result
![]()
This image is already the SVG file, thus if you wish to have a copy download this, I won’t add it in the download section.
One thing to note is the dimension of the image. My idea was for the final design was to be roughly 20cm in length.
This is the scale of the SVG file if opened in Inkscape.
This can be saved as a .dxf file, and in return cut using the laser cutter using the same workflow as in week04.
3D Design
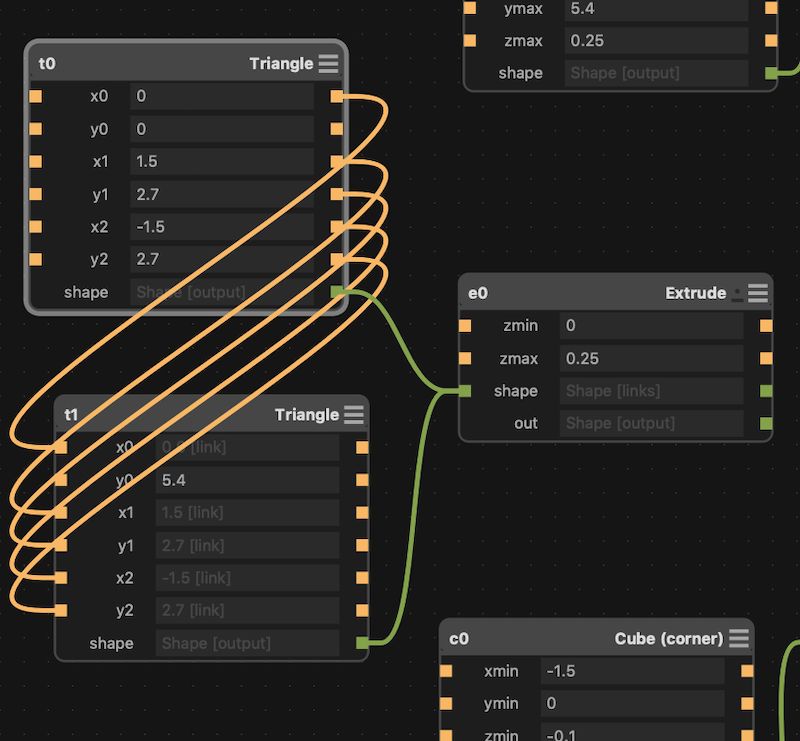
For this part, we can mimic our work in week10, except this shape will be, out of necessity, less complex.
The basic shape is a diamond, which can be created using two mirrored triangles in the y axis and an extrusion operation
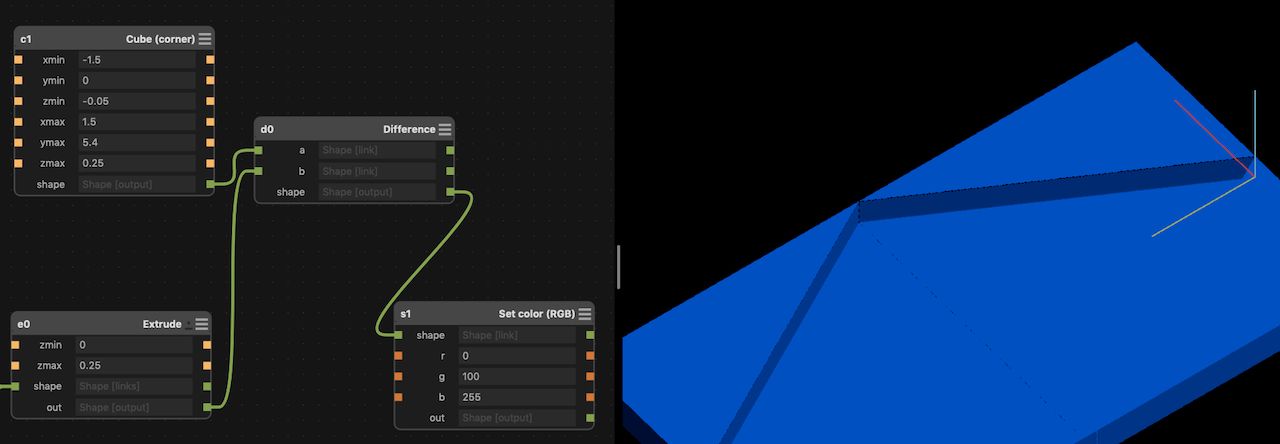
To create the mould itself, we need a base, we could define this as an inverse, but considering the startup of doing so doesn’t outweigh the alternative, which is to create two rectangles mirrored in the z axis (had the shape been more complex, like in week10, then inversion would have been better).
These two rectangles, are going to act as the base of the mould in the male mould, and as the walls for the female mould (using the difference operation).
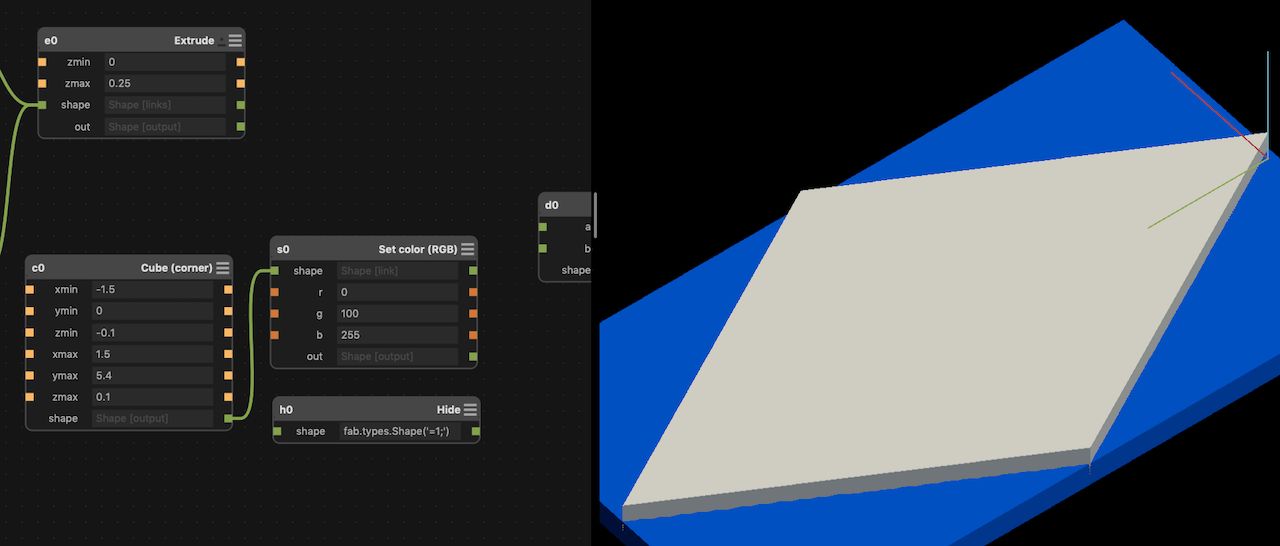
As a final step we can export these as an .stl file with the export node.
Milling
Milling the shapes follows the normal milling workflow we followed in week10.
In this case we will be milling foam, so the feedrate can be fairly fast.
The foam is secured to the bed using tape, since using screws is inconvenient when using foam.
Thus care must be taken that the foam is very well secured to the bed.
To set this up import the .stl files we got from Antimony into PartWork 3D and setup the milling job.
To ensure we have enough clearance (which I didn’t add in the design), the tolling path will be on the inside of the male mould, making it size of bit smaller then in the original design, enough to have a good fit.
The ShopBot cuts through the material like butter.
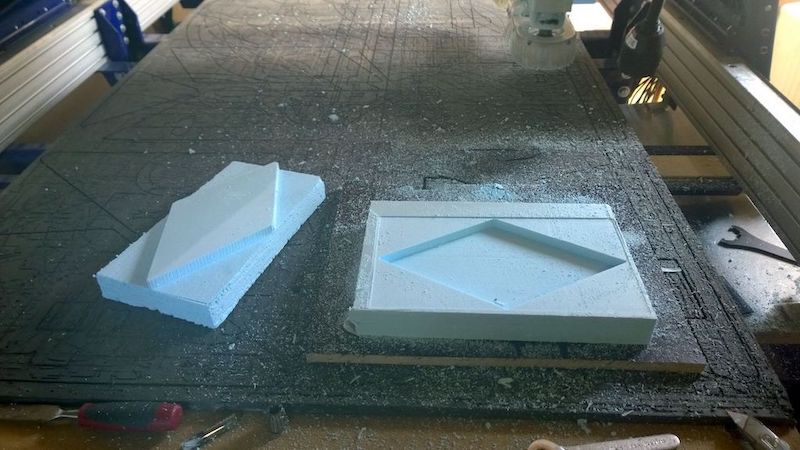
The final cutouts should look something like the following
Final Cutouts
Clamping & Curing
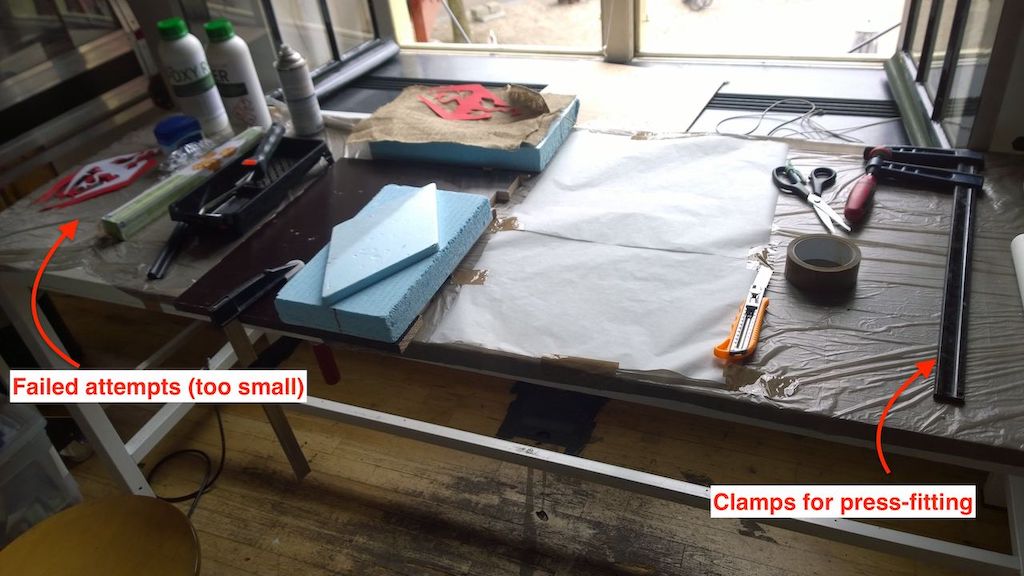
We’ve come to the final round, at this point we need to bring everything together.
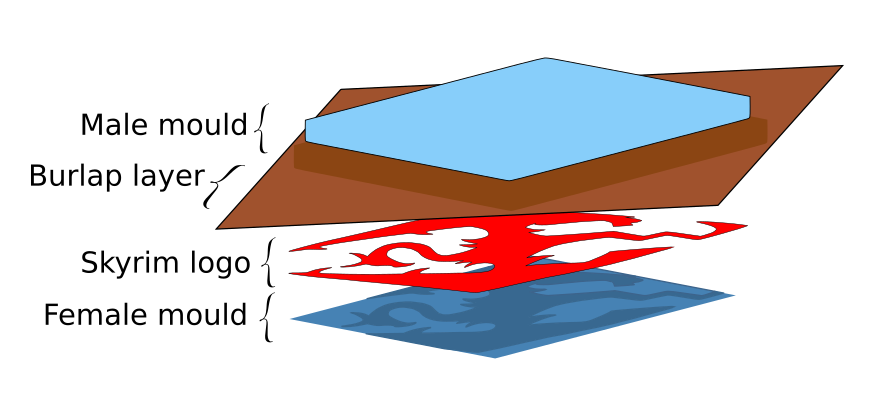
Below, you can see my setup, the idea is to clamp together the layers in the following way
| Layers |
|---|
| Male mould |
| Plastic film coated with vaseline |
| Epoxy coated burlap |
| Dragon |
| Plastic film coated with vaseline |
| Female mould |
The plastic film coated with vaseline is necessary because we want to be able to release the final result from the mould, if it wasn’t there the epoxy would seal everything shut.
Moulds Covered In Plastic Film
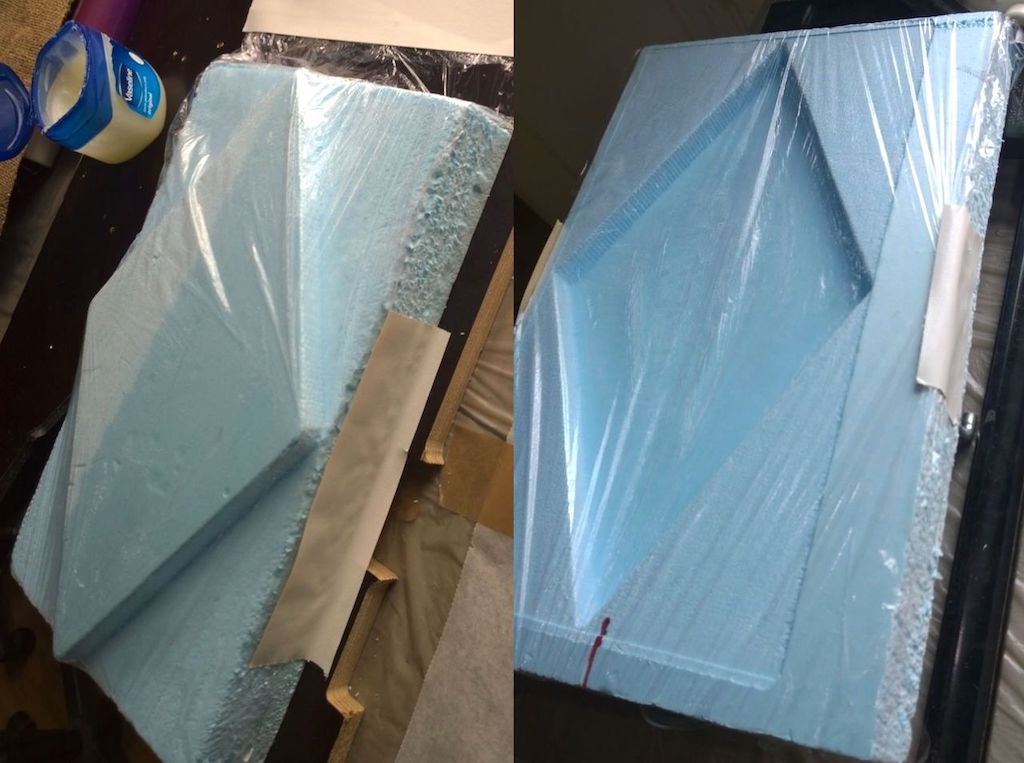
The film is held at the back using tape
Epoxy
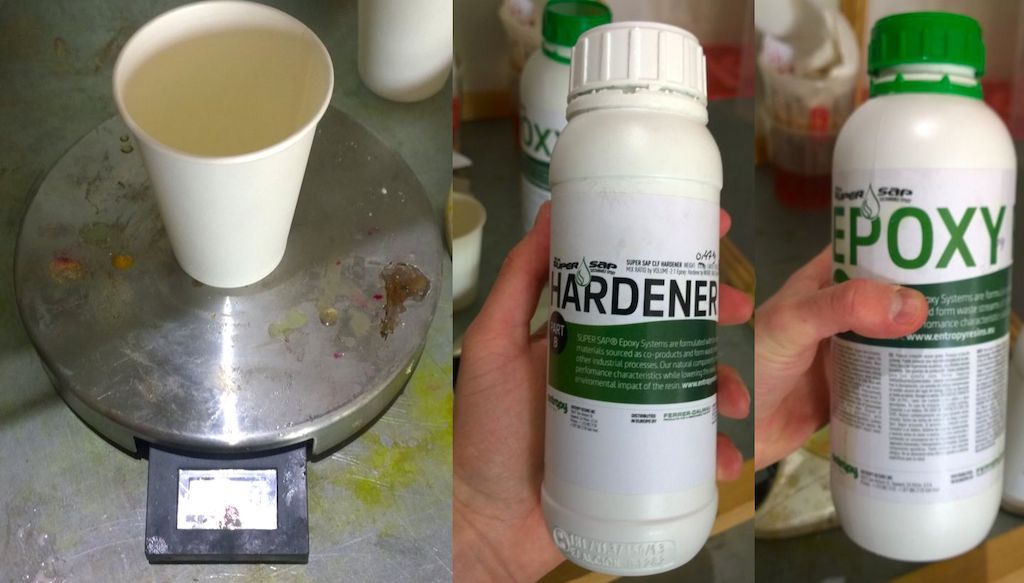
The brand of Epoxy I used isSuper Sap® CLR Epoxy System, of which the data-sheet you can find here, which came with the CLR/CLS (epoxy/hardener) combo.
This combination has a pot life of 25 mins and a recommended full curing time of 7 days.
From the data-sheet, the information that interests us is the following:
Processing Data
- Mix Ratio (by volume) -> 2:1
- Mix Ratio (by weight) -> 100:47
- Pot Life (@ 77°F) -> 40 mins
- Recommended Full Cure -> 7 days
- Shelf life -> No less then 24 months
Safety and Handling
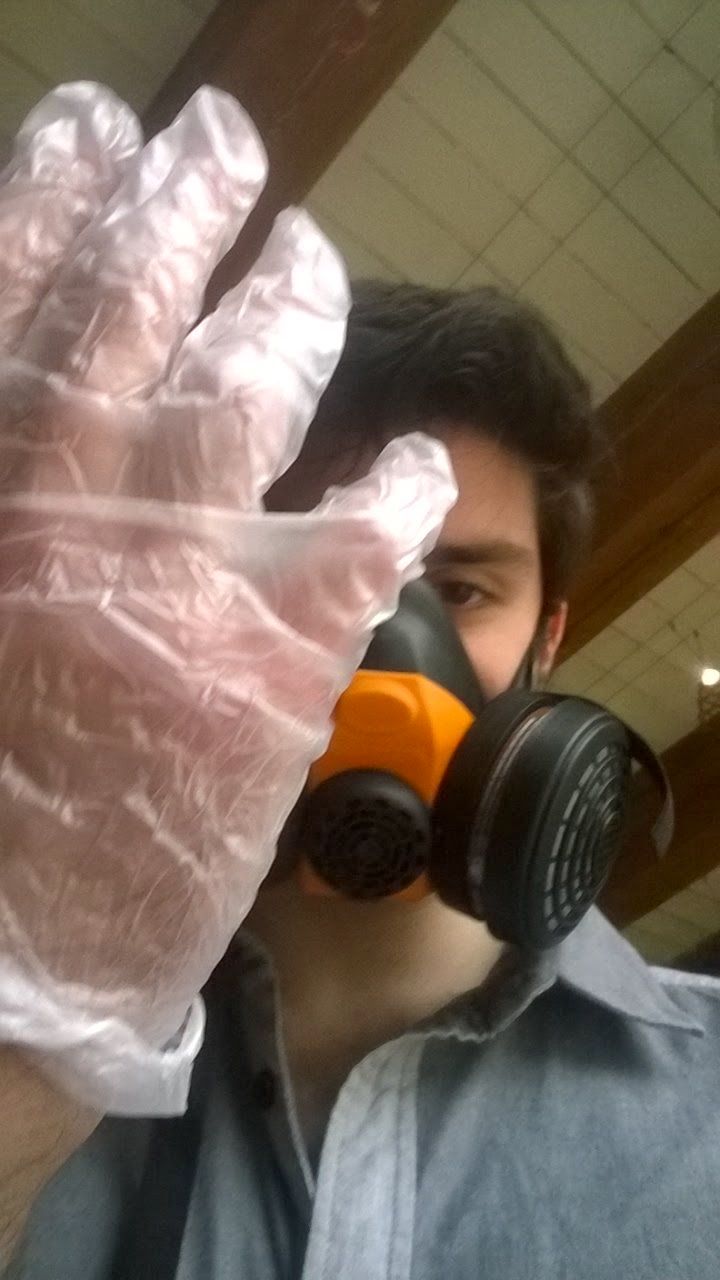
Before handling epoxy proper care must be taken!
Always wear safety gear: gloves, lab-coat & respirator  (open windows for air ventilation).
Mandatory Selfie
The epoxy is mixed using 100:47 parts of A & B (epoxy & hardener) in weight (not volume), we can measure out the right amounts using a simple scale.
We can add both parts to a mixing cup, and mix the parts well, at this point the time is ticking for curing time, thus we should start applying it to the material, as mentioned in the data-sheet we have 40 minutes. No rush/
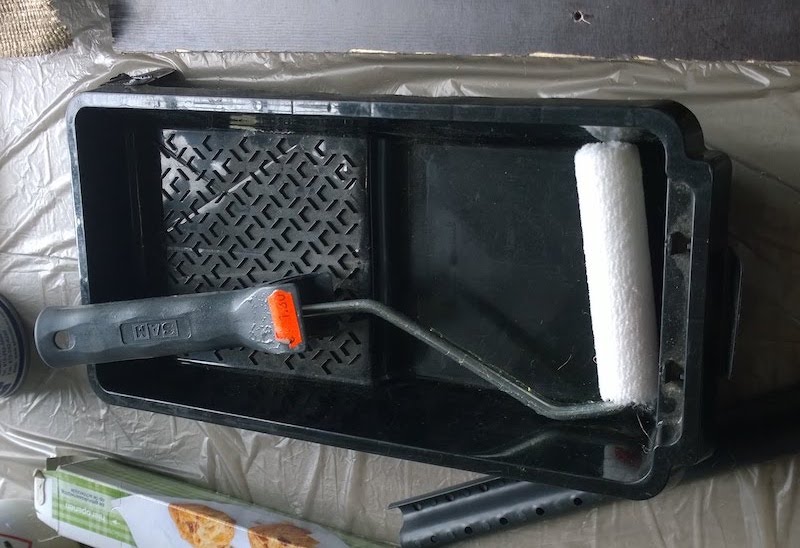
We can then apply the epoxy on the burlap using a painting roller.
Clamping
We then overlay the burlap on the male mould as mentioned above, and finally add the dragon on top.
Cross-sectional View
Everything is closed with the female mould, and clamped together, once curing is (full cure lasts 7 days) finished we can then remove the cast.
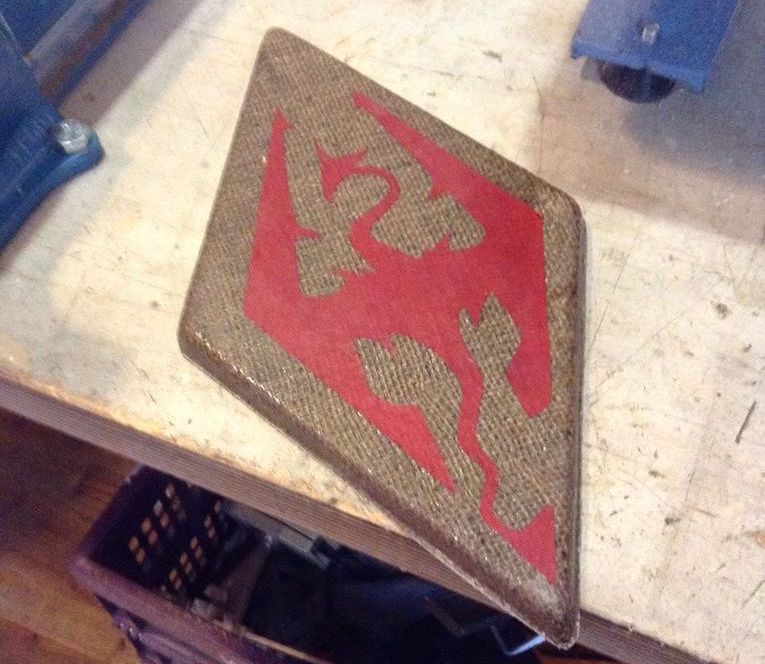
Result
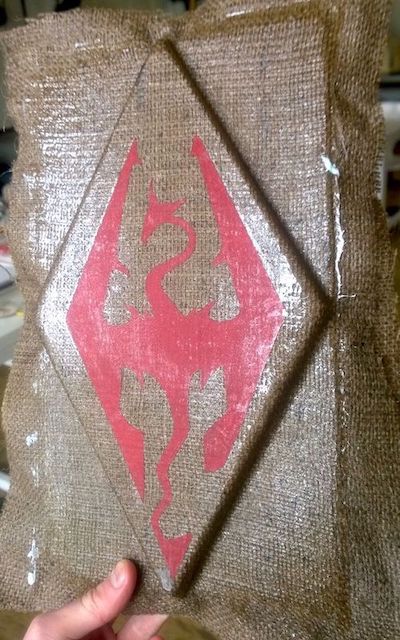
After cutting off the edges & polishing them, this is the final result.
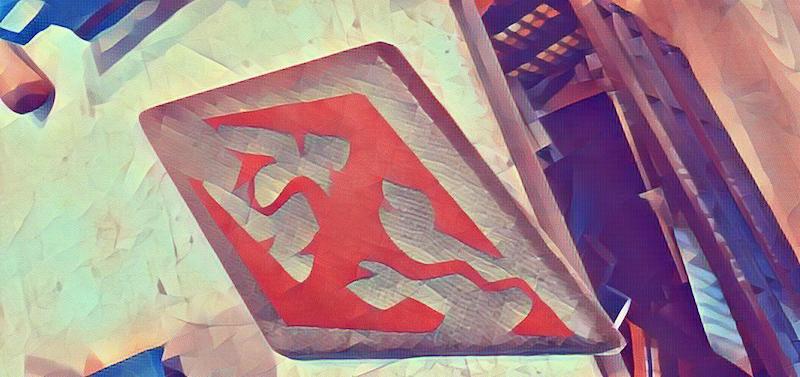 Edited using Lunapic