
This week's main objective was to have knowledge on how to use the various Computer Aided Design (CAD) softwares to sketch, design and draw any object.
During my 5 years engineering course, CAD was a unit that was taught and examined. I thus had knowledge of Computer Aided Design softwares with major interest in Autodesk investor, AutoCAD and basic knowledge in SolidWorks.
However all the CAD softwares I had used before(mentioned earlier) ONLY OPERATE ON WINDOWS COMPUTER. My windows computer broke down earlier this week thus I could not use any of these softwares for my design. My ubuntu LINUX computer worked well but again couldnt install any CAD software: leaving me with the last option of using an online CAD platform. I then settled on ONSHAPE online CAD platform: I still however had to learn how to use it while at the same sharpen my CAD skills: Youtube tutorials came in handy with this.
So basically ONSHAPE allows a design platform that is operated online with a bunch of useful CAD functions.
Advantages of using ONSHAPE:
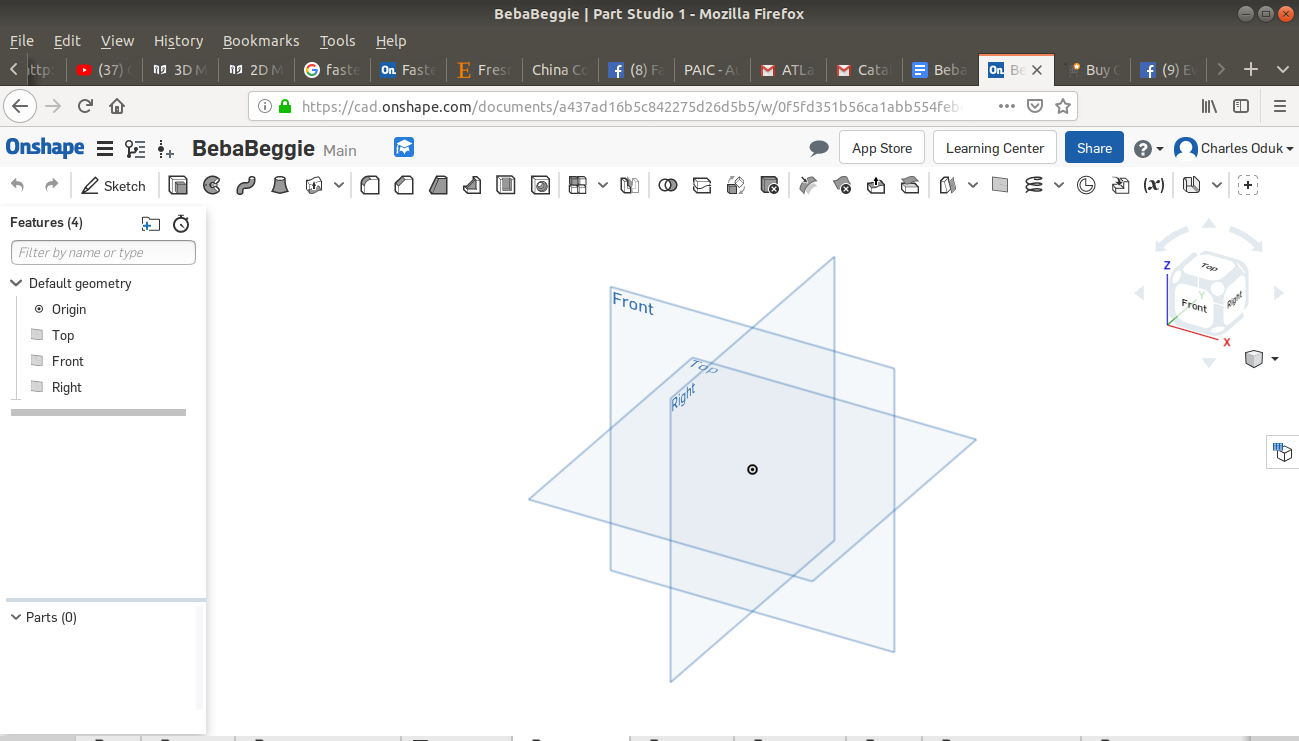
The platform allows for various functions such as: 2D skteching, 3D modelling transformations(extrude, revolve, holde, fillet, chamfer, group, shell, pattern etc.) and further design individual parts which can then be assembled.
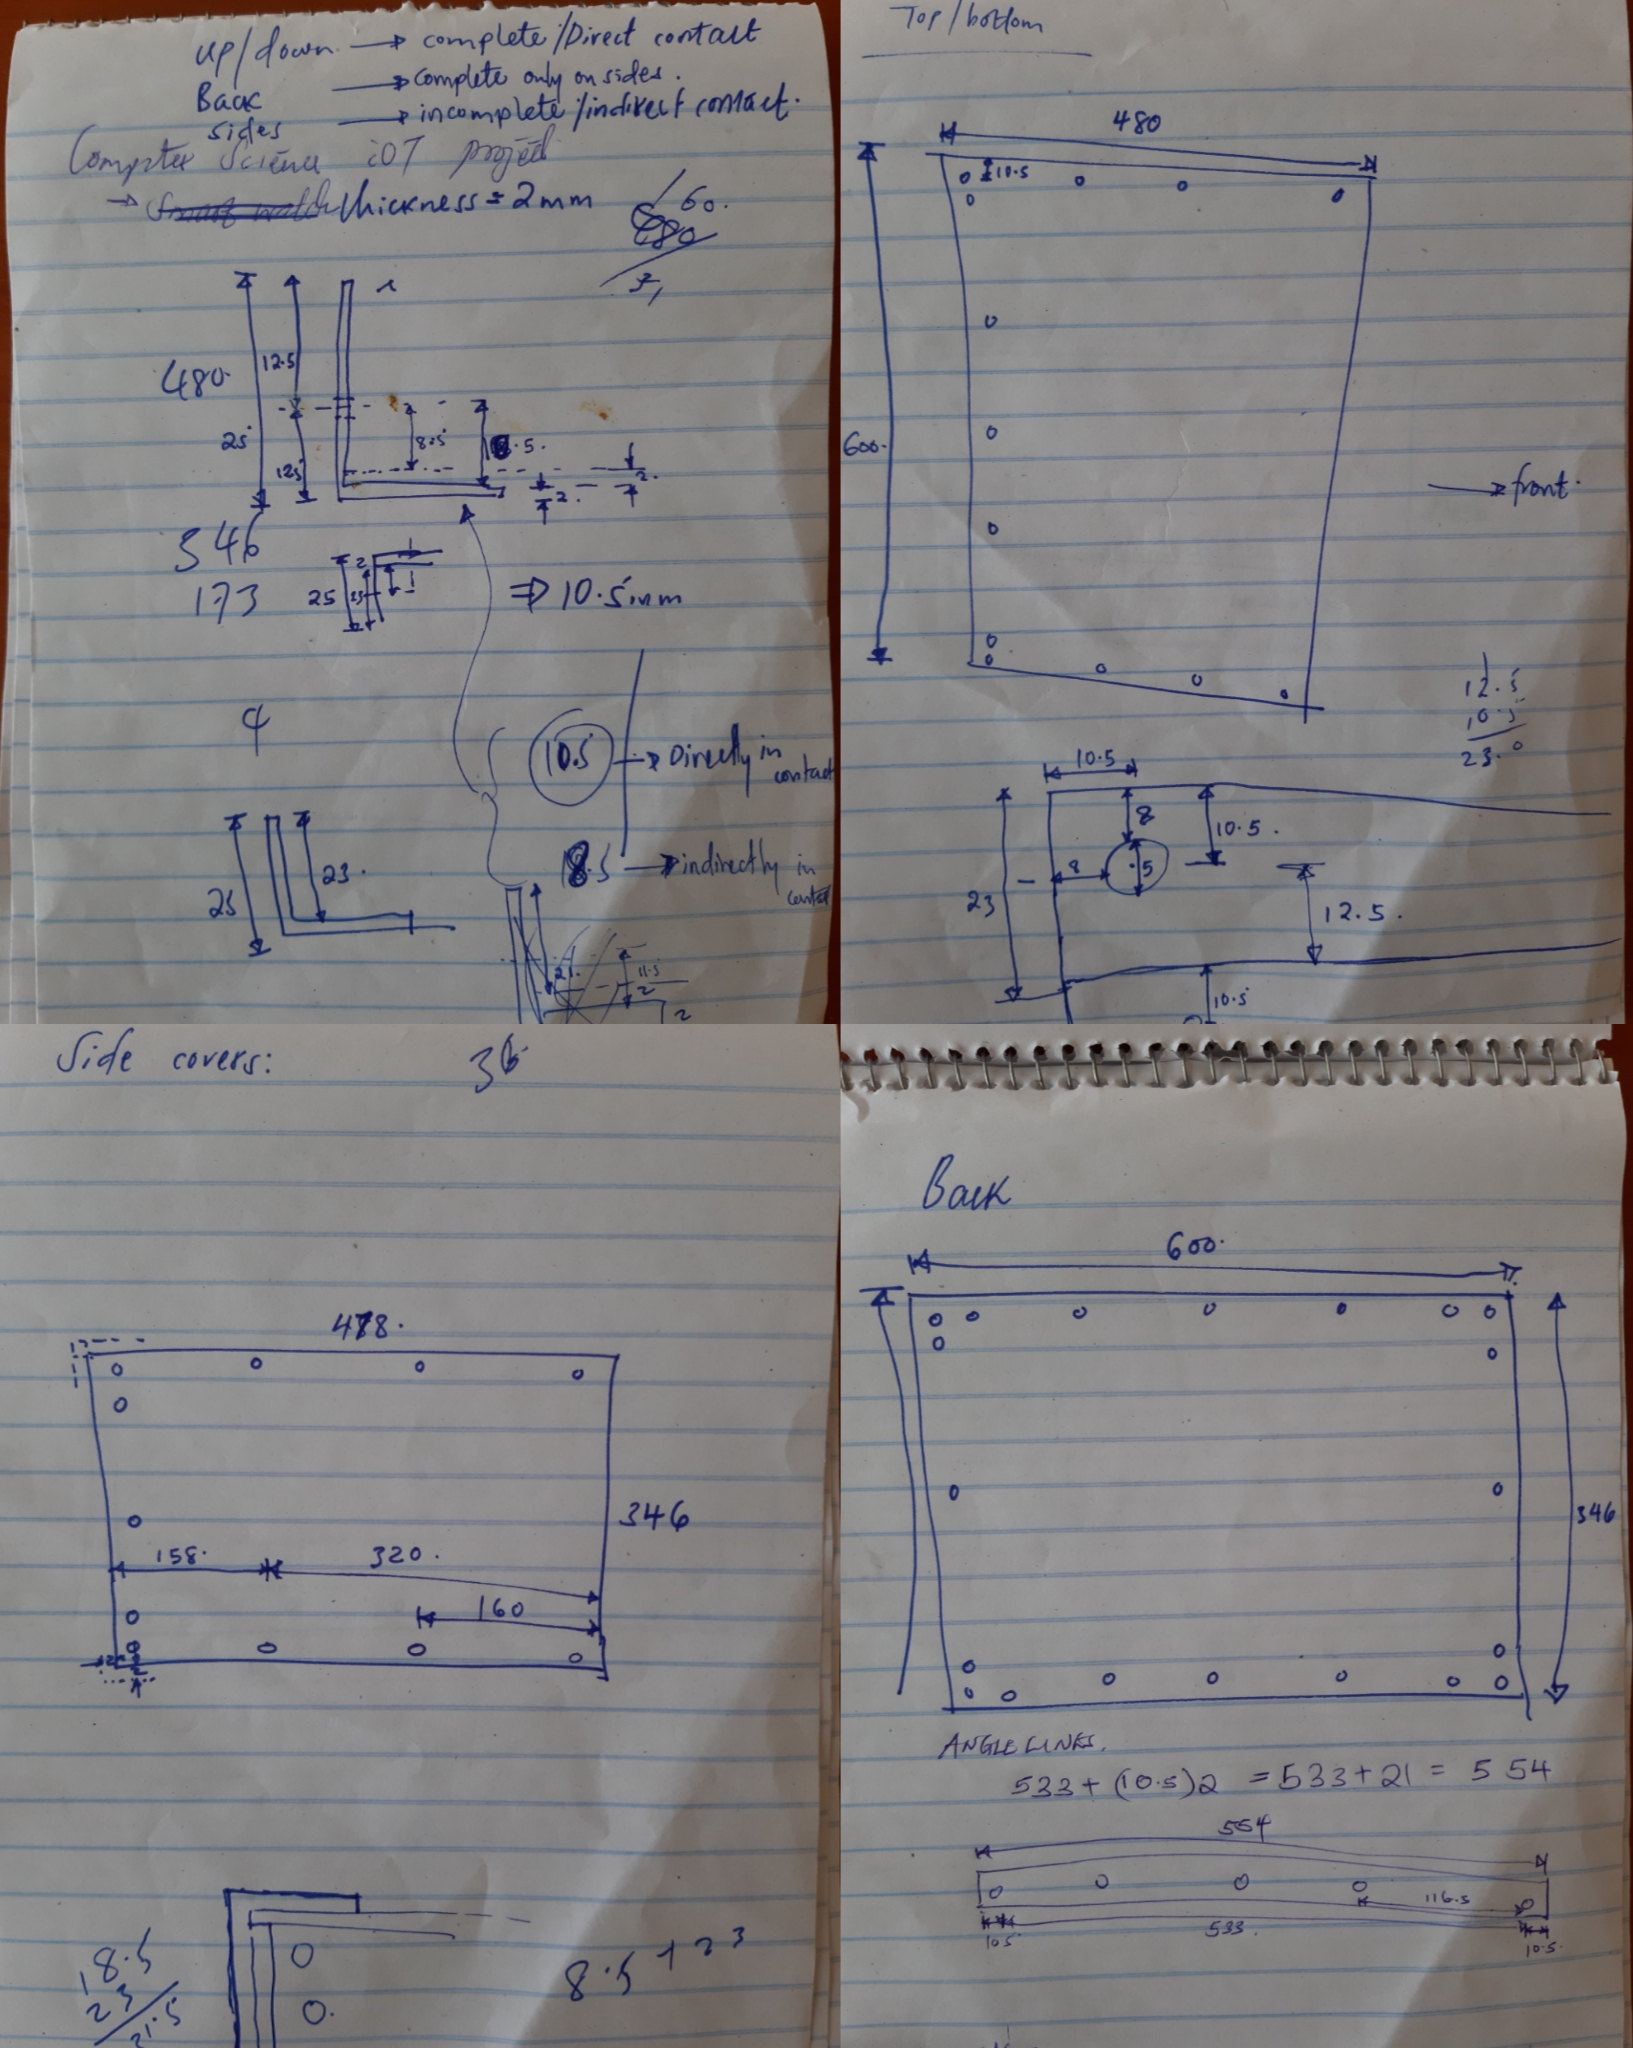
To make the work organised, I first sketched the design on paper and dimensioned all the Final Project parts I need to draw on my CAD.

I then proceeded to 2D sketch on ONSHAPE
ONSHAPE allows one to perform both 2D sketches and develop them to 3D objects. I thus followed these steps:
The following are some samples of the 2D sketches I made on ONSHAPE.
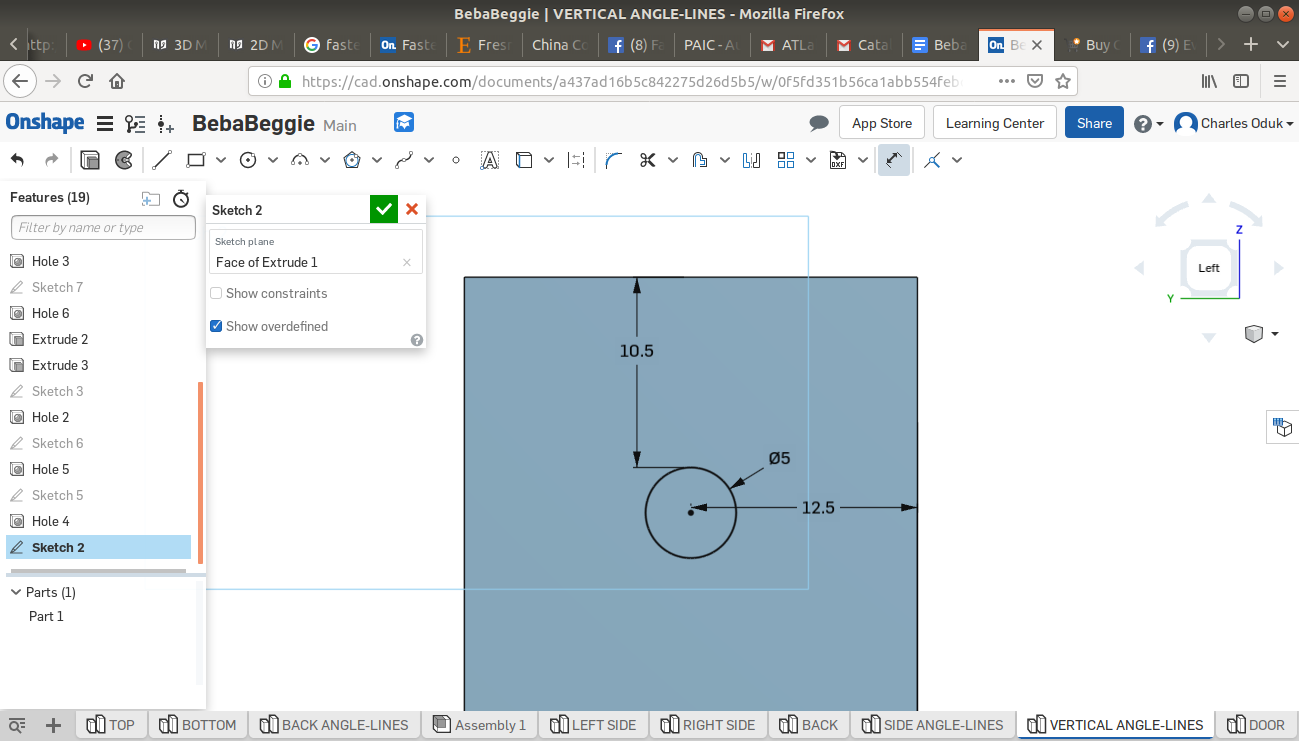
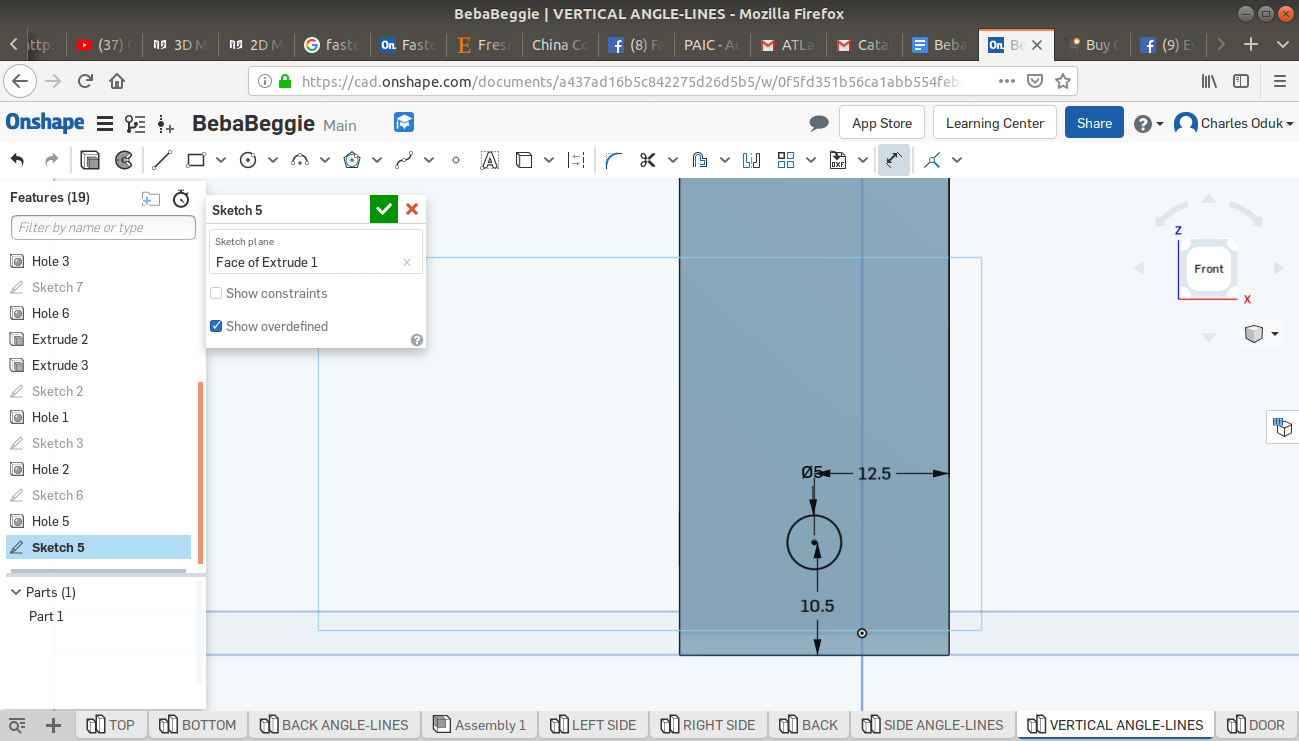
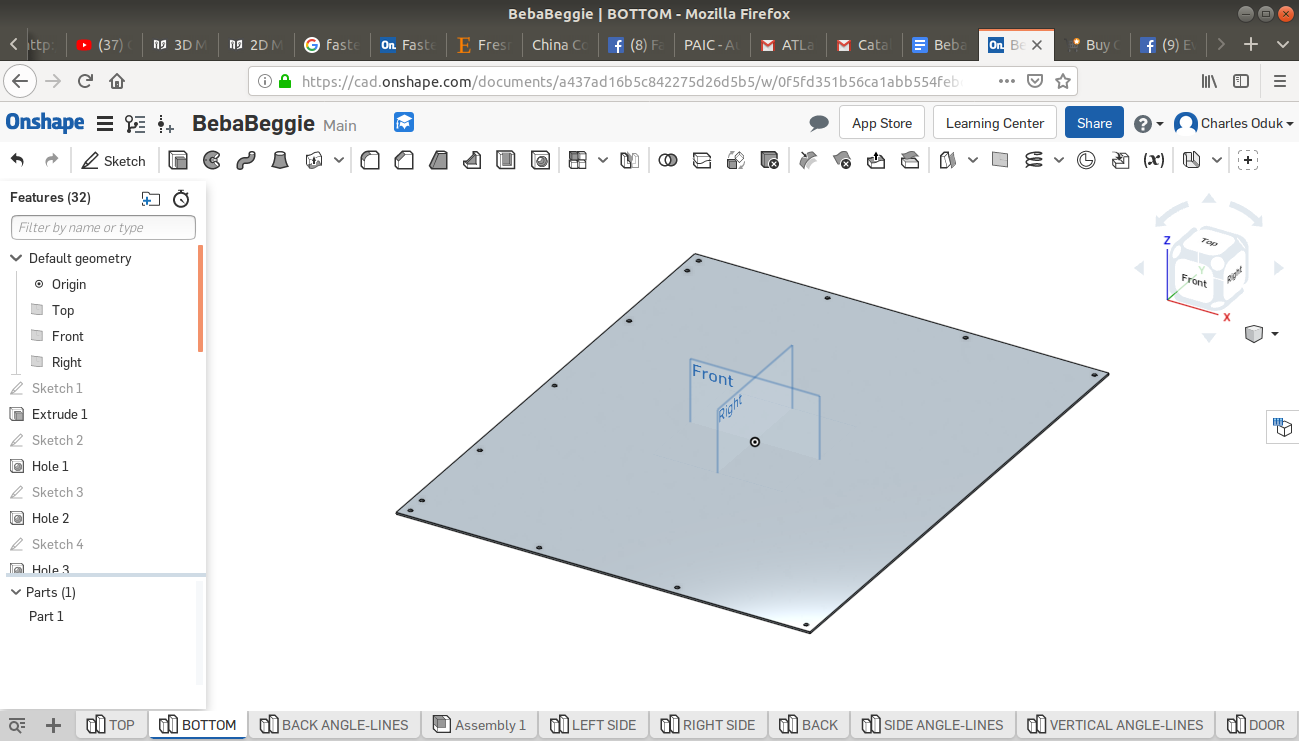
Once the 2D sketches is made, it can further be transformed to a 3D object as a part on the studio:
The following are some samples of the 3D objects I designed on ONSHAPE.

One of the great features of ONSHAPE is the ability to make a correction on one 3D studio part and automatically update on the final assembly. Thus a designer doesnt need to keep correcting any 3D studio part on the assembly which could prove to be tideous.
During my design I encountered various mismeasurements that would not align with the assebled parts as intended,this correction feature helped me. See attached sample pictures of this.
The holes in these two angle lines were not concentric and the other side angle was short.
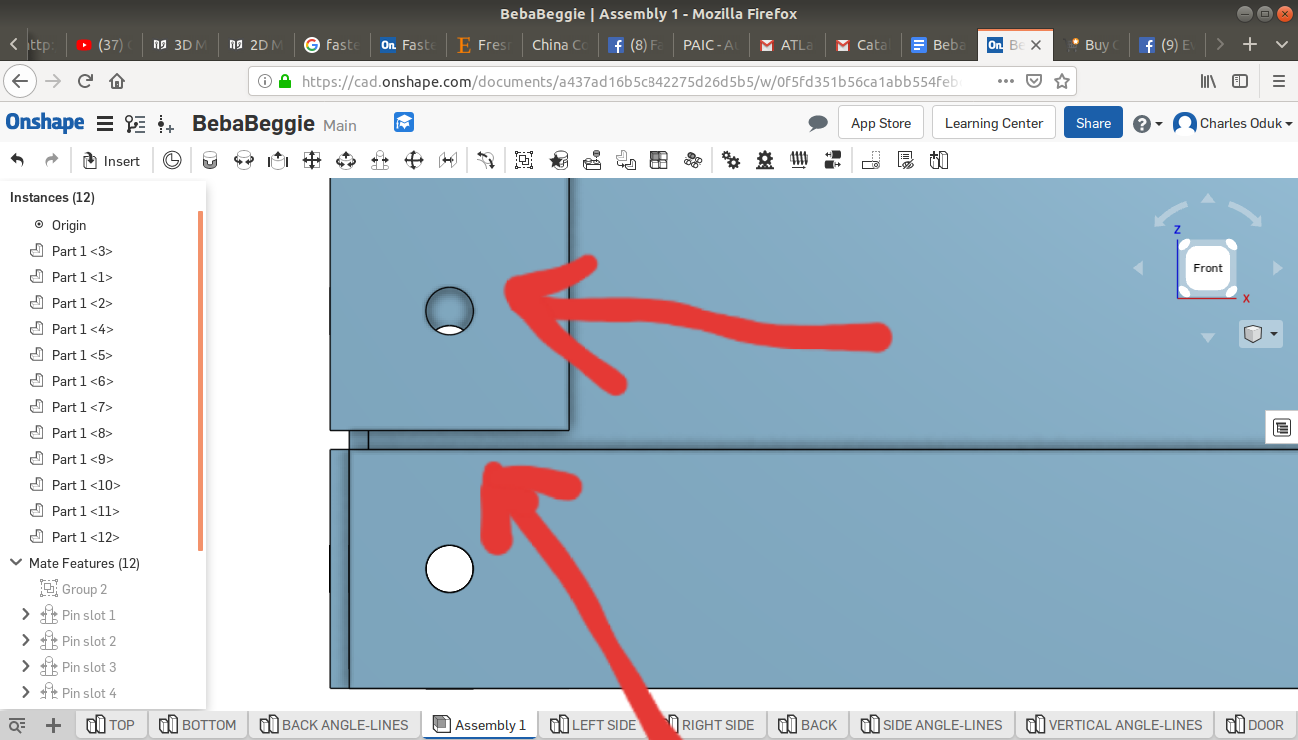
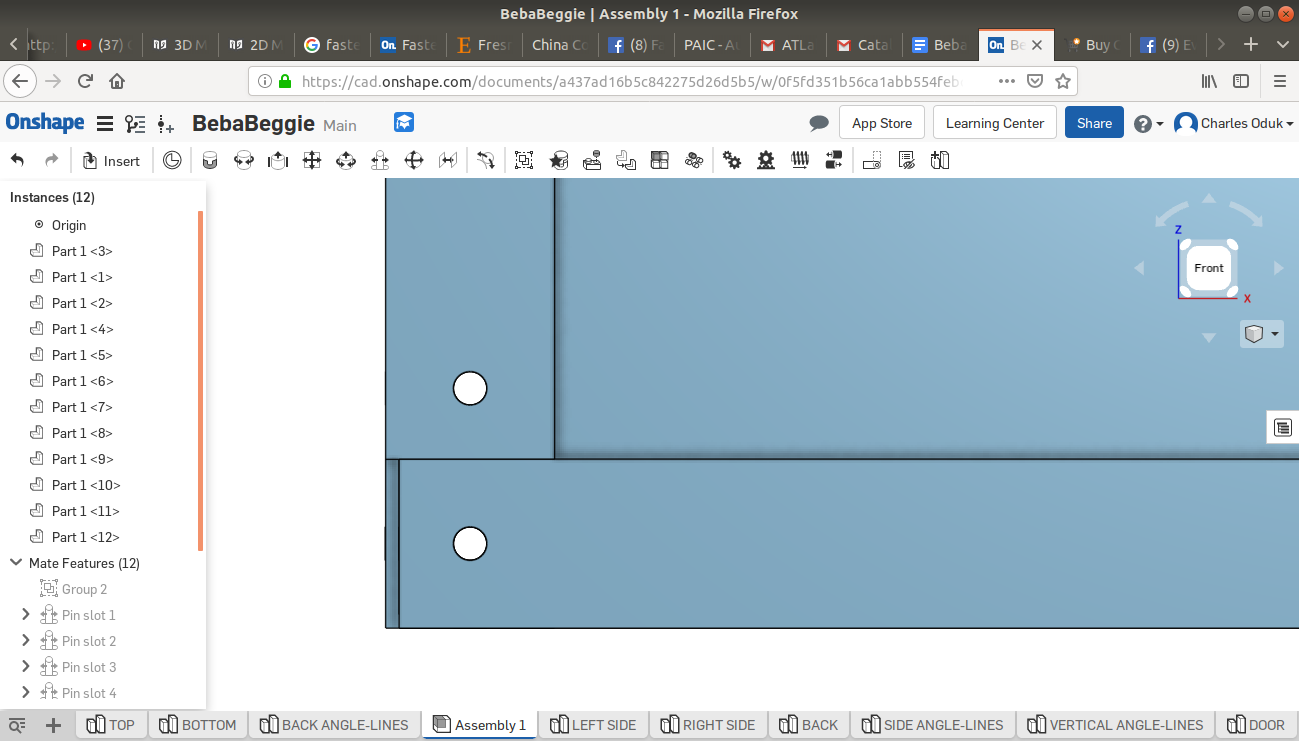
I went back to the 3D modelling of the studio part and made the correction which were then automatically updated on the assembly as shown below:
After designing the 3D studio parts, I assembled the whole project on an assembly tab provided on the ONSHAPE tabs platform:
Below is the image of my final assembly:

The CAD design at this point is not conclusive and final as there are some components I am yet to purchase measure and include in my design. This would be a work in progress as the FabAcademy project advances.