6. 3D Scanning and printing
This week we were assigned to design and 3D print an object that could not be made subtractively and 3D scan an object
Questions and Ideas
After watching the lecture, I wanted to just brainstorm some questions and possible ideas on methods I could implement.
General of the Design: - loose support on the inside balls
-
hollow inside on top part only
-
filled in handle
-
(maybe use a clear filament, so that every part of the project can be seen)
-
would need to research more on how supports work, so I can effectively construct this
-
which way would I need to print it (on its side?)
Designing (Fusion360)
To learn how to hollow out the top part of my maracas, I referenced this video
There are many types of maracas, but I decideed to aim for a more oval-shaped hair-brush like type with a straight handle.
I started out by making the general shape and then added more details, like dimensions, later.
I had a very difficult time creating the top of the maraca. At first, I had filleted the inner ring where the the top of the maraca was supposed to be placed. This made it very difficult to sketch anything on top of it. I played around for a pretty long time looking for a way to create a sketch on top of the figure. Because I had filleted it first, everytime I tried to create a sketch, it went to the bottom of my figure. After searching for a bit, I learned that in the history bar at the bottom of Fusion, you could right click on an action, and it would pop up with options. In these options, “suppressing” an action was available, so I did that and this made my fillet disappear and allowed me to edit what I wanted on the top.
Supressing the fillet was just the beginning of the challenge, though. I had a really rough time making sure that the inside hole would not interfere with the outside layer, so that once it printed, it would no create an unnecessarily big gap in between the top and the body. My design already had a gap made between the top and the body, so I could potentially slice the inner balls of the maraca with a knife to break the supports. I did no want the gap to be larger than it needed to be because it would make the top part weaker.
3D Printing
This took multiple tries to get right.
Attempt 1:
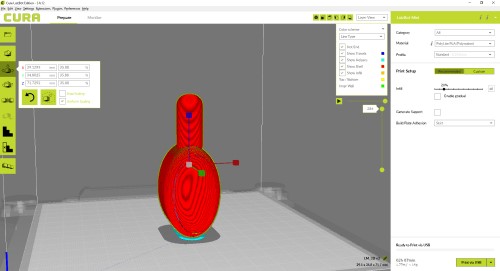
I imported my file into Cura and turned off the automatic supports accidentally. Due to the shape I chose, the oval did not completely connect with the maraca when imported into Cura. In the layer view, the end of the top piece did not fully attach to the rest of the maraca. It displayed this but showing yellow and blue in the space of the gap.
However, I did not realize this and thought it was just the gap I had made, so I printed it anyway. The top was mangled and was not able to support the rest of the maraca, so it cracked.
Attempt 2:
I went back into Fusion and edited my file. I made the oval-shaped bowl part of the maraca wider by extruding the upmost section of the body upwards and imported the file again into Cura.
I had to size my model down in order to fit the bed. I did not take exact measurements for this.
About 10 minutes into the print, I noticed the same thing was happening that happened in the first - the bottom was becoming mangled. Confused, but not yet completely frustrated, after I removed the print from the bed, I went back to edit my Fusion file.
Attempt 3:
This time, I wanted to changed the entire look of my maraca. I read throught these Autodesk forums to try and learn how to hollow out an egg. 1 2 3. None of them were helpful for me.
So instead of completely changed the shape of the head of the maraca, I just made it smaller. This did not work well either because when I imported it into Cura, the ‘Layer View’ looked the same as the previous two times that I had printed and failed.
Attempt 4:
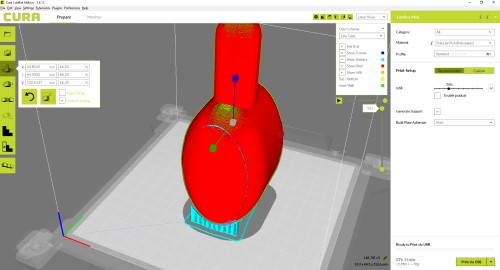
Genuinely a bit annoyed at this point, I pondered over ways to make my print be successful. Then I had it. Just add supports. Instead of using the ‘Recommended’ settings, under ‘Prepare’ –> ‘Custom’ –> ‘Add supports everywhere.’ With the front of my structure now strong, I printed my maraca.

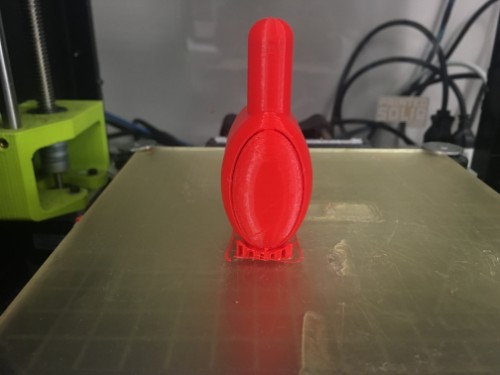

I used needle nosed pliers to remove the supports and continuously wacked at the balls on the inside until they fell off.
Final Fusion File:
3D Scanning
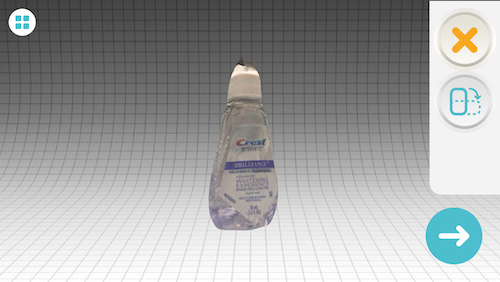
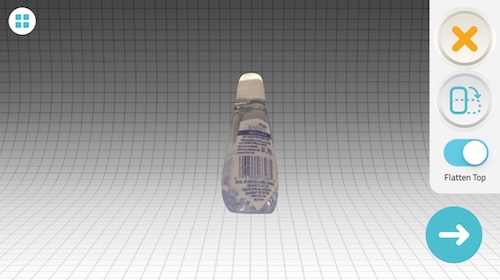
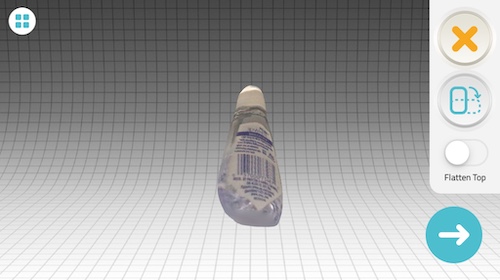
I used an app called Qlone to scan. It provided a printable mat to place my object on, so it could gauge all the aspects it needed to.
In order to get a quality scan, I made sure the lighting was bright enough and that the paper was flat.
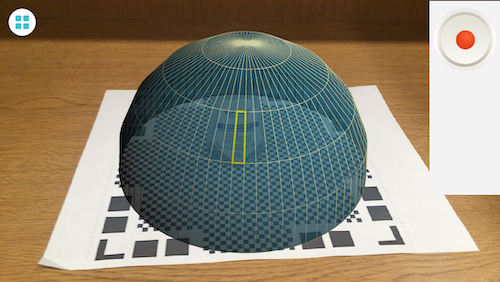
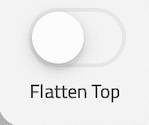
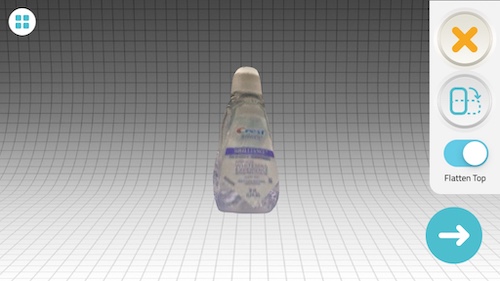
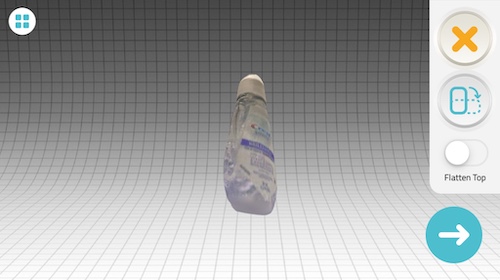
Once I had fully encircled each layer of the blue bubble around my object, a Crest 3D White rinse container given to me by my dentist, the image rendered, and I had gotten a good scan for the container, but the cap was a bit pointy. To fix this, I switched on “Flatten Top.”
Group Project
For the group project this week, we had to test the design rules for the 3D printer. The documentation for that can be found on our group site. I contributed to the group project by defining some of the main terms required and working with the supports. I helped remove supports from our prints which defined it, and I also helped document our process while doing it.