8. Computer controlled machining
We were required to create something big this week. For our group project, we had to test runout, alignment, speeds, feeds, and toolpaths for our ShopBot.
Planning
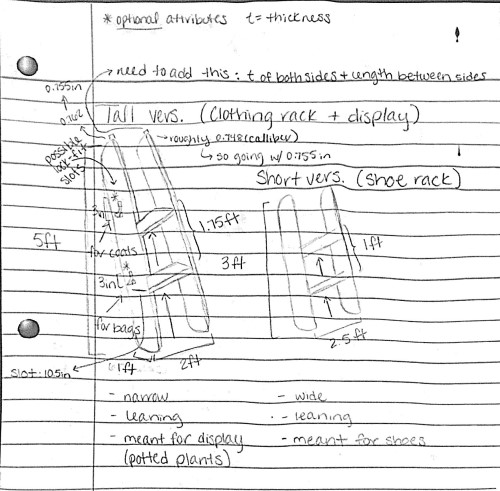
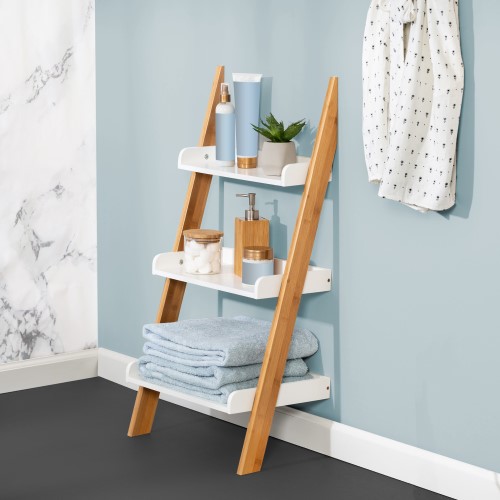
I wanted to make something useful, but also appealing to the eye, so I began by sketching out some ideas. At first, I decided to make a shoe rack, however, as I was sketching the design, it started to look more like a tall, leaning, open shelf. This sparked an idea to go forward with the tall shelf idea, but allow my design to be sized down easily (with the use of parameters) to make two versions. By doing this, in the future, I could make a shoe rack if I wanted to. I used two pictures as references. The general design was extremely simple, so I added hooks onto the sides to see if I could make somesort of “lock-fit” slots. I needed these slots to be very strong because I planned to hang all sorts of items on them like coats, bags, or potted plants.
Designing
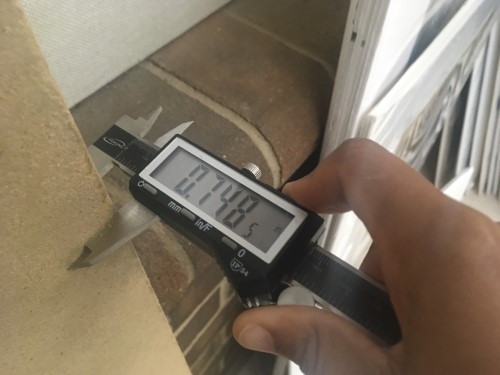
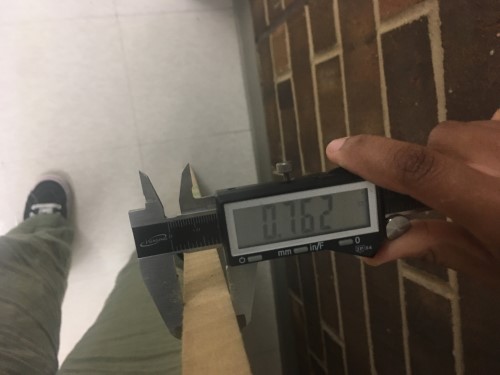
Before creating my 3D model, my teacher had shown my fellow students and I how to get the thickness of our materials. He recommended that we squeeze the board with the caliber in multiple places on each side, and kind of lightly shake our hand to get the straightest measurement. The boards normally fluctuate in size on each side, so in order to be accurate, it is best to do this. I picked the piece of material I wanted, a 3/4 MDF board, and retrieved the thickness.
After, I went into Fusion360 to make a 3D model. In my sketch and just in my general planning, there were many things that I realized that I did not account for such as the thickness, the clearance for the slots, and how the shelf was going to lie flat on the wall. I went back to my paper sketch and edited these things simultaneously as I fixed them on Fusion360 in order to have a proper visual.
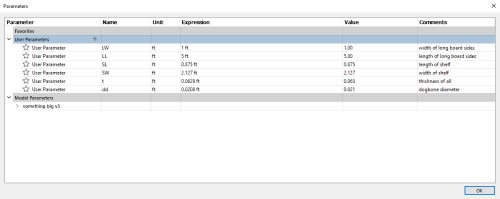
I made every slot dogbone. I did not feel like manually creating them, so I searched up an add-in, and followed this tutorial to do so.
Change of Plans
I took a break from this week because I did not have access to the lab due to the coronavirus. Once we got access, I continued this week again. As I looked back at the original file I had made for this week, there were so many errors that I just decided to create a completely new project instead of burdening myself with the task of finding every mistake in the other project.
I also chose a new board. Still MDF, this one had a width of 0.96 inches (although the tag said 3/4”).
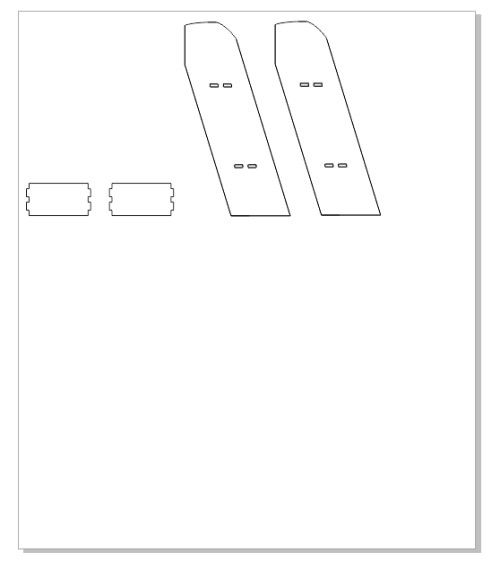
I made my pieces and dogboned every corner which was relatively easy. In creating the pieces, I chose the front facing plane (the one that is perpendicular to the z-axis) and sketched each piece using the rectangle function. For the sides, I changed them to a curved top, but I added a straight edge to the top which would be leaned against the wall.
Here is a reference photo of what I imagined:
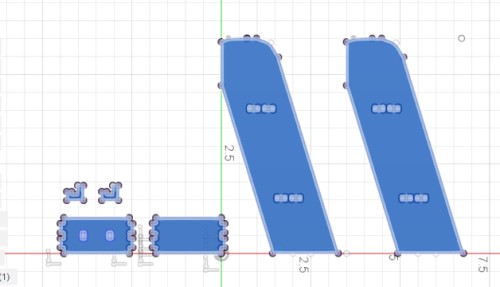
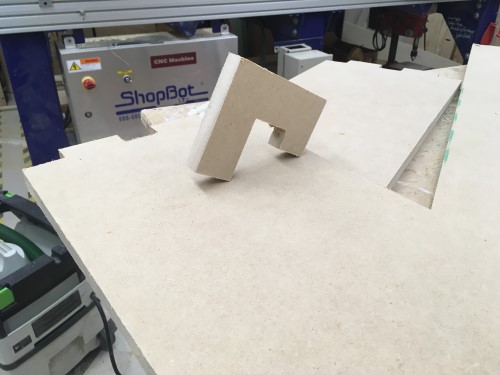
I just made one of each piece (there are three - side, shelf, + hook) and copied and pasted them. Before milling out my shelf, I wanted to make a small version of it on the laser cutter just to confirm that all of the parameters were correct. I exported my file from Fusion360 as a .DXF and then opened it in Corel Draw.
That’s when I noticed a major issue:
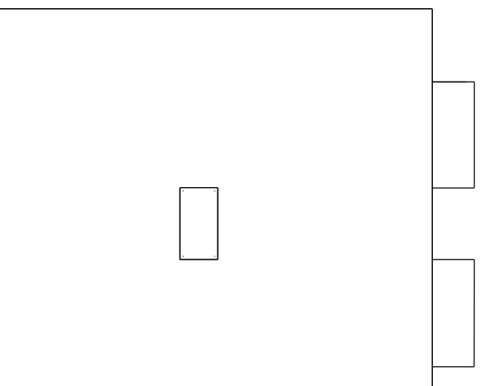
The dogbones were not showing up which meant that the bit would not be accounted for if I had cut right then on the ShopBot. Sophia helped me with this by implementing something Mr. Rudolph had taught her into my sketch. I could project the sketches which would create a separate sketch for them I would then be able to save as a .DXF on its own. I did that, opened it in CorelDraw, and it worked!
I cut the pieces out within minutes. Here is the finished product:
Aspire + ShopBot
I made my toolpaths on Aspire by Vectric. I first made the job size the size of the ShopBot bed and my board - 96in x 48in. Then, I made sure that the origin was at the bottom - not the top - of the board. I looked at the offset, and questioned whether or not I should’ve turned it off, but decided not to. This was a terrible, terrible, and I cannot stress this to you enough - terrible mistake. I did not realize this until later while cutting.
With the help of Elaine and Sophia, I got my file ready and began to cut. I first did a 3D offset just to make sure, but I did not watch the 3D offset in full - another horrible mistake.
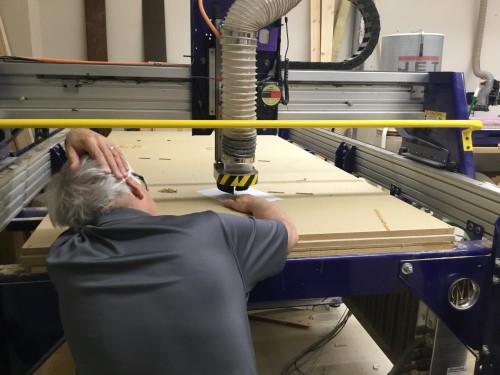
Picture of us having so much fun:

With my soon-to-be-shortlived happiness, I entered “FP, (my file name)”, booted up the signal and then ran it. Once it finished with the pocket cuts and slots, the main issue that threw this project far left occurred. Because I had not disabled the offset, one of my shelf sides were going off the board. The ShopBot upon noticing this tapped out. The program shut out and we were unable to get back in. After restarting the computer, the ShopBot 3 program was up and running again. However, we had to Z it without taking the MDF board off the bed.
This was a whirlwind.
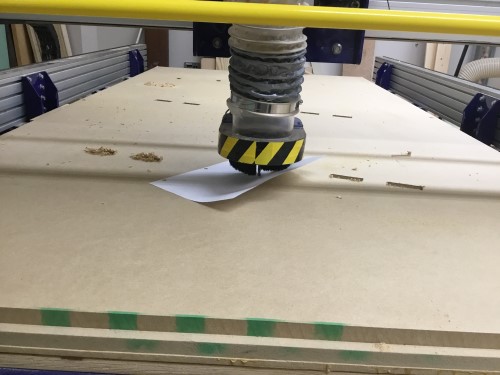
At this point, I had called my teacher, Mr. Dubick into the workshop to help me. He started by jogging the Z axis down to 0.96in (the thickness of the MDF), but it was way above the board. He got a piece of paper and had Sophia and I hold it over the board as he moved the spindle farther and farther down. Once it was at a point where it wasn’t touching the board, but we could move the paper out from underneath the bit, it was in the correct position.

He then moved the spindle to a tiny spot on the bed that the MXF did not cover and it went down perfectly. This meant the the machine was properly “Z’ed’ now. We went back to the origin to try cutting again.
Here is a video (I added subtitles because the room was a bit loud):
Jogging the cut home, and running one last 3D offset (which I waited throughout the whole thing for), I was ready to cut. A key detail, though, is that when I simulated the cut, my piece traces did not interfere with my initials pocket cut in the slightest. I assumed that this would be the same for actually cutting - wrong. It cut right through my initials. At this point, I was too tired to truly care about it, so I let it keep running.
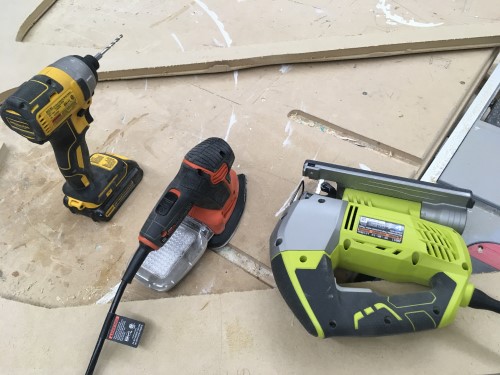
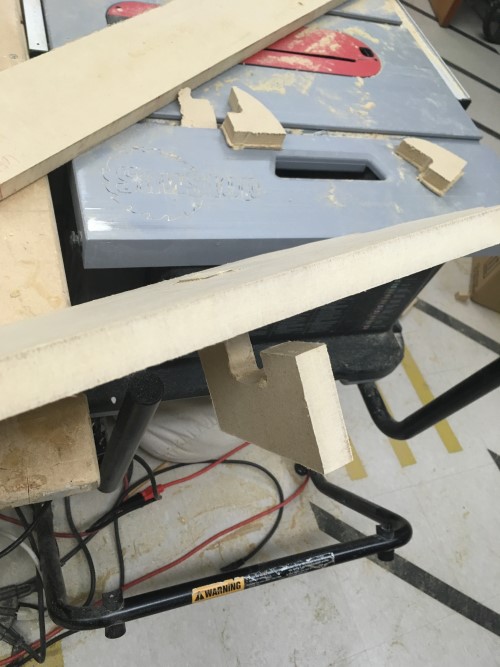
Once every toolpath was complete, I quickly came to notice that none of my pieces cut through. Yikes. Dr. Taylor helped me through this part. He reccomended that I manually cut all of the pieces. Warning: I have little experience working with workshop machines + tools, so this was all very new. We moved the board off the bed, and he drilled a hole in the toolpath and then used a jigsaw to get started on cutting. I repeated his actions and cut through all of the pieces. Funny how I can put this into one sentence when in actuality this took forever.
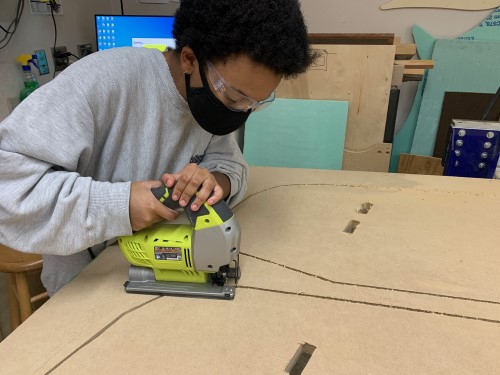
We eventually moved the board fully off of the bed and onto the island in the middle of the workshop. This allowed me to rotate the board as I cut. With the help of Dr. Taylor and Elaine, I got this part done so thank you to them!
The jigsaw blade is really thin, so I was left with a lot of edges around my pieces that I had to get rid of. Dr. Taylor showed me how to use the bandsaw for corners which was extremely useful until the blade snapped, and I could no longer use it.
Now, I could really only sand the pieces and hope for the best. The jigsaw, drill, and sander became my best friends throughout this process, truly.
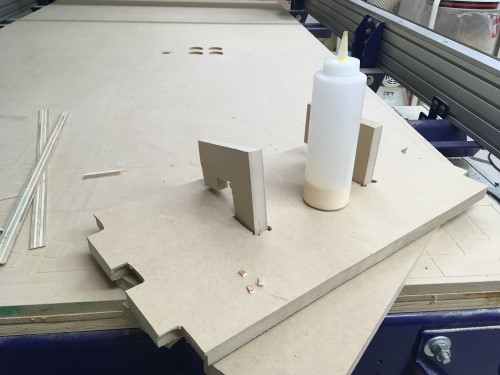
I thought that I only had to sand the pieces and then I was done, but like many aspects of this project, my thought was wrong. I had two side pieces, two shelves, and two hooks, but no where to put those two hooks. In more concise phrasing, the original slots were moved off the board when the offset was removed, so no shelf had slots for the hooks.
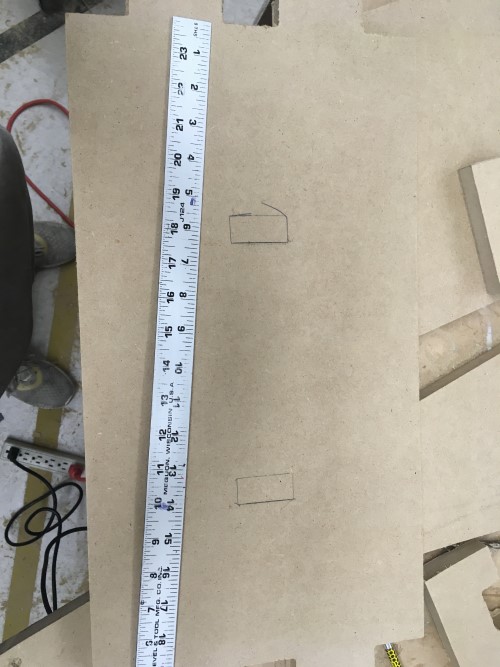
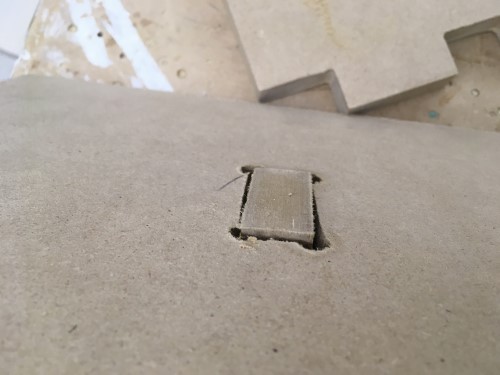
I needed to make them manually. From a quick explanation by Dr. Taylor, I needed to trace the top of the hooks on the shelf and cut on the line, so that it would not be too loose.
I drilled holes with a bit big enough to fit the jigsaw in the corners of the rectangular traces I had just made, and cut on/a little bit to the side of the line. This resulted in the slot being too big for the hook. For the other slot, I cut a bit on the inside and the hook wedged tightly. Dr. Taylor made me some thin pieces of wood that fit into the extra space in the first slot. I wedges these pieces in and added some wood glue. They fit well!
From there, I sanded down all of the pieces, so that the extra edges on the sides from the jigaw blended in and were straight. Once I had done that, it was time to assemble the shelf.
Constructing the Shelf
Finally, I was at the final stage of this extravaganza! However, in reality, I was far from it. When I tried putting the shelves in, the tabs did not fit correctly into the slots which I realized was due to me making my clearances incorrectly. Mr. Rudolph informed me that it was because I had provided plenty of clearance for the length, but none for the width. I will remember this in the future and move forward.
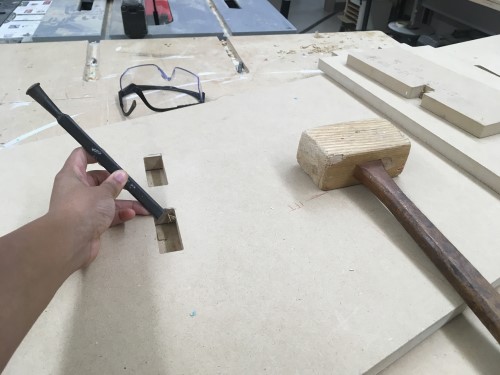
So, I had to go back to making alterations. Mr. Rudolph showed me a new tool - the chisel! We put the shelves where we would assemble them and traced around them to gage how much needed to be chiselled off. I found that chiselling was actually really easy and kinda fun. It was just hammering, essentially. I learned that the key to chiselling in the way that I was using it was to keep the chisel completely straight, so that I could get a clean cut.
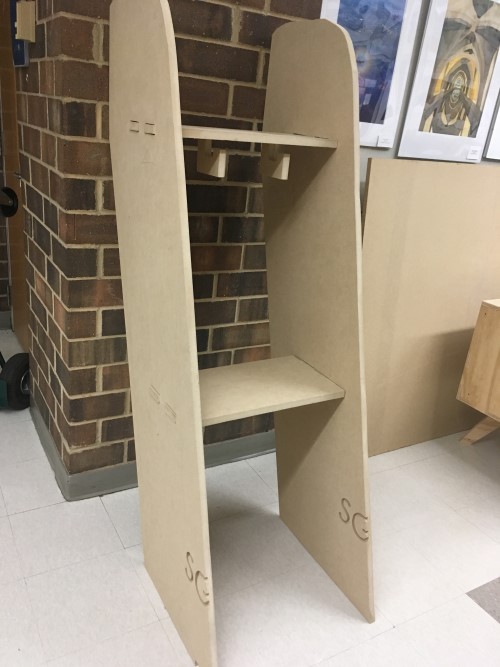
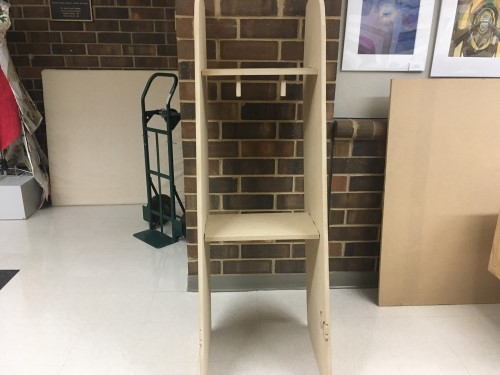
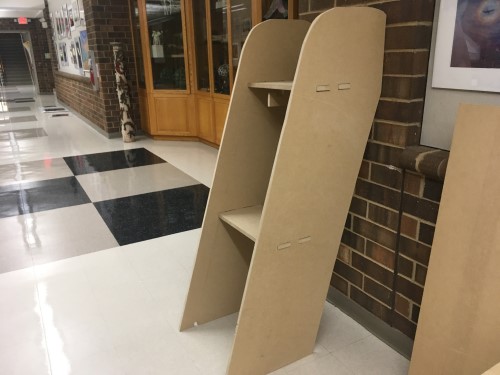
Once I had chiselled off all the excess, we took the pieces into the hallway, and they fit perfectly. Now, I was finally done!
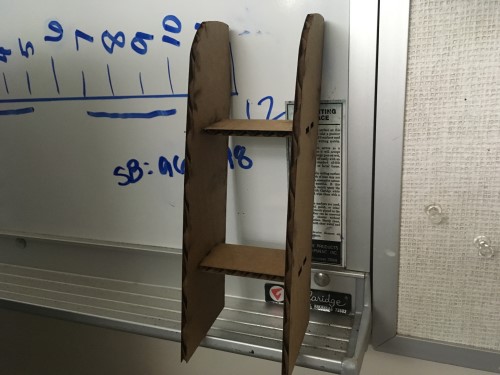
Here is the final product:
Group Project
We needed to test runout, alignment, speeds, feeds, and toolpaths for our machine. I helped define some of the terms presented this week, like alignment. Our complete group documentation is here.
Takeaways
Overall, this week was very hectic, but I realized that I actually like using a lot of tools in the shop despite them being tiring to use. I think my favorite part had to be chiselling. Although it intimidated me at first, once I got the hang of it, I really enjoyed it. Also, because I made many mistakes, I feel like I got a more thorough learning experience. I learned how to use a lot of tools and became more confident with working in the shop because of it. I liked how the final project looked despite it being a little uneven in some places. In the future, after Fab, I think I’ll try to build more stuff in their and implement as many tools as I can, just to see what I can make.