10. Molding and casting
This week’s individual assignment was to design a mold around the stock and tooling that we’ll be using, mill it (rough cut + (at least) three-axis finish cut), and use it to cast parts. The group assignment was to review the safety data sheets for each of our molding and casting materials, then make and compare test casts with each of them (this will be completed after the social distancing order is lifted).
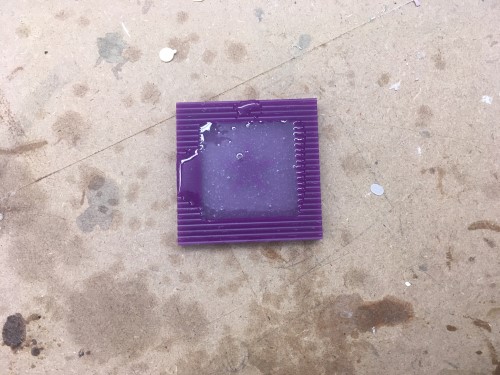
Individual Assignment // Fail // Abandoned
For this week, I wanted to make something for my final project. I have made a lot of alterations in the electrical side of the project (like changing from using LEDs to an LCD) that I have not really began to think about how it will actually look. Originally, I wanted to create the frame of the screen on the laser cutter, but for this week, I am going to create another bordering design that may work as well. This would hold the entire screen up and the part that I would laser cut would be under.
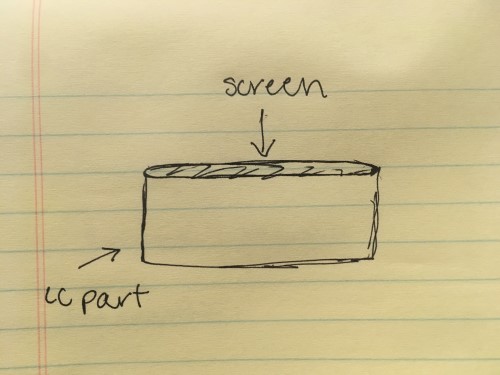
This is the LCD that I am planning on using. Its dimensions are 3.5” x 2.4” x 0.3”.

I used Autodesk Fusion360 to create this frame. I followed my teacher, Mr. Rudolf’s, tutorial to learn how to make toolpaths in the manufacturing workspace. Here is what I did:
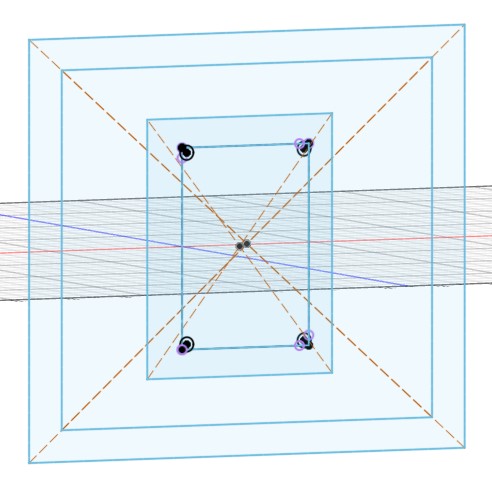
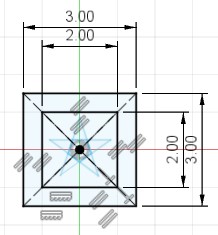
Because I don’t know what shape I am actually going to make my final project yet, I decided to just make everything a rectangle with curved off edges. The inner rectangle is the size of the LCD. I am going to dogbone the inner corners because outside corners of the LCD board look like they would fit the best/tightest with dogbones. Here is the link for how to install the dogbone add-in.
I started out by making four rectangles, the inner two for the actual border, and the outer two for the foam.
The rectangles in the middle were a bit off center, but I fixed that later.
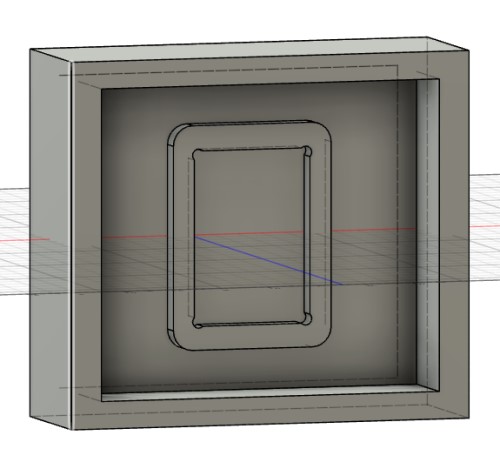
Here’s what it looked like at the end:
Manufacture // Fail // Abandoned
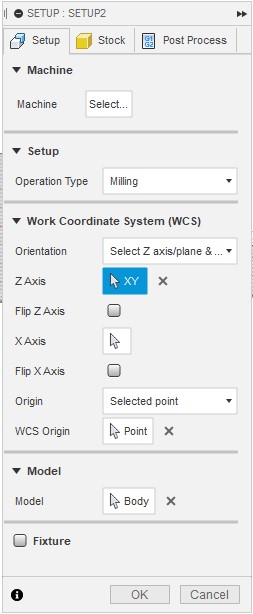
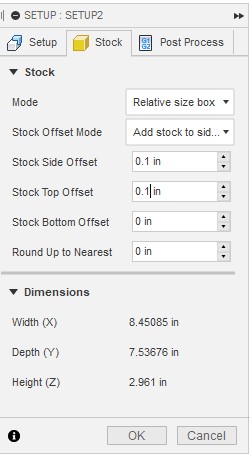
I then went into the manufacturing workspace. To be honest, even with the tutorial, I was a bit confused in here. I was not sure what all the tools did, which was expected, but even watching the video, I couldn’t identify what each tool was doing. I first went to setup and made my origin on the left hand side of the box just to make it easier to mill.
For the stock, I was not sure what to do because I don’t know the measurements of the foam.

Trying Again - Fusion360
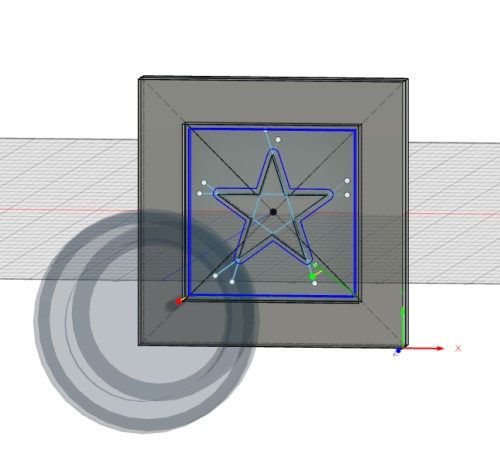
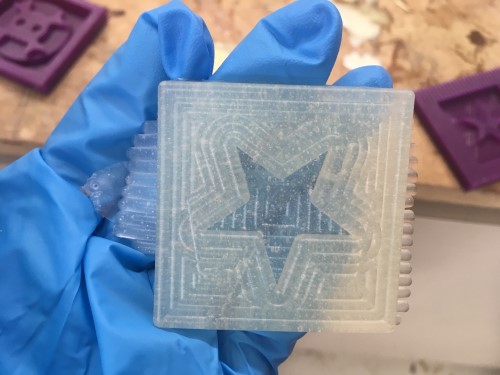
After meeting with my Fab Academy instructor who expressed to me that I do not have to force molding and casting into my final project, I abandoned this piece. Instead, I decided to make a star. I think a star - the cartooon version - is cute and would be a fun thing to mold and cast.
I went back into Fusion360 and repeated the same general steps as before, except this time I made the star.
I made the toolpaths using Mr. Rudolph’s video as a guide. This took the longest amount of time, so let’s get into it. At the start, everything went well. I understand the concept of adding stock to your design, but I did not really need it for this cut. Also, my wax piece was only 3inx3in, so I did not really have room to create stock. As per instructed in the video, I had to create my own tool. Because of the size of my piece, I am using the Othermill. I found the speeds and feeds of the 1/8” bit for the wax and filled in the bit information.
Once I had the tool, I needed to create the paths that the tool needed to follow. I created a 2D face first and then made a pocket cut for the inner star. I contoured around the edges of the star to give it a more defined look after.
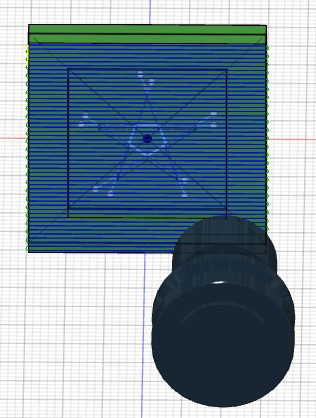
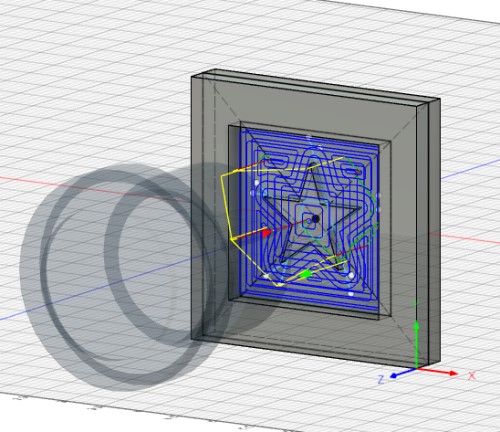
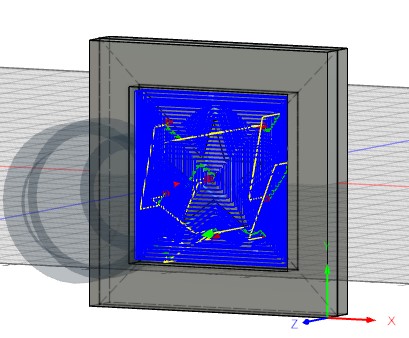
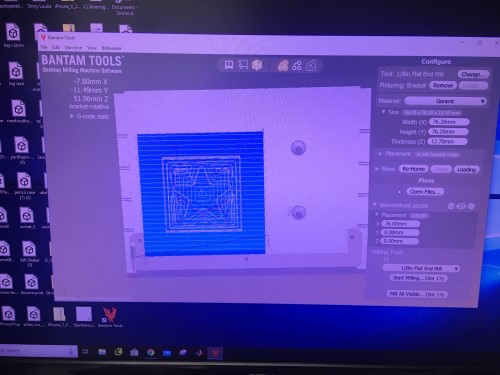
I simulated the whole thing and it looked good, so I saved it and exported it into Bantam. It looked like it would mill just fine. Now, I was ready to mill.
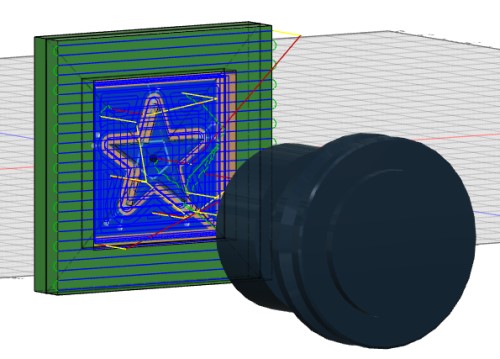
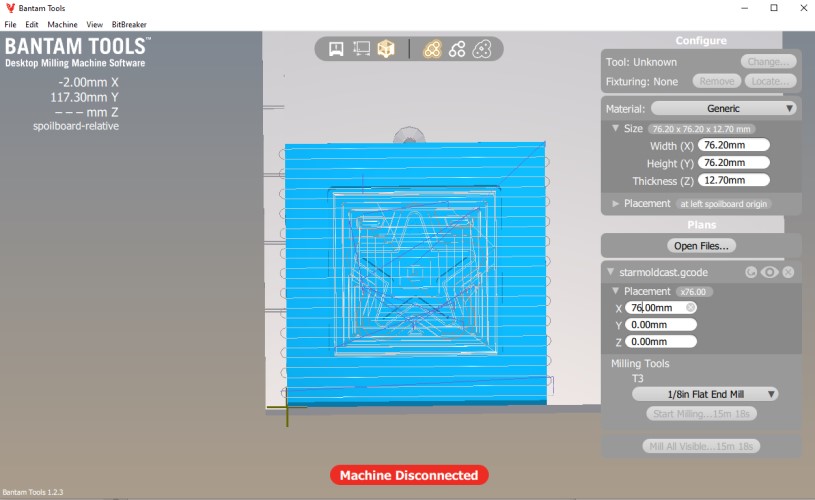
Milling
I set my settings in Bantam to be compatible with the piece of wax that I was using. Then, I added two pieces of Nitto tape to the bottom of the block. From there, after cleaning off the mill, I stuck the wax down.

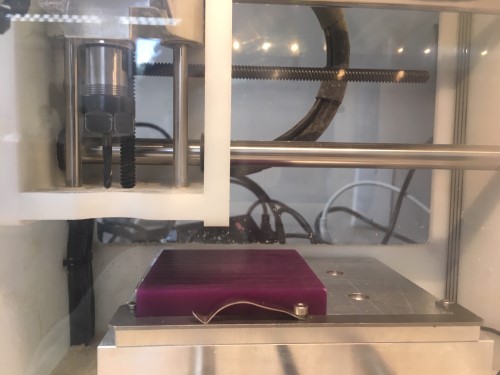
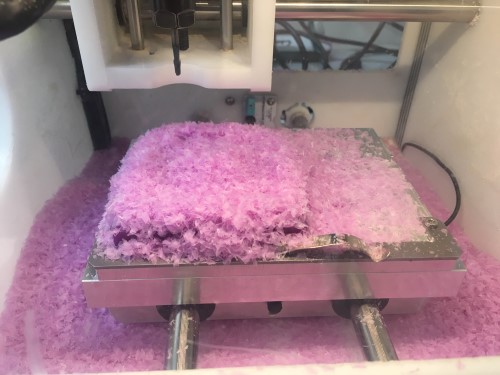
I had this part completely right at first, but then I messed it up. When I first started to mill the wax, I had placed the bit completely inside the bit holder, but I saw that it was only outlining where it was supposed to go. I don’t know why I thought this was wrong, but something compelled me to make the bit stick out farther which prompted me to get a cut with the grroves from the toolpaths I had designed. On the bright side, this made for a cool pattern when I eventually molded and casted.
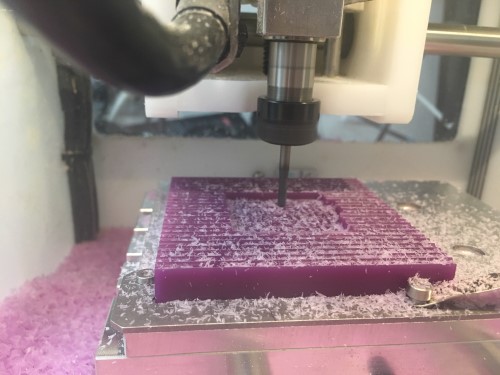
There was a lot of fluff at the end because I forgot to put a fan on the bit lol.

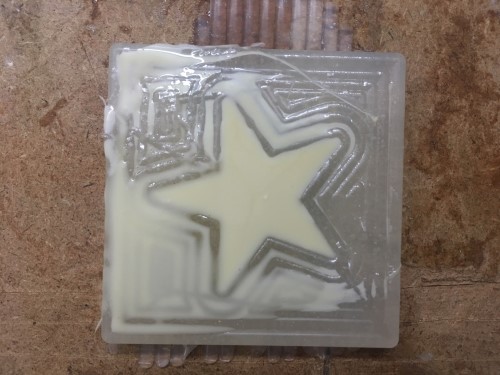
Negative/Mold
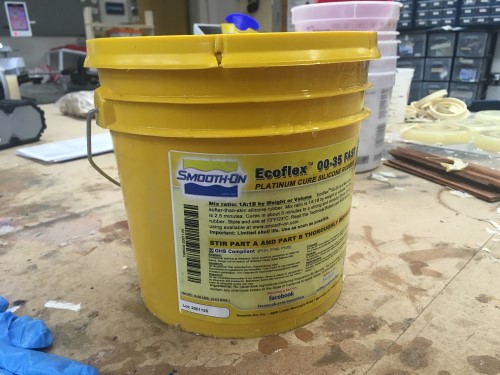
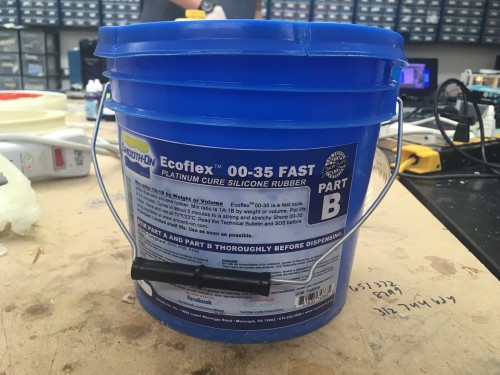
I wanted to make a soft charm, so I used parts A and B of the Ecoflex 00-35. I took two separate cups and drew a line in the same spot on both of them to measure out an even amount of both solutions. Then, taking another cup, I poured both of them in and mixed for about 20-30s.
Starting from the corners and then going inwards, I poured the Ecoflex evenly over the template.
Casting
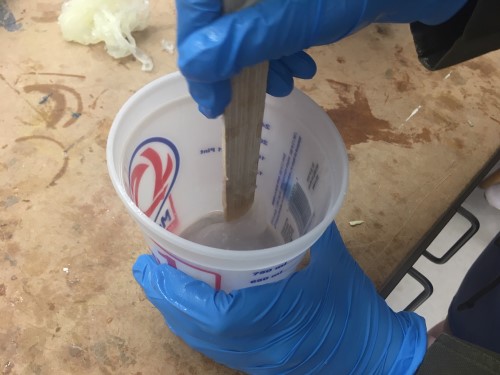
To make the hard part, I used the Task 8 Part A and B. This time, I poured out an equal amount of each substance (1:1 ratio) and mixed them in one cup instead of separating the two before mixing. The piece came out very nice!
My Files: Fusion
Group Assignment
View our group work here.
Takeaways
I had never heard of molding and casting before this, to be completely honest. And even after multiple explanations, the concept of it did not completely make sense. However, actually completing this week made things a lot easier and allowed me to learn how to mold and cast as I wanted to. For example, I got to learn how to create toolpaths on Fusion360. That part was by far the hardest portion of this week. But in doing that, I learned new short cuts that i will implement in the future tha will make this sector go by much faster. Also, next time, I will make sure to properly install the bit to mill a “normal” stencil for the mold. Also, I will be quicker making the toolpaths.