Design and produce something with a digital fabrication process (incorporating computer-aided design and manufacturing) not covered in another assignment, documenting the requirements that your assignment meets, and including everything necessary to reproduce it.
Learning Outcomes
1) Select and apply suitable materials and processes
Individual Assignment
SOFT ROBOTICS
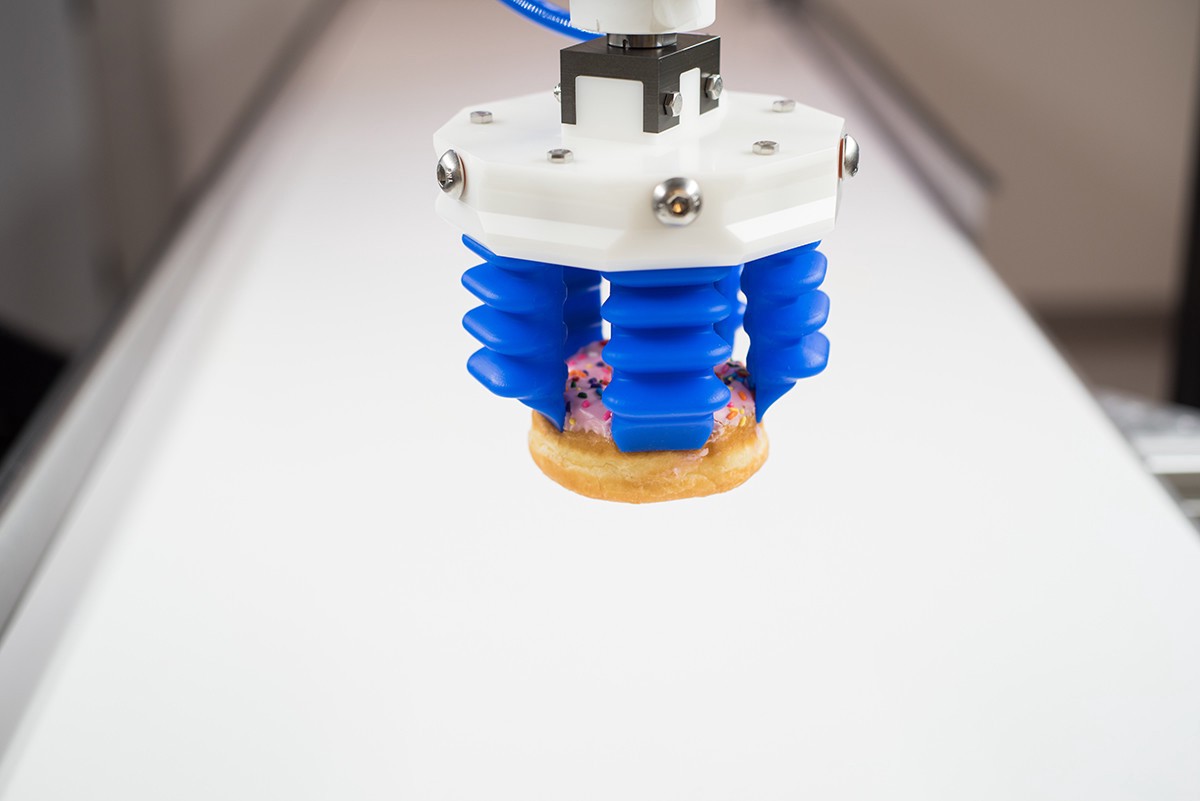
Soft Robotics is the specific subfield of robotics dealing with constructing robots from highly compliant materials, similar to those found in living organisms. Soft robotics draws heavily from the way in which living organisms move and adapt to their surroundings. In contrast to robots built from rigid materials, soft robots allow for increased flexibility and adaptability for accomplishing tasks, as well as improved safety when working around humans. These characteristics allow for its potential use in the fields of medicine and manufacturing. [WIKI]
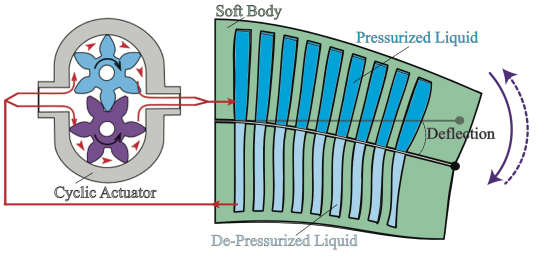
How it works A soft robotic arm is a flexible stucture with a number of cavities inside. When air is pumped into theses cavities, the cavities expand and the structure changes its shape. The structure can also change its shape when air is pulled out of these cavities.
How to make This was my very first attempt in making a soft robotic arm. I went through many videos and tutorials and found this one very useful.
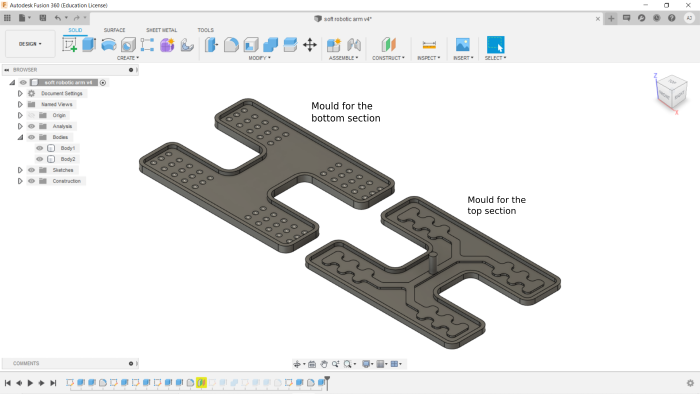
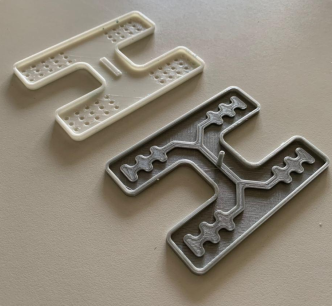
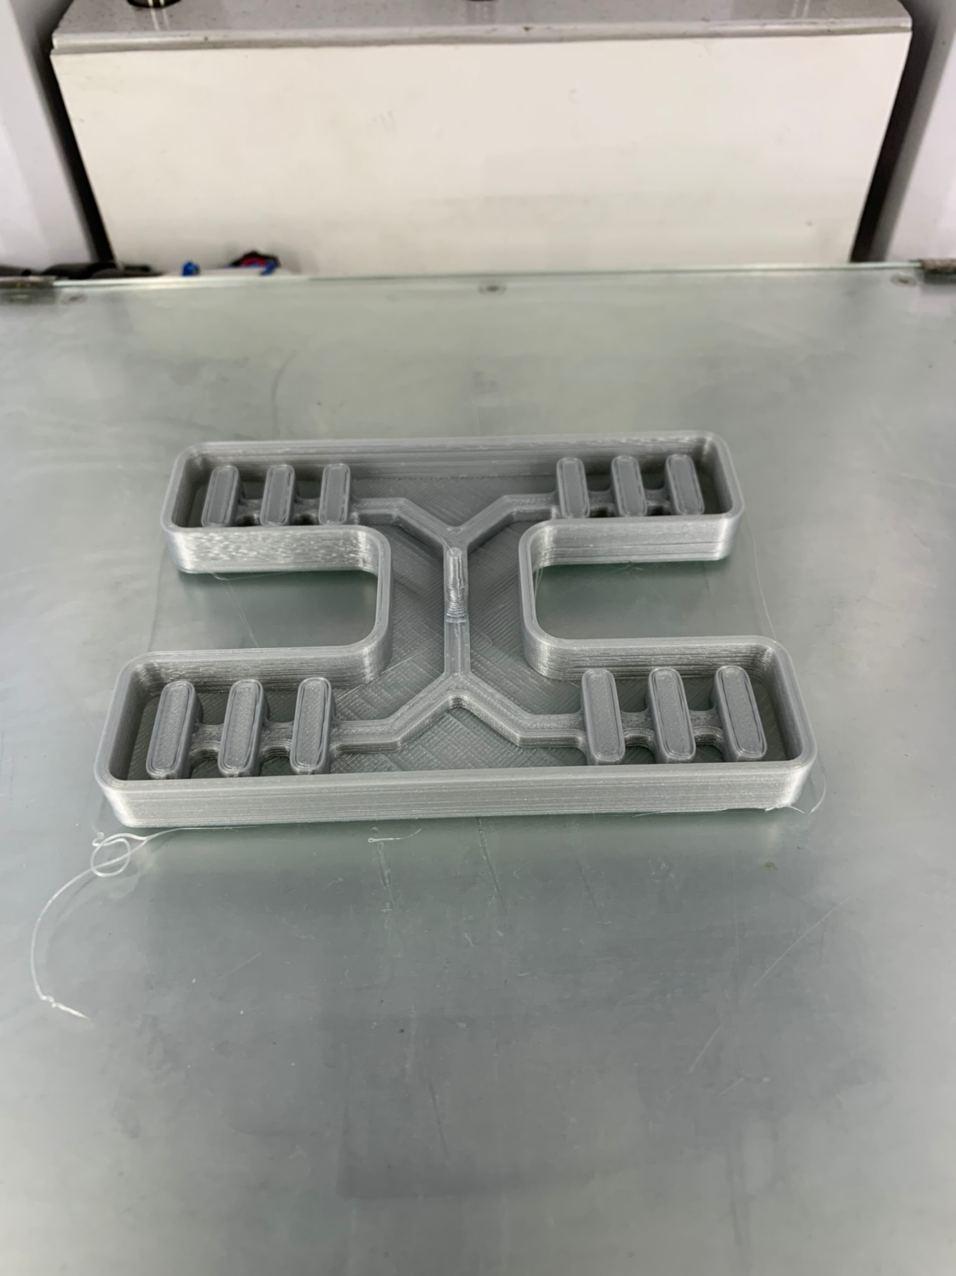
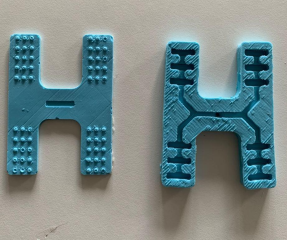
Mould Designing
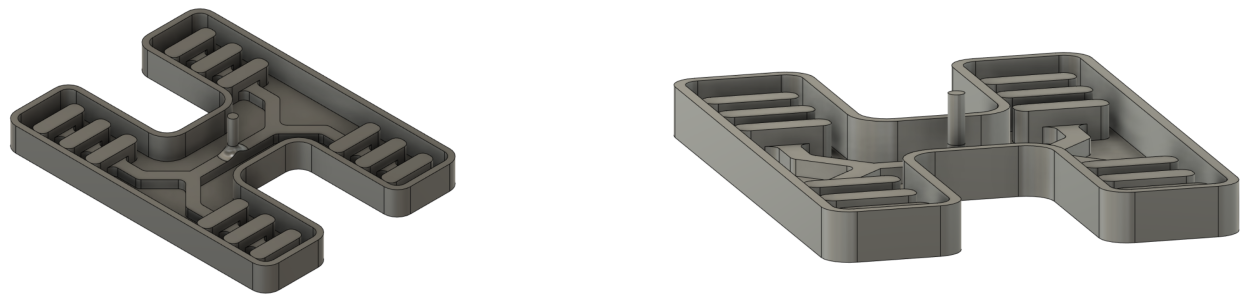
I planned to make soft robotic arm using silicone rubber. So first I made a design of the mould for casting the silicone.
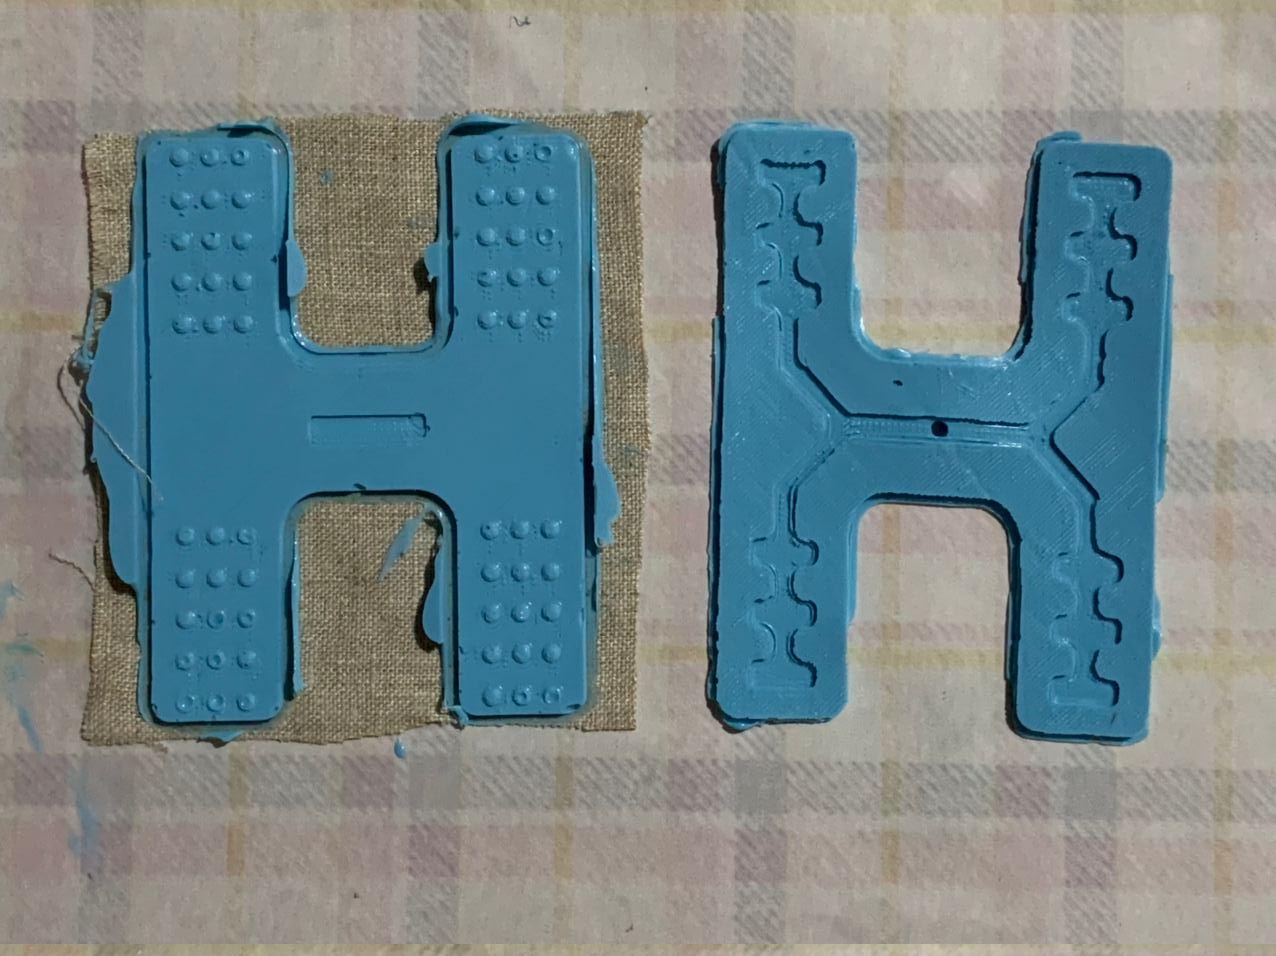
I gave perforation on the suface of the mould of the bottom section, so that the silicone cast will have projections on it, which can act as a grip. On the mould for the top section I made projections of 1mm height. These projections will be the cavities and the passage for the air to enter the cavities, these cavities inflates when air is pumped into it.
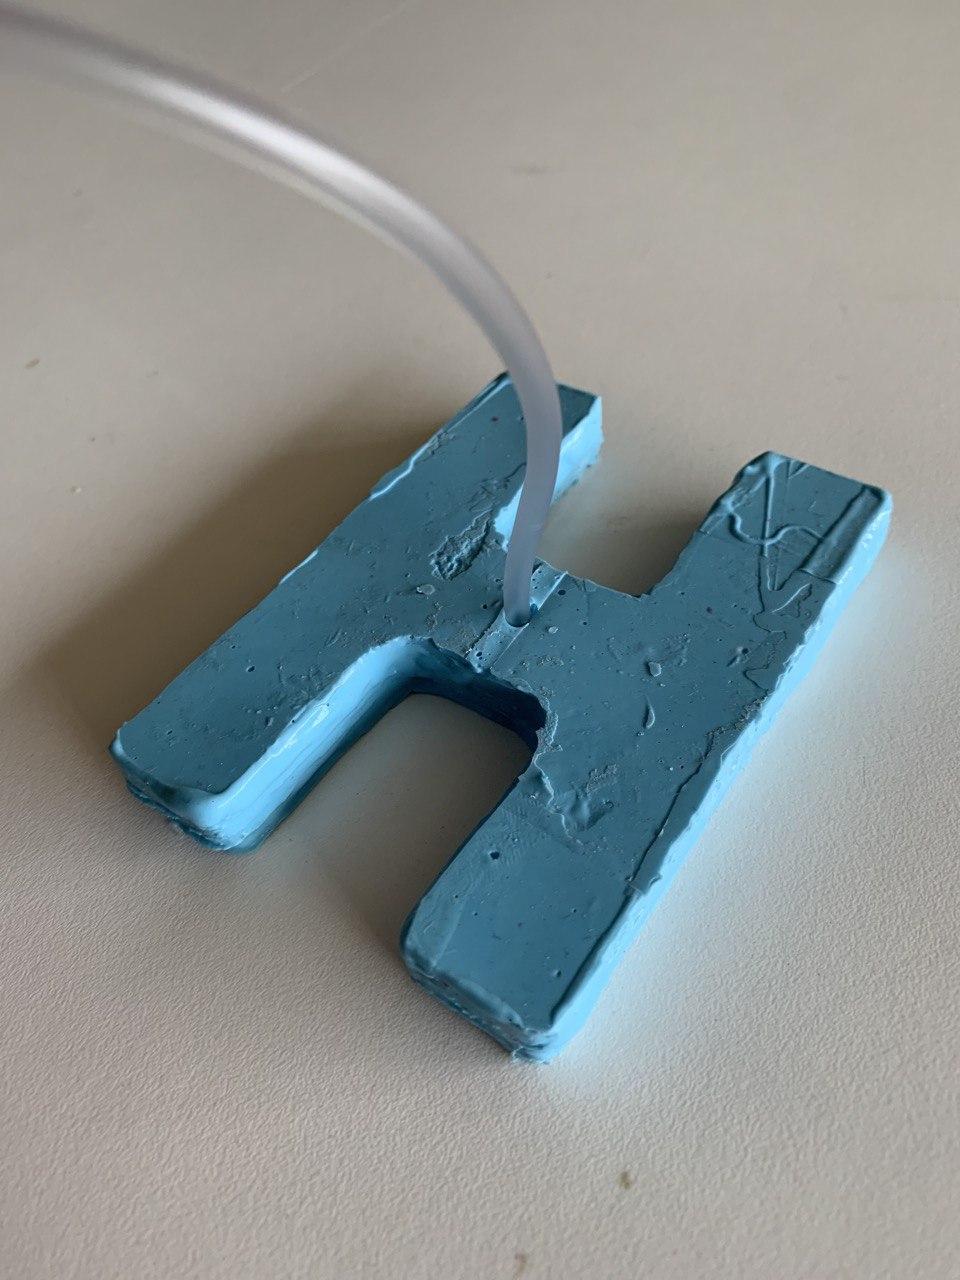
I made a 3mm diameter extrusion for inserting the tube to pump air into the air passage.
Casting
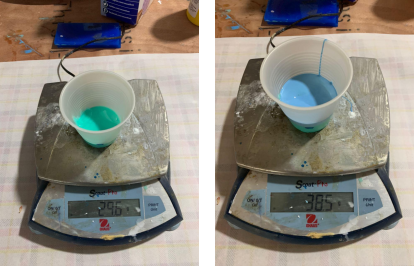
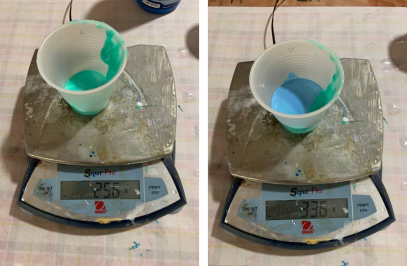
I used Silicone rubber for casting. The silicone rubber available in our lab is Smooth-On OOMOO 25. Reffer WEEK 15 to know more about casting using silicone rubber. Took Part A 29.5g and Part B 38.5g.
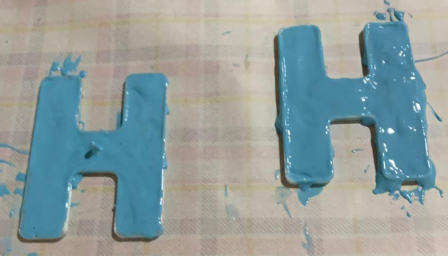
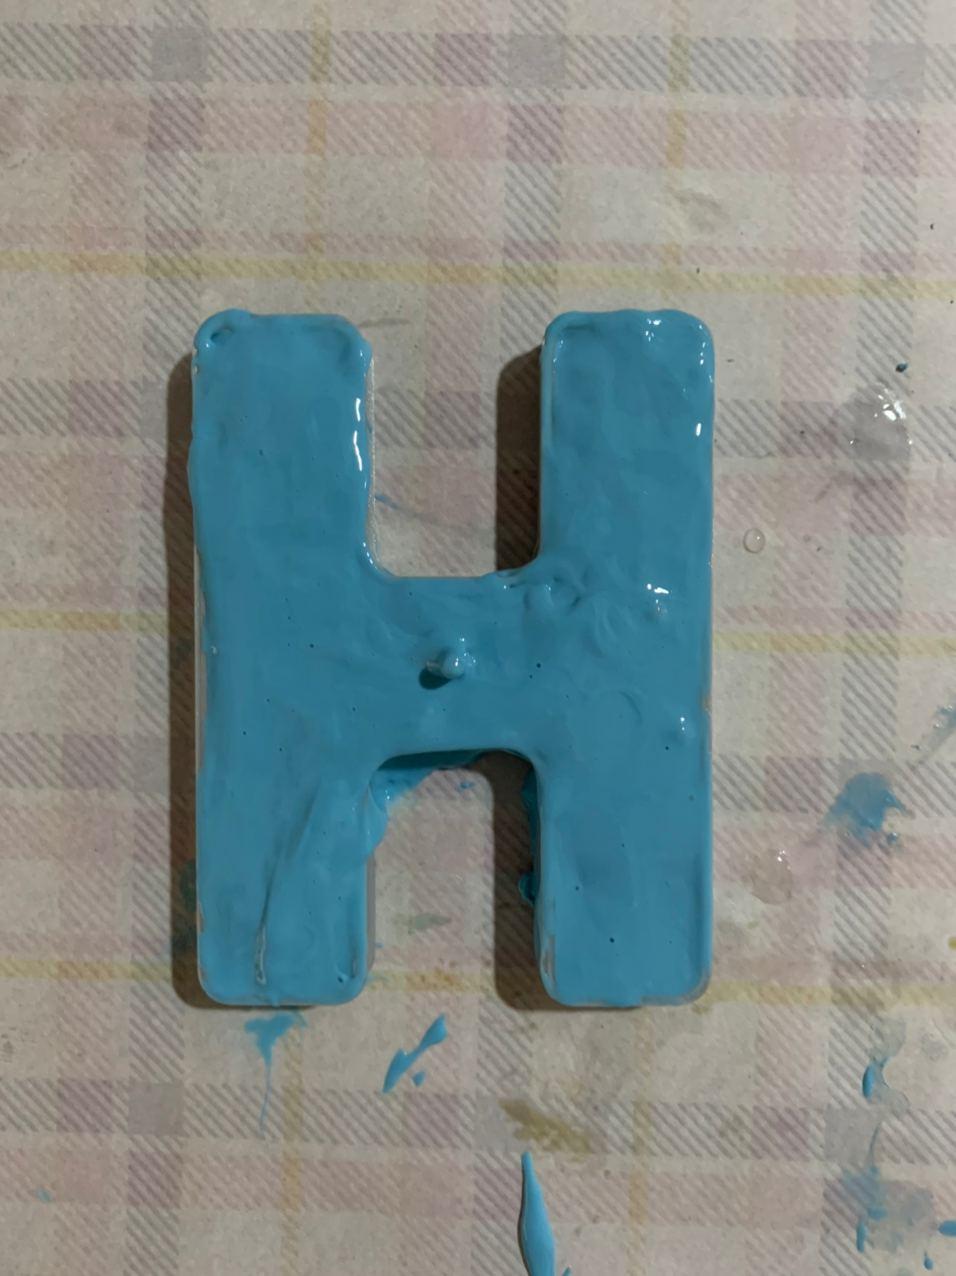
After mixing both the mixture thorougly, I poured it into the mould and allowd it to cure for 75min.
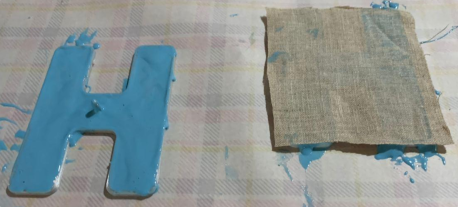
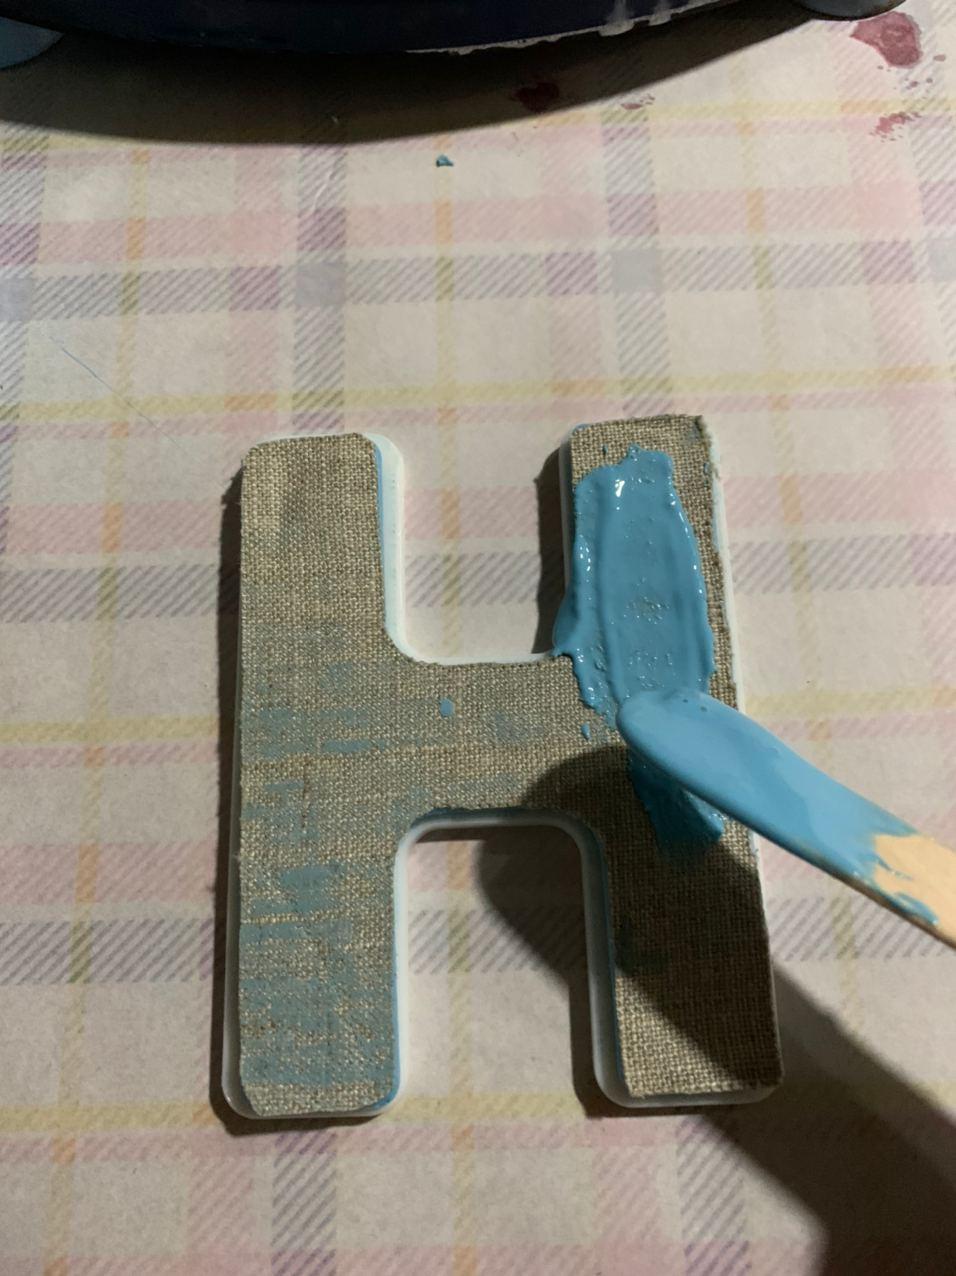
I place a piece of linen fabric onto the suface of the bottom mould. When the silicone rubber cures the fabric will stick onto it. This fabric will prevent the bottom layer silicone rubber to inflate, instead it will allow this layer to bend.
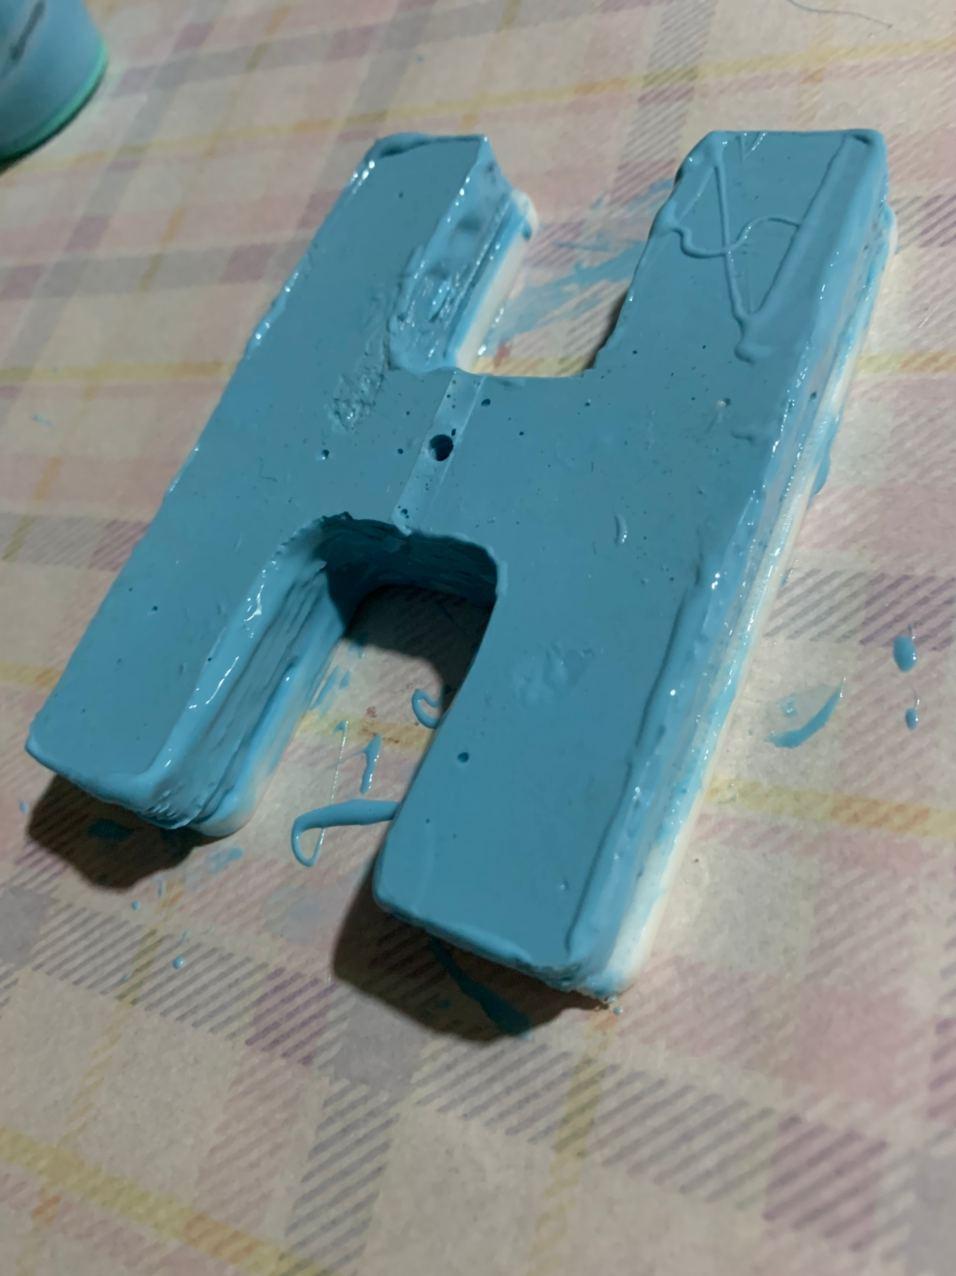
After curing I took the silicone rubber from the mould.
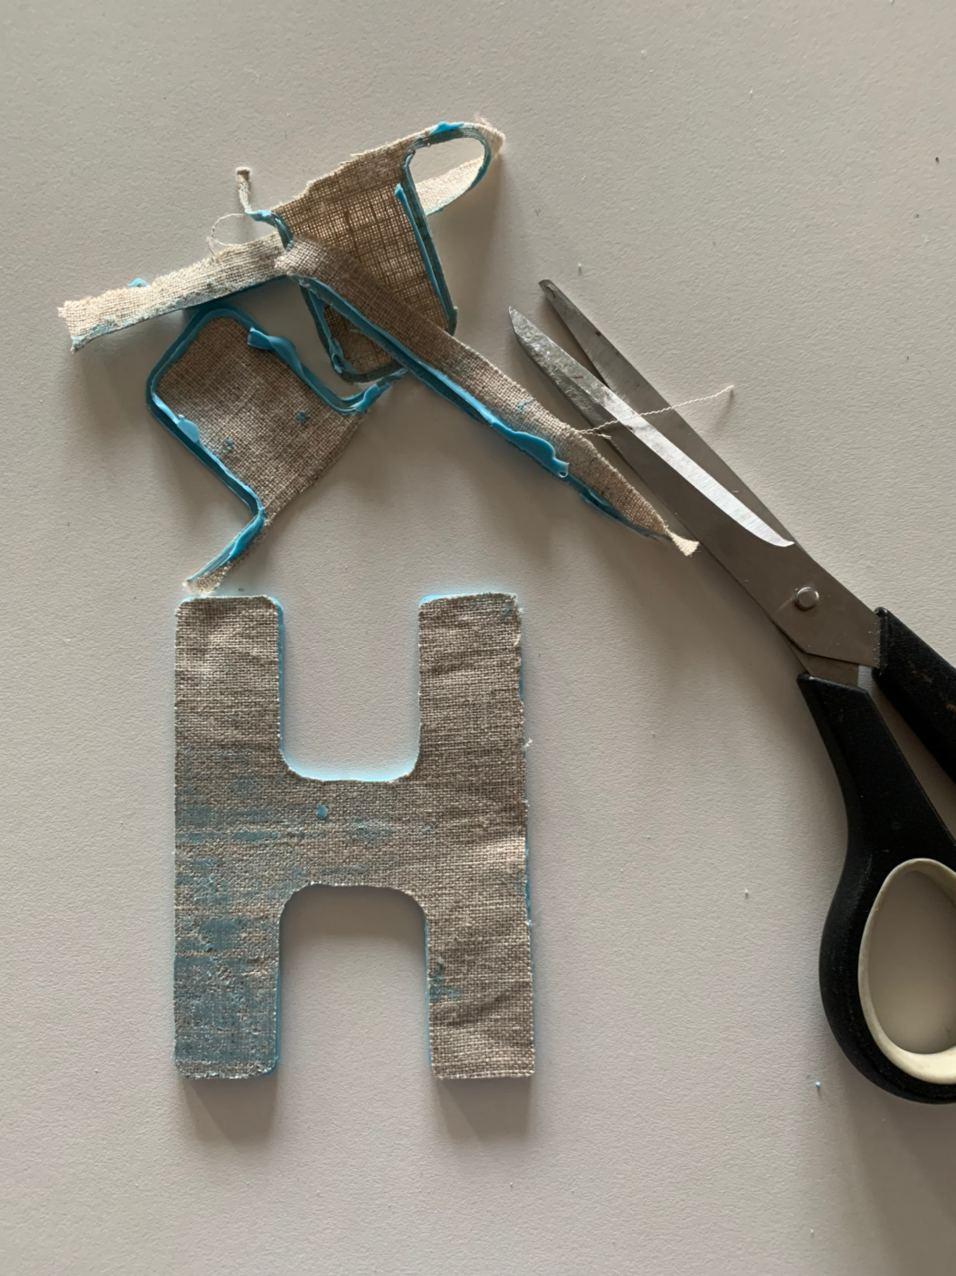
Trimed out the excess fabric from the bottom layer.
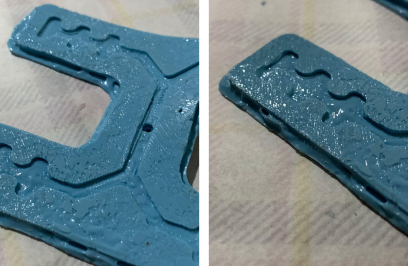
Mistake !!!! The 1mm recess for the air passage and the cavities is too less for the arm to work properly.
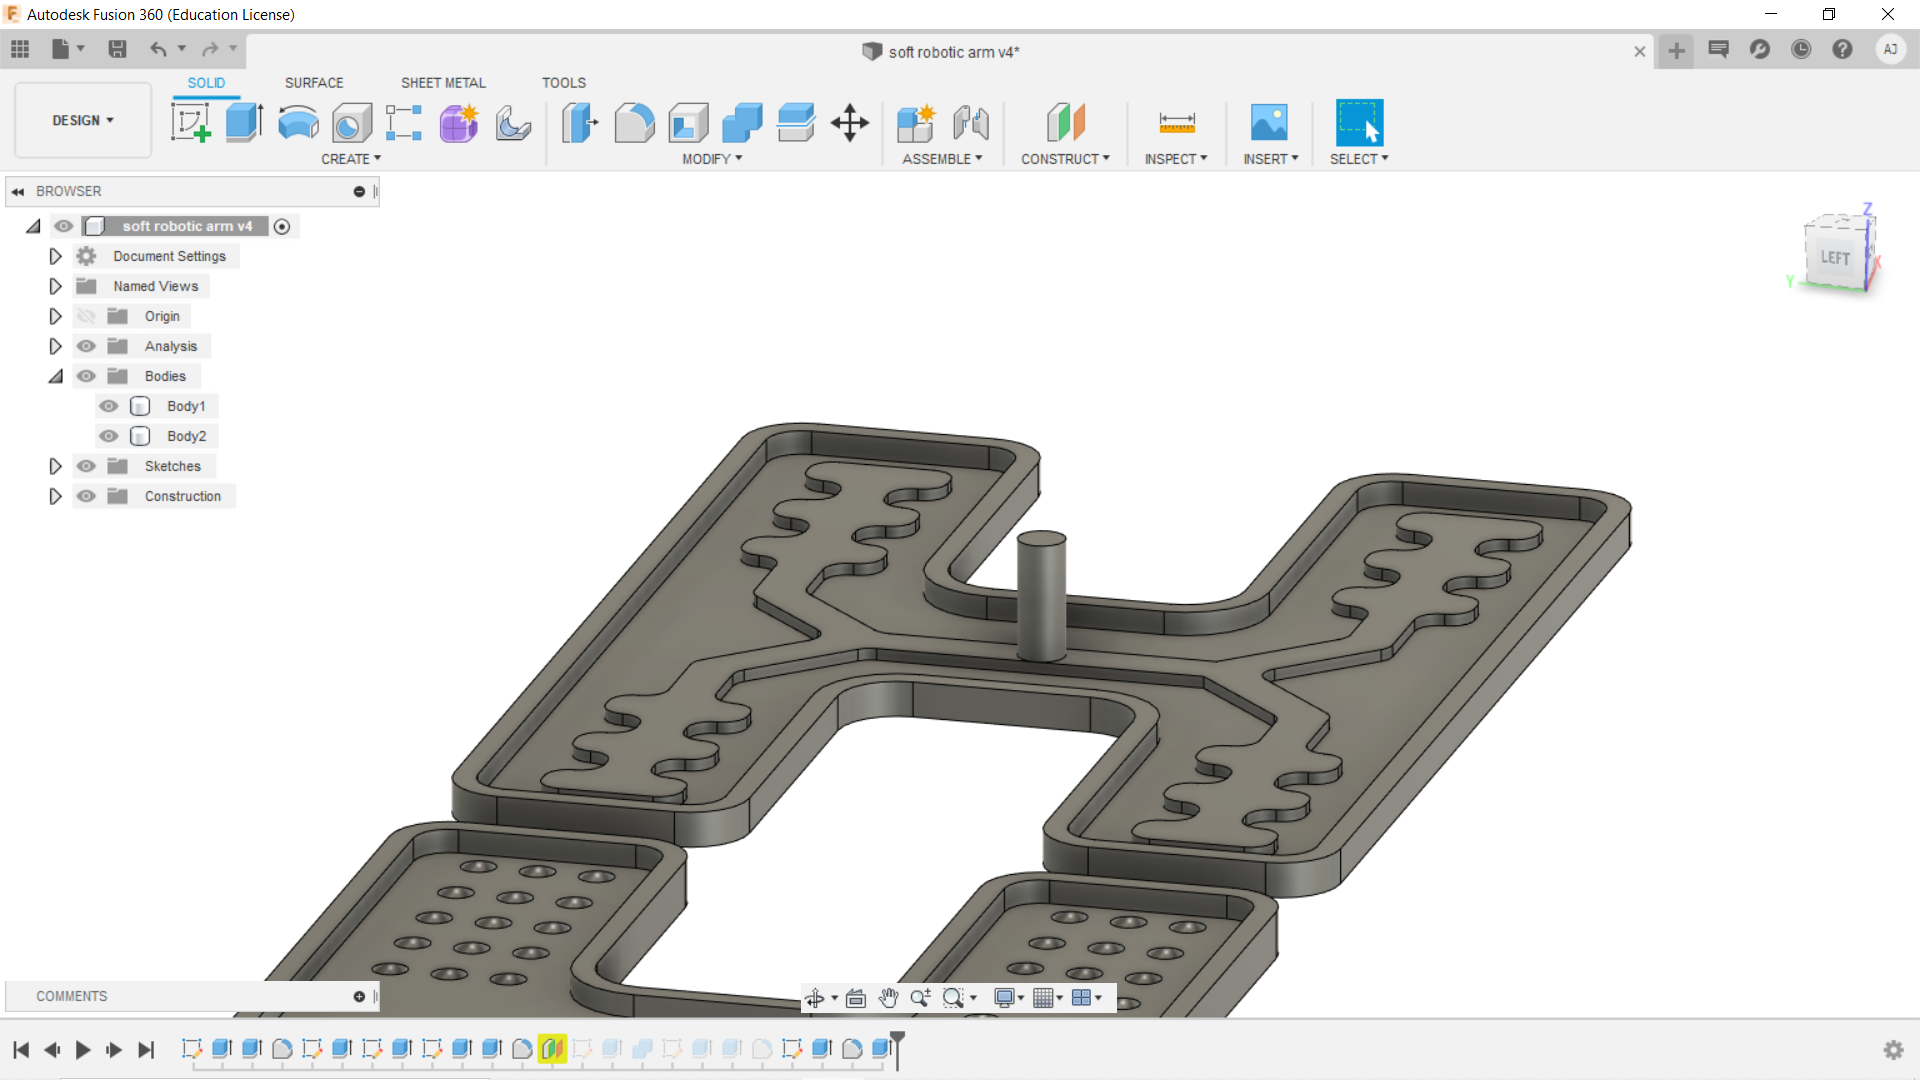
So I re-designed the bottom mould. This time I increased the thickness of the mould to 8mm and the cavities to 4mm.
3D Printed the part.
Took the required amount of silicone rubber.
Mixed both the parts and poured the mixture into the mould and kept it for curing for 75min.
After curing, took out the casted part from the mould. Now there is sufficient space for air to flow through the cavities.
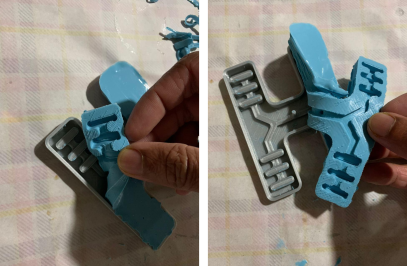
Now both the parts are ready to be joined together.
For joining both these parts, I applied silicone rubber miture onto the linen fabric side of the bottom part.
Then I placed the top part onto it.
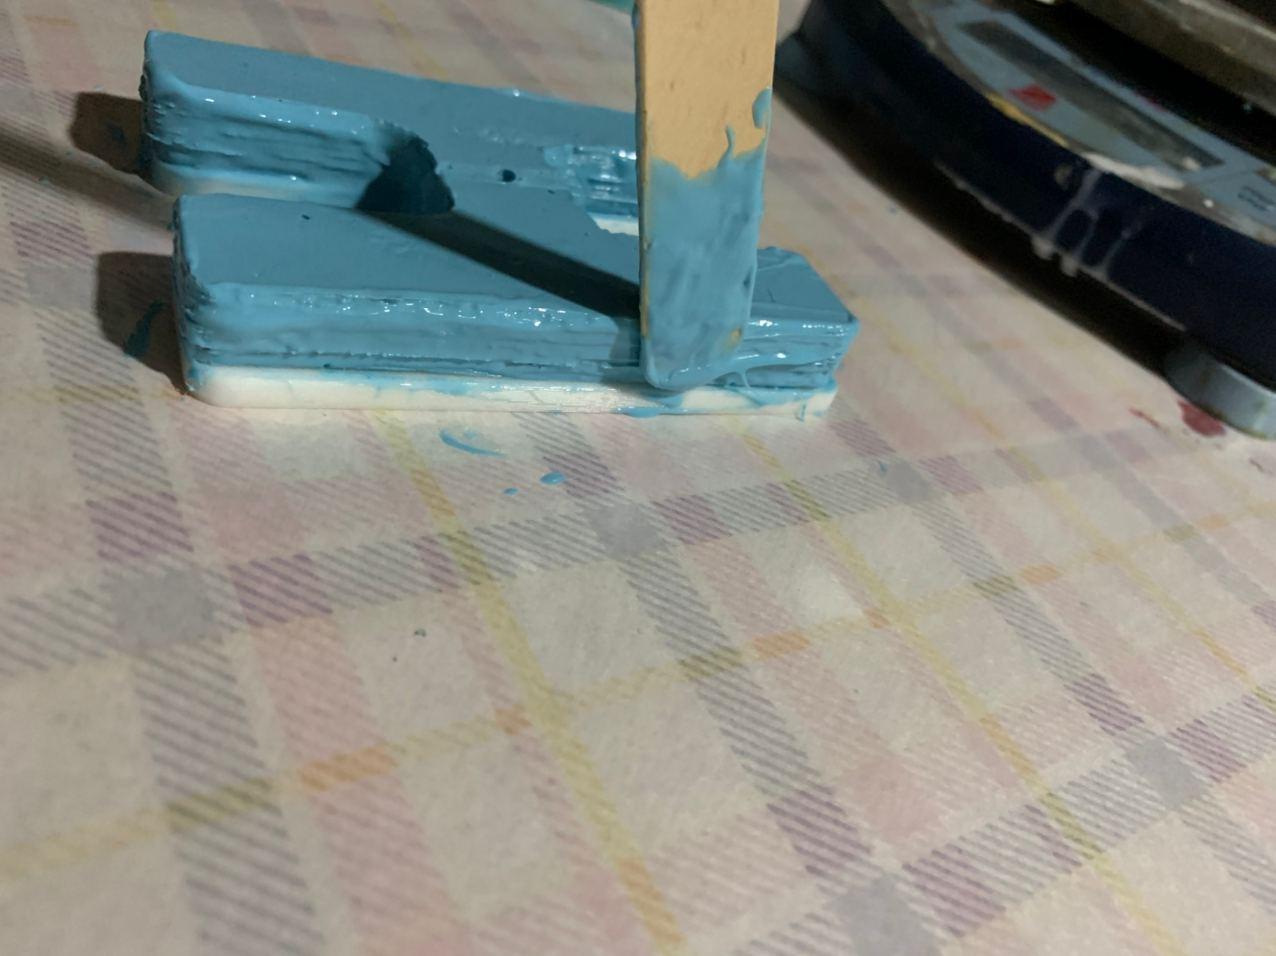
Then I applied the silicone rubber mixture on all the sides to prevent air leakage.
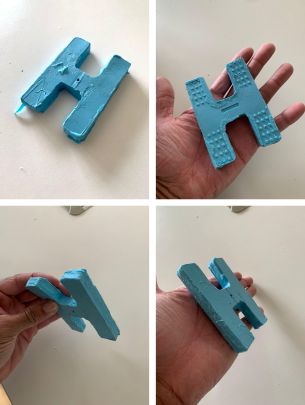
After curing, both the parts got joined and the soft-robotic arm is ready.
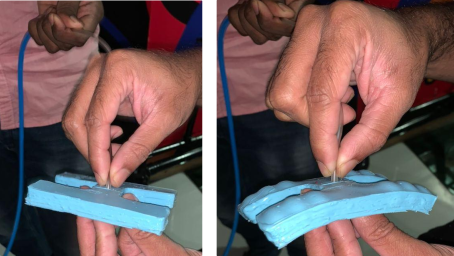
Then I inserted a 4mm tube into the hole to supply air.
I supplied air using the compressor, and it worked.
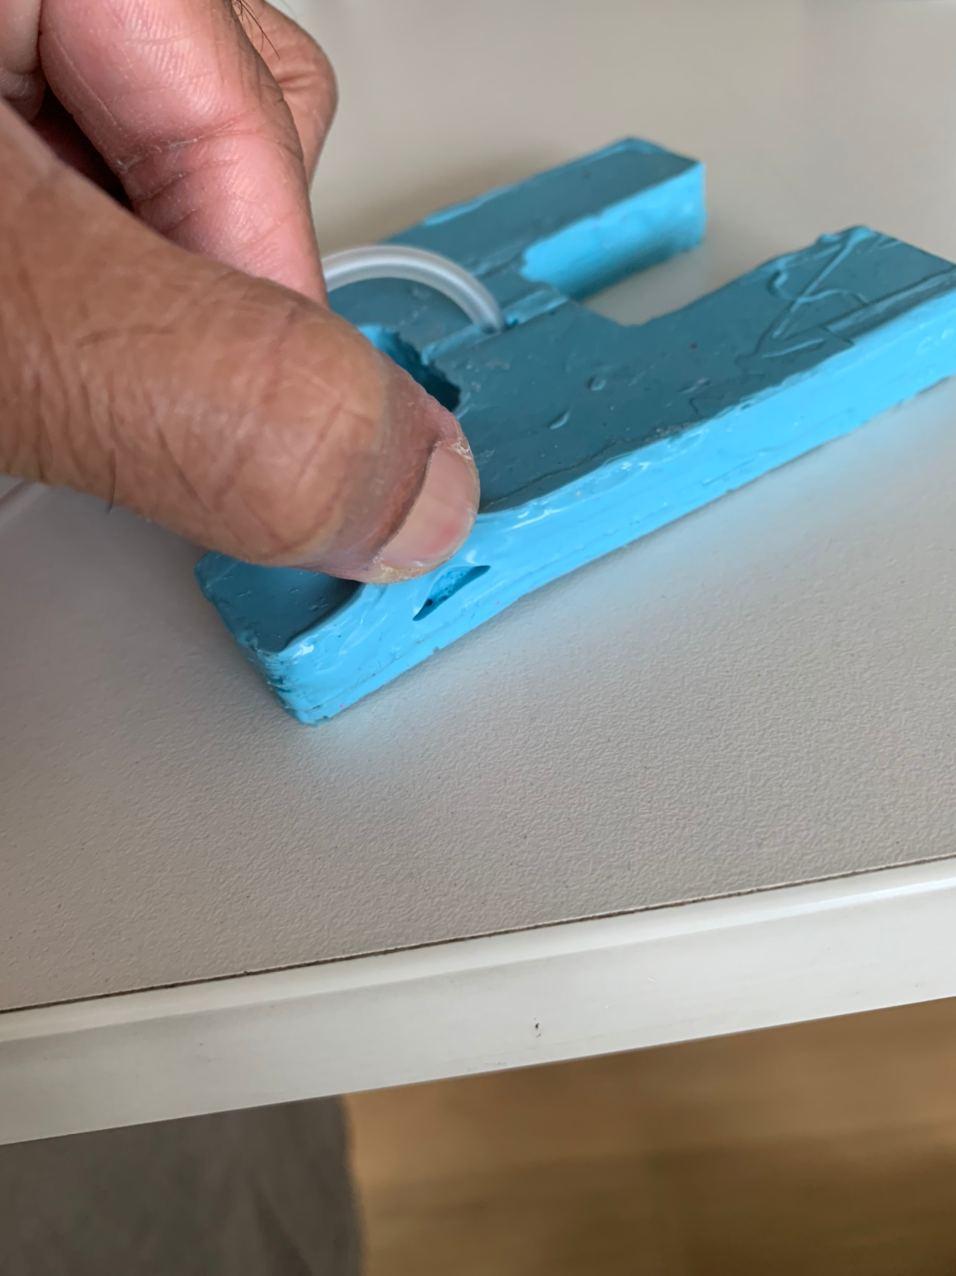
Result
I was not satisfied with the result of the soft robotic arm because, one of the finger popped during the first attempt. It can be because of unregulated air flow or may be the grade of the silicone rubber used may not be sufficient. Use of latex instead of silicone is also a better option.