Week 4
Computer-Controlled Cutting
Objectives
Individual Assignment
Group Assignment
Learning Outcomes
Individual Assignment
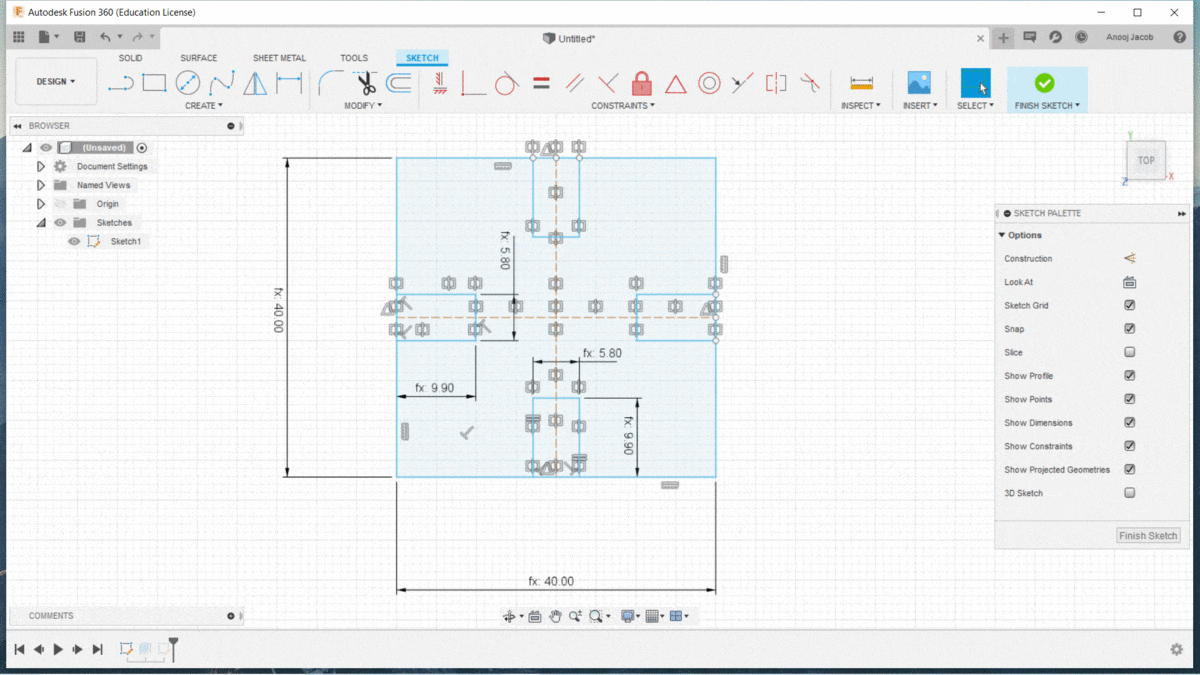
Parametric Construction Kit
1) Square
2) Rectangle
3) Circle
4) Triangle.
In order to make the shapes parametric, I gave 3 parameters:
1)Thickness - this is used to define the thickness of the cardboard
2)Length - this is used define the sides of square, the longer side of rectangle is 2*length, the radius of the circle given as length and the height of triangle is also given as length.
3)Offset - this is used to define how much the laser have to be kept offset from the actual line to obtain the exact dimension after cutting.
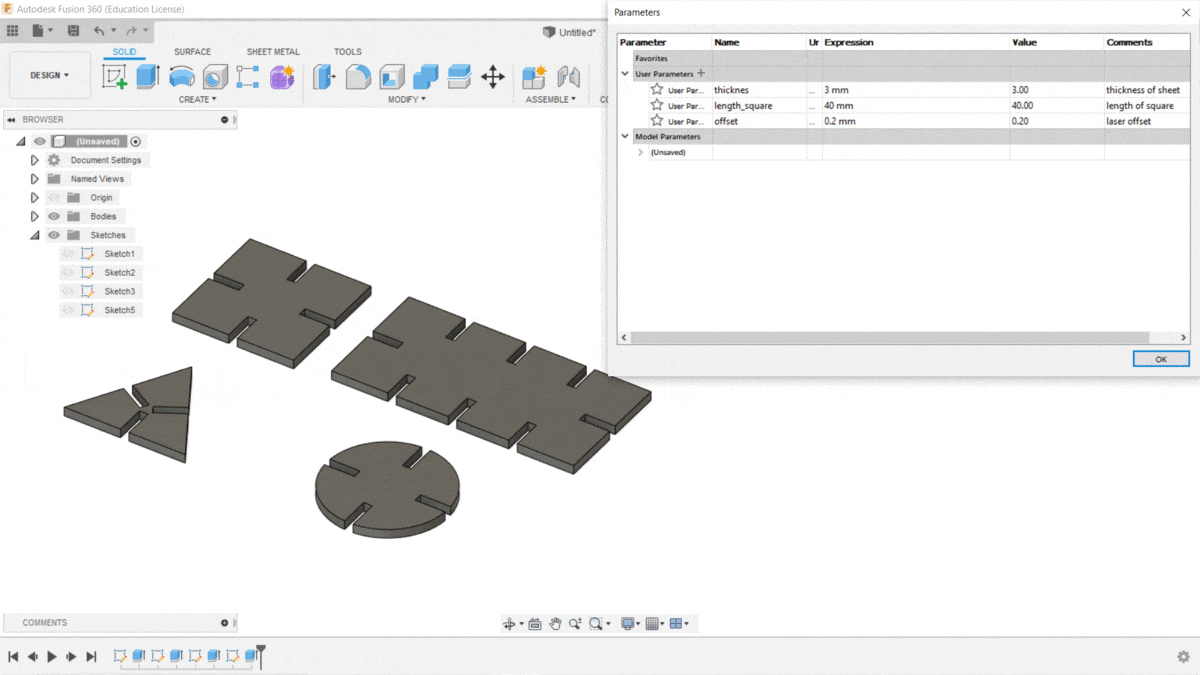
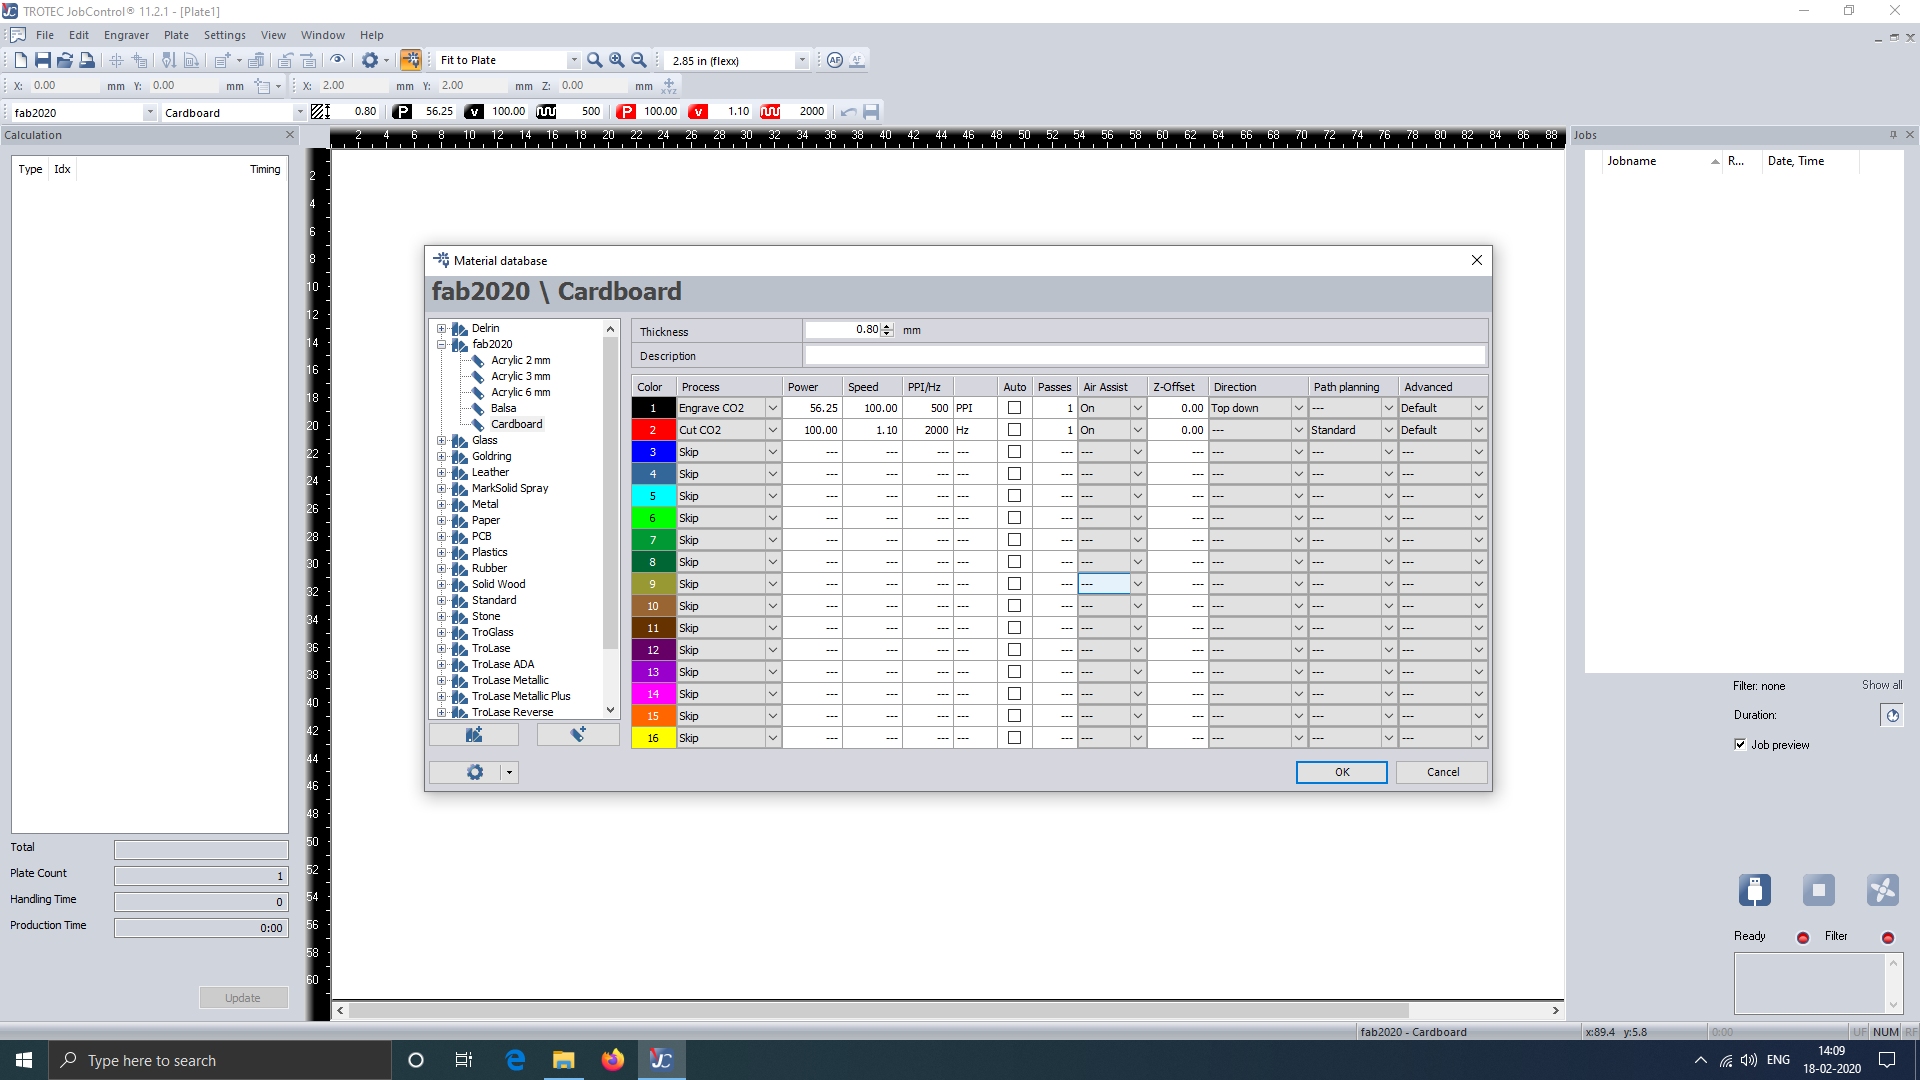
Then I measured the thickness of the cardboard to be cut using a vernier caliper. The thickness measured was 3.78mm but I rounded it off and took 4mm. I did a test cut on the cardboard and found that the kerf is coming around 0.5mm so I took the offset value as 1mm.

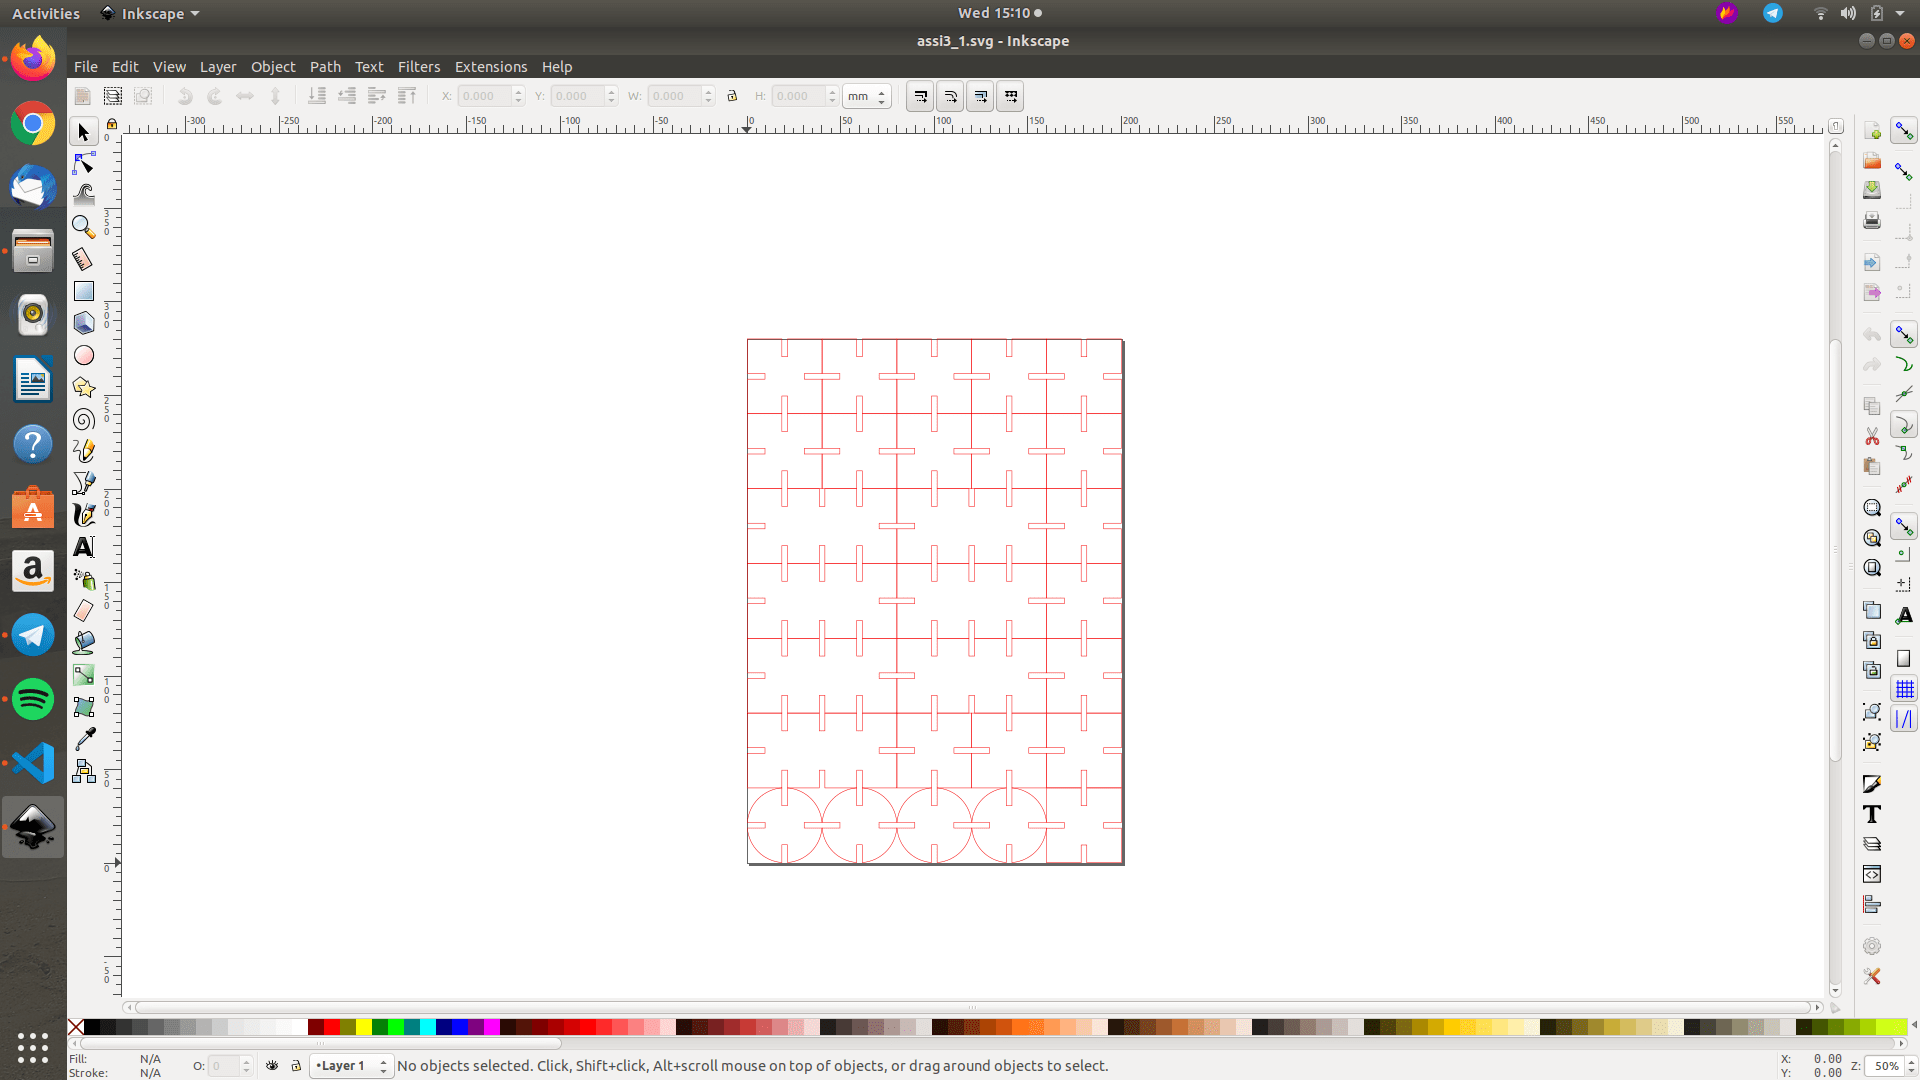
Then I exported the drawings to Inkscape and aligned it as shown to obtain the number of pieces as per my requiremnet and gave it for cutting.
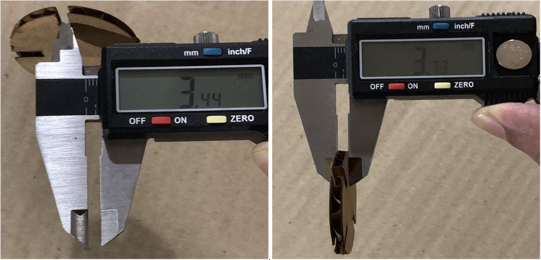
I took the cut out and measured it. The slot width came to be 3.44mm, but as per my design it should be 3mm. So there was some error in the kerf value I got from the test cut. It can be because, maybe the laser wont be focused properly or beacuse the cardboard may have bends. But I got a slight tight fit between the pieces, maybe because I rounded off and took the thickness to be 4mm where the actual thickness was 3.7mm.
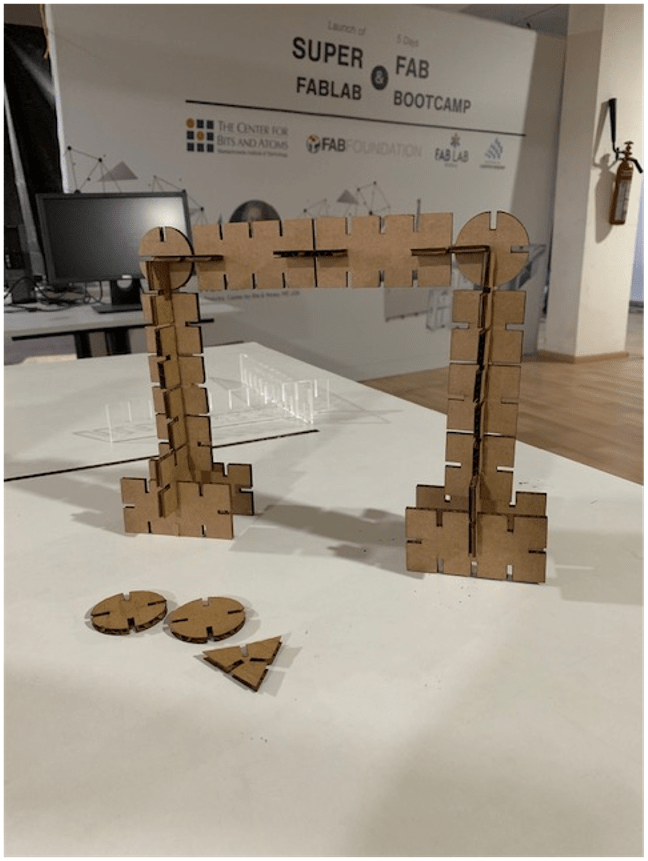
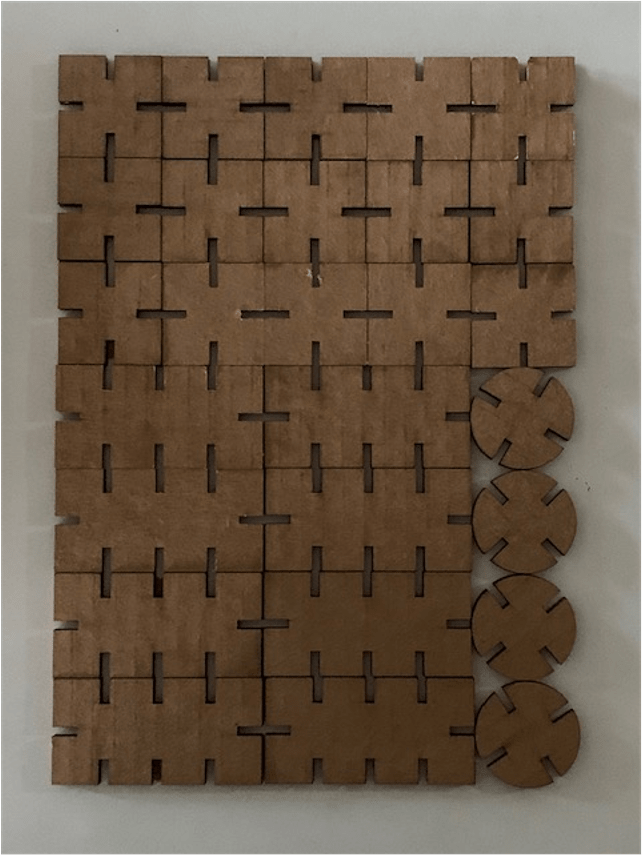
This is what I made using the construction kit.
I didn't use the triangles because they weren't strong.
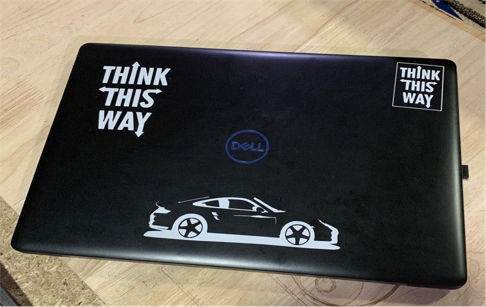
Vinyl Cutting
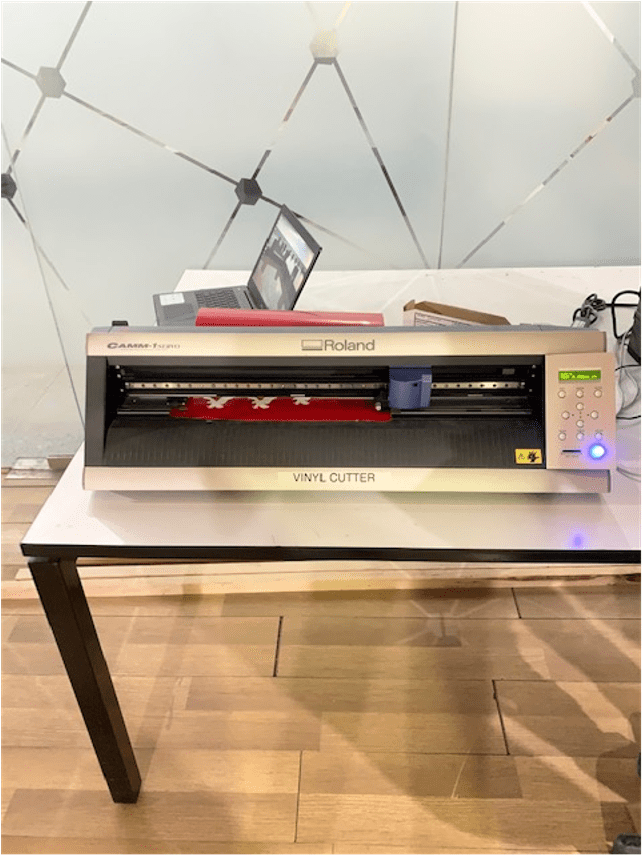
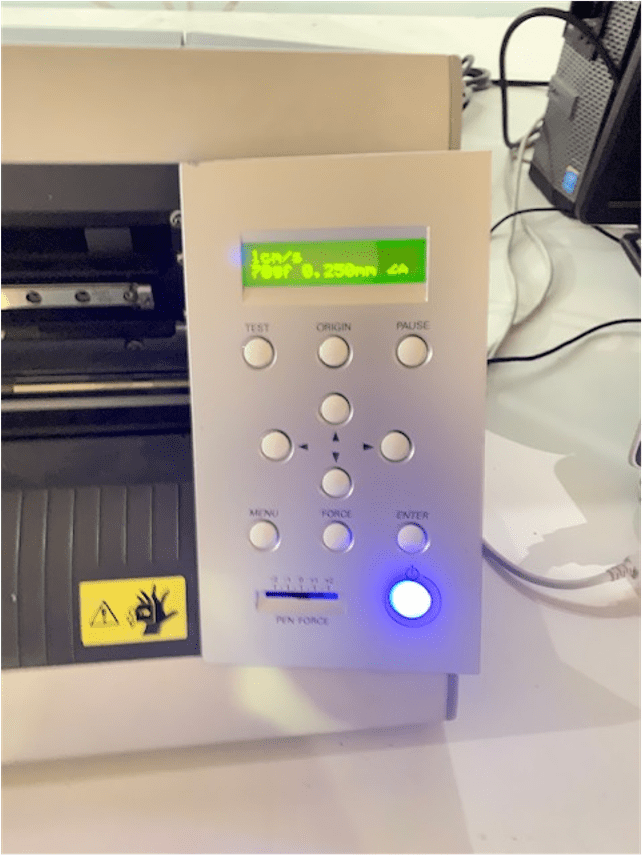
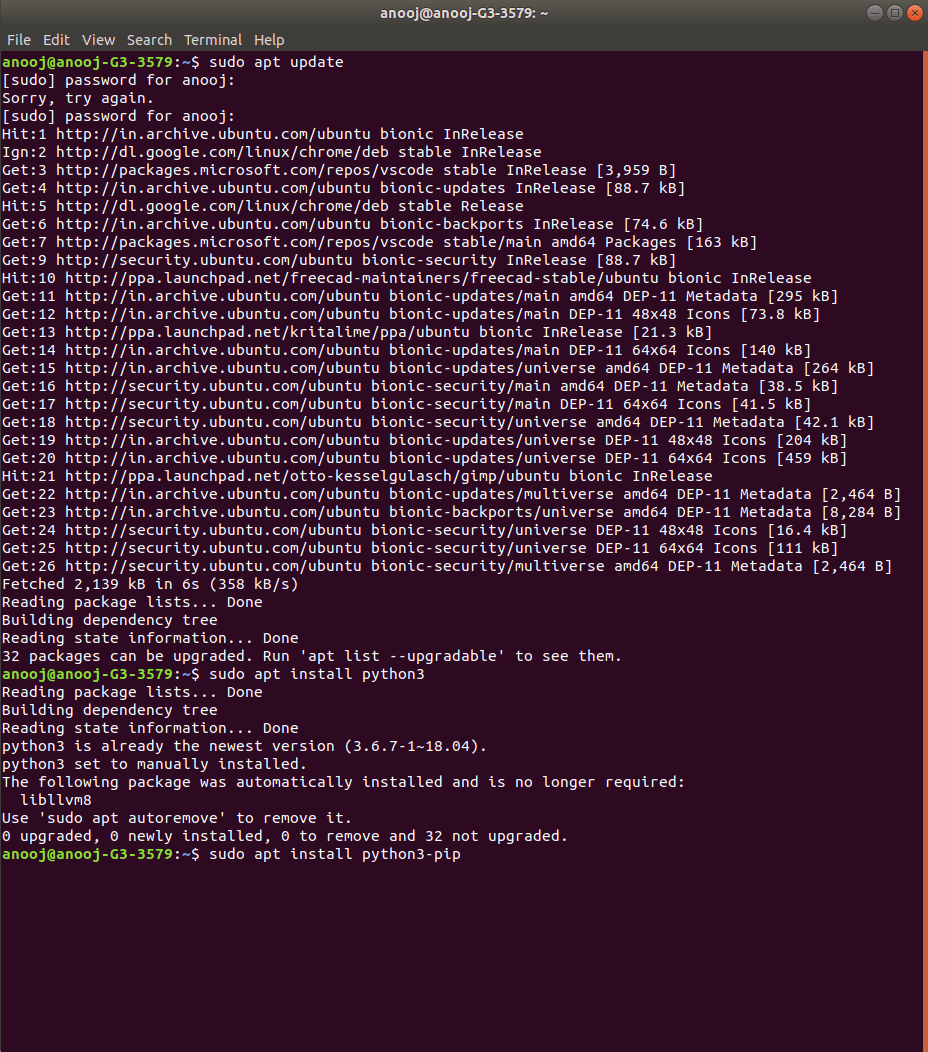
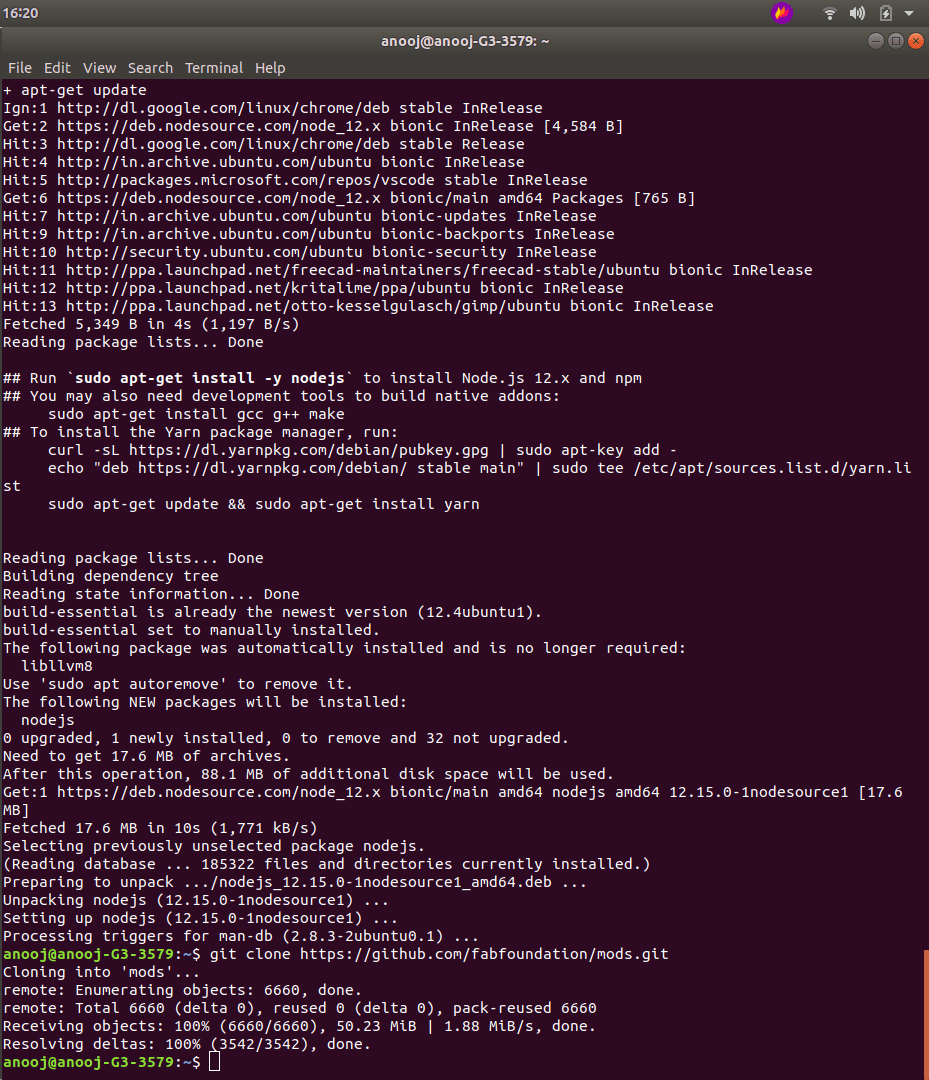
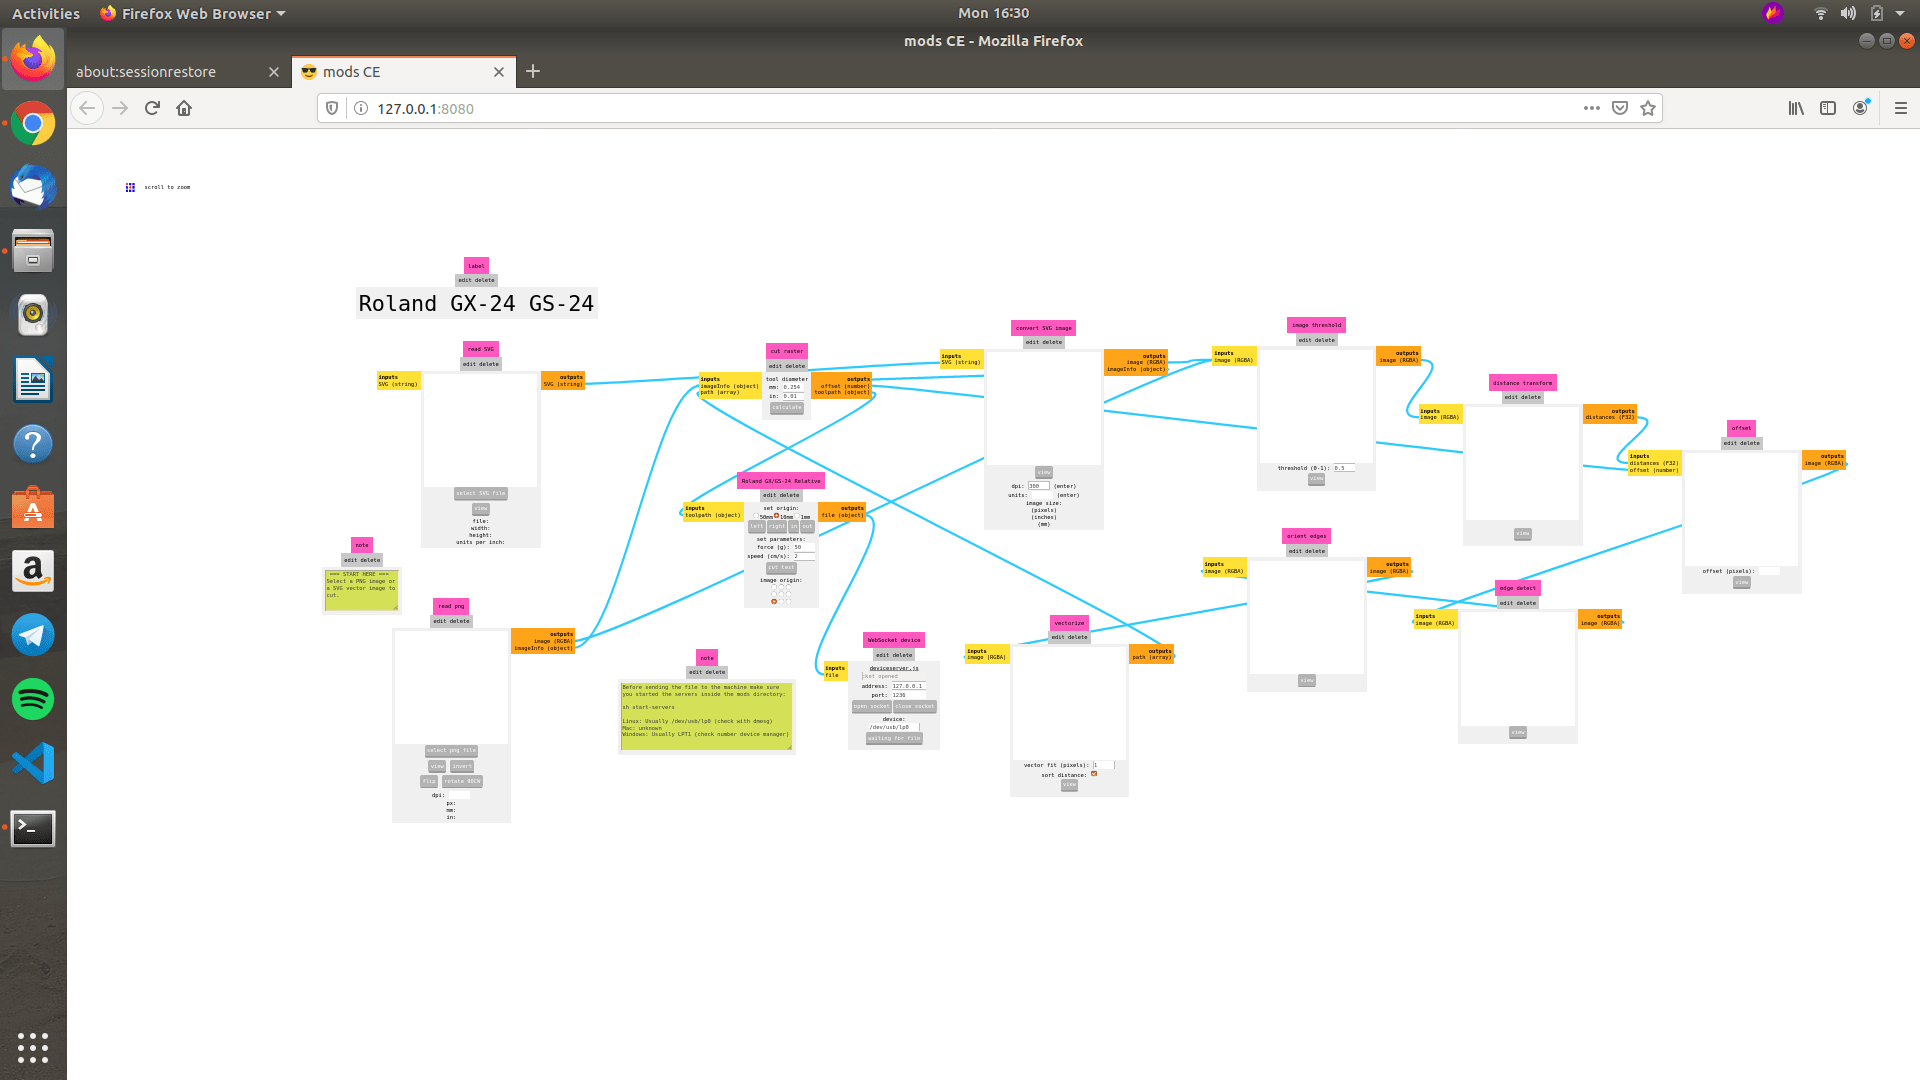
I used MODS to cut the vinyl. So first I installed MODS in my computer by reffering the instructions from gitlab.com/fabfoundation/mods
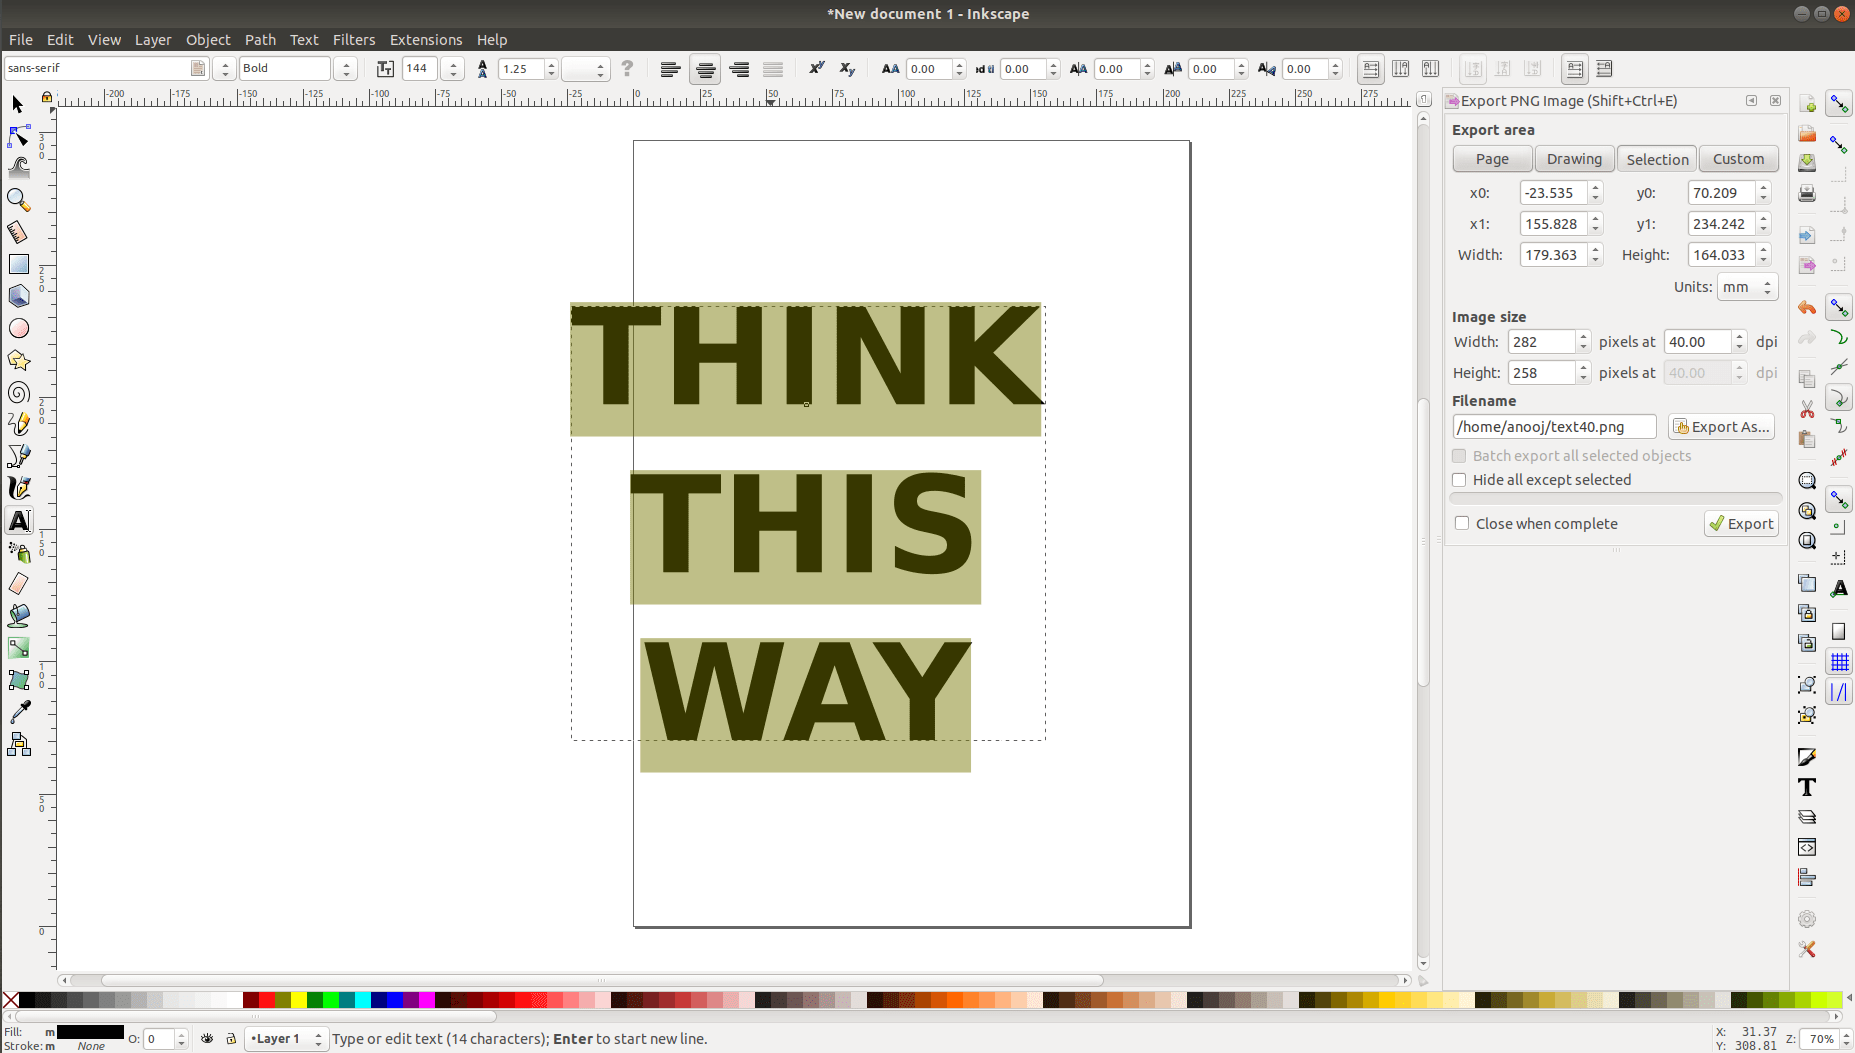
I made a design using Inkscape. So using the Text Tool I wrote the text on the page.
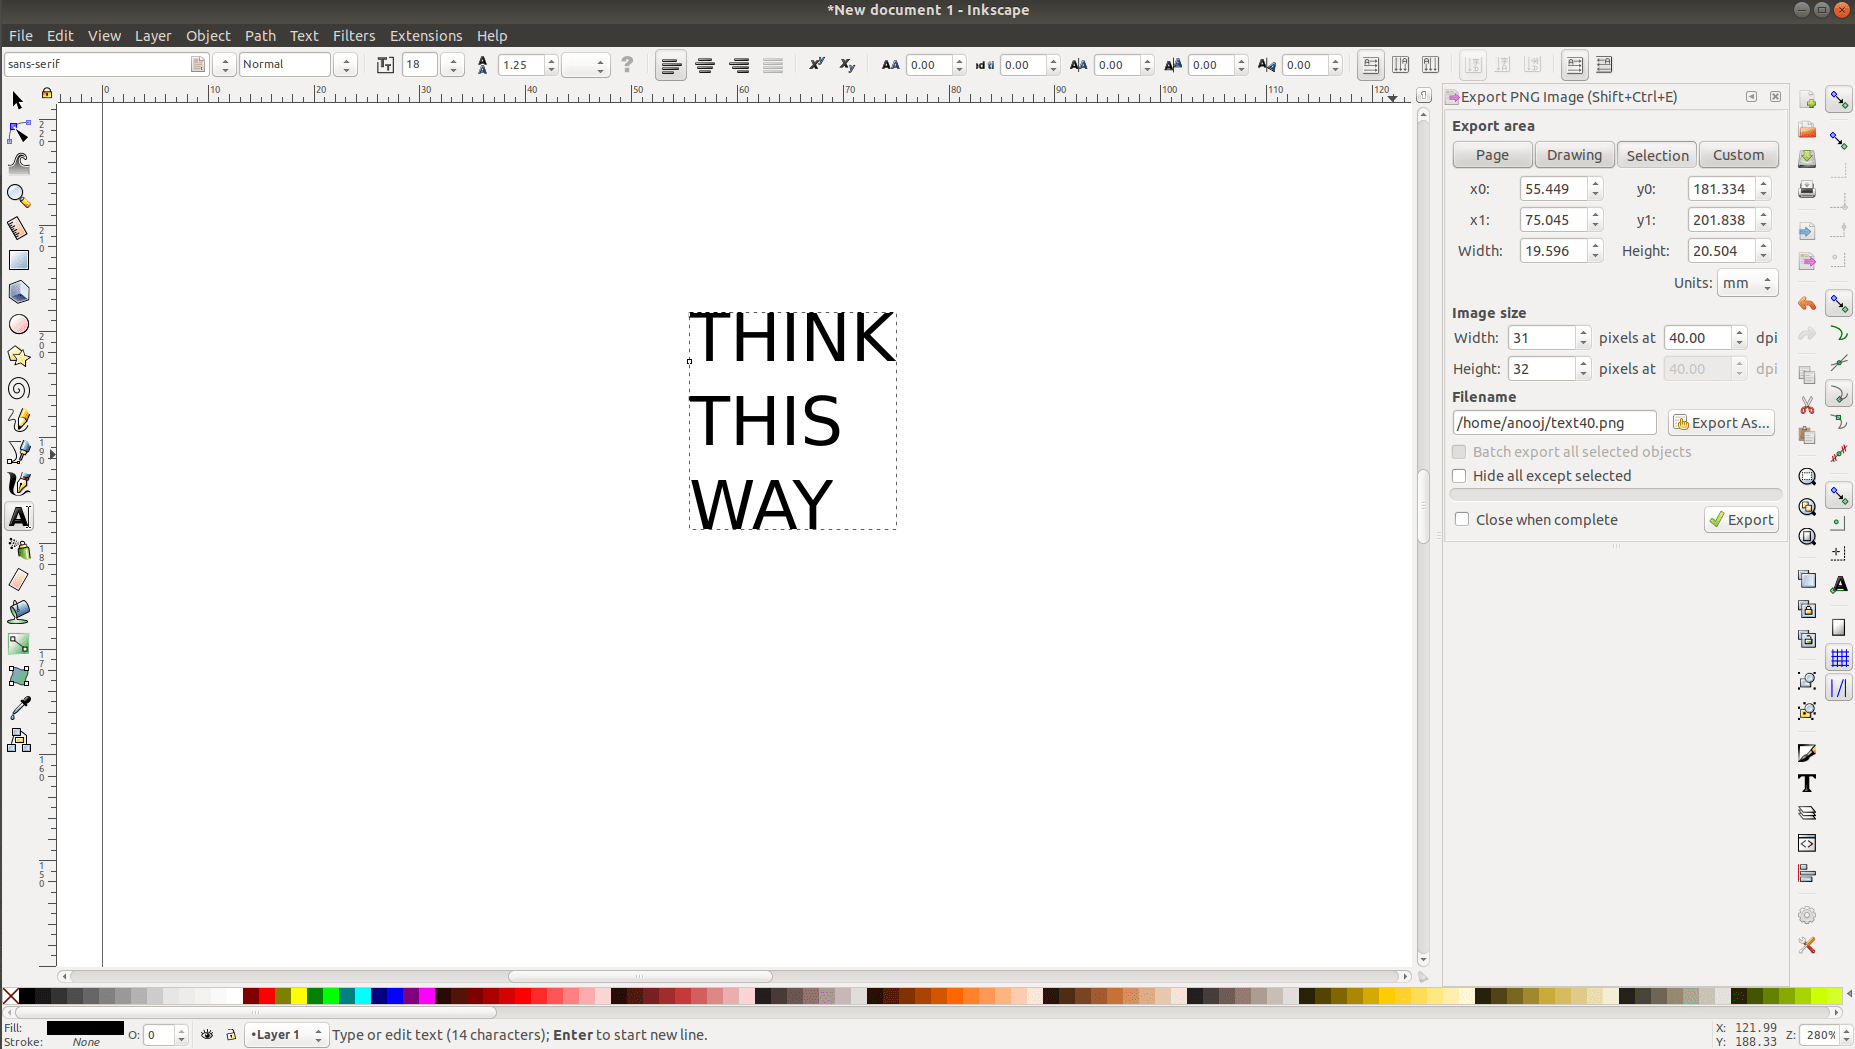
Then I selected the text and made it bold, increased the font size and then alingned the text ti center.
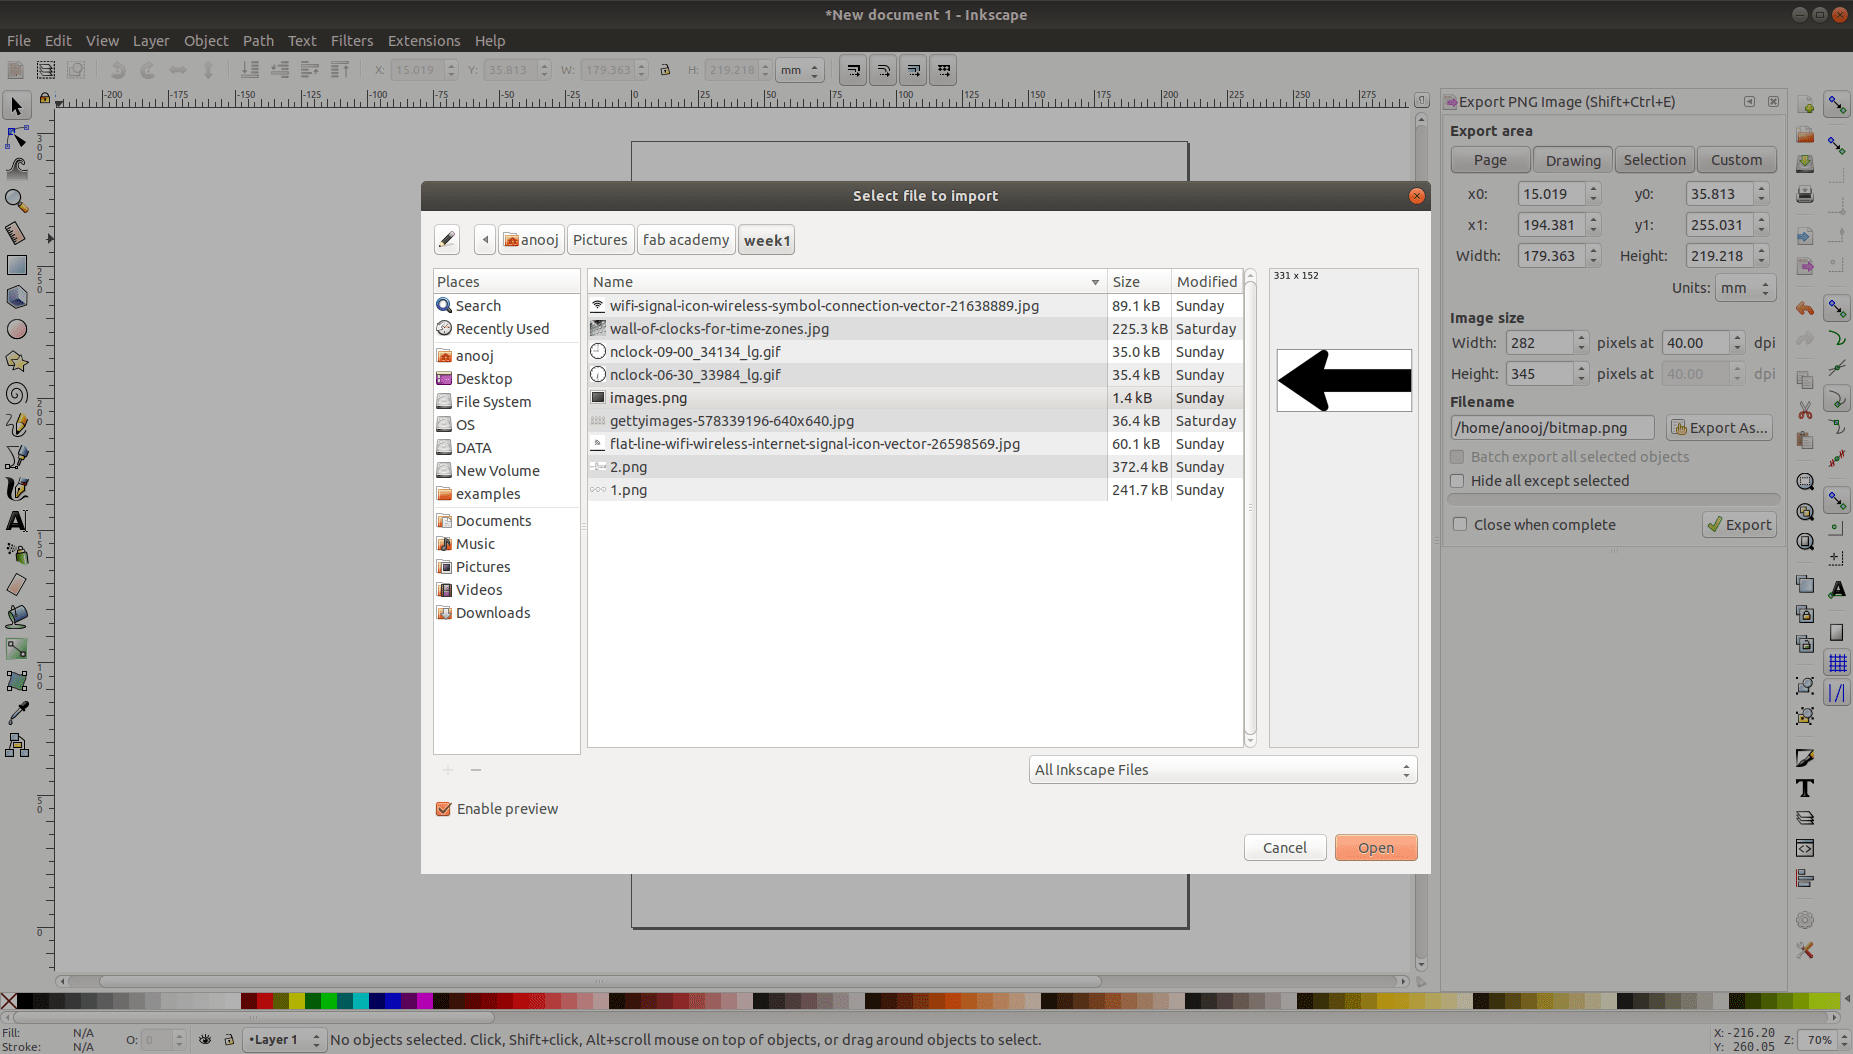
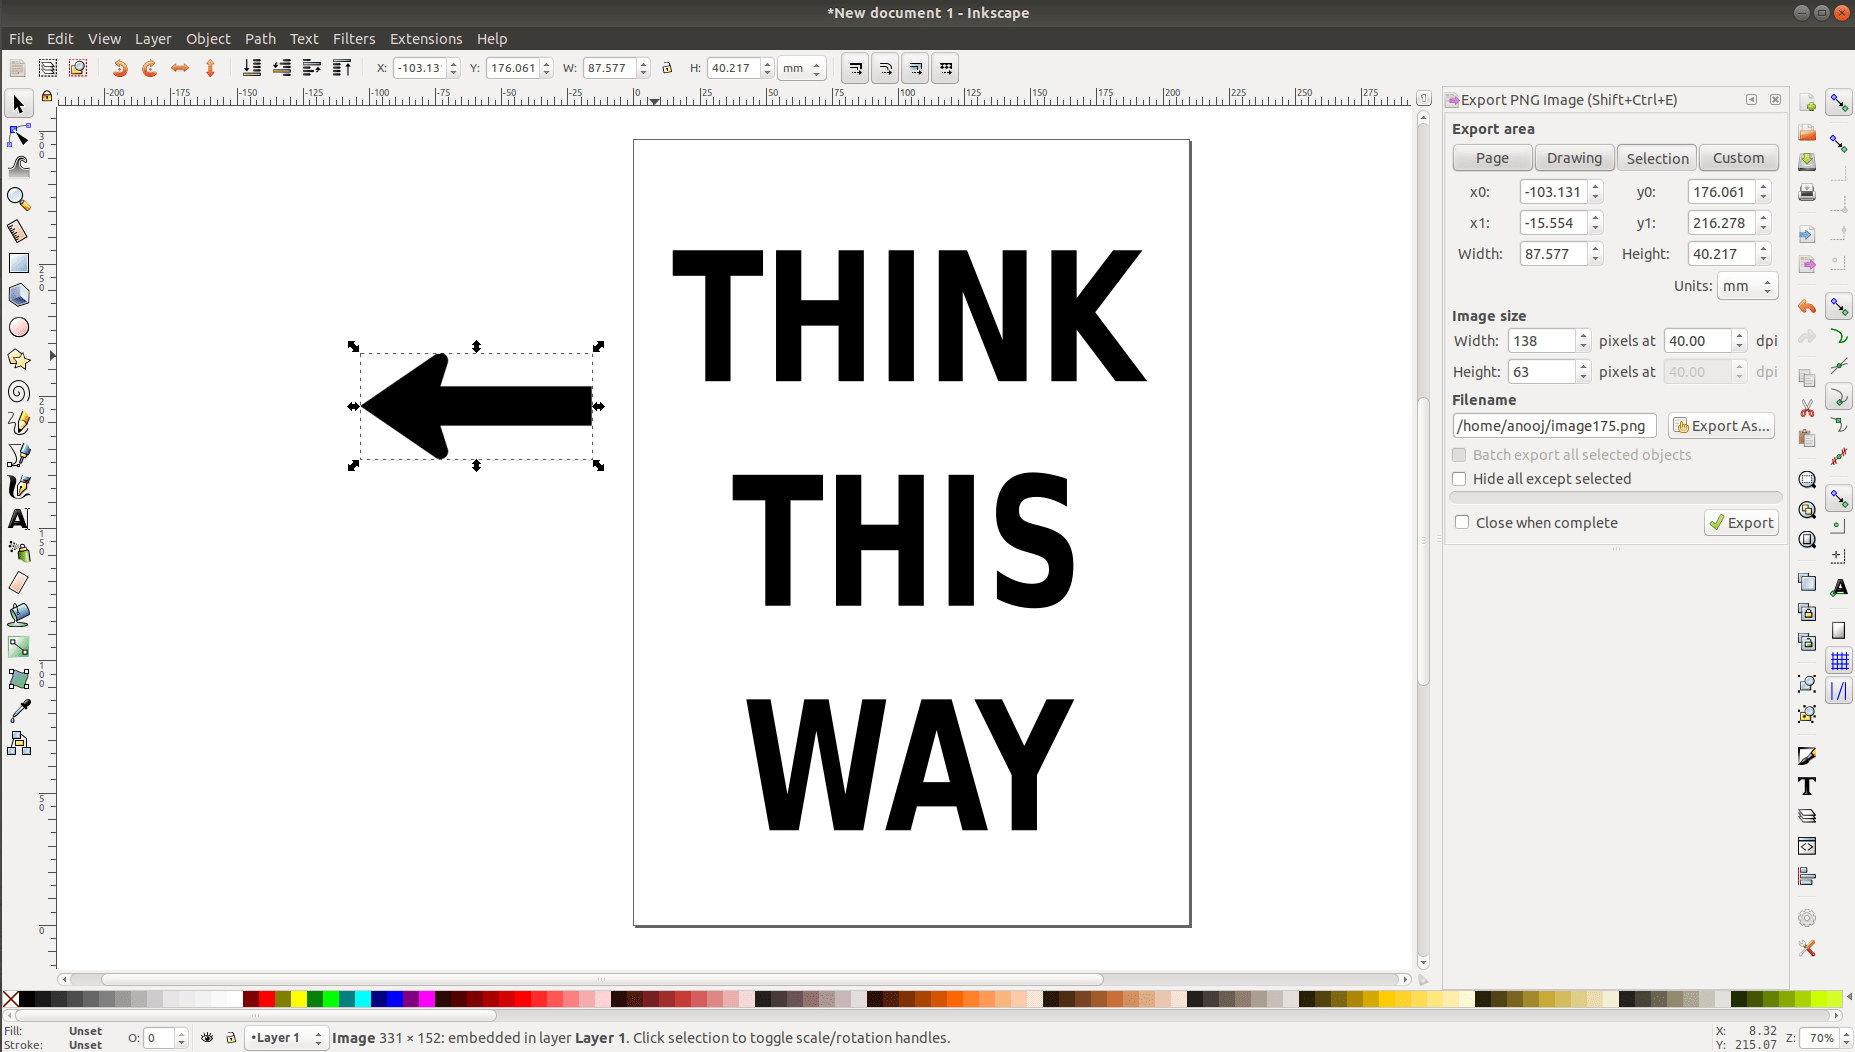
Then I downloaded a png file of an arrow from internet and imported it into inkscape.
Using the Transform Tool to resize and rotate.
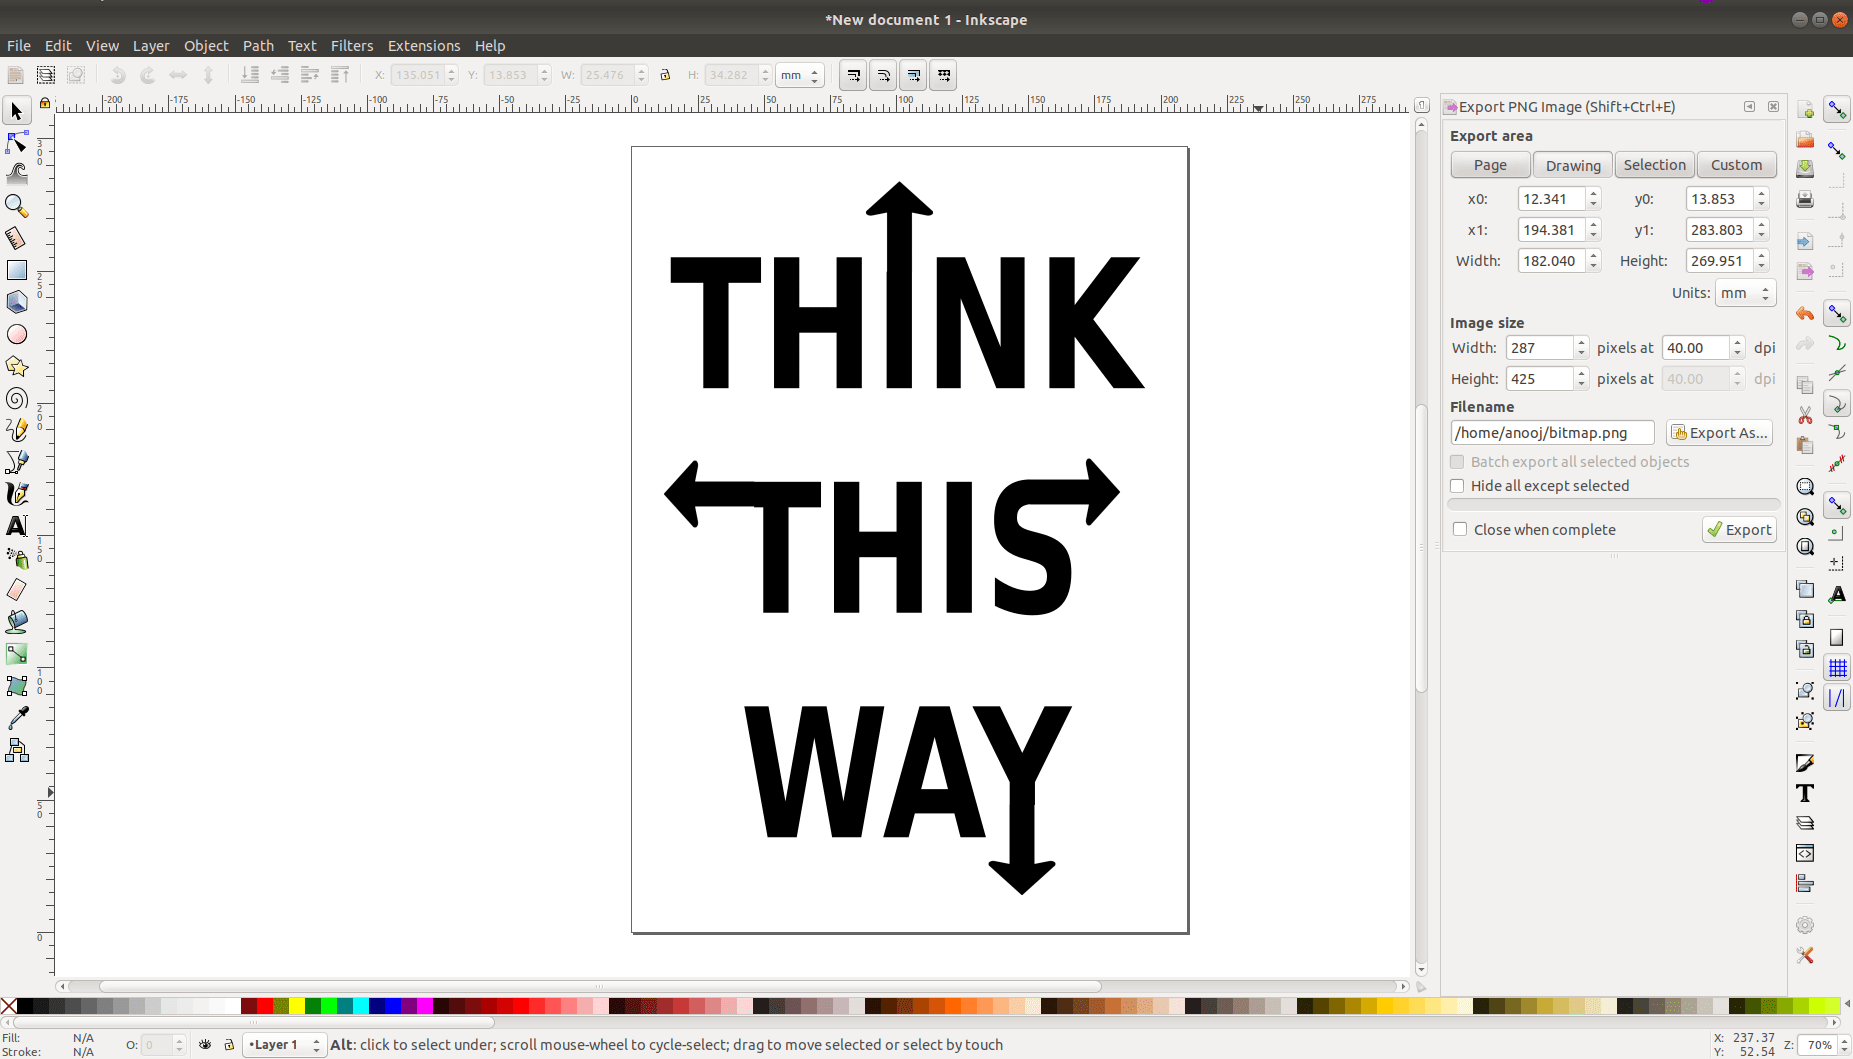
I made copies of the arrow and then positioned all of them.
I gave black border around the text using the Rectangle Tool.
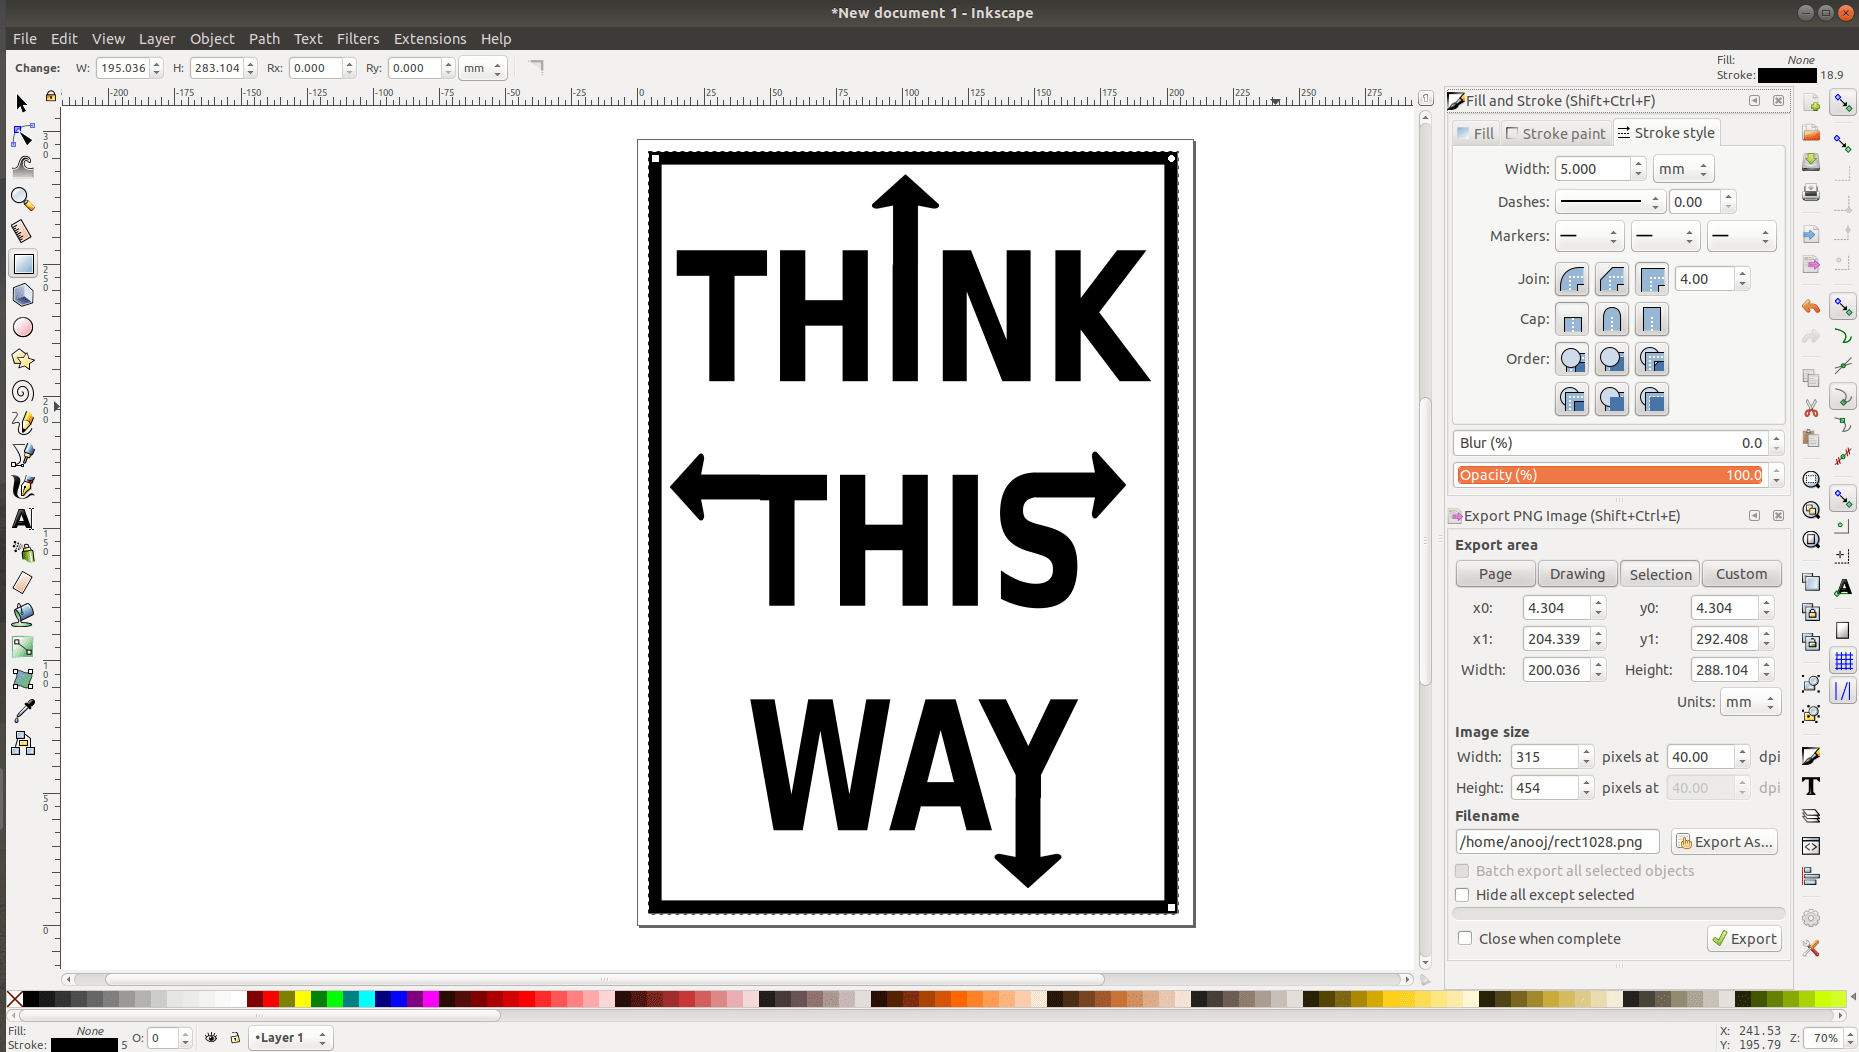
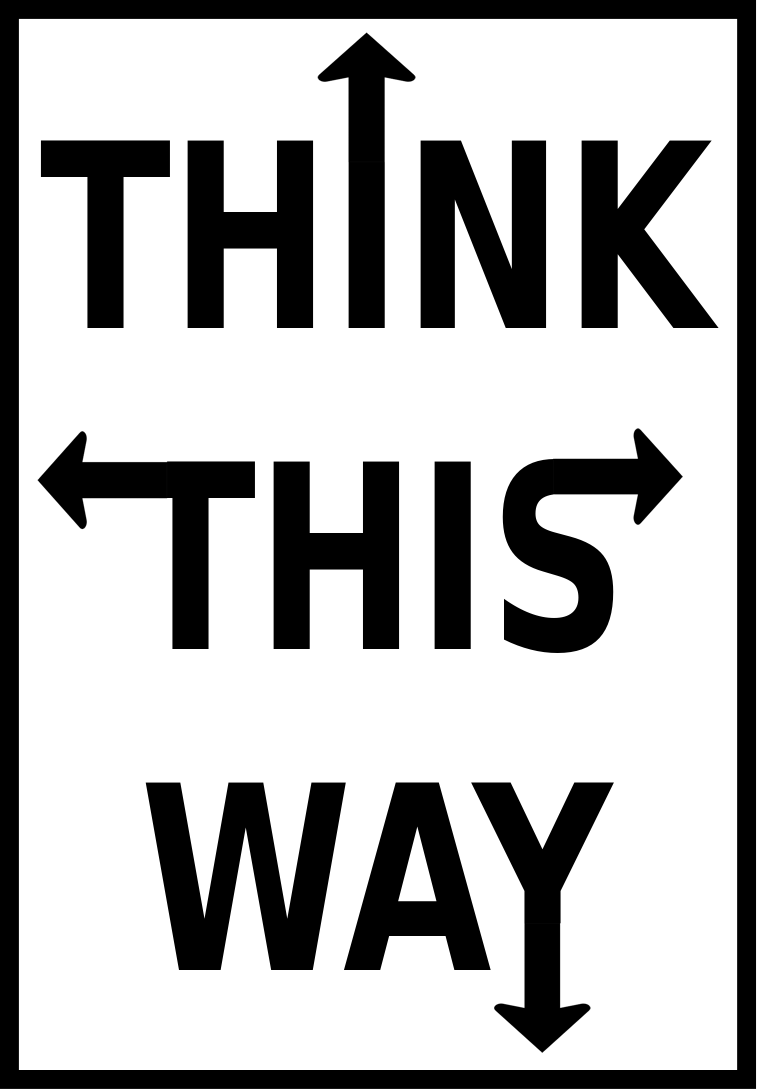
Then I saved the image as a png file.
I imported the design to MODS as png file, and gave it to cutting.
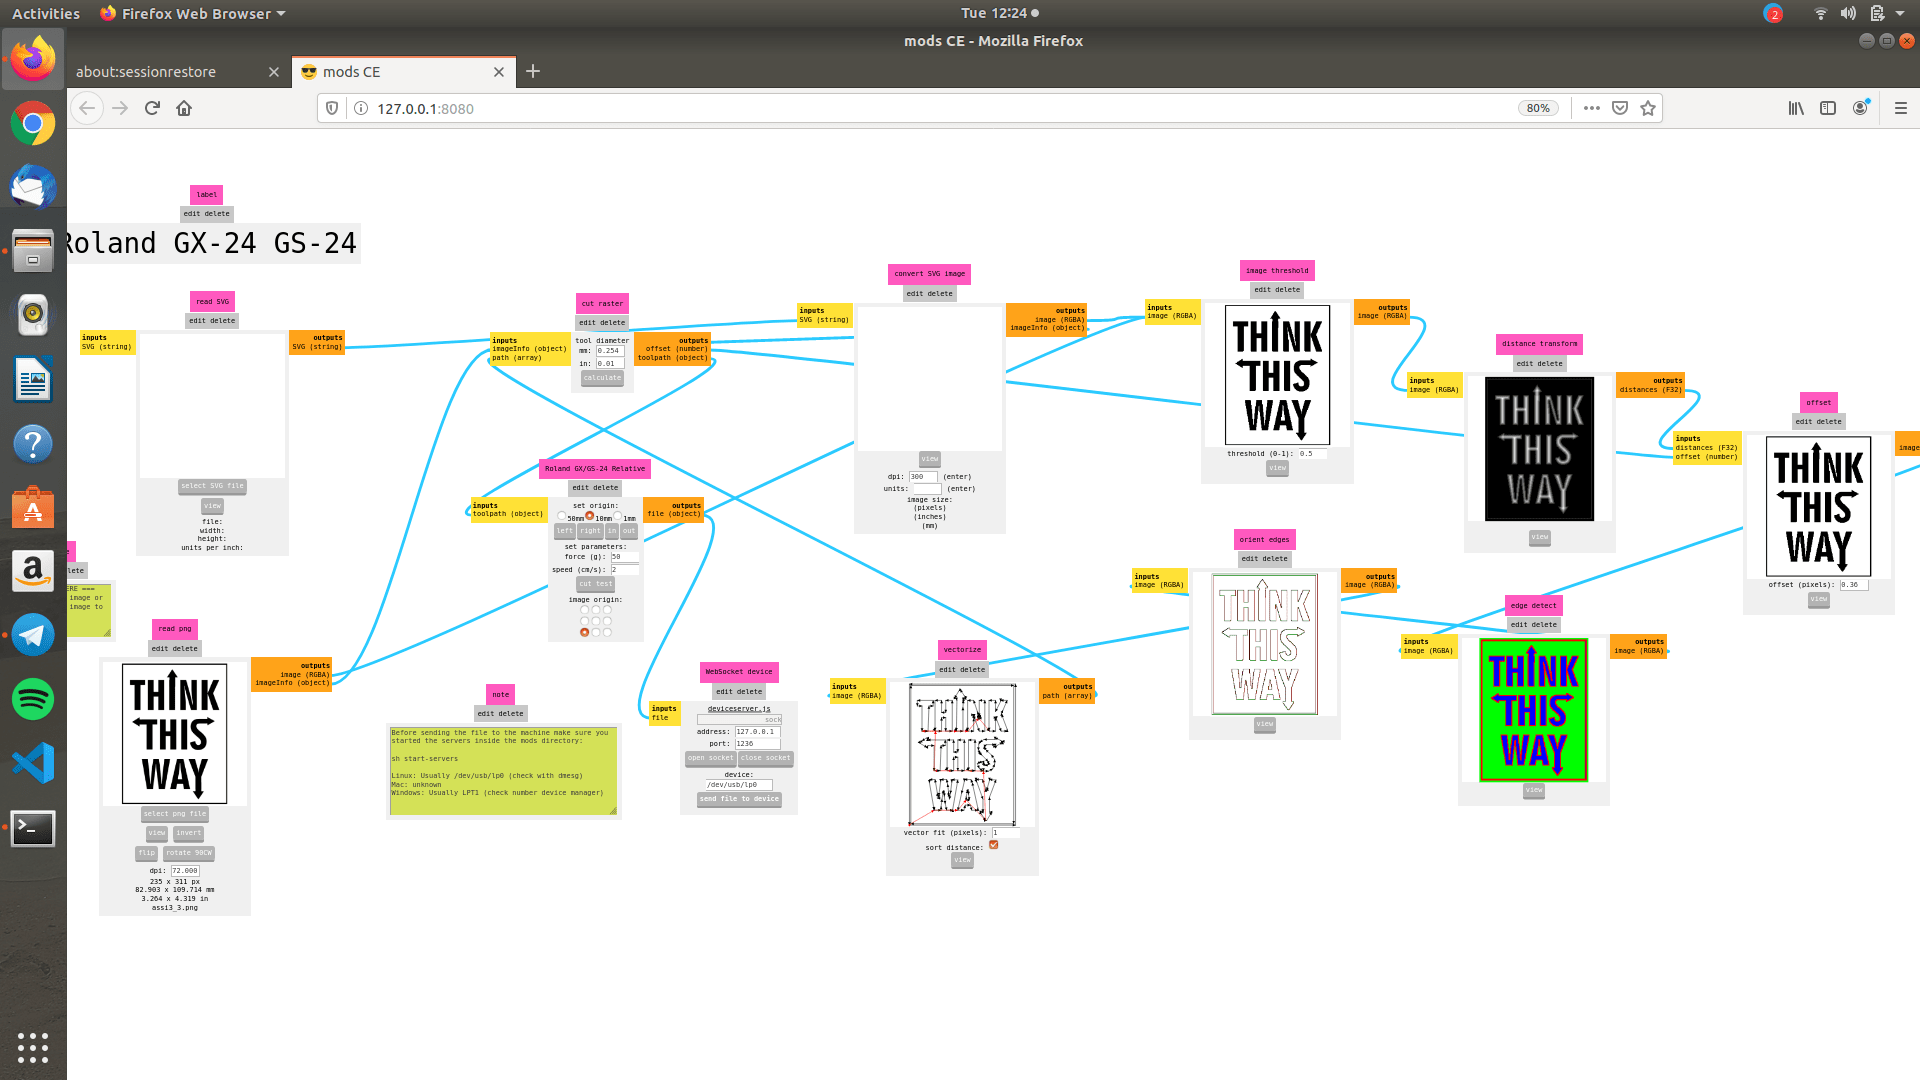
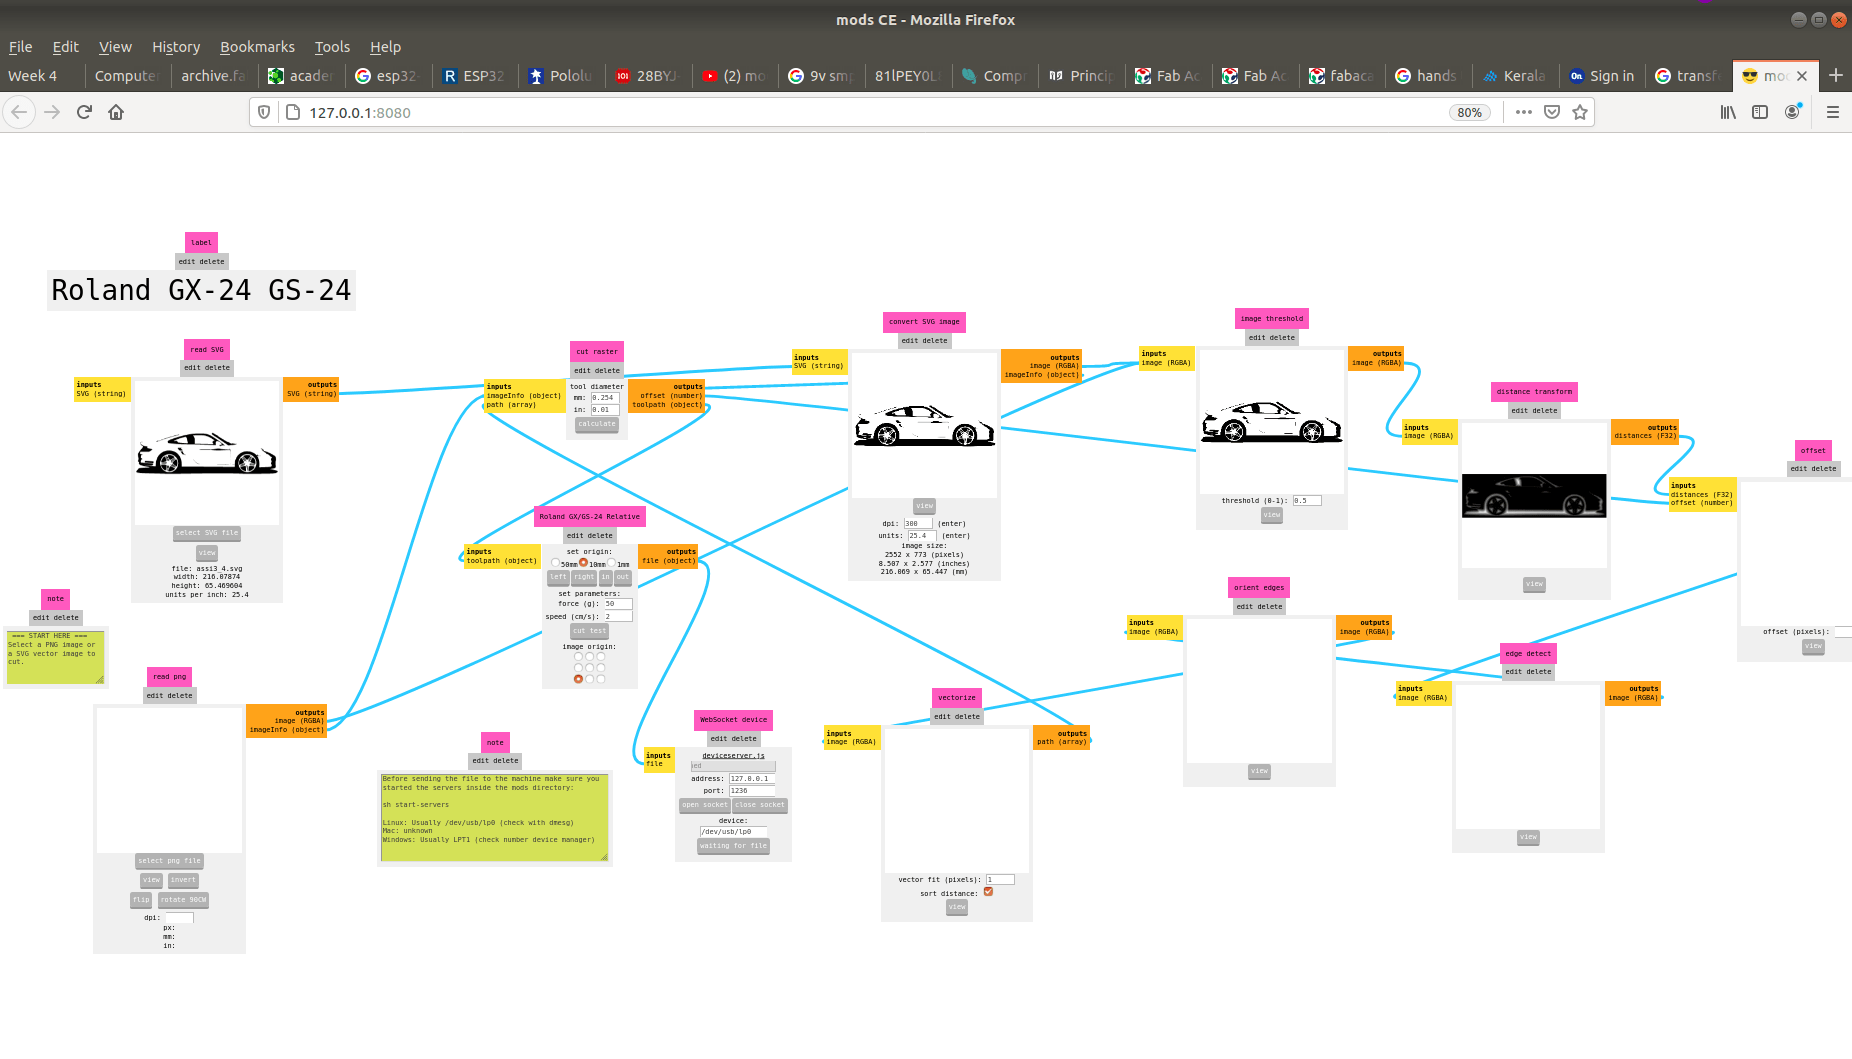
I downloaded a svg file of a Porchea 911 from google.
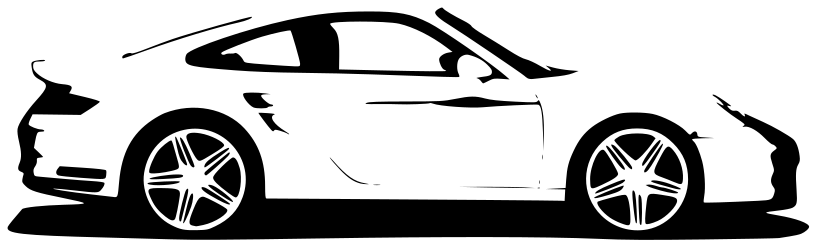
I imported the file into MODS, and gave it for cutting.
After cutting I transfered both stickers using masking tape.