Week 6
3D Scanning and Printing
Objectives
Individual Assignment
Group Assignment
Learning Outcomes
Individual Assignment
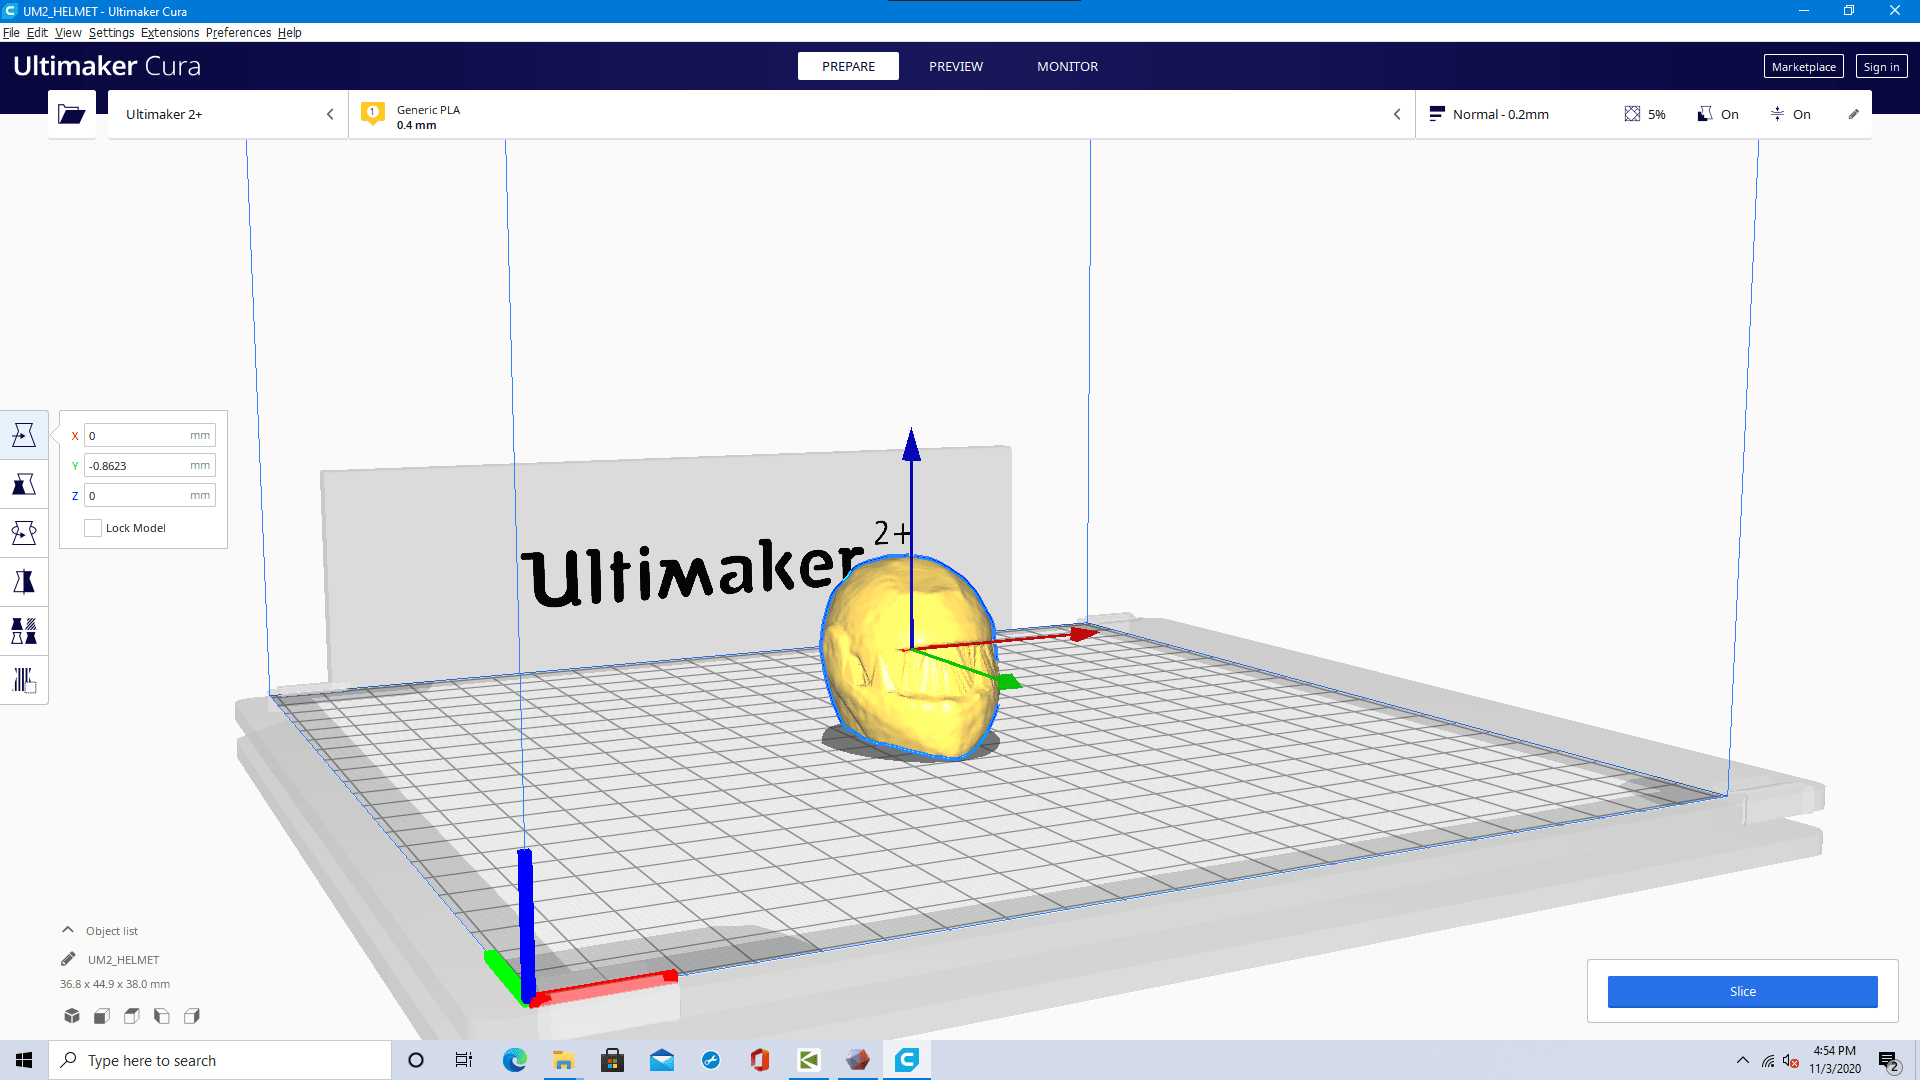
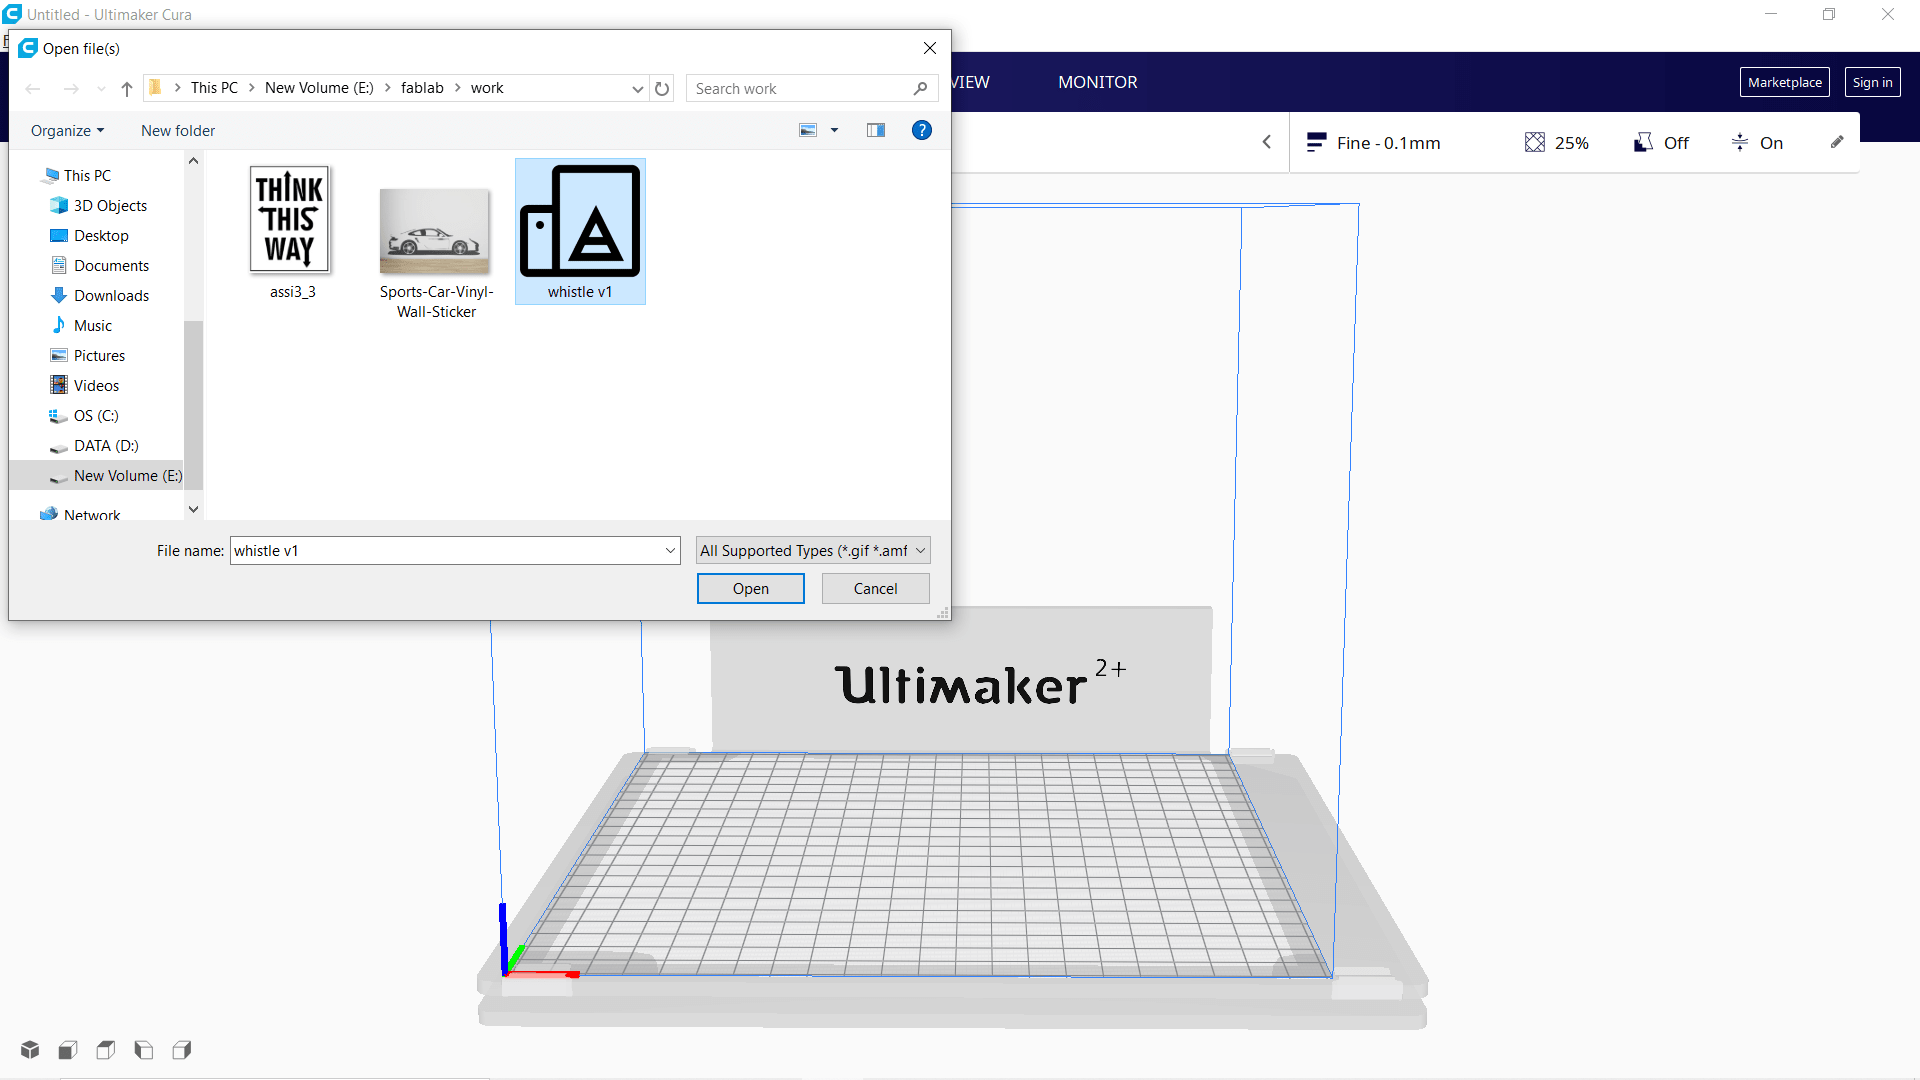
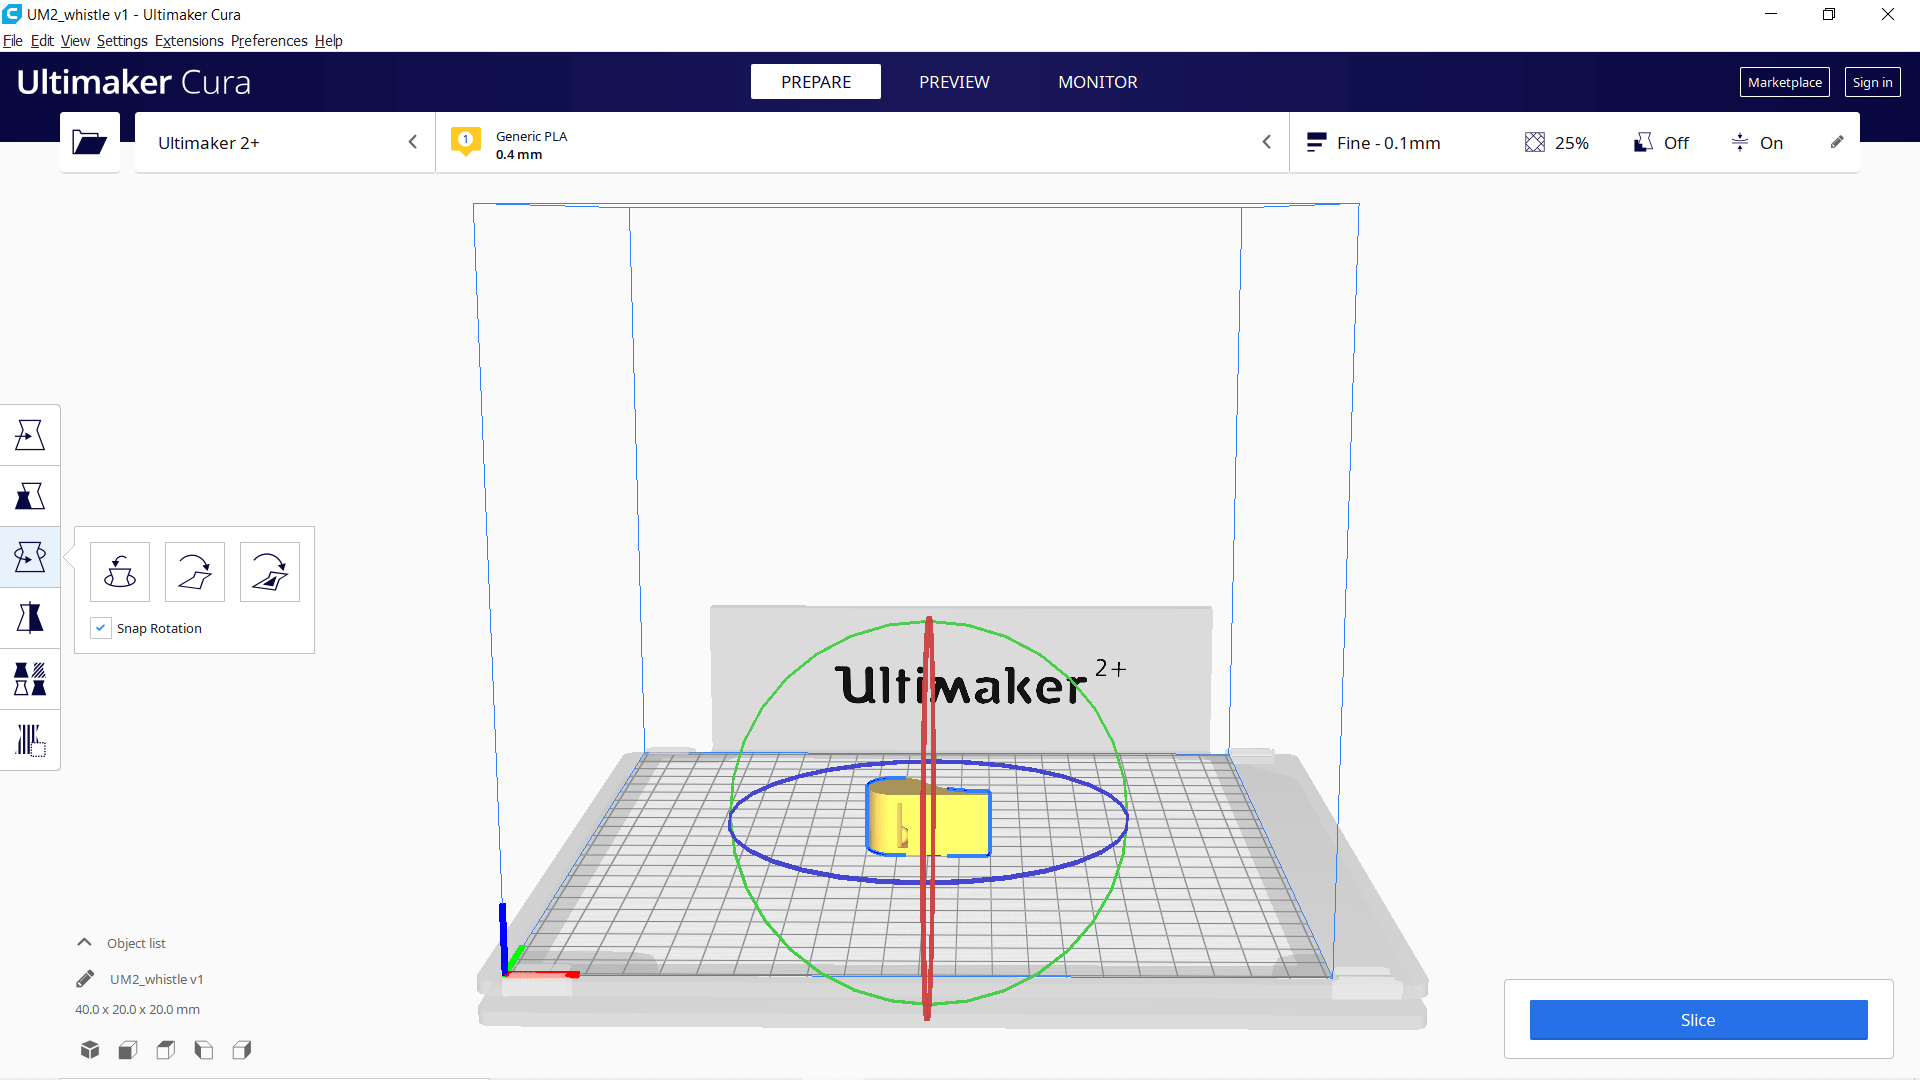
Ultimaker Cura 2+
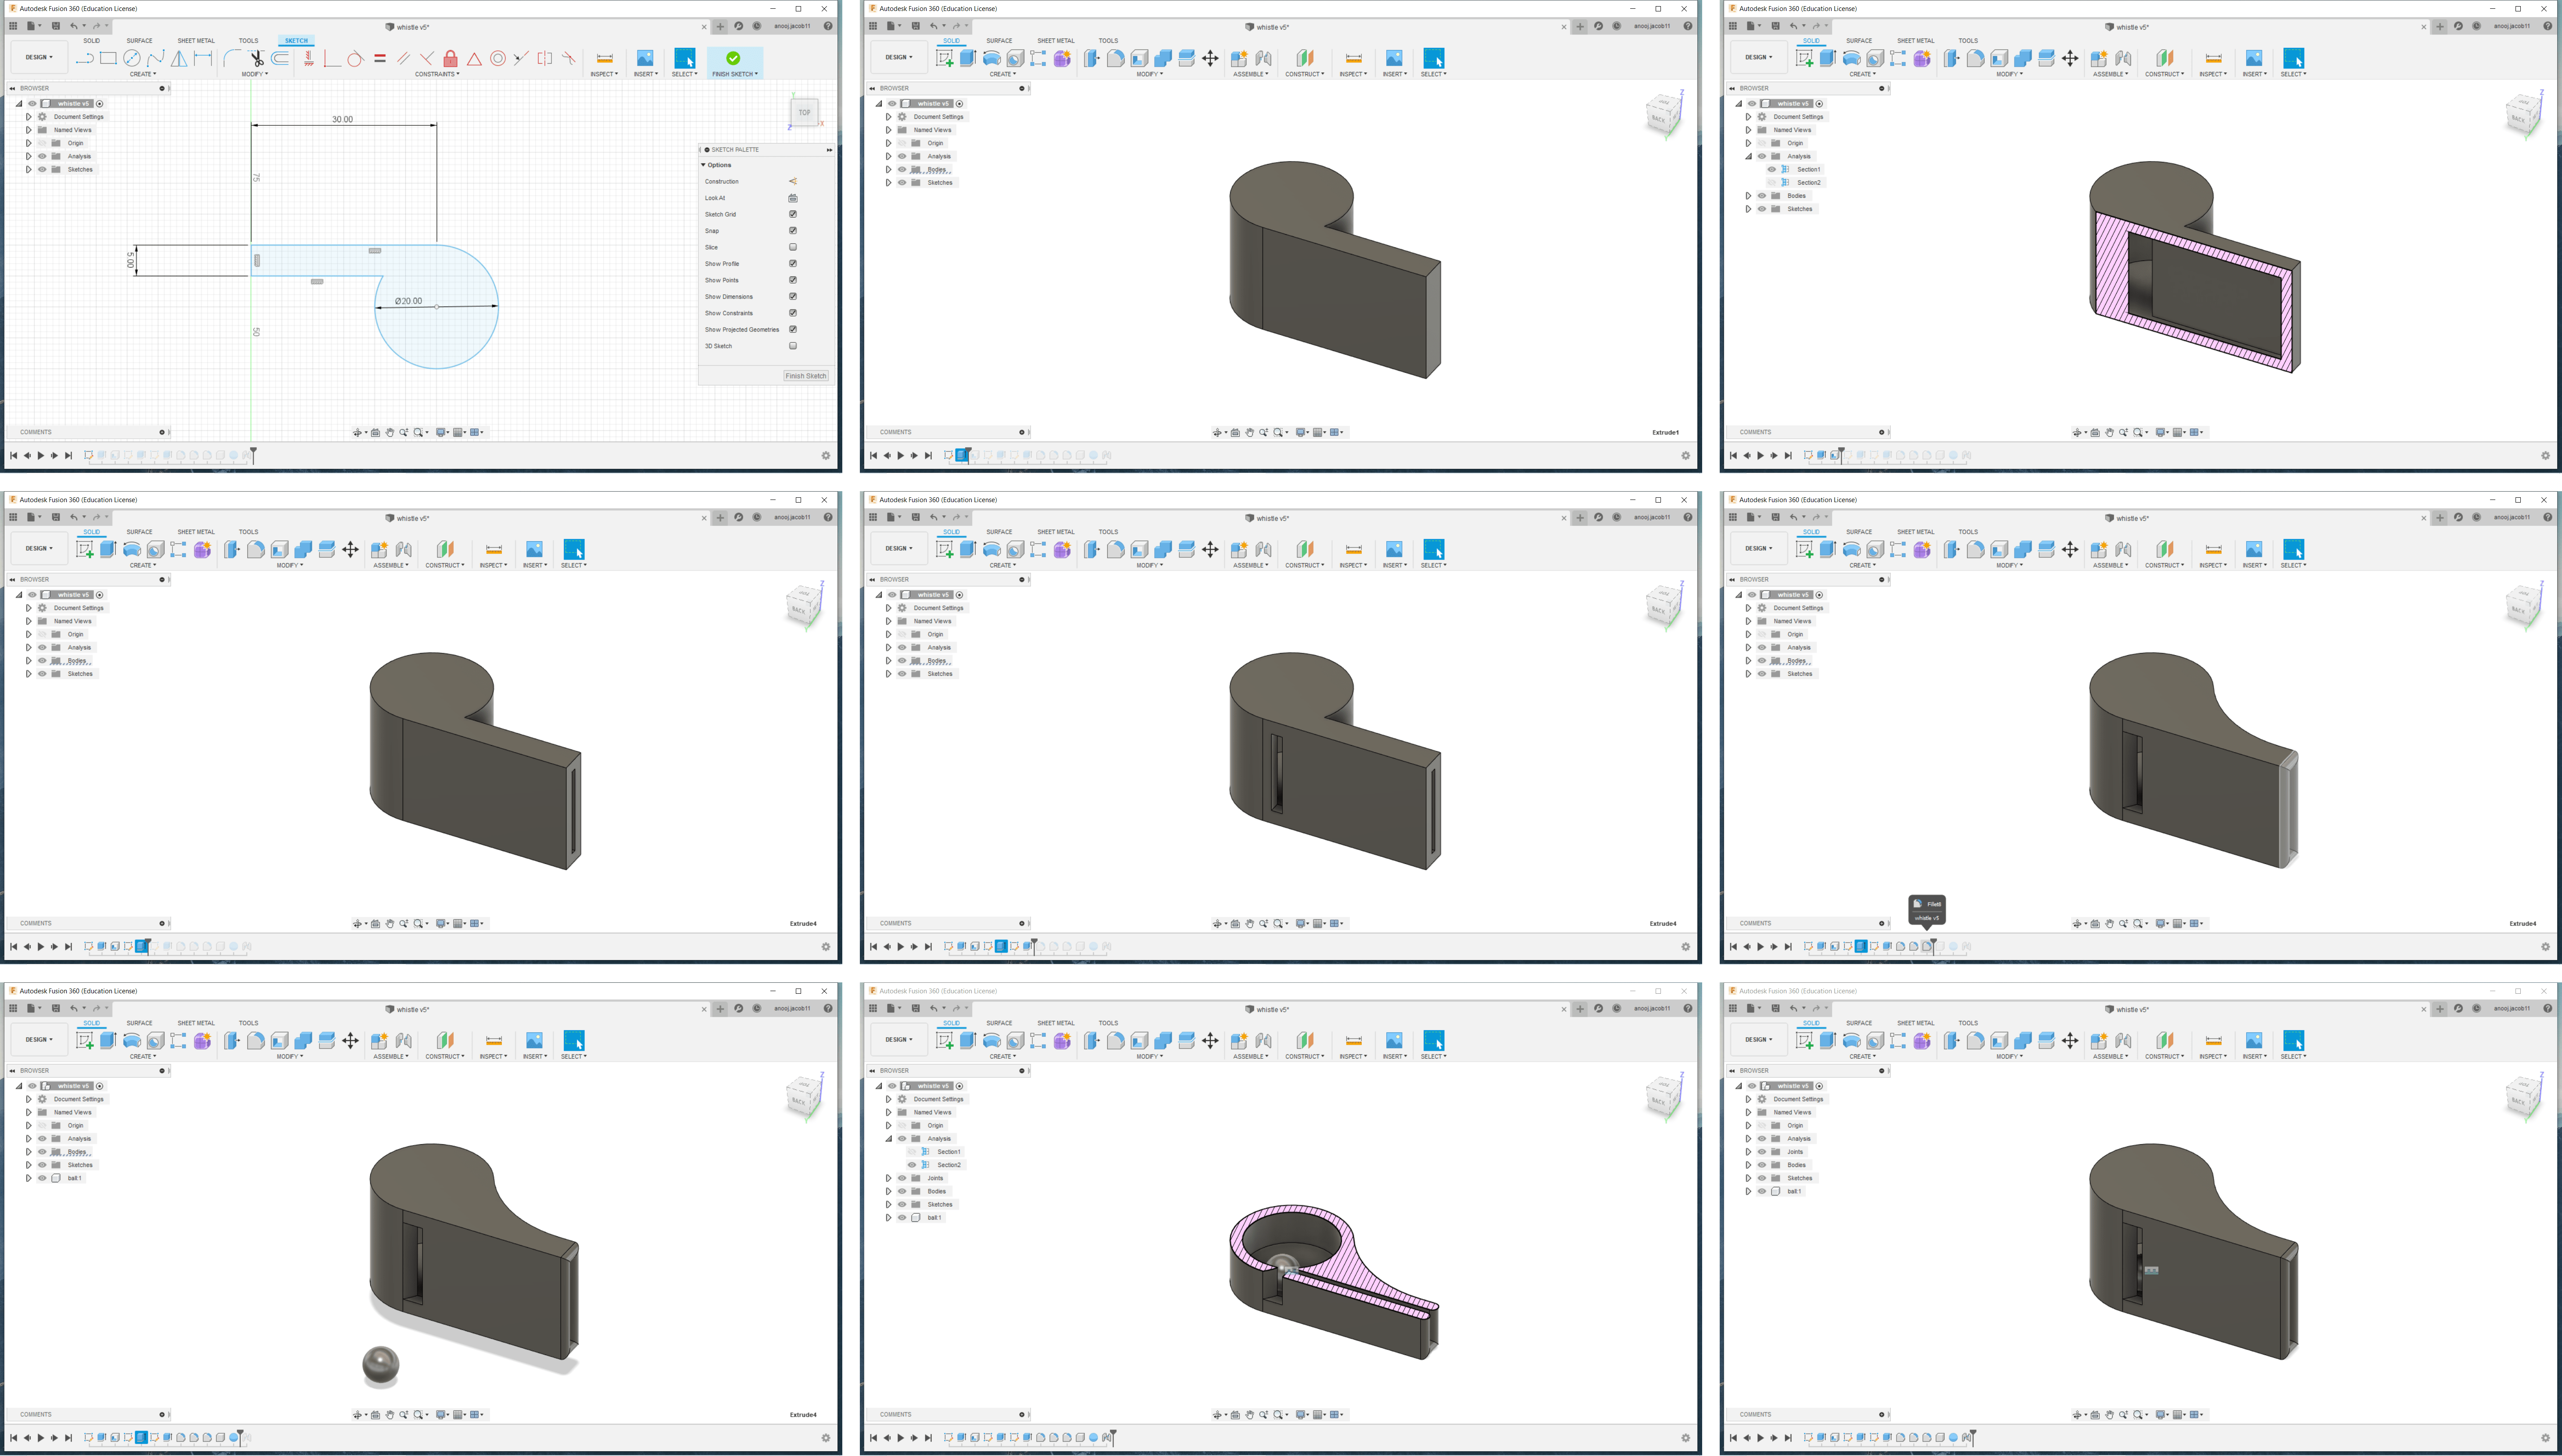
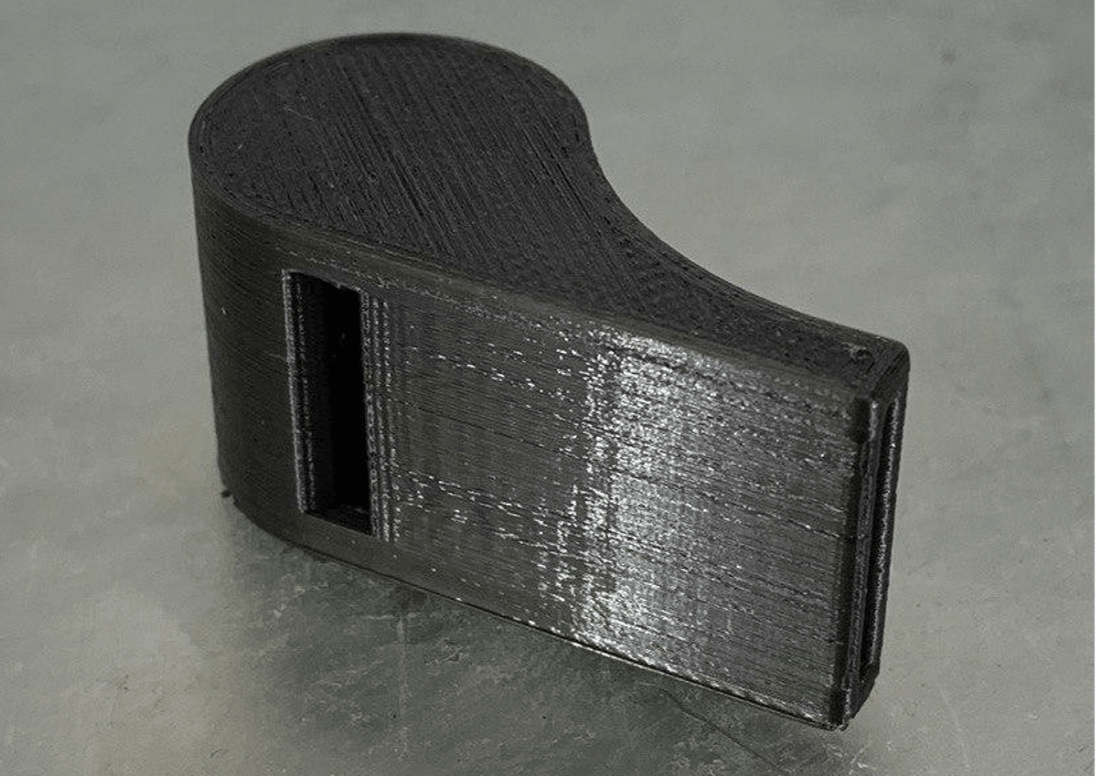
1) Design and 3D print an object that could not be made subtractively.

My Design
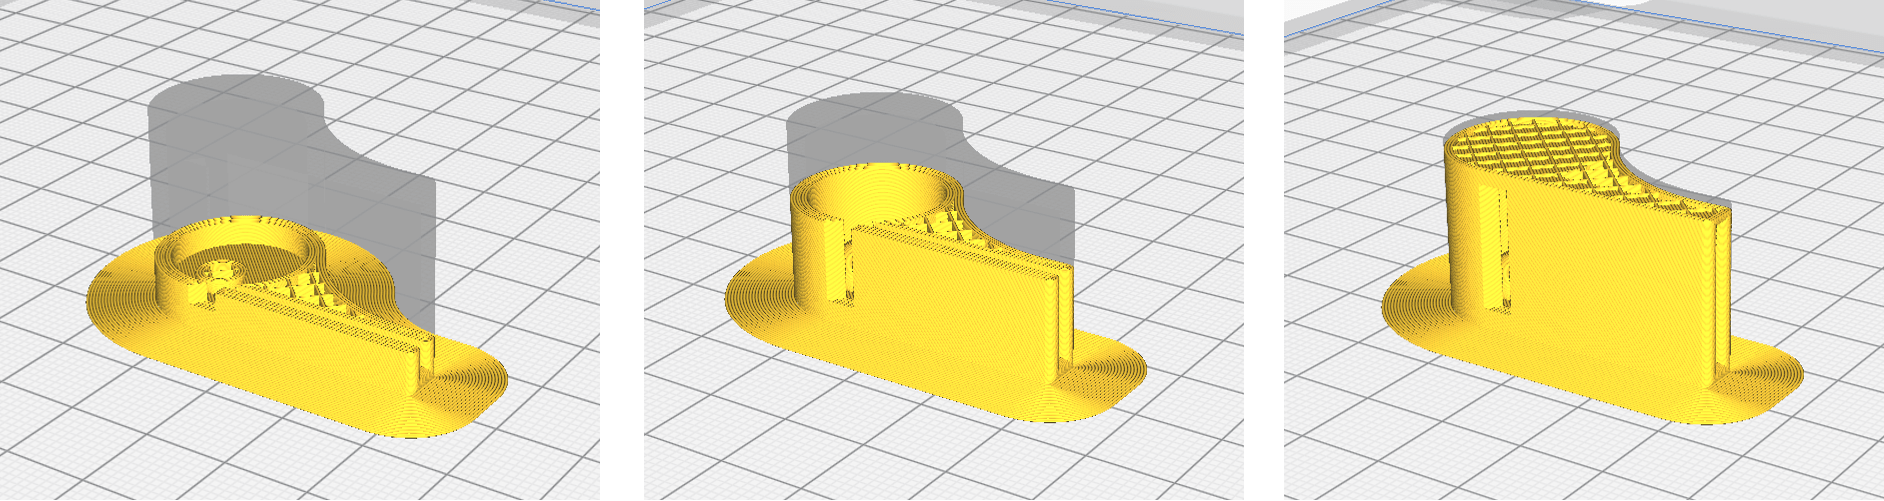
Slicing

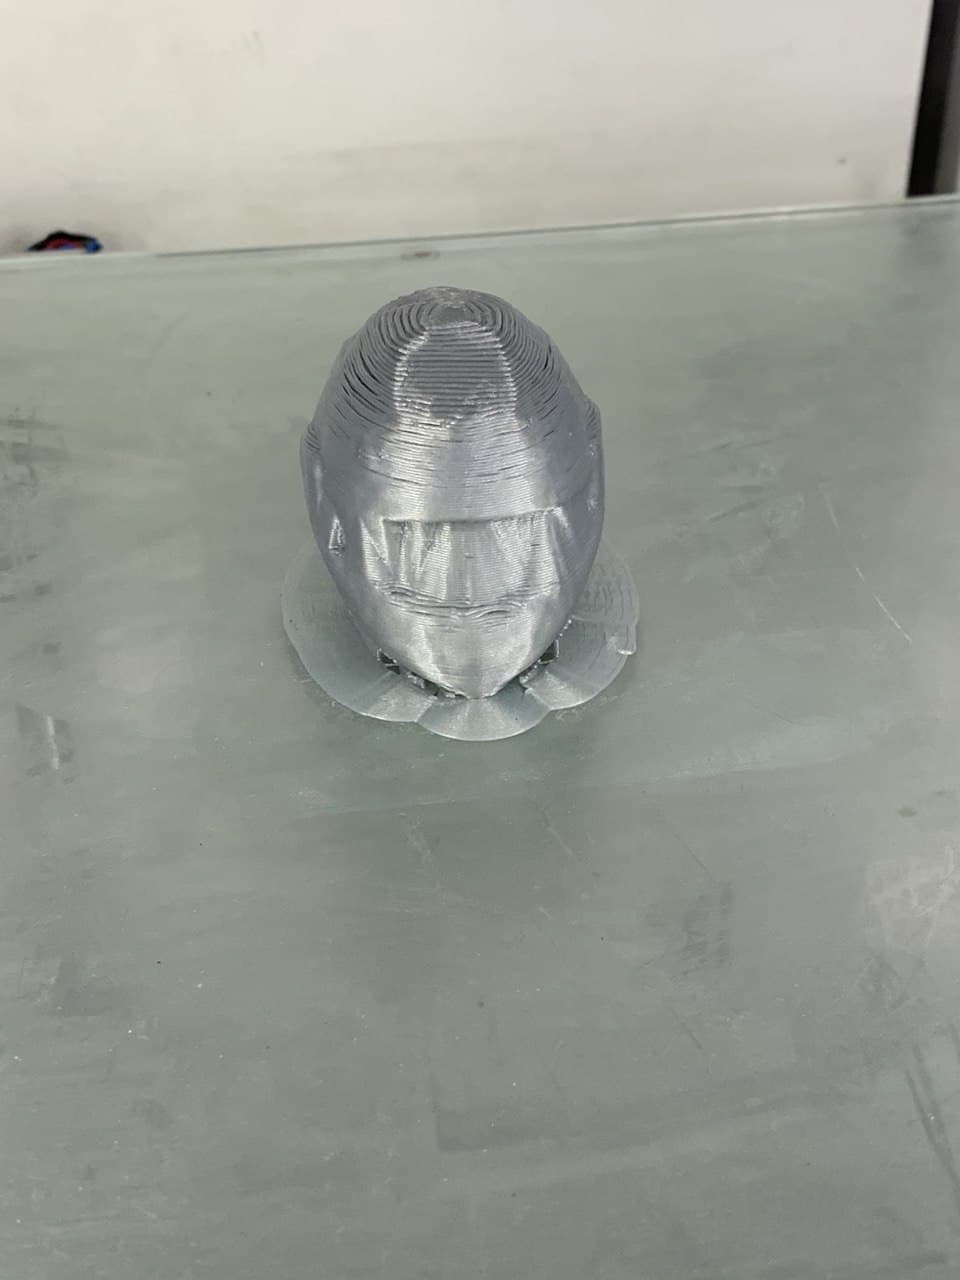
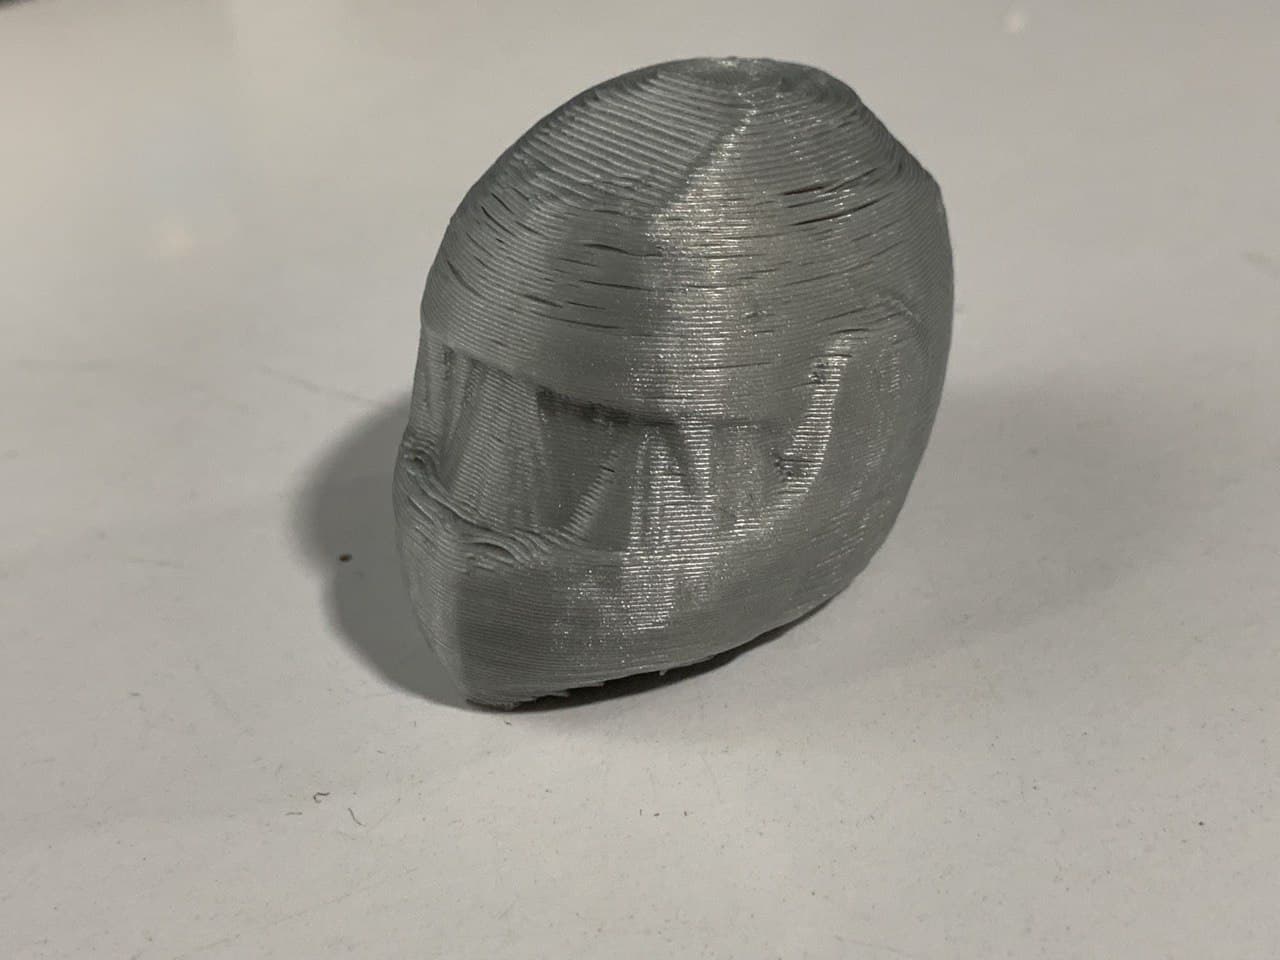
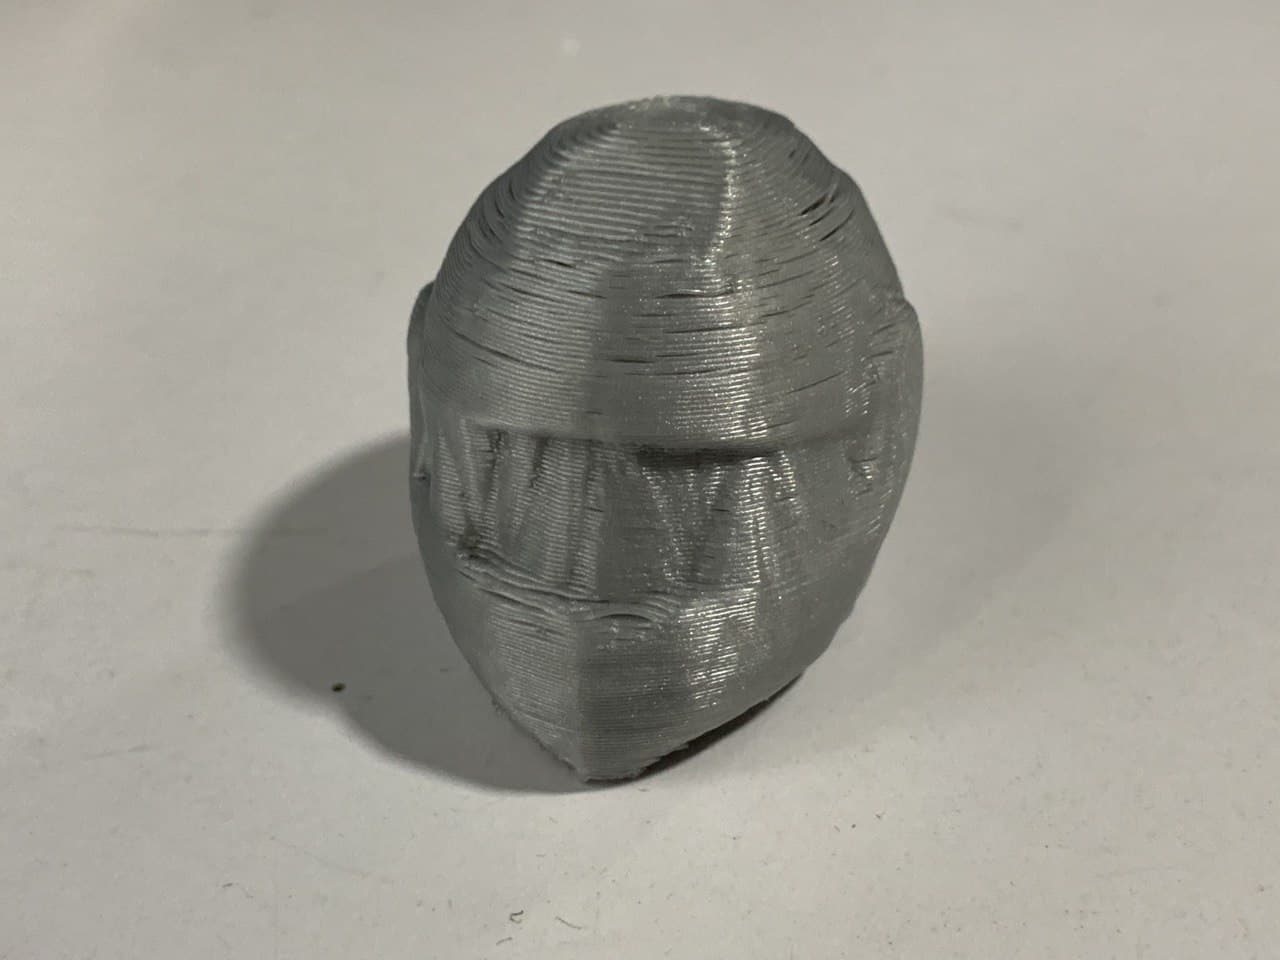
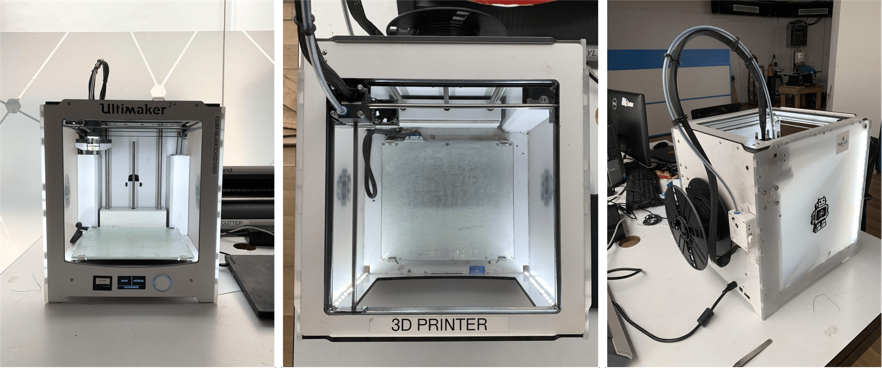
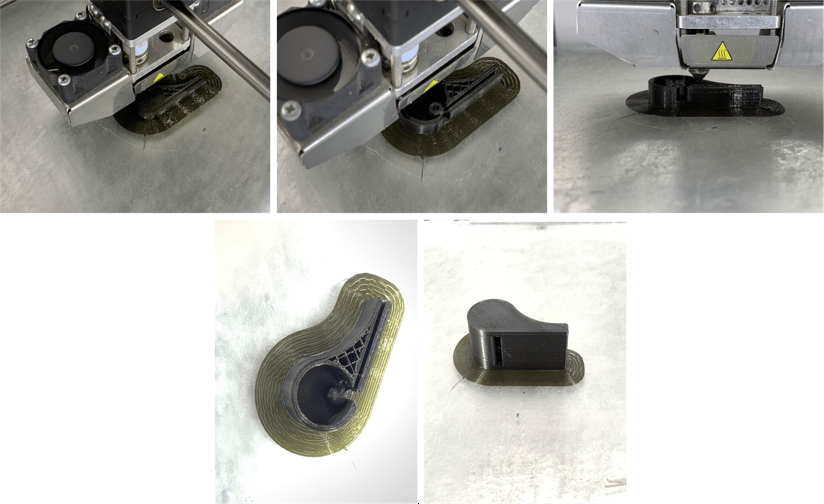
3D printing
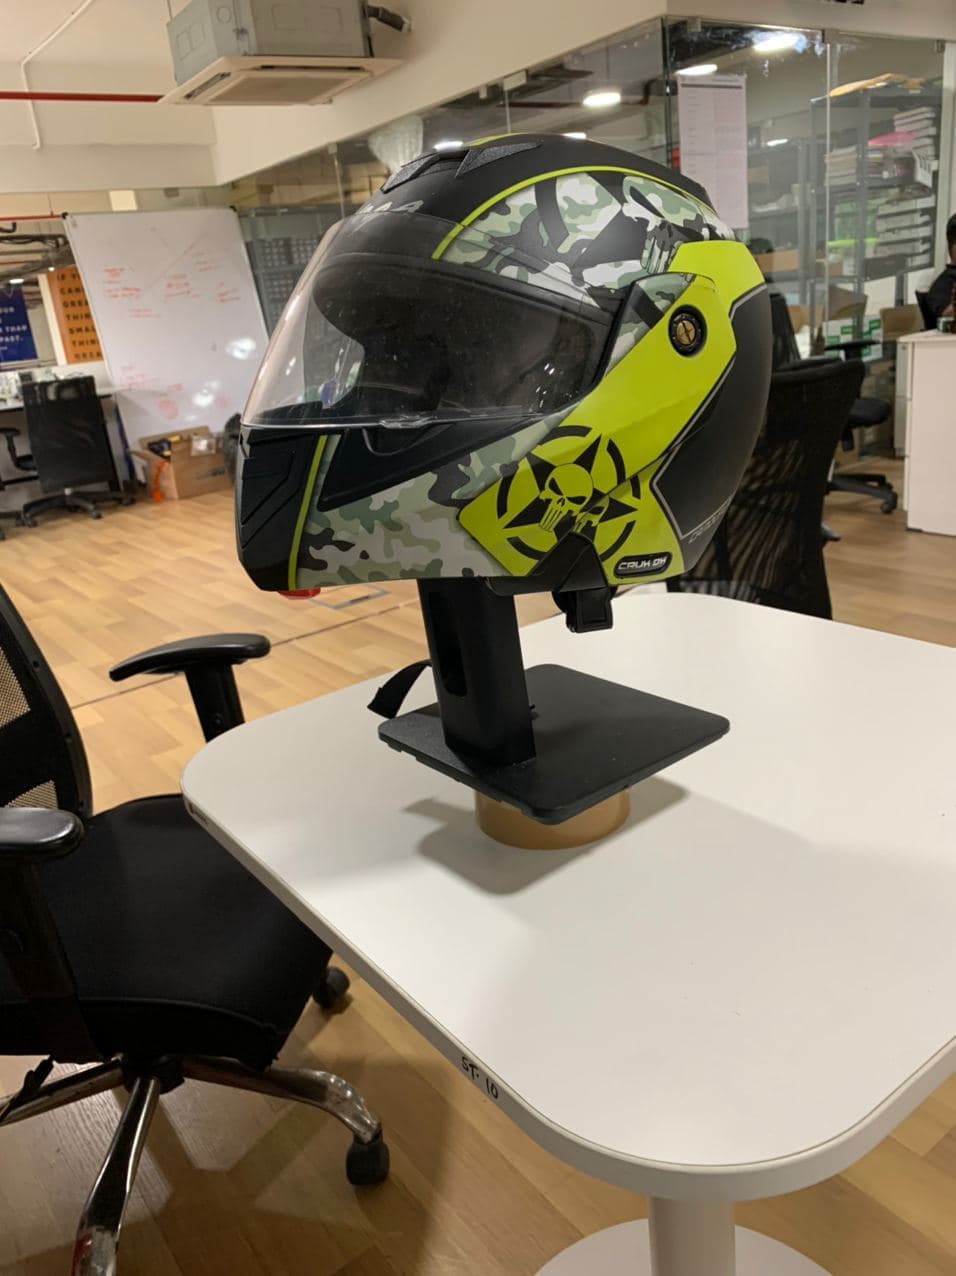
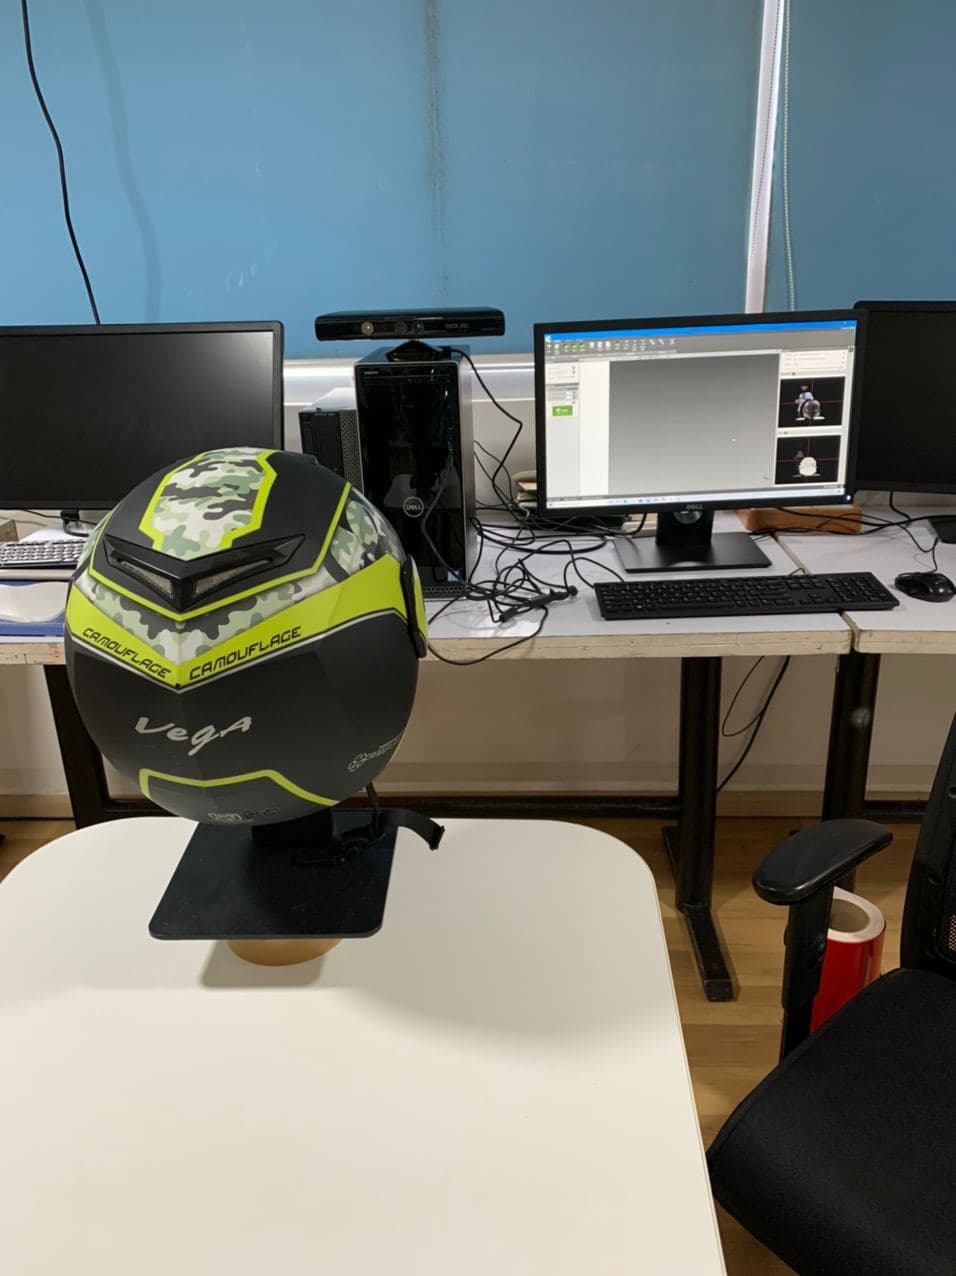
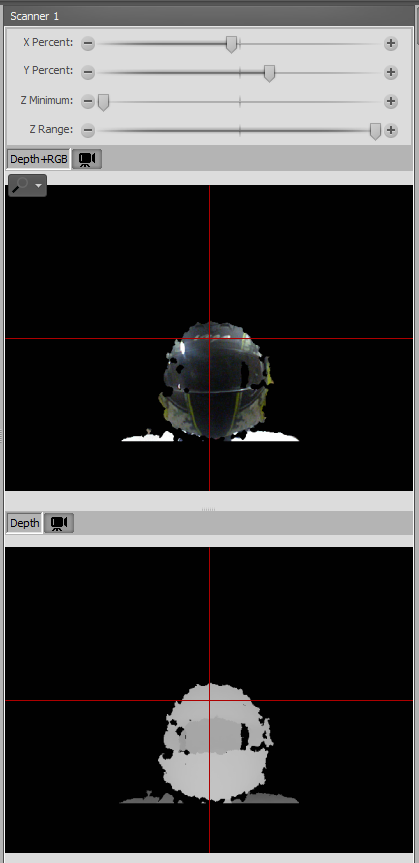
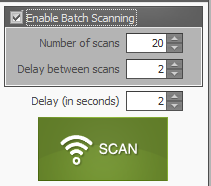
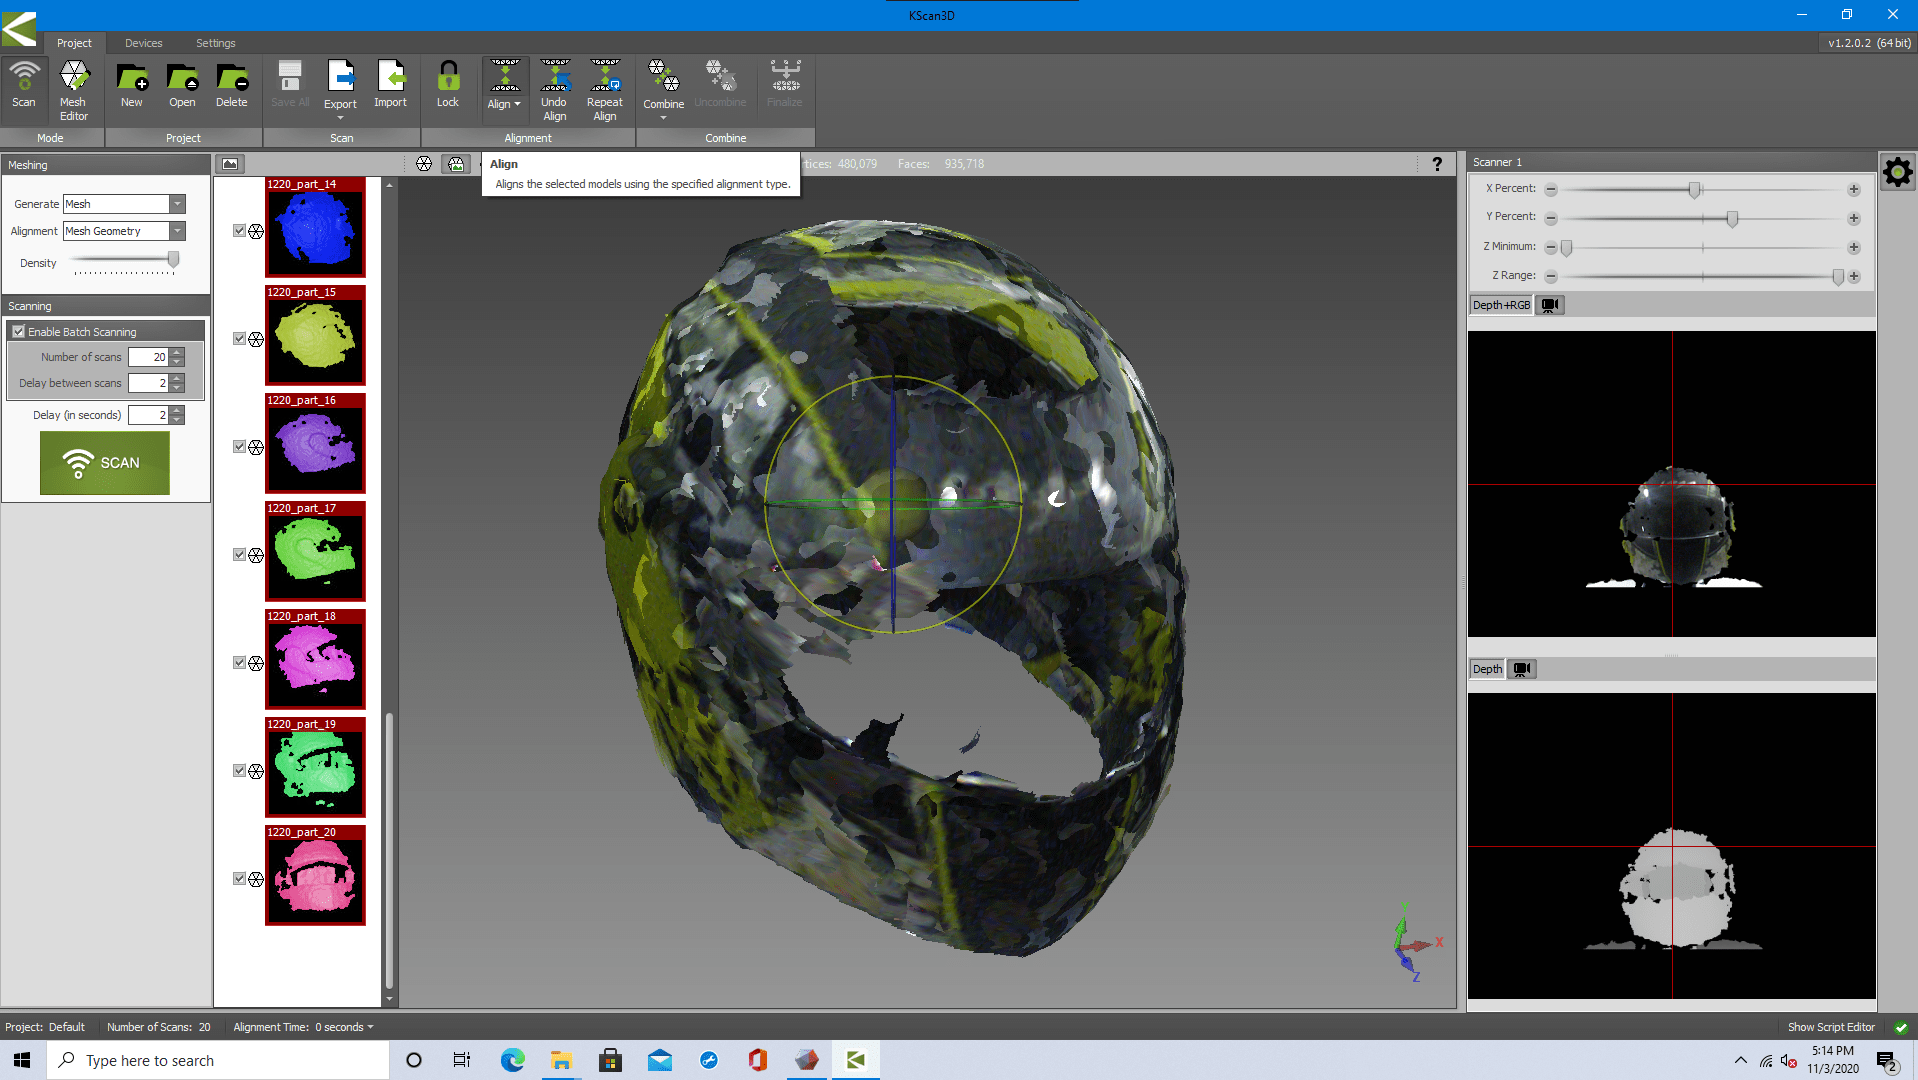
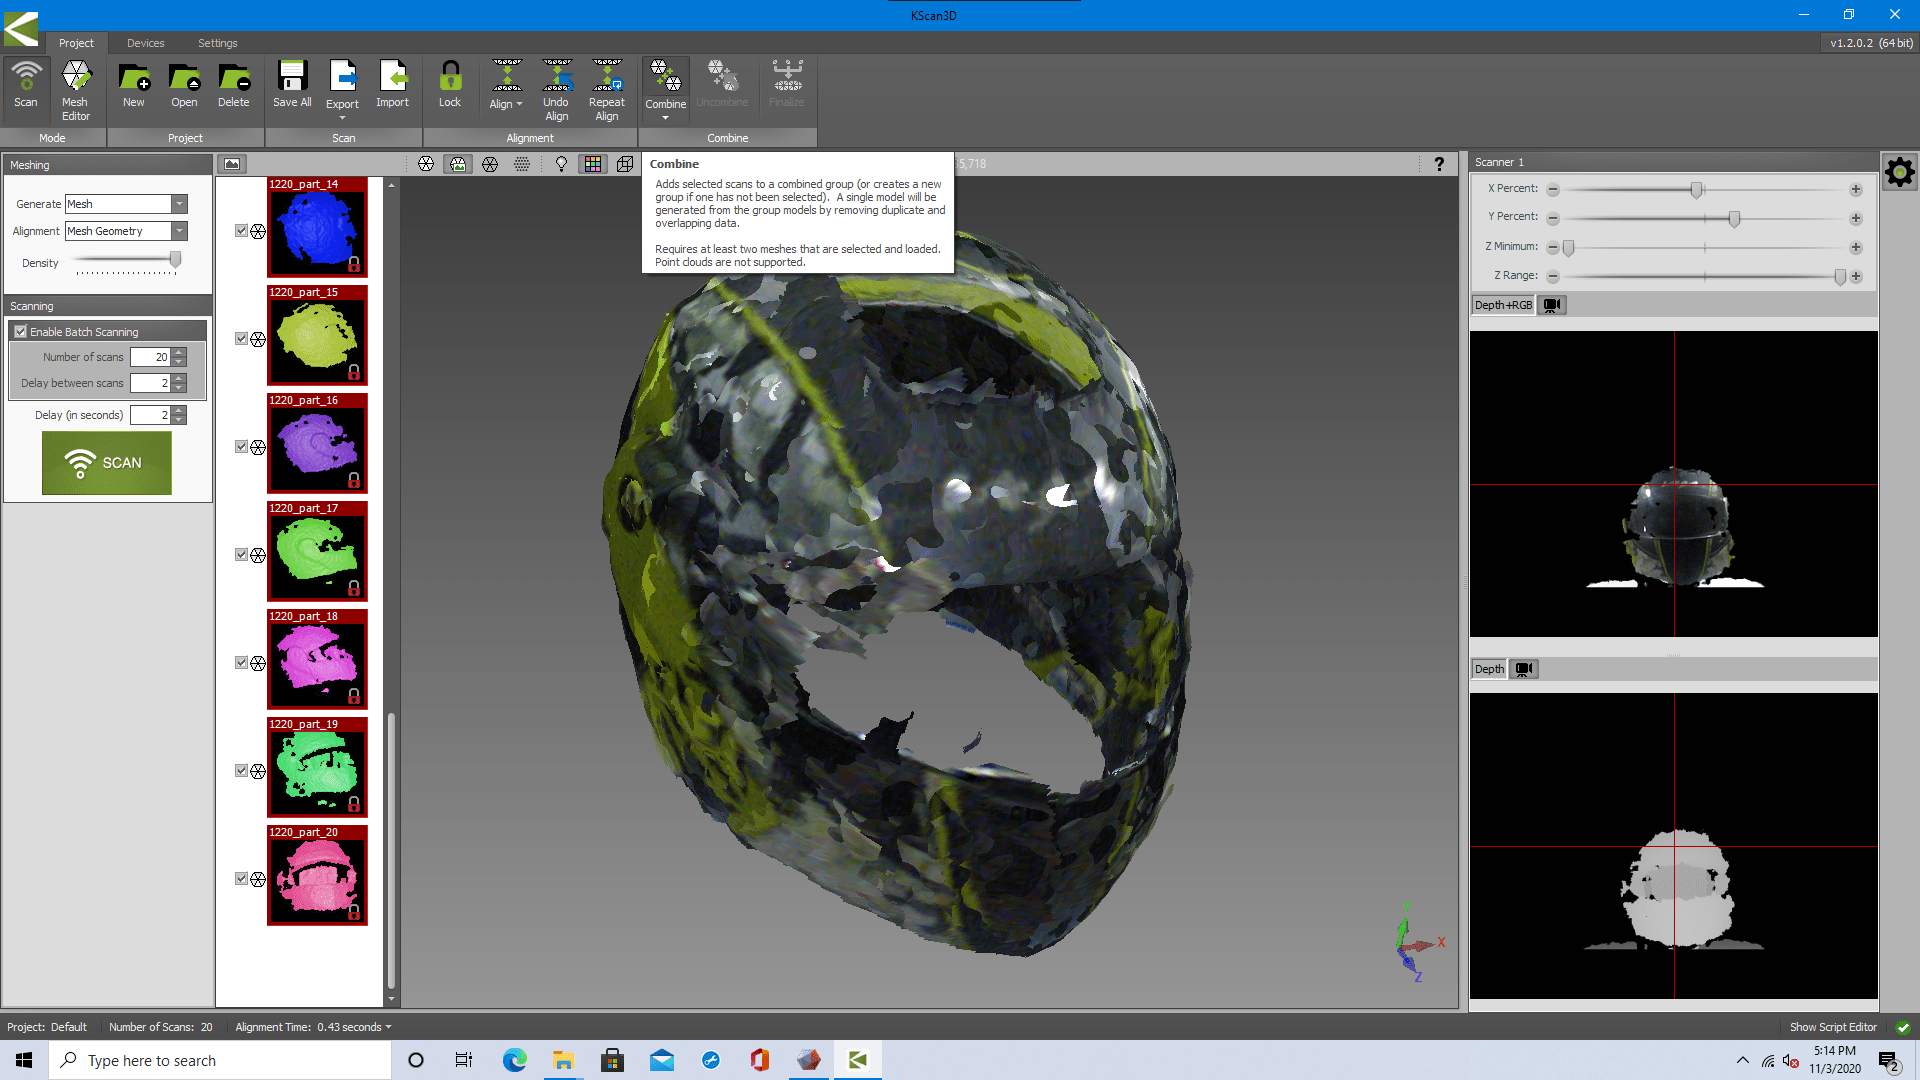
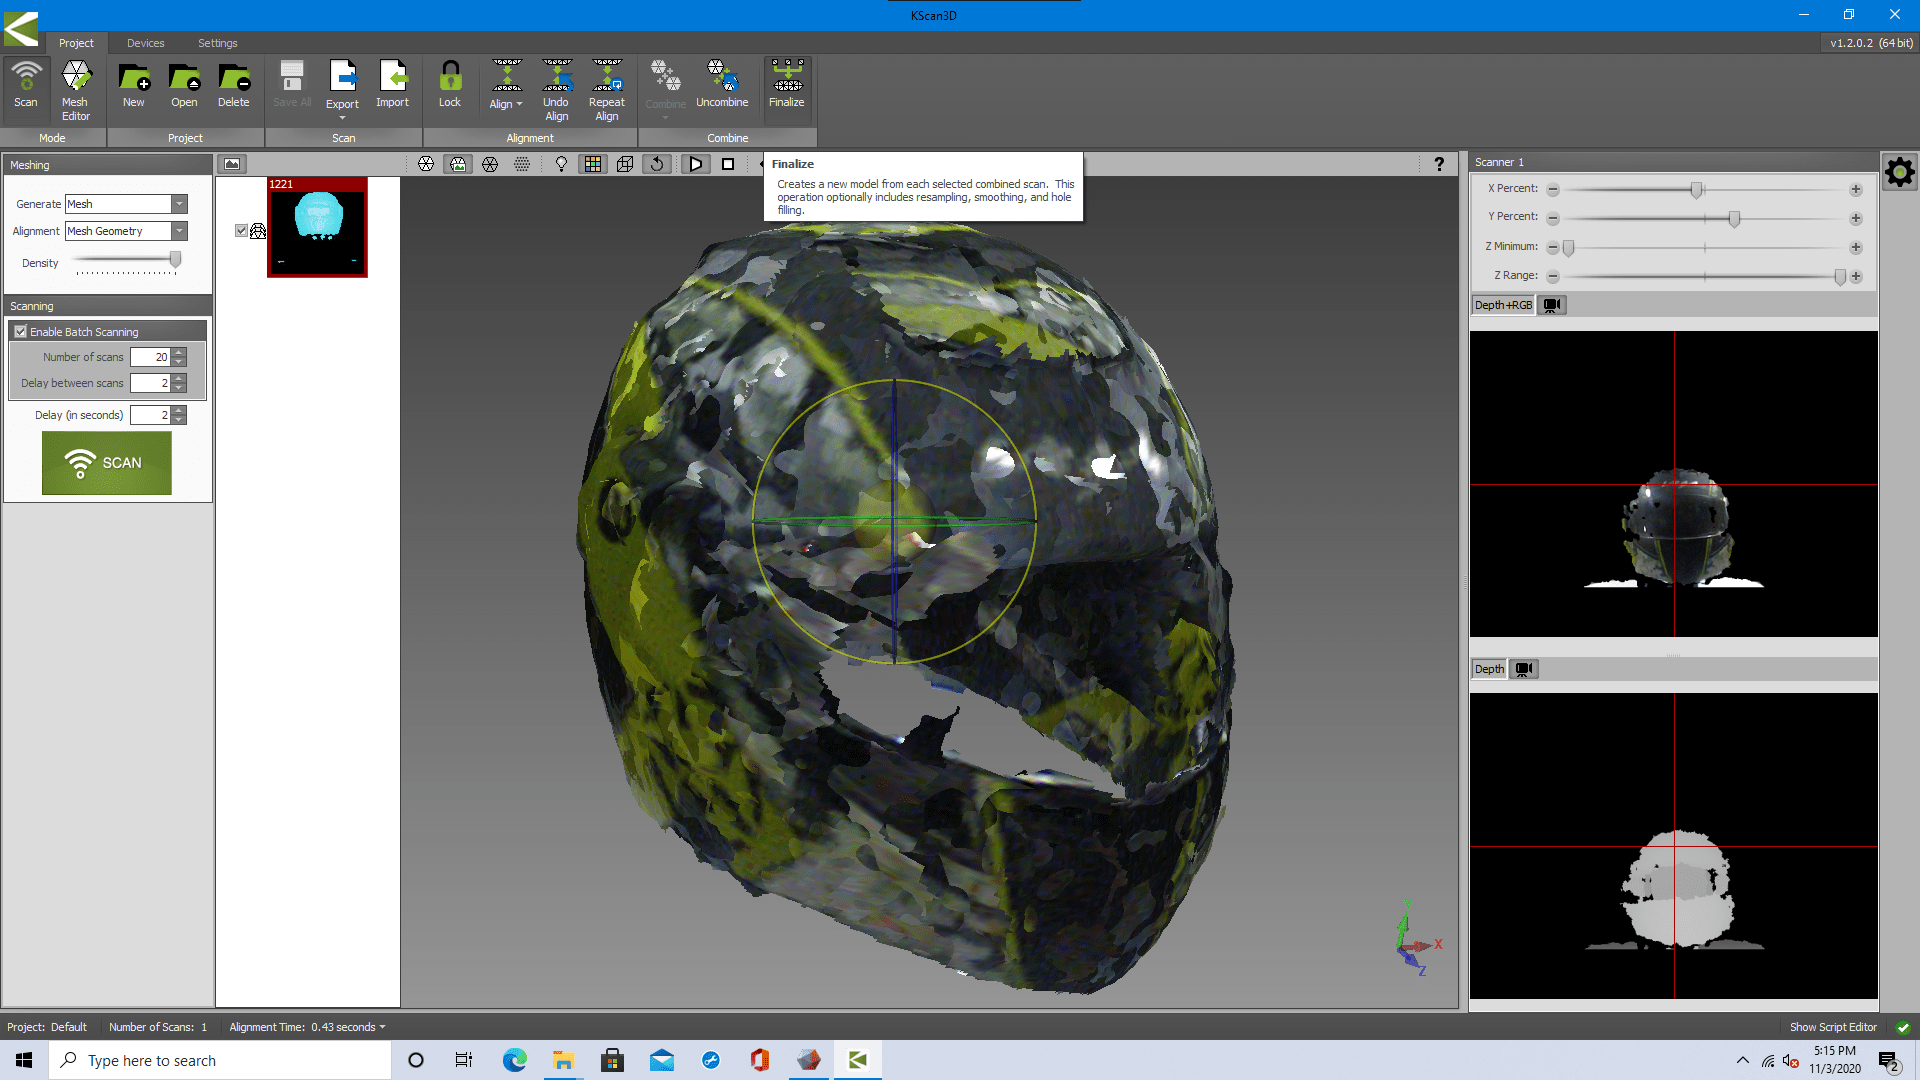
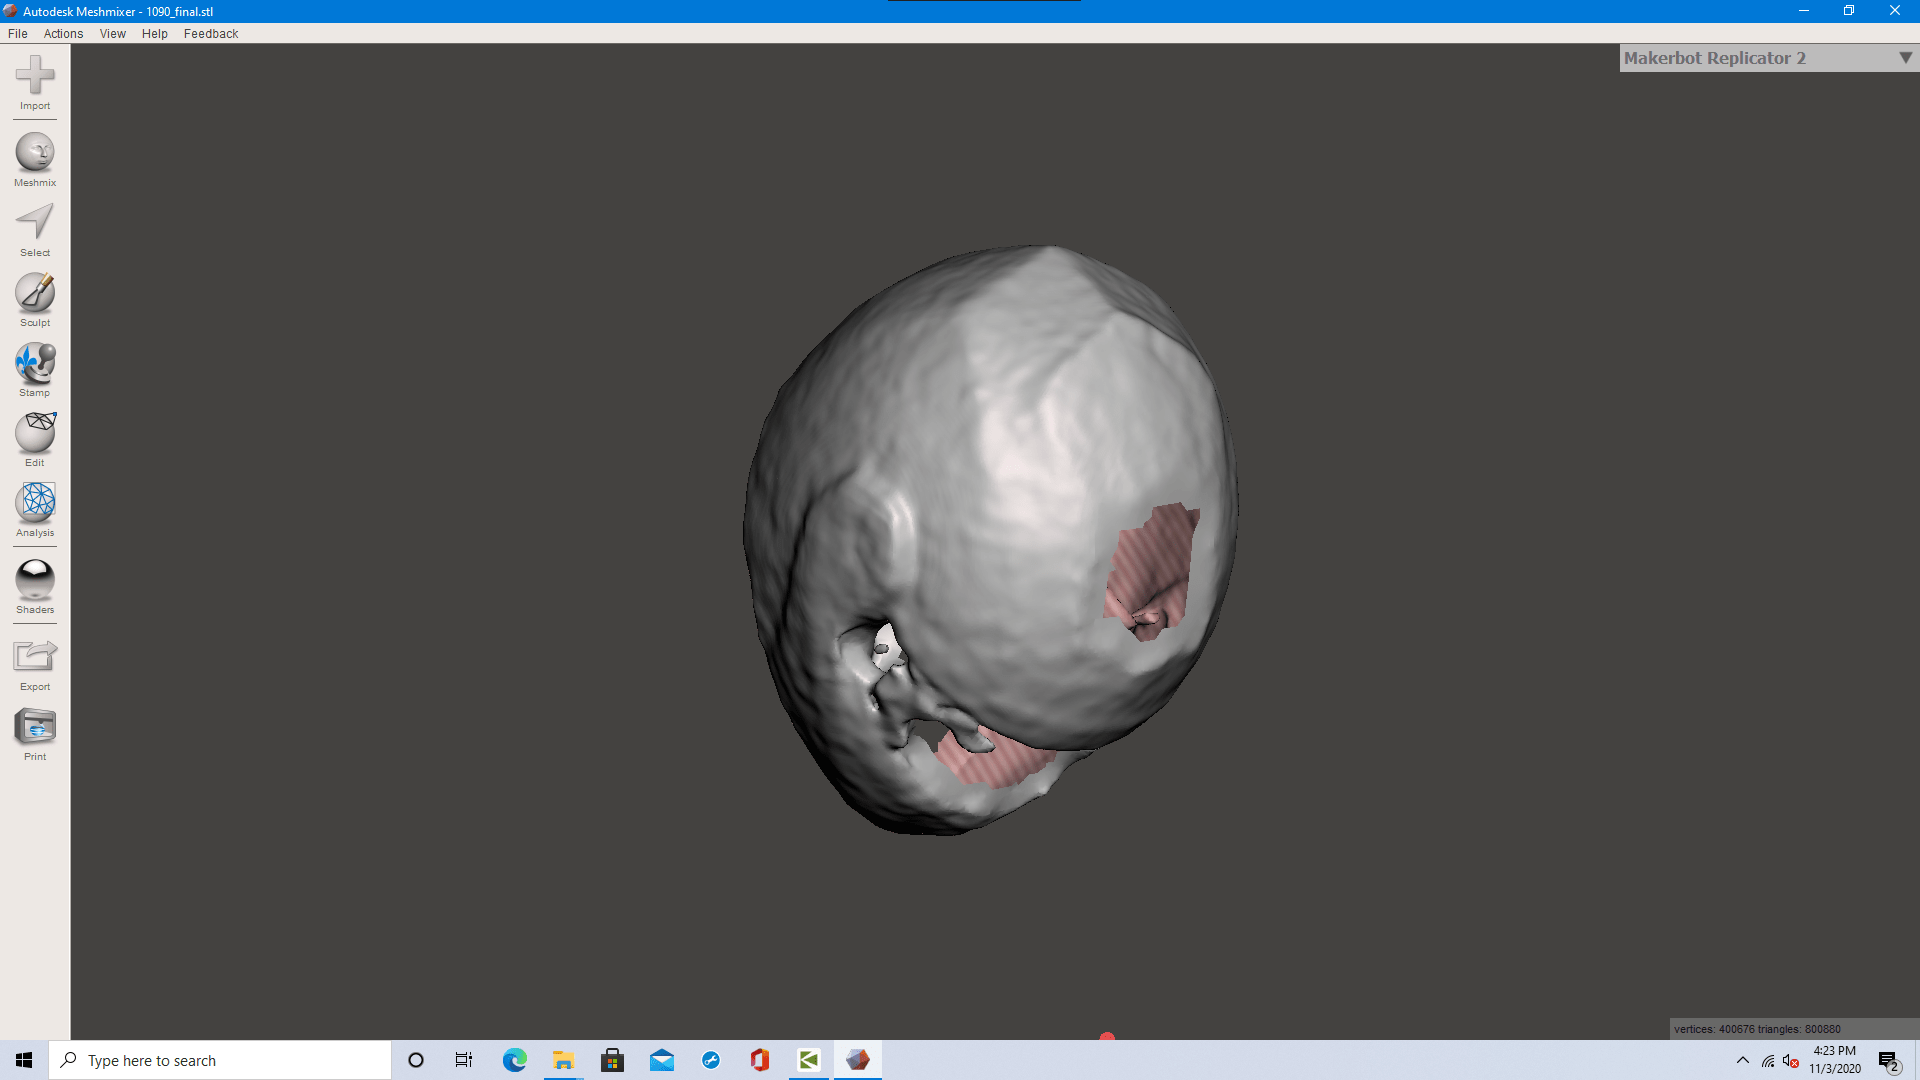
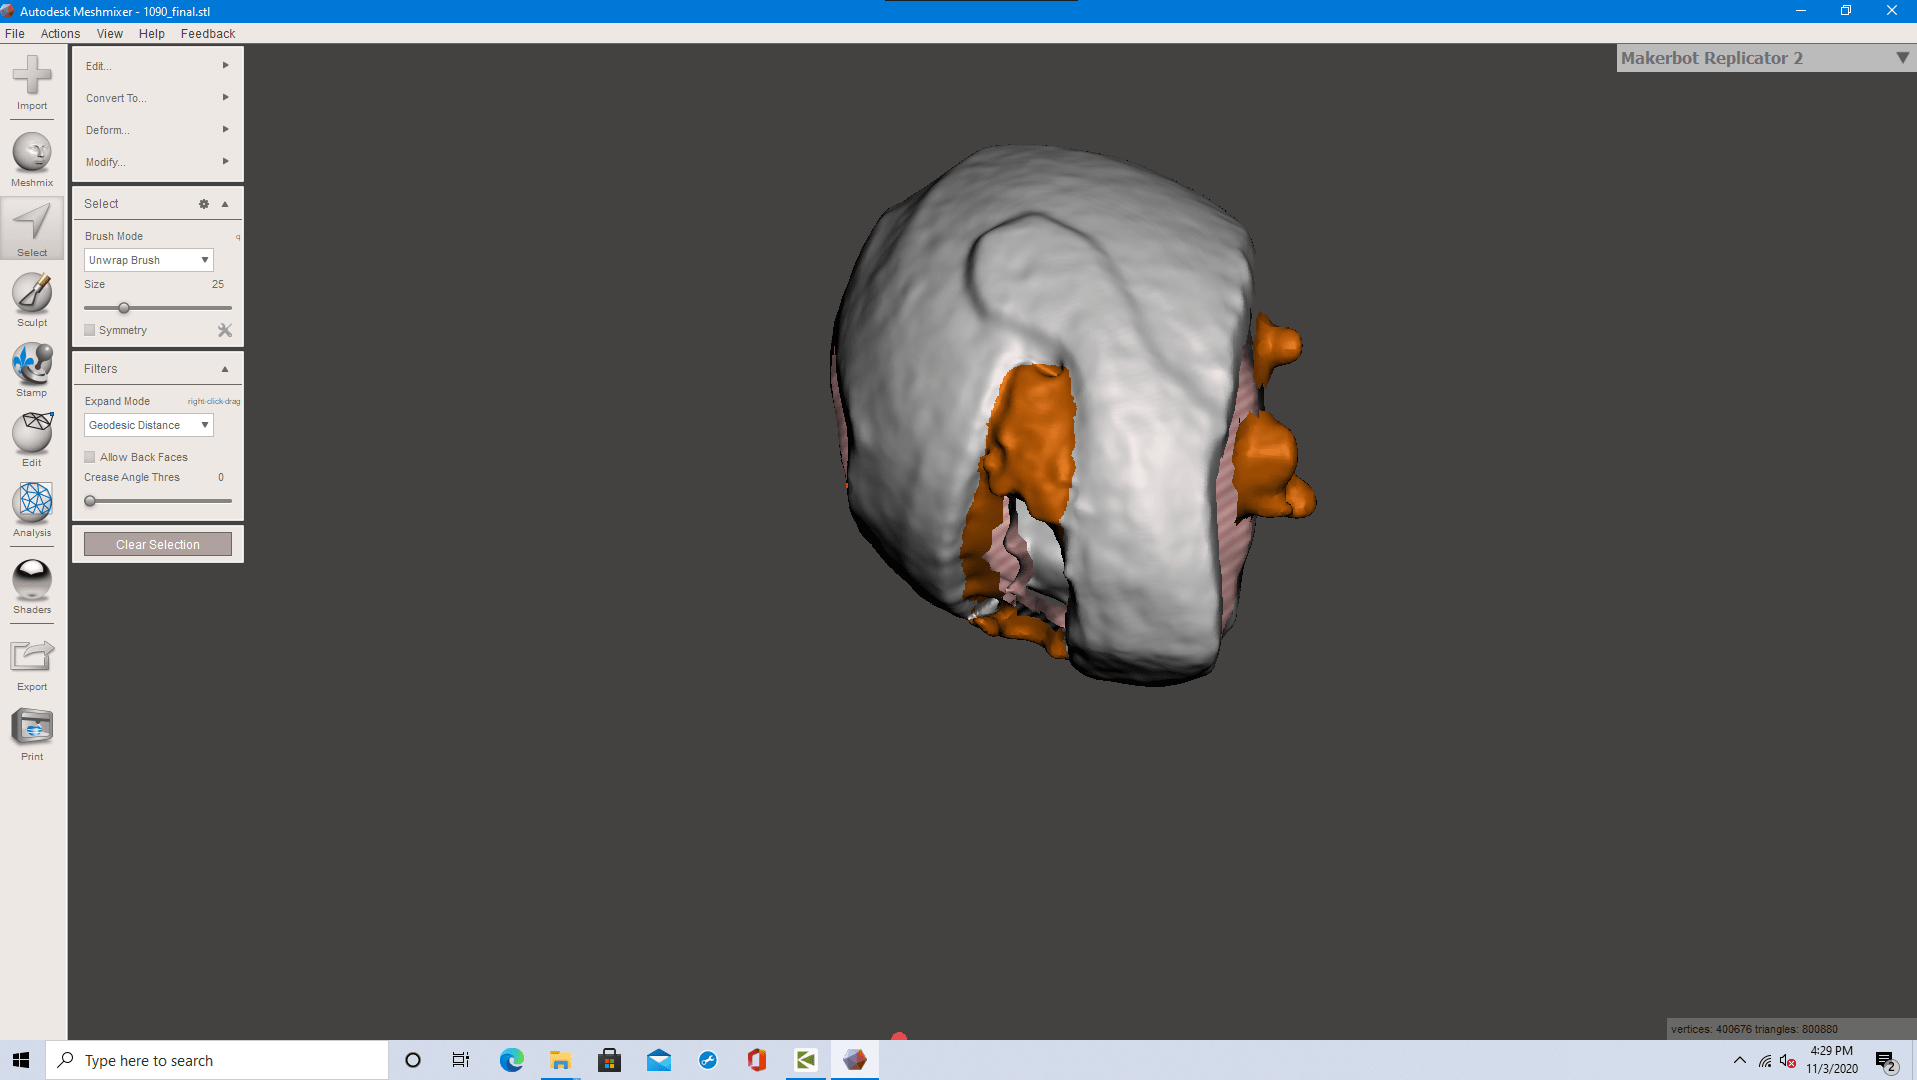
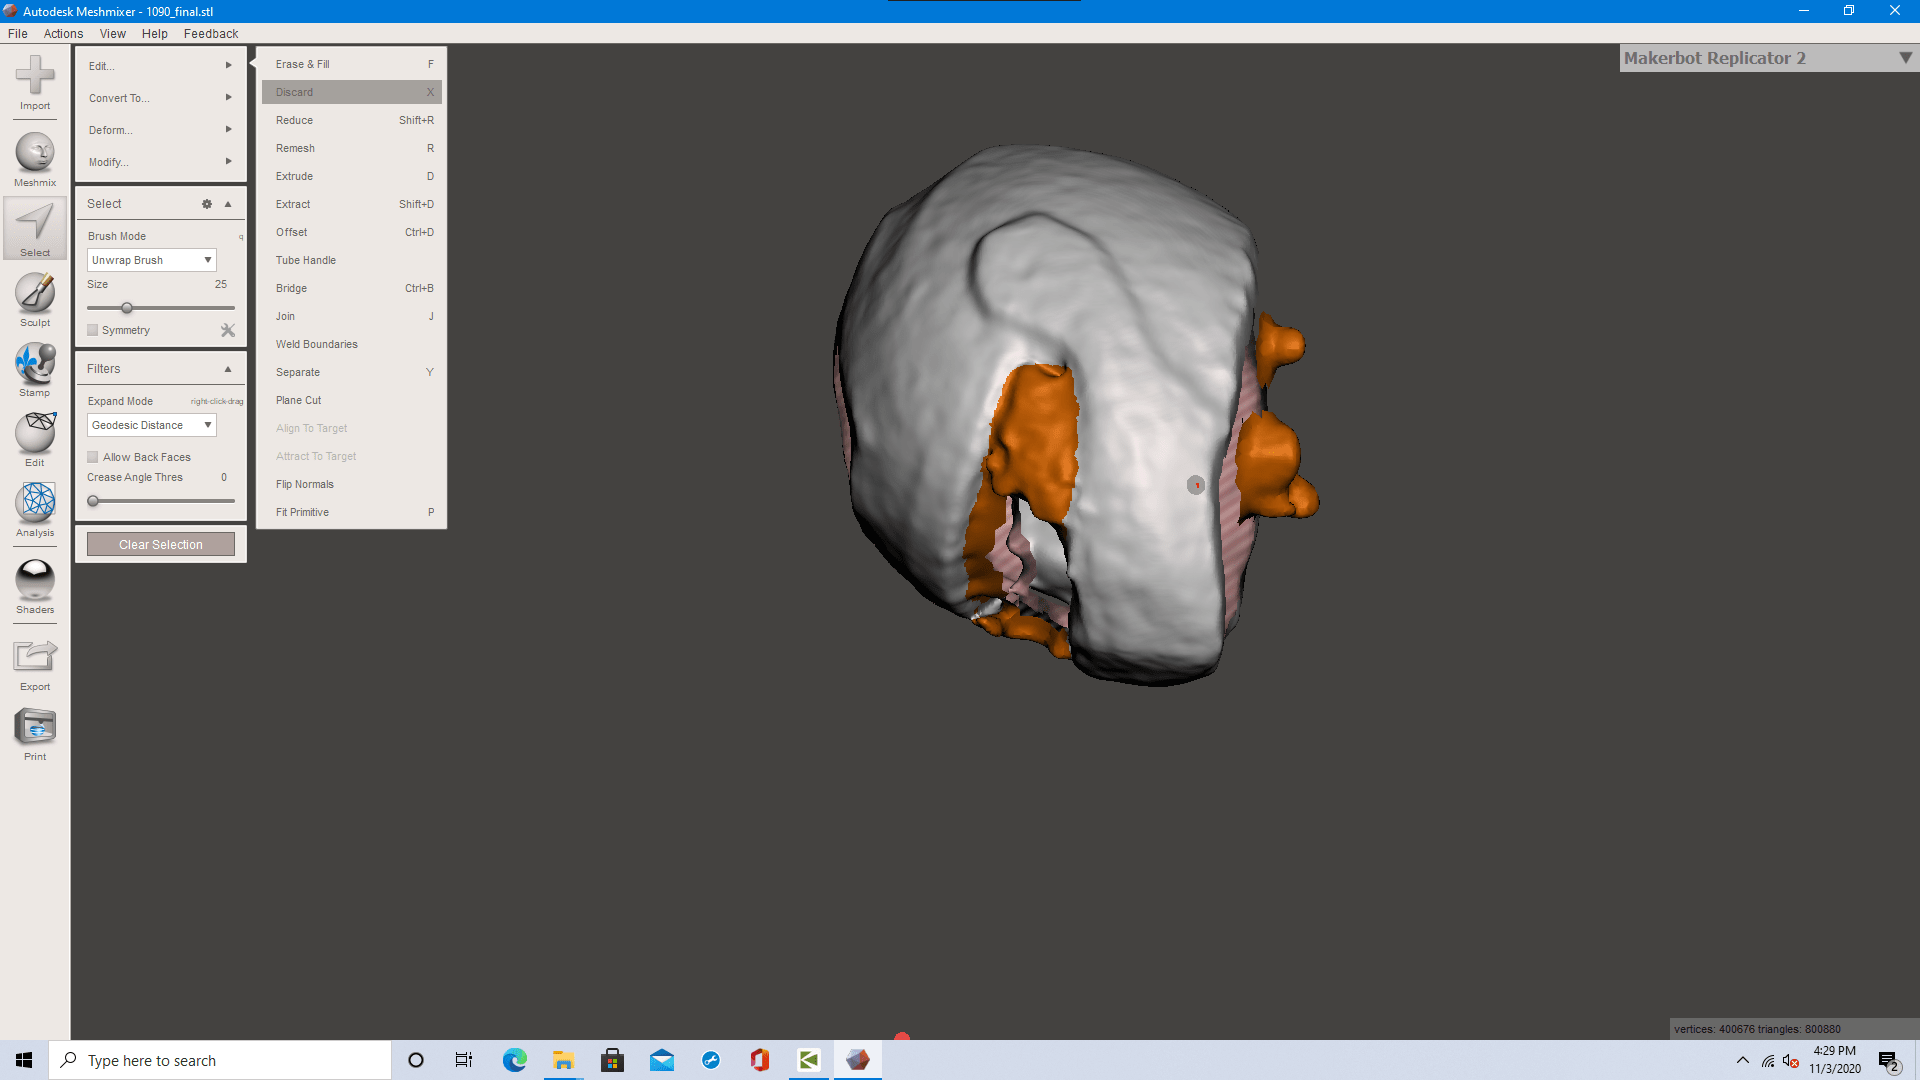
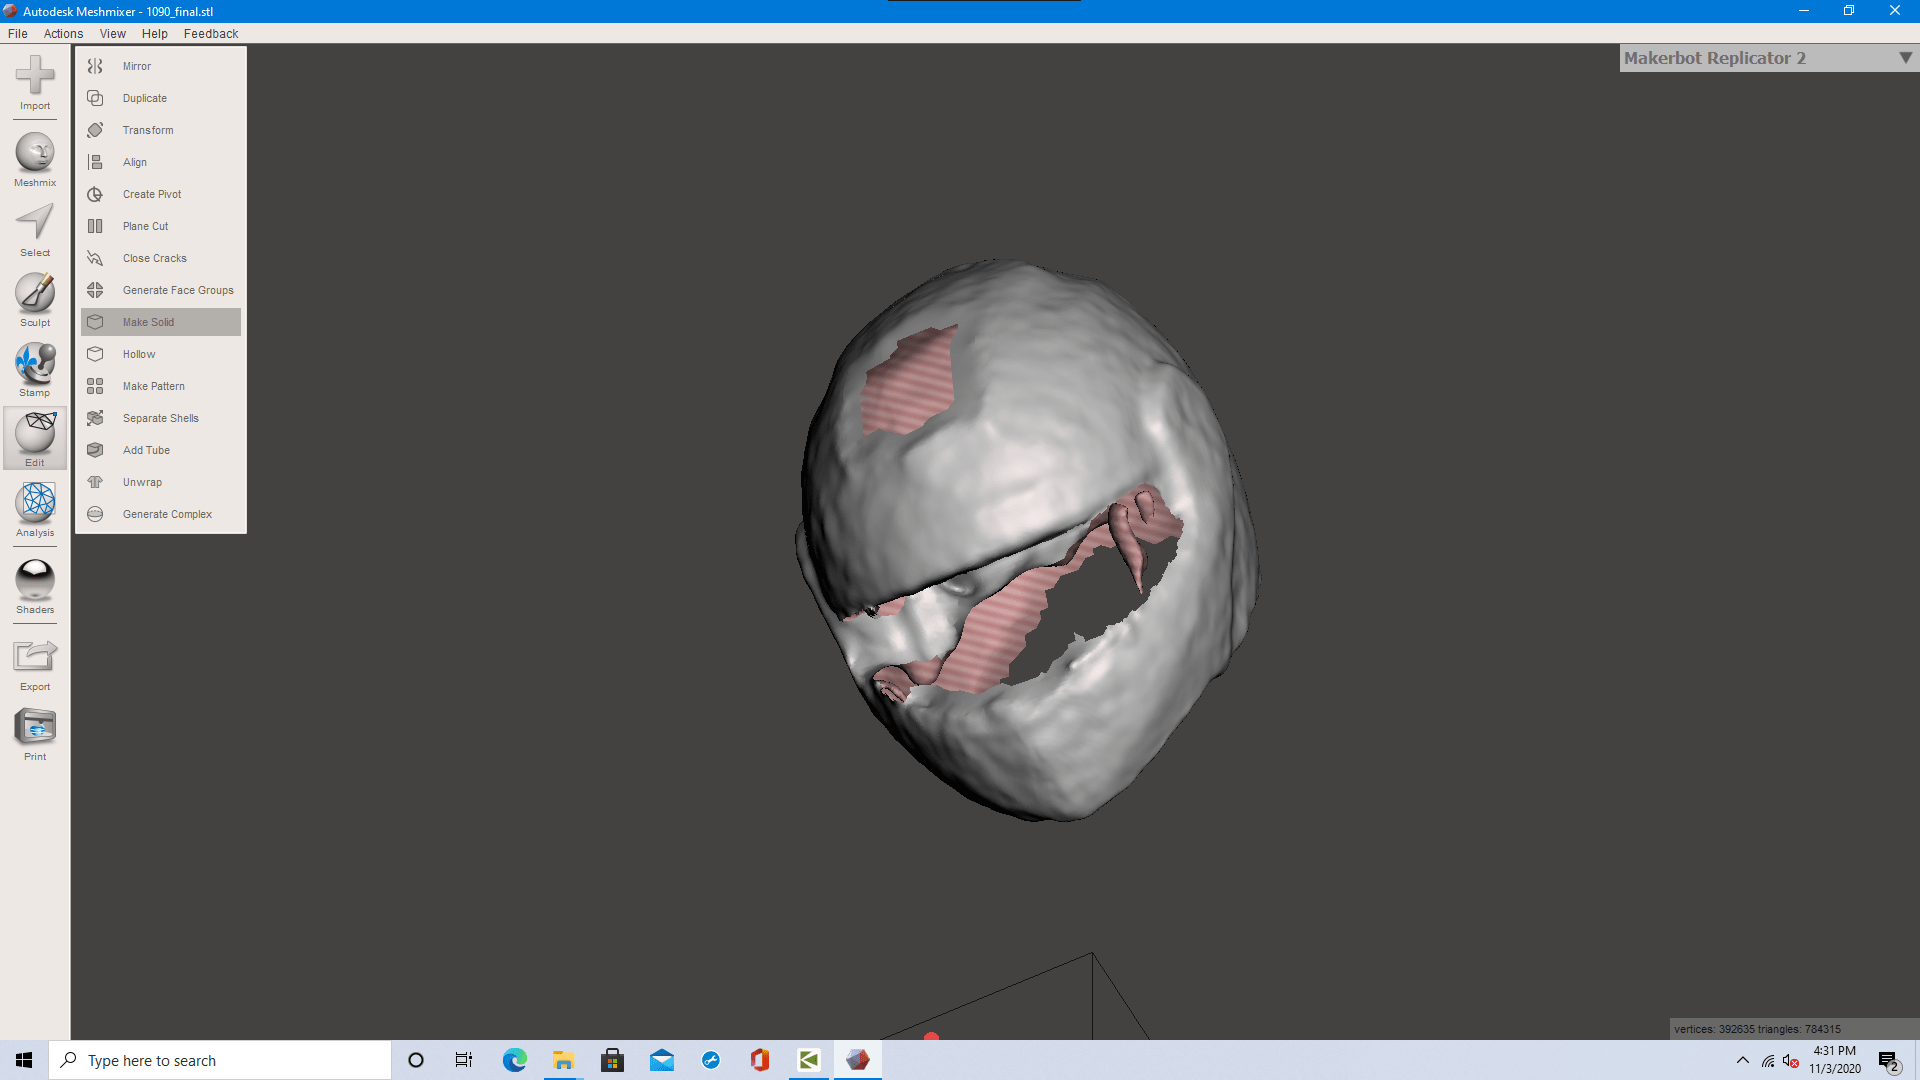
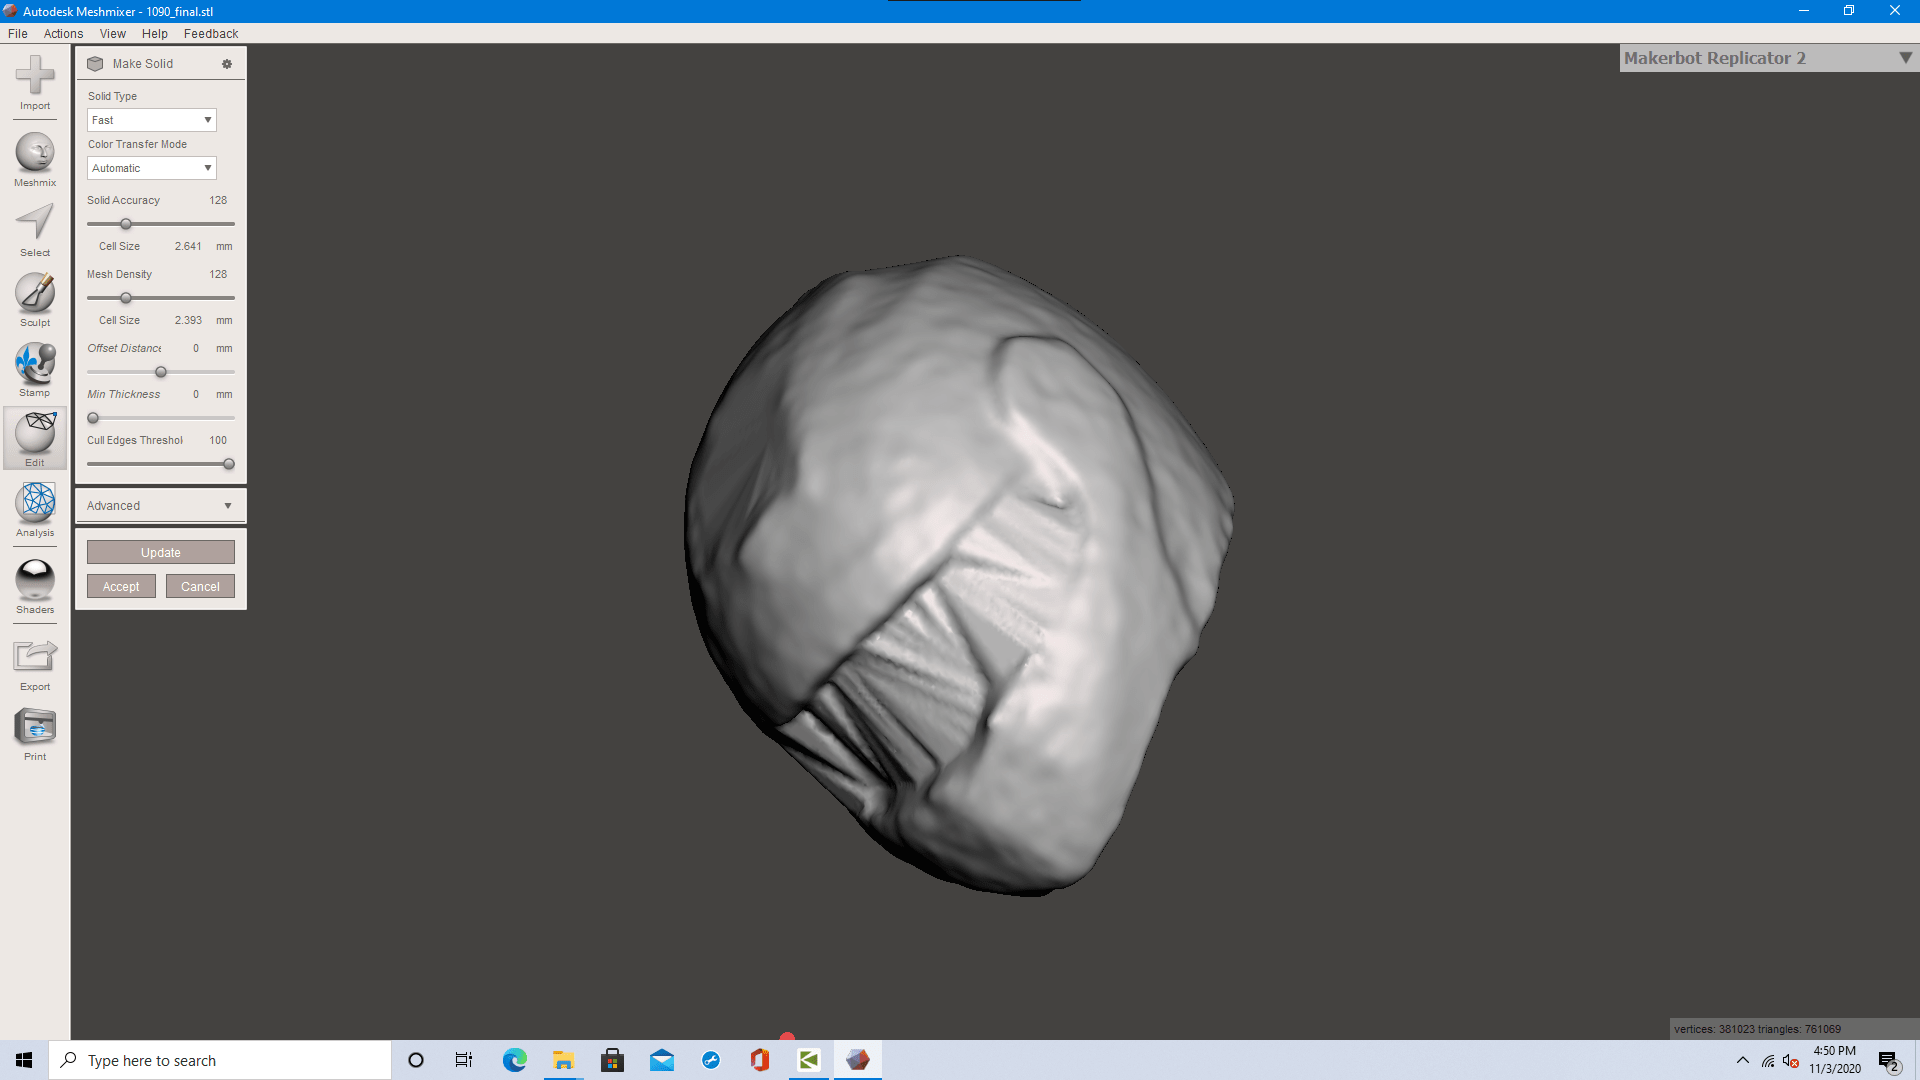
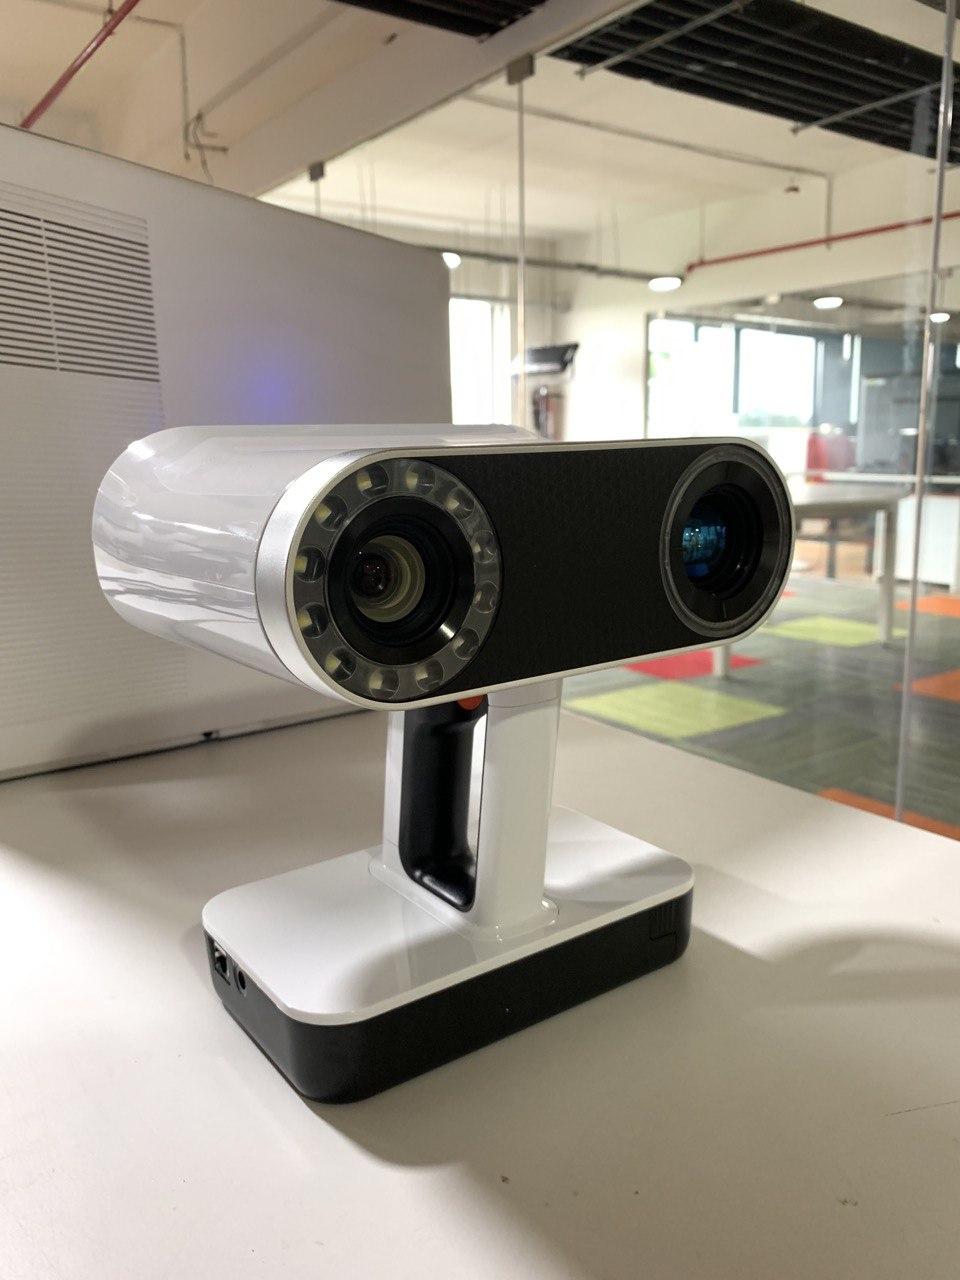
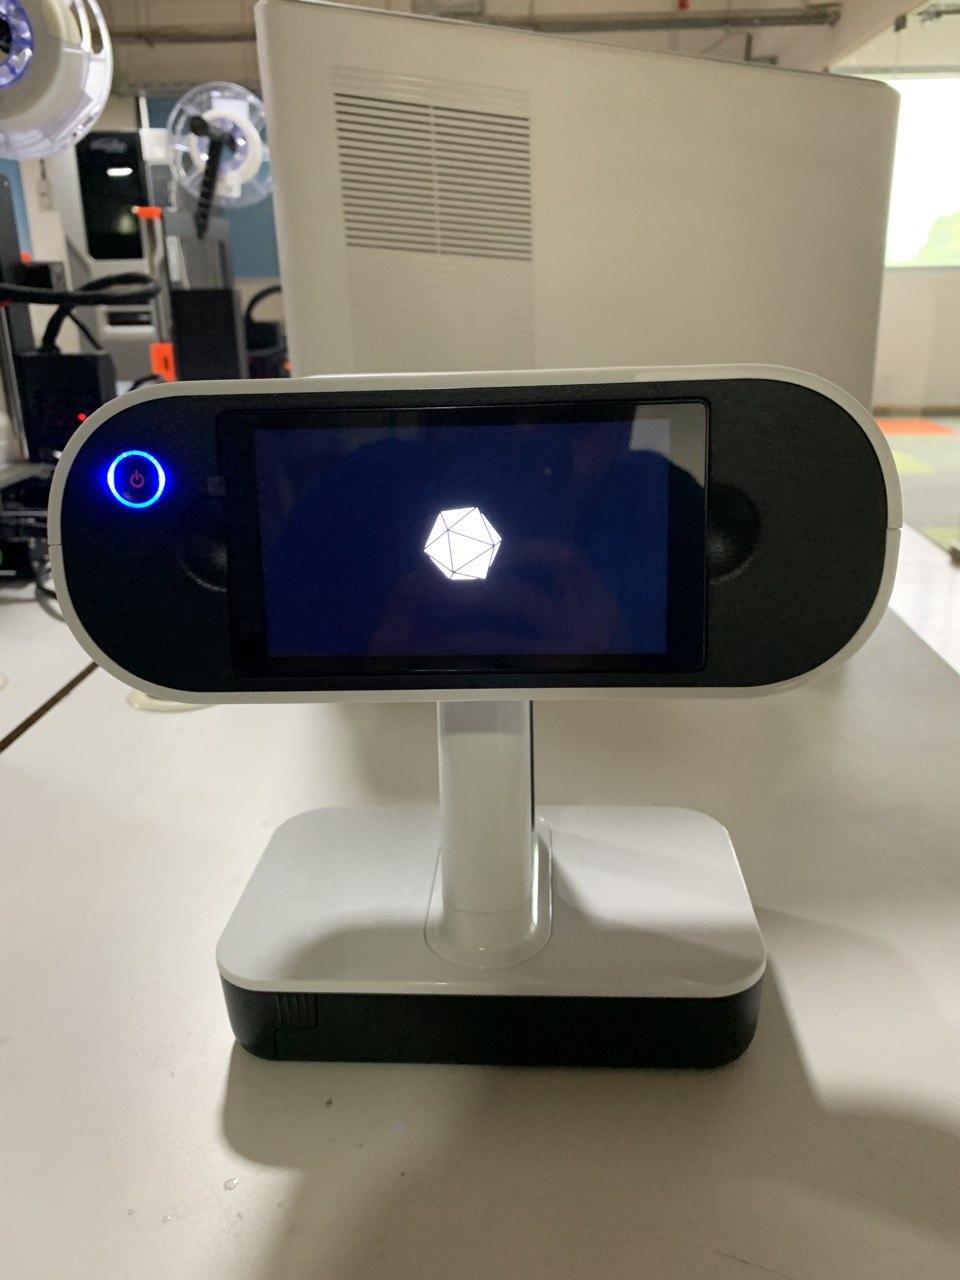
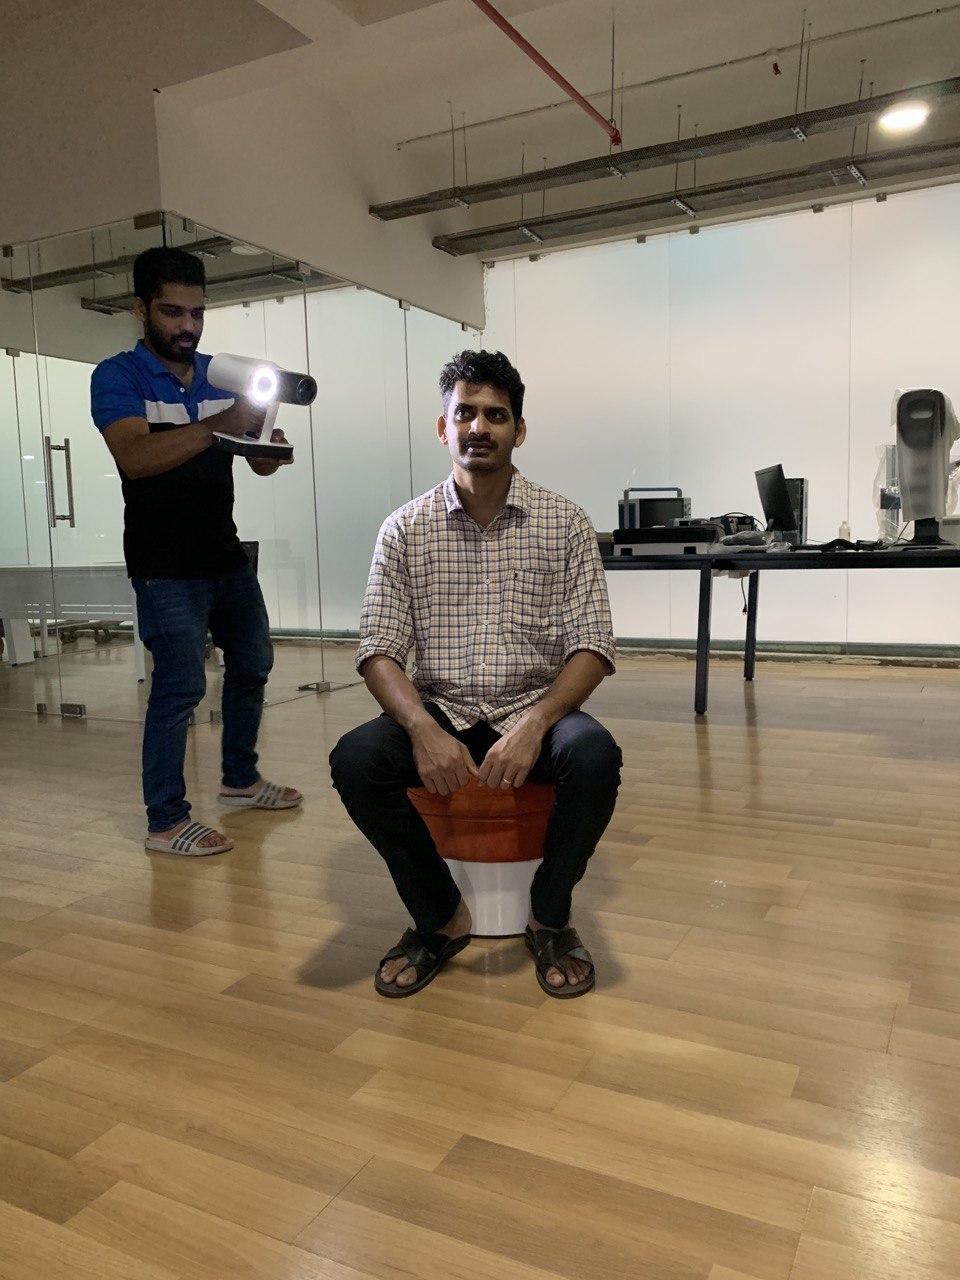
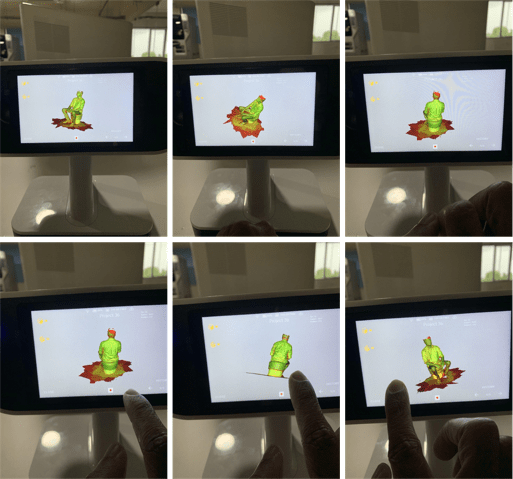
2) 3D Scanning
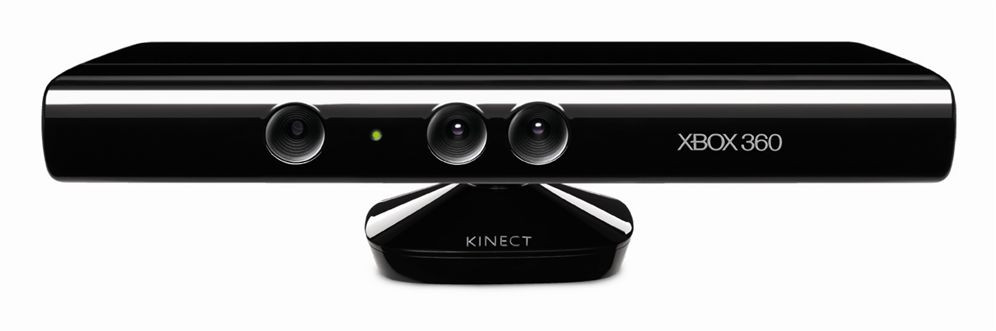
The Kinect system identifies individual players through face recognition and voice recognition. A depth camera, which “sees” in 3-D, creates a skeleton image of a player and a motion sensor detects their movements. Speech recognition software allows the system to understand spoken commands and gesture recognition enables the tracking of player movements. Although Kinect was developed for playing games, the technology has been applied to real-world applications as diverse as digital signage, virtual shopping, education, telehealth service delivery ,Robotics ,3D mapping etc