Exercise, Week 03 - Computer-Controlled Cutting
Group Assignment
This
is a group assignment done with Ting
Kok Eng and Noel
Kristian.
Our collective work is documented on the SP Fablab Website Assignment 1 and
hence only my learning and reflections are documented here
What I have learned:
1. Relation between Power, Speed and Frequency (PPI) and how these setting affects the kerf;
o using higher power, bigger the kerf.
o for multiple passes, the speed for the first pass can be slow, but for subsequent passes speed should be high to minimize charring
2. the z axis must be set to the material thickness to achieve the proper laser cutting.
3. Arrange the 2D layout closely minimize wastage of materials.
4. Calculate and achieve the optimal setting inorder to get the smallest kerf, use it to adjust the parameters of my construction kit for the best fitting slots.
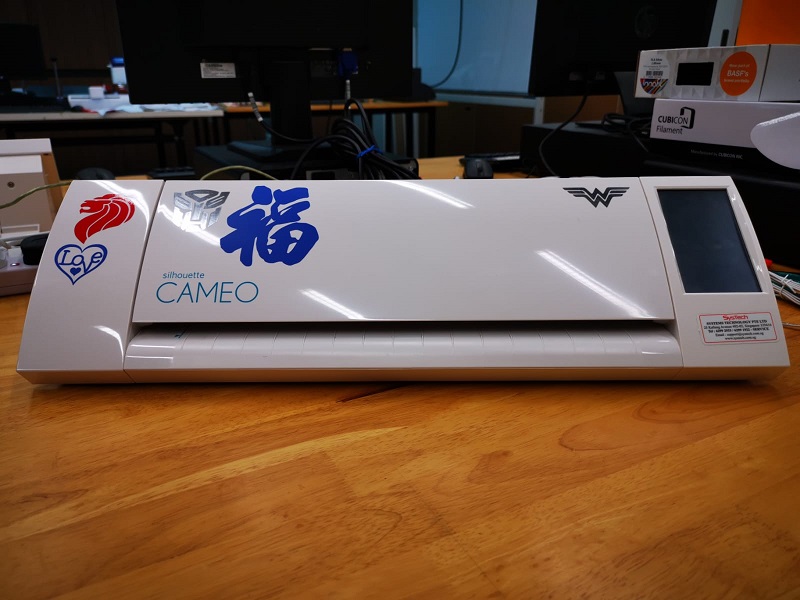
Vinyl Cutting Using Silhouette Cameo
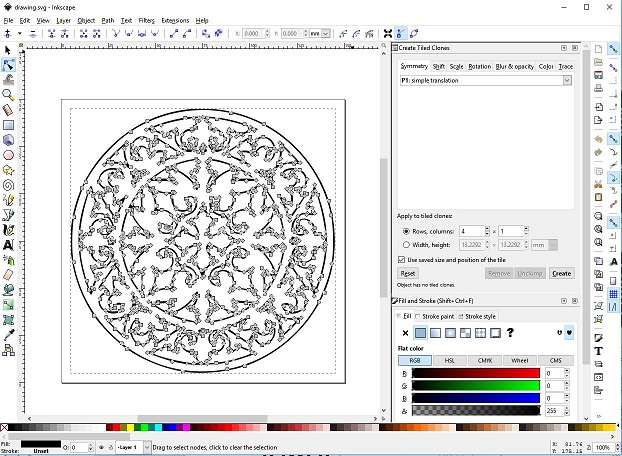
Using a Silhouette Cameo Vinylcutter in our Fablab to cut the above design shown in inkscape (1).
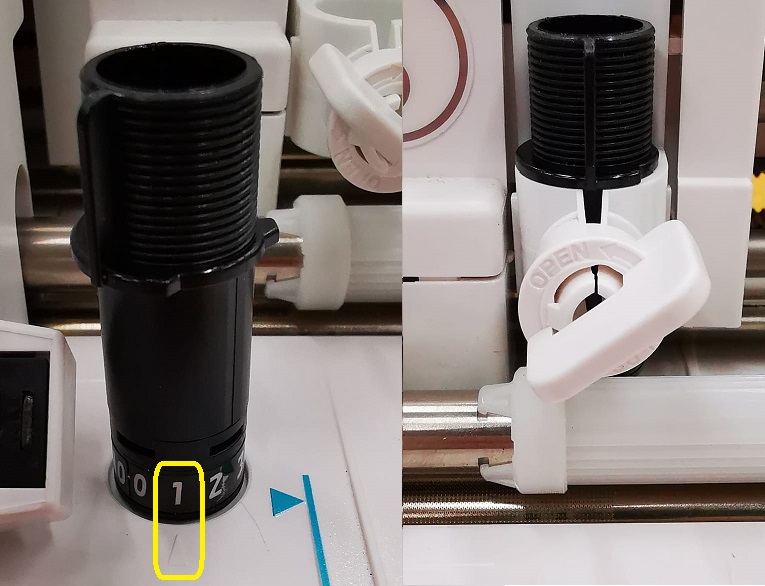
Set the cutter blade to 1 and the Silhouette setting to 1.

Load the design file (wk03vinyl.svg) into software Silhouette Studio.
This is my vinyl cutting (svg) file, right mouse click and save link: wk03vinyl.svg
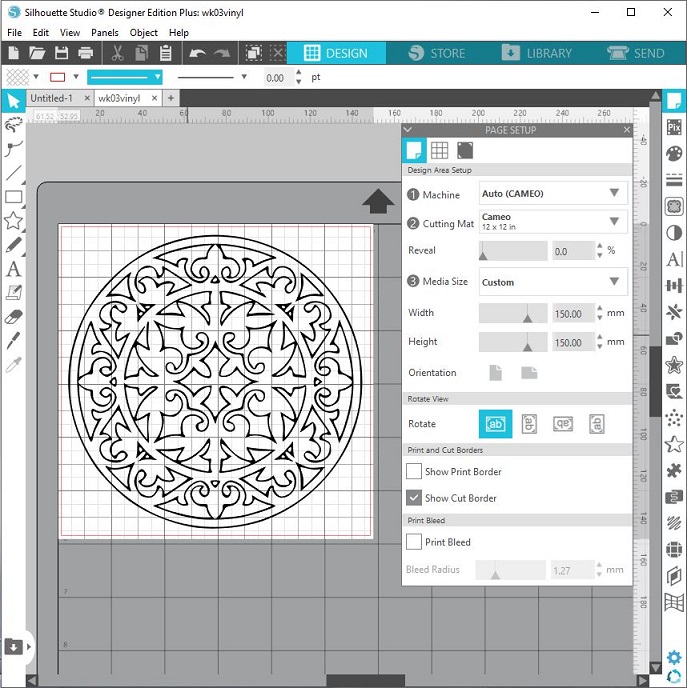
Set Design Area to 150mm by 150 mm.
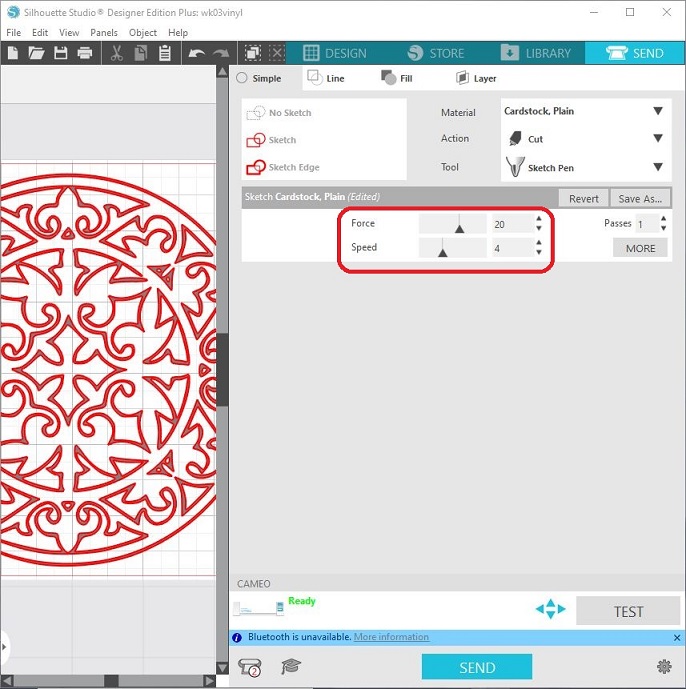
Follow default setting for Force and Speed.
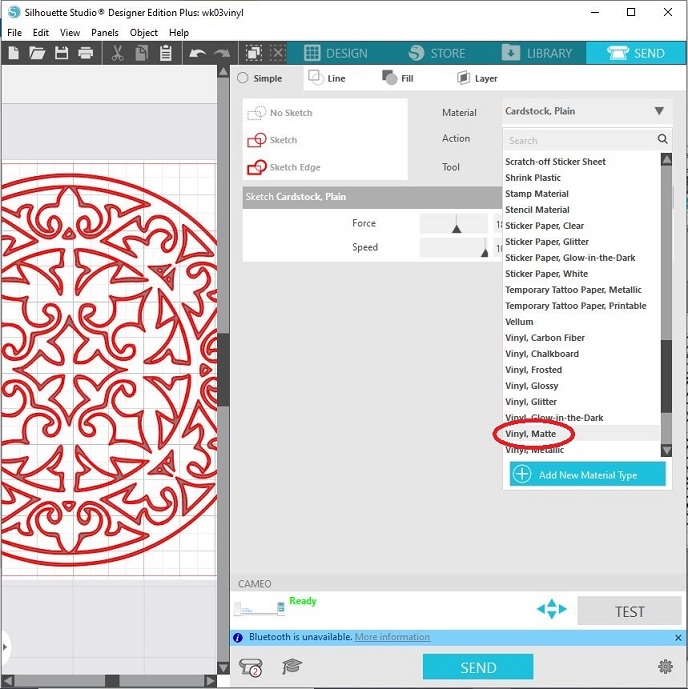
Select Material> Vinyi,Matte
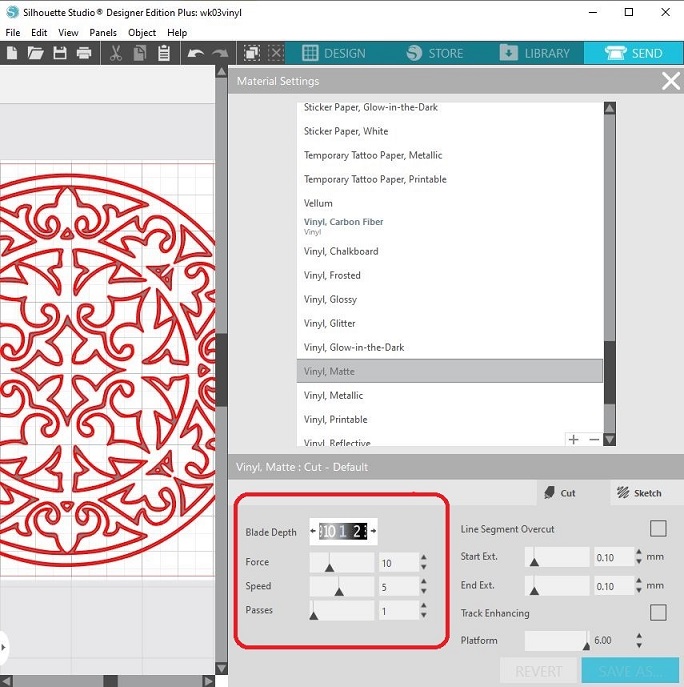
Select more>Select Blade Depth = 1, Default setting: Force = 10, Speed = 5, Passes = 1

Insert and load a red colour matt vinyl into the Silhouette Cameo vinylcutter.
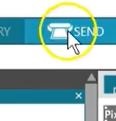
Select SEND to start the Silhouette Studio.
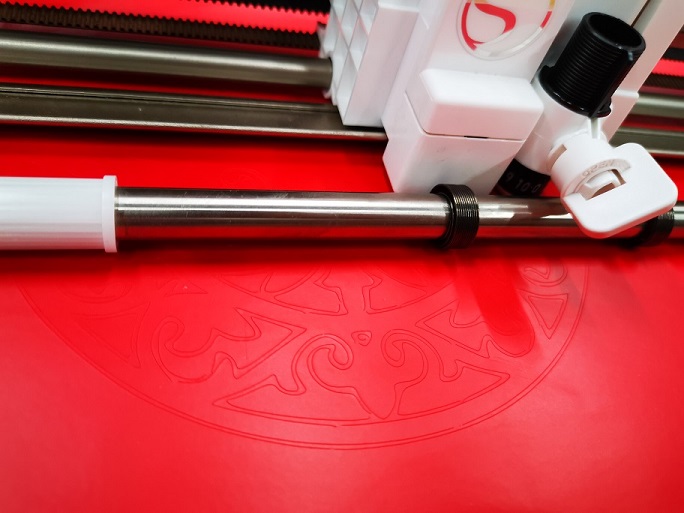
Silhouette Cameo vinylcutter is cutting the design on the vinyl.
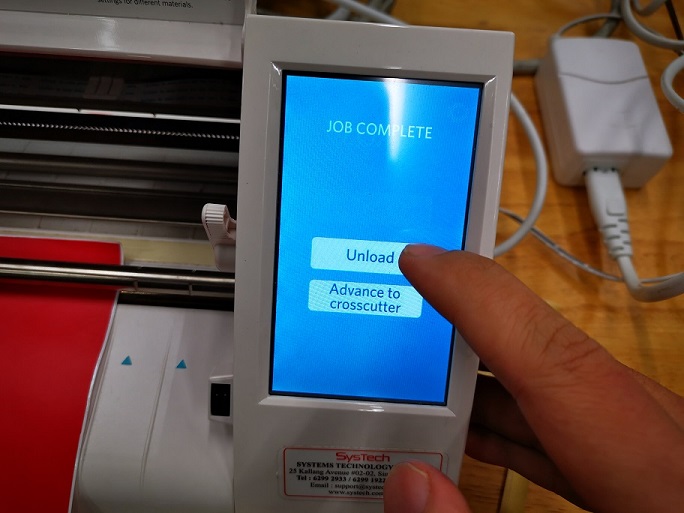
After cutting, unload the vinyl.
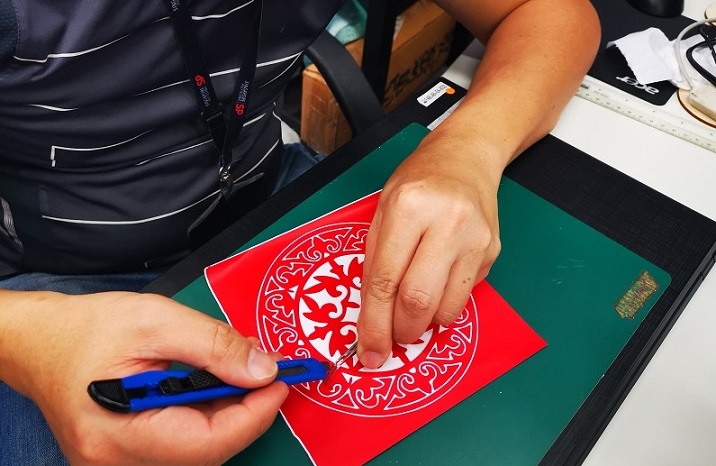
Weeding vinyl materials that is not belong to the design.
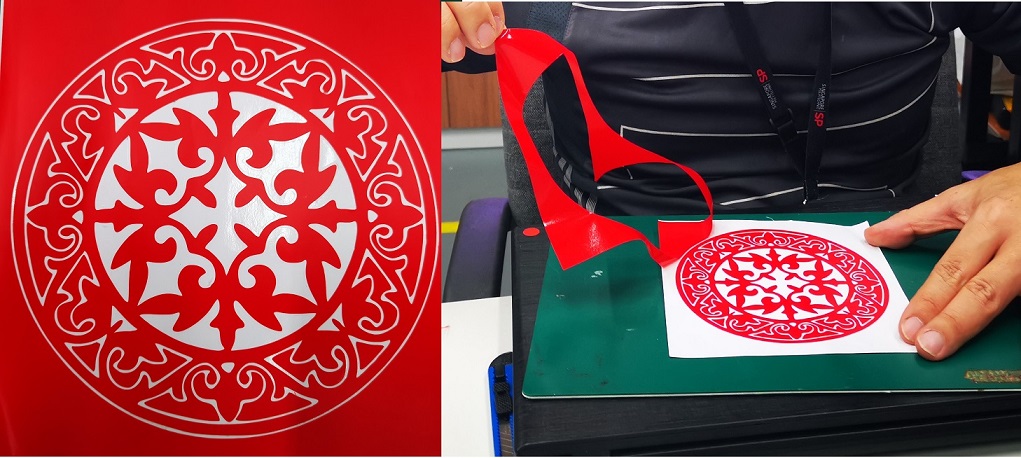
After weeding, only vinyl design remain.

Applying transfer tape onto the vinyl.

Apply pressure on the transfer tape to transfer vinyl design onto the transfer tape.
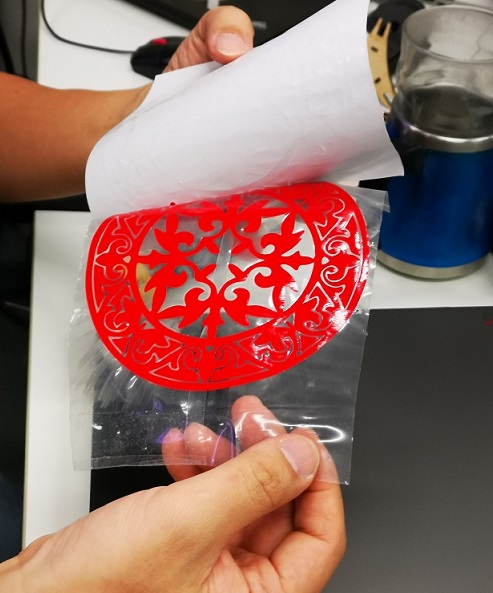
Remove the white backing from the vinyl.
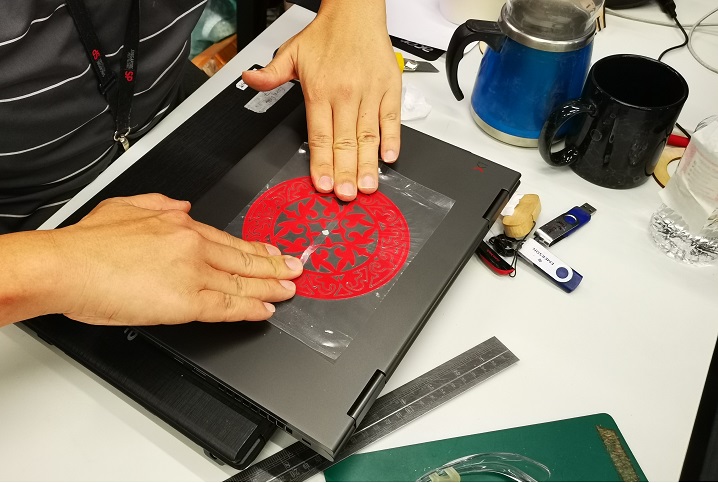
Paste the transfer tape onto my laptop.
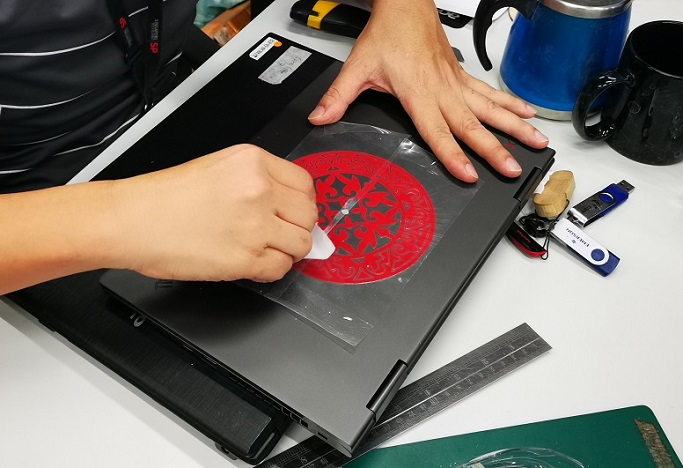
Apply pressure on the transfer tape to paste the vinyl onto my laptop.
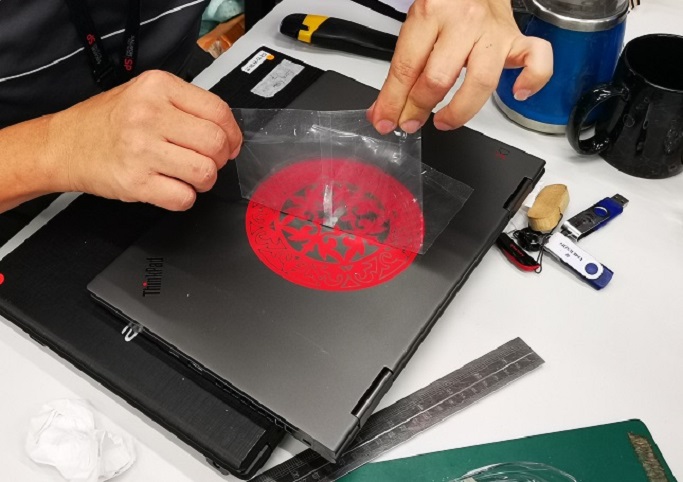
Remove the transfer tape slowly.
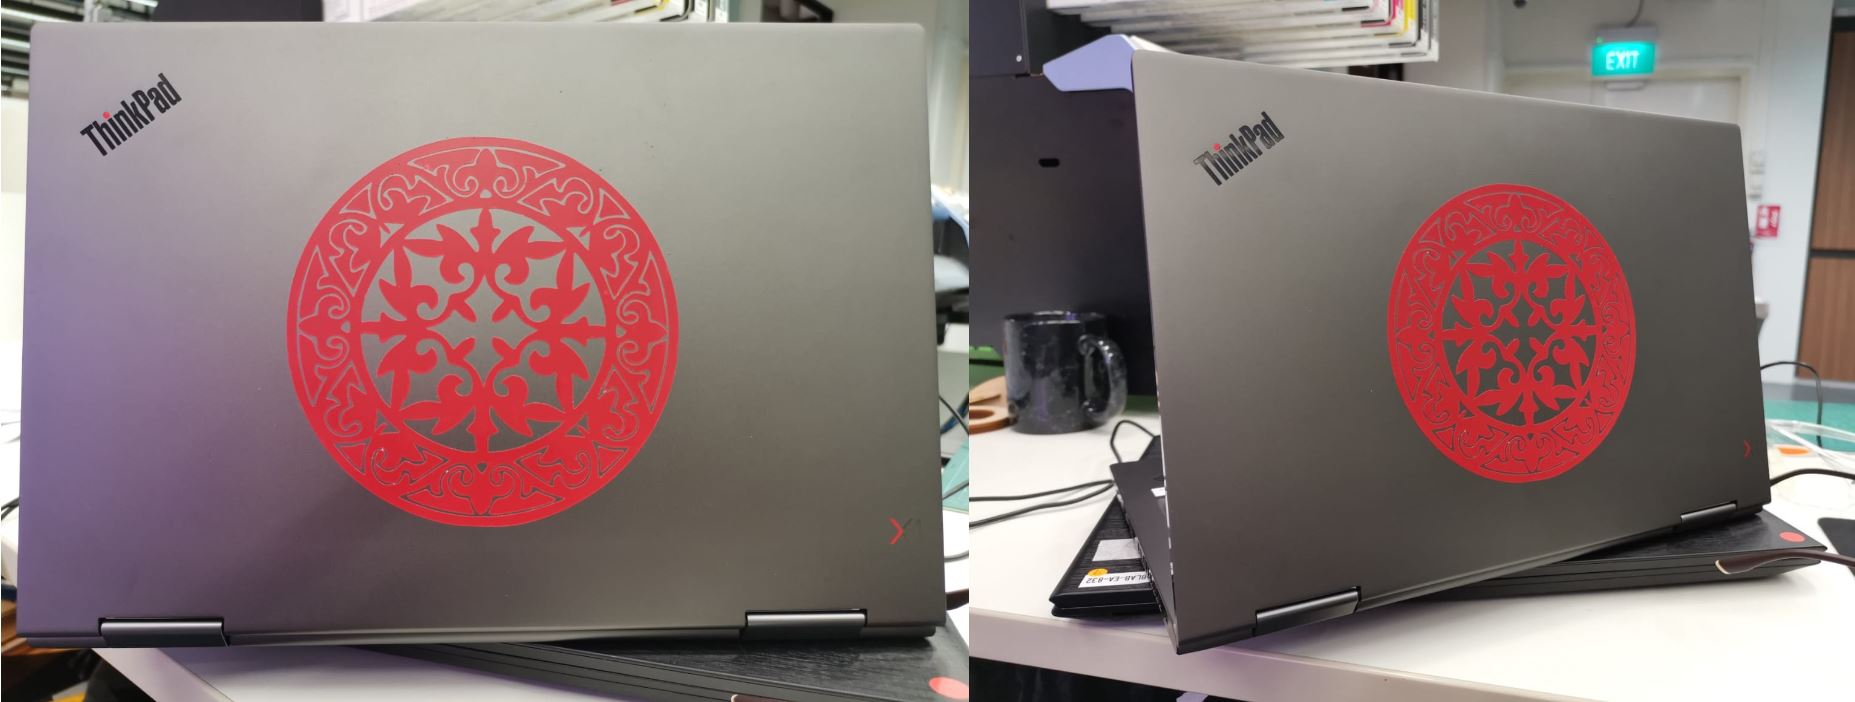
Completed my vinyl design on my laptop.
Parametric Construction Kit
Designed and laser cut a parametric construction kit, accounting for the lasercutter kerf, which can be assembled in multiple ways.
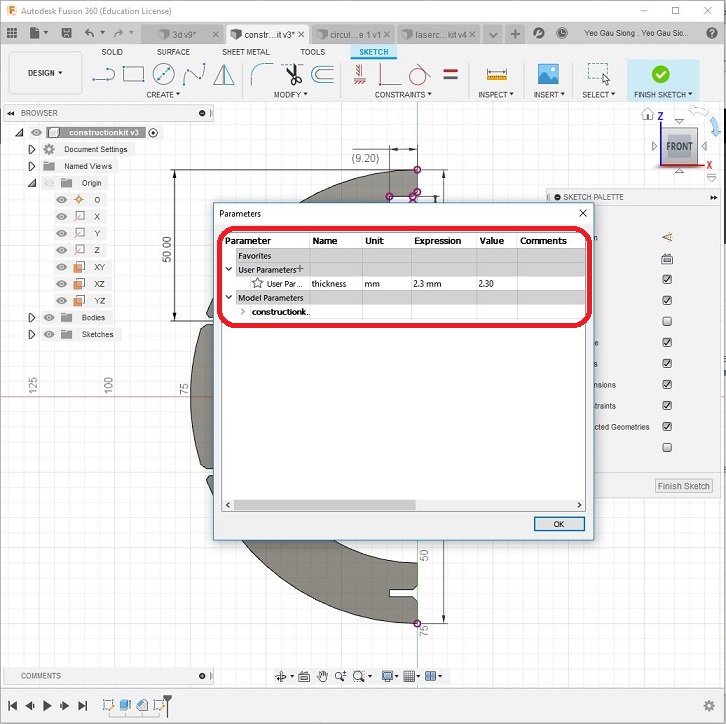
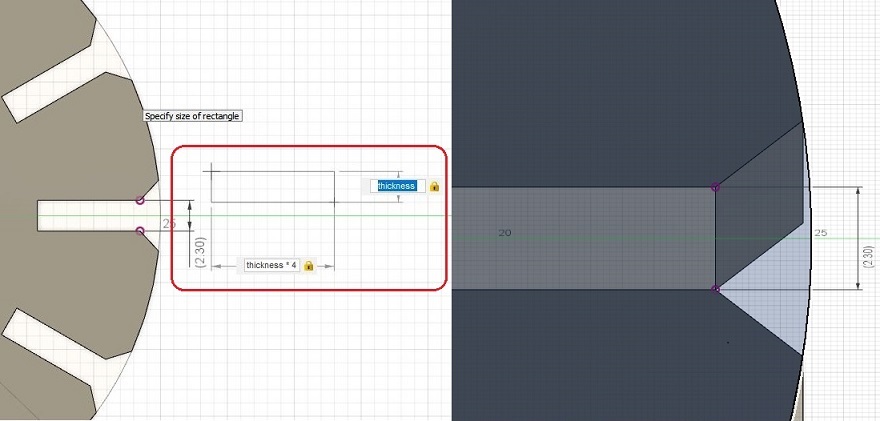
Setting Parameter, Thickness = 2.3mm
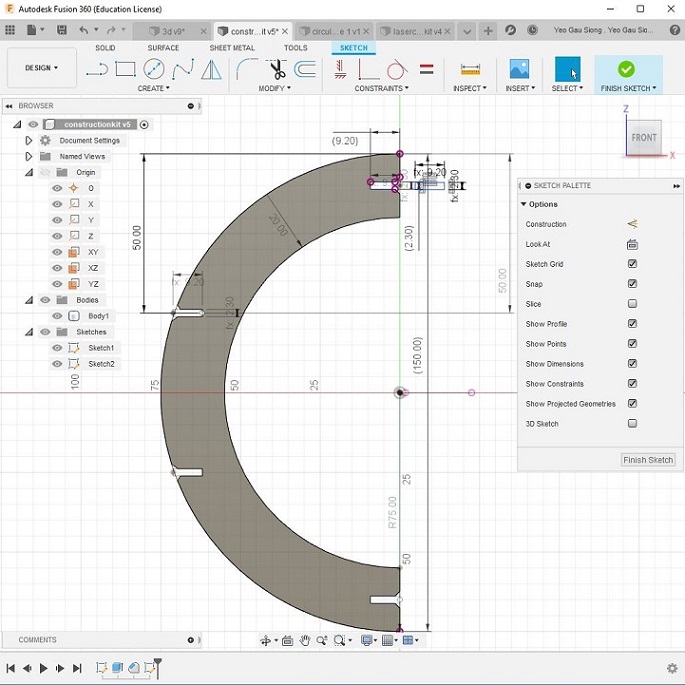
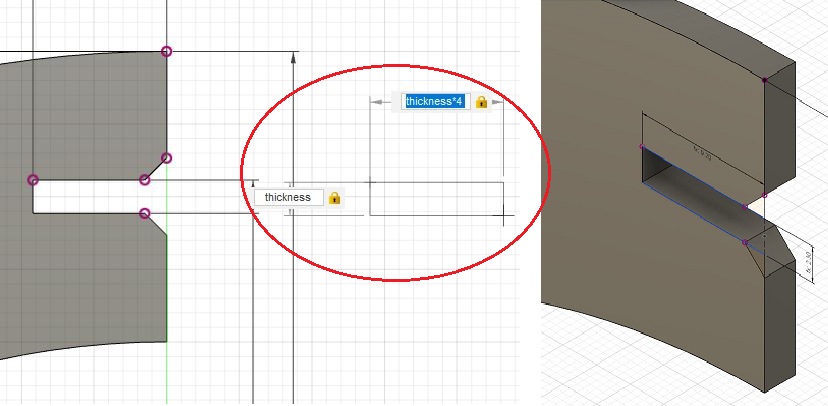
Create sketches for an arc with 4 slots, using parameter setting accounted from lasercutter kerf in group assignment.
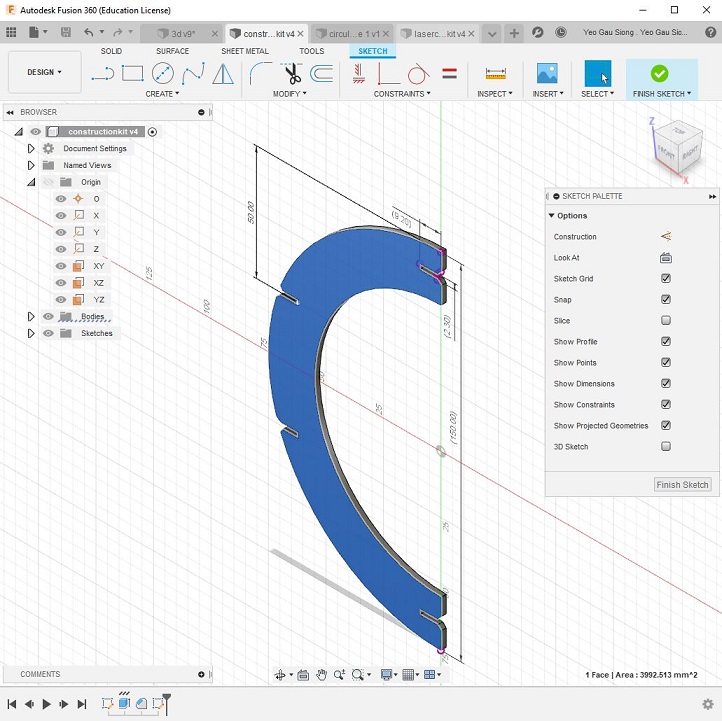
Extrude to Parameter: thickness (2.3mm)
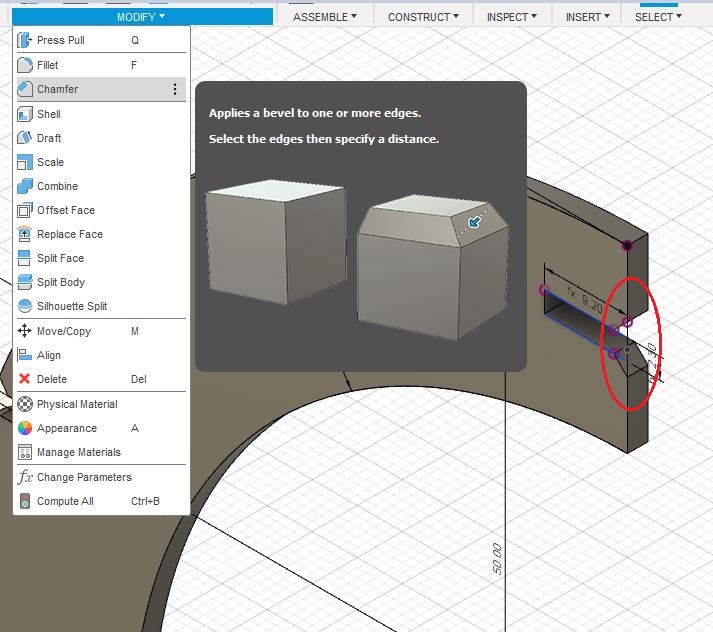
Chamfer = 1 mm
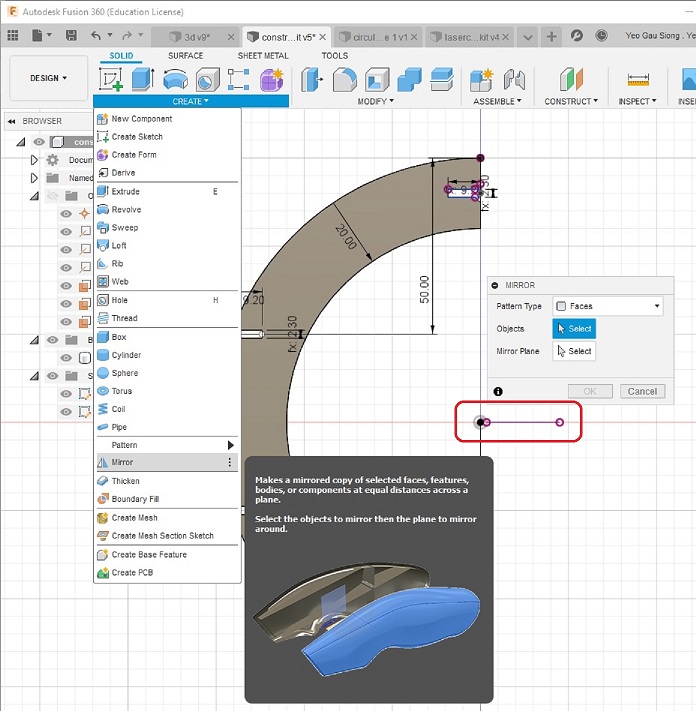
Mirror X-axis, copy 2 slots from the top to the bottom of the arc. Completed the arc design, it will be used for laser cutting.
Sketching a circular plate for my construction kit
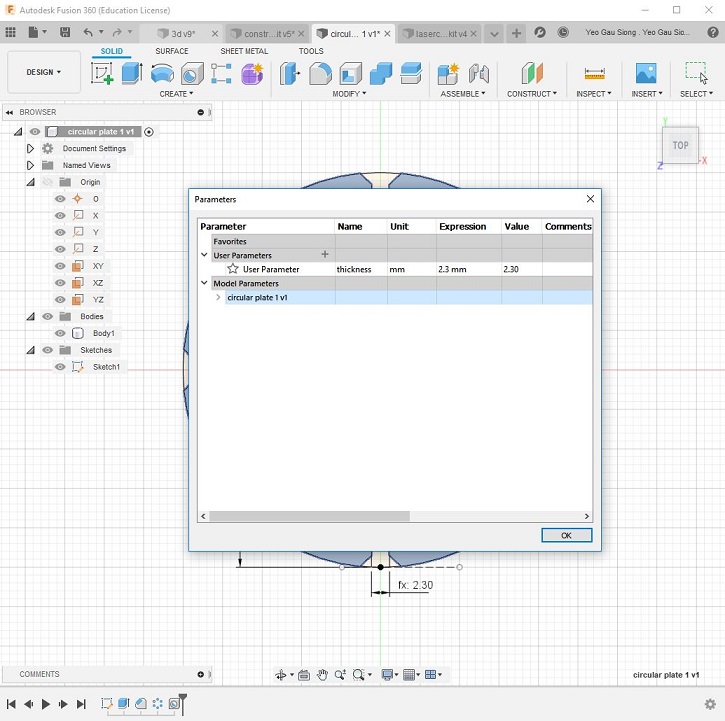
Setting Parameter, Thickness = 2.3mm
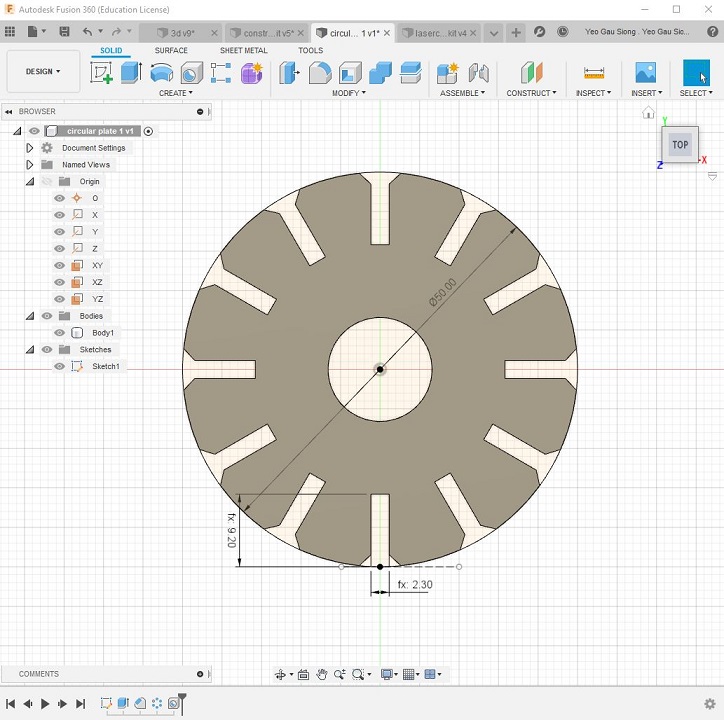
Create sketches for a circular plate with 12 slots, using parameter setting accounted from lasercutter kerf in group assignment.

Extrude to Parameter: thickness (2.3mm)

Chamfer = 1 mm
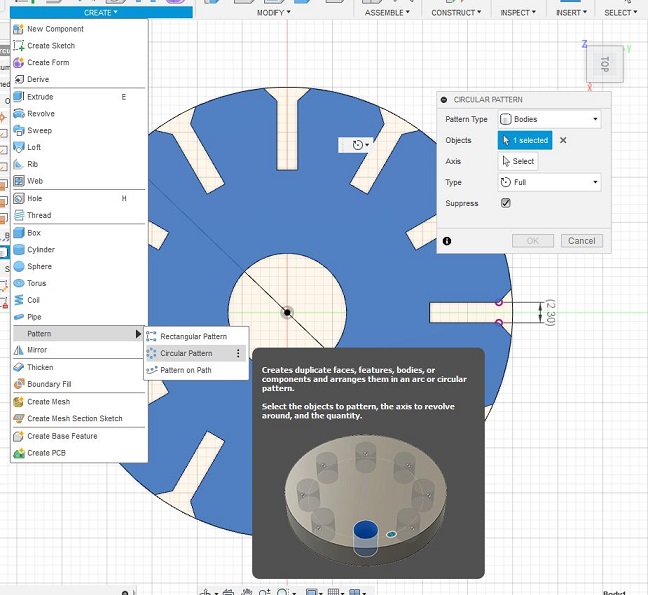
Select CREATE > PATTERN > Circular Pattern, creating 12 slots. Completed circular plate for my construction kit, it will be used for laser cutting.
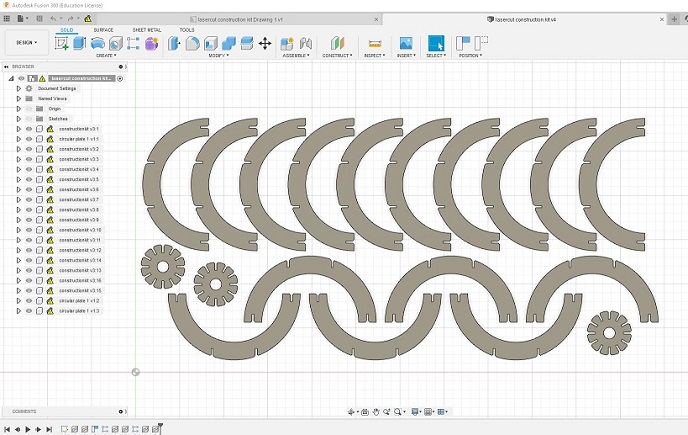
Copy the 2 created designs into an new assembly environment using TOP view, and create copies and group these designs.
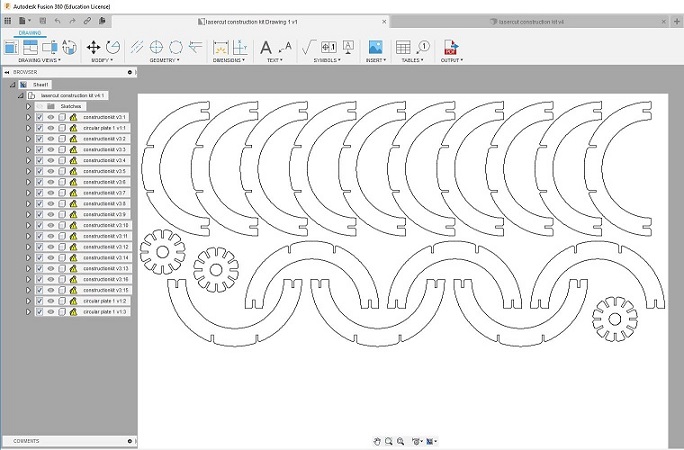
Project assembly environment to a new drawing, by select New Drawing > From Design. Complete my construction kit design by saving as a f3d file extension.
This is my laser cutting file, right mouse click and save link: wk03kit.f3d
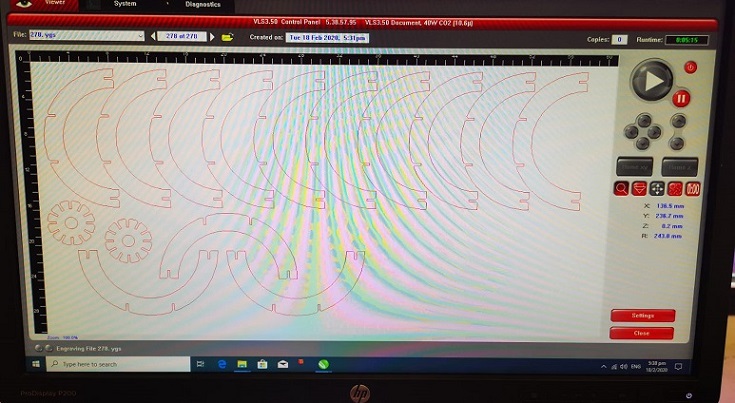
Open my dxf file in CorelDRAW, select print and select UCP
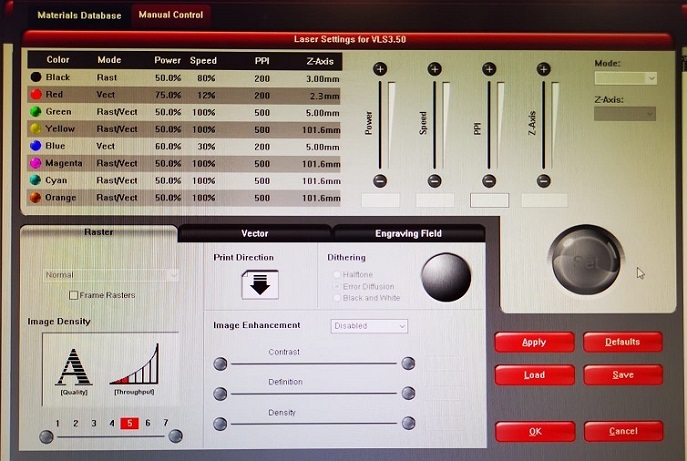
Select UCP Setting (Red, Power = 75, Speed = 12, PPI = 200)
Load a 2.4 mm plywood (600 mm by 300 mm) in the laser cutter and close it cover, select Green button to start laser cutting.

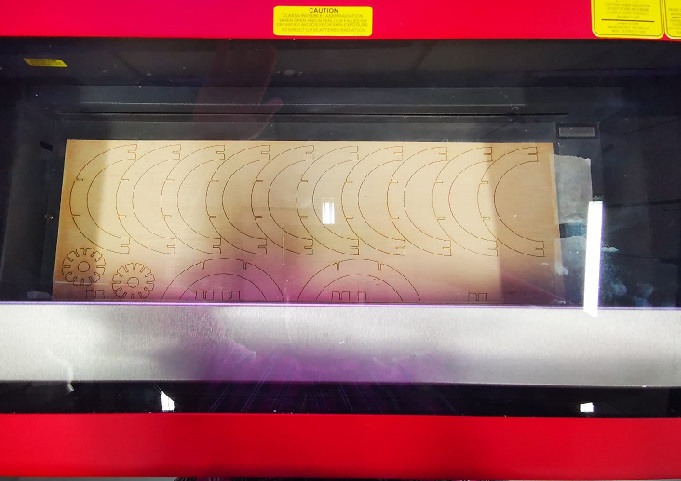
Continue a second piece of laser cutting after finishing the first set of cutting.
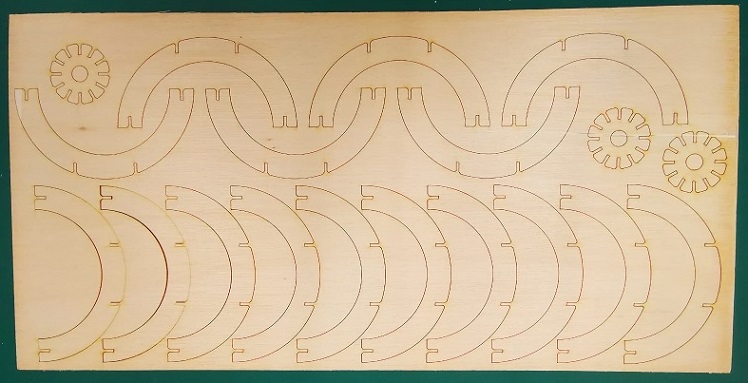
Completed my laser cutting for my construction kit.
Start assemble my construction kit in multiple ways
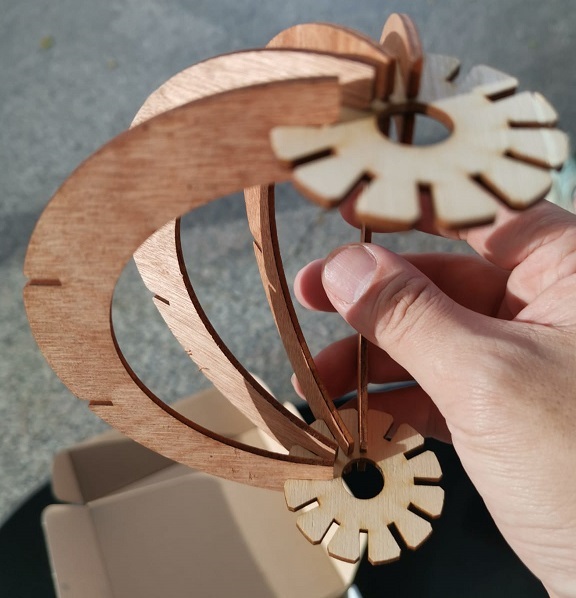
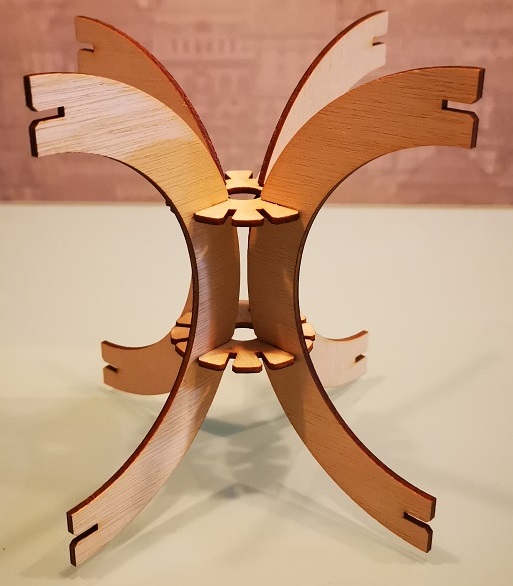
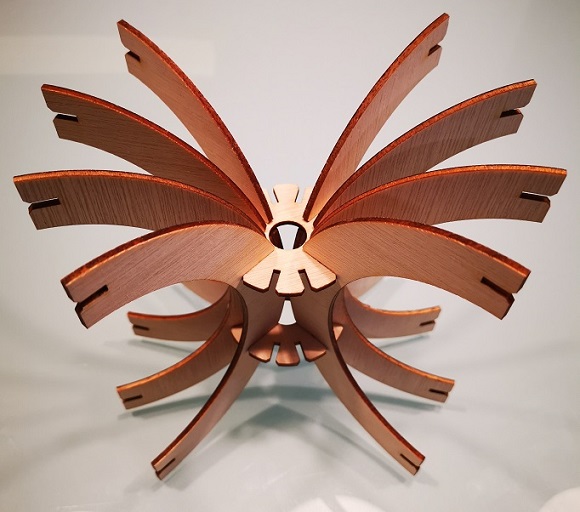
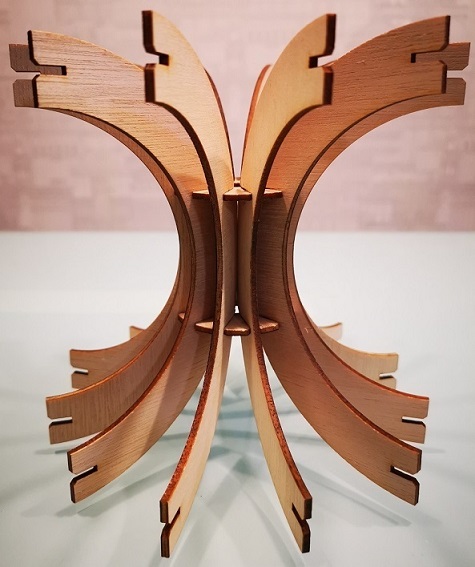
There are 3 different way to assemble the stands.
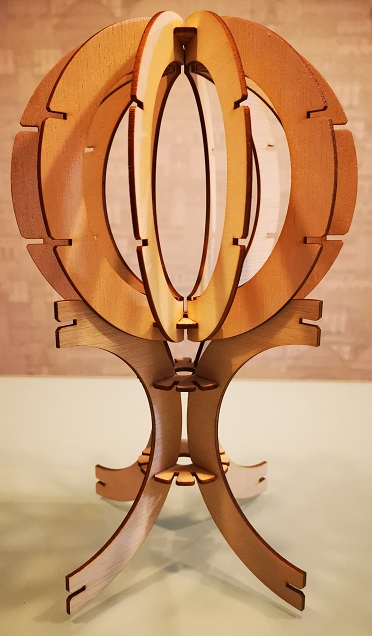
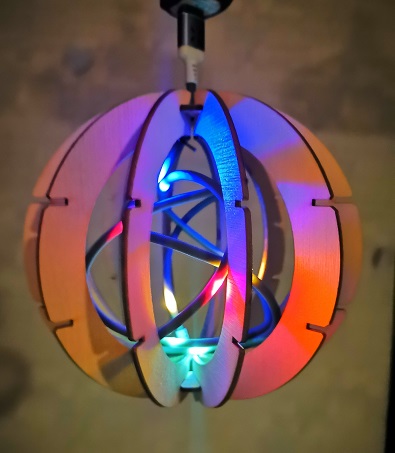
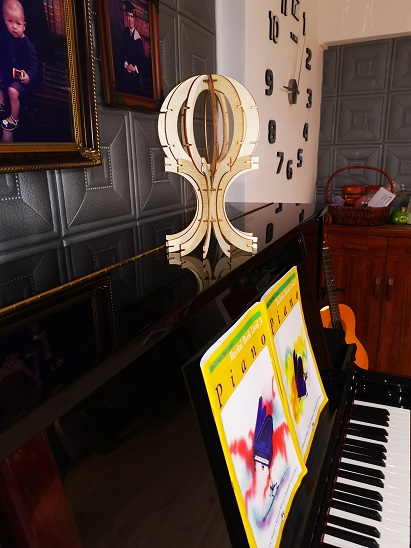
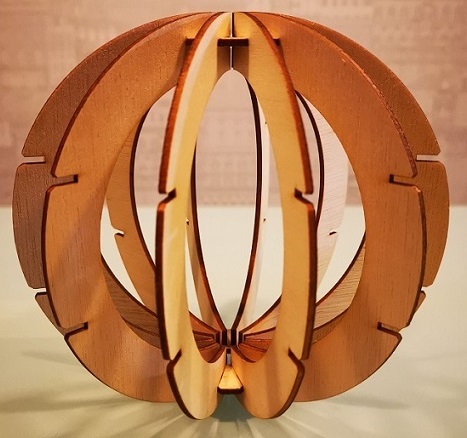
There are a few different way to assemble the lighting shade having 4, 6 0r 12 arcs.
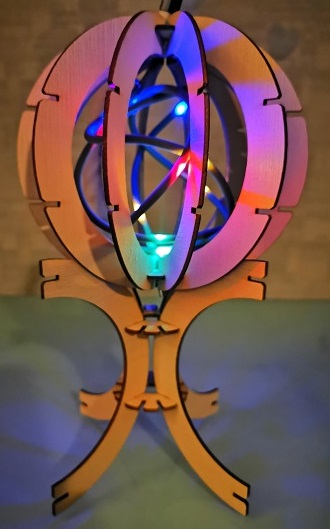
And, 2 way to use the lighting shade; on the table light or as a hanging light.
Video of construction kit - a table light & a hanging light
Citation
(1) reference from URL on 170220: https://www.pinterest.com/pin/232990980709438161/