0.5. Student Bootcamp
Before the official start of class, a student bootcamp was offered as an introduction to all new Fab Academy students. (Jan 18)
4-5 minutes
Surface mount soldering practice & bootcamp lectures
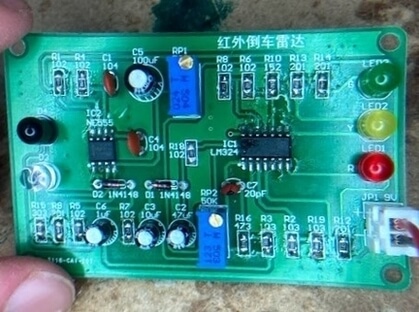
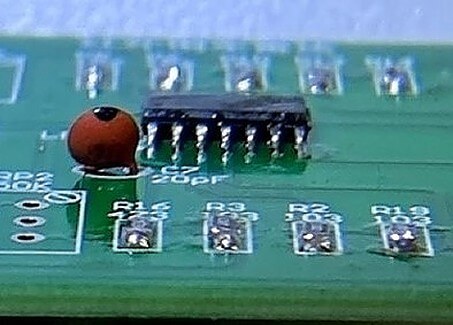
Throughout this student bootcamp week, we watched a couple of pre-recorded lectures giving an intro to CAD, Soldering, Good design rules, HTML/Markdown, and much more. Unfortunately, we couldn’t join these Bootcamp videos live due to our school schedule, however, a couple of my classmates and I would meet virtually to watch and discuss these lectures. In addition to watching these lectures, our lab spent two days on an intro to surface mount soldering. Although all of our labs Fab Academy students this year have surface mount soldered before in our school’s electrical engineering class, these two days were great to try out new techniques after watching the student Bootcamp soldering lecture and get more practice in with surface mount soldering. During our first day of this intro, we mixed our through-hole and surface mount soldering skills and made a Infrared Distance Sensor shown below.
Sashakit
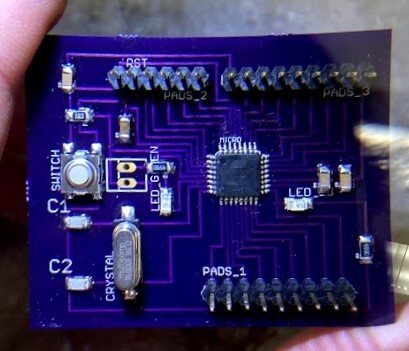
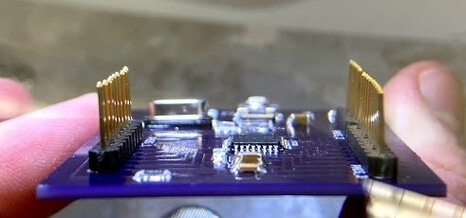
On the second day of our lab’s soldering bootcamp, we each made our own Sashakit “an Arduino compatible, fabbable board, and also an improved version of Fabkit.”(Quote from the Sashakit site) For our soldering practice, we opted to order boards to soldier on, and not mill them ourselves in the lab. On the surface mount components on this board, I tried more techniques as well as solder flux, which I’ve taken a liking to. After finishing the soldering, I hooked the Sashakit up to an Arduino and attempted to burn an Arduino bootloader to it. Unfortunately, my first few attempts to burn the bootloader failed to connect to my board, and after the same error occurred on two of my classmate’s boards, we decided to take a break for the night, and troubleshoot the next day. Unfortunately, we had to take a break from these attempts, as the next day was the first day of class, and we moved on to setting up our documentation site.
![]()
Sashakit Bootloader
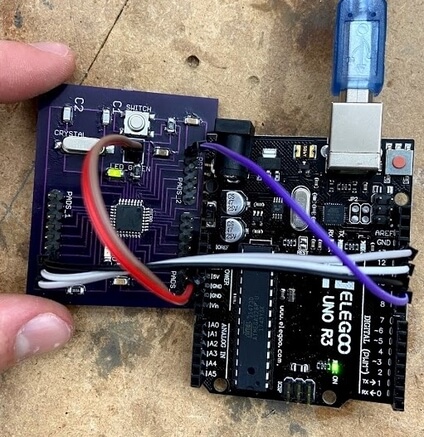
Despite our start of class setback, at the start of our Computer Controlled Cutting week, I found some time to troubleshoot my sashakit. With some guidance from prior Fab Academy student Vincent Zhou, I sucessfully burnt the bootloader and uploaded the example blink code to Sashakit. To do this, we used the Arduino ISP method of burning the bootloader, wiring the Sashakit to the arduino like in the diagram below, found on the Sashakit github page.
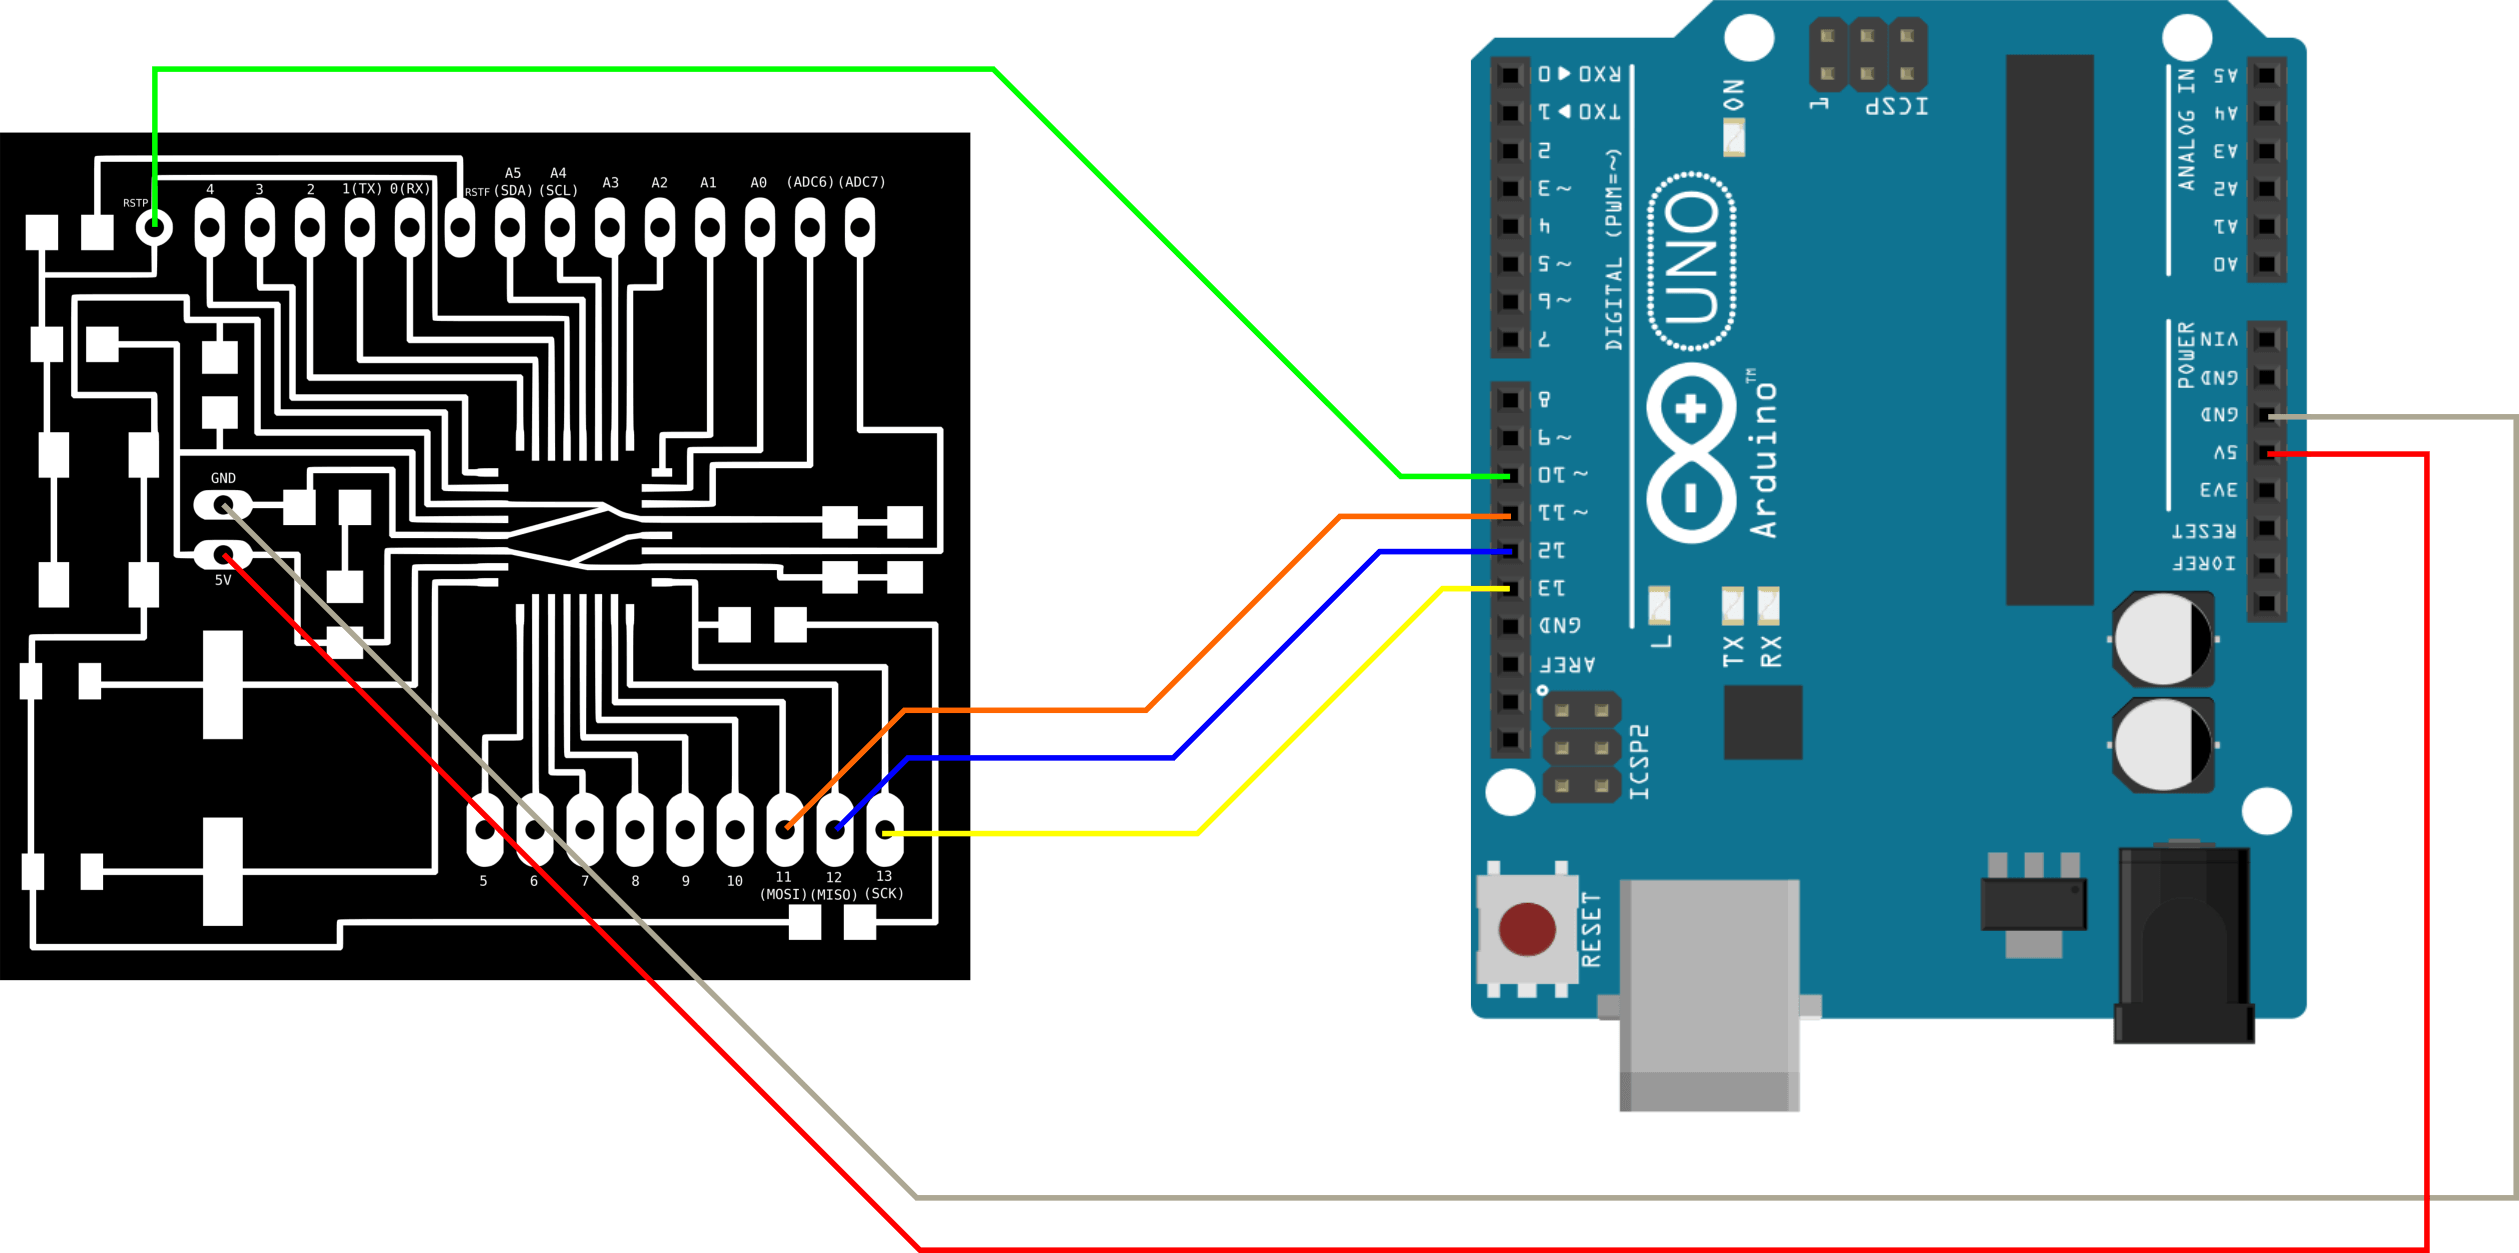
Once my bored was wired to the Arduino, uploaded the Arduino as ISP example code to the Arduino board, found on the Arduino website, and then I could simpily use the Arduino IDE to burn a bootbloader to the board, using Arduino as ISP as the programmer. My next step was to upload the example blink code to Sashakit, and this is where Vincent really helped me out, as when I attempted to upload the exaple blink sketch to the board, it would not let me compile the code. Vincent showed me that when uploading code to a board while using a programmer, like the Arduino Uno in my case, you need to upload your code by going to the sketch tab in the Arduino IDE, and then selecting Upload Using Programmer. This process allowed me to sucessfully upload the Blink shetch to my Sashakit and flash the red led I had soldered on the board.