Week 9
Machine Week
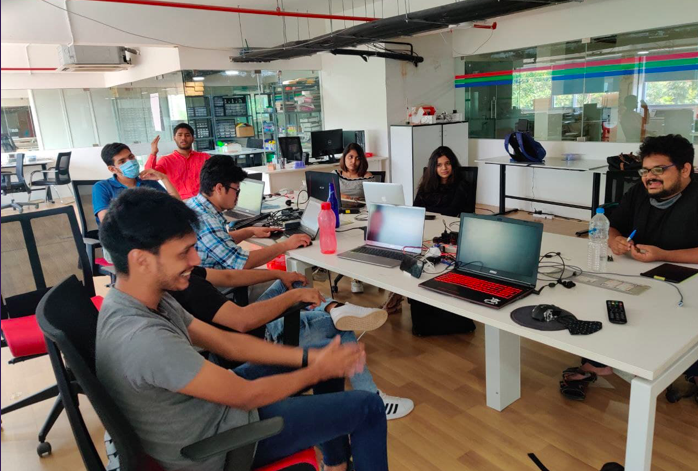
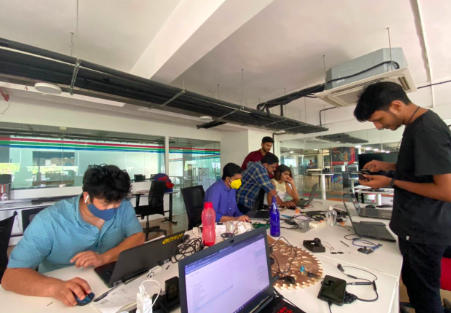
In this nineth week of Fab Academy, the assignment alloted to us is a group assignment where we had to make a machine with the contribution of all the members. The main challenge to us was the one week schedule which is too short for making a cool machine. We brainstormed several ideas for the group project which included: Selective White Board Eraser, Waste Picking Robot, Table Cleaner, Juicer etc. and we had a very very long discussion to fix the final project. To be honest, it took almost 4 days to fix an idea considering the feasibility, time constraint, functionality and finally the support from all the team members. Here are pictures showing our brainstorming session with the help from our instructors.
Click here to go to the group documentation page.
Further learnings from this week are listed below:
Design a machine that includes mechanism + actuation + automation
Document all the mistakes that we had made
Document my individual contribution
Build the mechanical parts and operate it manually
Work as group with cooperation
Have a lot of fun!
The following are the softwares that I have used for learning various operations:
Autodesk Fusion 360 : Designing, Rendering & CAM
Cura : Slicing
Arduino IDE : Programming
The following tools were used thoughout the project:
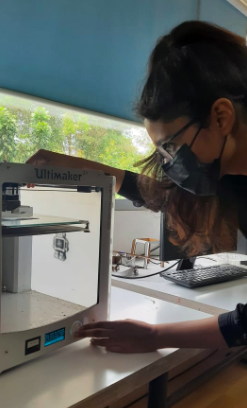
Ultimaker 2+
Steel 6mm rod
Servo Motor
Electronic Power Installation Tool
M3 Nut & Bolts
Arduino & IDE
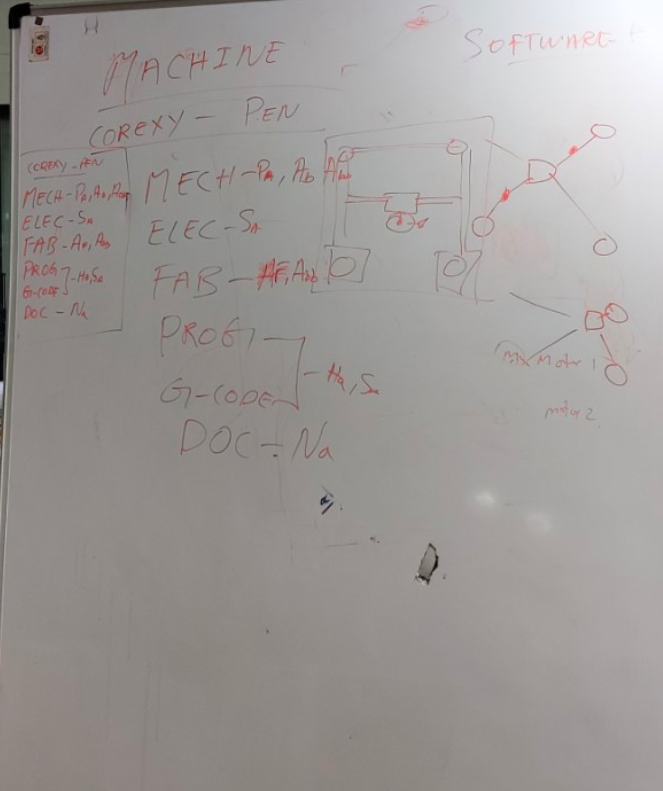
It was amazing to see our white board getting filled with new ambitious ideas without knowing that the reality was different. After a long brainstorming session we settled with Core X-Y Plotter with a dual acting end feed mechanism. I was given the responsibility of the fabrication part. The tasks were split among each member and I will add a photo of our messed up looking white board here:
Inspiration
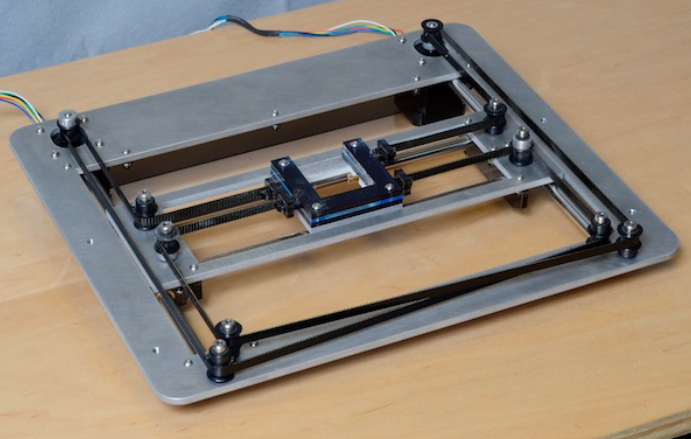
Since we are from Super fablab Kerala, we were introduced to the machine week based on work done by Pablo Nuñez, Epifanio Lorenzo, Yuichi Tamiya, Apeksha Bochare, Pradnya Shindekar during Bootcamp in our lab. The machine is a X-Y Plotter based on Platonic Gantry Design, it's linear motion is constrained with roller bearings, motion controlled by NEMA 17 stepper motor, laser cut acrylic frame with 3D printed parts. The machine had perfect clearances and accuracy so we tried to test the working of the machine at first and even though it took some time to get used to it but with help of our team members we made it to work. The machine inspired us to settled with tabletop based horizontal CNC machine based on Core XY Mechanism. The image of the machine is given below
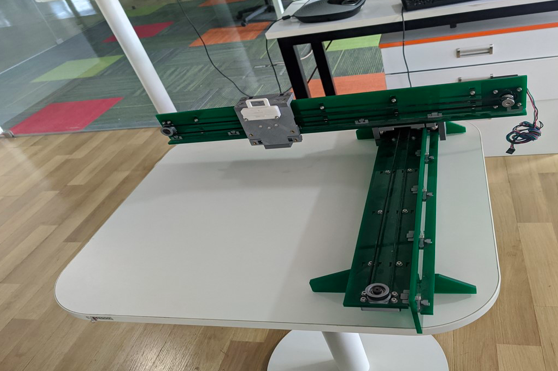
Core XY Plotter with Dual Pen Carriage End Feeder
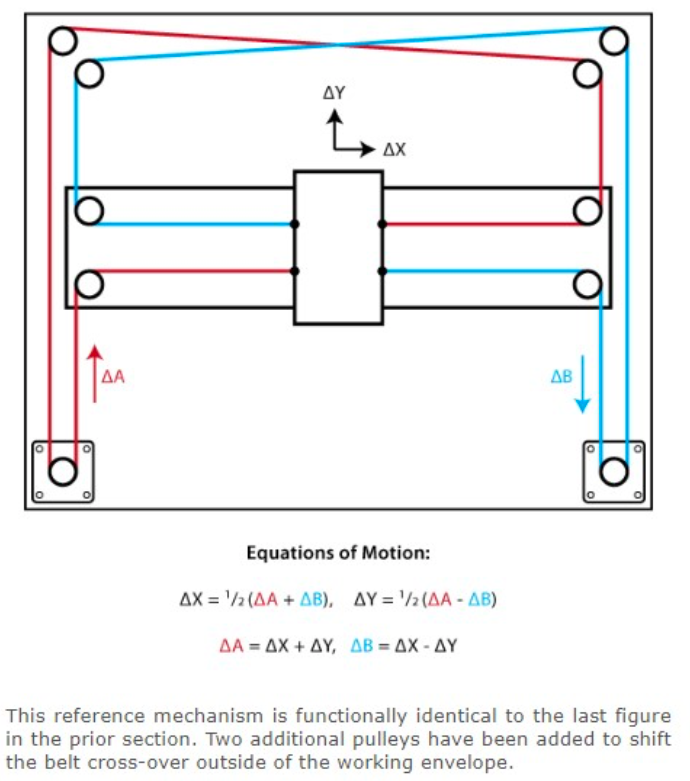
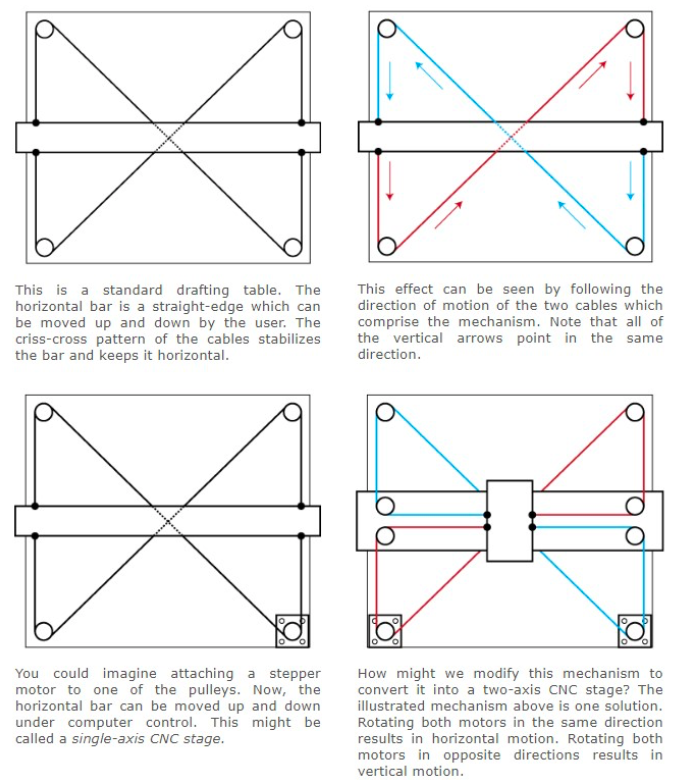
Core XY is a cartesian motion platform which can be used for 2D plotting, we first came across this mechanism from Ilan Moyer's webpage. The mechanism is mainly used to move gantry where we can attach any end feed of choice. The main reason that we chose Core XY mechanism is due to the fact that it's dope, fast, simple and flexible compared to conventional mechanisms.
The figures given below gives an excellent explanation about the working of the Core XY Mechanism
My Role
My role for this week was to ensure the fabrication was done right and ensure the supply of equipments for the team and keep a track record of everything we used from the inventory of the lab.
I started off by doing test cuts and prints to check the feasibility of the designs. This included a lot of 3D printing, laser cutting and designing. I also made a sheet to record the components list. Fabrication also involved ensuring getting components not available in the lab from outside. I was helped with this by my friends Ananthu, Abel and also Naveena and Pallab.

Once the test cuts, prints and trials were done, we had the actual components printed, cut and put together to form the frame of the structure.
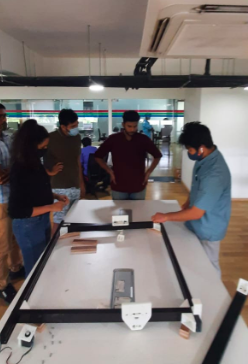
when this part was done, each of my team mates, did their roles in electronics, design, fabrication and documentation to get the final structure complete and ready to be used. Click here to go to the group documentation page.
Files
The stl files that I 3D printed can be downloaded from here.
The stl files that I 3D printed can be downloaded from here.
The stl files that I 3D printed can be downloaded from here.