2.Computer-Aided Designing:
04-02-2021 | Jai Hanani
Objectives:
1. The objective for this week is to model (raster, vector, 2D, 3D, render, animate, simulate, …)
a possible final project, compress the images and videos, and post it on my class page.
2. Note: Due to Covid-19 quarantine requirements, I was only able to join FabAcademy full-time half-way through this week. Therefore,
the documentation
for this week, and last week would not be as complete, detailed as the documentation of subsequent weeks.
3. Difference between Raster and Vector:
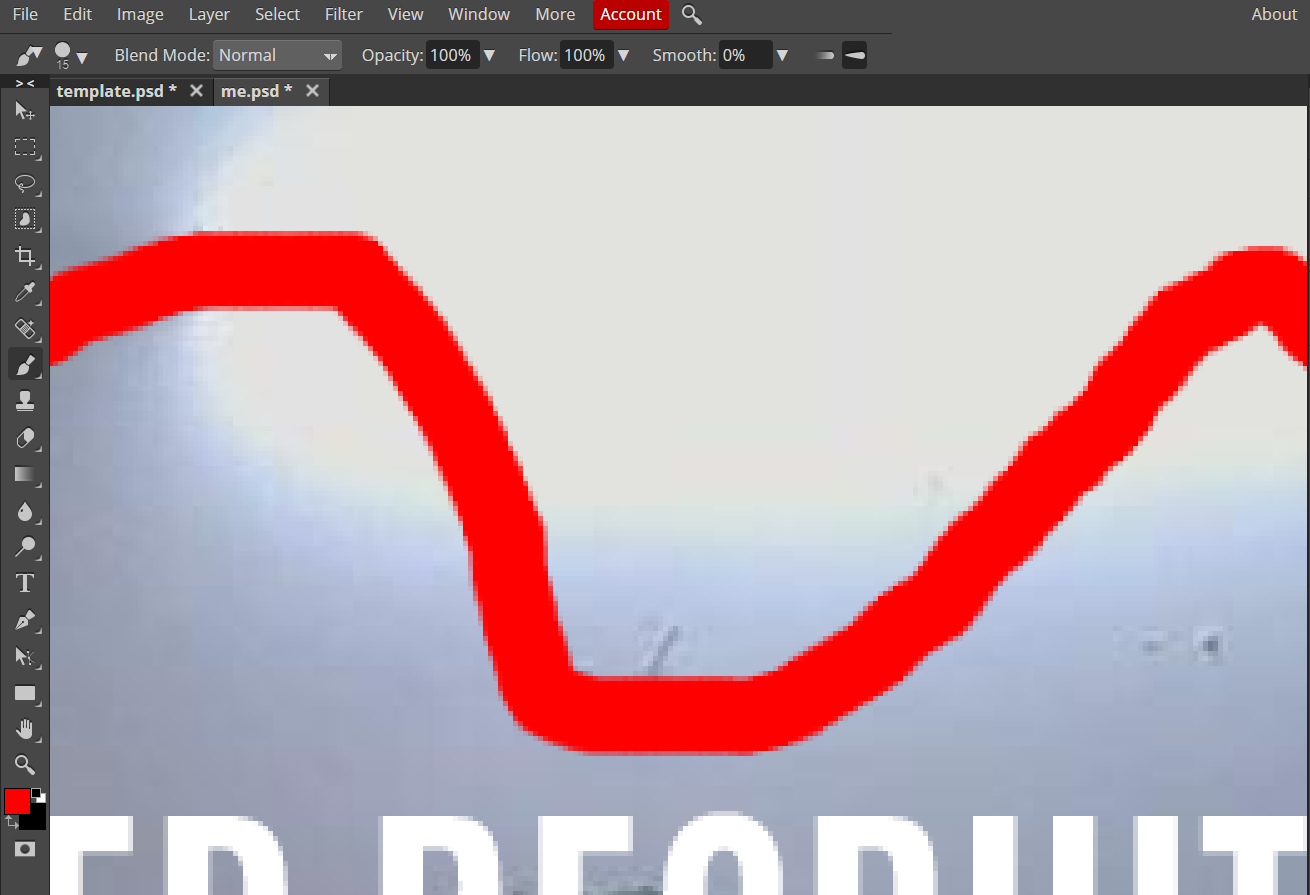
4. Raster Images: is made up of individual pixels. Each pixel contains only one colour and is arranged in
a certain fashion to make up the image. This is how normal pictures are displayed. The problem with raster image is that the
maximum resolution is limited by the number of pixels. That means, when you try and scale the image into a
larger size, the quality drops and the edges of lines become fuzzy (staircase effect). This is the major
limitation of using raster images.
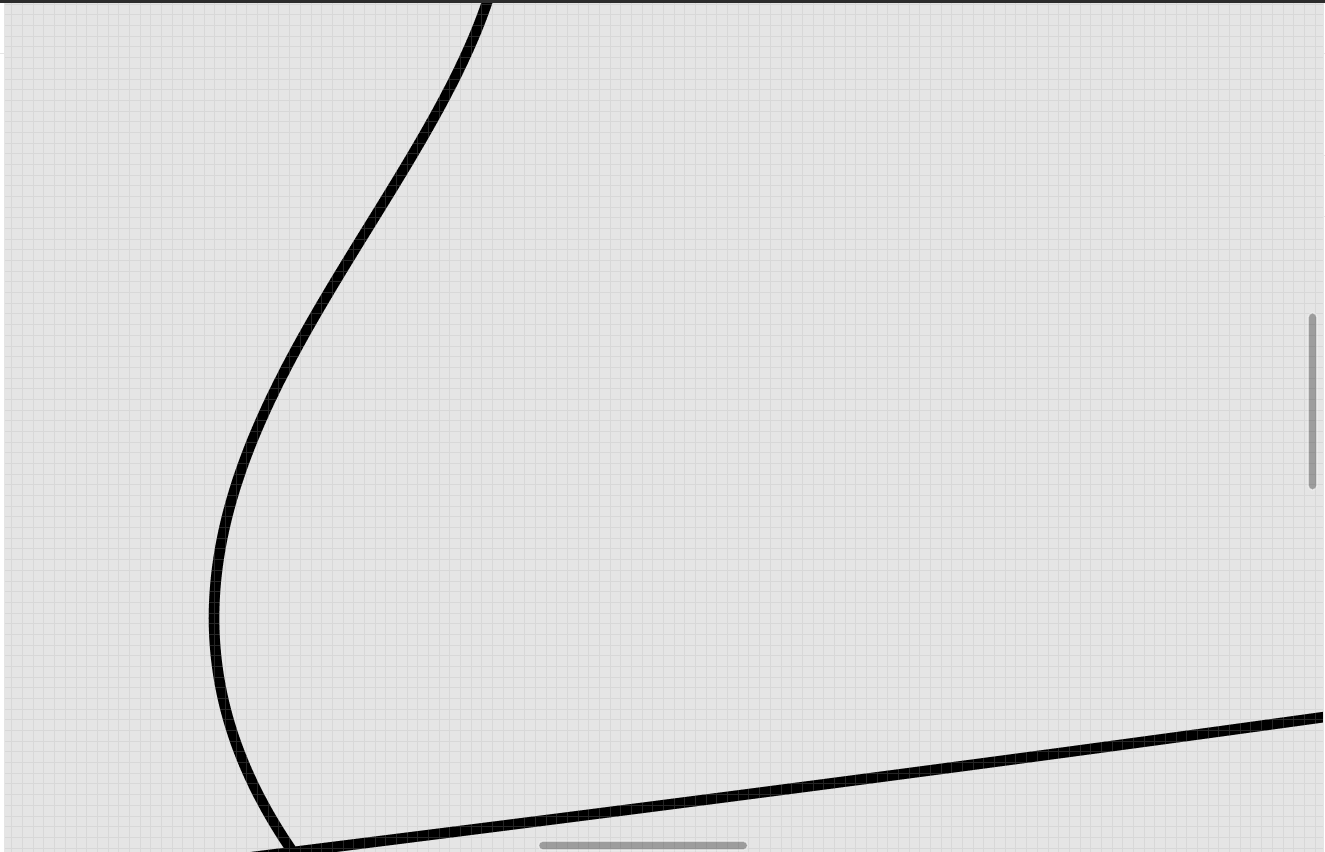
5. Vector Images:is composed of paths, which are represented by mathematical functions.
These mathematical function represents the actual borders and the different elements in the image.
Hence the maximum resolution of the image is not limited by the number of pixels.
These mathematical functions can scale easily giving lossless ability to zoom to any extent on the image.
6. 2-Dimension:
7. Today I worked on Raster and Vector softwares. My final project idea did not give itseld to be modelled in 2D, therefore I just tried out different vector and raster softwares. For raster, I chose PhotoPea. Here it goes:
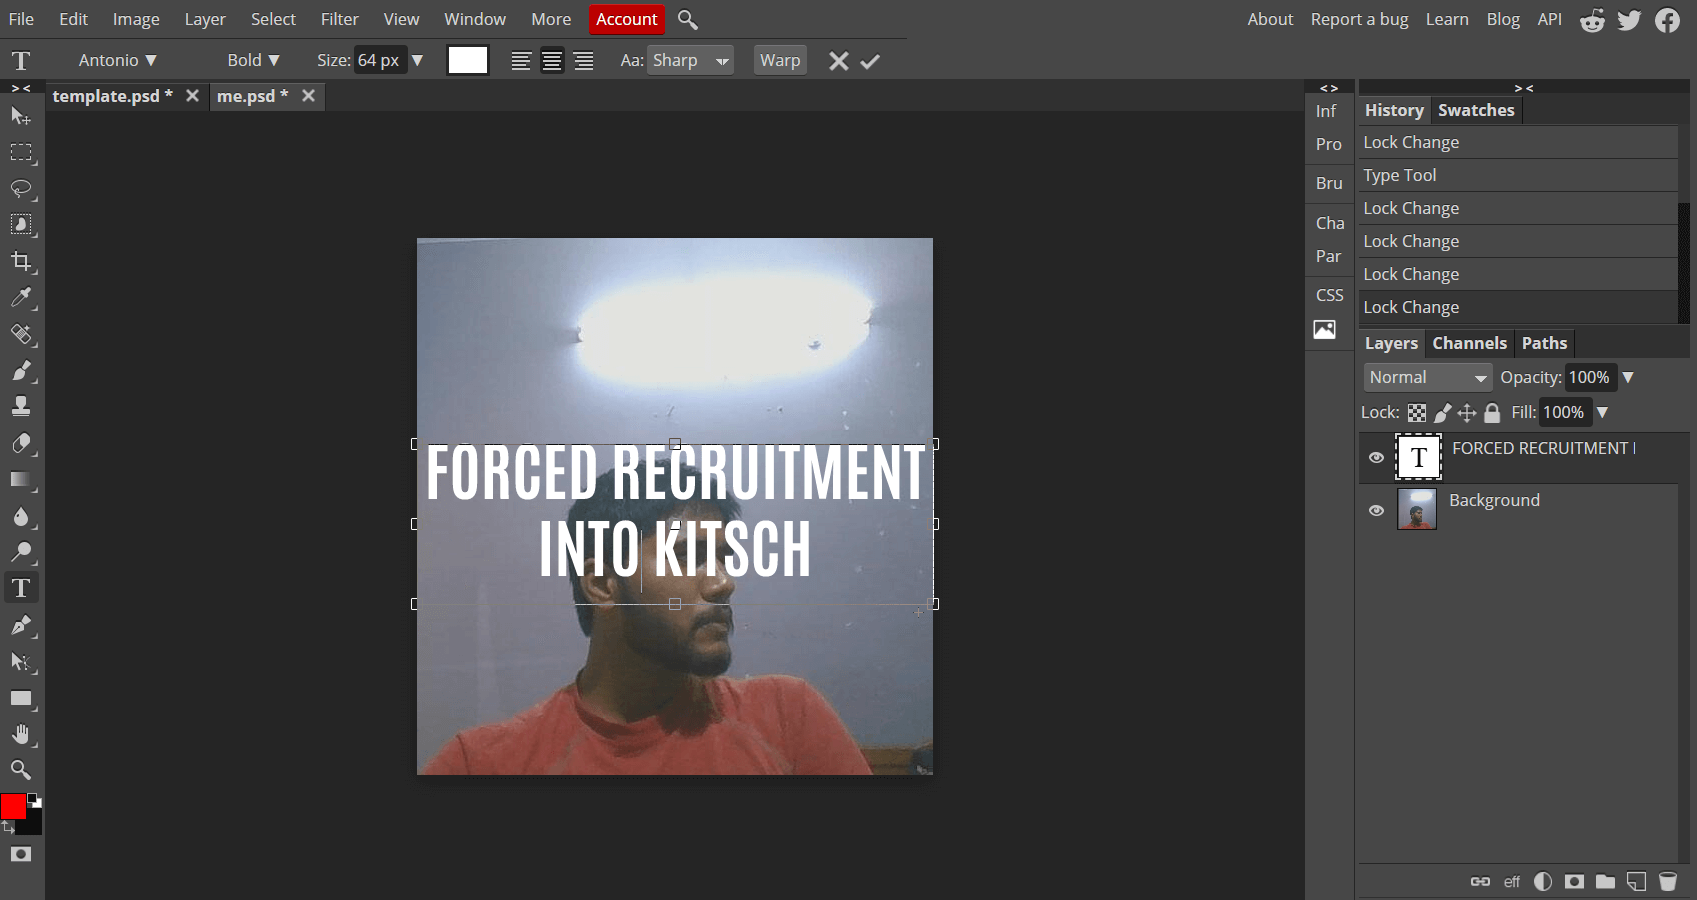
8. Characterisitc of Raster images:
9. For Vector, I chose Figma, a software I was familiar with and love. Nonethless, it was only today I got to know that it was
a Vector software.
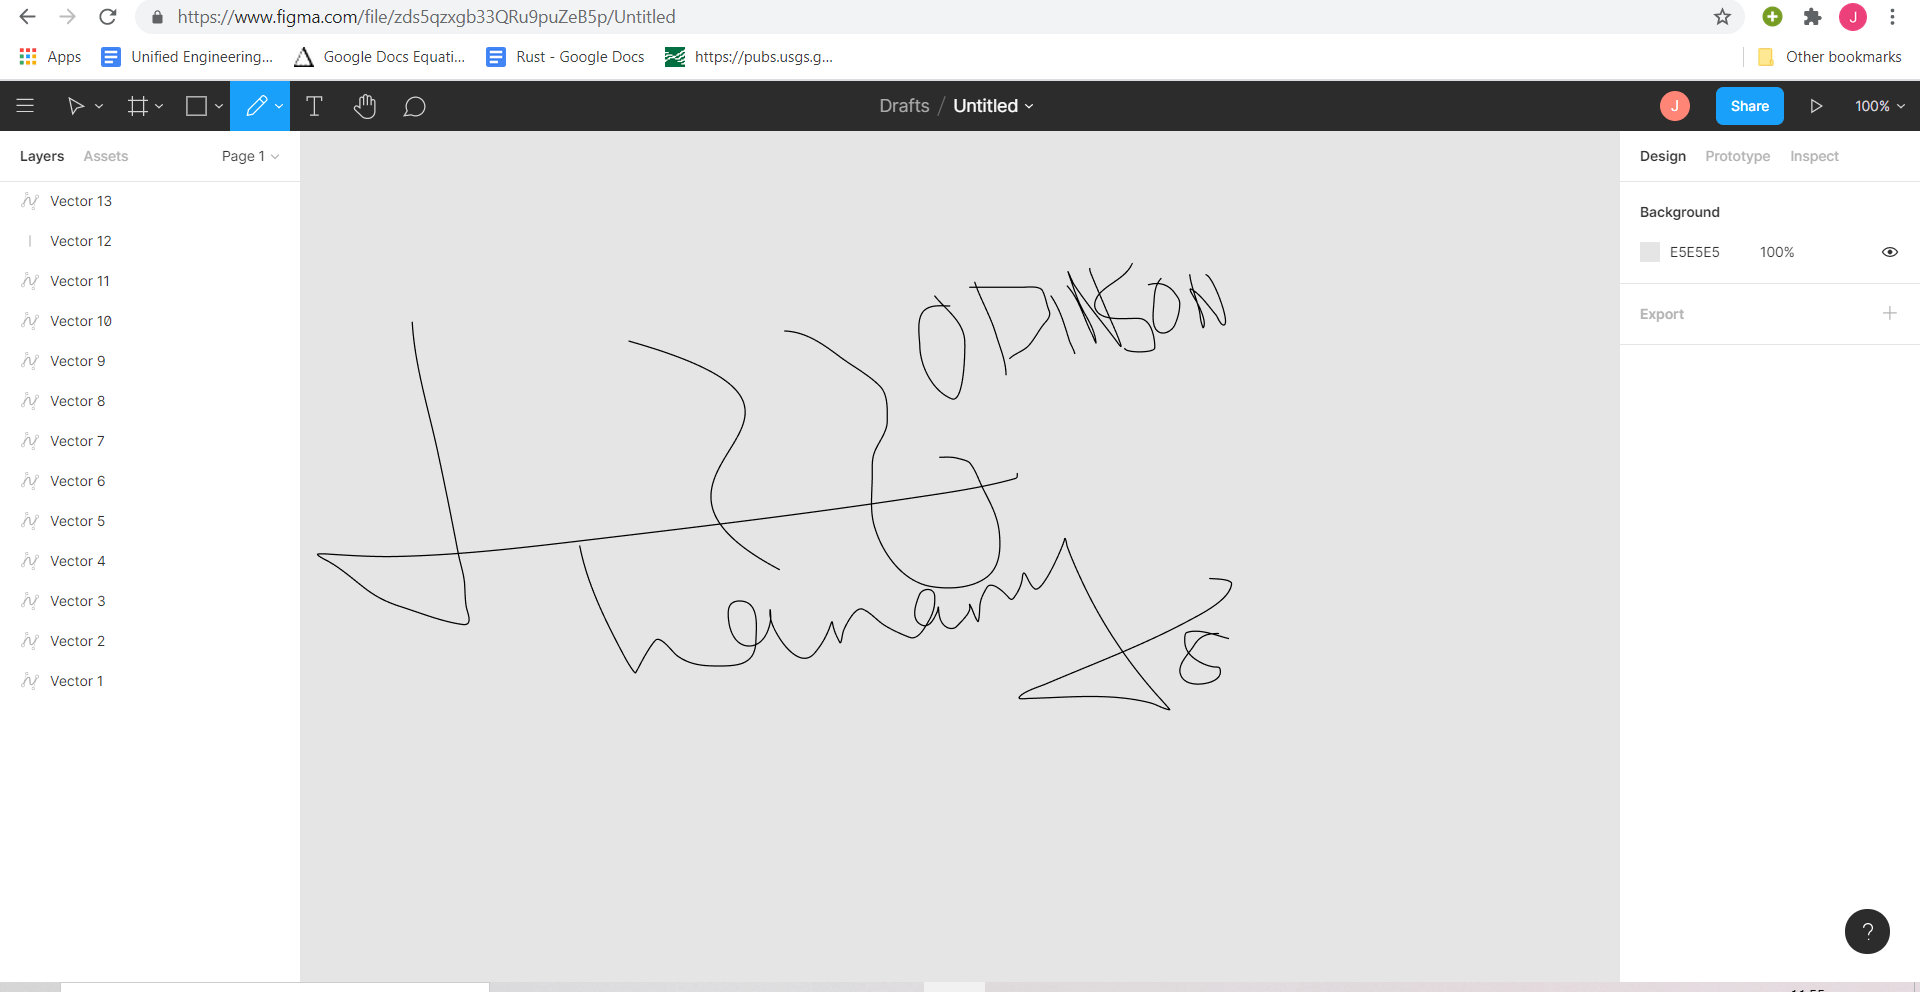
10. Characterisitc of Vector images:
3-Dimension:
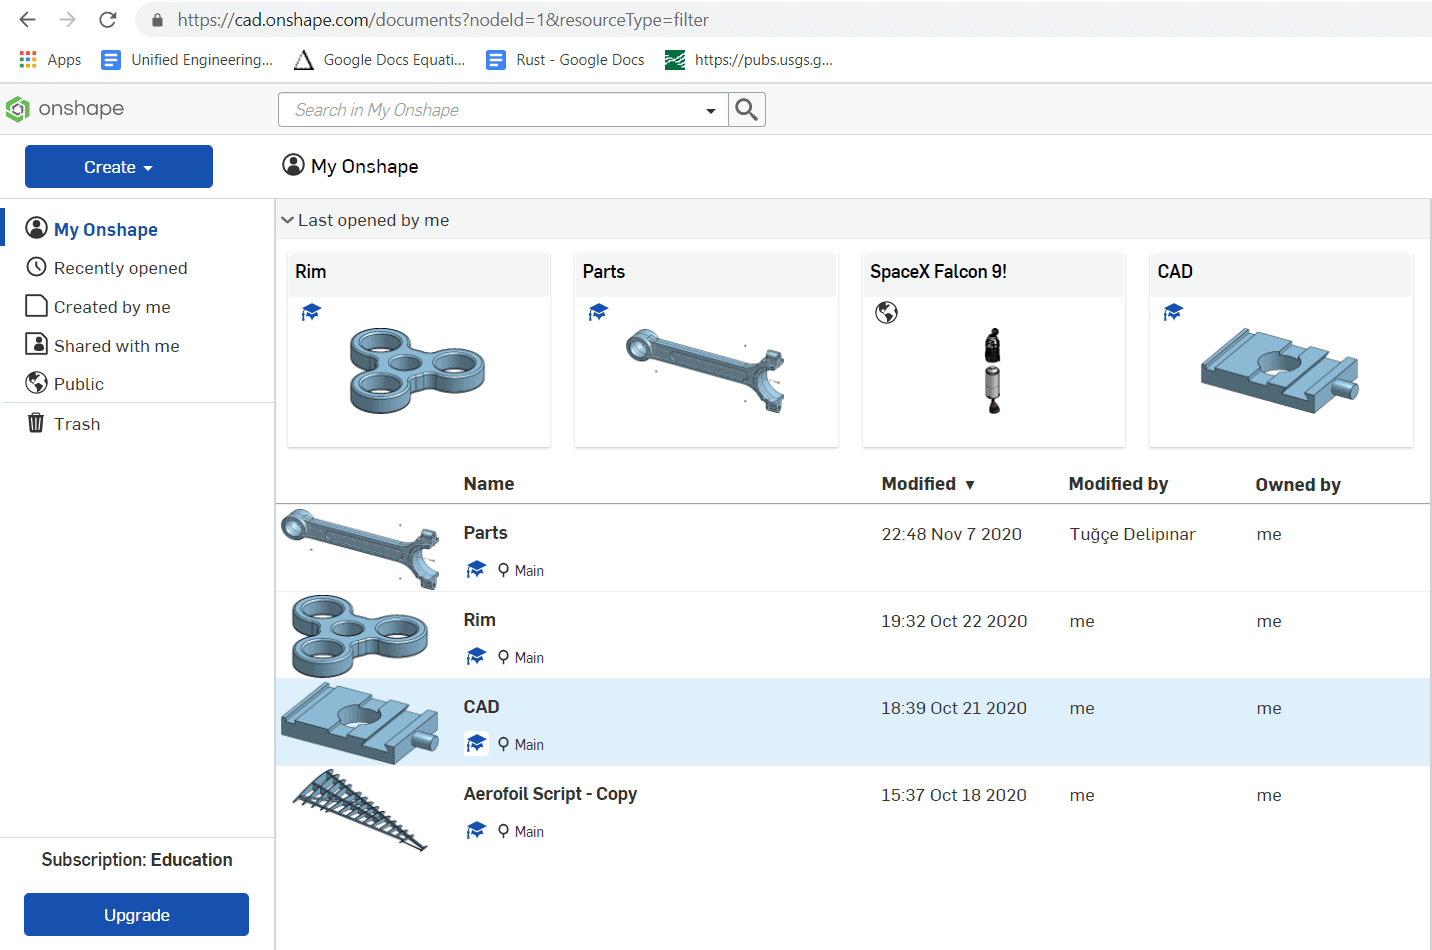
11. Now coming to Computer-Aided Design, it is a topic I have no professional or academic experience in, prior. Whatever I learnt
beforehand was out of my own interest. My previous experience was with OnShape.
These are the projects I have built before:
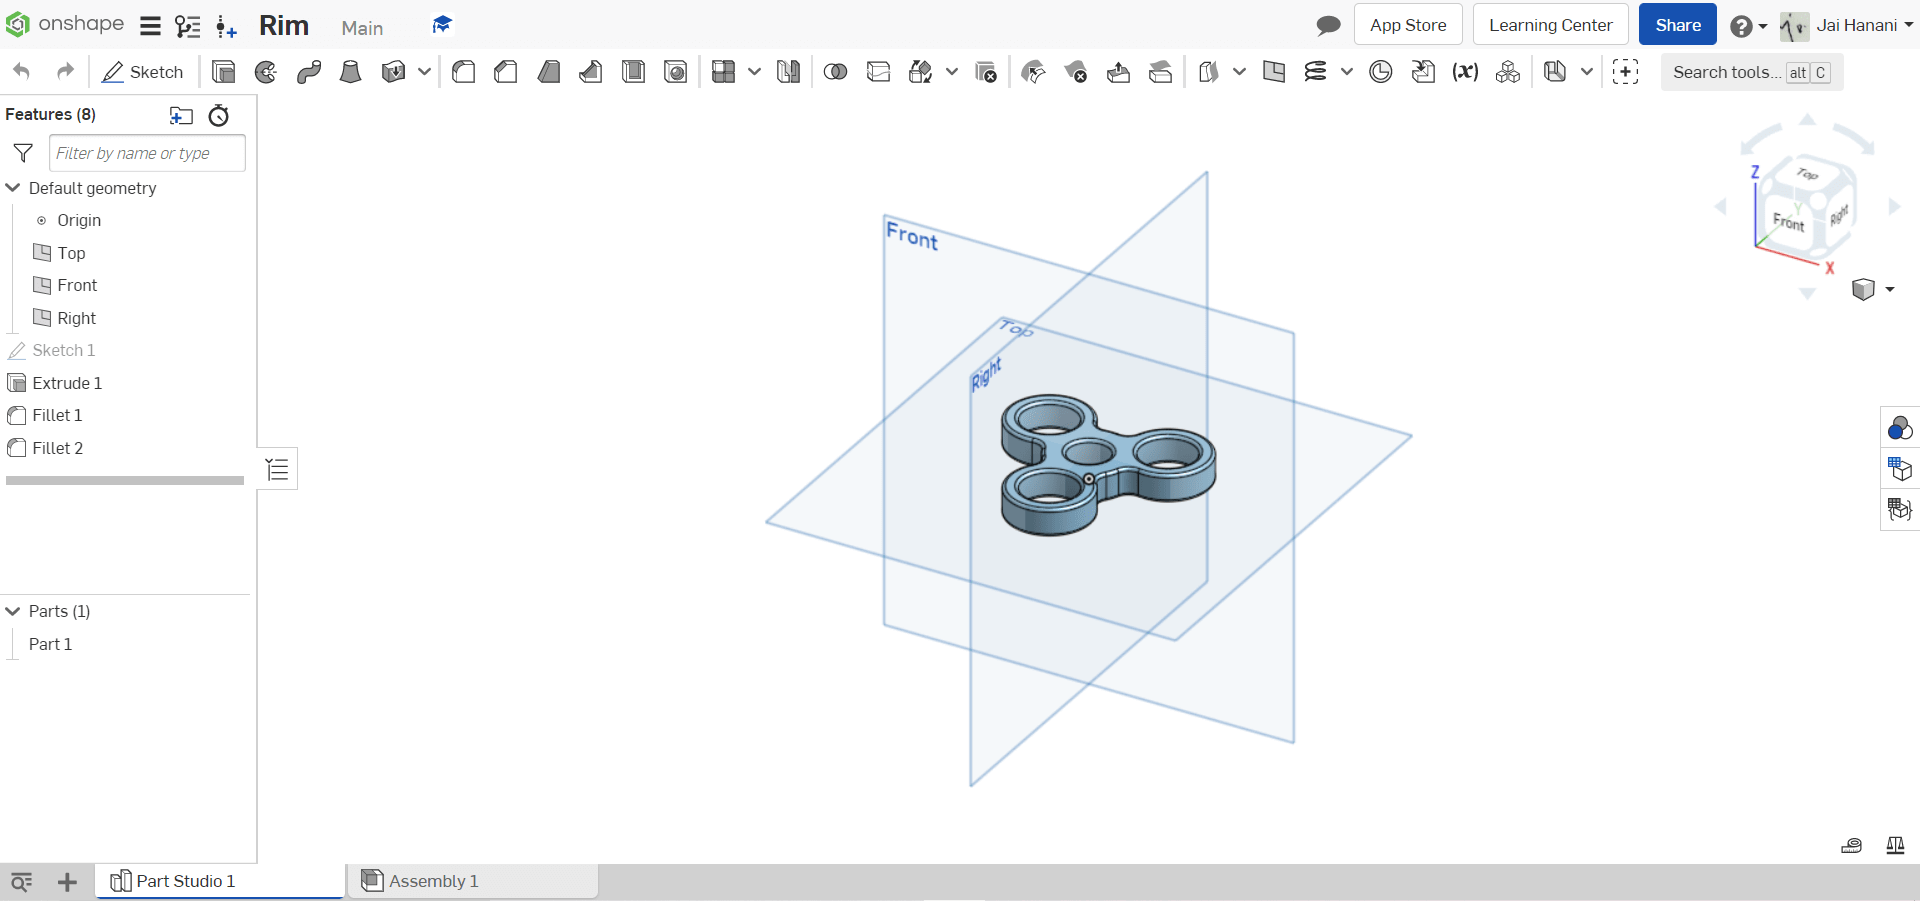
12. These are the projects I have built myself using OnShape while learning CAD for the first time.
13. But I thought it'd be much helpful for me if I take this chance and try out a new tool. So, on my mentor's recommendation,
I have downloaded Fusion 360.
14. The download process:
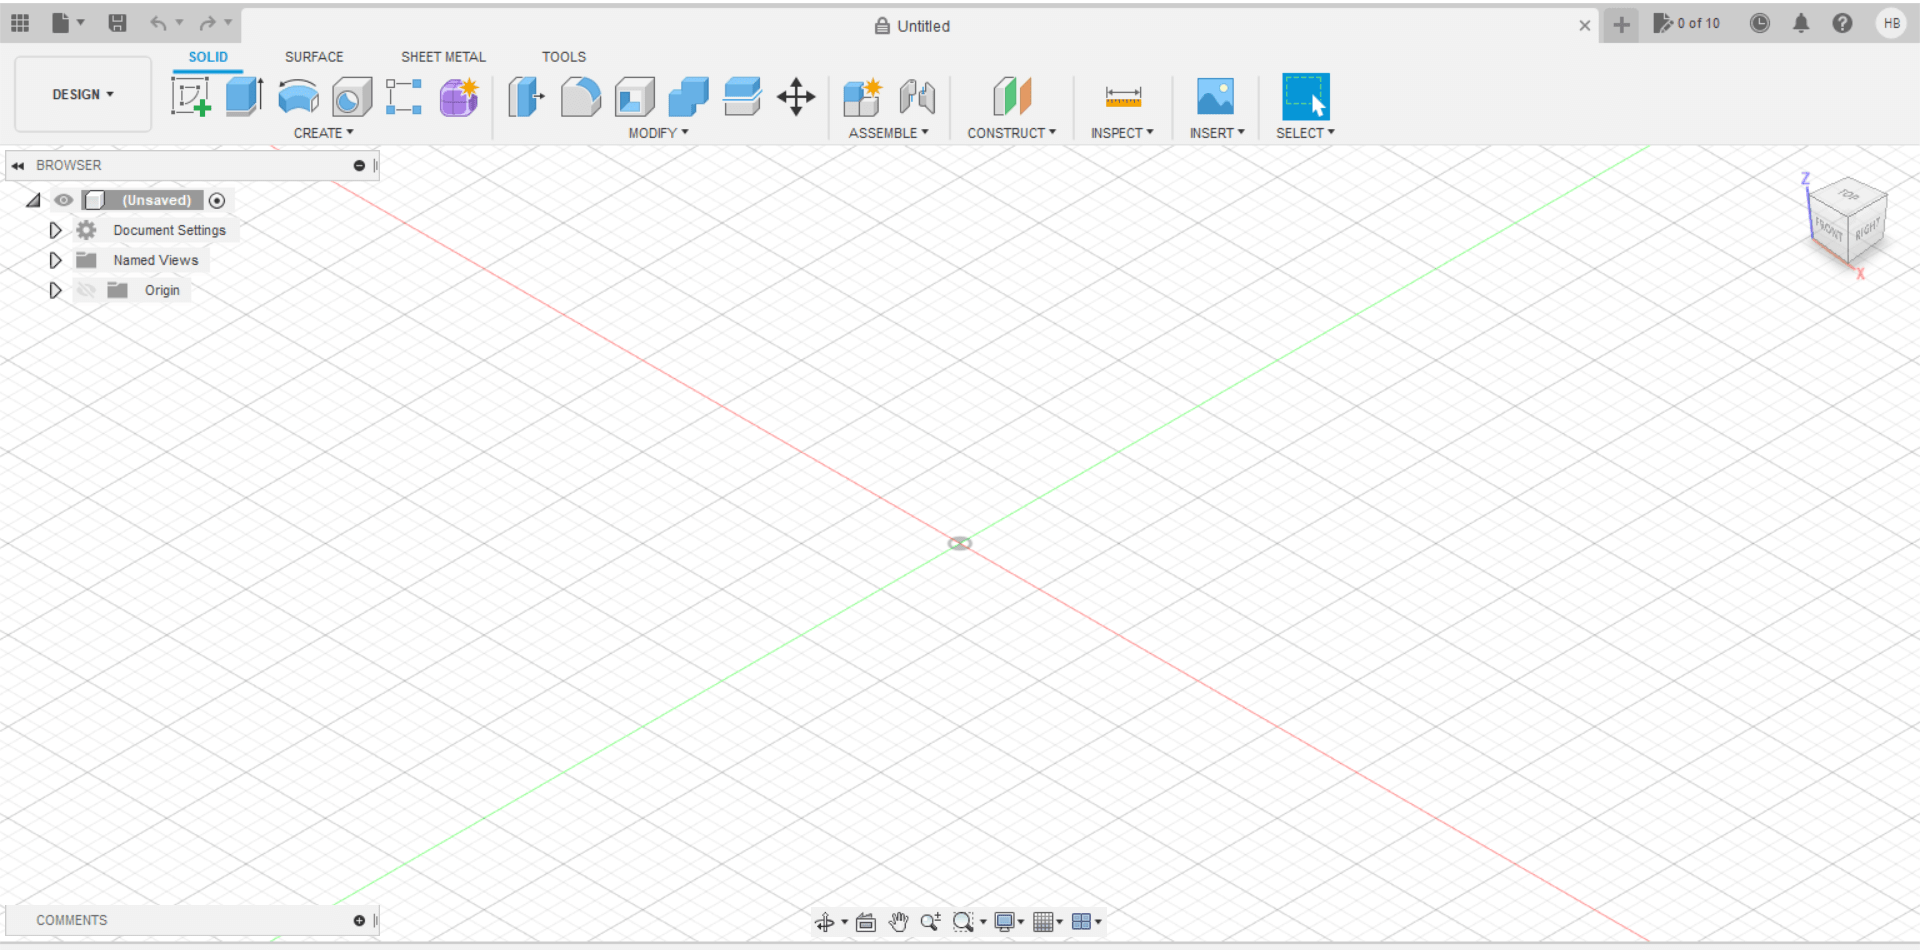
15. I tried to make some preliminary CAD models of one of my proposed final projects, and failed
16. I sought my instructors's guidance, and I have tried. Here are the results:

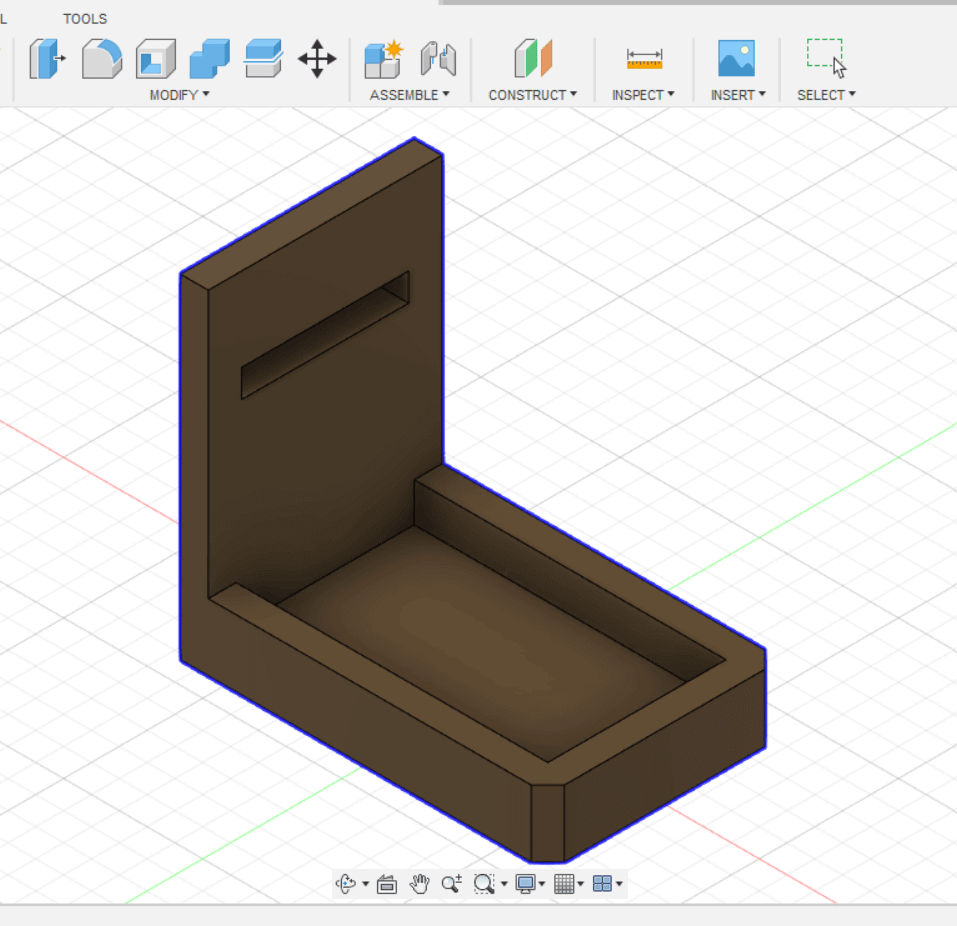
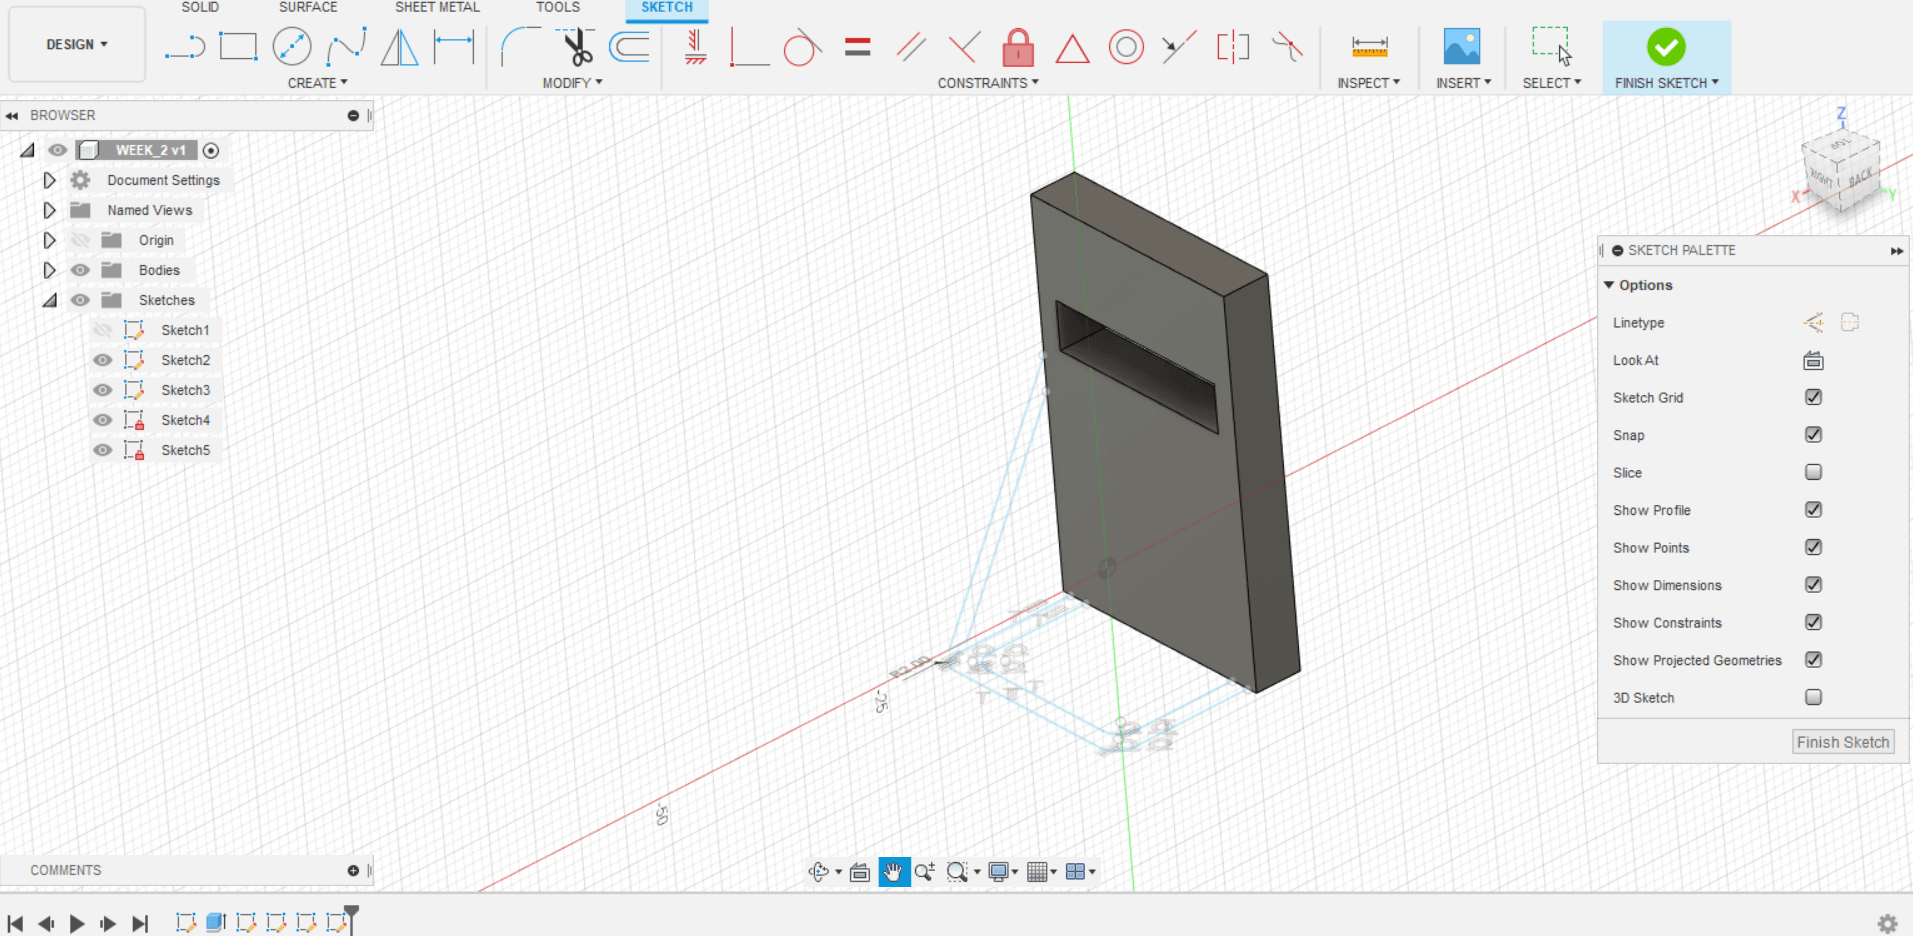
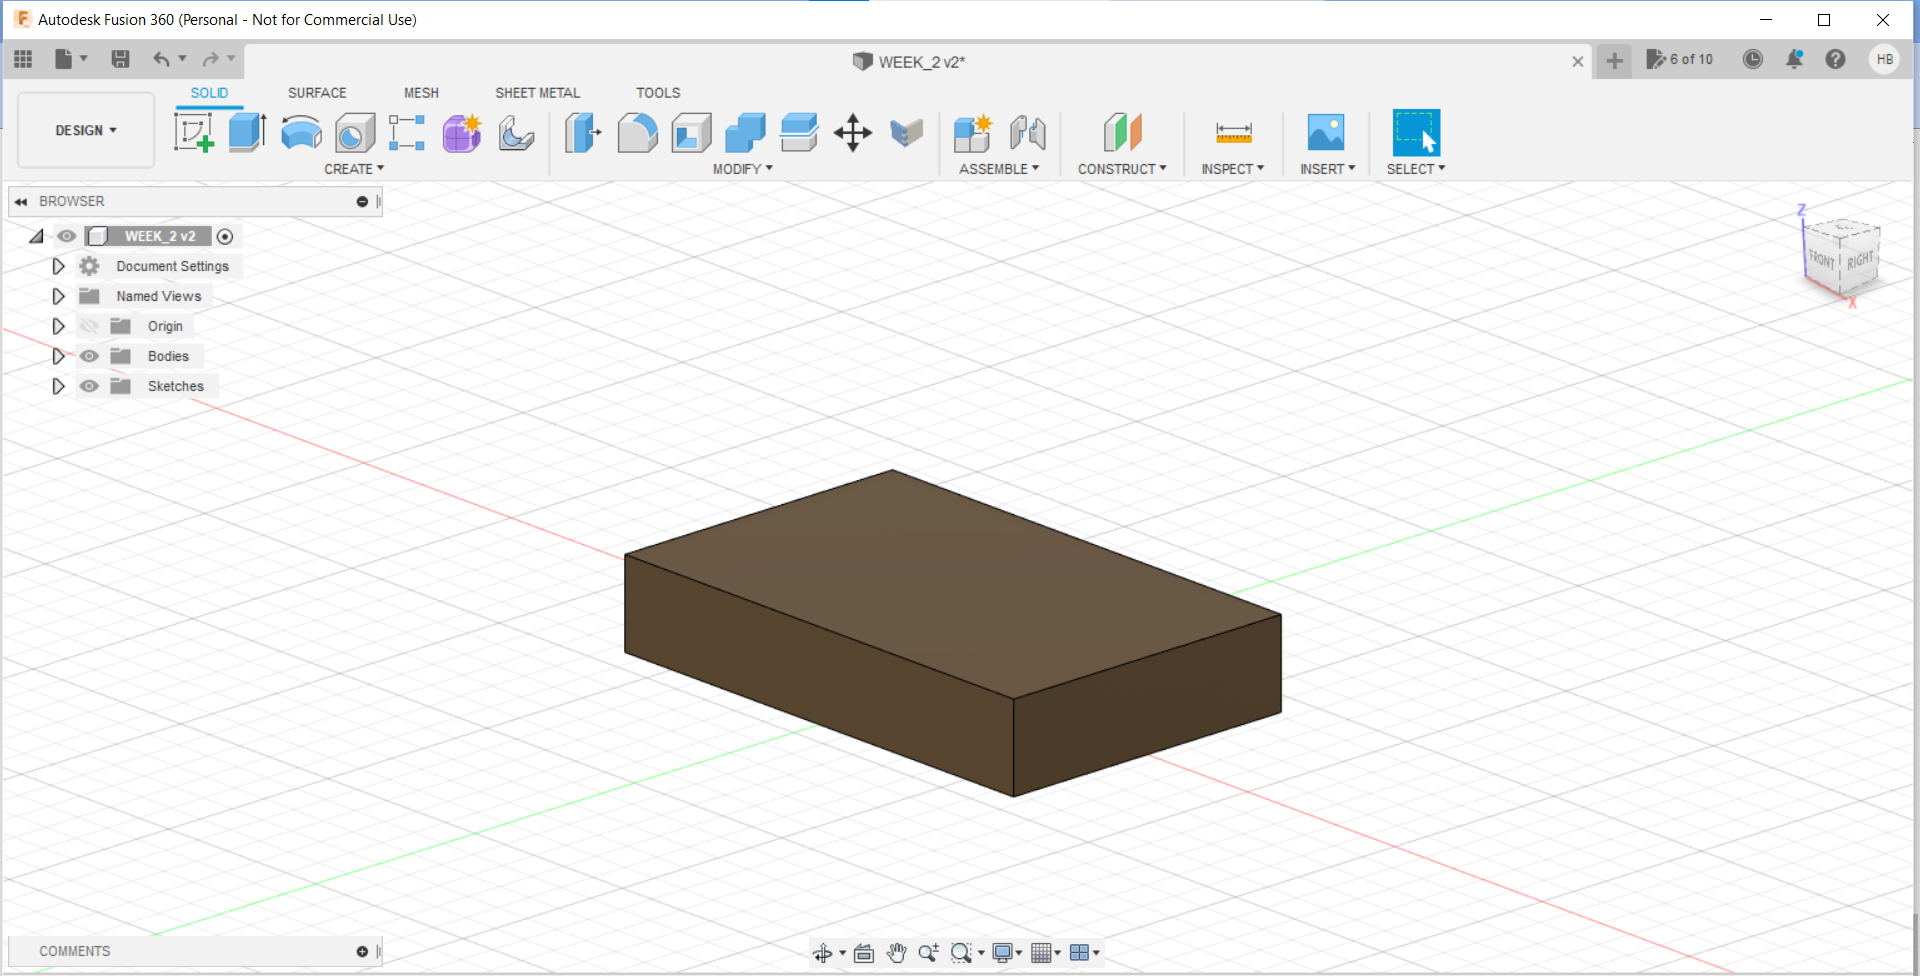
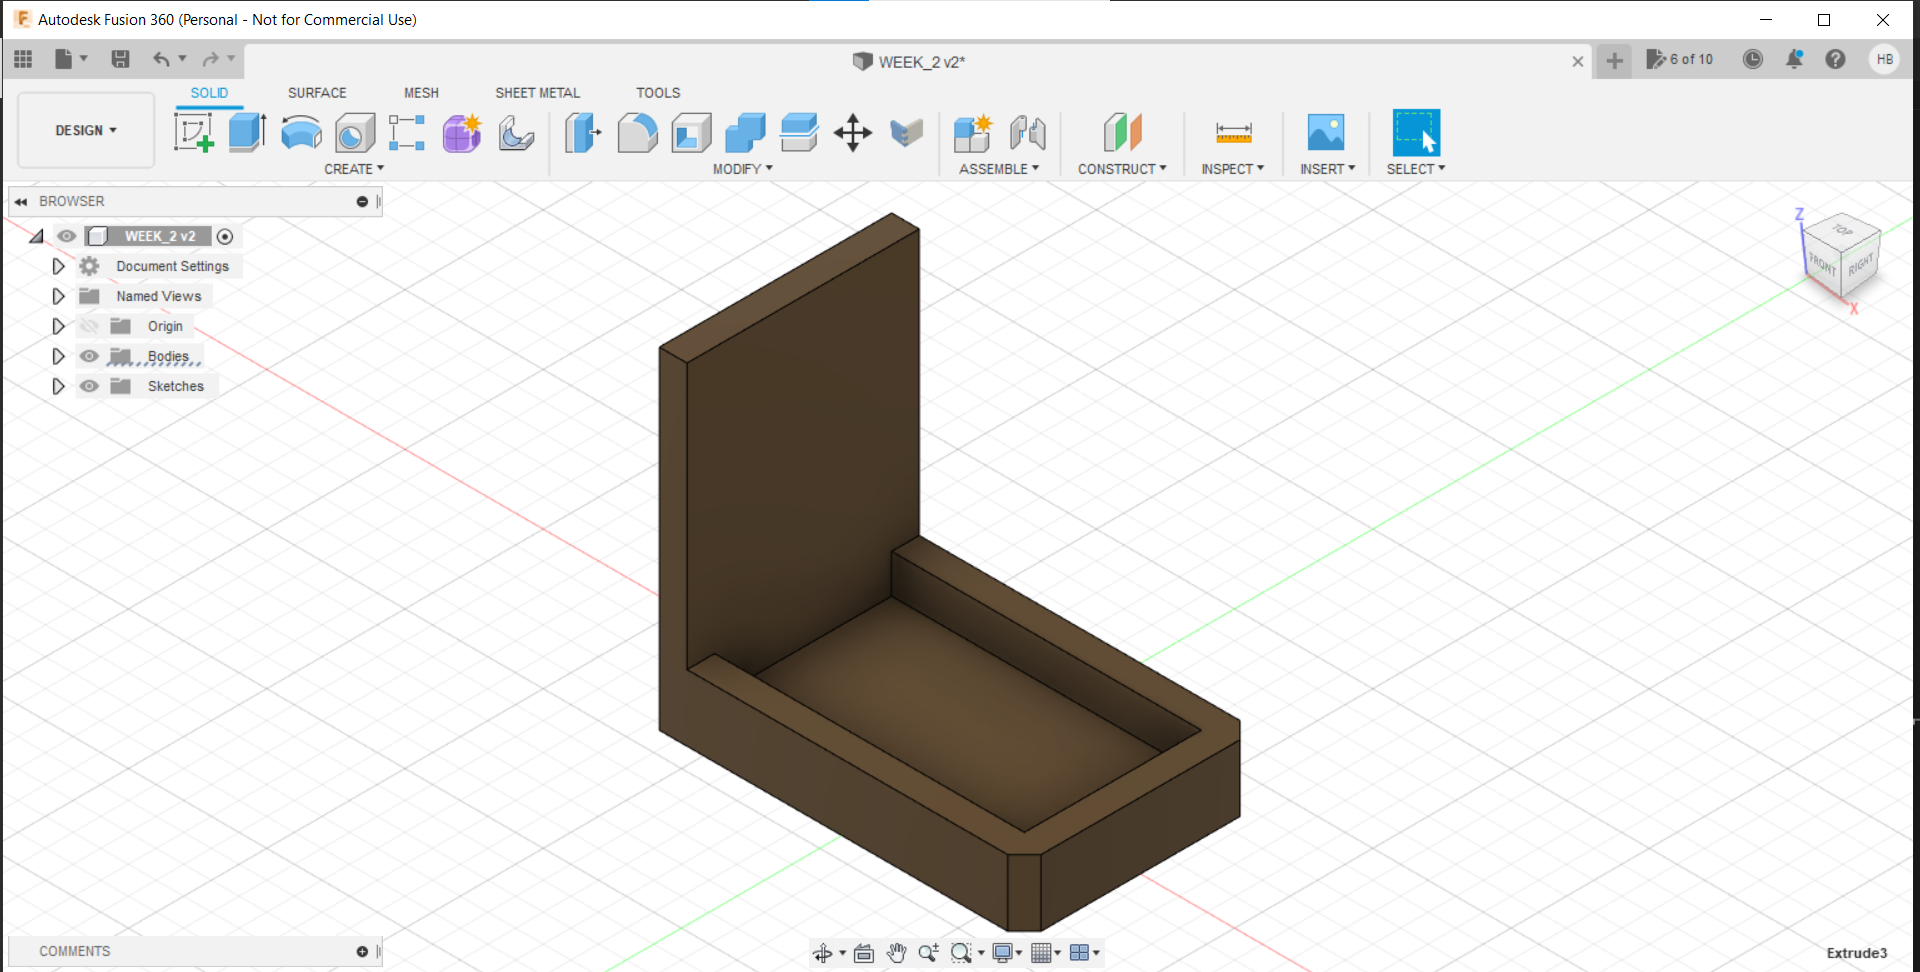
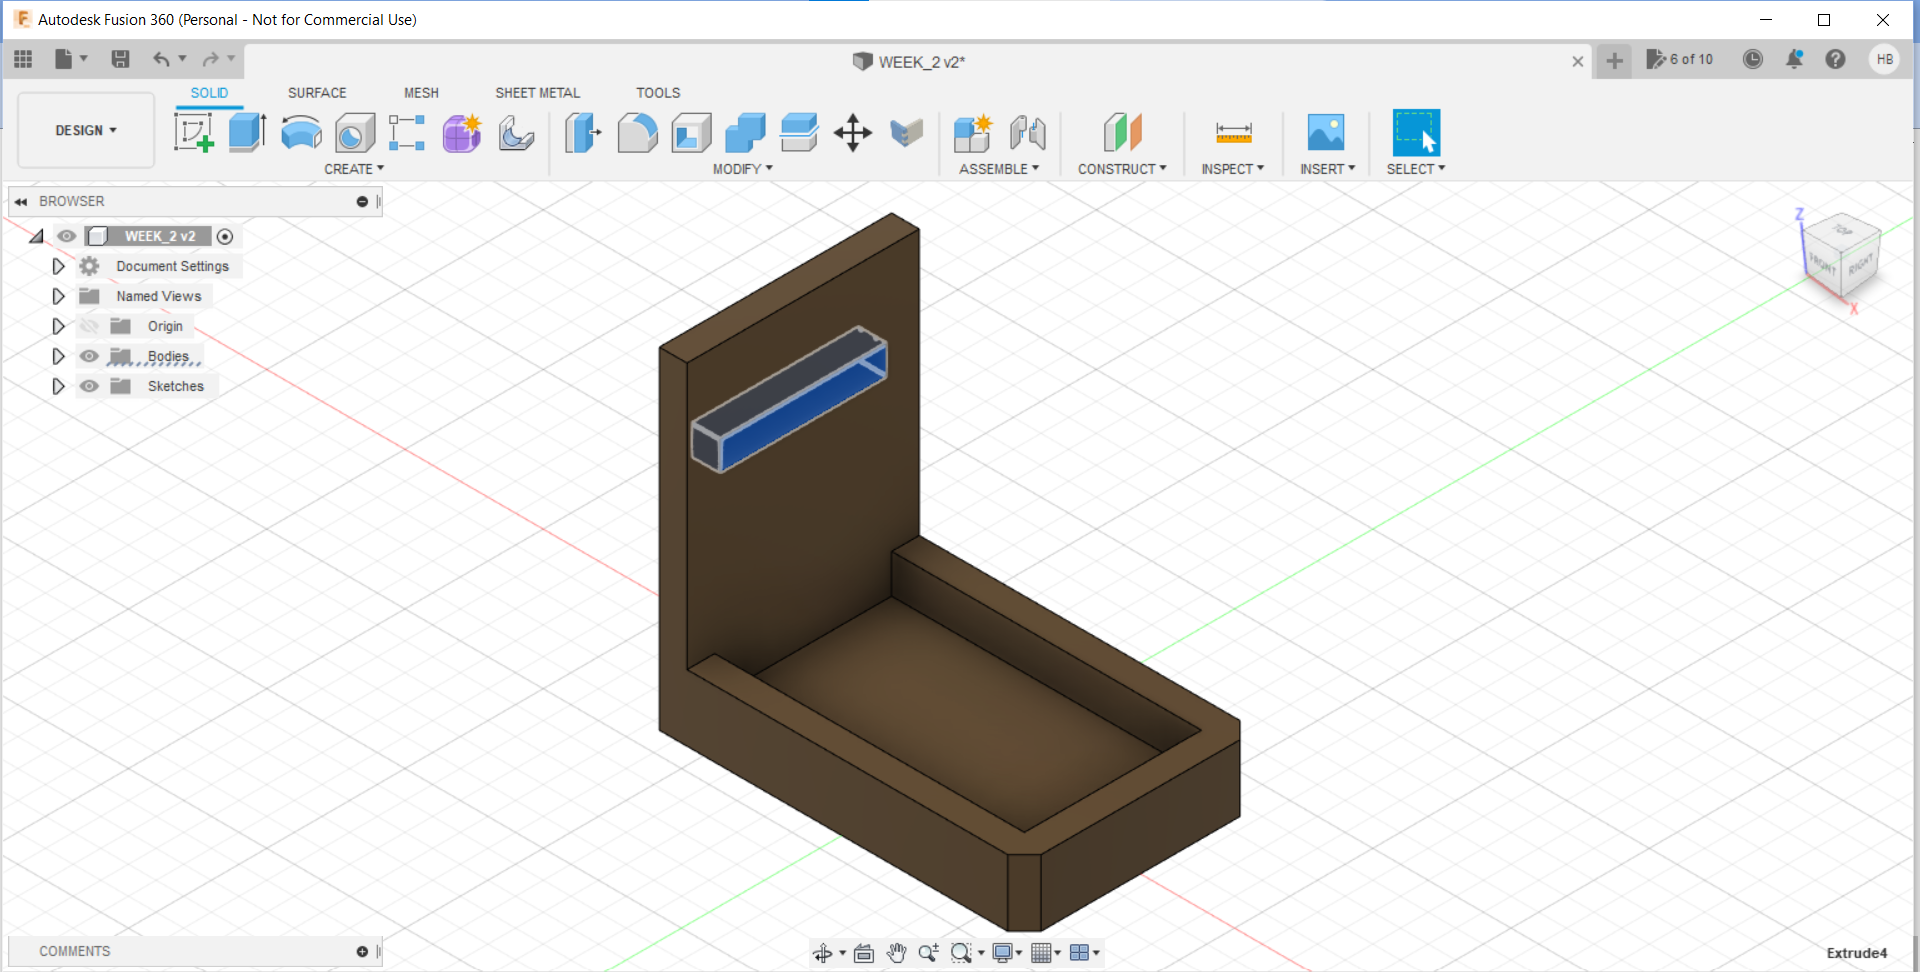
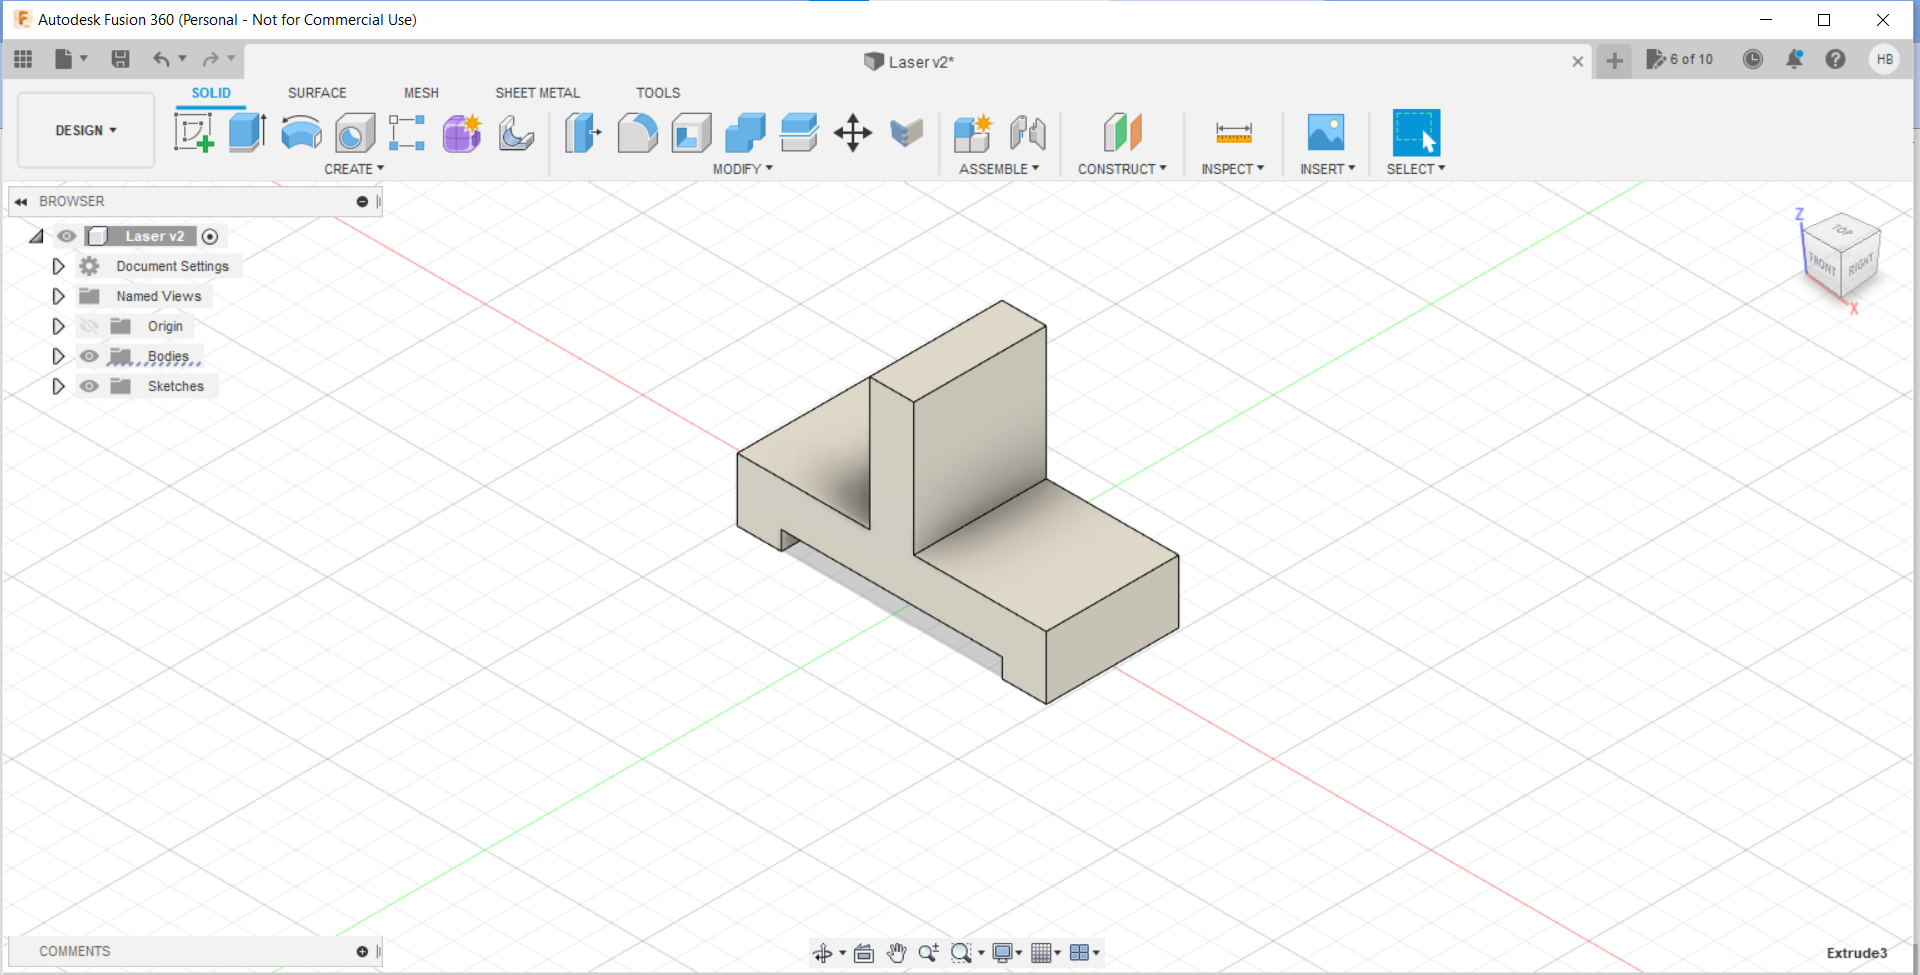
17. This is the process I went through:
-
Create sketch with dimensions of the base
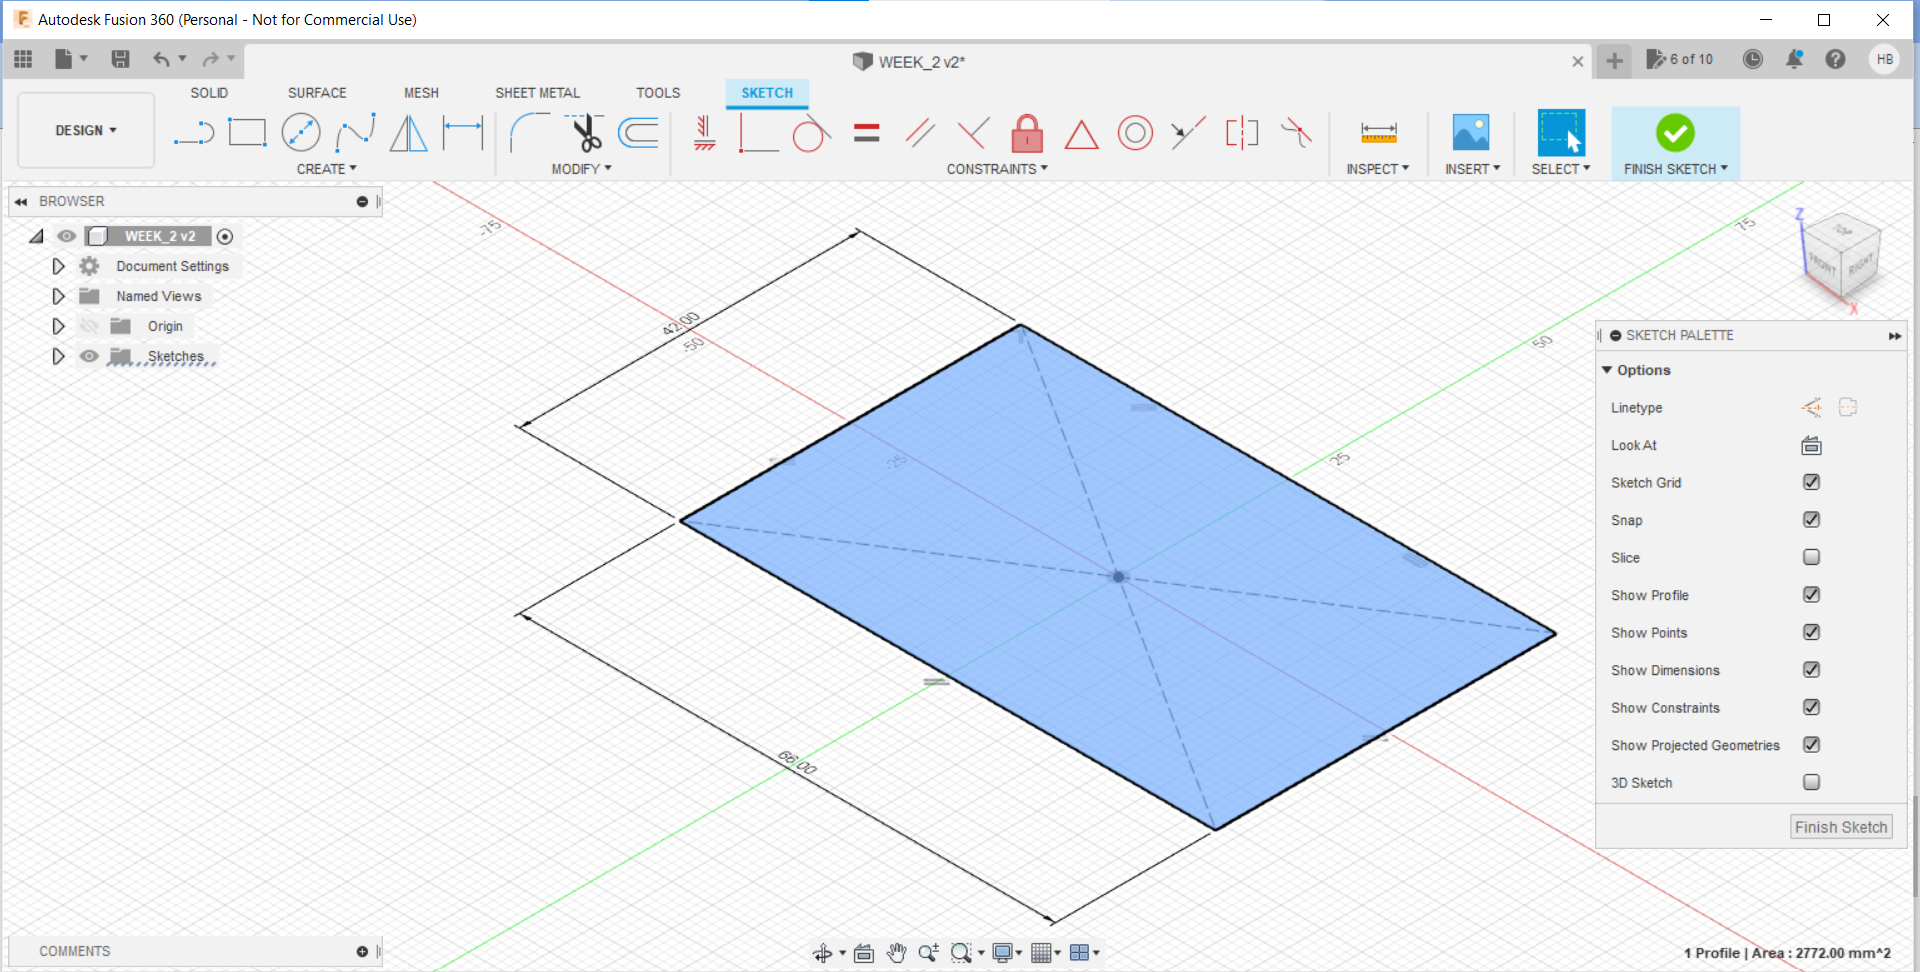
-
Extrude it to a certain height, using the "Extrude" command
-
Draw another sketch with on top of the solid
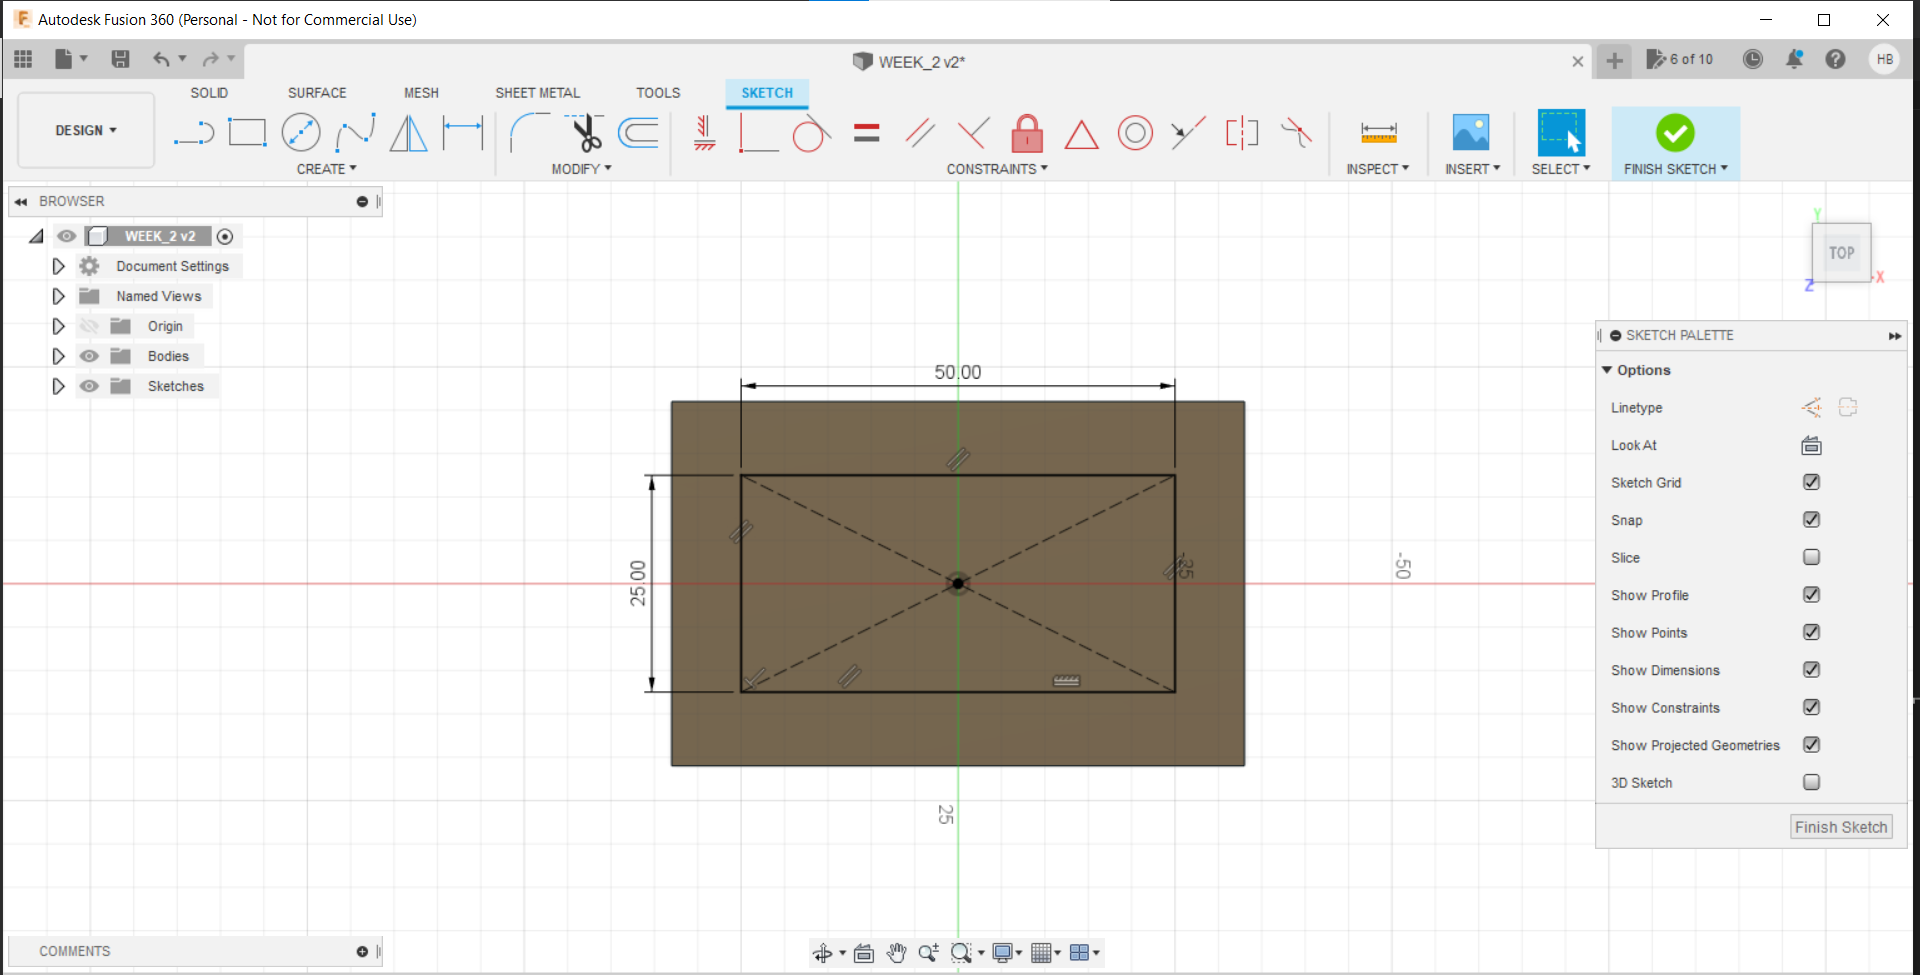
-
Using "Shell" command, make a hole in the solid
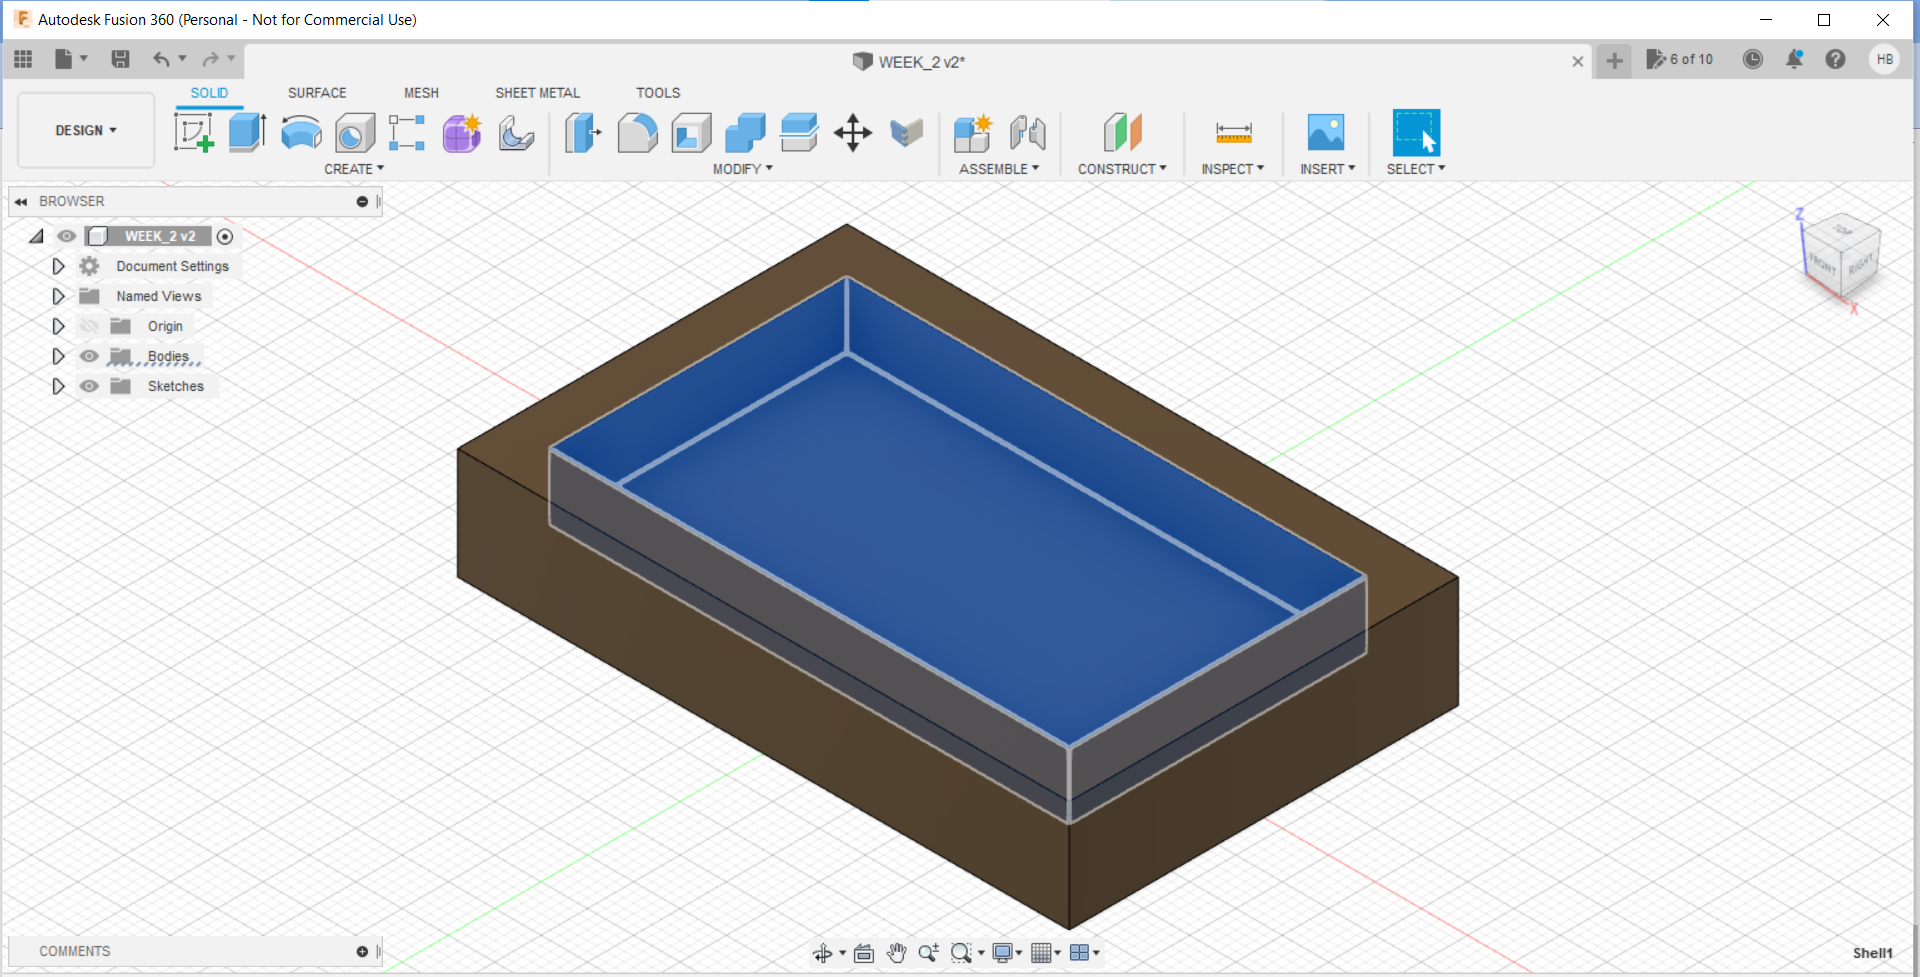
-
Using "Chamfer" command, make edges
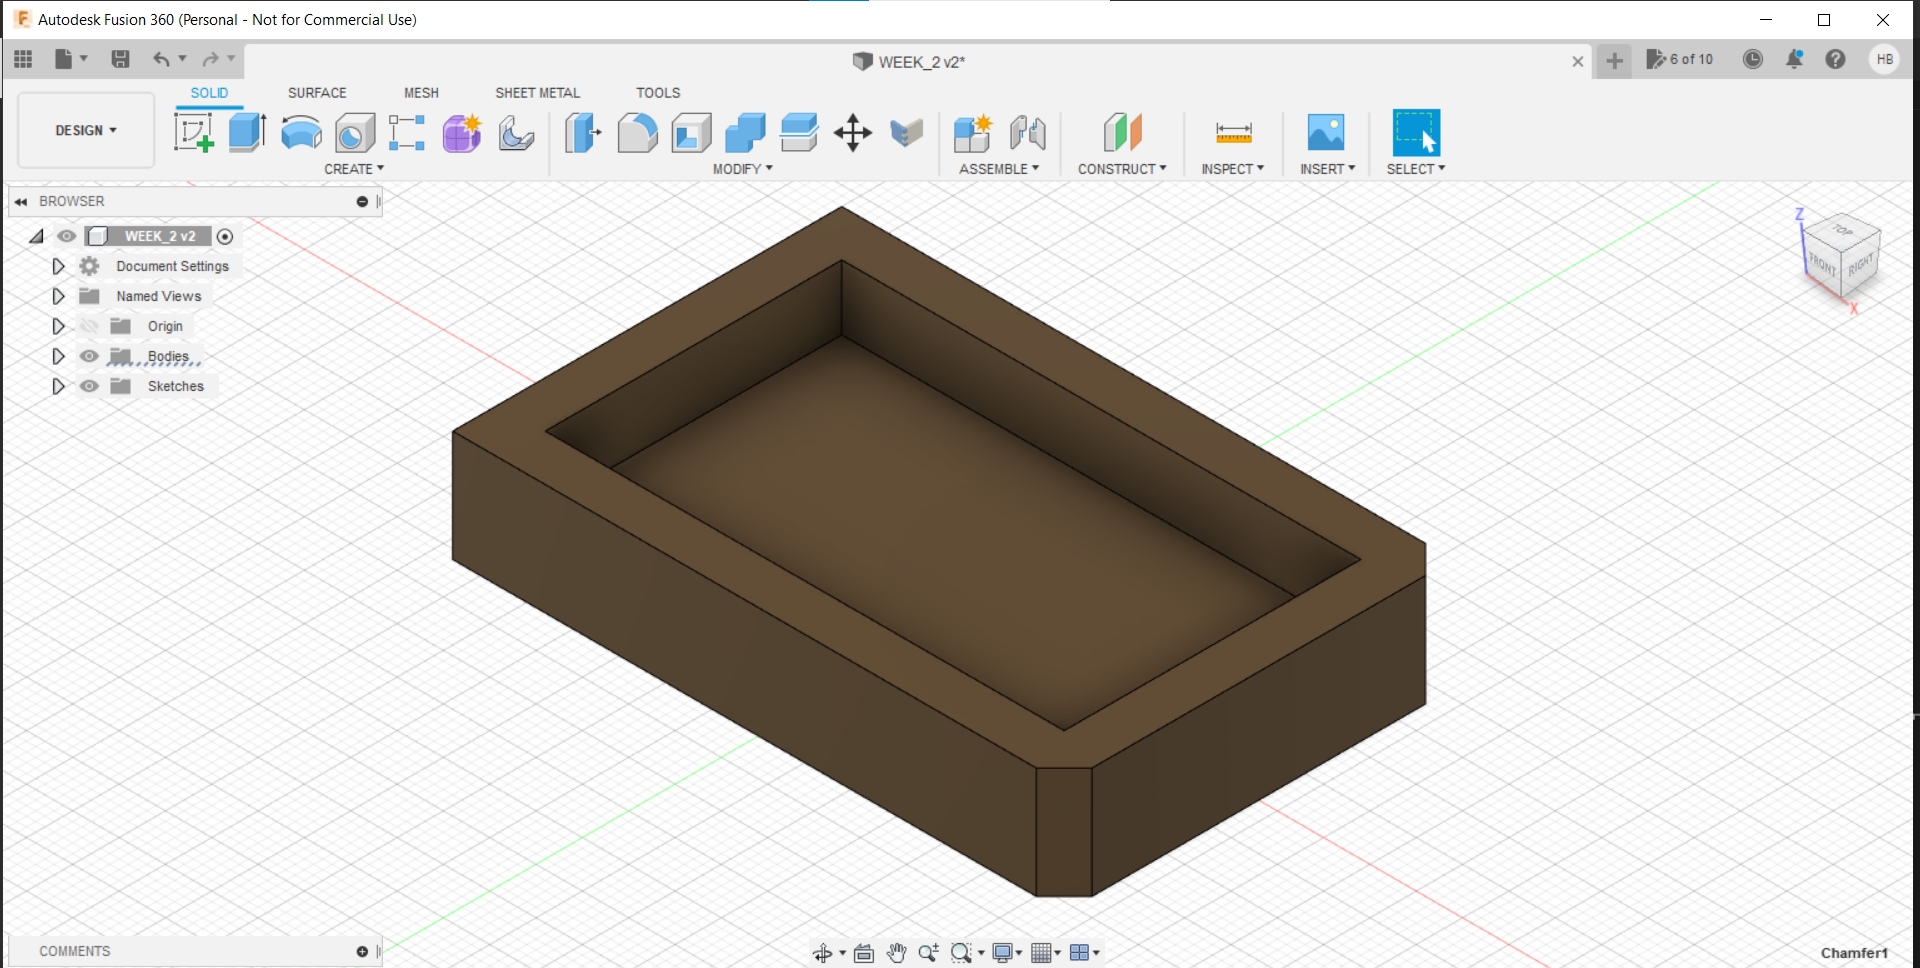
-
Create a sketch of another rectangle, and extrude it
-
Make a rectangular sketch, yet again, but this time perpendicularly, and extrude it.
-
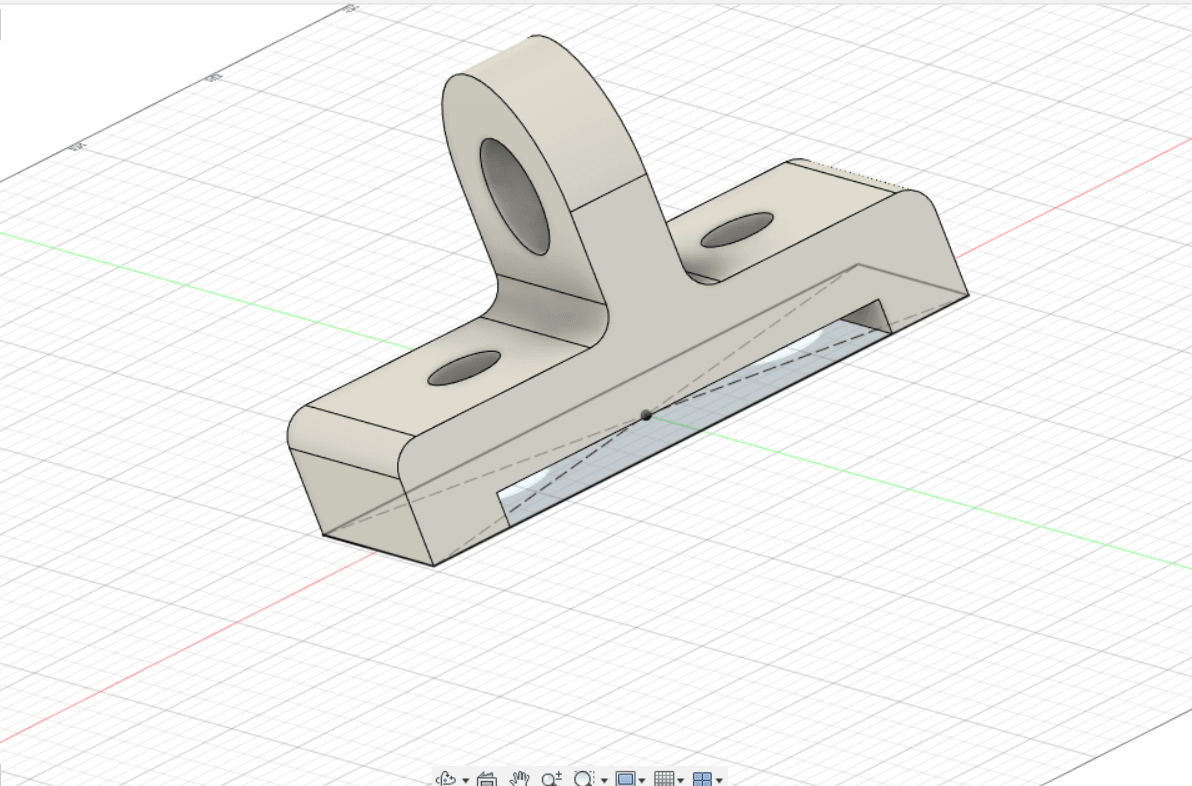
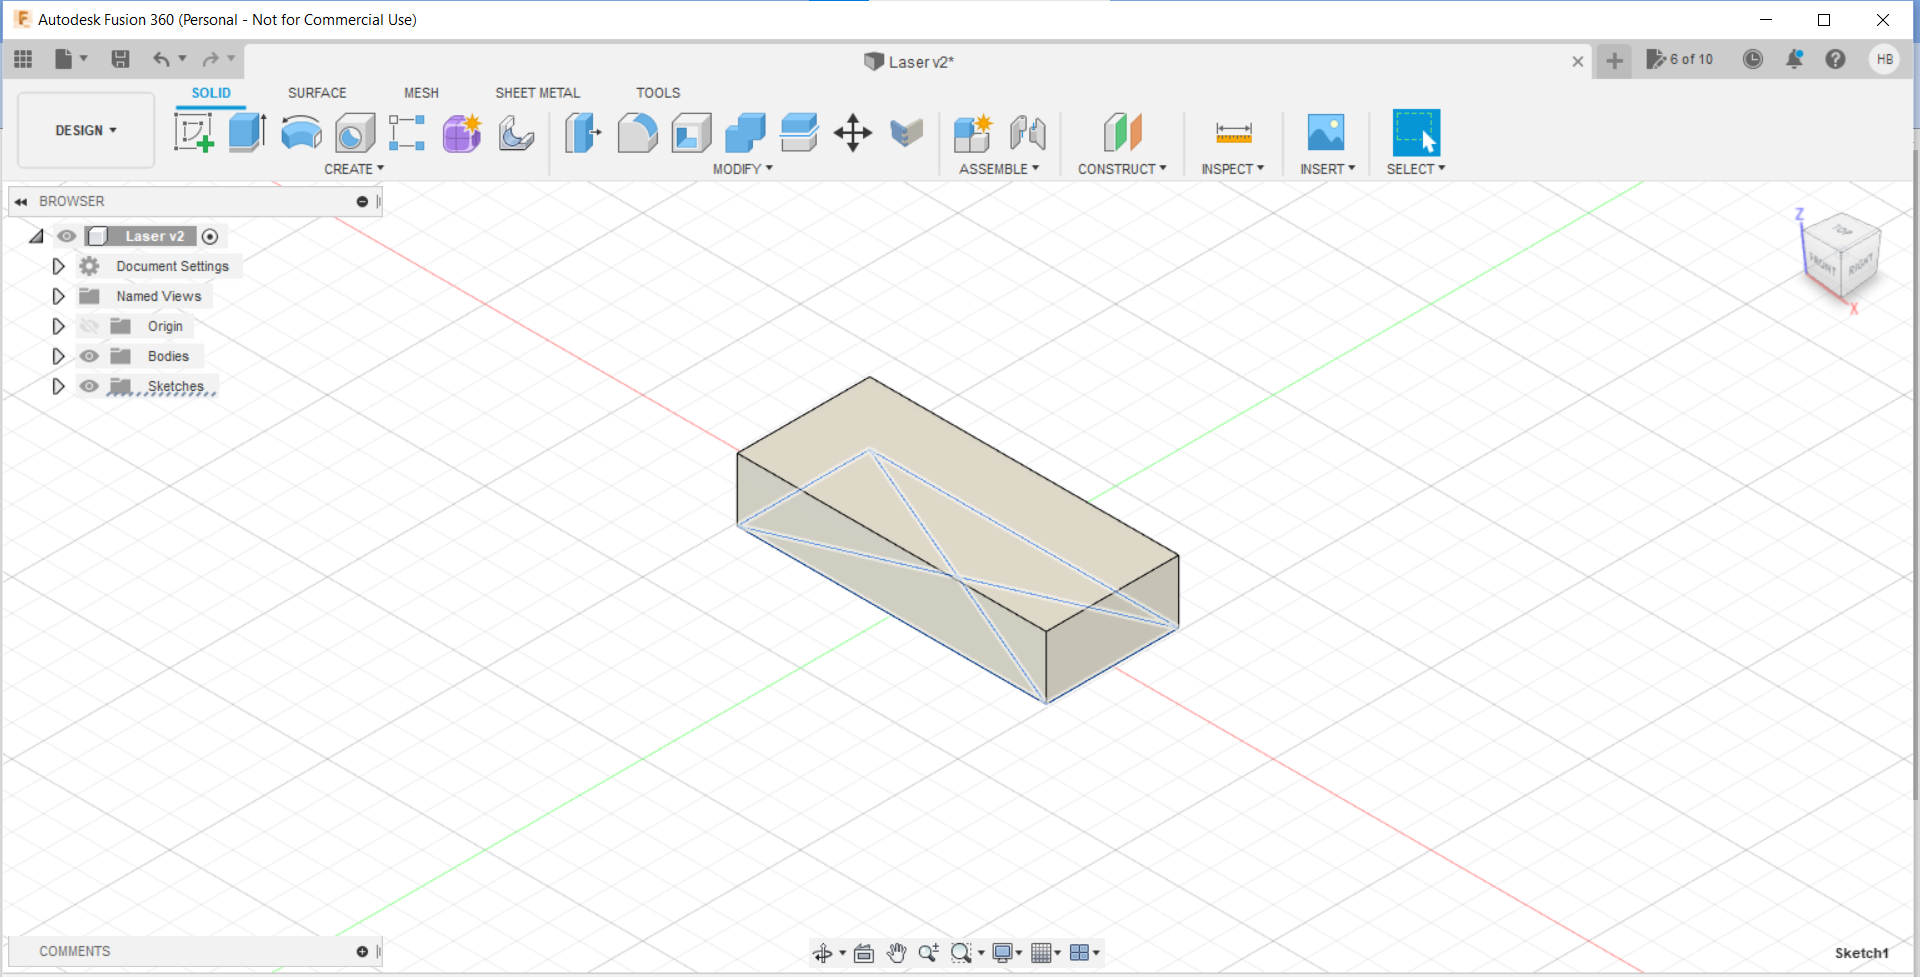
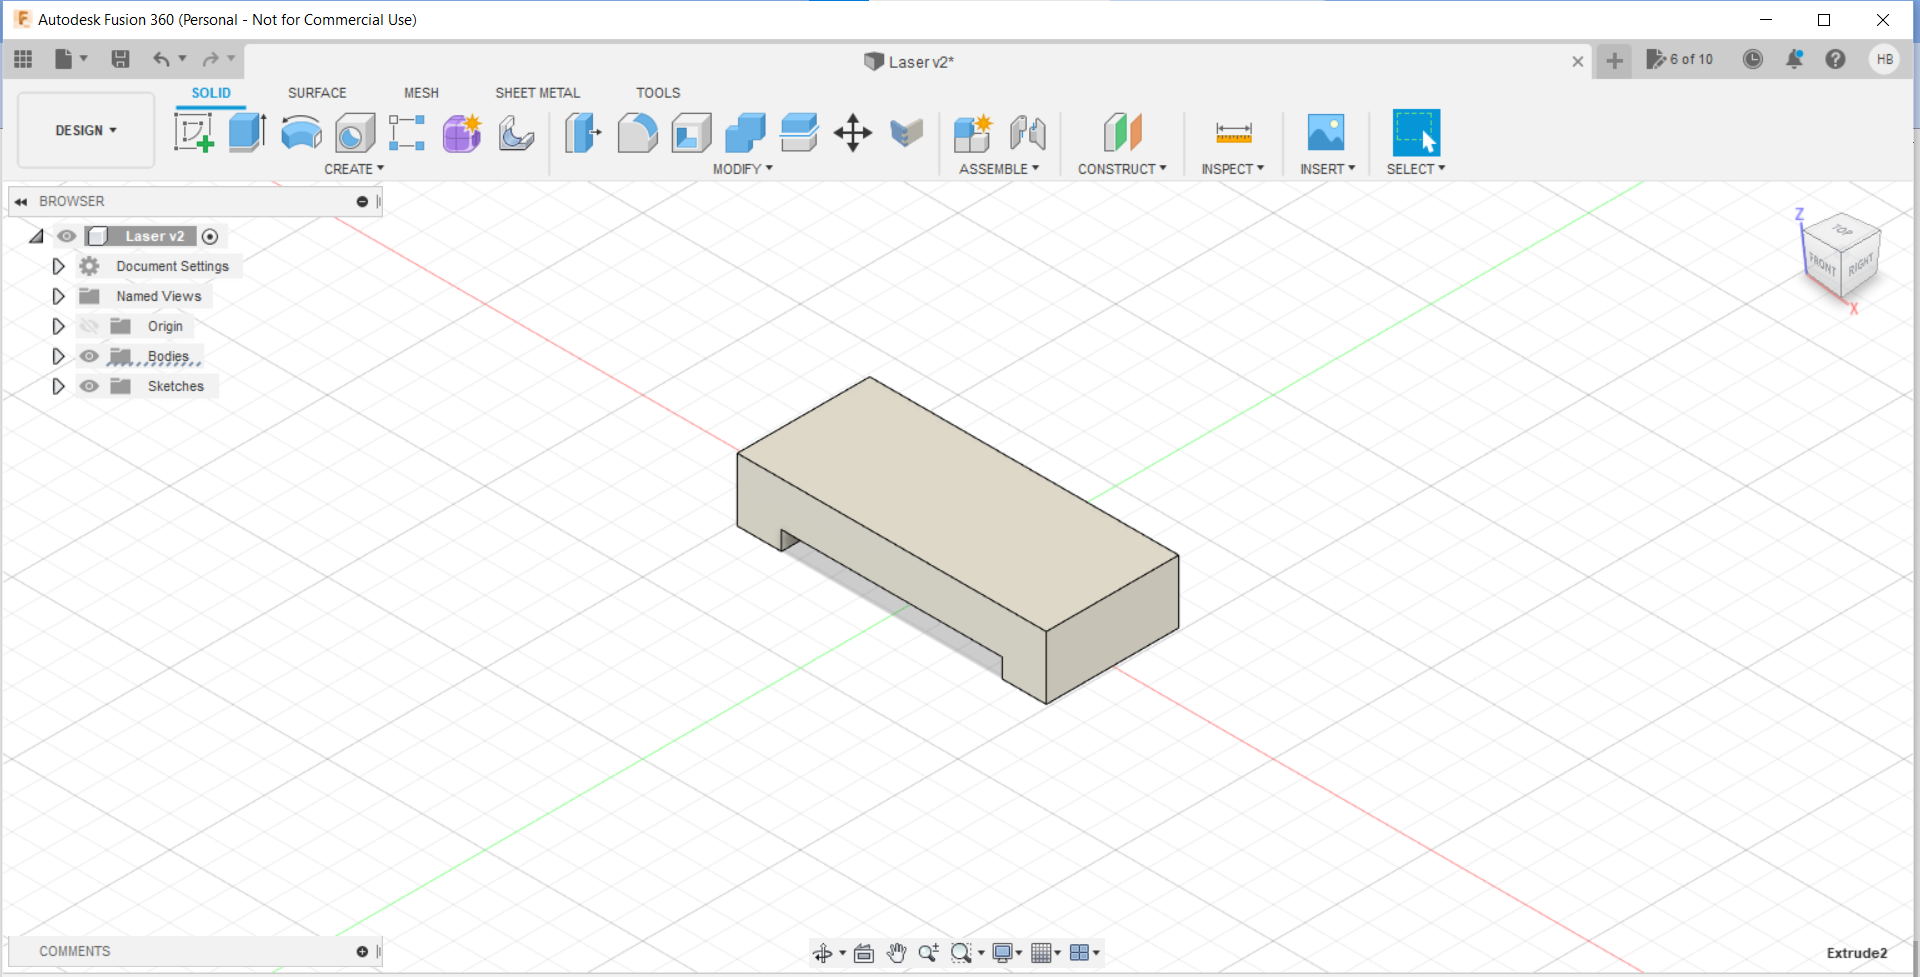
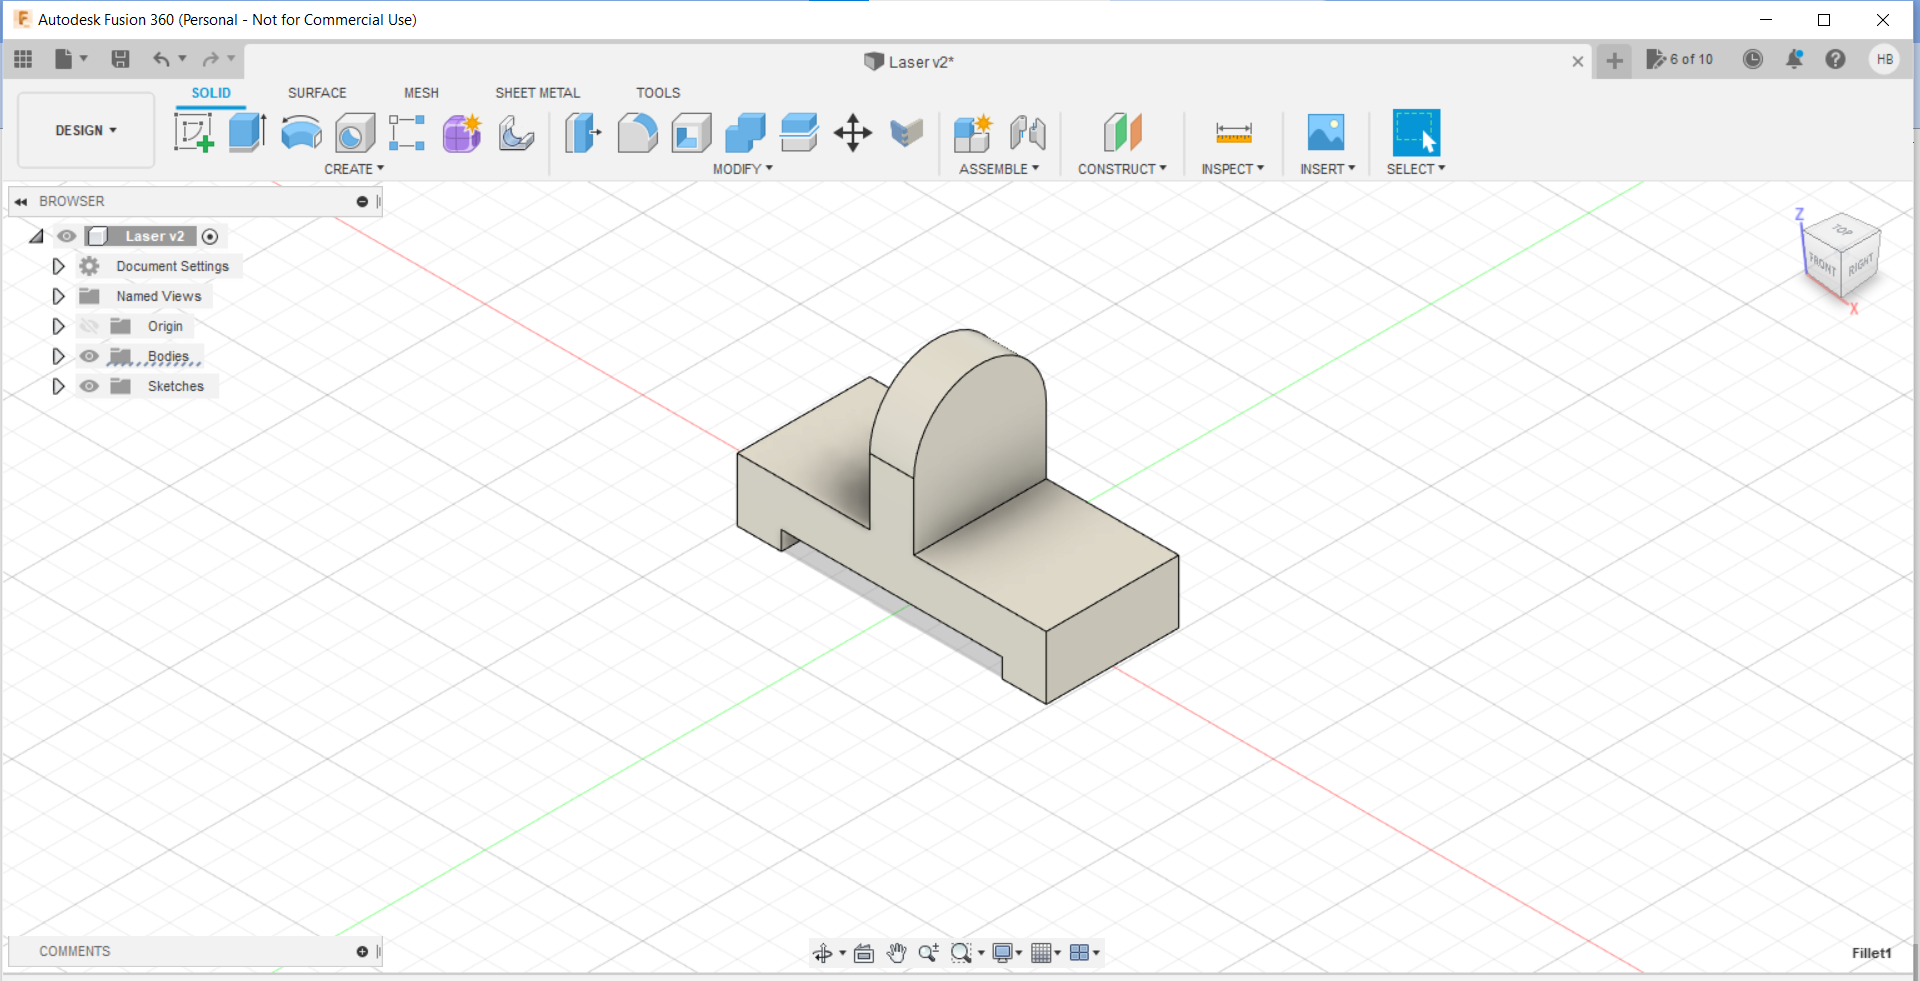
Make a Solid, using "Sketch" and "Extrude" commands:
-
Make a shell at the bottom of the solid, using "Extrude-Cut" commands
-
Make a rectangle, and extrude it
-
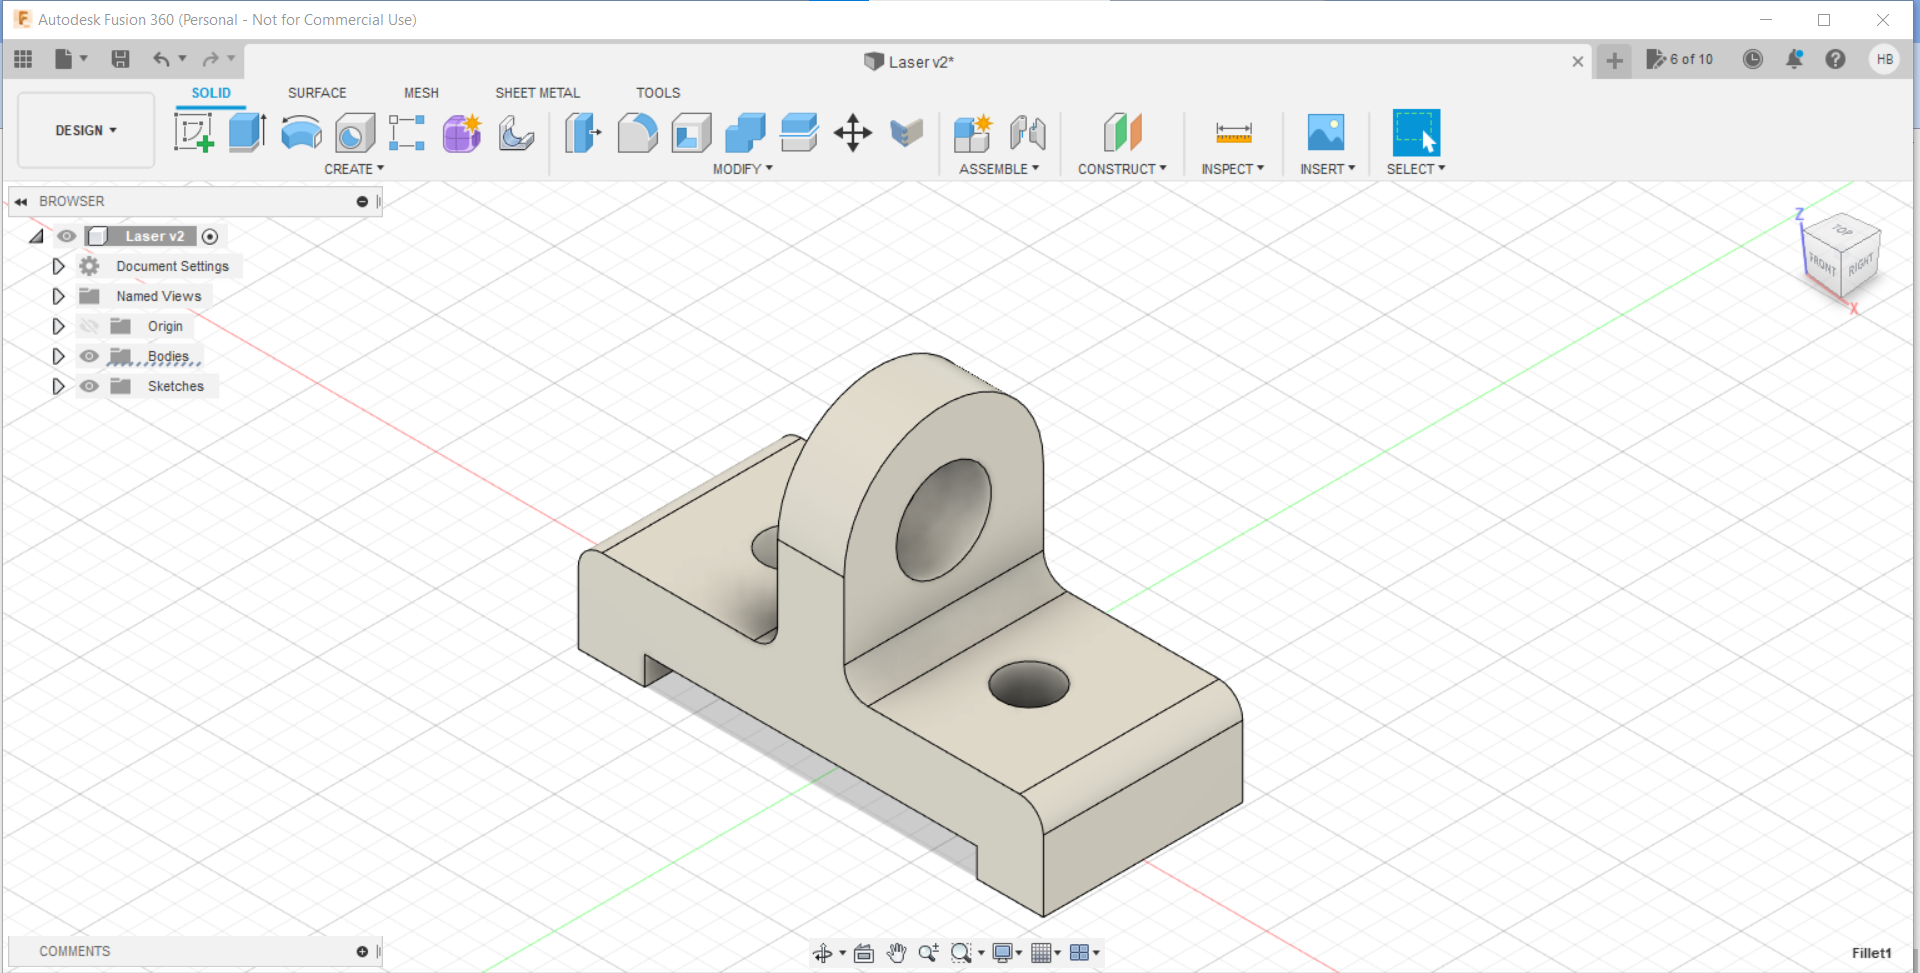
Curve the edges, using "Fillet" command
-
Cut holes using "Extrude-Cut" command, and "Fillet" it, resulting in the final product
@_@