Week 5
Assignment 1-Additive vs substractive process.
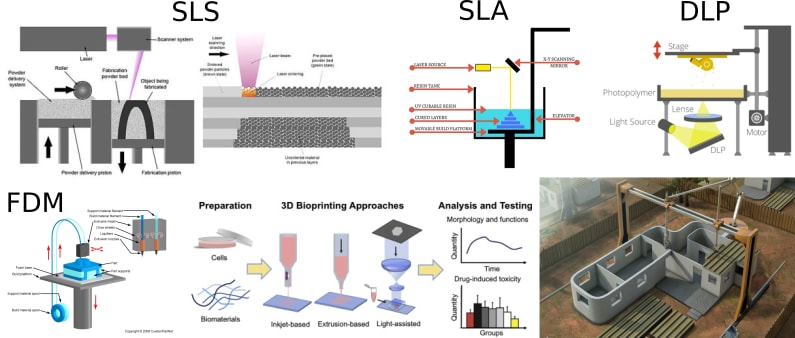
Initially we discussed about different types of 3D printing.
1.Stereolithography (SLA)
2.Selective Laser Sintering (SLS)
3.Fused Deposition Modeling (FDM)
4.Digital Light Process (DLP)
5.Bio Printing
6.3D Construction Printing.
As you know i have an architecture background and because of that i have heard about 3D printing but didnt know how it actually worked.This week was an informative week as always for me. 3D printing, or additive manufacturing, is the construction of a three-dimensional object from a CAD model or a digital 3D model. The term "3D printing" can refer to a variety of processes in which material is deposited, joined or solidified under computer control to create a three-dimensional object, with material being added together (such as plastics, liquids or powder grains being fused together), typically layer by layer.
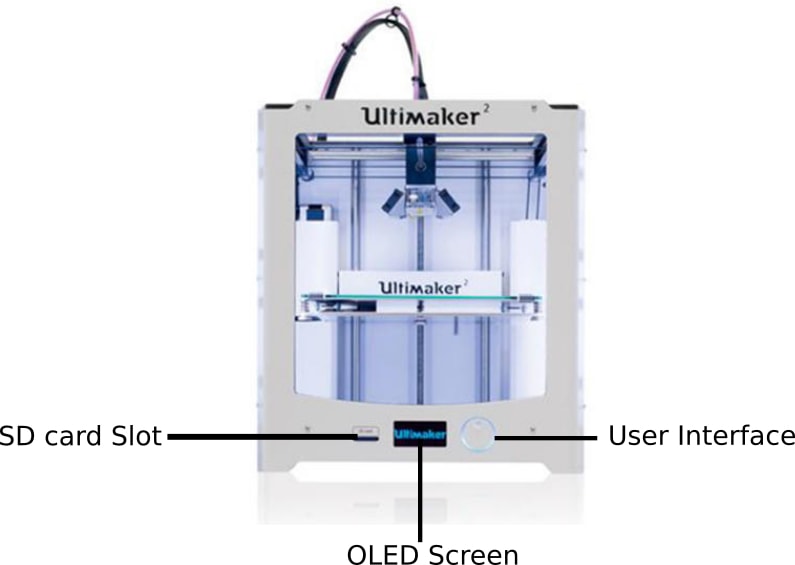
We use ultimaker 2+ in our lab. The machine has a SD Card slot and an oragnic light emitting diode display which shows all the folders
and options it also has rotatable button for navigation and for the selection. The power switch and the filament holder is placed at the back
of the machine. The extruder move along the X and Y axis where as the bed move along the Z axis.
SPECIFICATIONS.
Build volume: 223 x 223 x 305 mm
Nozzle diamete: 0.4 mm
Supported filaments: PLA, ABS, CPE
Filament diameter: 2.85 mm
Print surface: Heated bed (50° – 100° C)
Layer resolution: Up to 20 micron
SETTING UP ULTIMAKER 2+.
1. First thing to do is to level the bed.
we have to rotate the switch which makes the bed move along the Z axis move it until it touch the Nozzle
and then place a millimeter thickness paper between the Nozzle and the bed adjust until the paper is locked
between the Nozzle and the bed, repeat it on all the three corners of the bed.
2. Load the sd card containing the g code file exported from Cura.
3. Then choose the material by going into material, choose the material and replace if necessary.
4. Next is to go to print, then select the folder. Then you need to proceed for printing.
assignment- 3D print and Design an object
I decided to make a key chain from my name, which can slide.I made a dwg using Autocad.
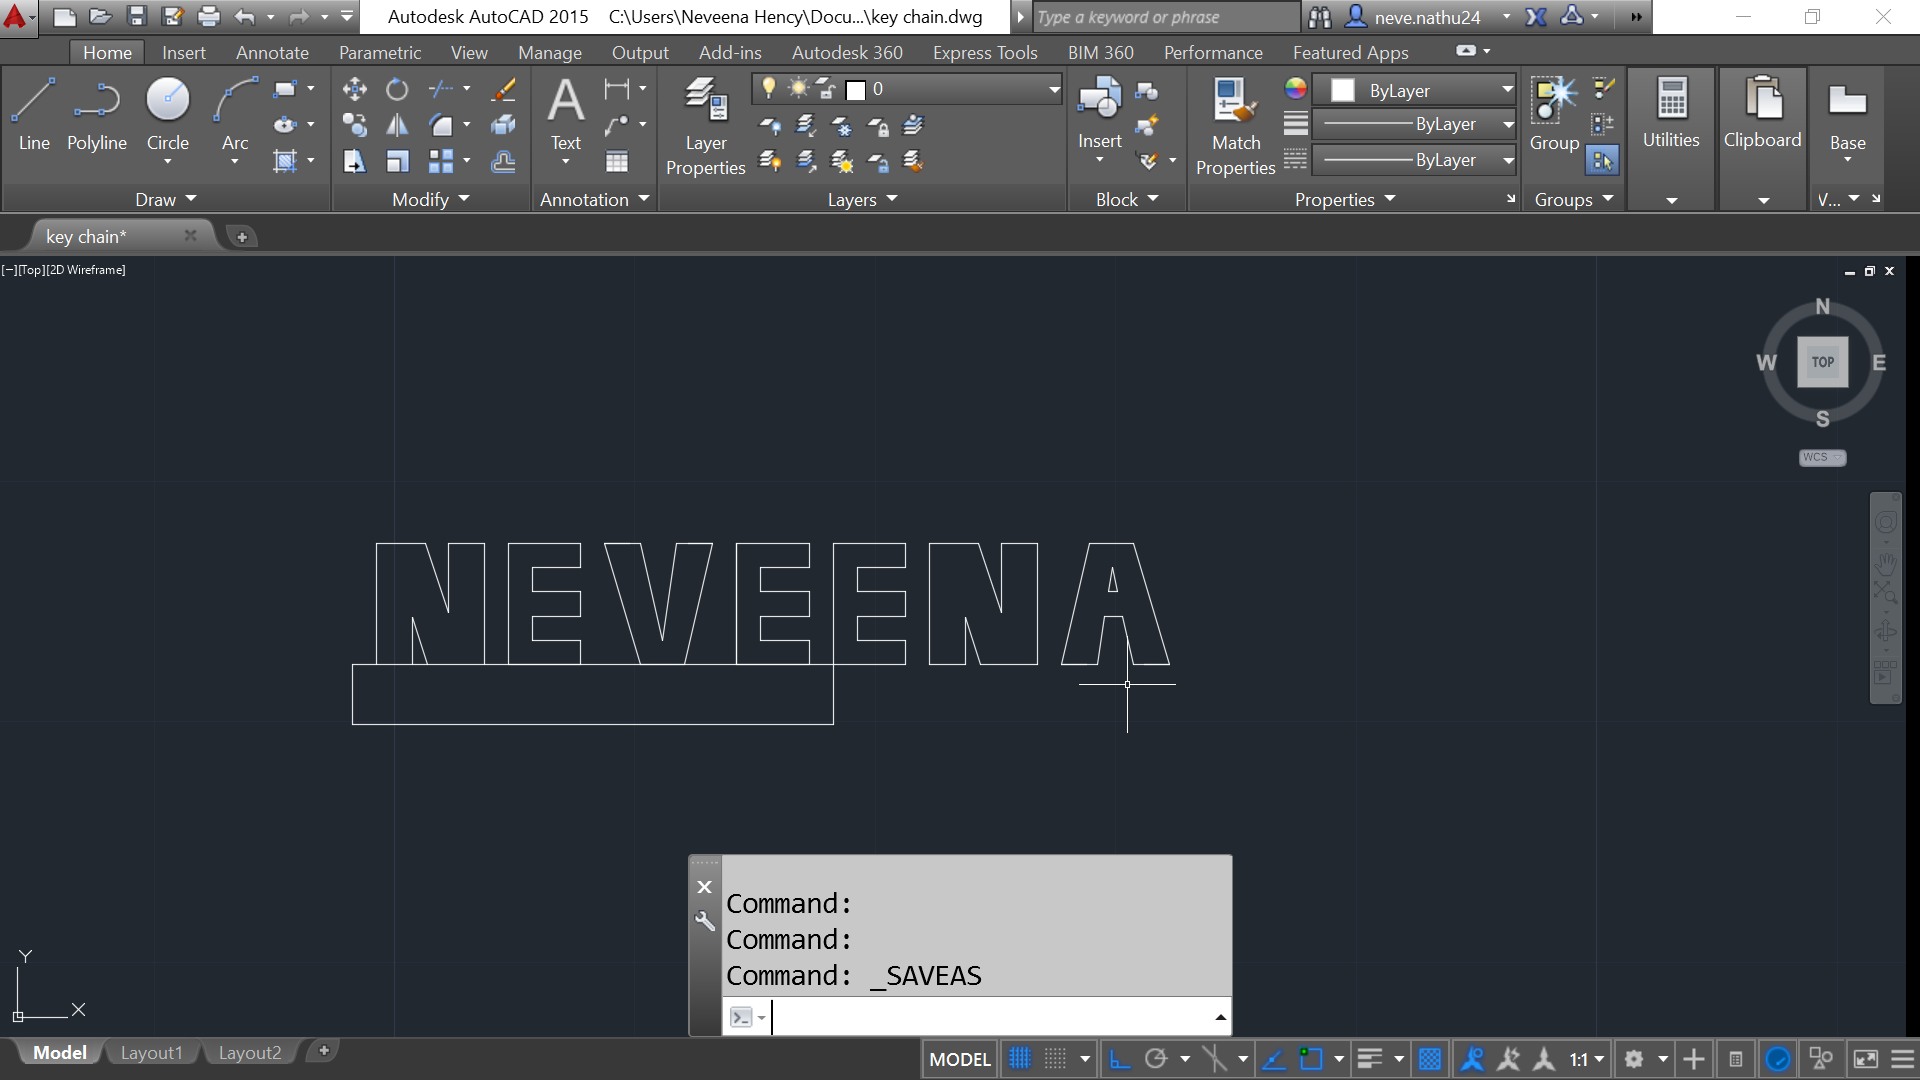
I have used sketchup to work on all my 3D for the past few years so i though of working on sketchup itself to consume time.
I imported my Dwg to SKetchup and completed my 3D.
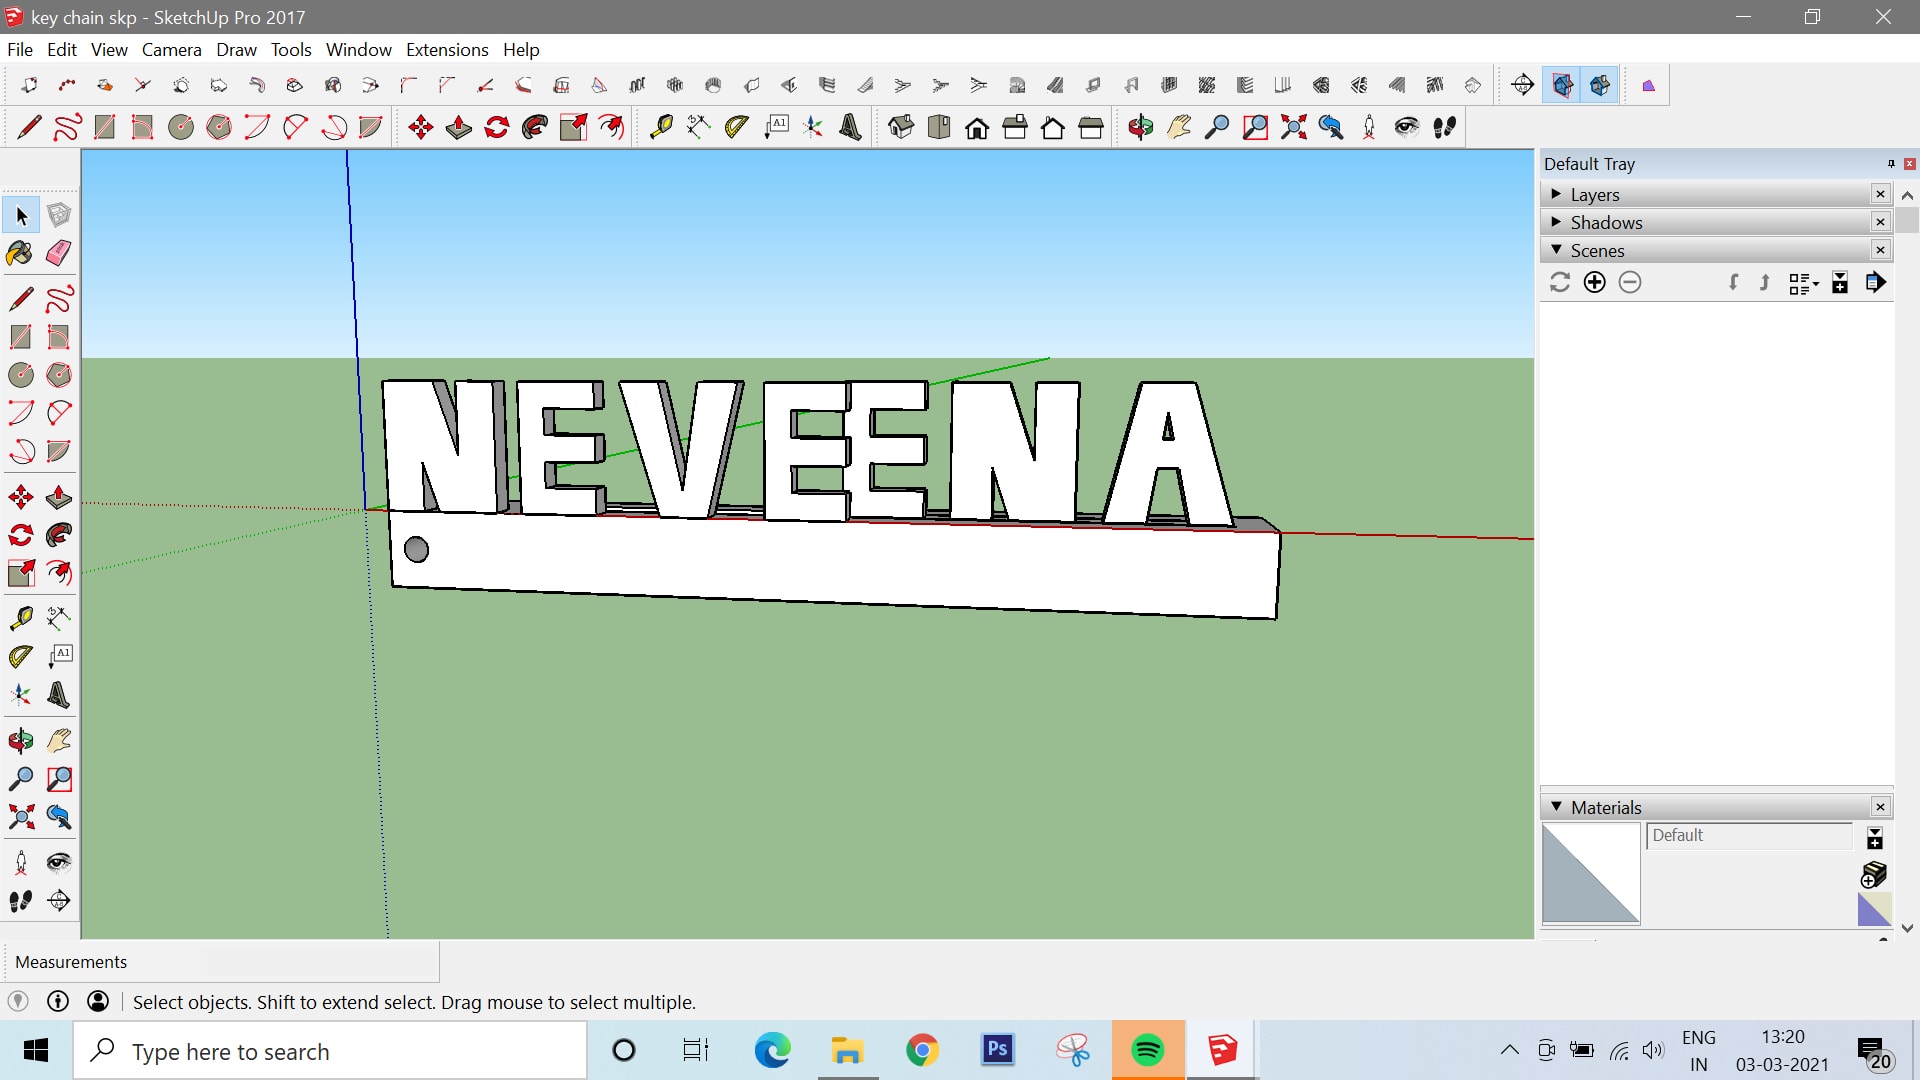
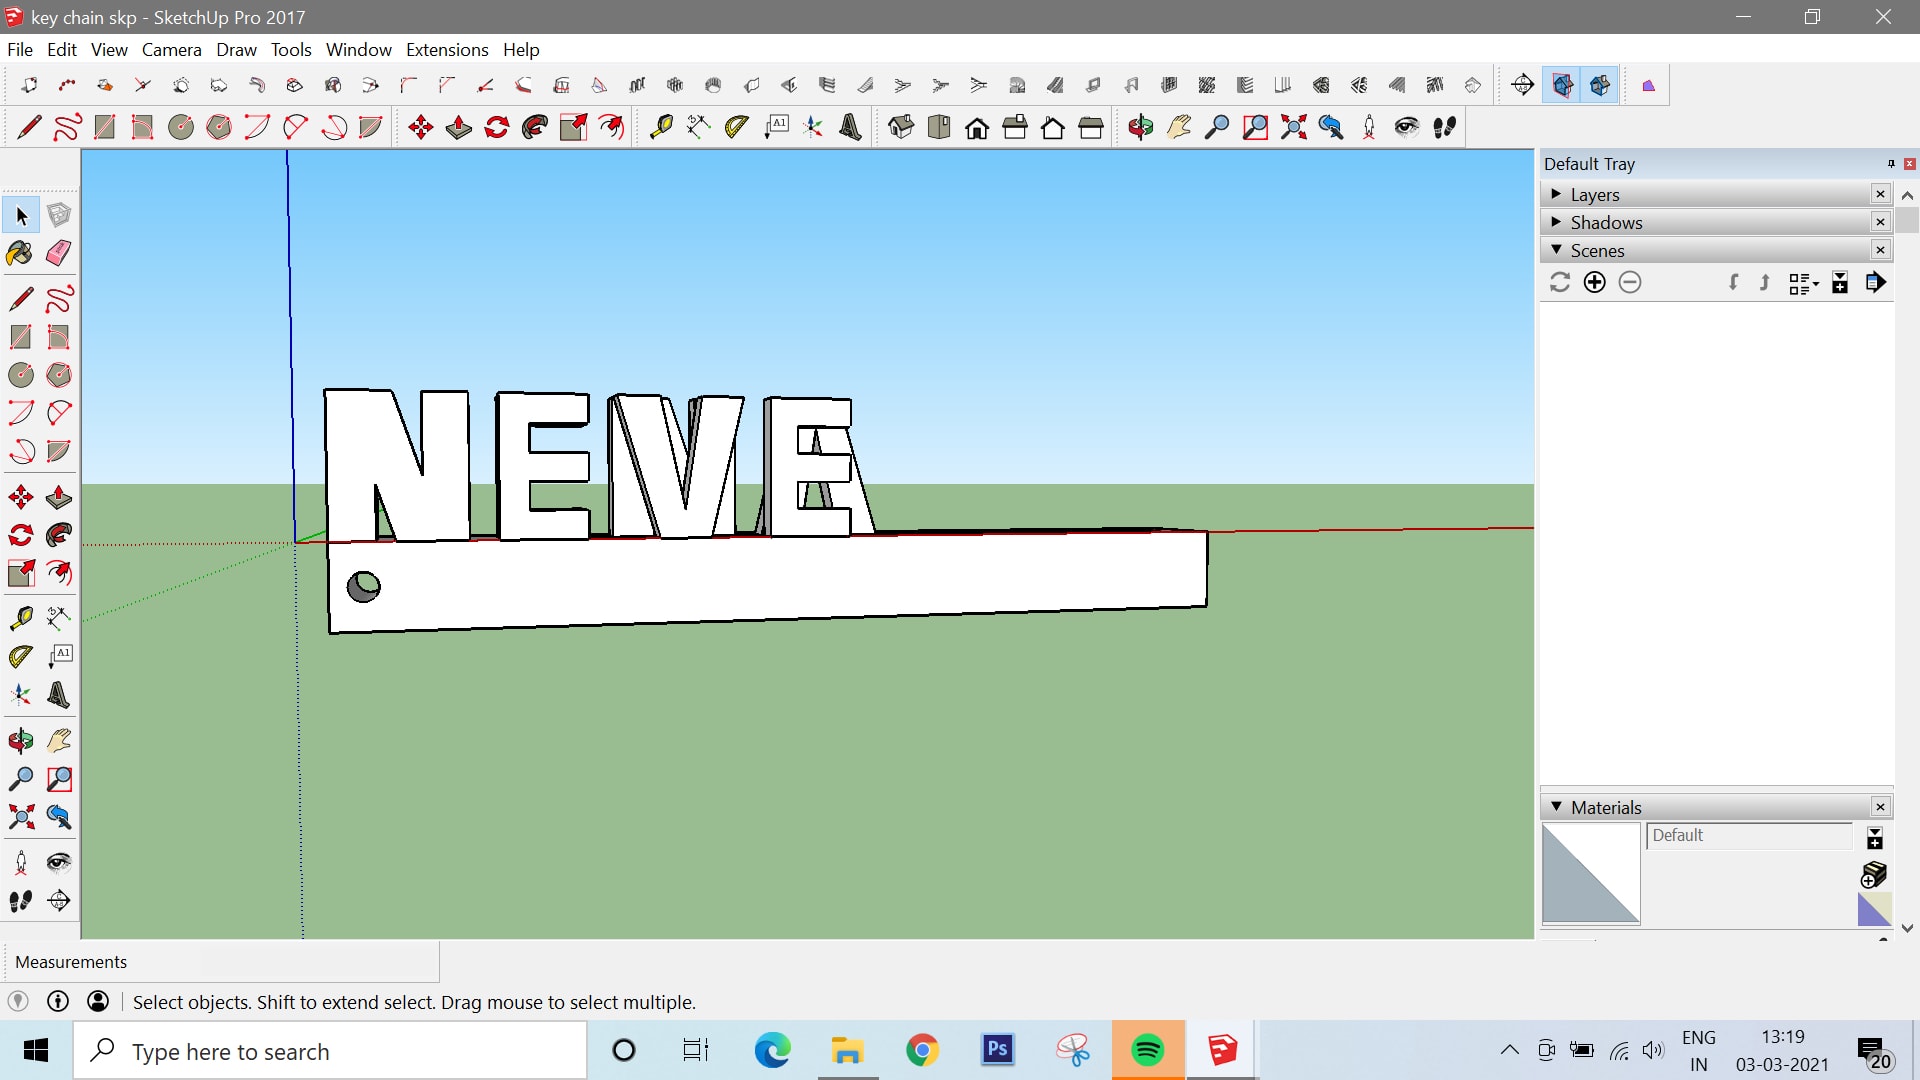
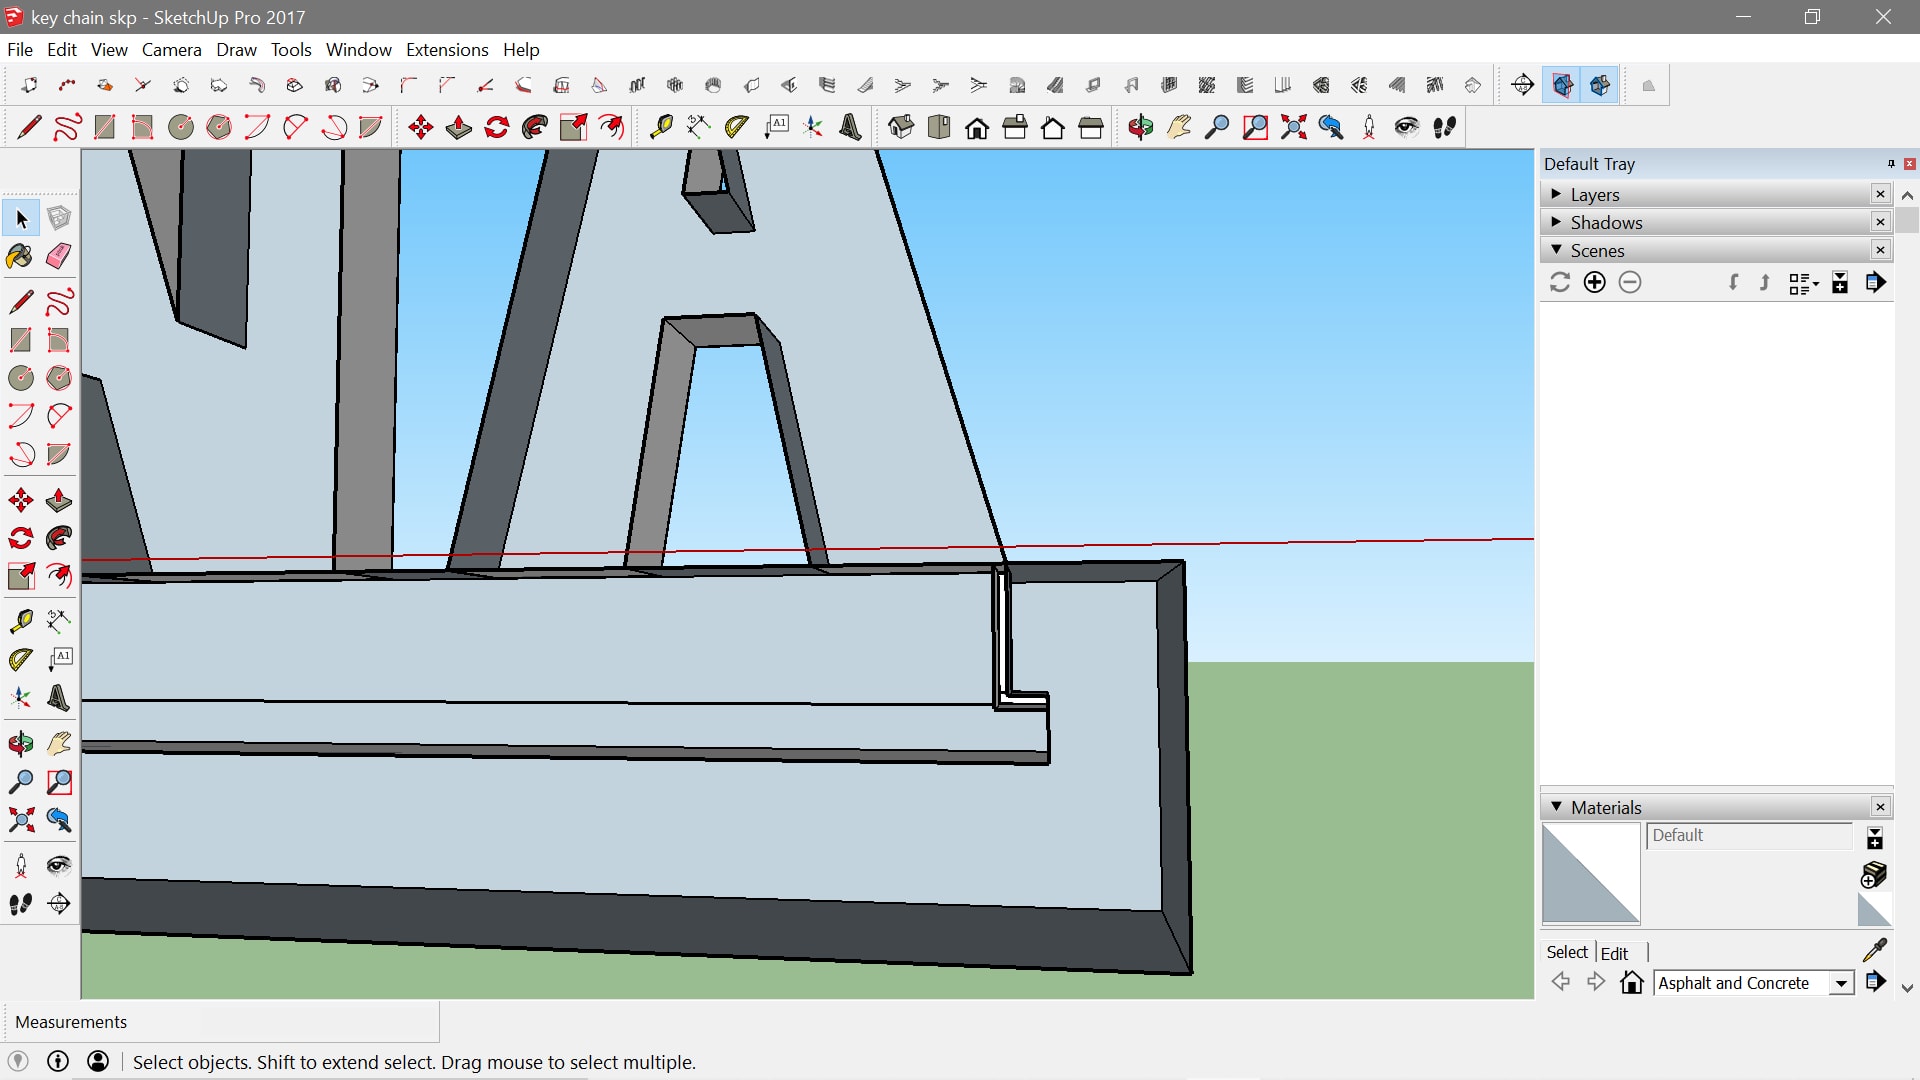
As you can see in the above pictures i have splited my name into 2 and have given a sliding motion. later on i have imported the file into stl format and imported to cure for Printing it in Ultimaker 2+.
The above shown is a gif animation of my work done in cure. I have imported the stl file to cure and have scaled the object which is applicable for the ultimaker 2+ present in our lab and then i have sliced the object to see how much time it would take to print.
OUTCOME AND REFERENCES
I have given a trial run for around 6 mins and the major error i found was that the object was very small in scale and because of that many details were missing especially the sliding motion was not working in here so i increased the scale of the object and re printed it again and then found out that the design itself is not going to work in 3D print because the design which i did was substractive where as we were ask to do a non substractive design.so i tried another design on watch strap.
This time i tried to work in Fusion 360. I tried to work on watch strap it was interesting to learn a new software.
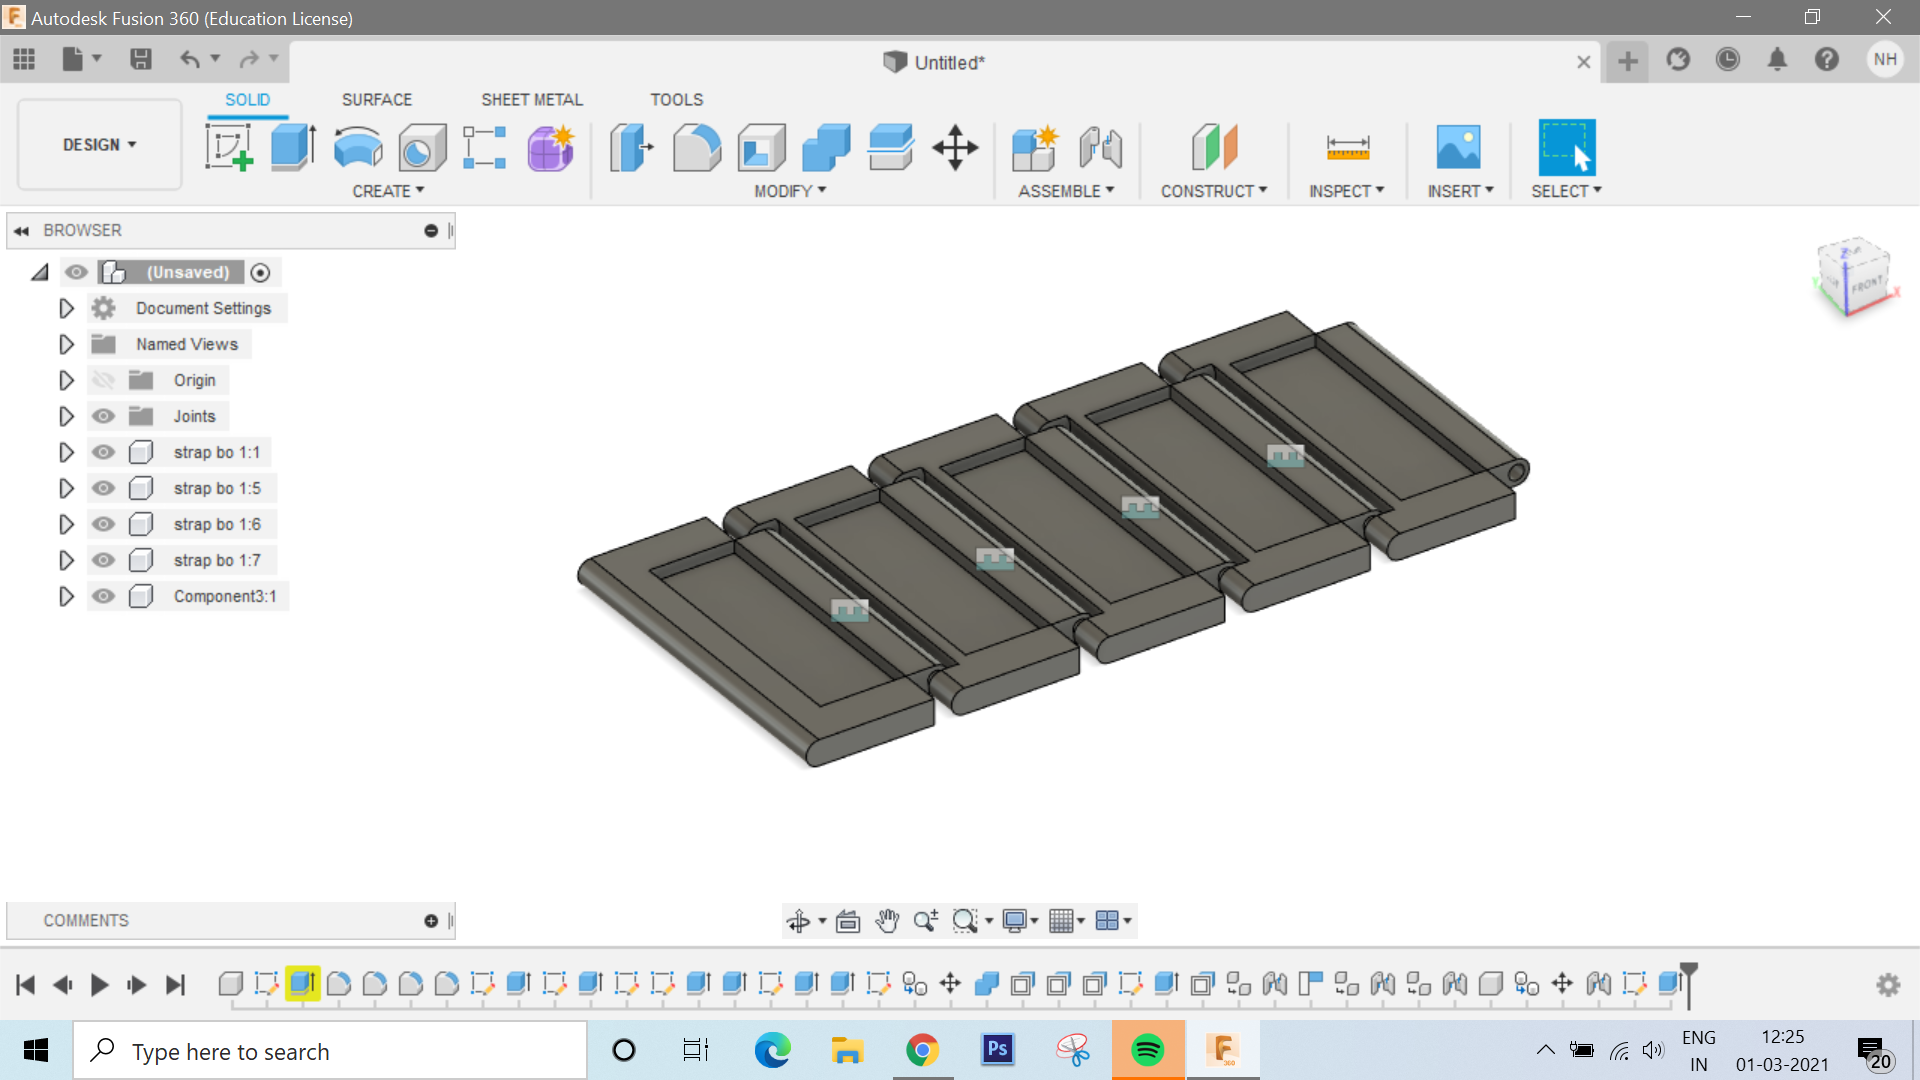
So in conclusion.
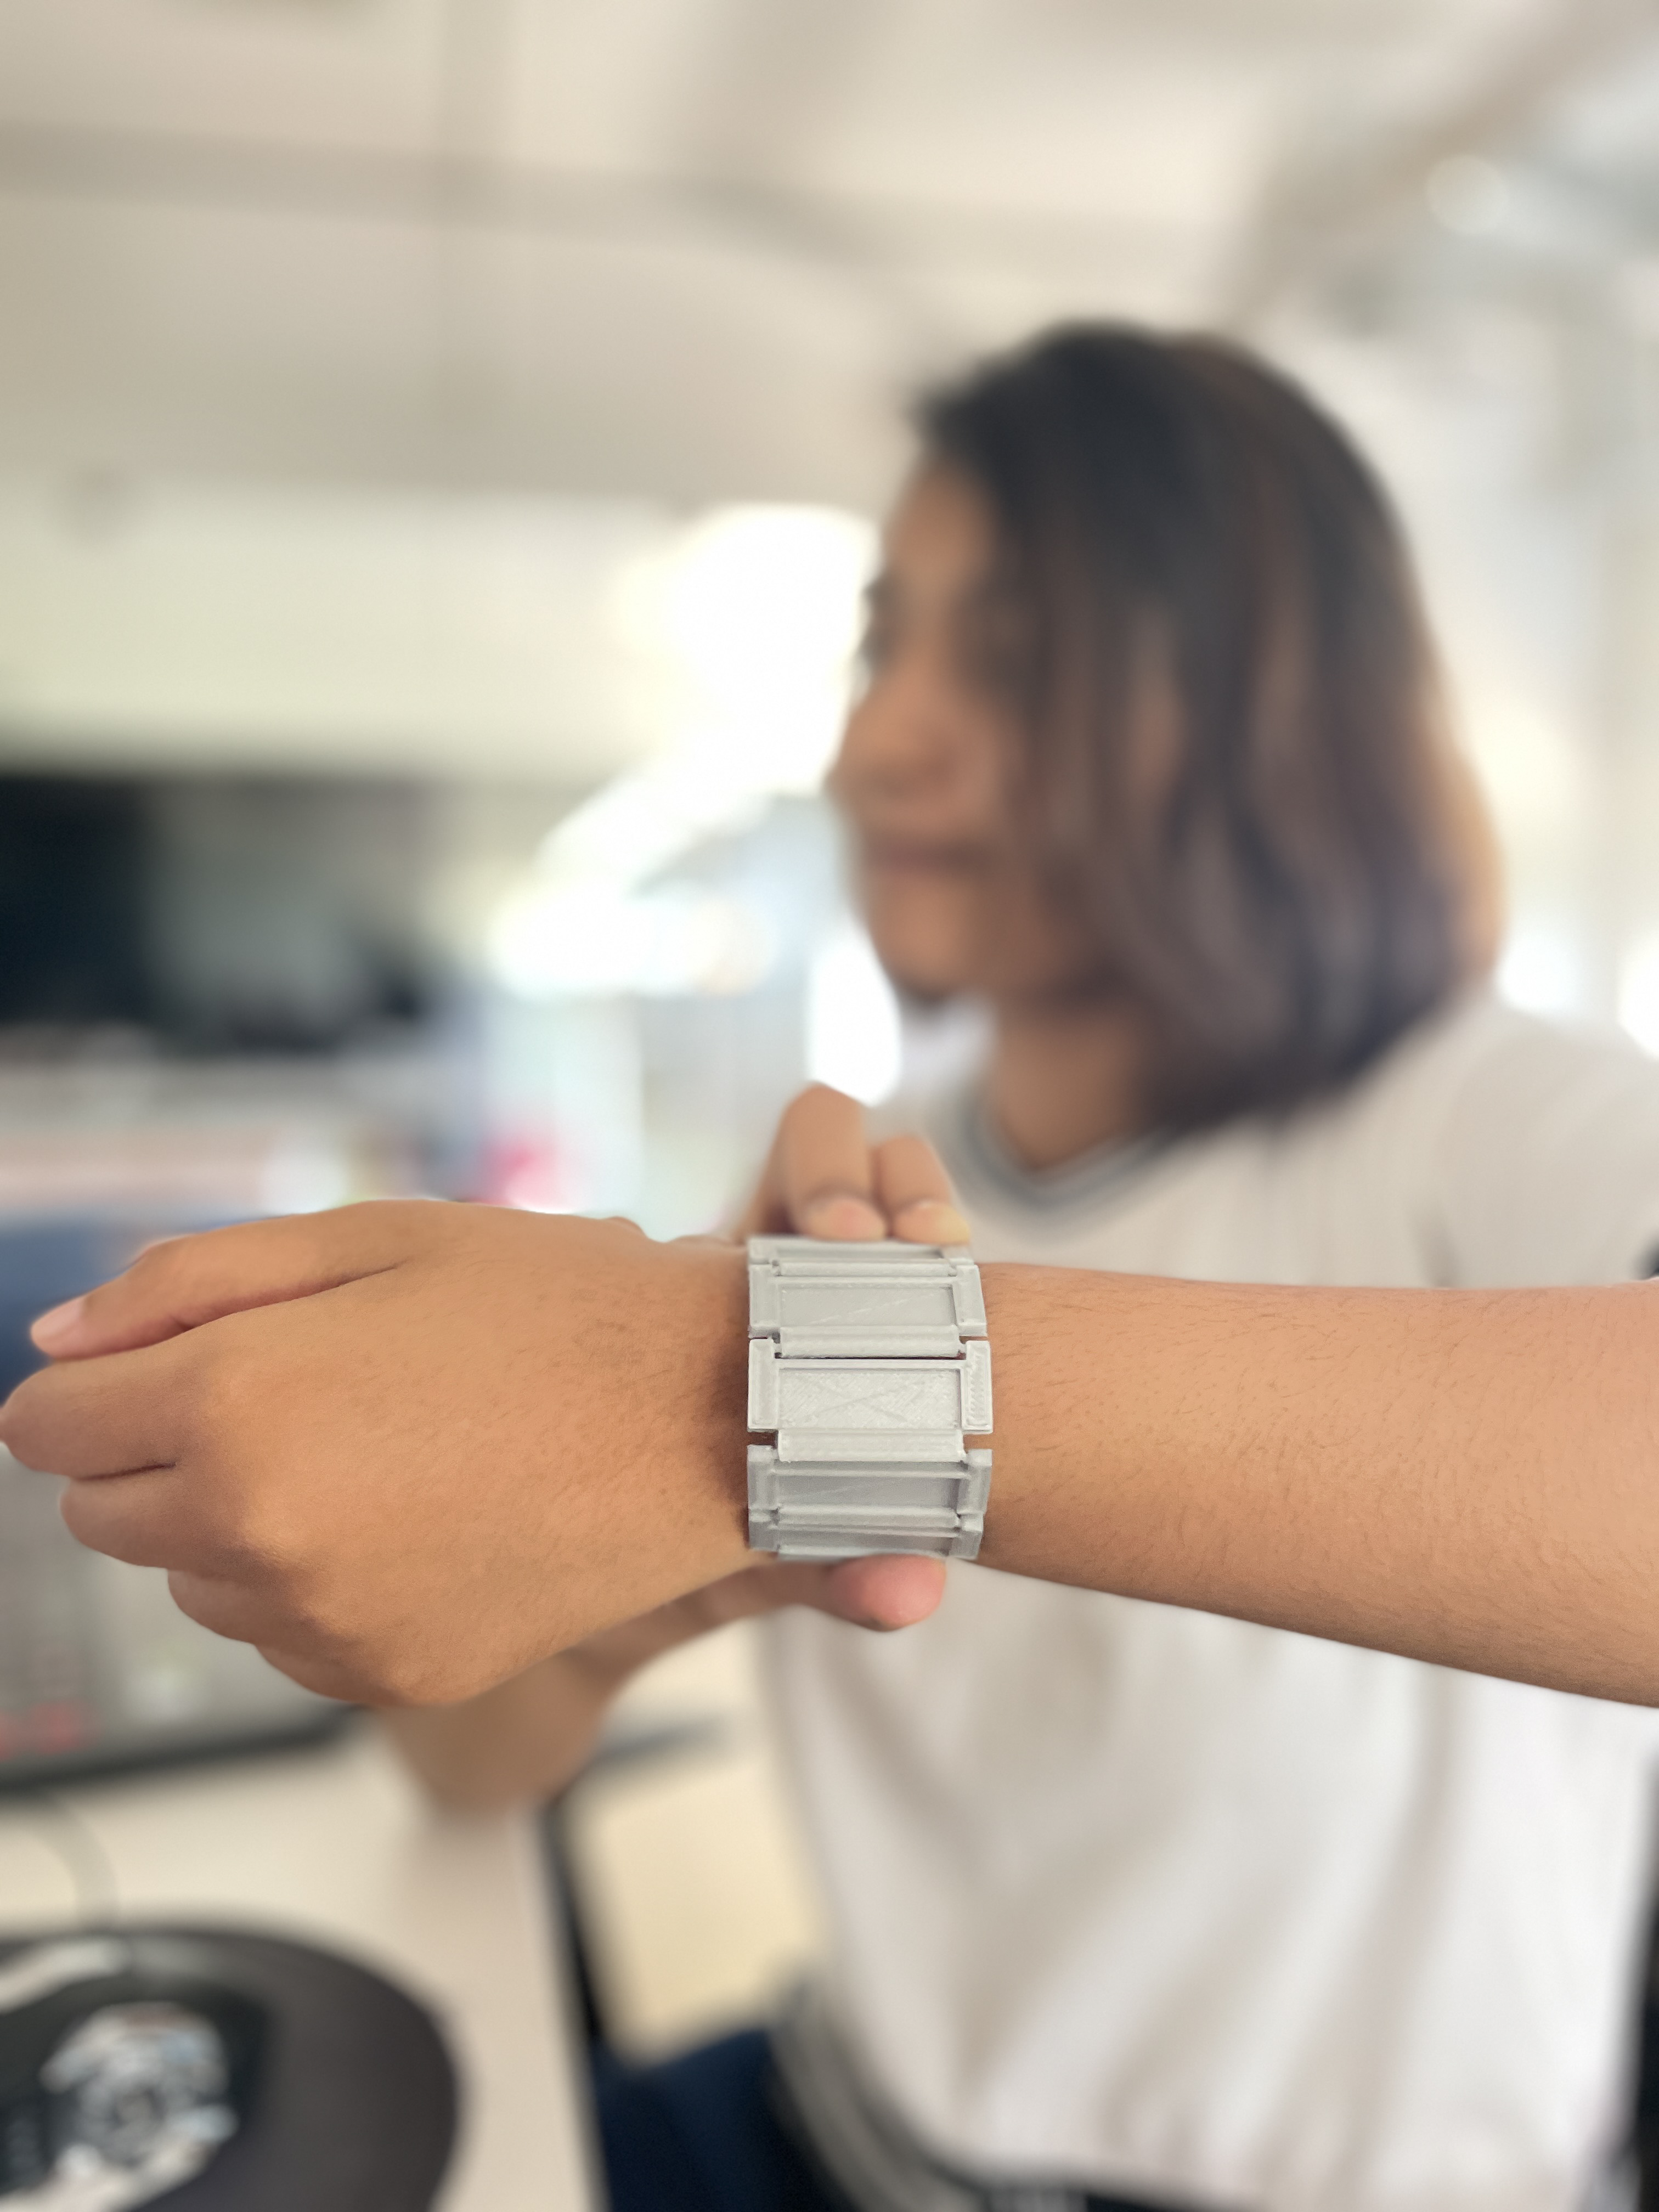
The above picture shows my final product. It was fun doing the assignment.
Assignment 2- Scan an object and print.
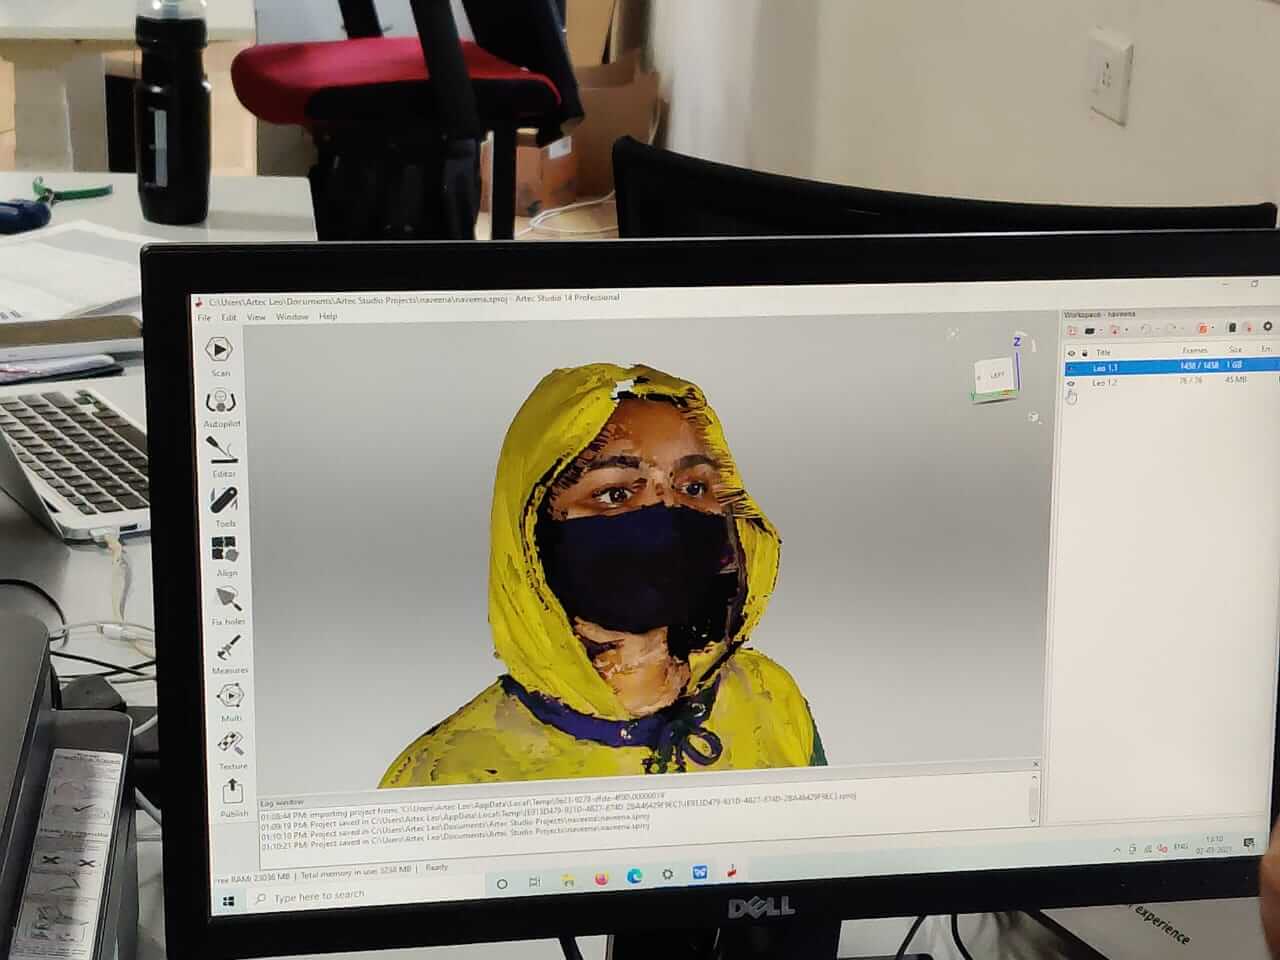
Our lab holds a scanner name Artec leo. The Artec Leo is a professional-grade handheld 3D scanner that offers onboard automatic processing and a built-in HD display. IThe Artec Leo allows you to completely unplug and scan wire-free, a feature that takes away the juggling act of scanning. Once you’re finished scanning, you simply send your scans over to your PC to use Artec Studio to process, edit, and prepare. its suitable for scanning objects in a range of sizes and is equipped with a built-in touchscreen for users to view the process in real-time.
.jpeg)
1.3D accuracy Up to 0.1 mm
2.3D resolution Up to 0.2 mm
3.Object size Starting from 10 cm
4.Full color scanning - Yes
5.Target-free tracking Hybrid geometry and color based
6.3D reconstruction rate 16 FPS
7.Output formats All popular formats, including STL, OBJ, PLY, BTX
8.Weight of scanner 0.9 kg
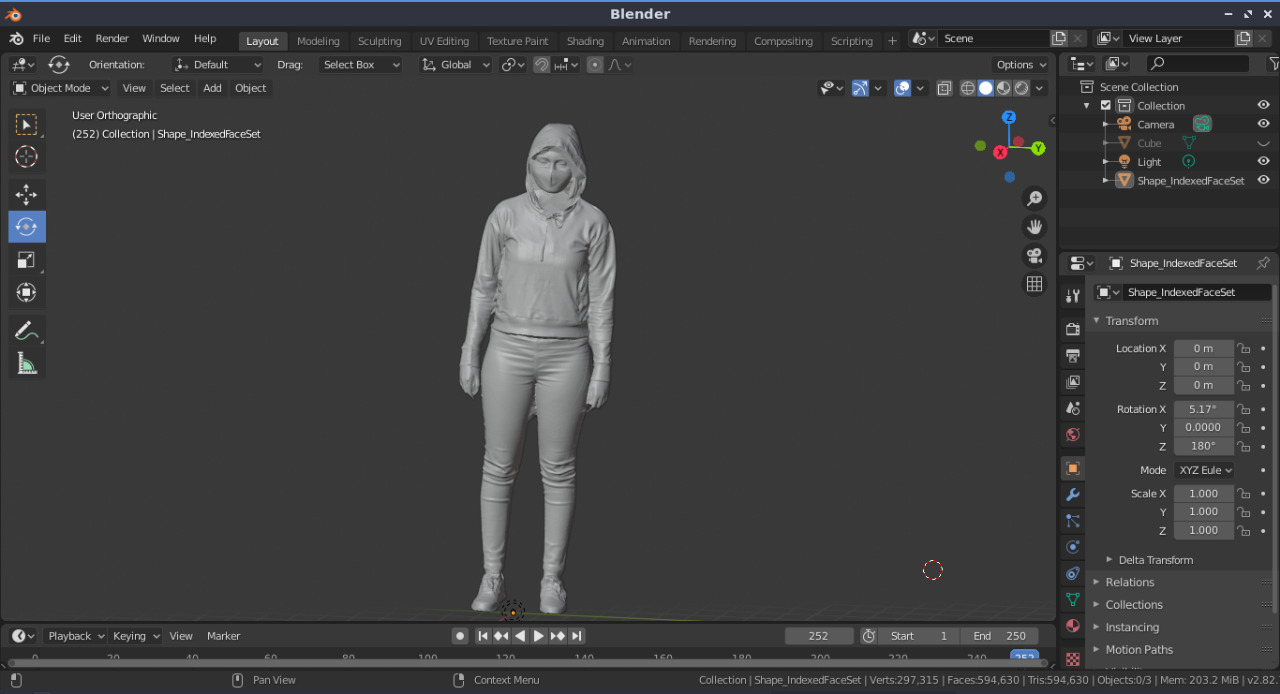
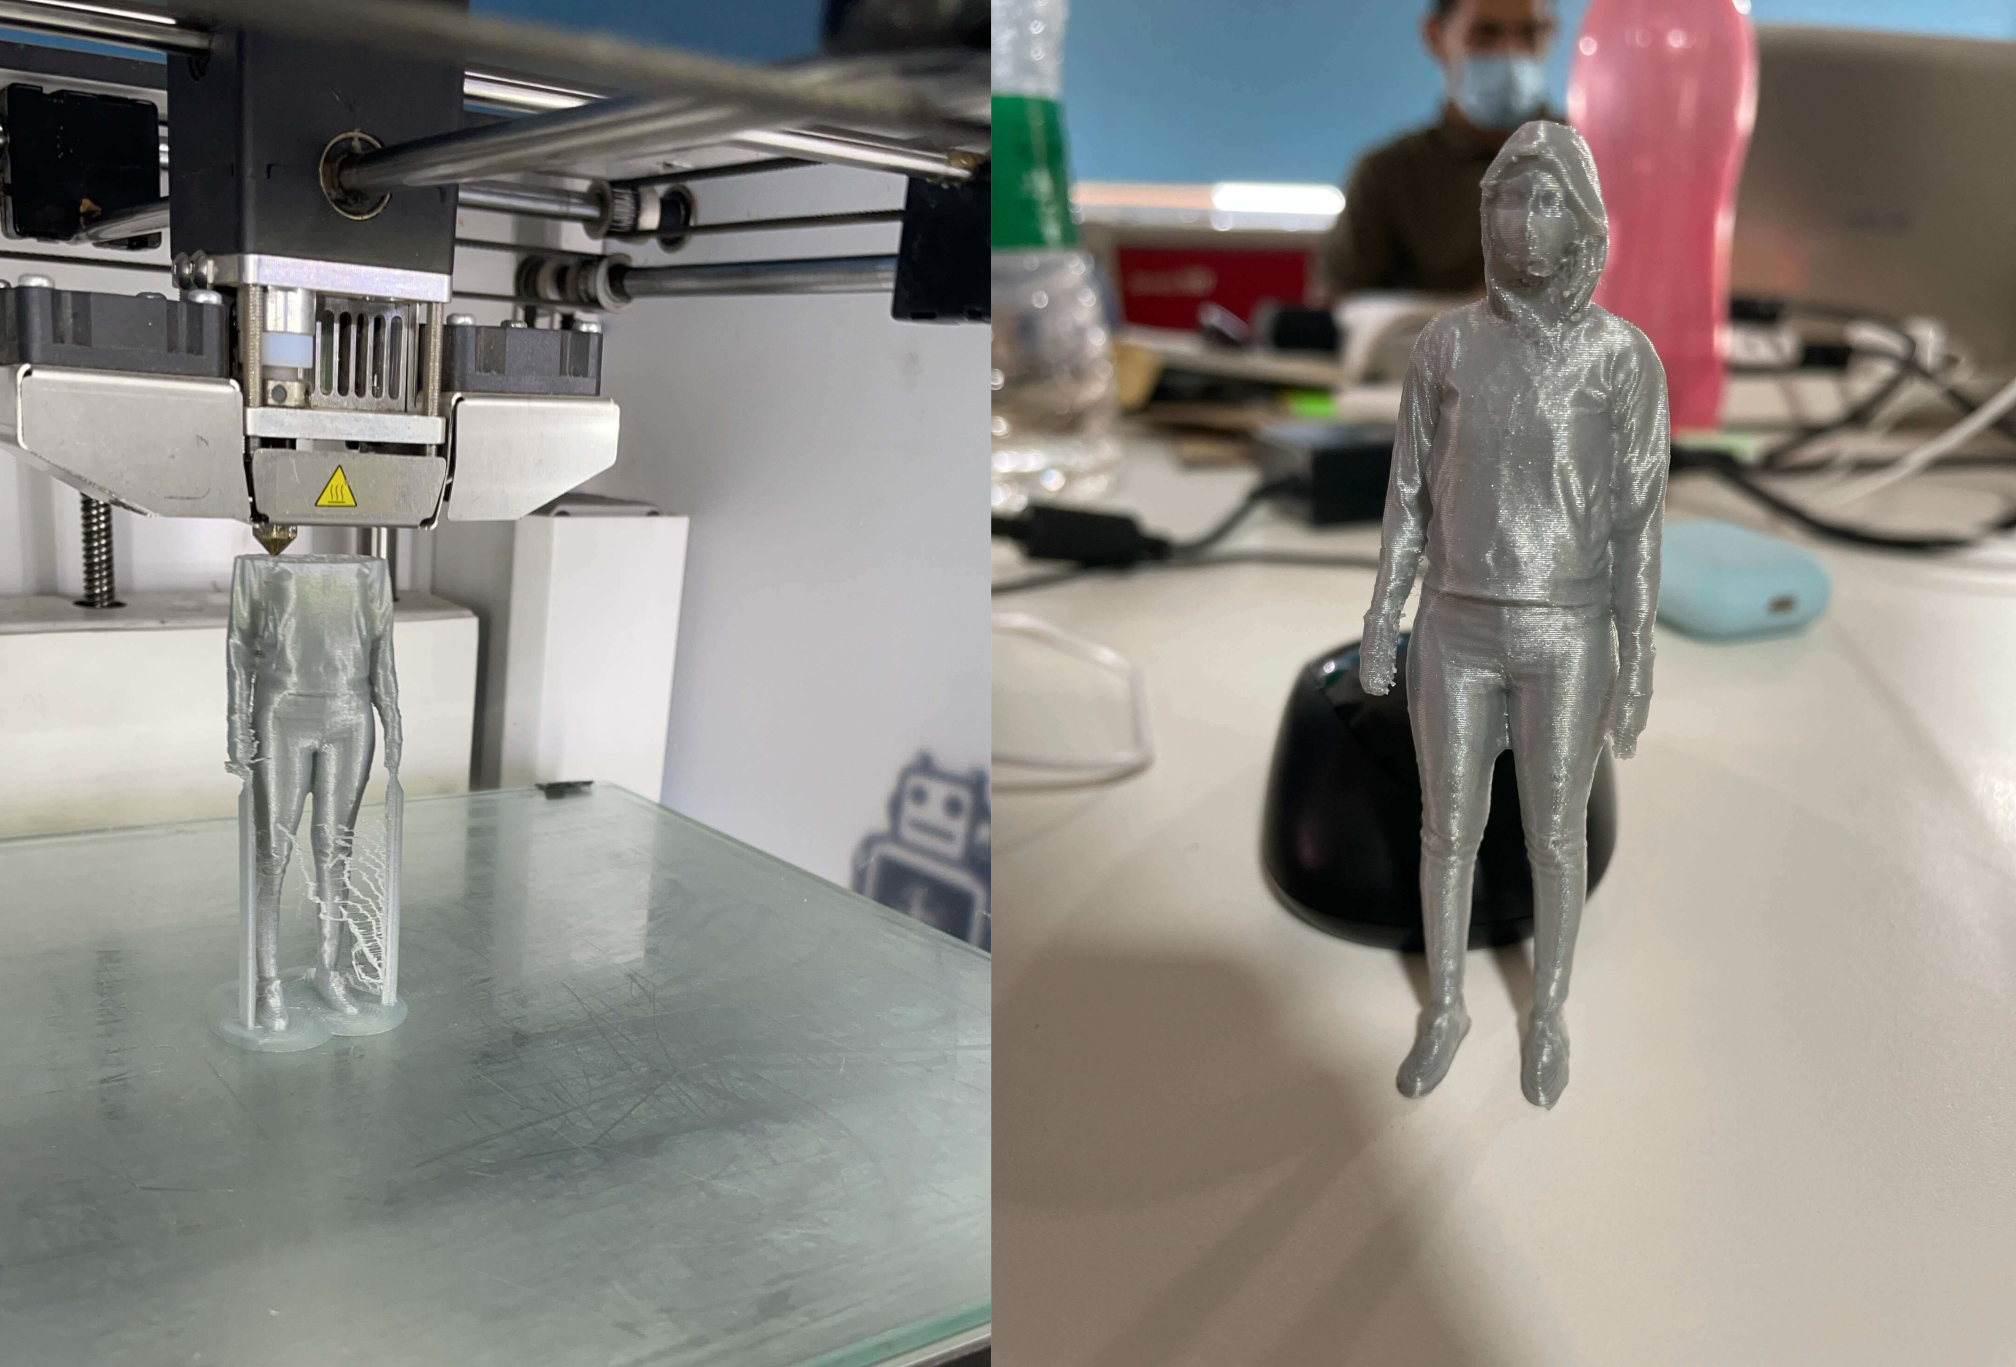
So for the second assignment i made my batch mates scan me it was fun doing the whole process. our plan was to scan and make a 3d structure out of it.
The file was in the format of wrl it be in ply format too we have filled and made some modifications.
Later on the file was converted into stl format which was exported from blender.Again some modifications were made in blender.