12. Molding and casting
Moulding and castng is a week really looking for, I want to learn 3D milling about figure long time ago.
Weekly Assignment Requirement
Group assignment
Review the safety data sheets for each of your molding and casting materials,then make and compare test casts with each of them
Individual assignment
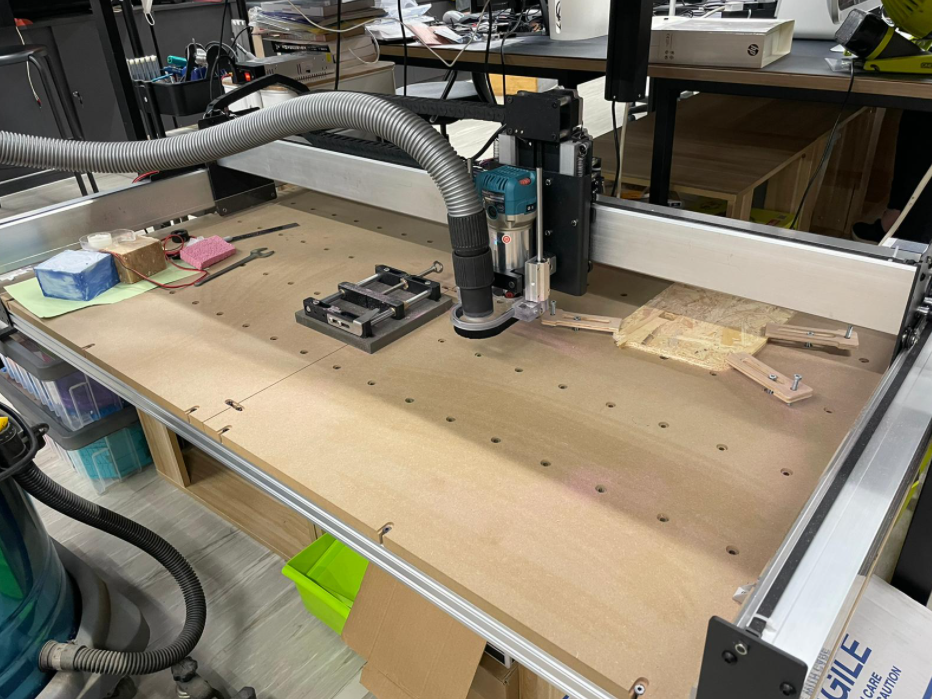
This week I assembly the new 90120-CNC (TigerCNC). It is a open source CNC with Makita router.I use the TigerCNC to cam the molding learn molding and casting this week. I also try fusion360 to generate the NC code import to GrblPanel control the CNC.
Design a mold around the stock and tooling that you’ll be using, mill it (rough cut + (at least) three-axis finish cut), and use it to cast parts.
Useful links
Materials
Machineable wax
Rigid foam (make large mold)
Silicone
Software
Fusion360 and GrblPanel
CAD: First you need prepare a 3D CAD model of the thing you wanna carve. CAM: CNC how to carve the model from your stock material. This process is called CAM. NC-code: Generate instructions that your CNC can understand. Machine controller: Then load these instructions into your machine control software, in this case Easel CNC: Click run and your CNC takes those instructions and starts carving.
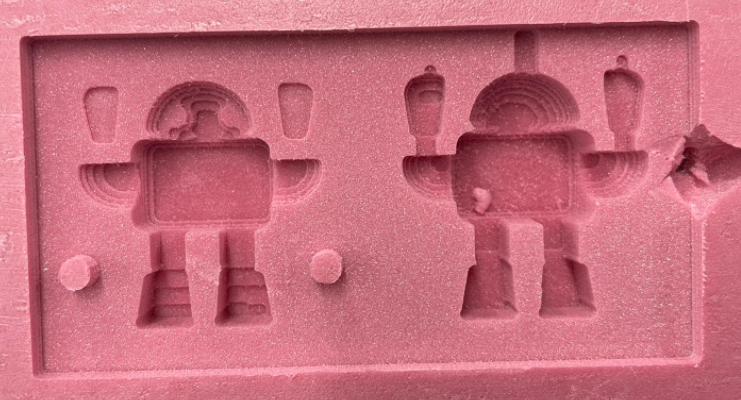
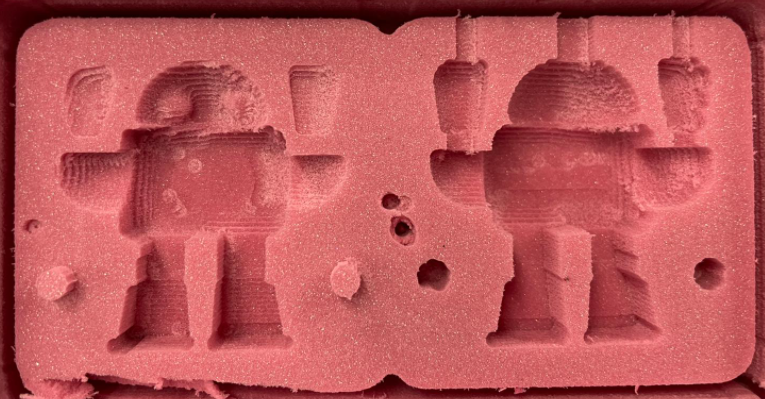
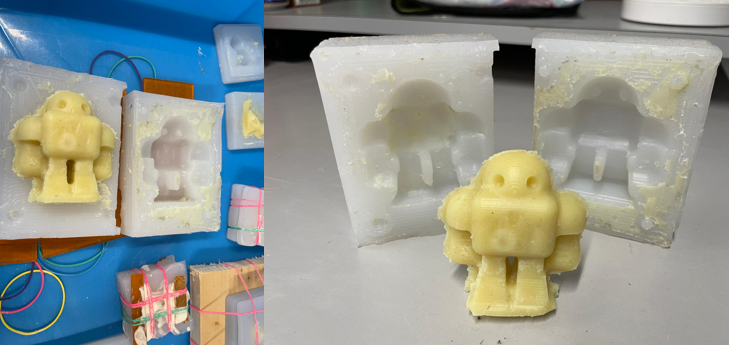
Image, mold
Negative mold with rigid foam for trial mill.

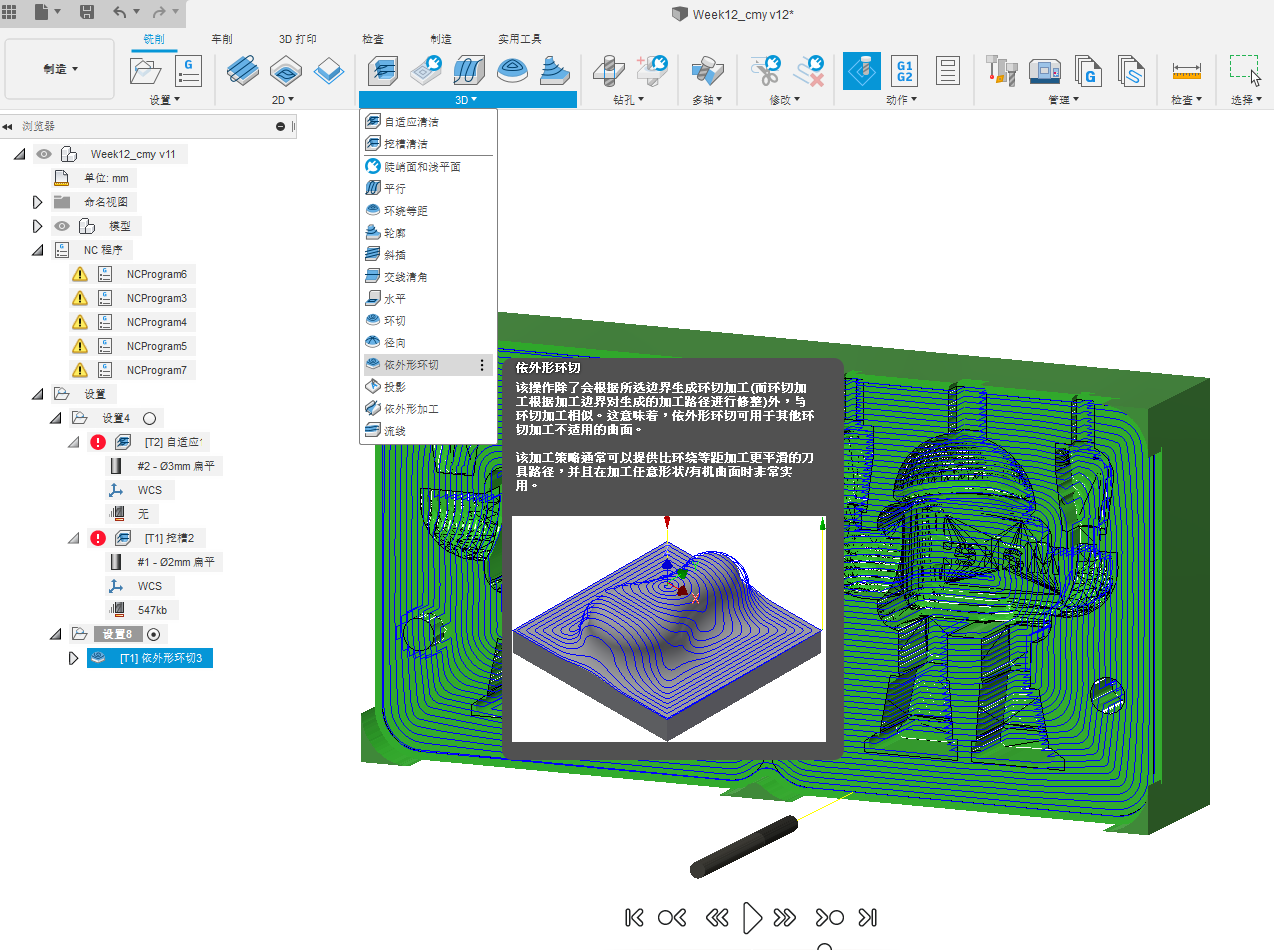
CAM - setup - setup tab (orientation and zero)
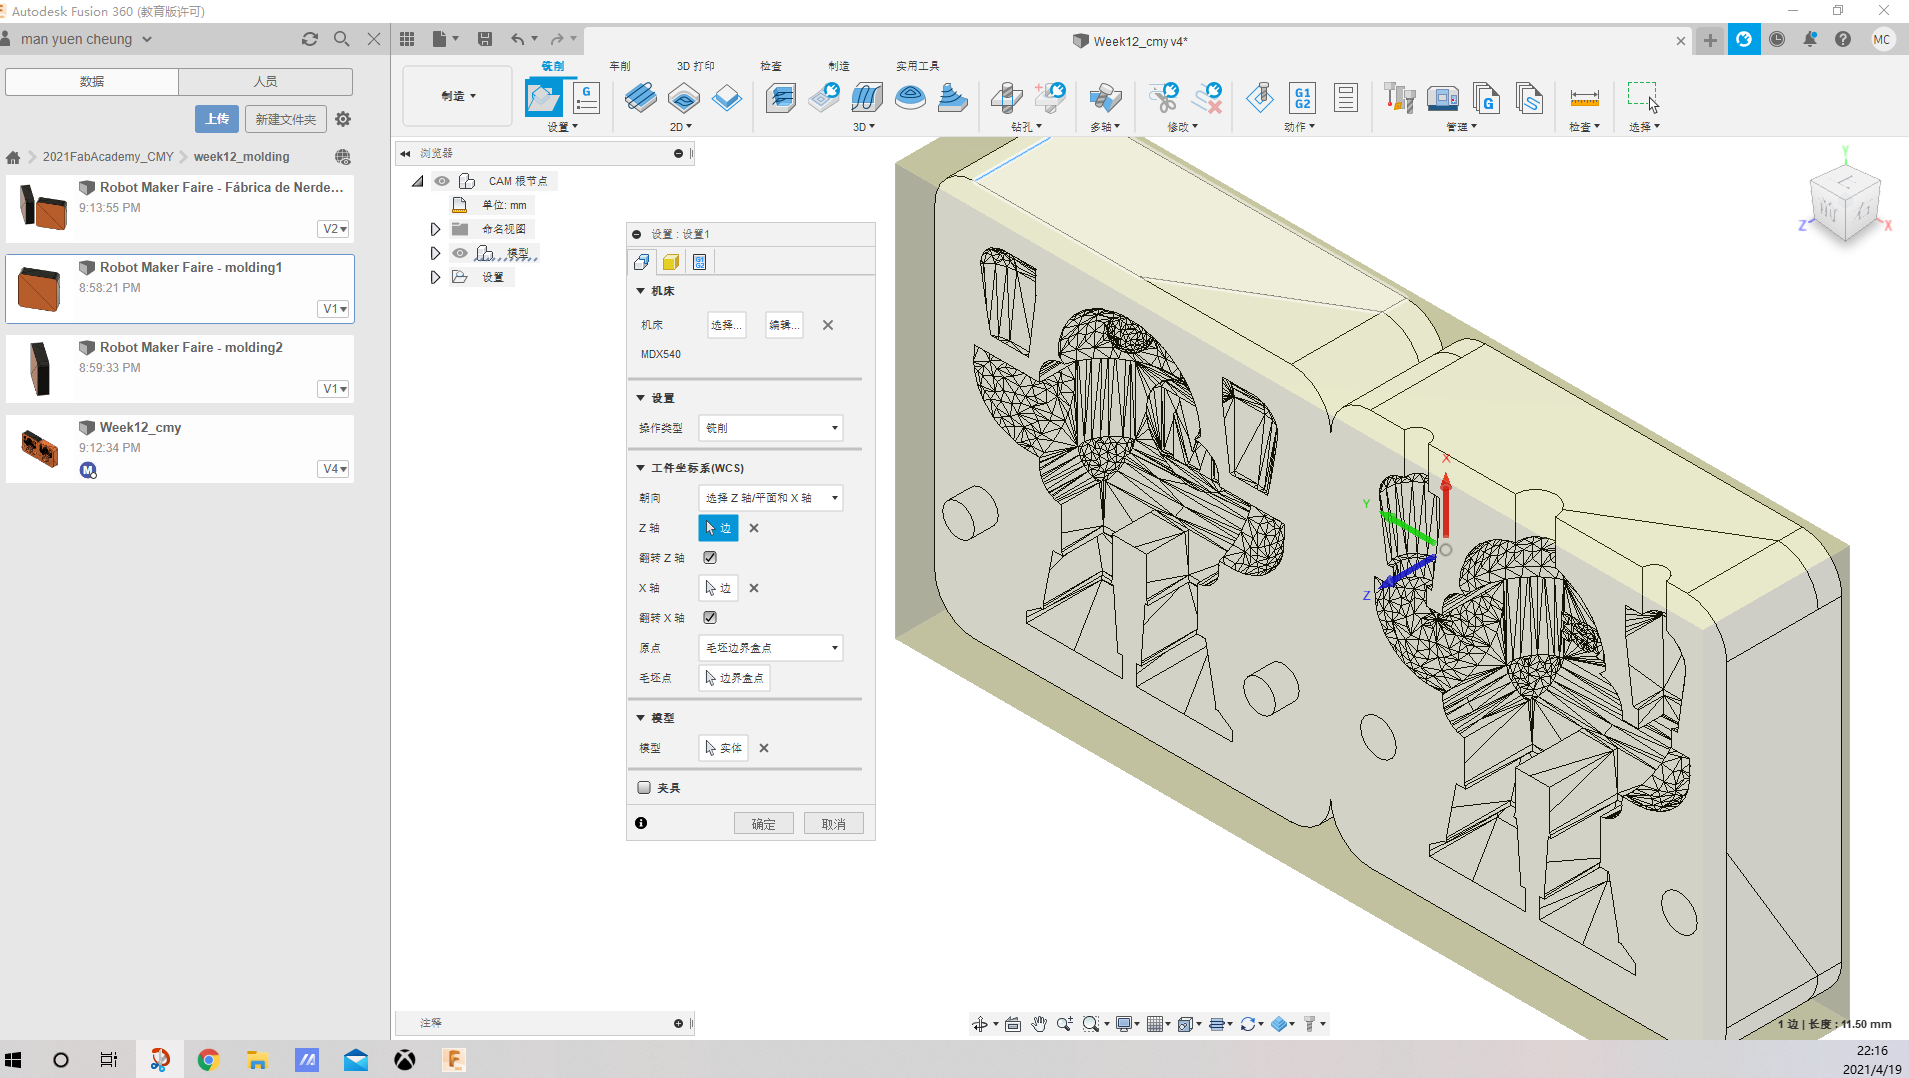
If your model is not oriented correctly, right click your setup on the left menu and click edit.
On the window that pops up, you can easily change your work coordinate system.
To orient your model correctly, click the top of the stock for the Z axis…
…and an edge for the X axis.
Add 2mm Corn End Mill
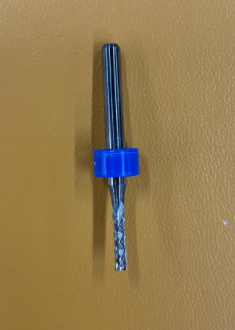
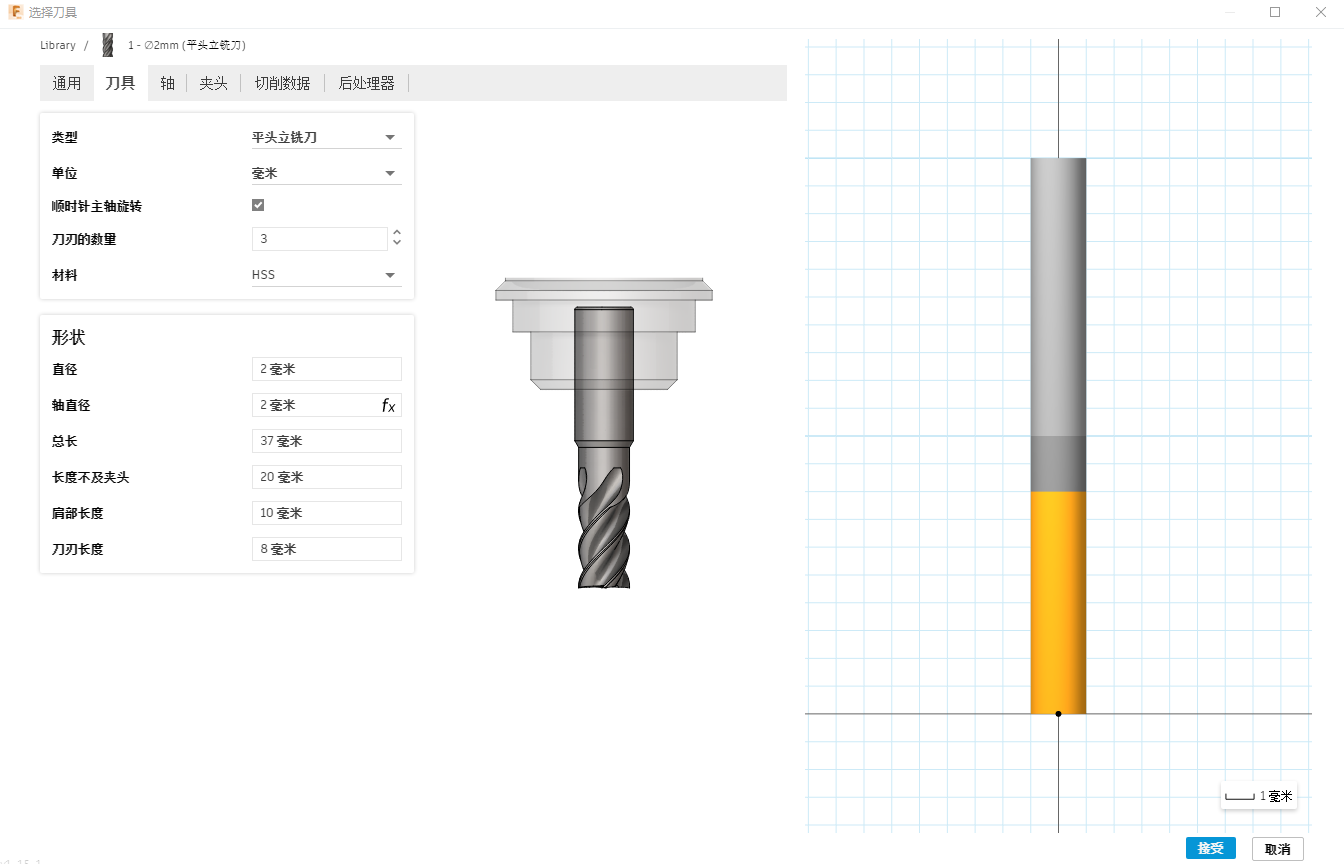
Add Tool at Fusion360. Enter the dimensions of End Mill, measuring with calipers.
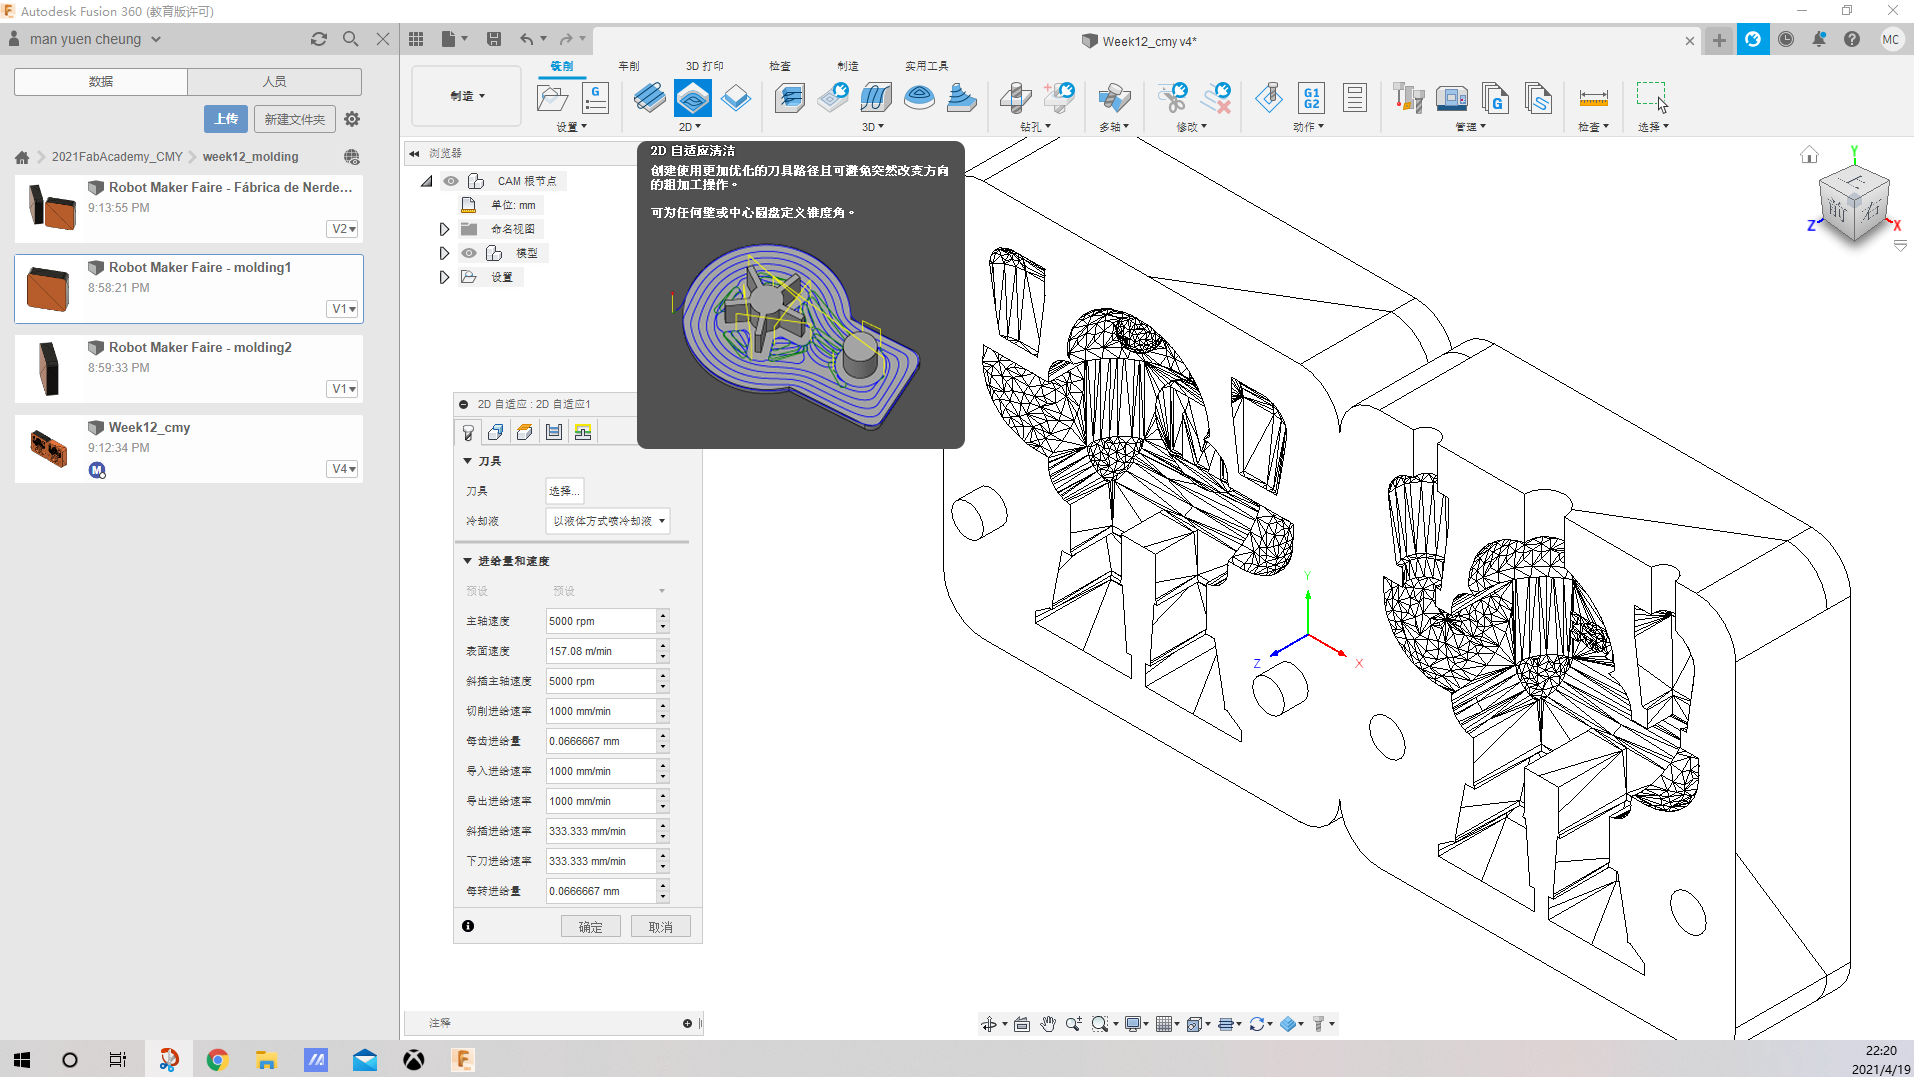
CAM - Clearing
Rought Mill (Adaptive Clearing)
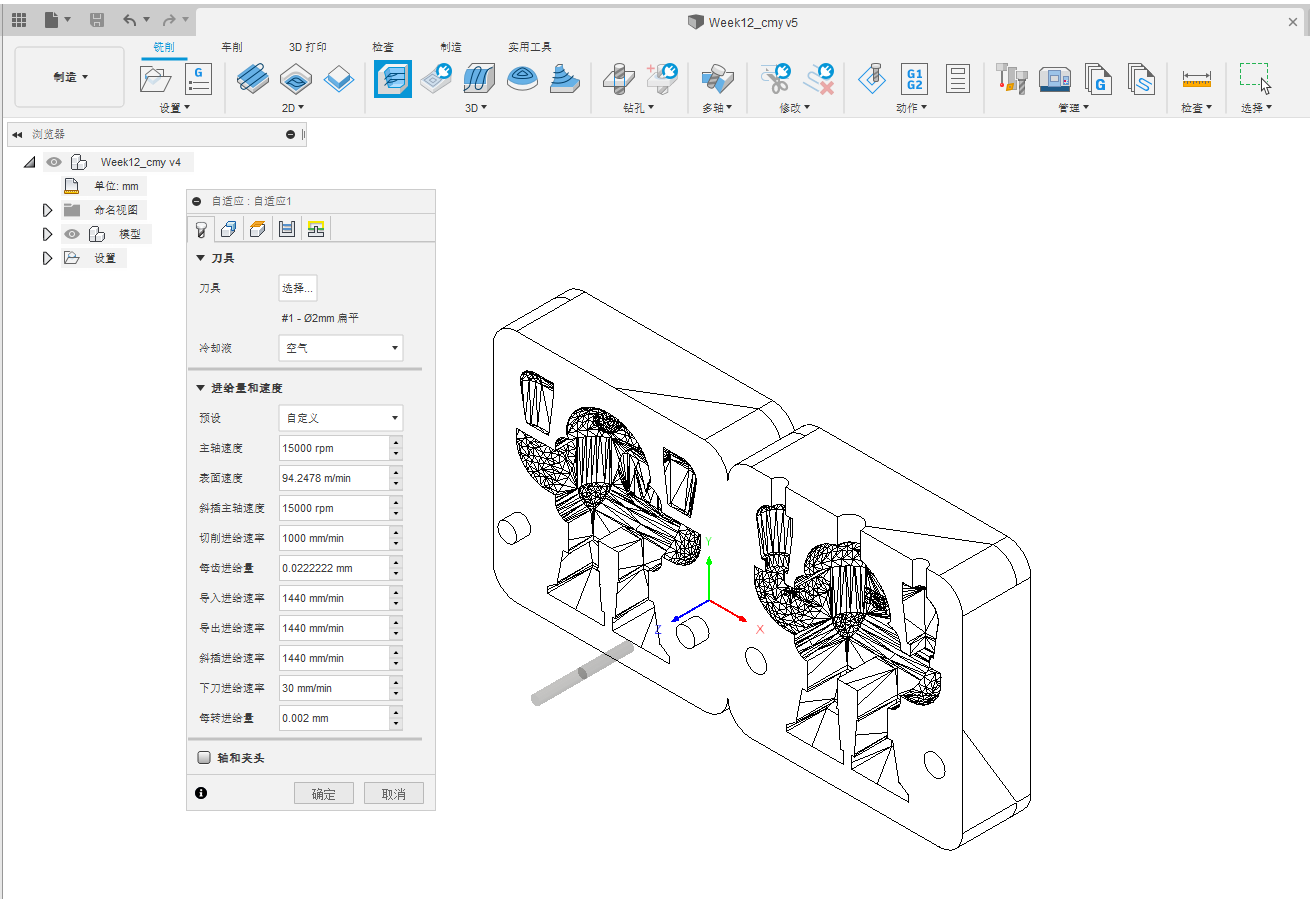
Fine Mill (Morphed Spiral)
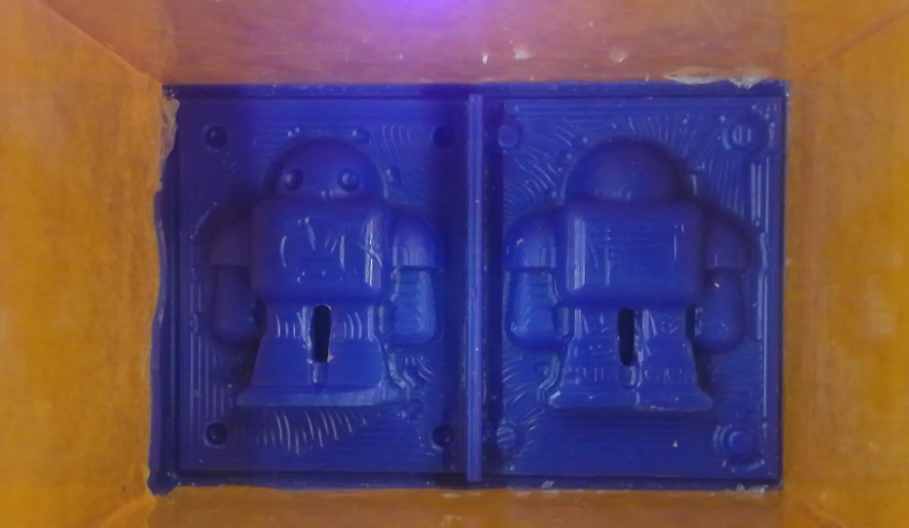
Milling the positive mold
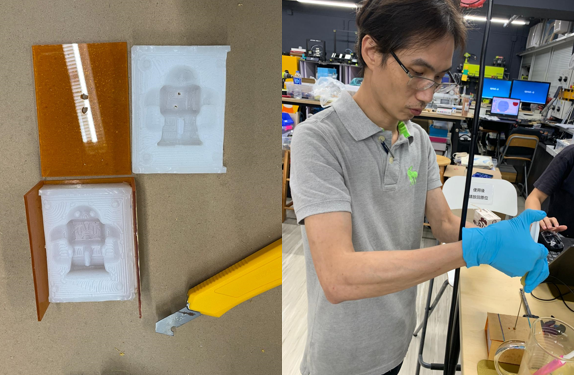
I use a piece of ferris File-A-Wax to mill out the positive part.
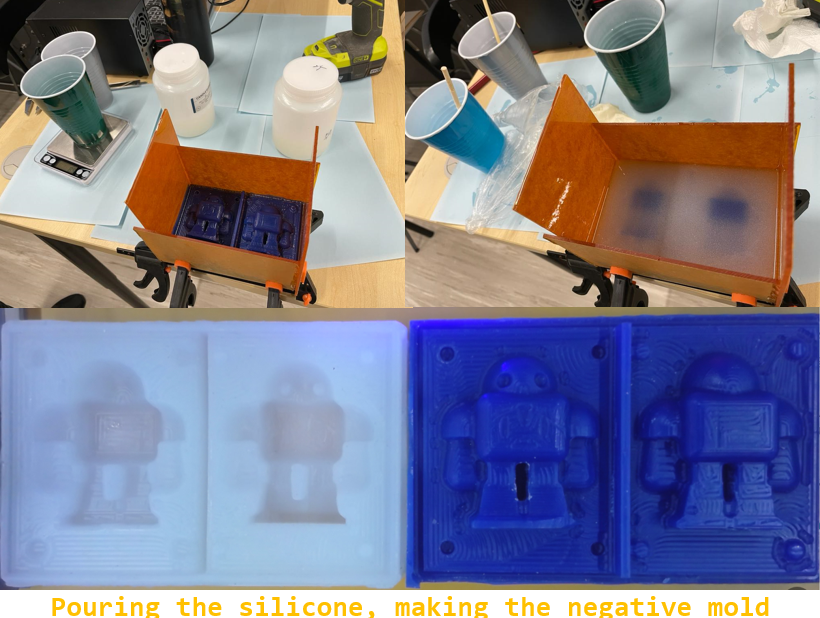
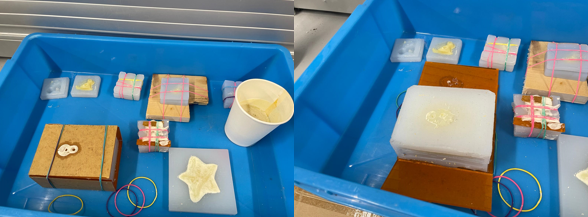
Pouring the silicone, making the negative mold
After the parts are milled, it is time to mount them on arylic board and prepare the boundaries for the silicone pouring. I use a 2 part transparent silicone, that mixes in equal parts of base and catalyst. Putting them together in a cup on a scale to have equal parts before stirring it.
Design files
Here is the STL file Molding.stl for Milling.
Hand Make Soap Mould casting
Hand make soap mixing
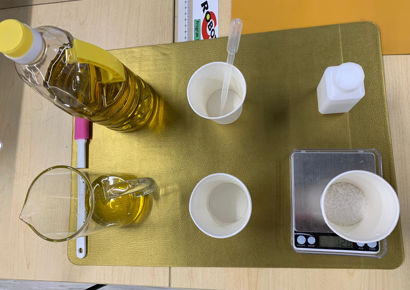
Inject hand make soap to silicon mould
After 48 hours of curing, it’s ready to remove it from the silicon
And this is how it does look out of the mould.
I could not continue again as I run out of time. The result of outlook is acceptable.