Lighting project background
What Dose it do?
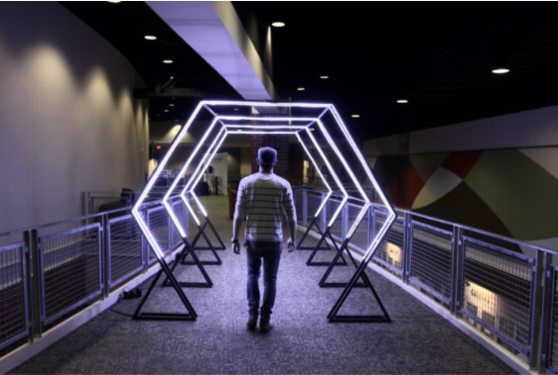
It is an art project, which is a luminous tunnel with colorful, attractive and interactive LED lights, the audience can enjoy the view while walking through it and interacting with it, and it will be installed in the gardens or on a walkway on the sea or on the corniche
Who has done what beforehand?
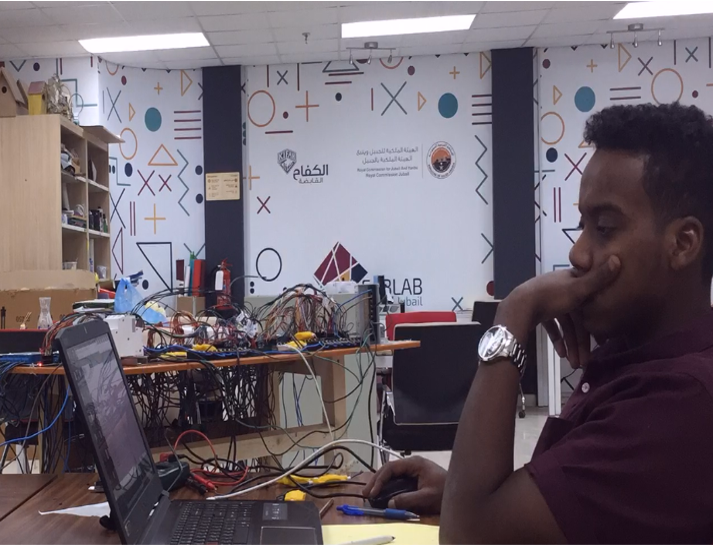
in 2018 i was working in fabLab jubail and we had art festivial that is comming on april 2018 ,and i have been asked to do something for the lab so they can demonstrate it in the festivel, so i was looking for ideas for something that mix art with technology, so my manager showed me this video for a festival in bahrain a one year ago and asked me can you do something like this, he is refering to the light tunnel specially in this video
so i said its logically doable, iam not sure but i can try to do it if you provide me with the materials, so he said ok go ahead and do yuor best, so i accepted the challnege.
after three weeks of searching and working with the resources that was available in the lab i have created my first outdoor project
Light Tunnel V1

Project in Action
- you can see full details about this project from here Light tunnel V1
Light tunnel V2
after three month somone from that art event was impressed with my project and reached me out to make another on, my first project was 21 arch with one color on each arch only, this guy was asking for 34 arch and with 6 colors led light, and what makes the challenge even harder he asked me to do it in 10 days and i was fasting during Ramadan season.

Project in Action
@monzeralradi You will never be compared to my energy #workinghard #timelapse #motivation #my2019 #challenge #nf
♬ original sound - monzeralradi
- you can see full details about this project from here Light tunnel V2
inspiration from Pinterst
for the third version of the light tunnel i want to change a littile bit from the arch design, so i was searching on pinterst for new ideas i found this project by Jordan Greene from Atlanta its look intersting so i decided to build something similer and put my own touch to it.
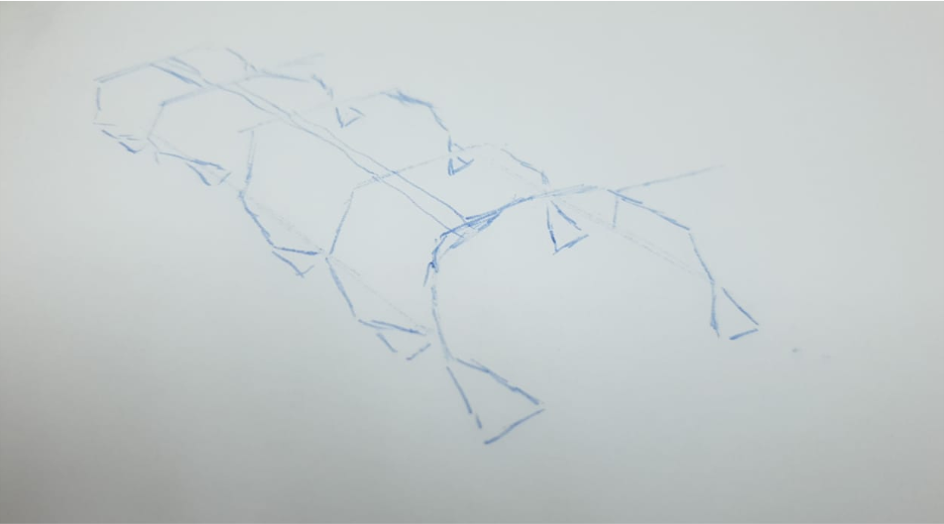
Final Project Sketch
putting all things together the plan is to make V3 of my light tunnel, with the things i will learn in the academy iam sure there will be a chance for developing new version, , putting in mind that the devices that available on market today is expensive i want to design my own electronics for that.
for the final project, we were asked to incorporate 2D and 3D designs, additive and subtractive fabrication processes, electronics design and production, embedded microcontroller and programming, system integration, and packaging. and in this section i will answer the following
- What I did Design designs?
- What processes were used?
- What materials and components were used?
- Where did they come from?
Electronics design and production and Embedded programming
Looking for the right led to work with
i know that it will work with NEOPIXELS but it bit expensive to buy from outside and the ship it here so i started to look for led to control in local shops, after looking around for several days i found one is good to be work on,
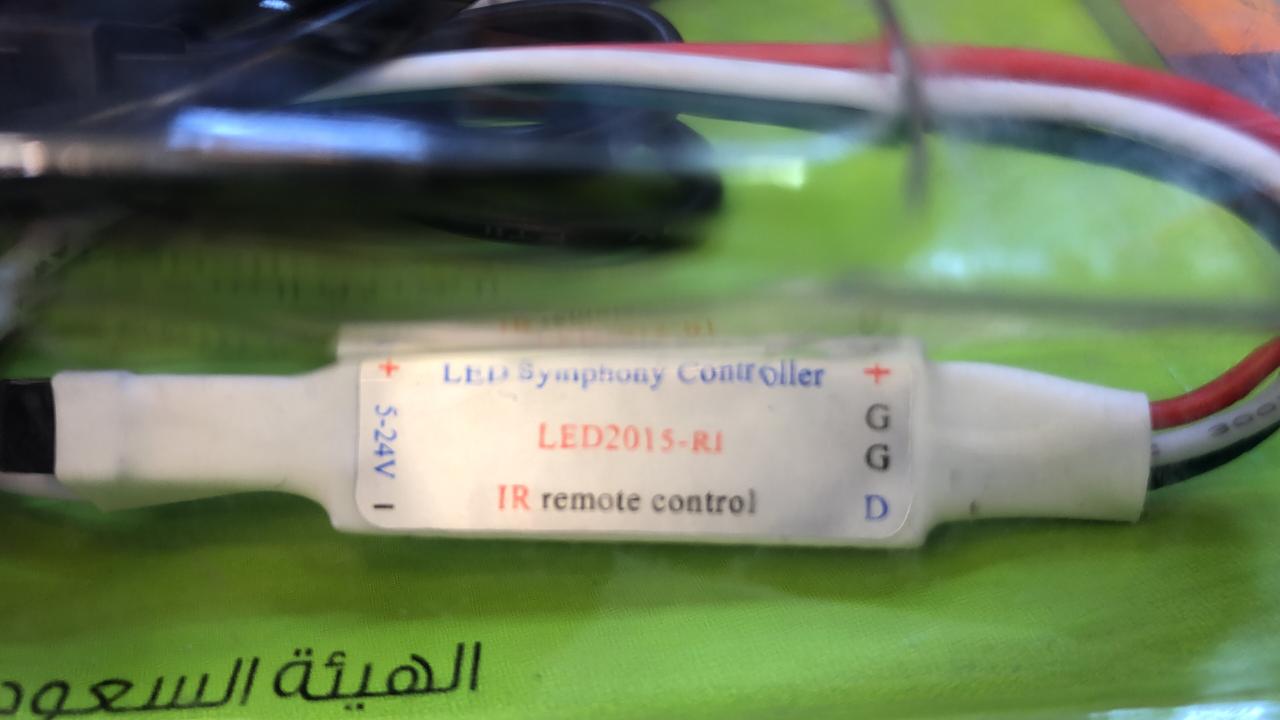
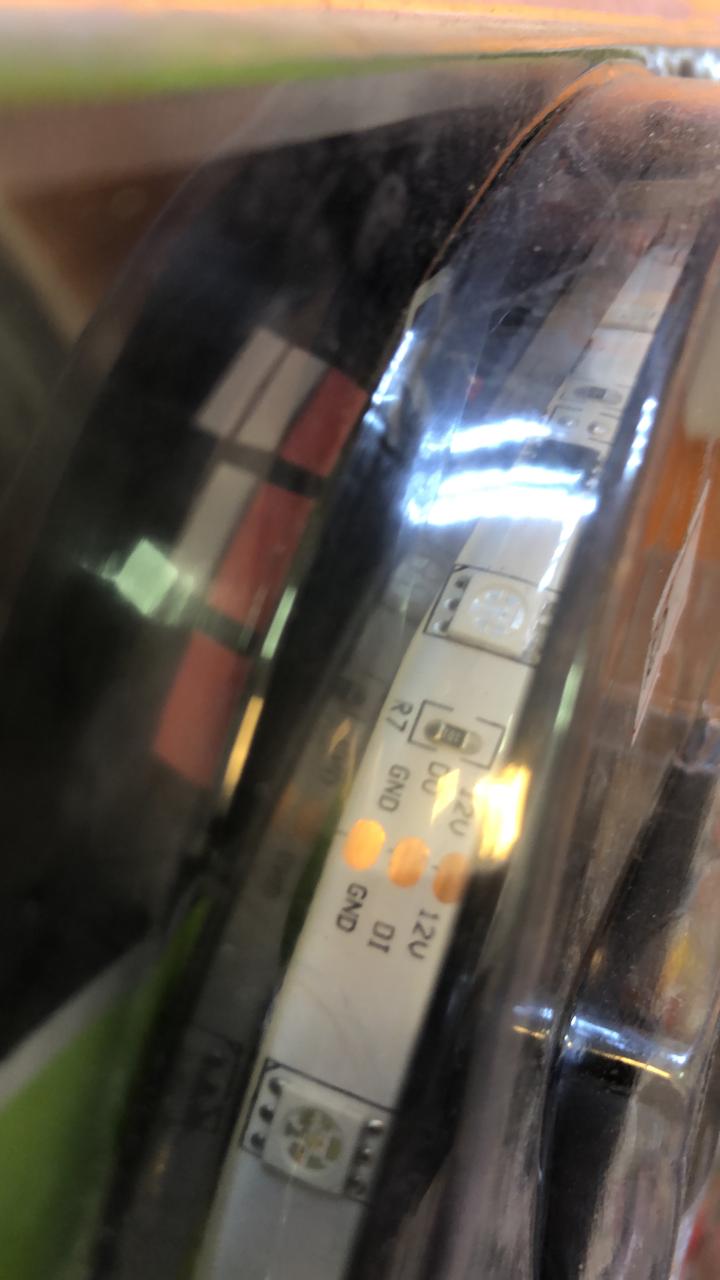
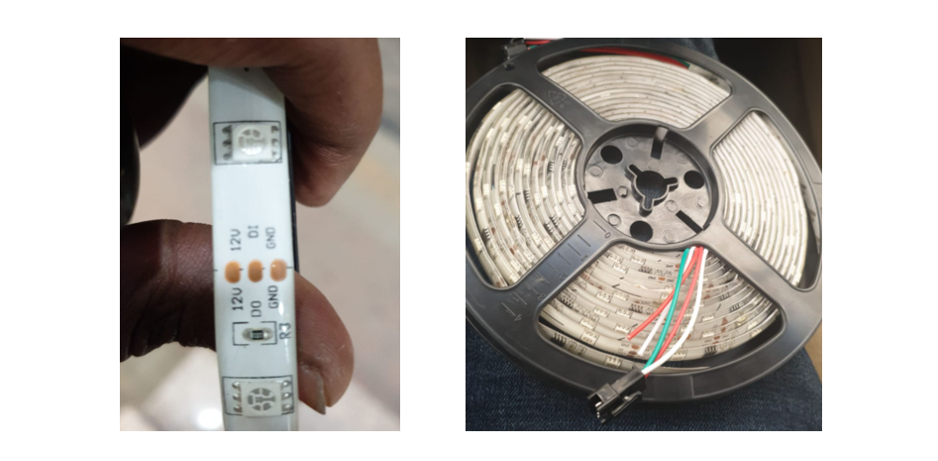
Understanding the pins
what i understand that after multiple test that if i want to control each pixel or led in the strip i have to make sure to have 3 pins,
- GND
- 12V or 5V
- D0 ( Data )
So i made a search on the net i found this tutorial for wiring the addressable led with Arduino,
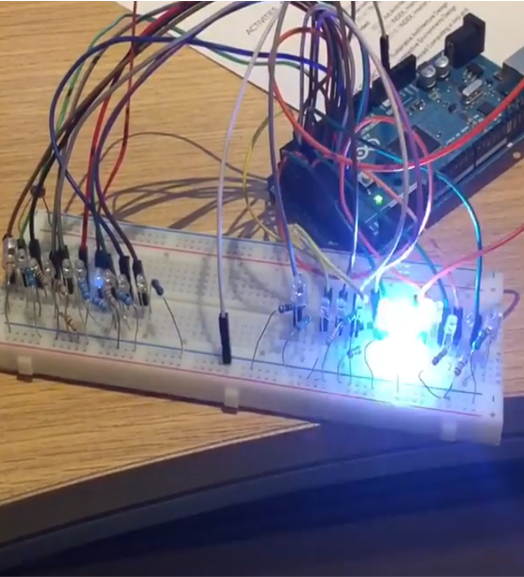
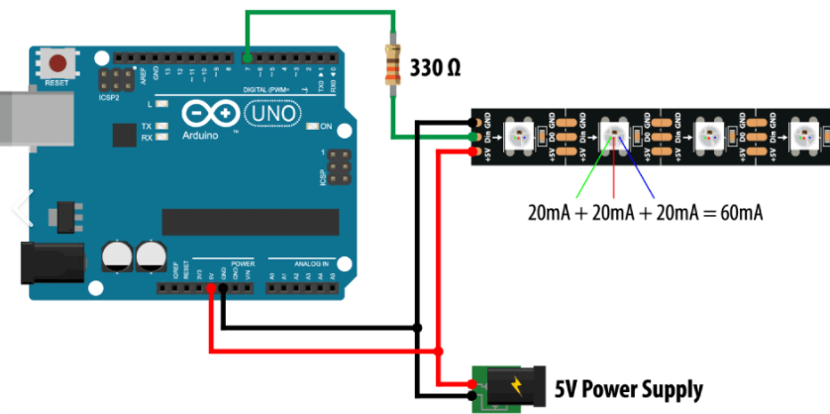 i connected the power 12V and connect the Data pin to Arduino
FastLed Liberary
then i downloaded FastLed Library for Arduino and made the first test.
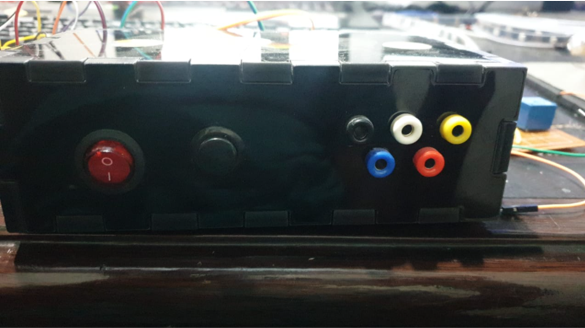
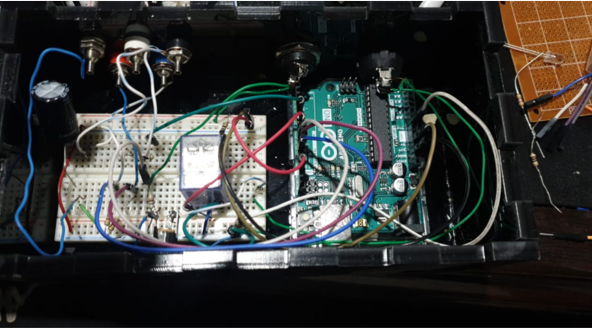
Make Arduino stand alone controller
After the successful test i wanted to make something and install it in my room, at this Time i have finished the Computer controlled cutting week so i made the case using Maker Case and put my Arduno UNO inside it
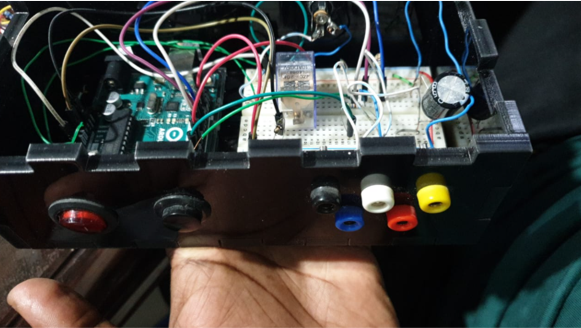
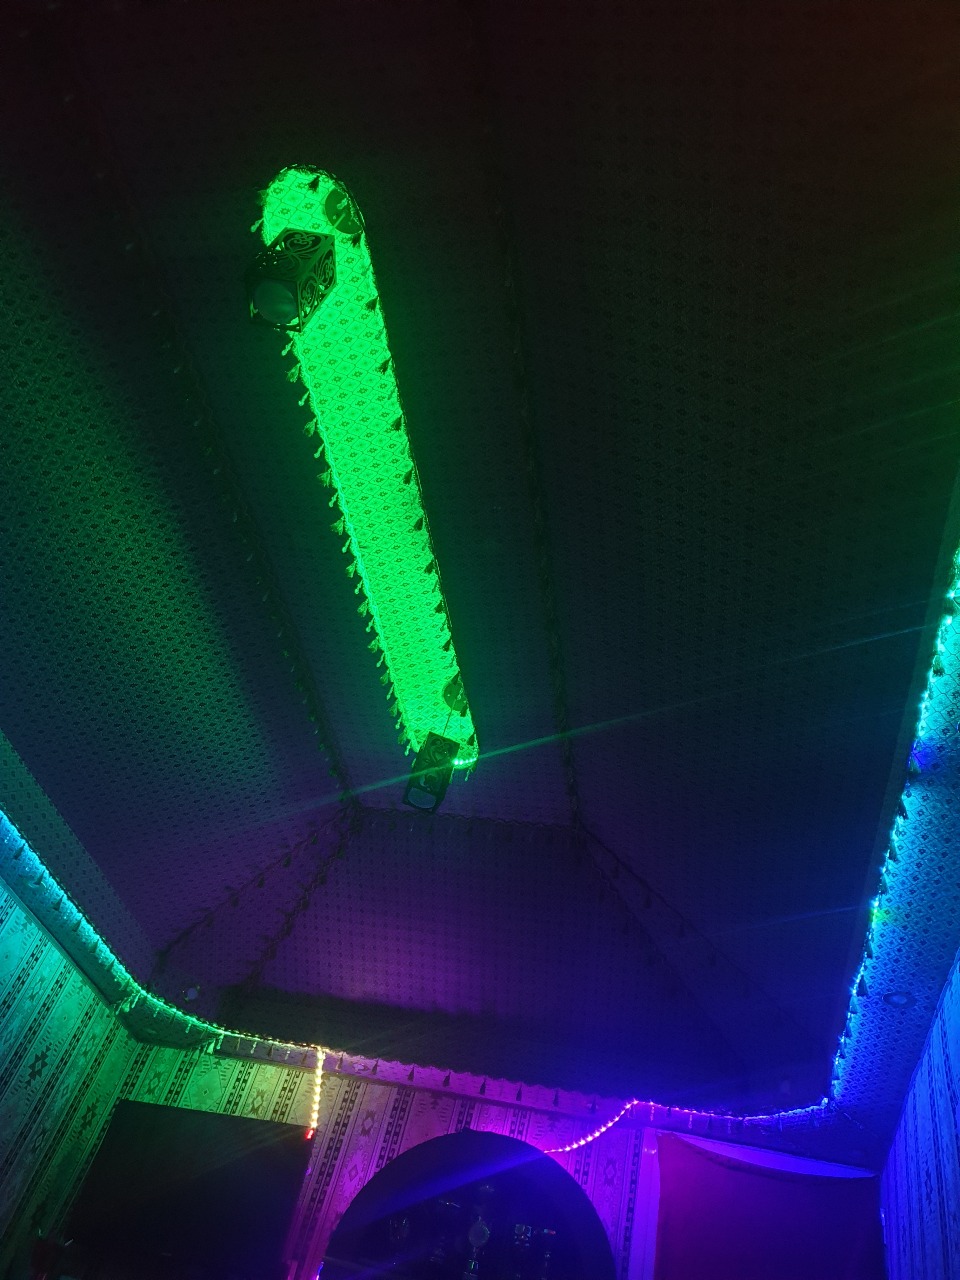
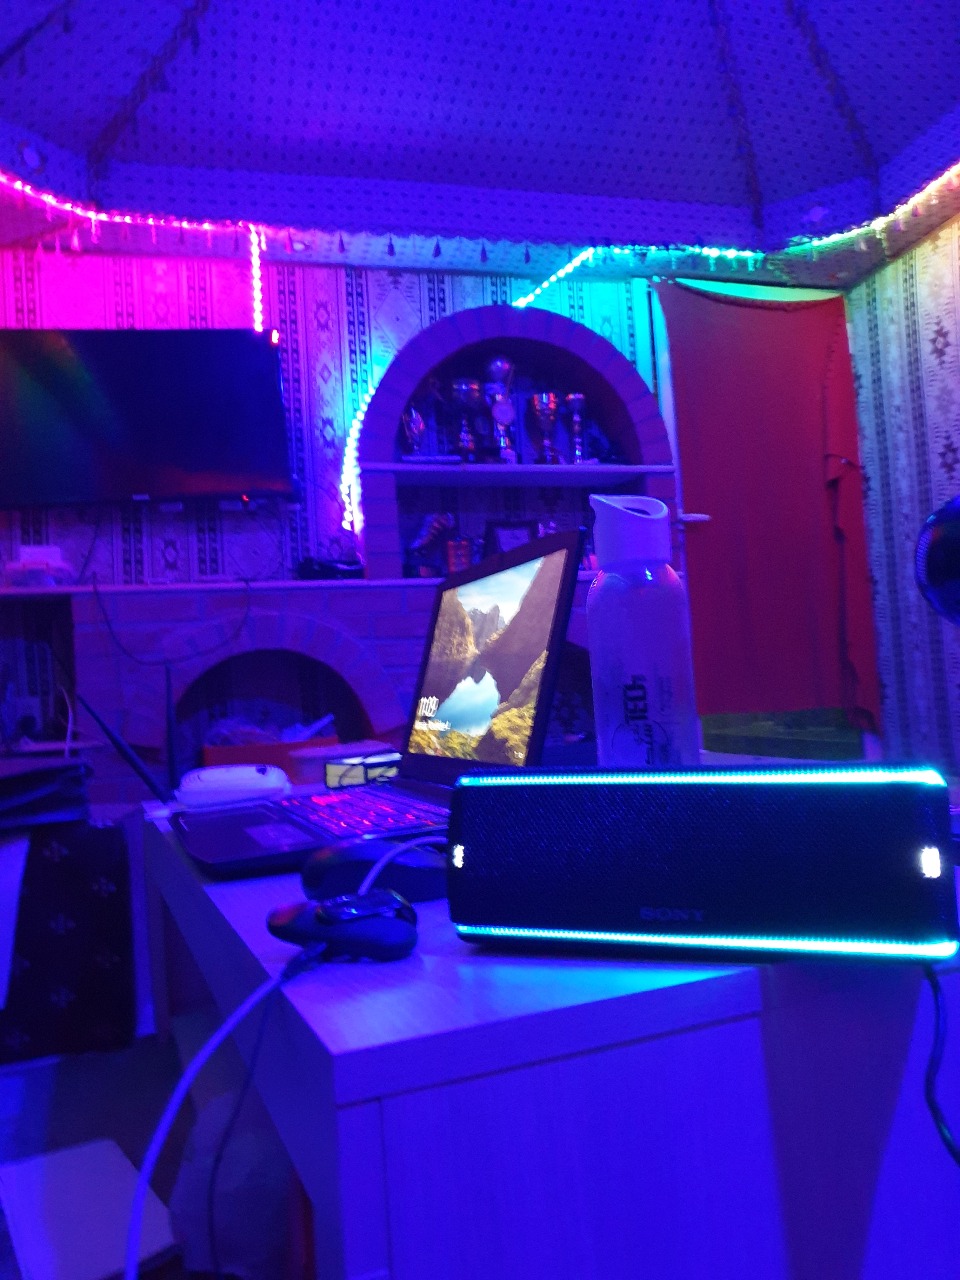
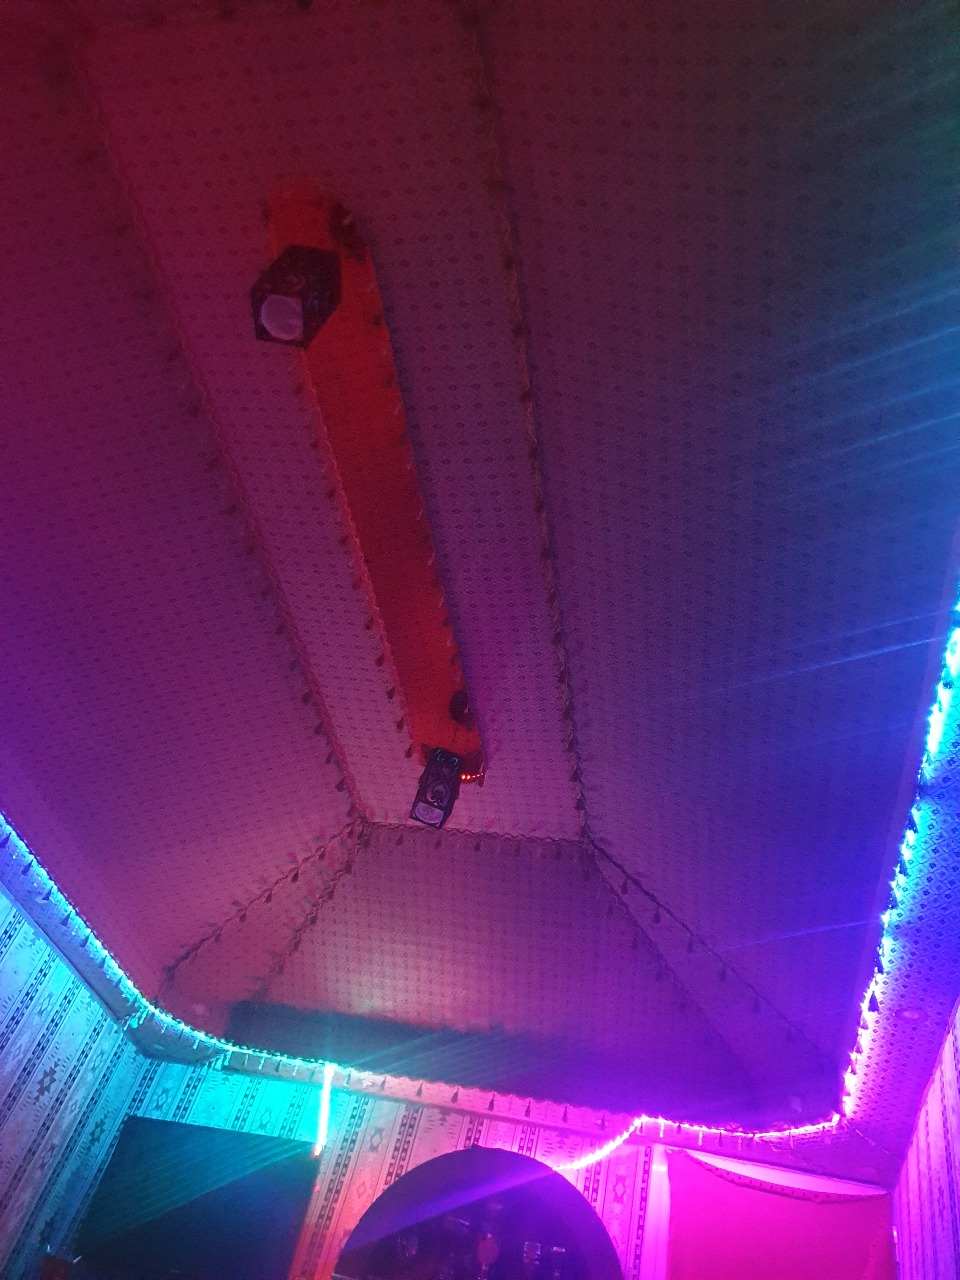
Lighting up my room
Then i installed it in My room and here how it looks like
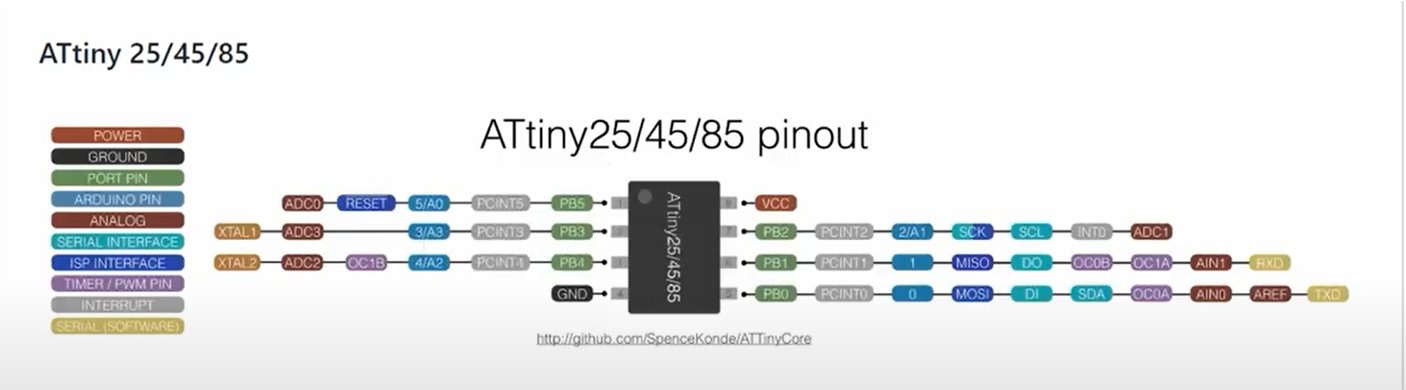
Test with Attiny 45 and Attiny85
Then during the output week I used the board i have designed during input week and tested the led with Attiny 85 , and attiny45
- i used Kicad open source software to Design my board.

Attiny45
Board Design
i used Kicad to design this board you can refer to input device for full details about it
generate a tool-path

Mill it with SRM-20
after that send the file to the printer to start milling it , you can refer to my assignment electronic production for more information about the exact steps to cut the machine
Milling Result
Soldering Result
Connection
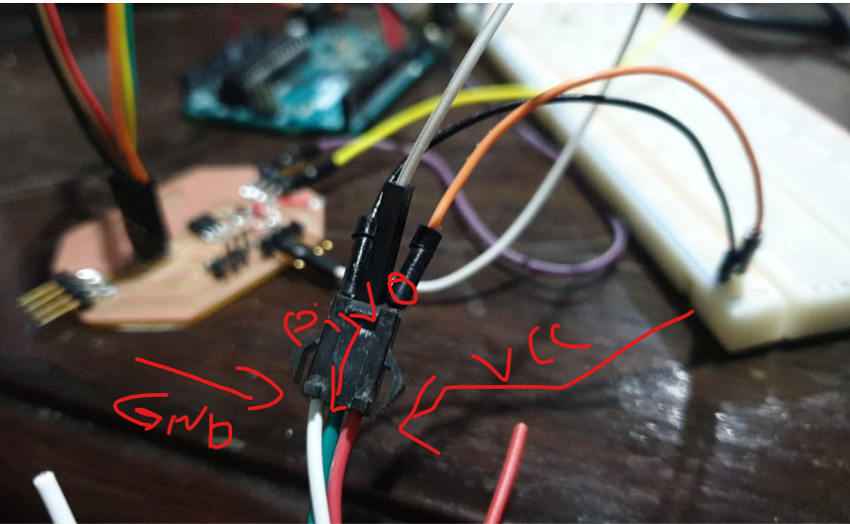
LED —- Attiny45
Red —- »> 12 V
White —- »> GND
Green —- »> pb0
GND —- »> GND
Make sure to connect the gnd to together so the signal will stable
i used the liberrary FastLED to sontrol the strip light
Problem
the first problem was that the memory was not enough in the attiny45
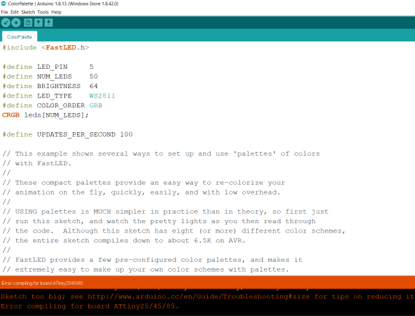
- second problem was that all leds on the strip gets light up during the code uplad, and they never turn off even if i write for them color black
- and the code is not responding
Solved
to solve these issue
- i reduced the number of leds to be controlled
- i cut the rest that is not in the program
Blink
with sequencing
faster
Attiny85
What i found out is that Attiny 85 Have bigger memory than Attiny 45 but also it was not satisfying enough for me so i will change it to Something else
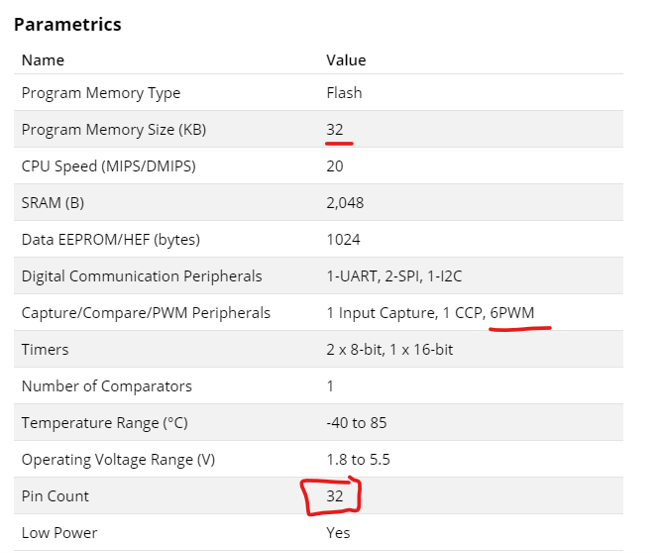
Atmega328P-au
During Networking And Communications Week i designed a new board using atmega328au because it has more pins and memory, check the datasheet for more information about it.
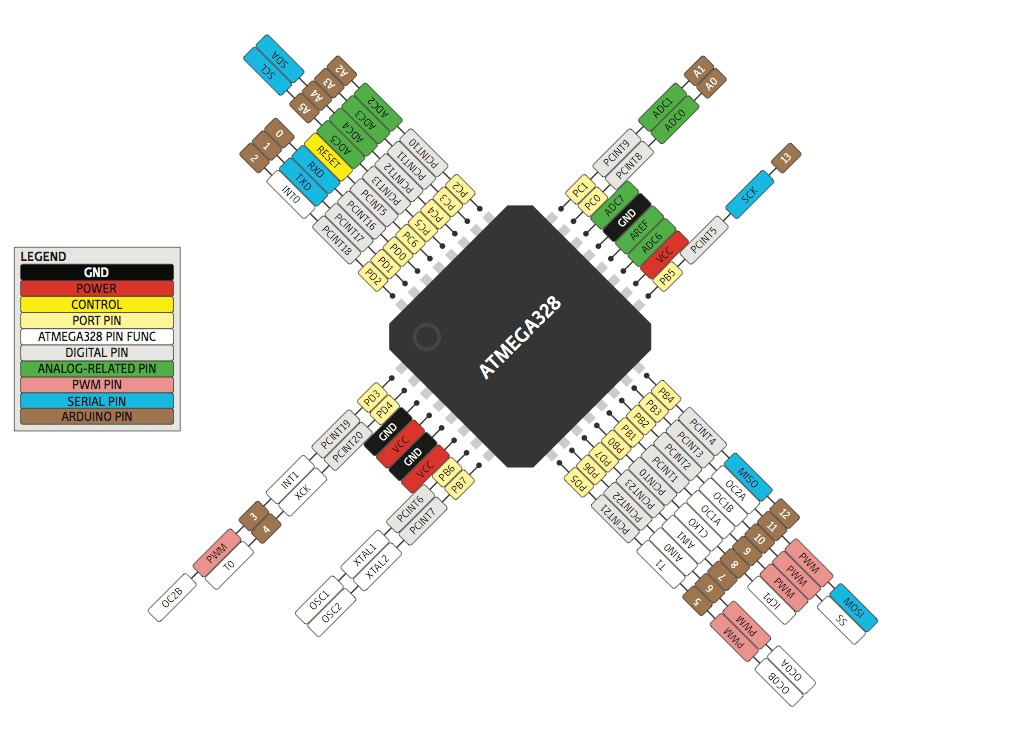
microchip parametric
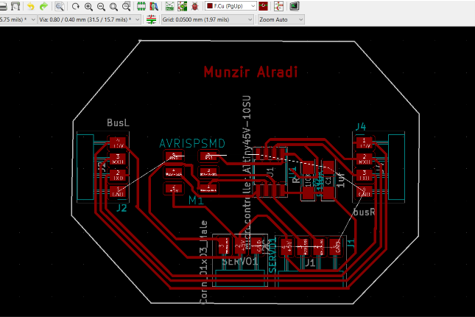
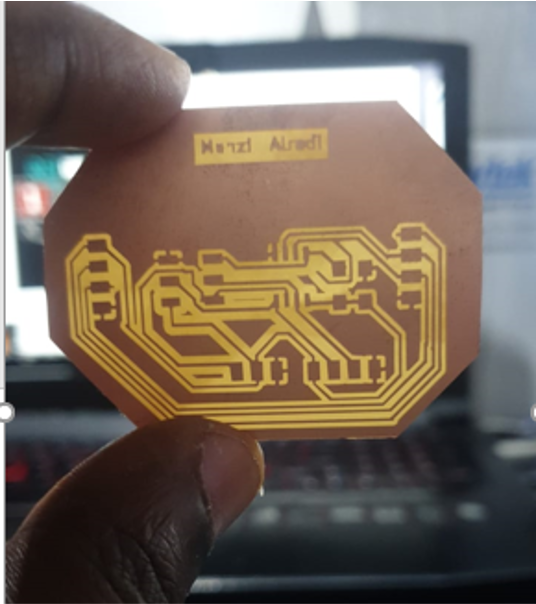
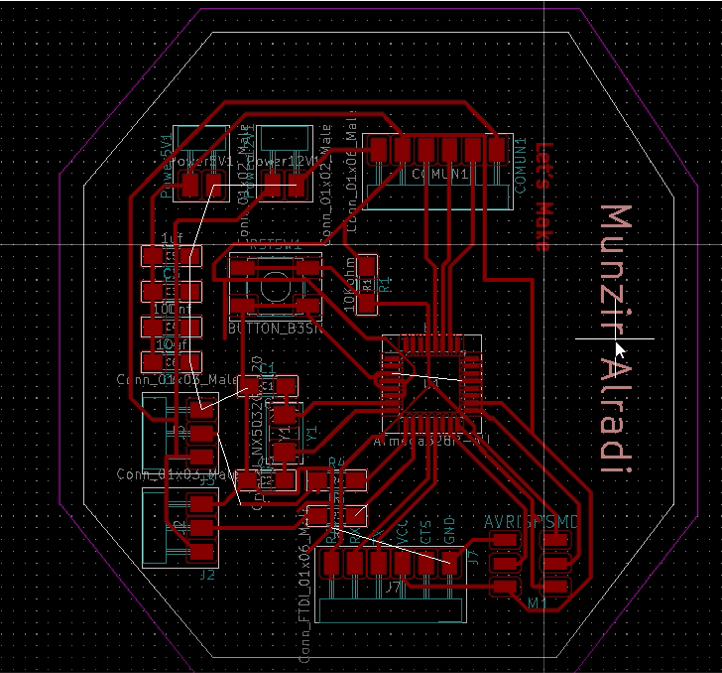
I used Kicad design the board
you can refer to Networking And Communications Week for full information about the board
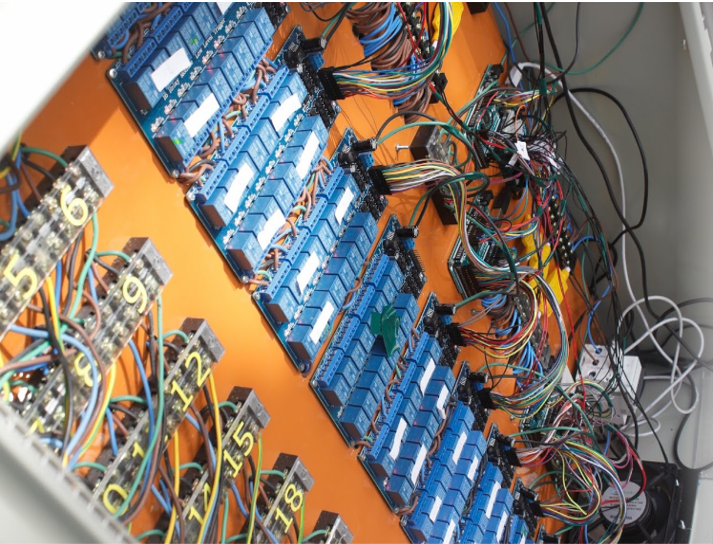
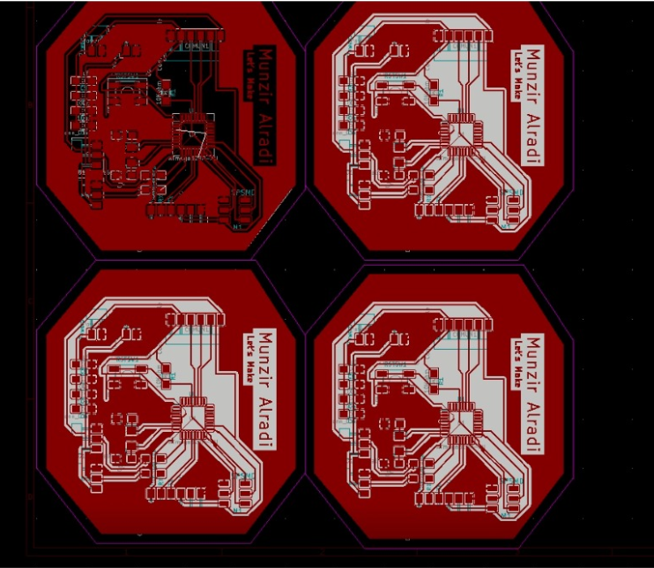
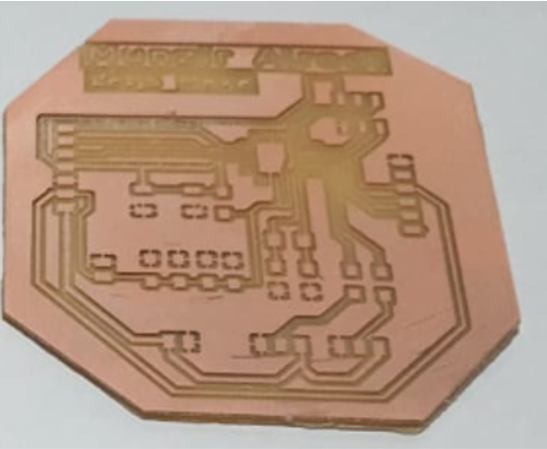
Electronic PCB
- 5x Atmega328P Microcontroller Chip.
- 5x Crystal
- 5x 100 nF capacitor.
- 5x 1 uF capacitor.
- 5x 10 kohm resistor.
- 5x Headers for inputs, outputs, ISP, VCC, GND and FTDI.
- 5x Adressable Led
- Wires
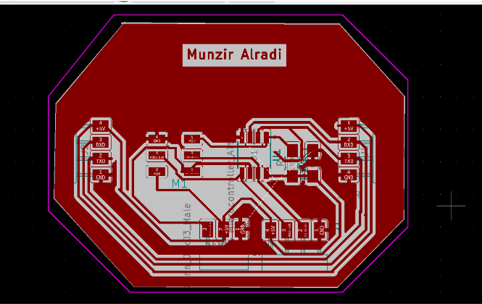
Board Design
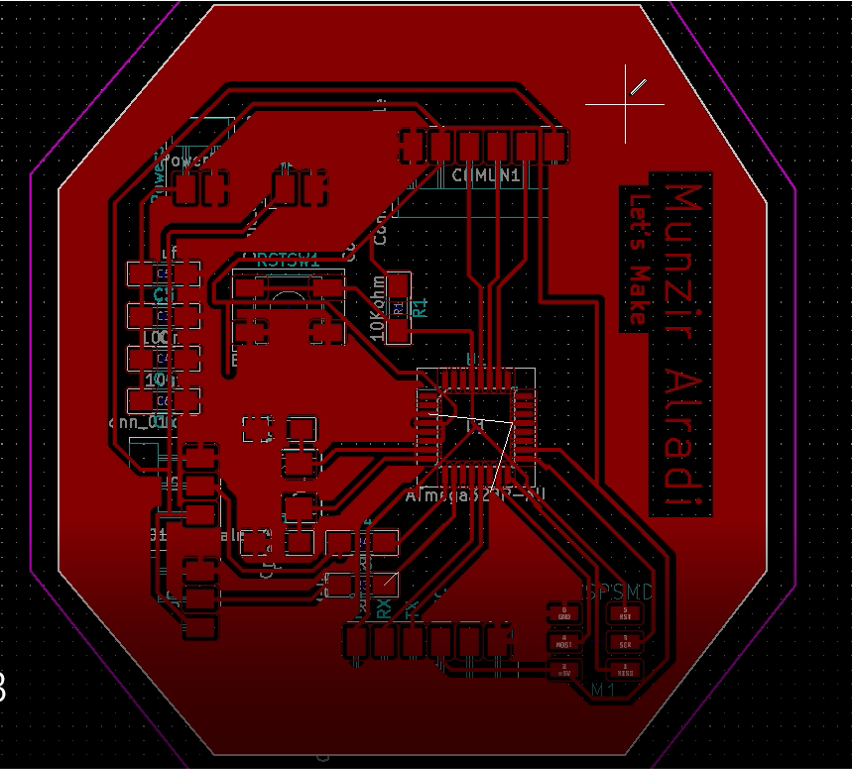
export as svg
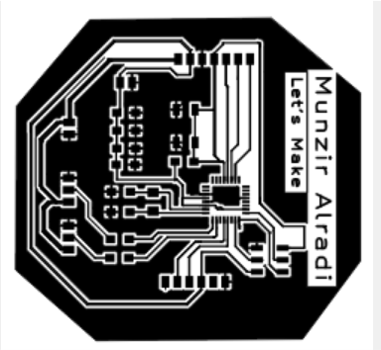
Generate tool path
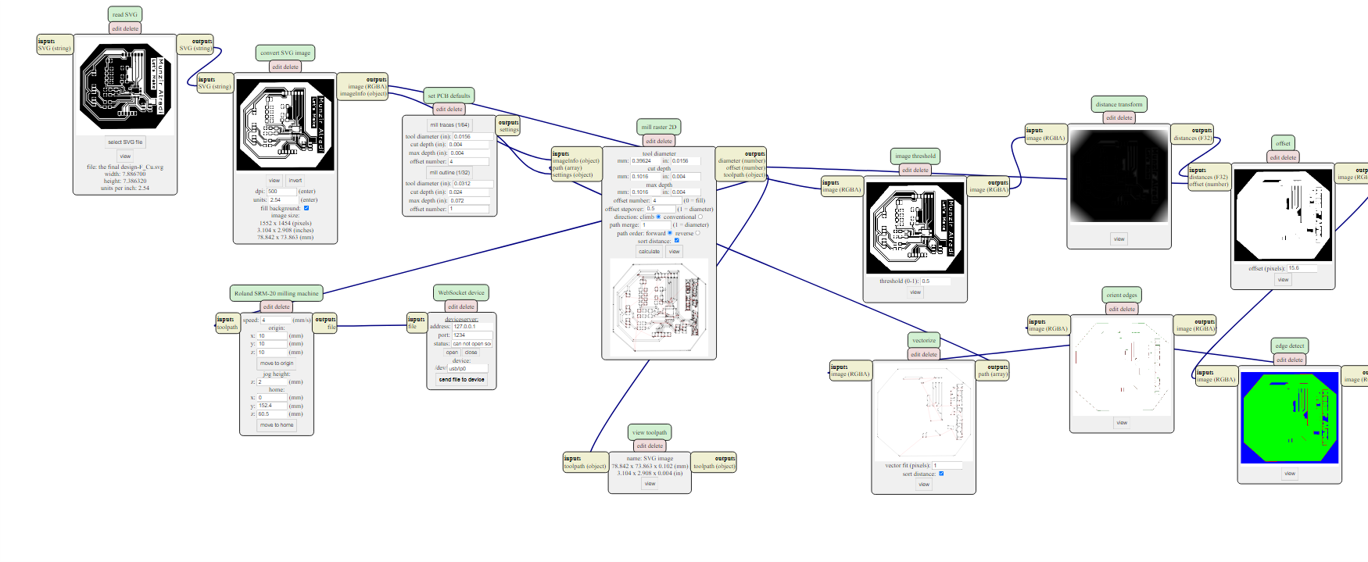
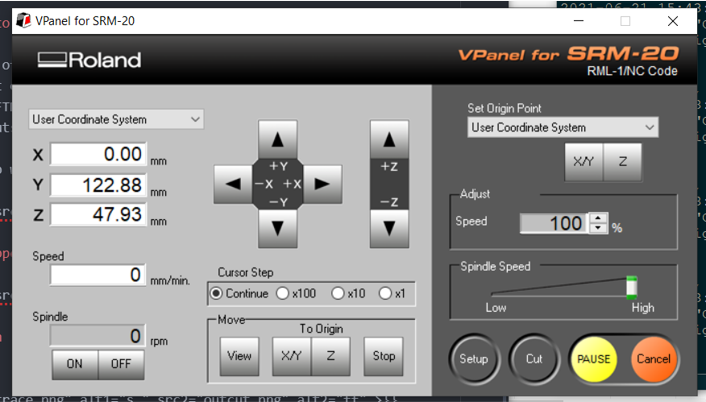
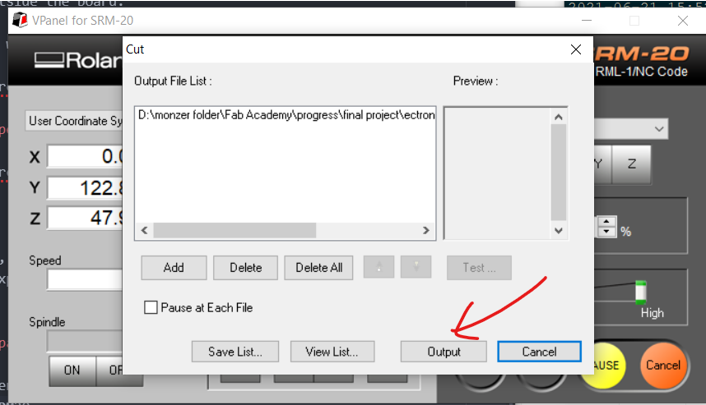
Milling the Board
i Used SRM-20 for milling it , you can refer to my assignment electronic production for more information about the exact steps to cut the machine
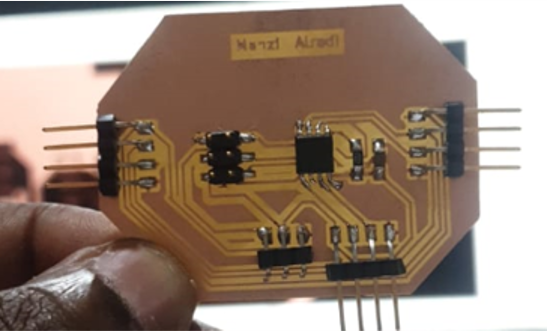
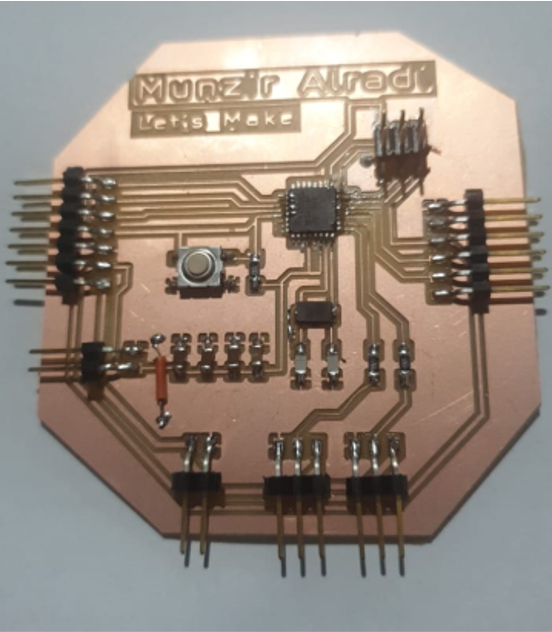
Solder the Board
Then I soldered the board
2D and 3D designs and Fabrication processes
3D
Designed a joint for the Structure
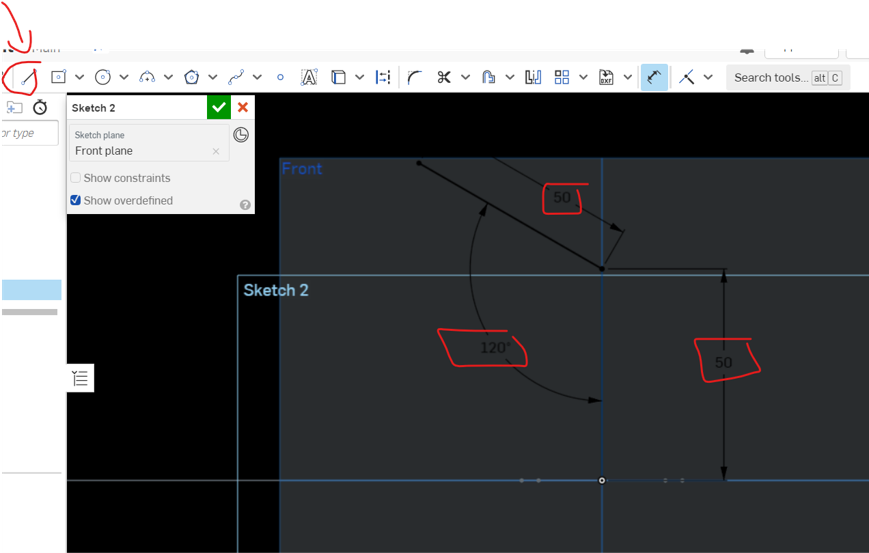
the project structure is a Hexagon Shape, and in order to make the shape be easily assembled and de assembled i decided to design a 120' joint on each angle, and X shape joint to be attached together and hold each hexagon, i did the design on computer aided design week
-
First i have Created a sketch on the top view and used rectangle with center point, and i made the center point of the origin as my centered point for the rectangle
-
Then created a line and adjusted it with dimensional constrain , the angle will be 120 as it will to make a hexagon shape
- Then I used sweep function, I choose sketch 1 as my face and sketch 2 as the path
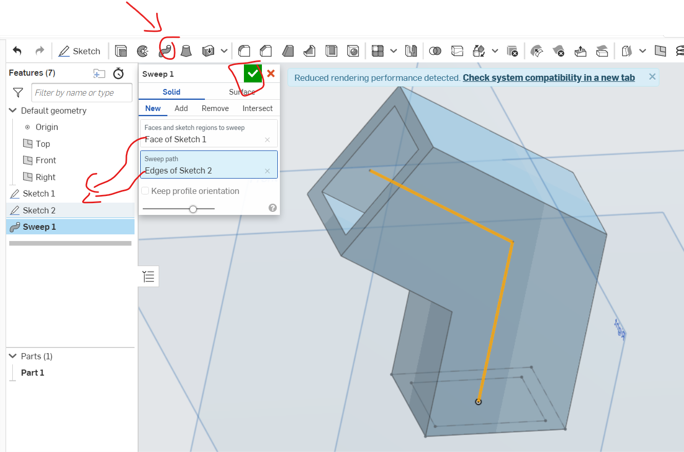
- then created the joint that will hold the structures together, here in the video the design process
- and here is the result of designing the joints
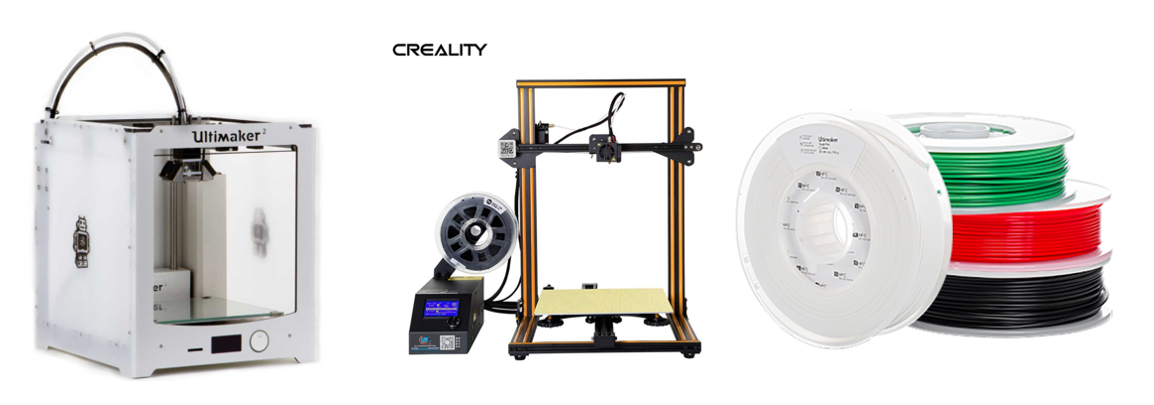
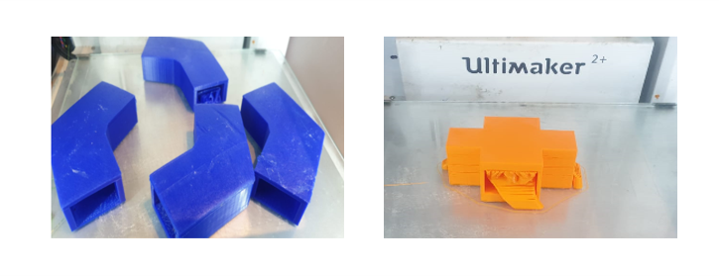
Using 3D printer
for printing the joints i used Ultimaker extended 2+ 3D printer and Creality CR-10 , and used PLA 2.85mm filament
Printing process
Result
Mold and Cast
During Molding and casting week i have designed a mold for the joint in order to make the production of it easier and faster, i made a wax mold then i por into it a silicon and mad the soft mold then i applied to it Smooth-Cast™ 305 material from Smooth-cast
Time-lapse video for me making the design
And then making the mill and mold
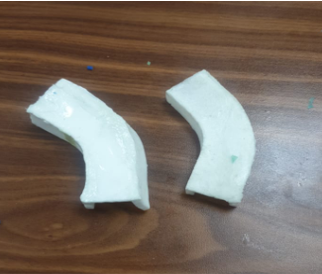
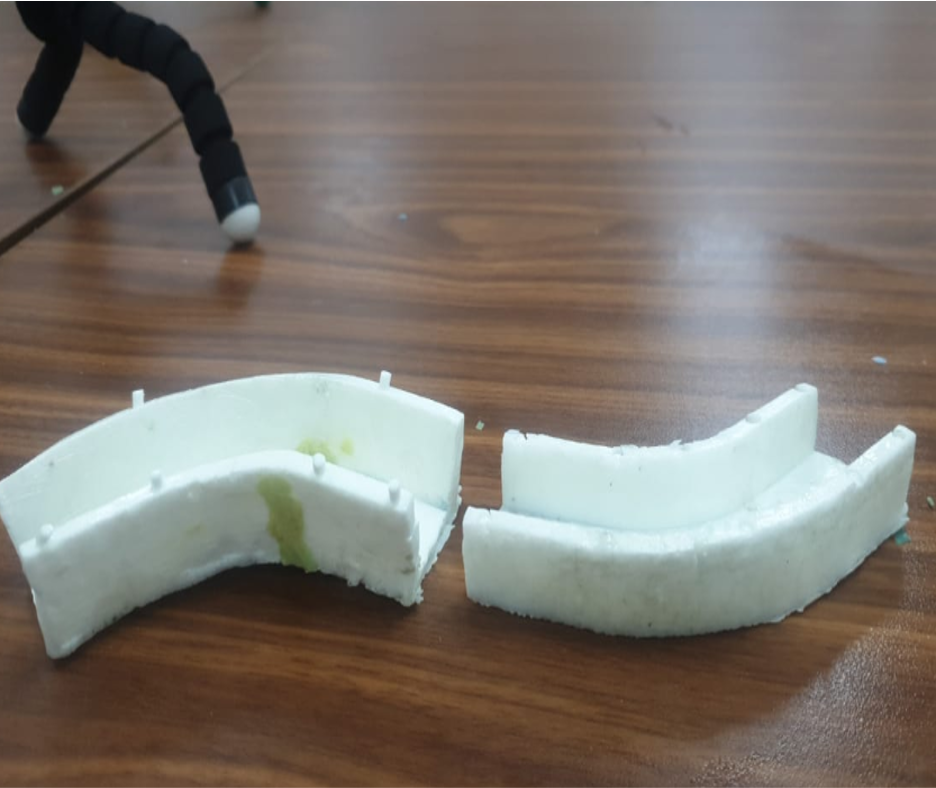
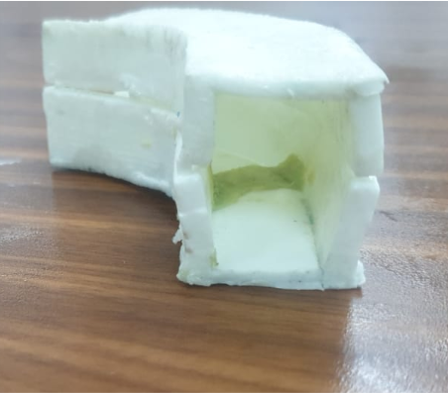
Result of the mold
this is the final result for the silicon mold
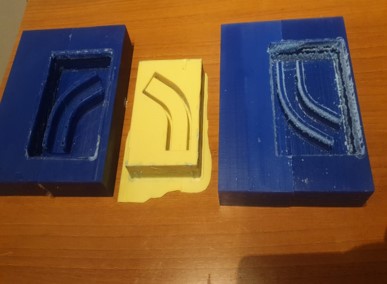
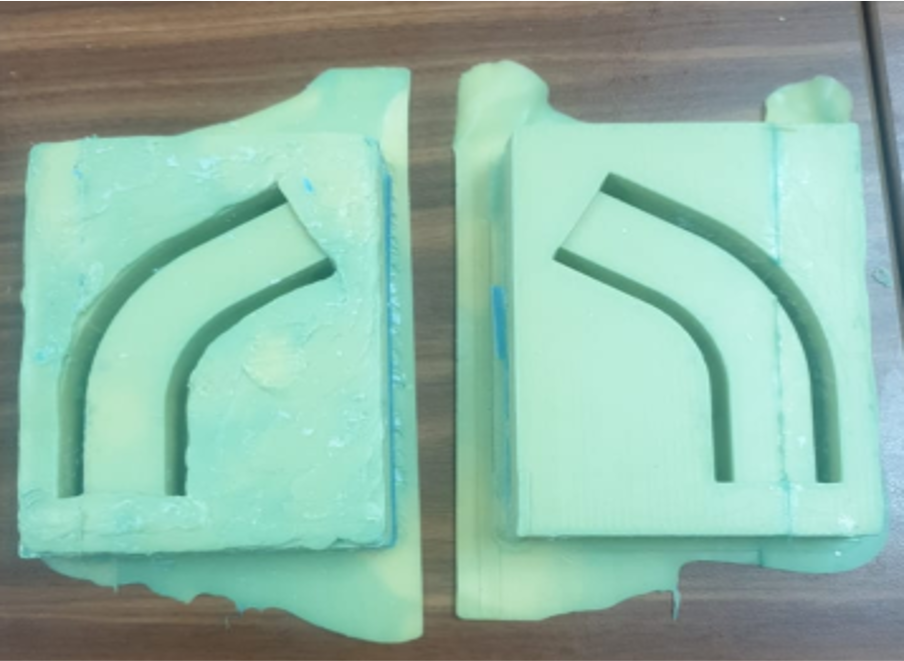
Final result for the mold
Here is because the material i used it has some softness it stretched when i took it out of the mold , but the result was good to see the exact location for the holes and how they are connected to each other
2D Design and using CNC

For the 2D design i used VCarve pro to design the structure for my project because it can produce a toolpath that i can use immediately to Shopbot CNC
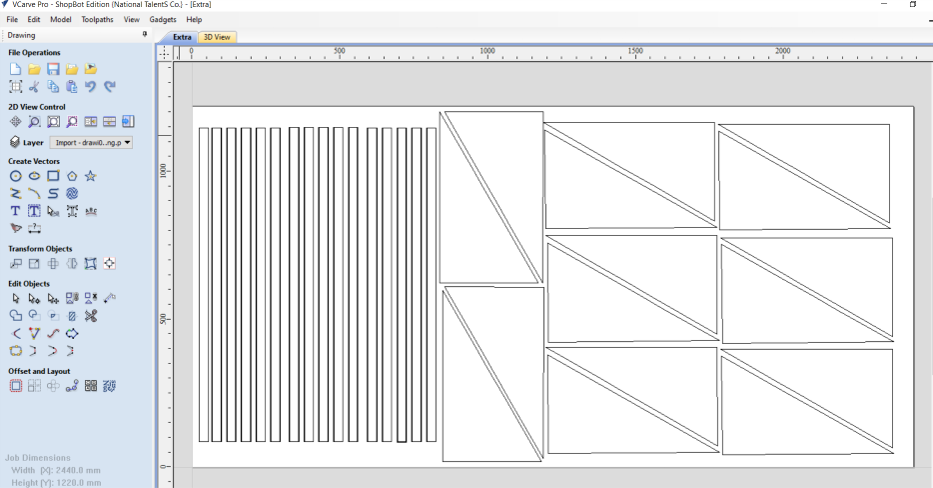
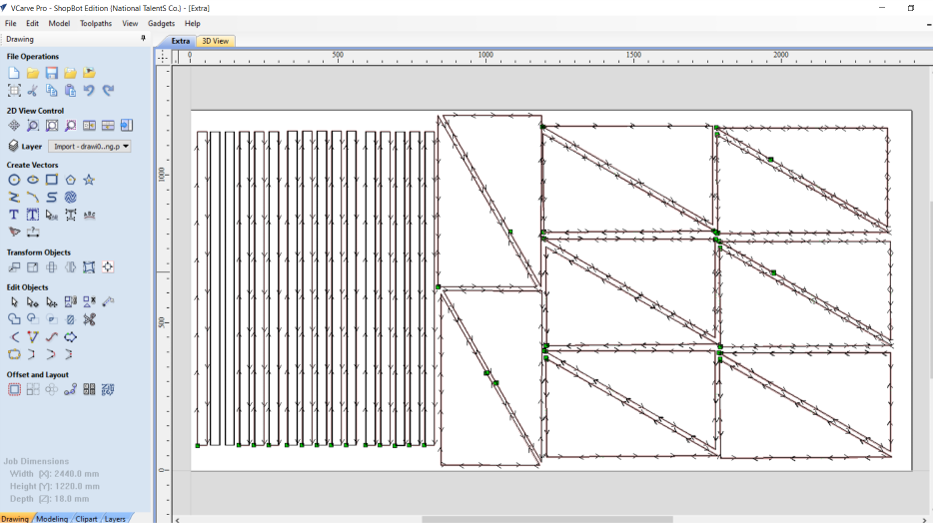
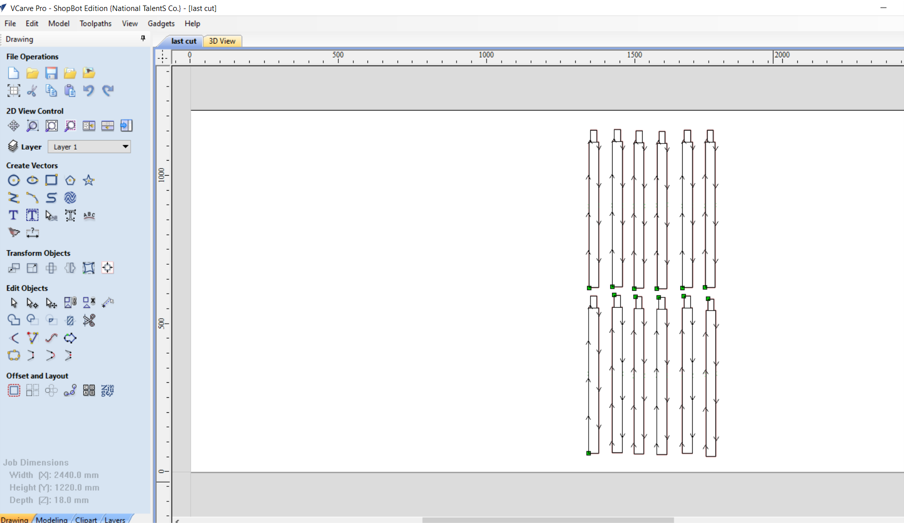
I used MDF 18mm thikness for the structure of my project and Shopboot PRSalpha 96-48 to cut the materil
System Integration
i used wood glue to hold the base of the hexagon together
then connected the led and electronics together
what materials and components i used?
strcure
i will use MDf wood becouse its cheaper and available in the lab
Electronic PCB
- 5x Atmega328P Microcontroller Chip.
- 5x Crystal
- 5x 100 nF capacitor.
- 5x 1 uF capacitor.
- 5x 10 kohm resistor.
- 5x Headers for inputs, outputs, ISP, VCC, GND and FTDI.
- 5x Adressable Led
- Wires
3D printer
the project structure is a Hexagon Shape, and in order to make the shape be easily assembled and de assembled i decided to design a 120’ joint on each angle, and then i will use 3D printer to print it
where will they come from?
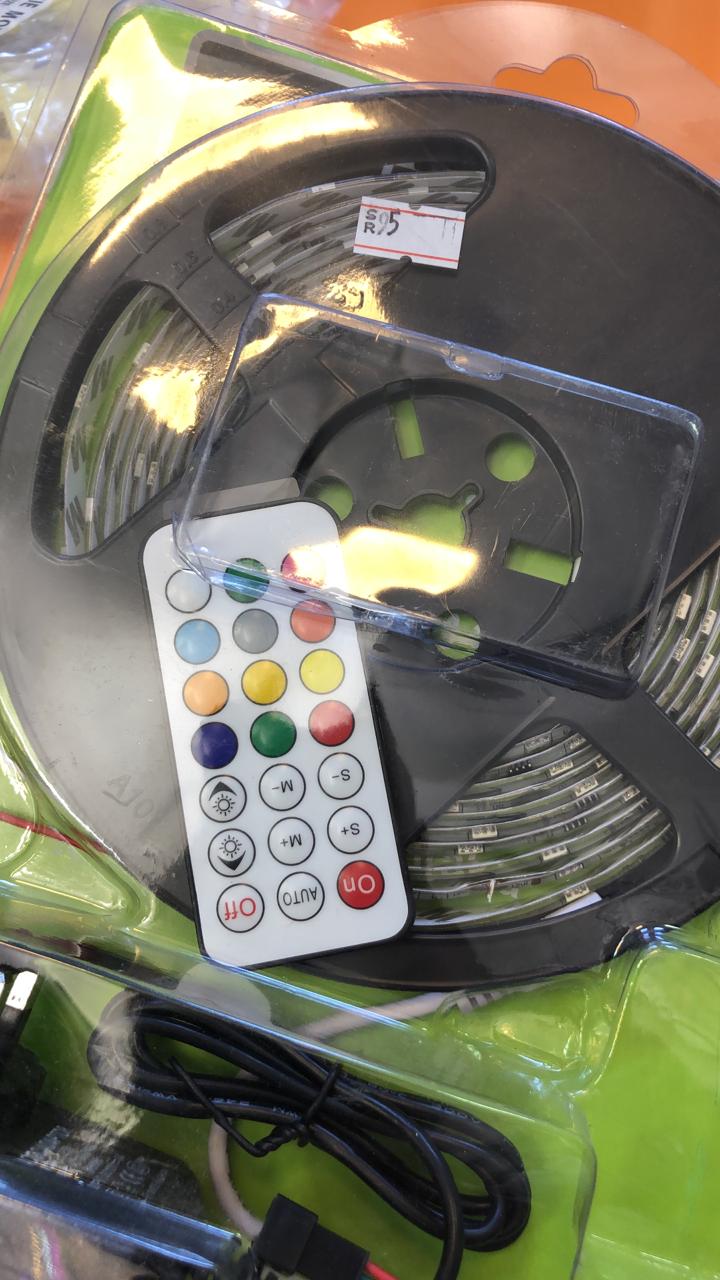
Most of the materials and electronics components that I have mentioned are available in our lab and some of them i will buy it from local store Like Adressable LEDS, and to lower the cost I ordered them from Amazon SA.
how much will they cost?
- MDF 12 mm 8*12 ft = 33.2$ | 2 = 66.4$ from almadar
- Atmega328P = 1.4$ | 5 = 7 from DigiKey
- Crystals SMD 20 20MHZ = 0.23$ | 5 = 1.15 from DigiKey
- 10K Resistor SMD = 0.0.05$ | 10 = 0.5 from DigiKey
- capacitor 100nf SMD = 0.1$ | 5 = 0.5 from DigiKey
- capacitor 1uf SMD = 0.05$ | 5 = 0.25 from DigiKey
- pin header SMD = 2$ | 10 = 20 from DigiKey
- Addressable LED Strip = 16 $ | 5 = 80 from Amazon
- Copper PCB = 6.99 $ | 5 = 34.95 from Amazon
Total Cost will be 210.75
Download
- 3D joint
- Left Stock Mold
- Right Stock Mold
- CNC Files
- blink
- neopixel
- servo
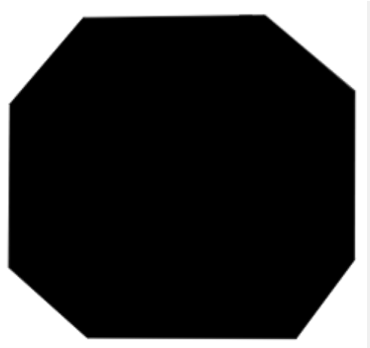
- Border svg
- schematic attiny
- pcb layout attiny
- atmega schematic
- [ atmega pcblayot](the final design.kicad_pcb)