 Erwin Kooi
15 - Wildcard week
In wildcard week we get to pick a fab method that is not covered by the standard curriculum. I proposed hydro explosion forming… But half of Neil’s lecture was about composites, so composites it is.
Design and produce something with a digital fabrication process (incorporating computer-aided design and manufacturing) not covered in another assignment, documenting the requirements that your assignment meets, and including everything necessary to reproduce it. Possibilities include but are not limited to wildcard week examples.
- I have played around with epoxy resin, but not for creating composite materials.
- I want to see if this method can be used to create blades for our wind-turbine plans.
- …
There was not really an official group assignment, but we decided to experiment with resin on various release agents and to test the strenght of different materials added to the resin.
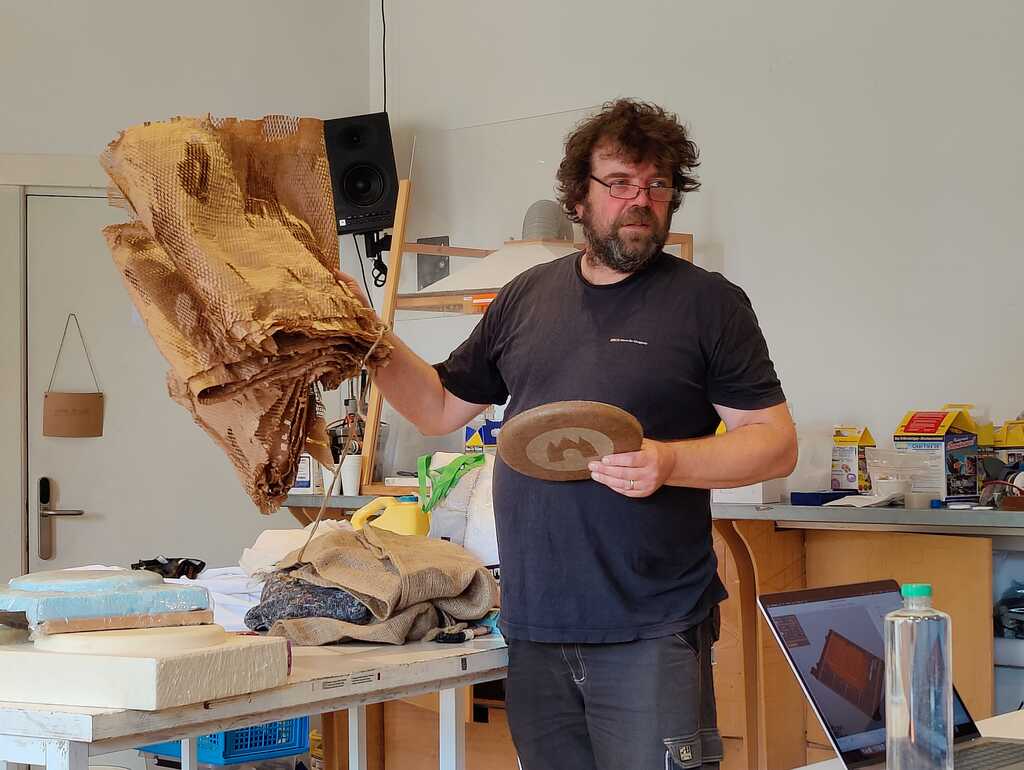
Putting the DigiKey packaging material to good use…
And create fun objects with it.
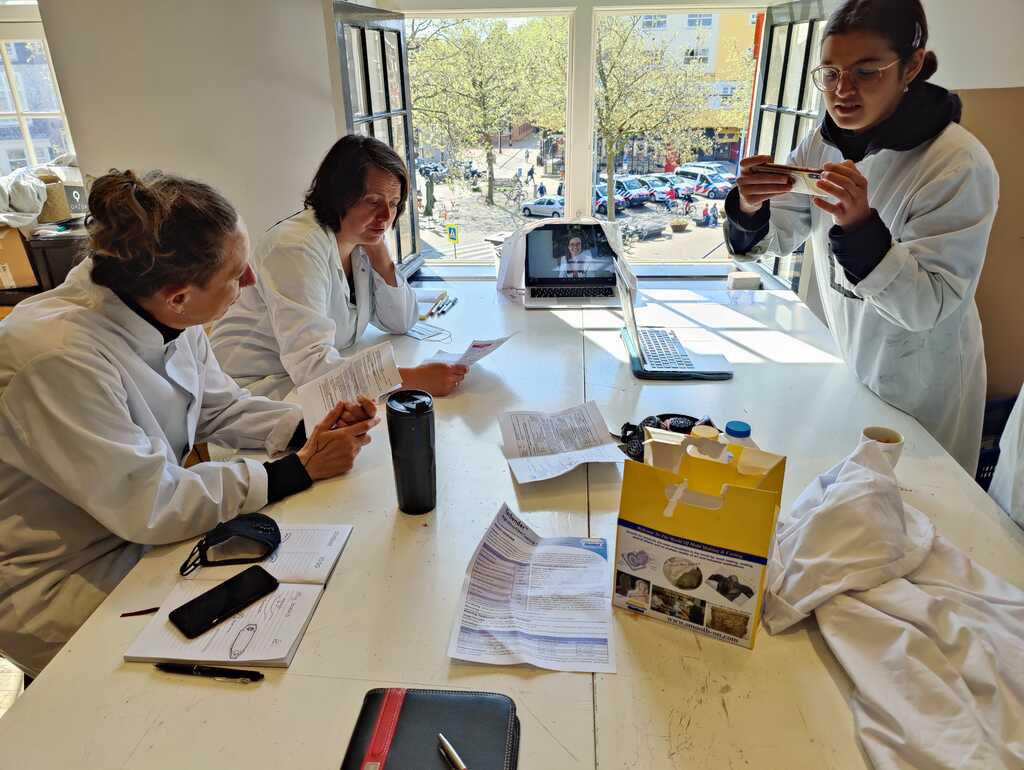
The group working together (including Nicole via Zoom).
At home we are looking into building our own windmill. Not the traditional Dutch windmill (even though I do wear clogs at home), but a tree-shaped windmill that produces electricity.

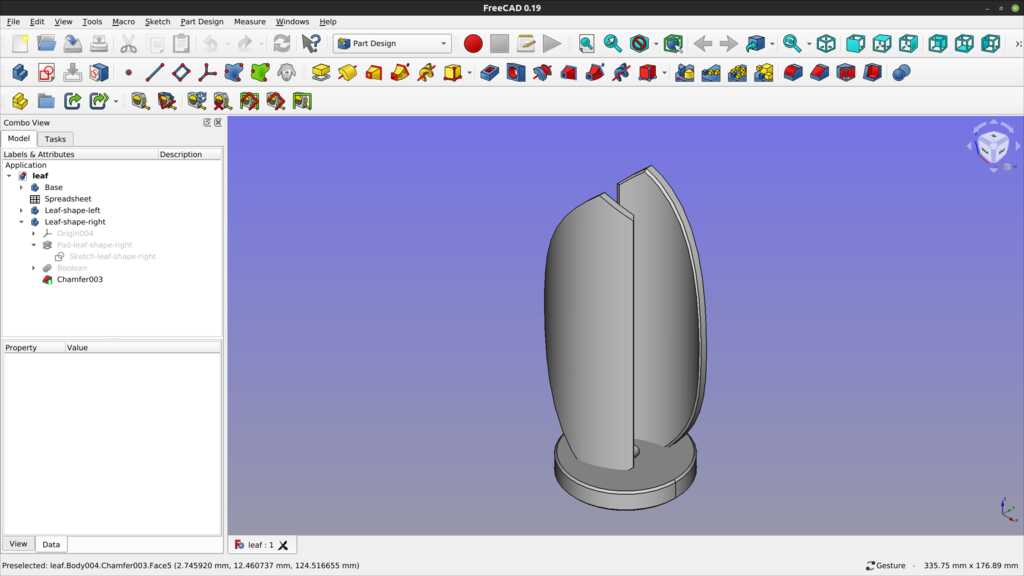
For this we need leaf-shaped generators andvarious composites might be a good way to create strong but light leaves.
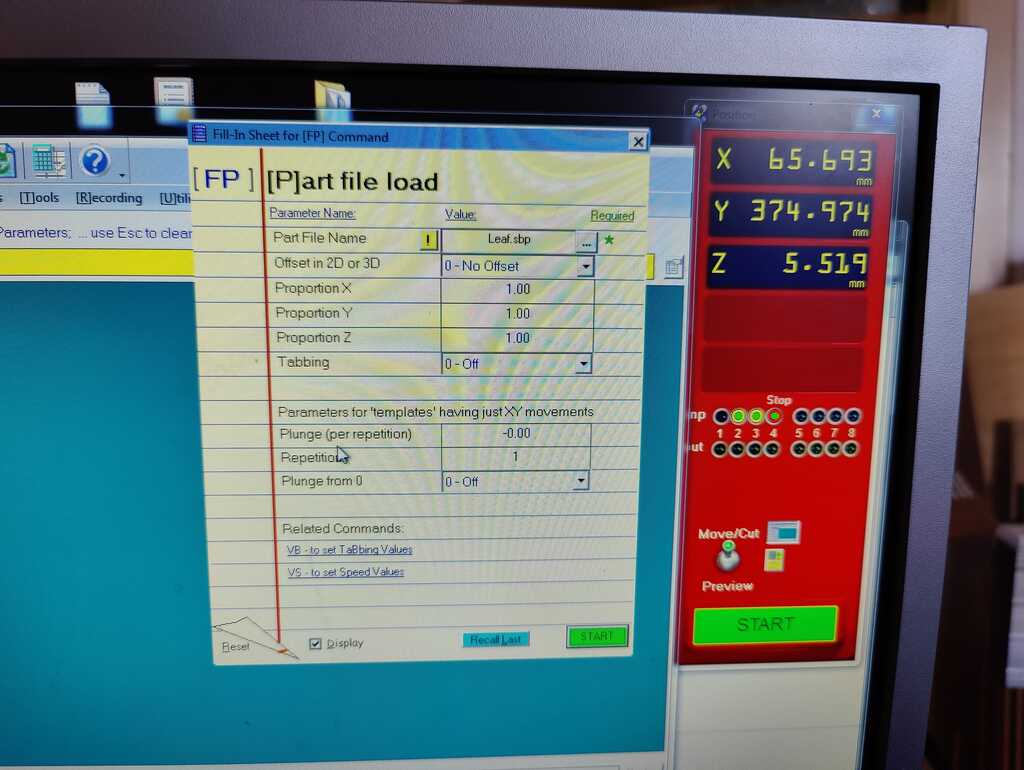
The mold is in two parts. A base with the shape cut out and a top for pressing the material in the curved shape.
The mold can be cut on the shopbot CNCfairly simple in straight lines with varying depth. Since the ShopBot is much faster in the y direction than the x direction, it is best to have the long lines in the y direction. This is something to take into account when creating the toolpath.
The steps for creating the 3d toolpath are documented in week 11. There is no deviation for this week.
The mold will be made from foam. This can be bought at expensive art shops or as heat insulation material at the DYI store (same stuff). For this foam, a spindle speed of 10k RPM is recommended.
The leaves will be made from hessian, drenched in epoxy resin.
The resin will be mixed and left to set for a bit. This will prevent the shape from overflowing when the hessian is placed.
If the resin is too runny, the higher parts of the mold will not be covered (enough) I fear.
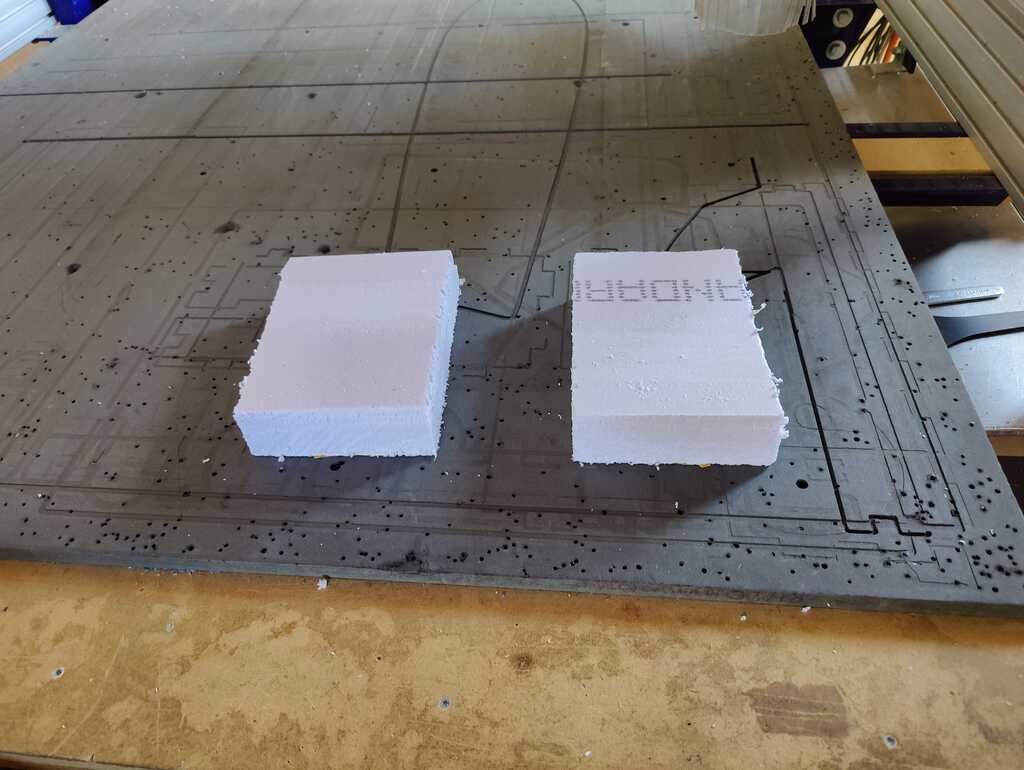
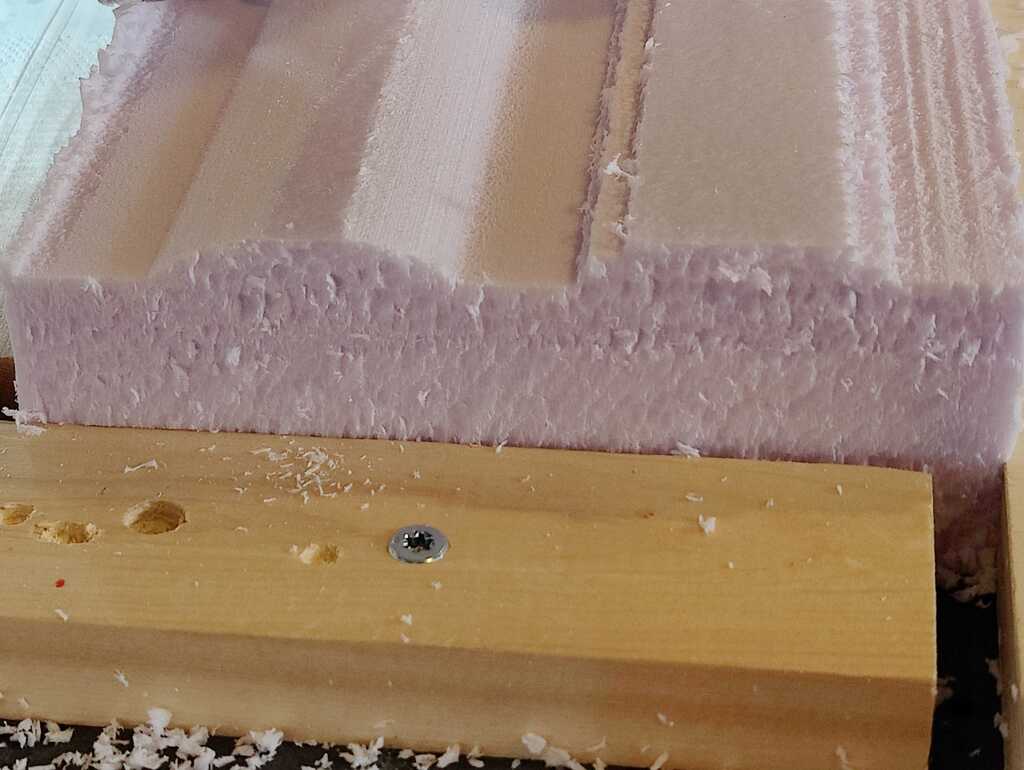
This is a good example of the difference between a finishing path (stepover 0.25 mm) and a rough path (stepover of 2.5 mm).
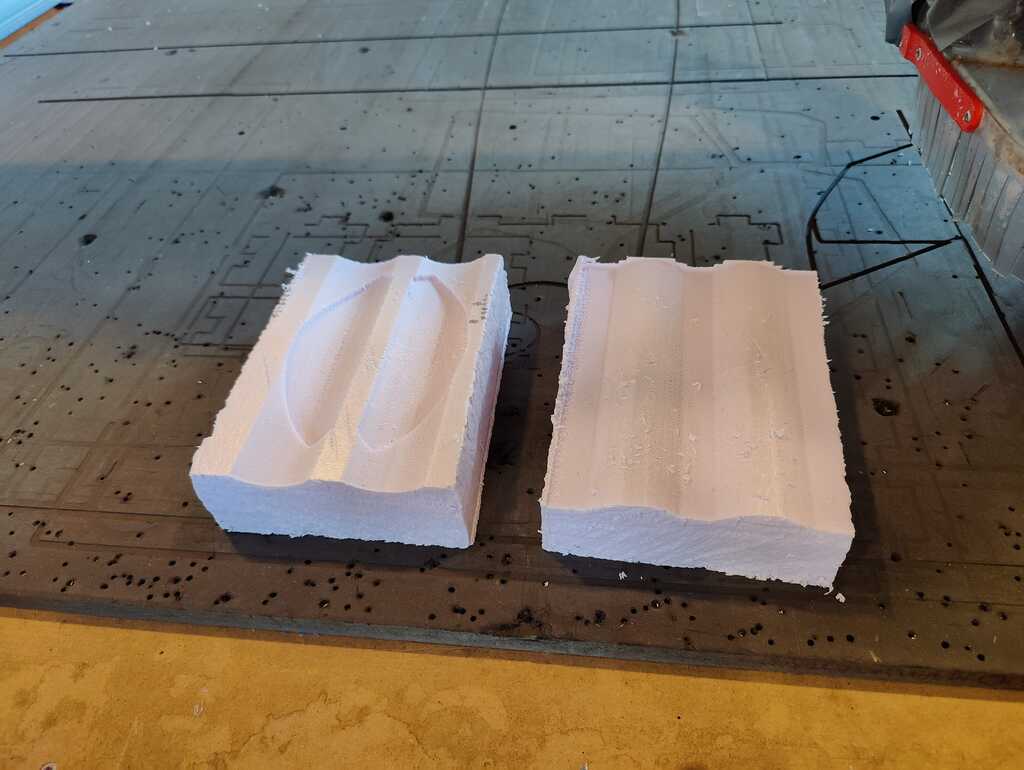
I covered the mold in vaseline (to smooth it more) and covered it in a thin sheet of cling foil. The foil and the vaseline allow for a slightly swirling pattern that will be imprinted on the composite.
I had to work in the afternoon, so I took the mold home to continue the creation of the leaves there. I also had to take some resin (SmoothOn TarBender) home. Since they come in two components, I had to use two containers.
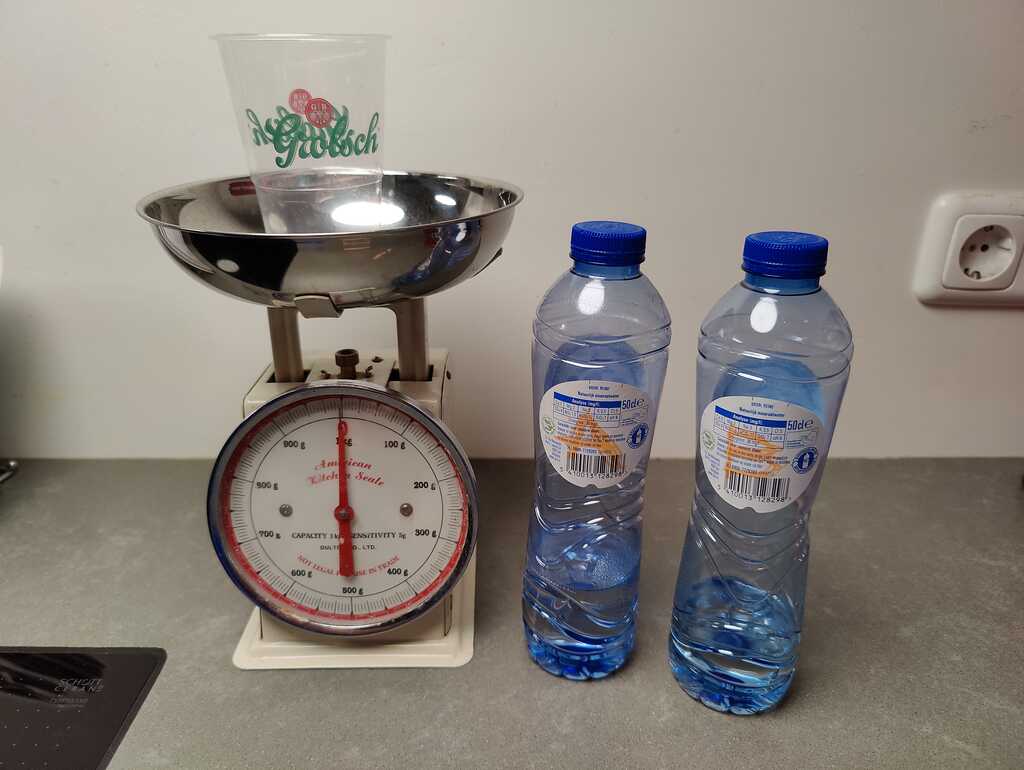
That was 1 liter of water I had to drink quickly.
Fun side note
Spa mineral water does not conform to Dutch water quality standards and are not allowed as tapwater. They contain way too much salt…
(source: a good friend who has a Ph.D in water chemistry)
The SmoothOn TarBender is mixed in a A2:B1 by volume ratio. Since the density of the componens is not the same, they are mixed in A100:B41 by weight ratio.
I calculated that I would need 45 grams of resin.

After pouring some resin, I added the first layer of fabric. I covered this with more resin and added a second layer of fabric. Finally I poured the last bit of resin and closed the mold. I added a weight to keep it closed and let it cure for 24 hours.
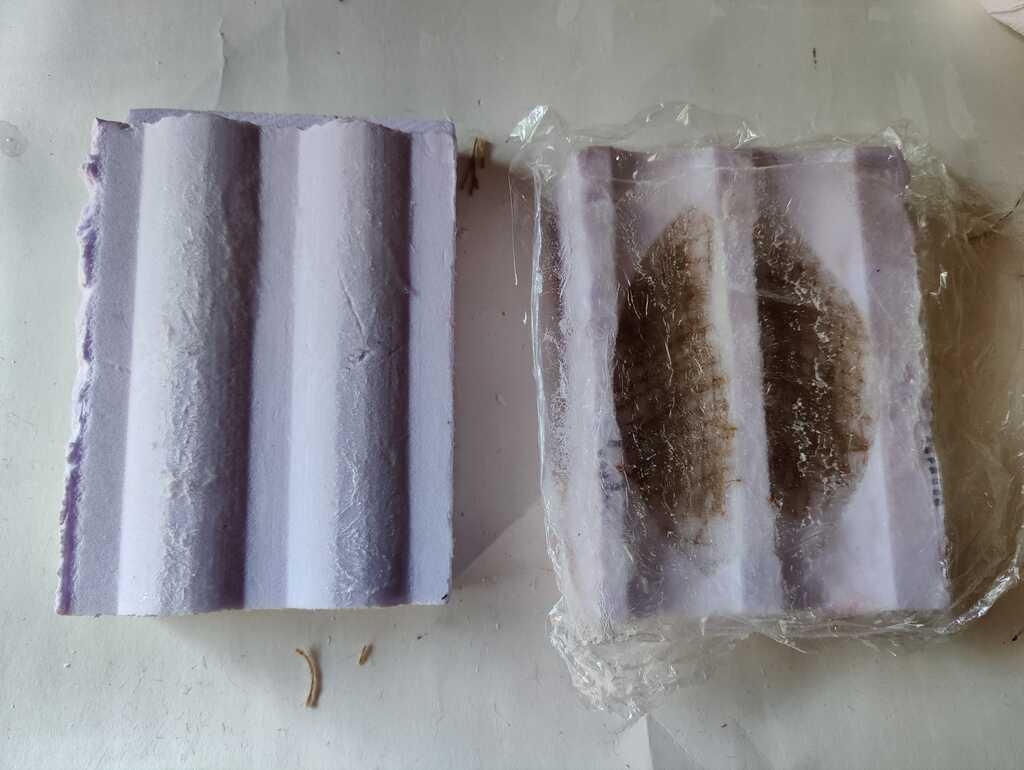
Unfortunately, the vaseline and cling foil made it hard to get the leaves out of the mold. I had to cut the mold to get the leaves out (after breaking the tip of a leaf).
Next time, no vaseline.
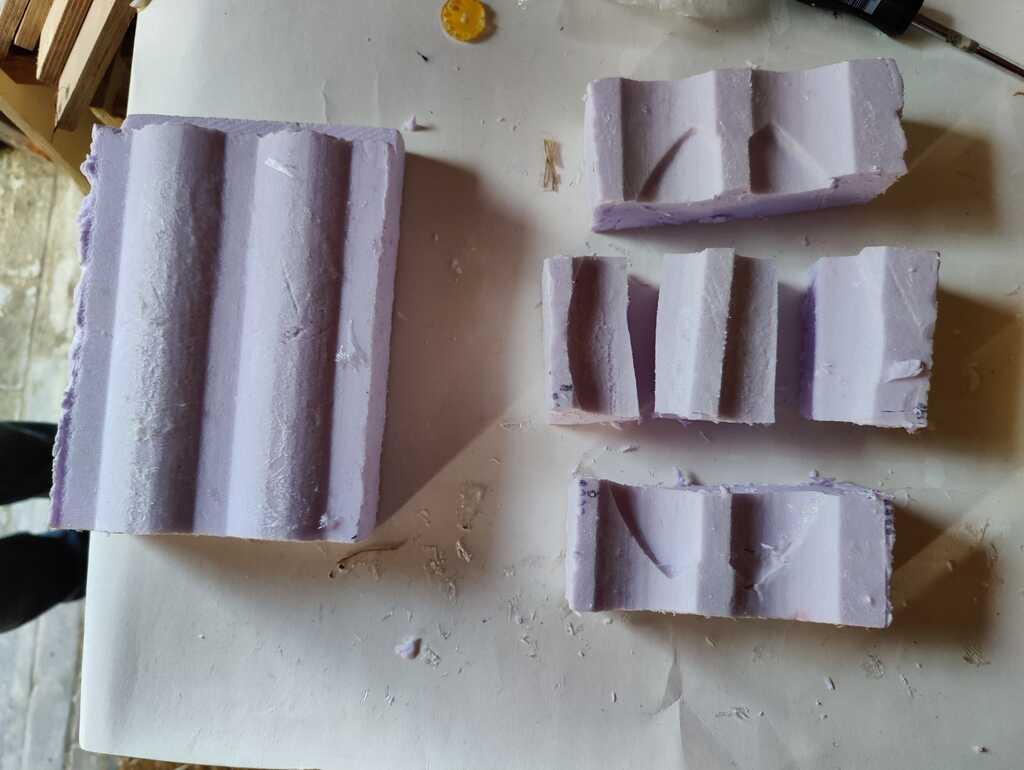
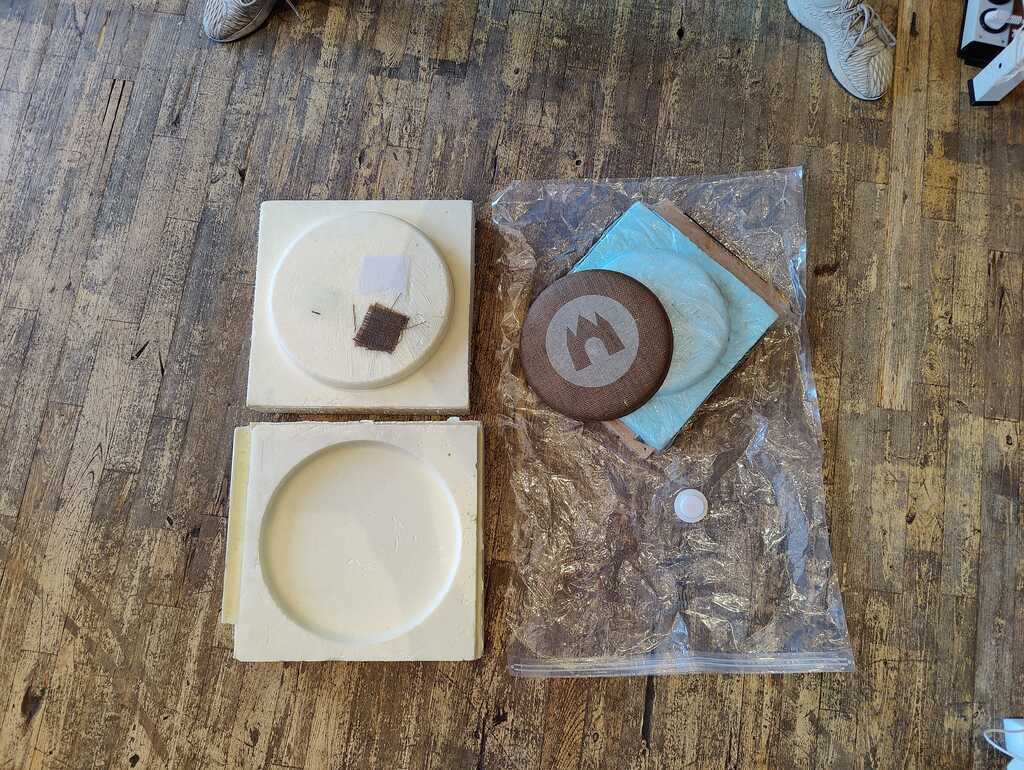
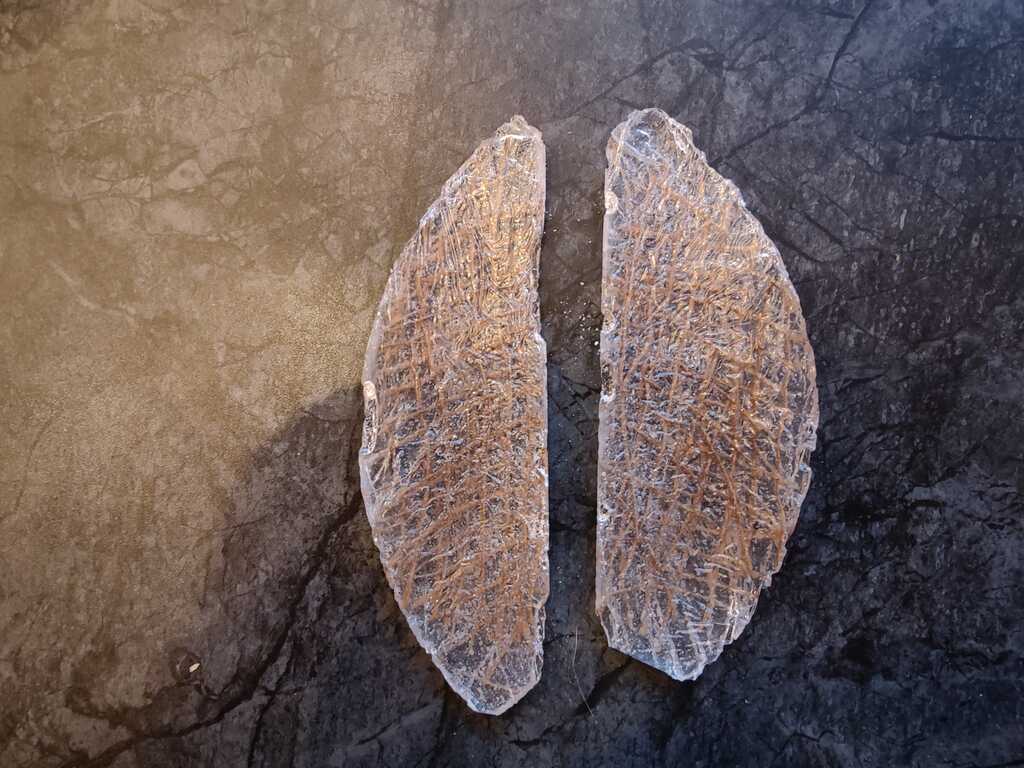
Turns out i miscalculated slightly. Most but not all of the mold was filled with resin, leading to some rough edges. After some sanding this worked out OK-ish. (The right-bottom tip broke off when de-molding.)
I 3d-printed a base for the leaves to stand in. This base is also part of the CAD model.
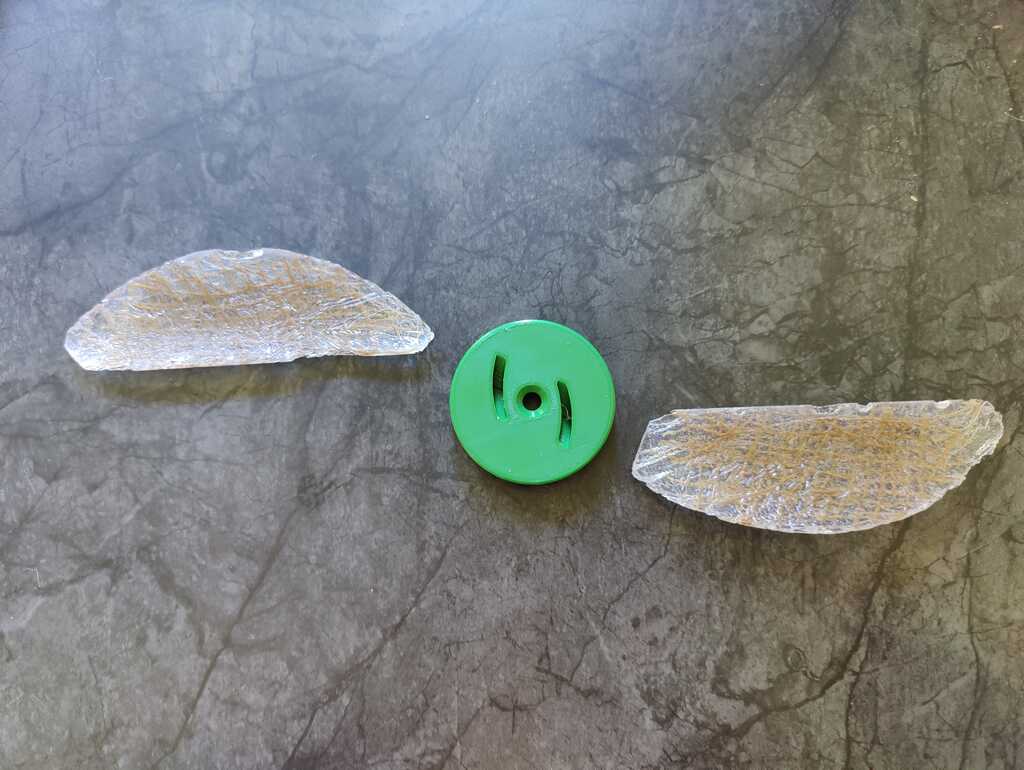
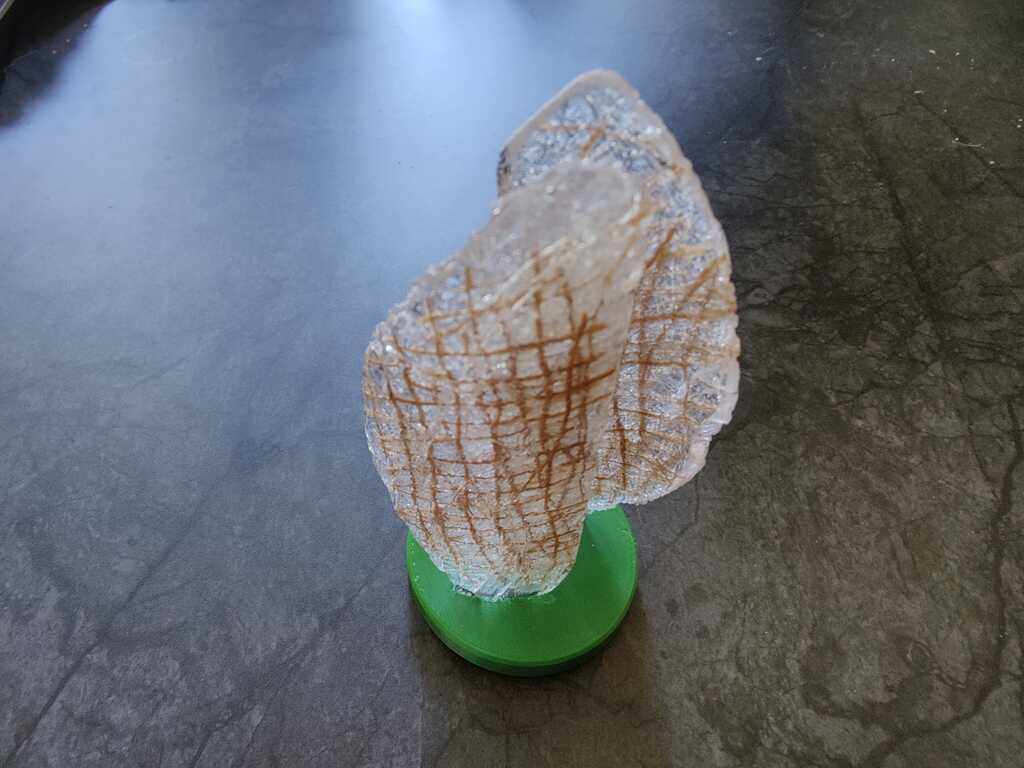
It looks nice and organic. I love the fact that there are tiny airbubbles inside as they reflect the sunlight in a sparkly way.
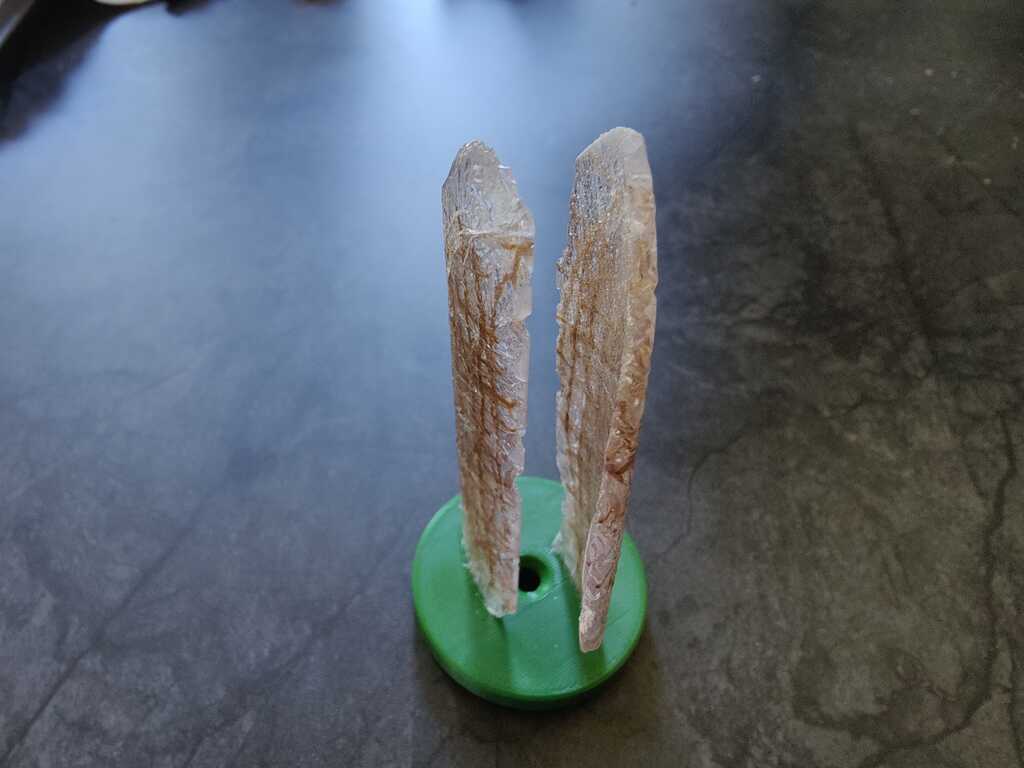
Unfortunately, I broke a leaf before I could make a movie clip. It happened when I was attaching it to a base to test its wind collection. (-_-)
FreeCAD leaf model can be found here.
FreeCAD mold can be found here.
- The 3d milling went great. Thinking beforehand what is the speediest way the ShopBot can work can really save you time.
- The vaseline was clinging to the cling foil (probably due to surface tension), so the leaves could not be de-molded easily. I had to cut the mold to get the leaves out.
- I will not use vaseline and cling foil. I will just use cling foil.
- I will design for a ball bearing in the base from the start. This will make rotation much easier.